If you’re looking for a healthier dessert that still feels indulgent, these date chocolate bites are exactly what you need. Made with naturally sweet dates and rich chocolate, they deliver the perfect balance of flavor, texture, and nutrition—all without refined sugar or complicated steps.
These date chocolate bites are ideal for anyone who wants a quick snack, a post-dinner treat, or even a grab-and-go energy boost. Best of all, they require no baking and come together in minutes, making them perfect for busy days.

Why You’ll Love These Date Chocolate Bites
There are so many reasons to love these date chocolate bites:
- Naturally sweetened with dates
- No baking required
- Quick and easy to make
- Packed with fiber and healthy fats
- Perfect for snacks or desserts
These little treats are both satisfying and nourishing, making them a great addition to your snack rotation.
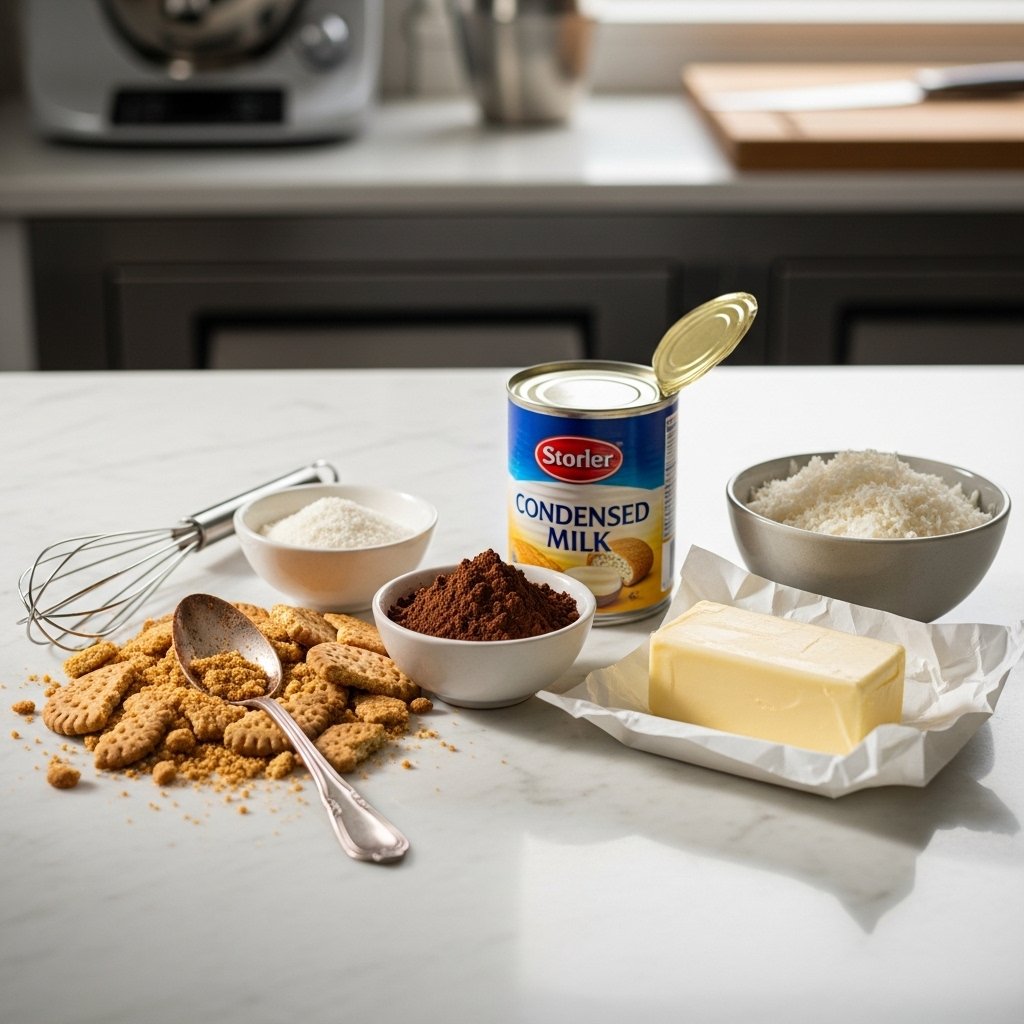
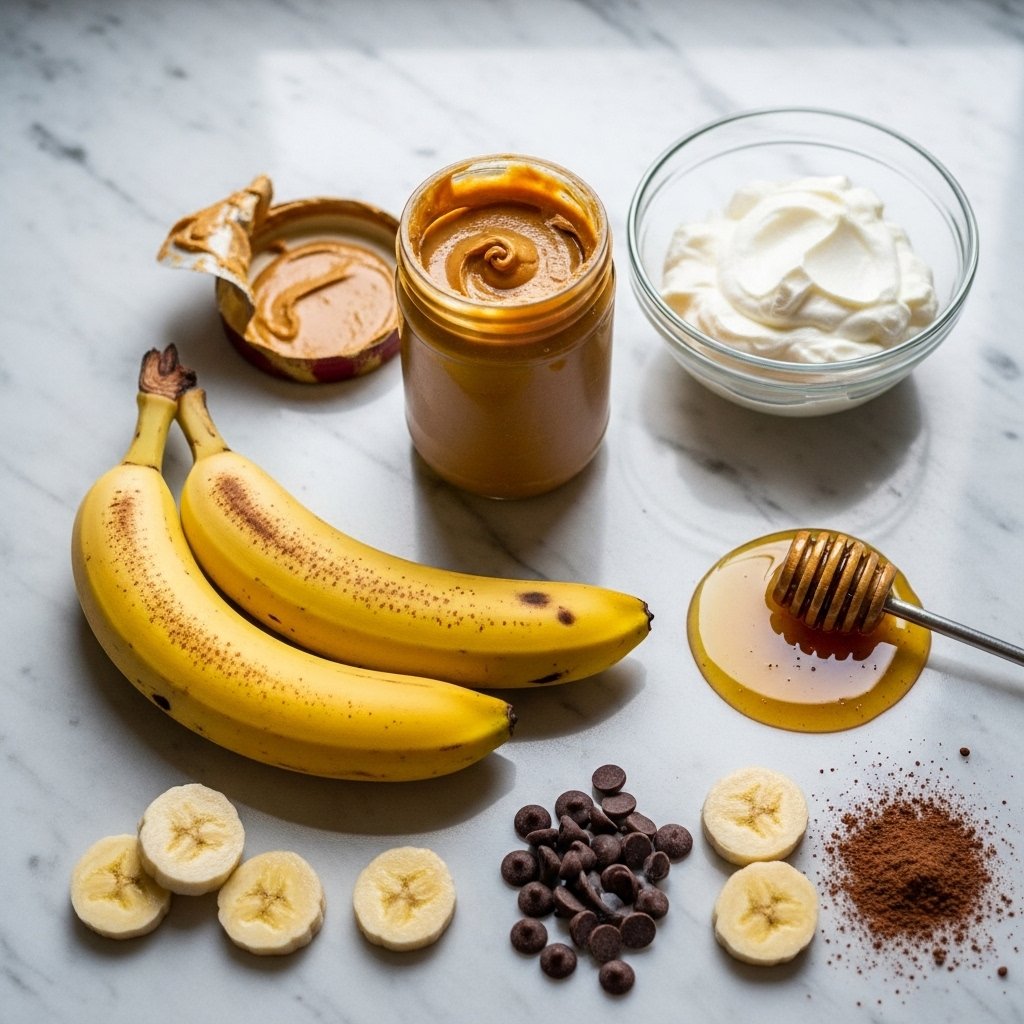
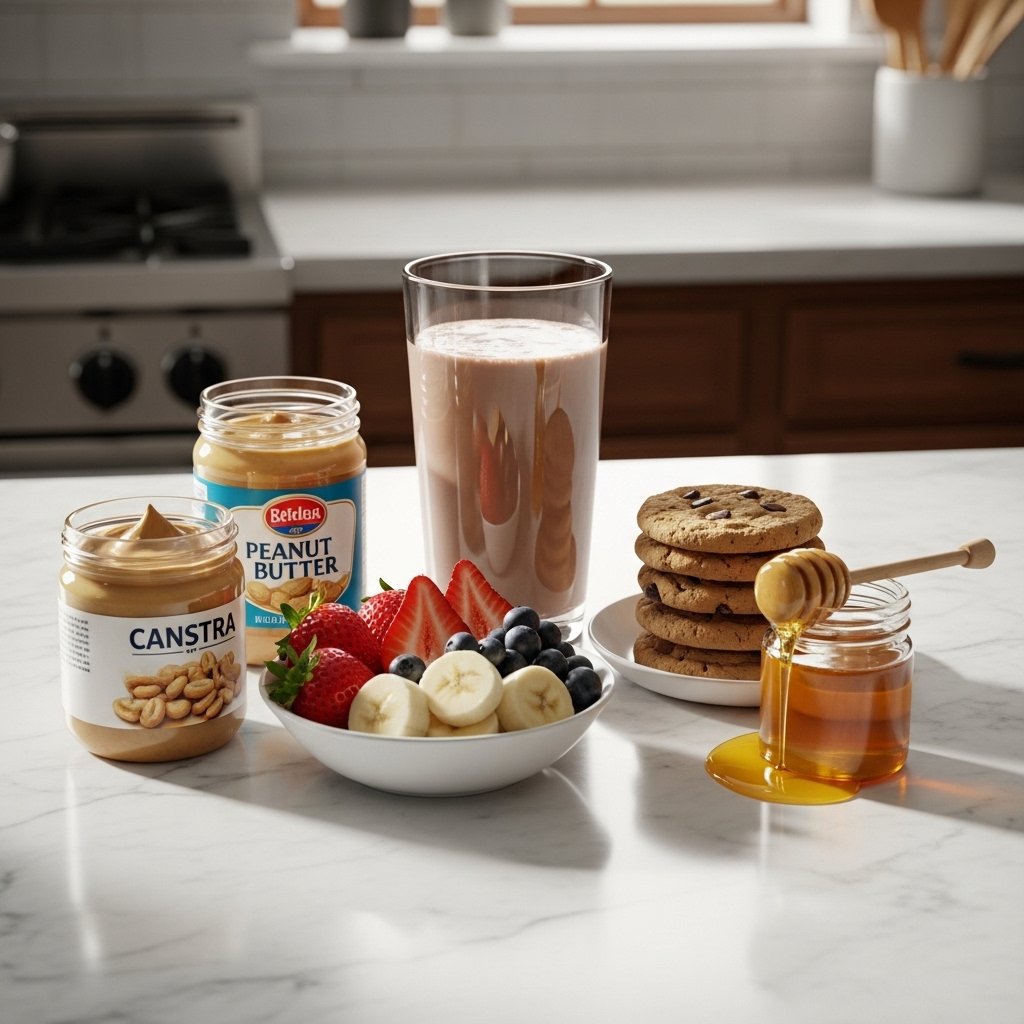
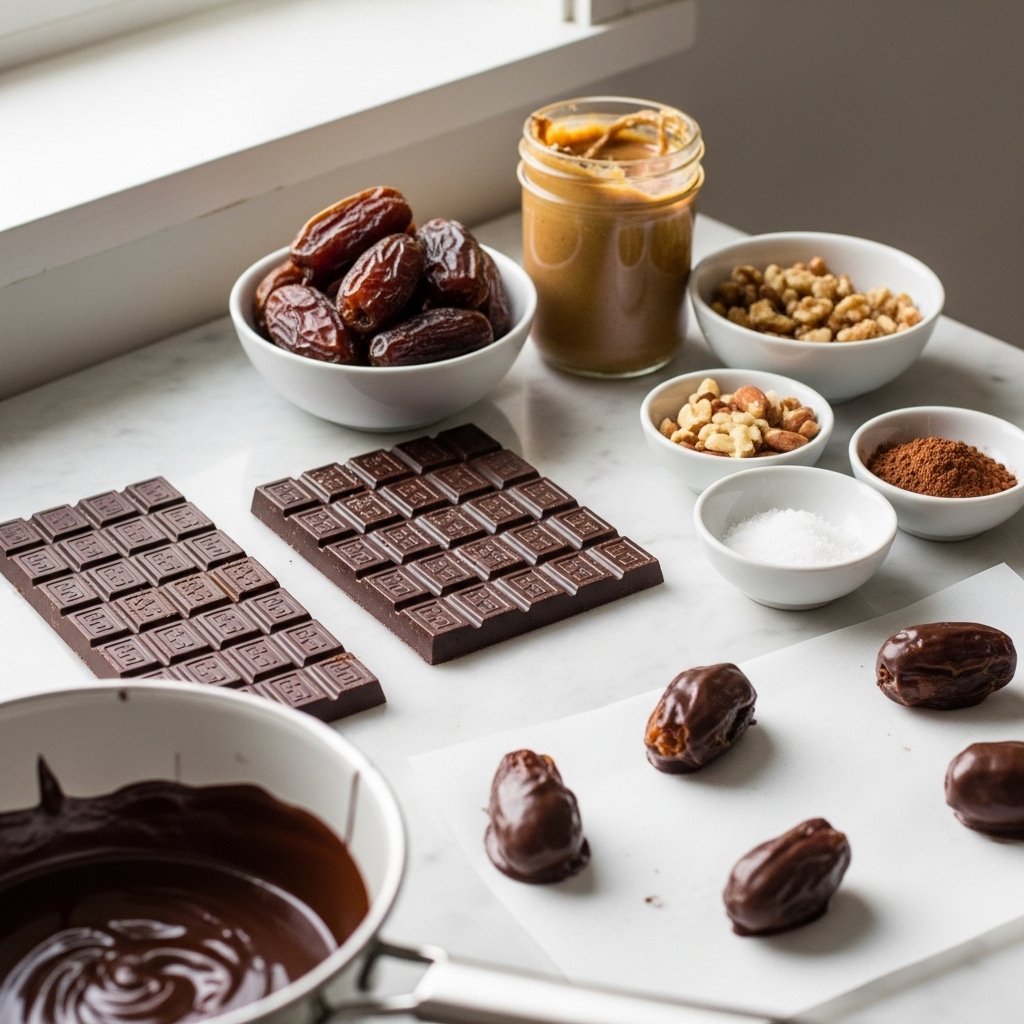
Ingredients You’ll Need
To make these delicious date chocolate bites, gather:
- Medjool dates (pitted)
- Dark chocolate (melted)
- Nut butter (peanut or almond)
- Chopped nuts (optional)
- Coconut flakes (optional)
- Sea salt (optional for topping)
Ingredient Notes
The star of these date chocolate bites is the Medjool date, known for its soft texture and caramel-like sweetness. They act as a natural sweetener and binding ingredient.
Dark chocolate adds richness, while nut butter brings creaminess and depth. You can easily customize the toppings to suit your taste or dietary preferences.
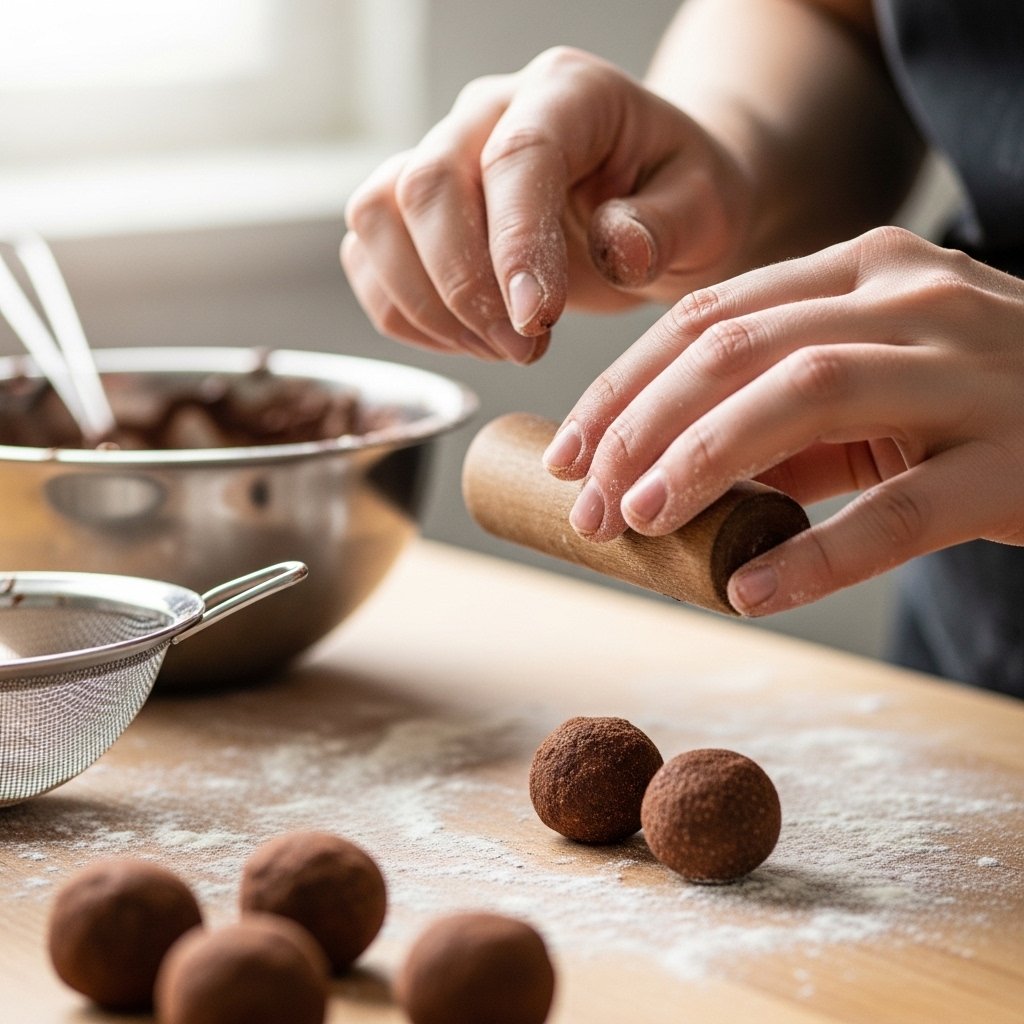
Step-by-Step Instructions
How to Make Date Chocolate Bites
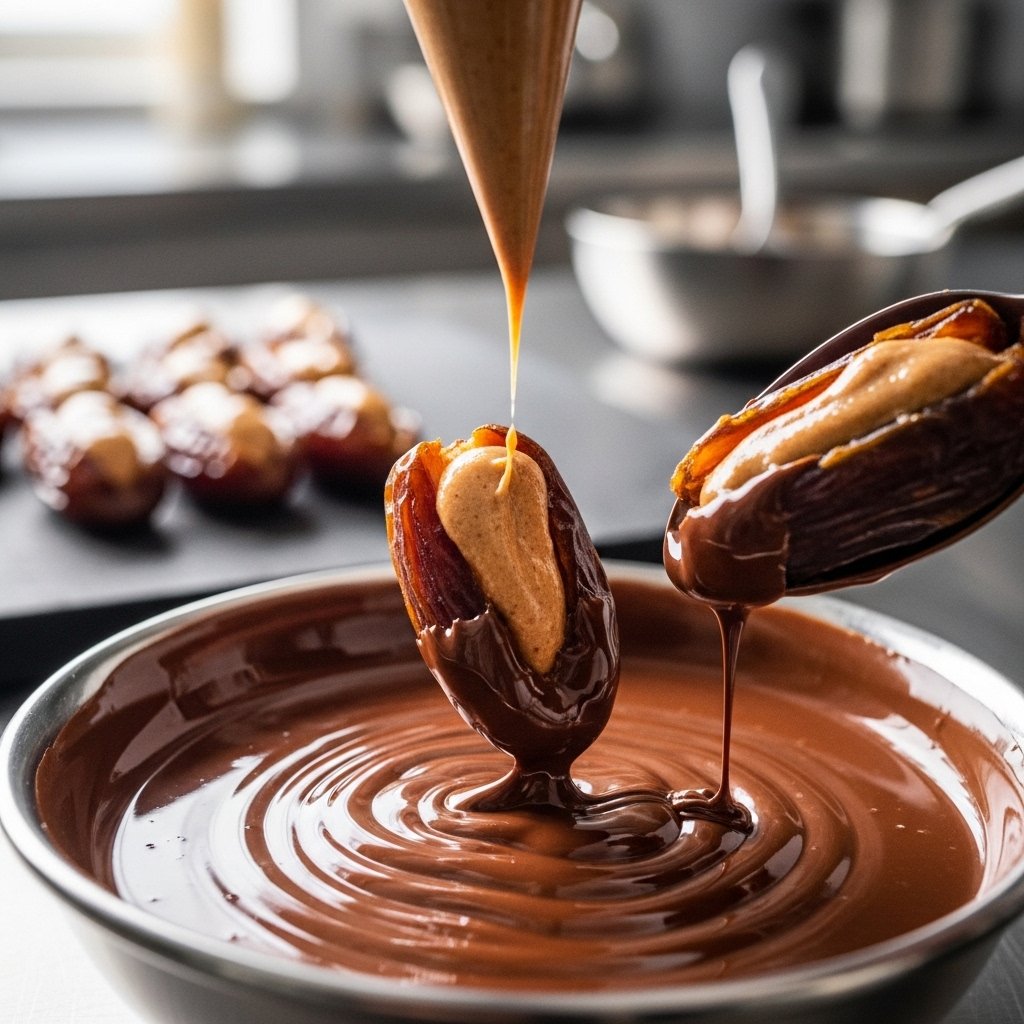
- Slice dates open and remove pits
- Fill each date with a small amount of nut butter
- Melt the chocolate until smooth
- Dip each stuffed date into melted chocolate
- Place on parchment paper
- Sprinkle with nuts, coconut, or sea salt
- Let set in the fridge for 15–20 minutes
These simple steps create perfect date chocolate bites every time.
Tips for Perfect Results
To get the best date chocolate bites, keep these tips in mind:
- Use soft, fresh dates for easy stuffing
- Chill before serving for best texture
- Don’t overheat the chocolate
- Use high-quality chocolate for better flavor
These tips ensure your bites turn out delicious and visually appealing.
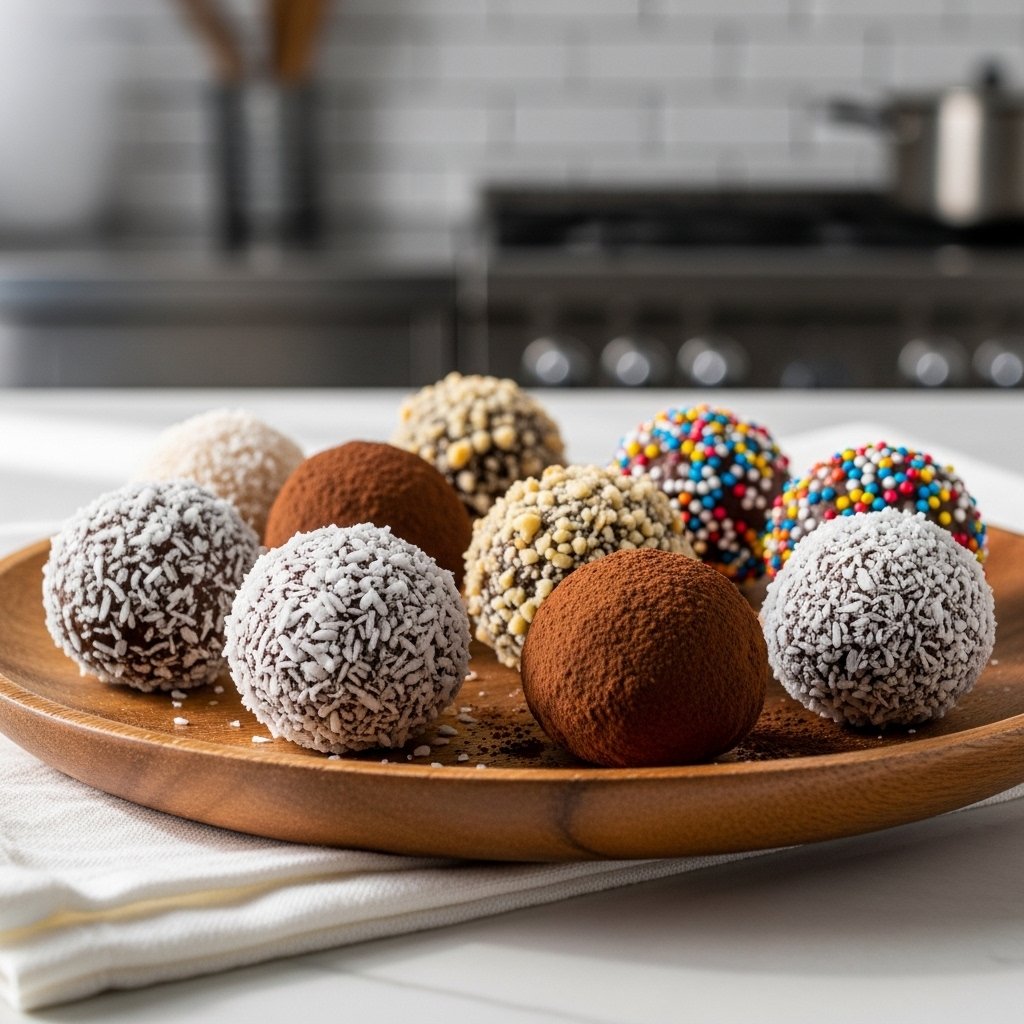
Variations and Flavor Ideas
One of the best things about date chocolate bites is how versatile they are:
- Add peanut butter and crushed peanuts
- Use white chocolate instead of dark
- Fill with cream cheese for a dessert twist
- Add a drizzle of caramel or extra chocolate

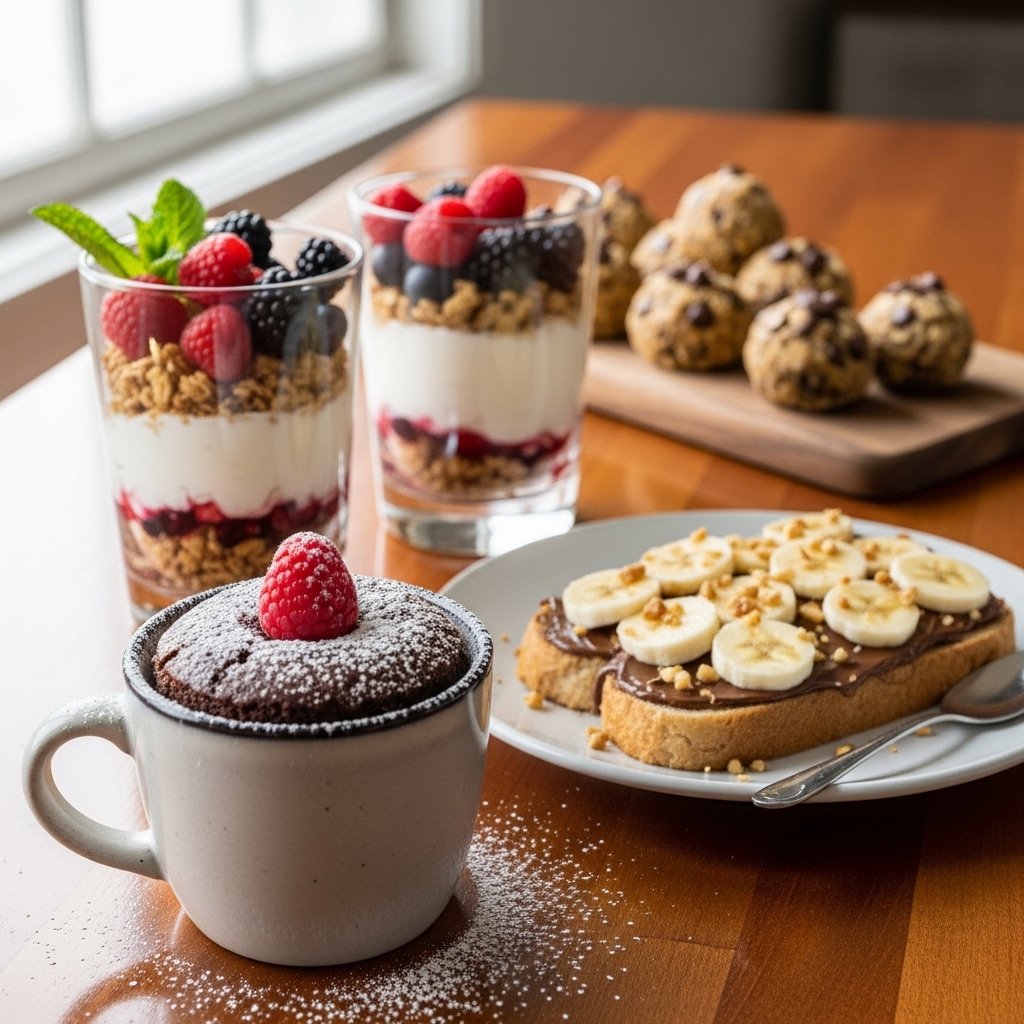
What to Serve With Date Chocolate Bites
These date chocolate bites pair perfectly with:
- Coffee or espresso
- Herbal tea
- Smoothies
- Dessert platters
They’re great for entertaining or enjoying as a simple snack.
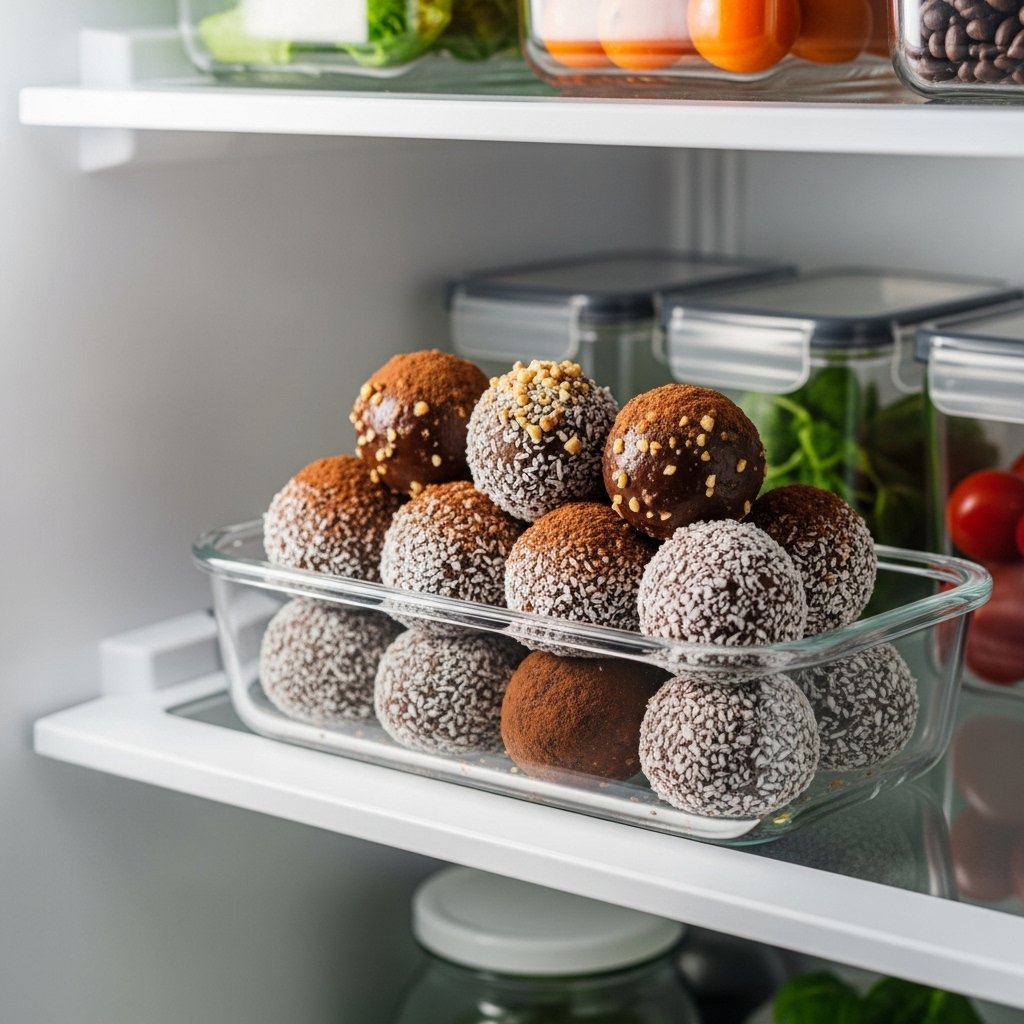
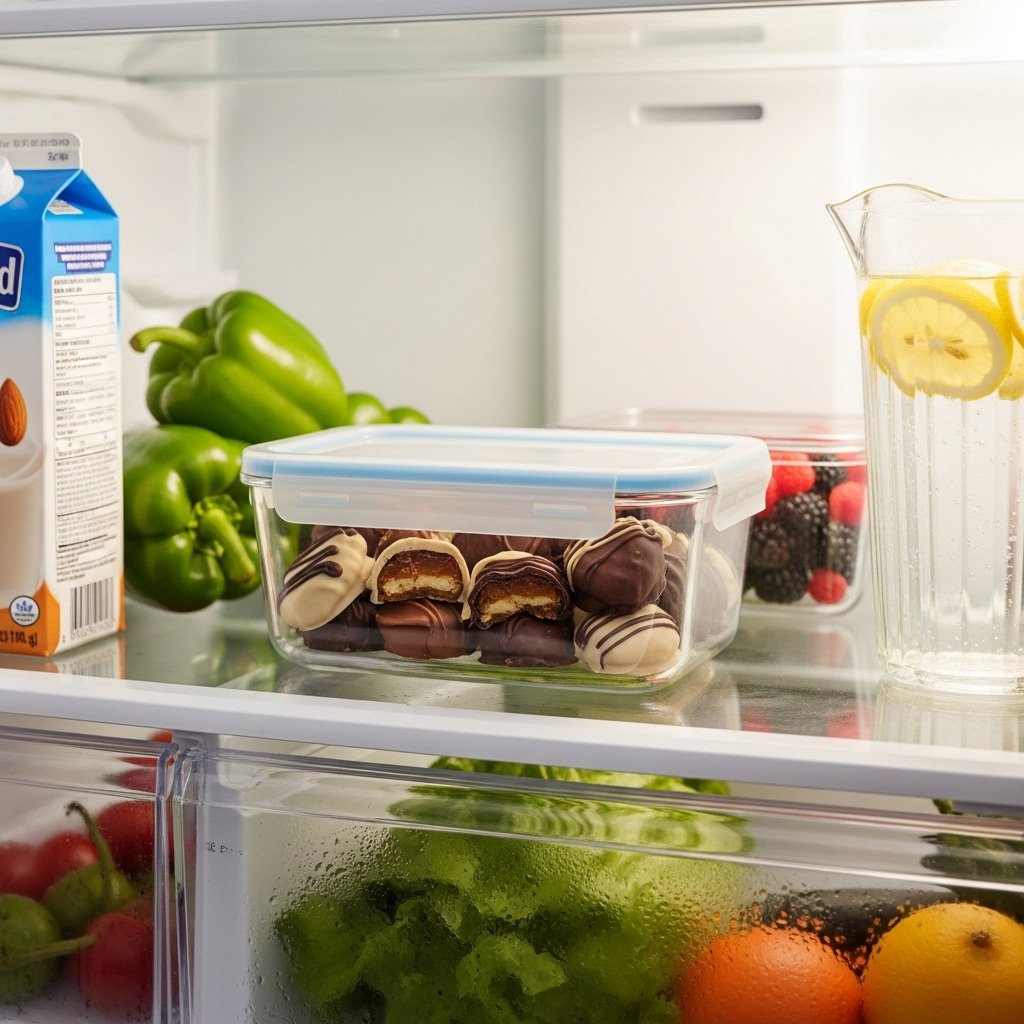
Storage & Reheating Tips
These date chocolate bites are easy to store:
- Keep in an airtight container in the fridge for up to 1 week
- Freeze for up to 2 months
- No reheating needed—enjoy chilled or at room temperature
Common Mistakes to Avoid
When making date chocolate bites, avoid:
- Using dry or hard dates
- Overfilling with nut butter
- Skipping chilling time
- Overheating chocolate
Avoiding these mistakes ensures perfect texture and flavor.
FAQs
Are date chocolate bites healthy?
Yes! They’re made with natural ingredients and contain fiber, healthy fats, and antioxidants.
Can I make them vegan?
They are naturally vegan if you use dairy-free chocolate.
What nuts work best?
Almonds, peanuts, or walnuts all work great.
Can I make them ahead of time?
Absolutely! They store well and are perfect for meal prep.
Final Thoughts
These date chocolate bites are proof that healthy desserts can still be incredibly delicious. With their rich chocolate coating and naturally sweet center, they’re a treat you can feel good about enjoying.
Whether you’re making them for yourself, your family, or guests, these bites are sure to impress. Once you try them, you’ll keep coming back to these easy and satisfying date chocolate bites again and again!