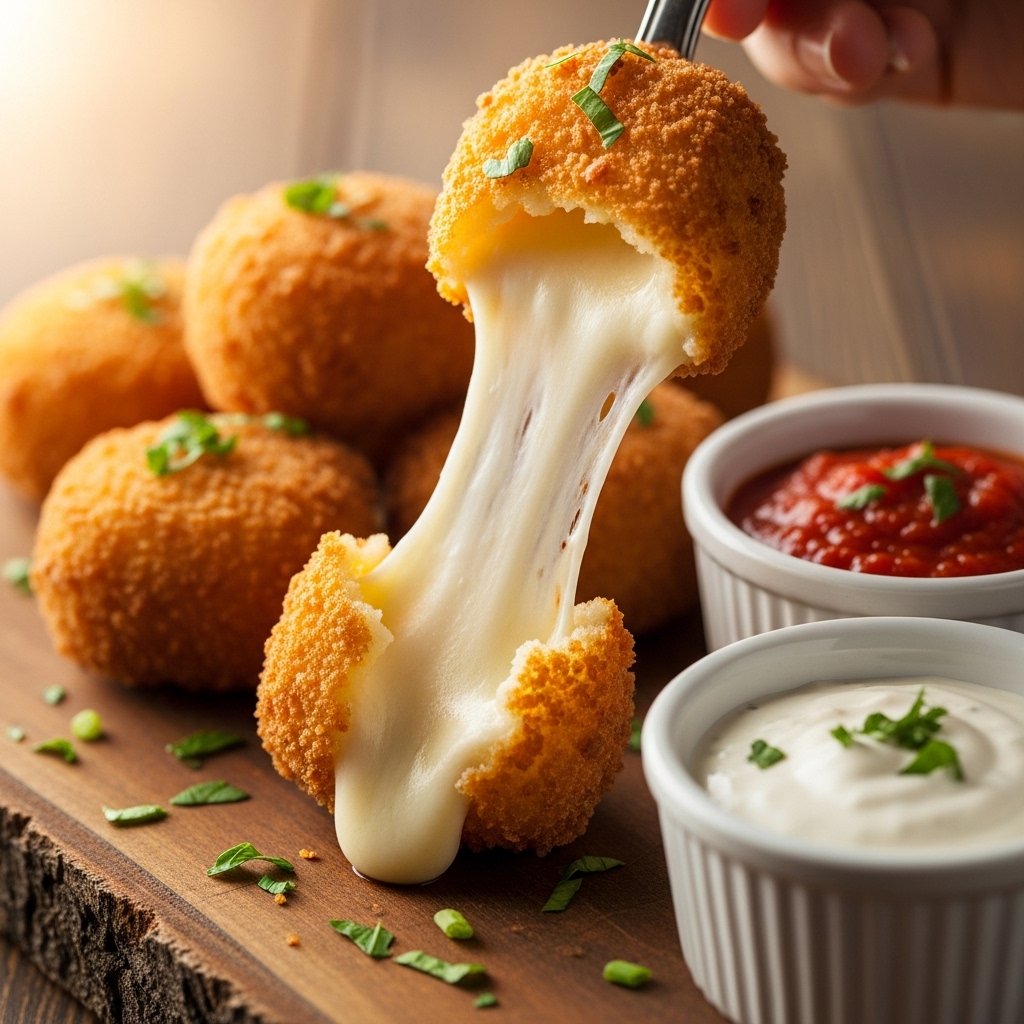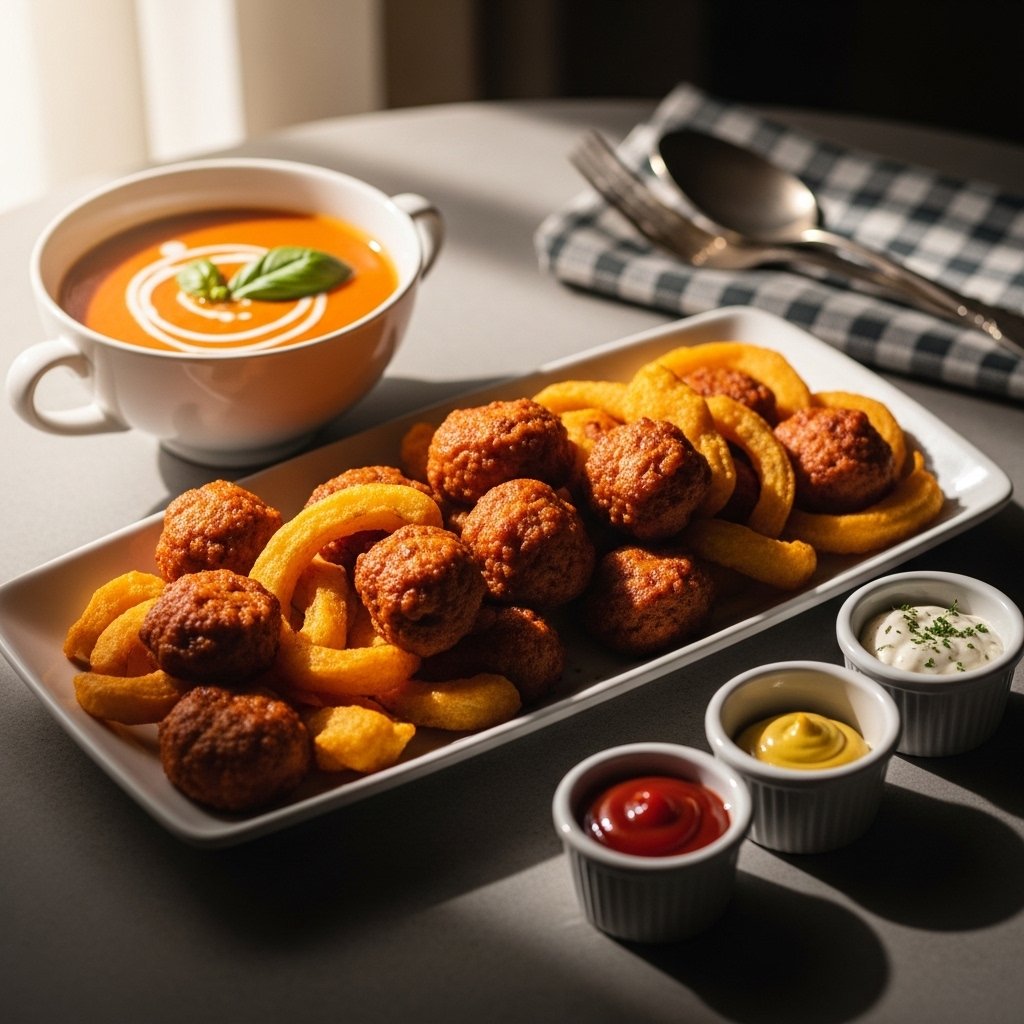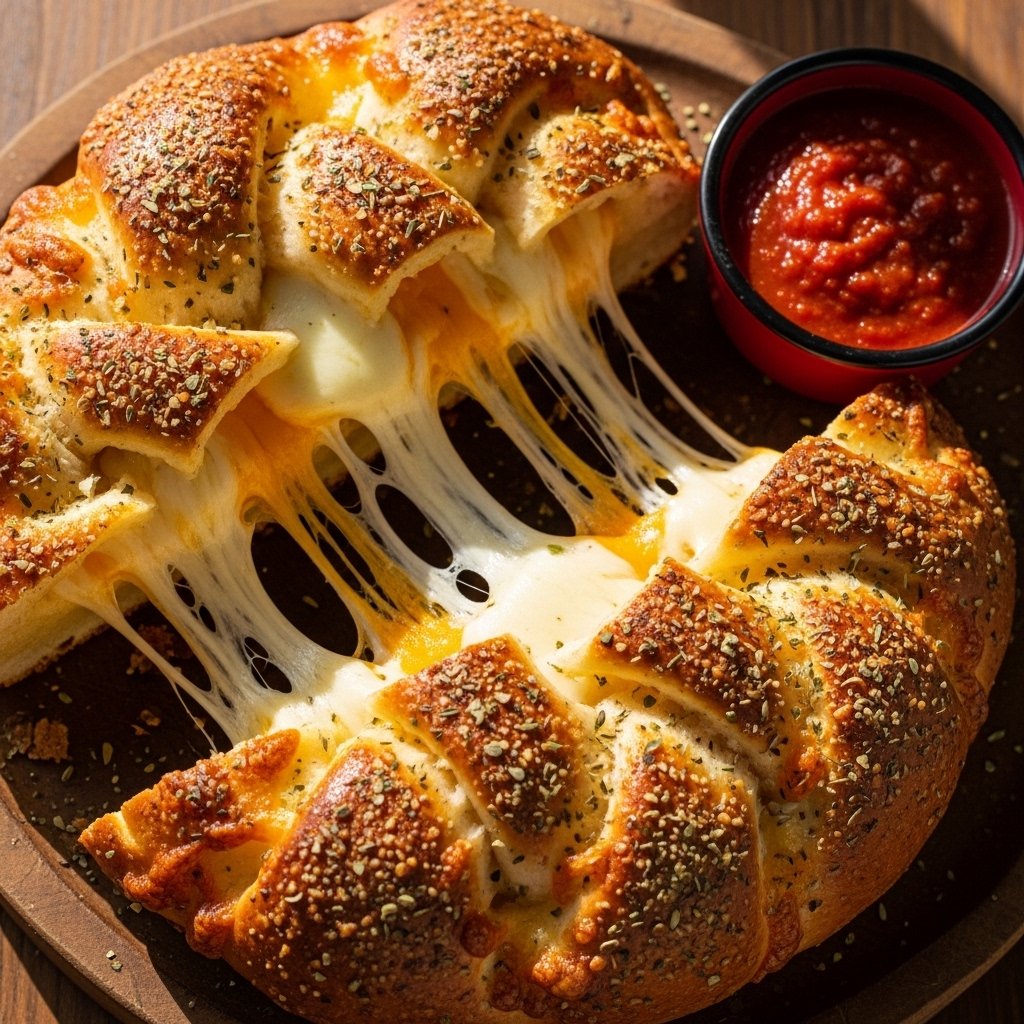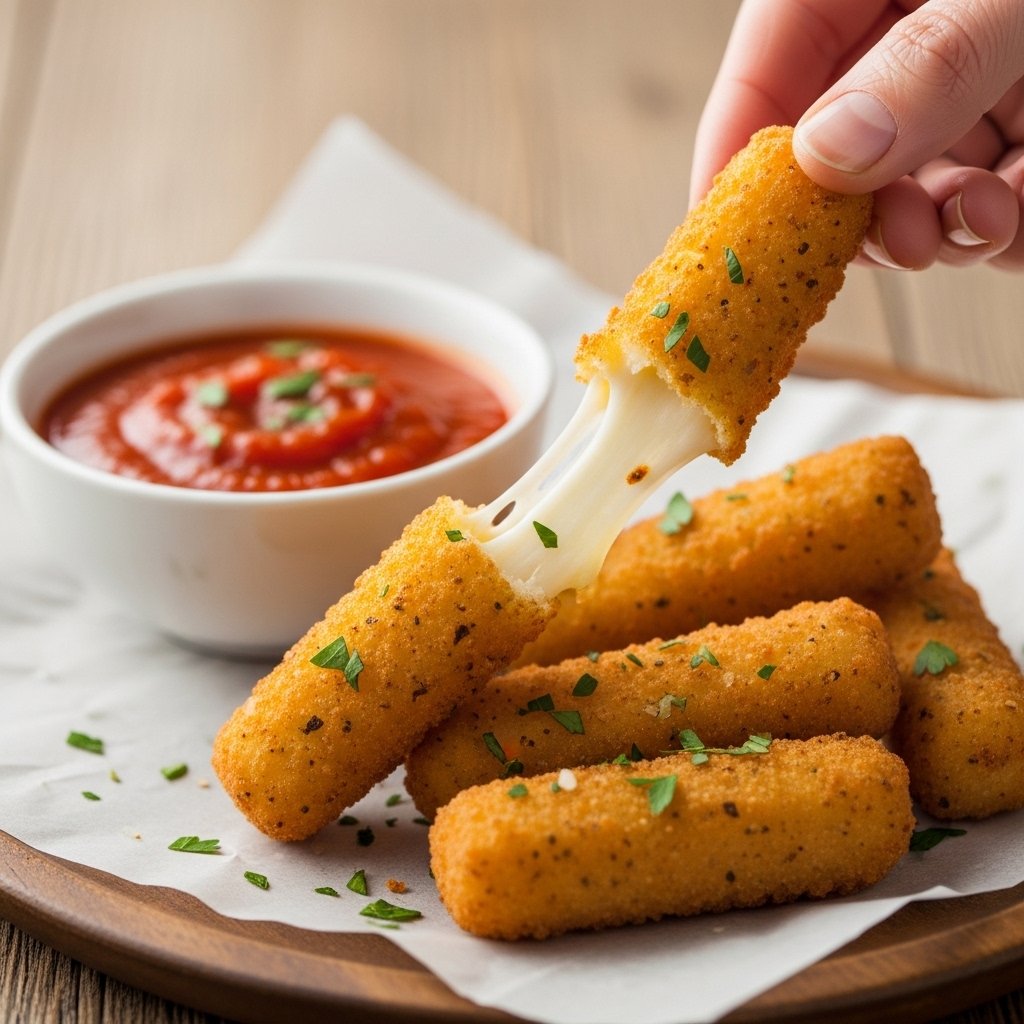
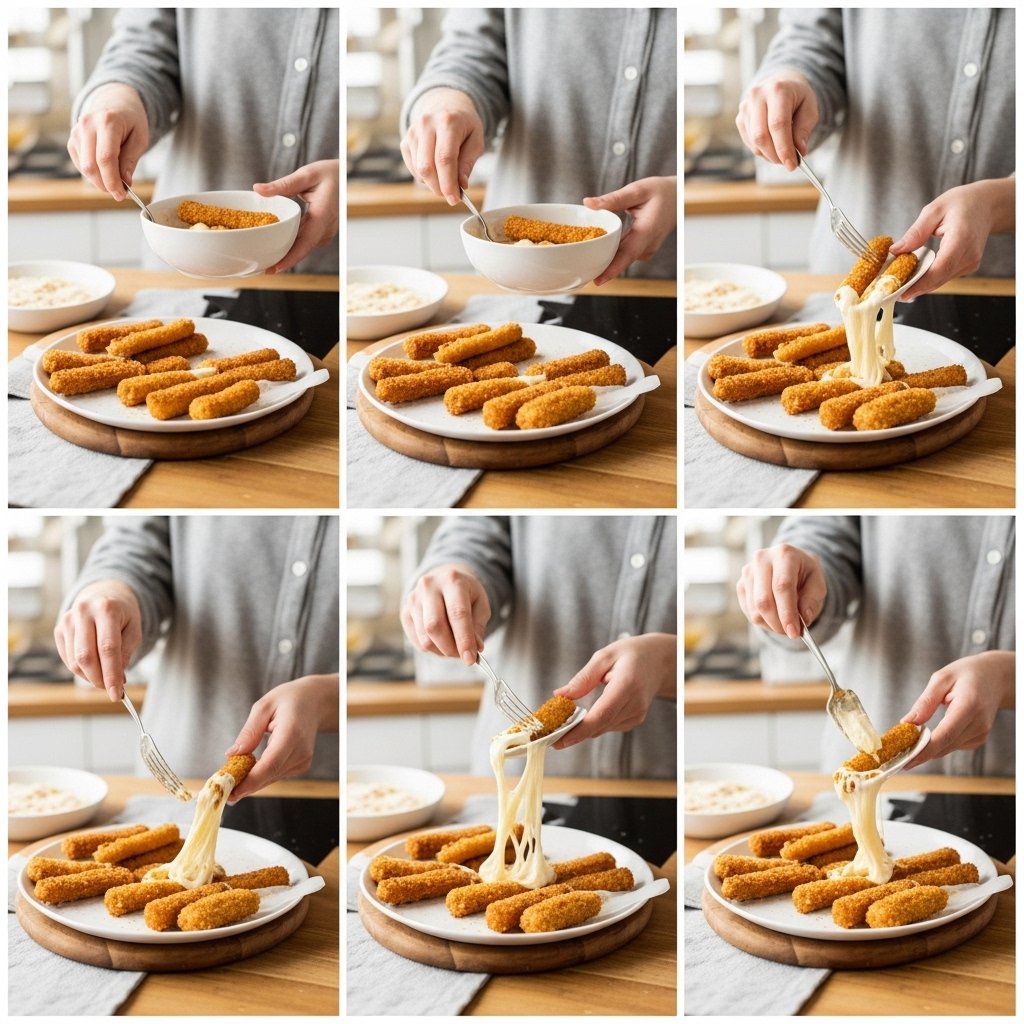
If there’s one appetizer that never fails to disappear within minutes, it’s crispy mozzarella sticks with marinara. Golden on the outside, stretchy and gooey on the inside, and perfectly paired with rich marinara sauce—this is comfort food at its finest.
Whether you’re hosting a party, planning a game night, or just craving something indulgent, homemade mozzarella sticks deliver that restaurant-quality experience right in your kitchen. The crunch, the cheese pull, and the dipping sauce make every bite unforgettable.

Why You’ll Love These Crispy Mozzarella Sticks
These crispy mozzarella sticks with marinara are a total crowd favorite:
- Ultra crispy golden coating
- Gooey melted mozzarella center
- Perfect appetizer for parties and game nights
- Easy to make with simple ingredients
- Freezer-friendly for make-ahead prep
They’re the kind of snack that disappears before they even hit the table.
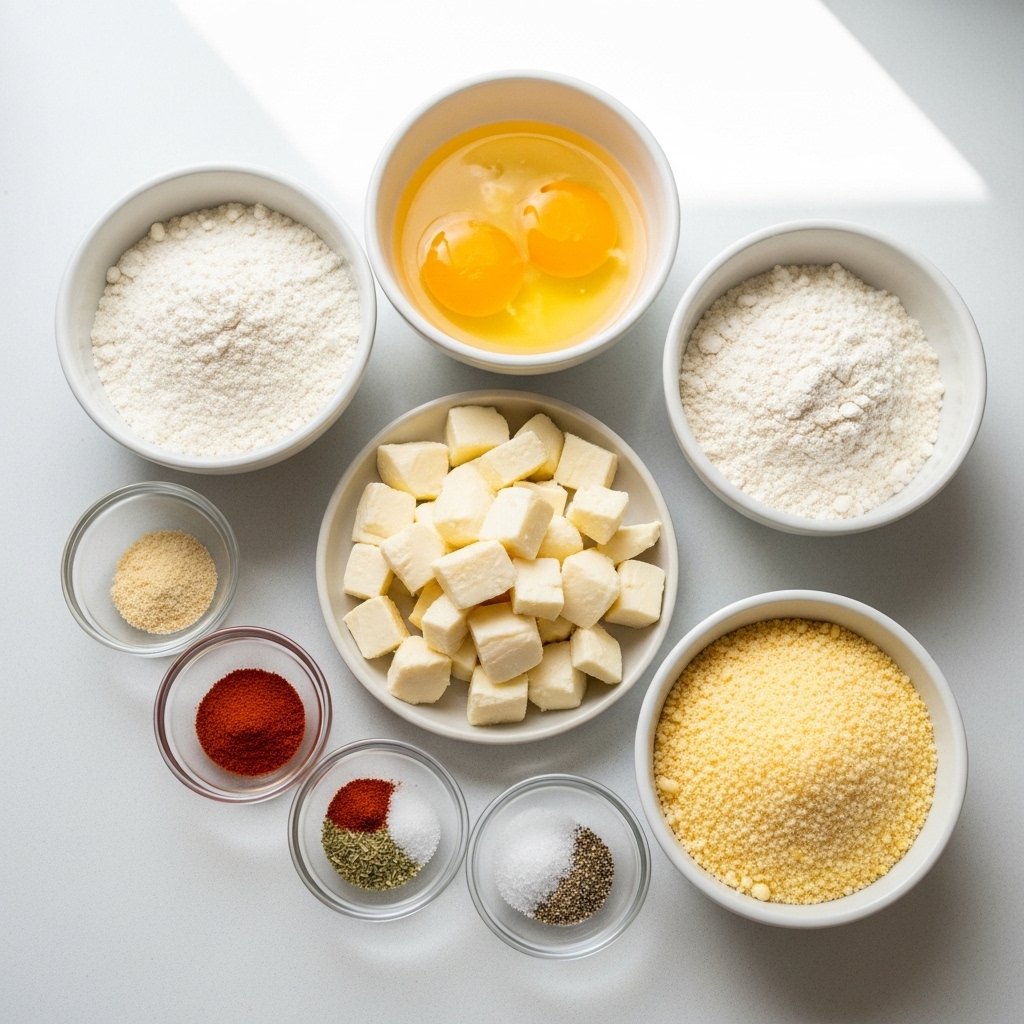
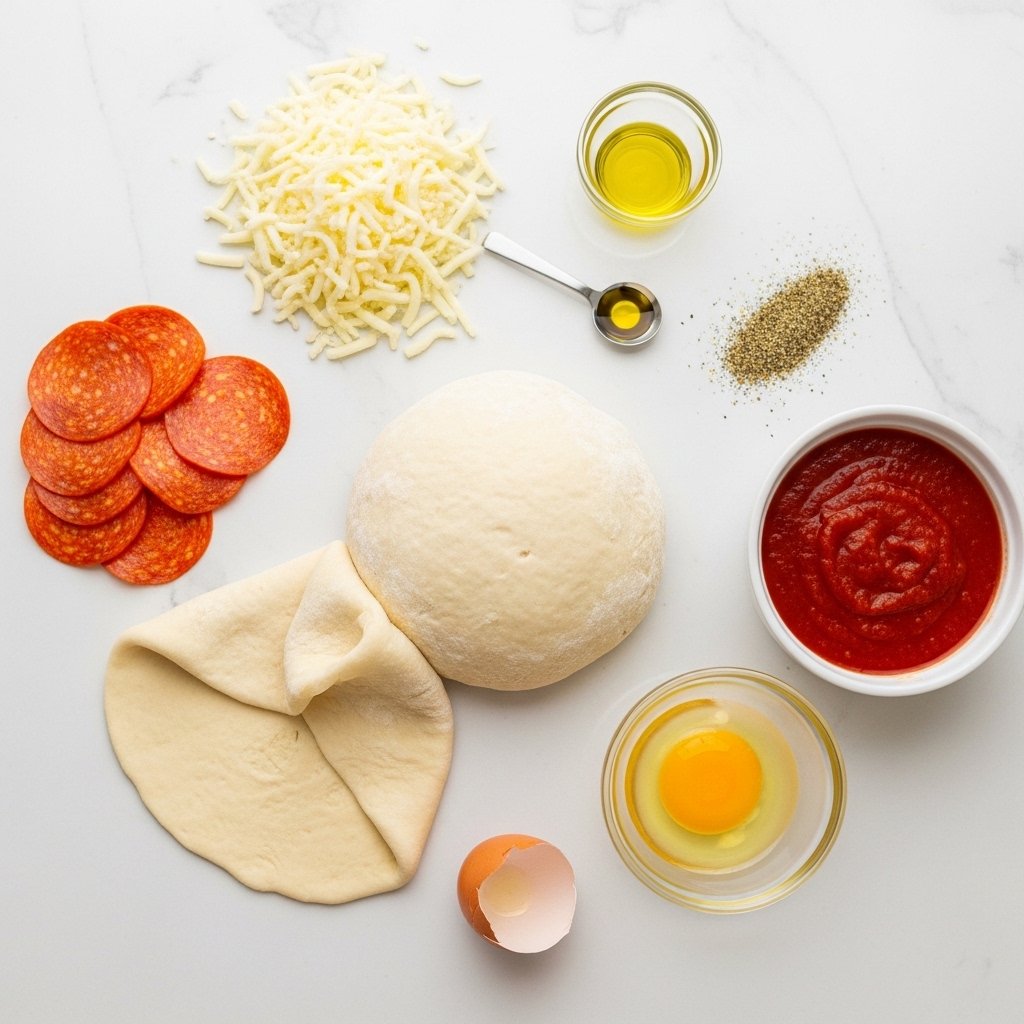
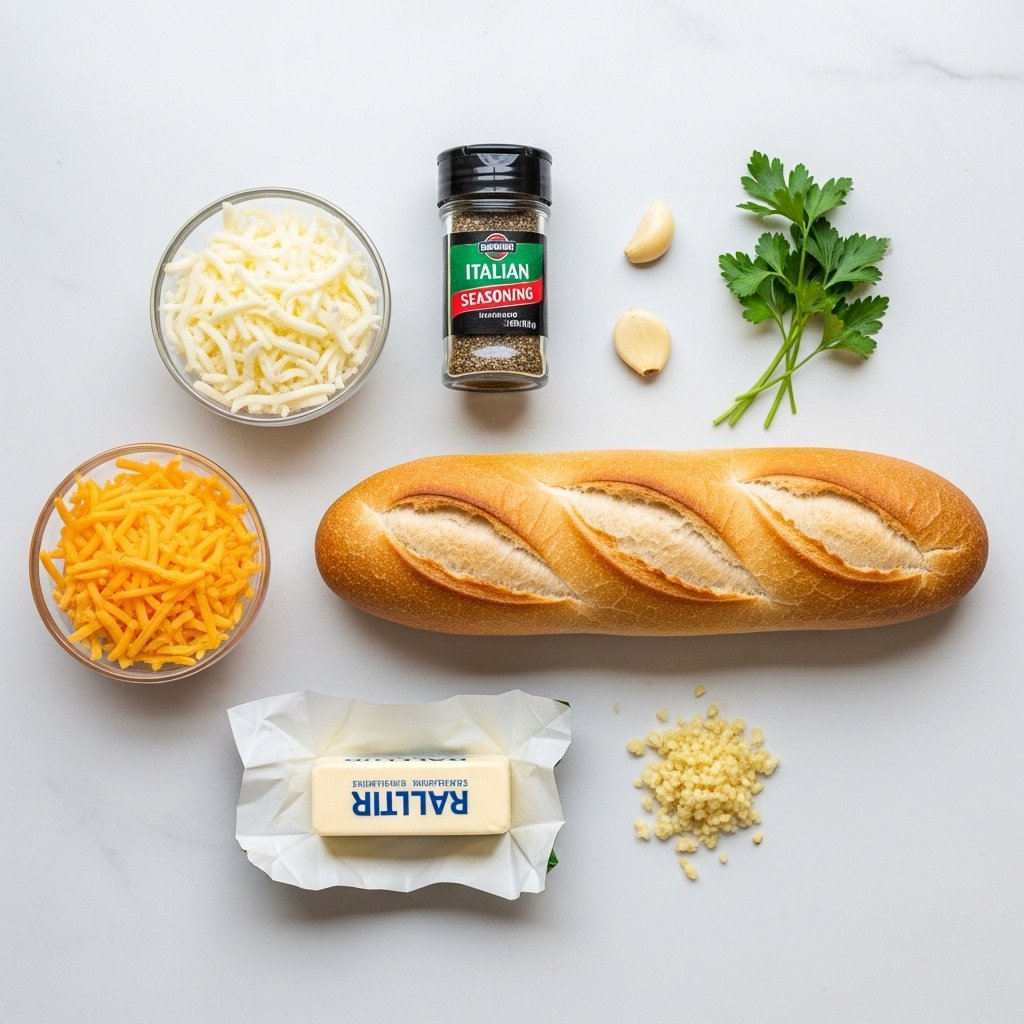
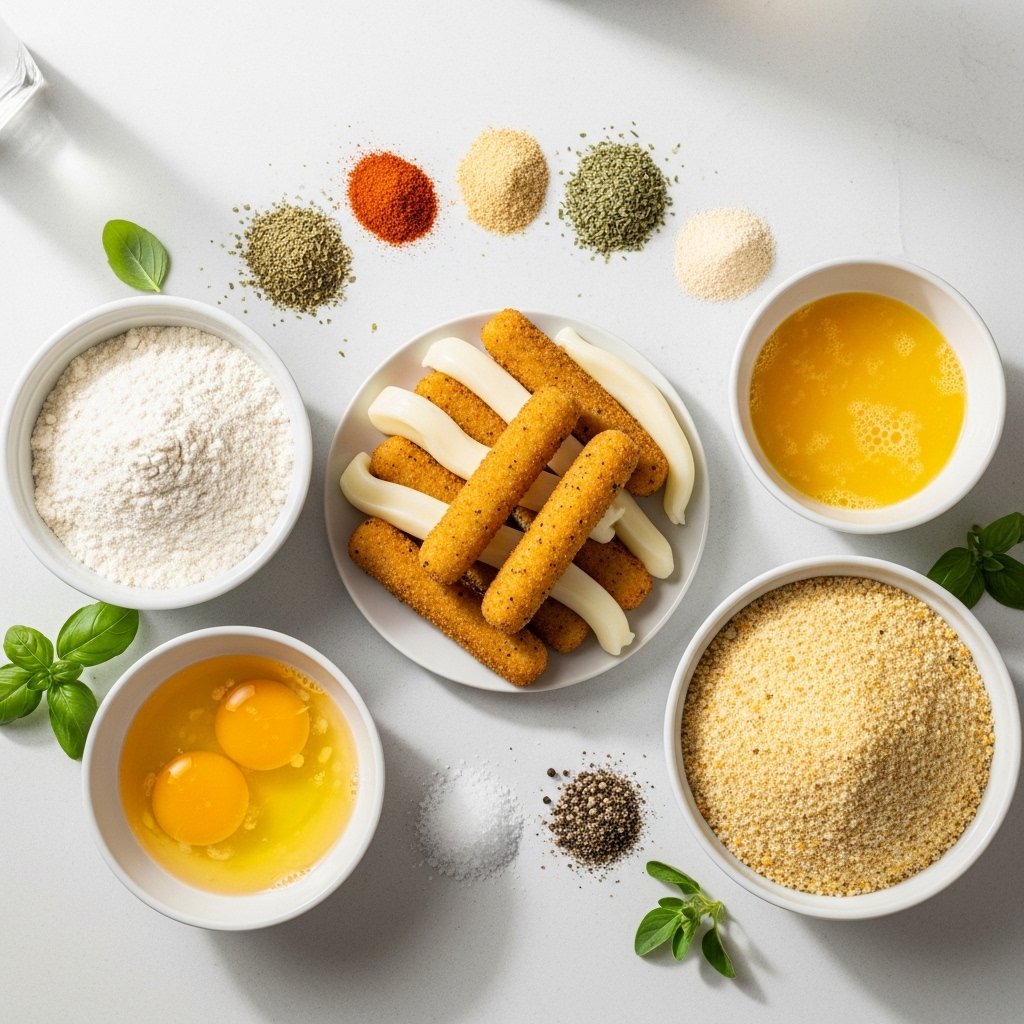
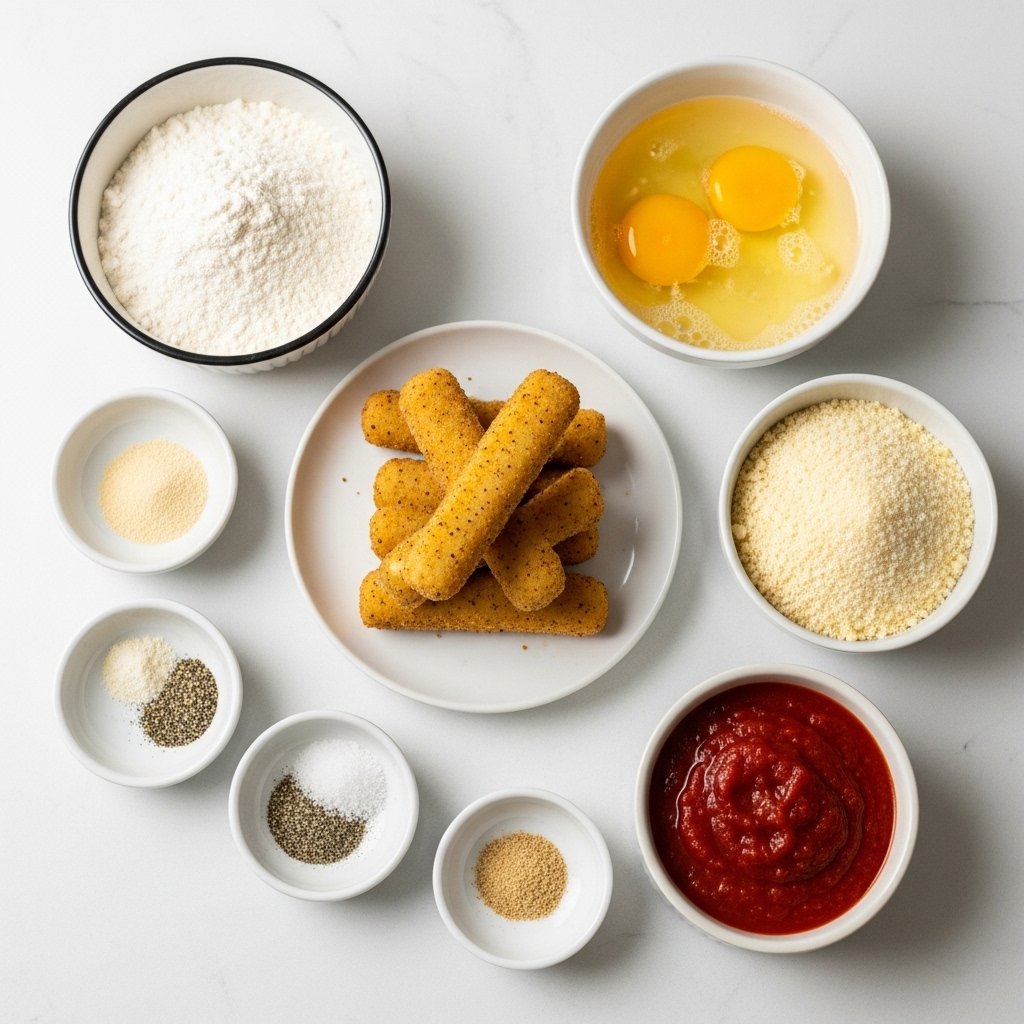
Ingredients
To make the best crispy mozzarella sticks with marinara, you’ll need:
Main Ingredients:
- 12 mozzarella cheese sticks (or block cut into sticks)
- 1 cup all-purpose flour
- 2 large eggs
- 1 ½ cups breadcrumbs (panko recommended)
- 1 tsp garlic powder
- 1 tsp Italian seasoning
- Salt and pepper to taste
- Oil for frying (or air frying alternative)
Marinara Sauce:
- 2 cups marinara sauce (store-bought or homemade)
Optional Add-ins:
- Parmesan cheese
- Chili flakes
- Parsley for garnish
Ingredient Notes
The secret to perfect crispy mozzarella sticks with marinara is using low-moisture mozzarella. It melts beautifully without leaking too quickly.
Panko breadcrumbs are highly recommended because they create a light, crunchy coating that gives that signature restaurant-style crispiness.
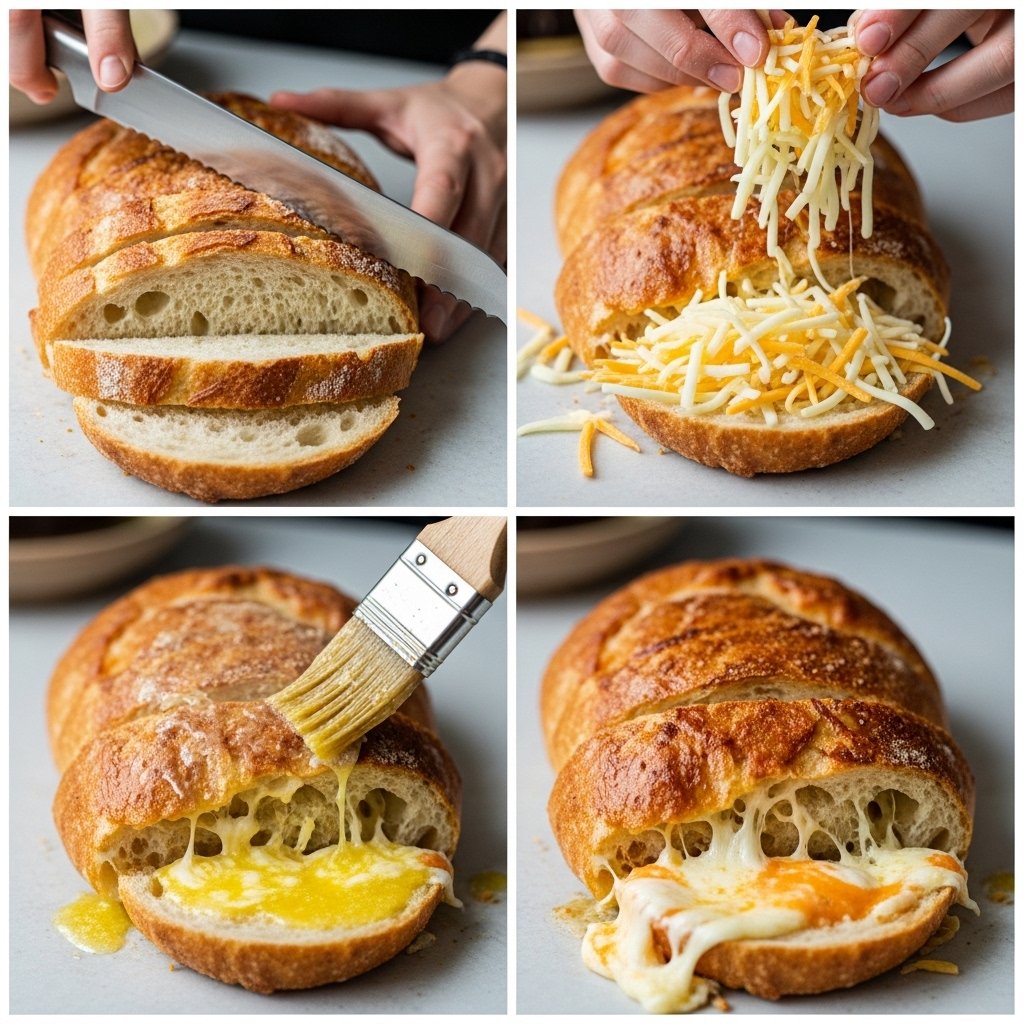
Step-by-Step Instructions
1. Freeze the Cheese
Freeze mozzarella sticks for at least 1–2 hours.
2. Prepare Breading Station
Set up flour, beaten eggs, and seasoned breadcrumbs.
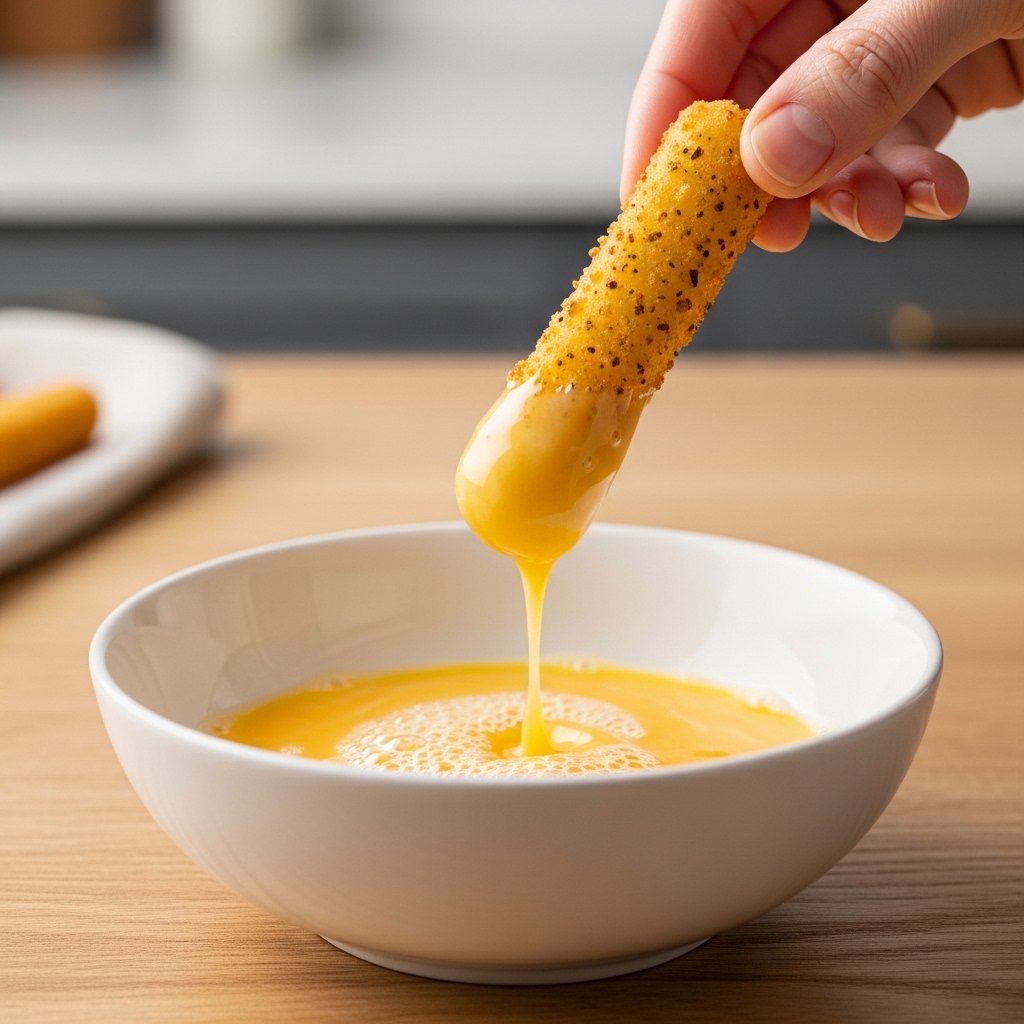
3. Coat Cheese
Dip each stick in flour, egg, then breadcrumbs.
4. Double Coat
Repeat egg and breadcrumb coating for extra crunch.
5. Freeze Again
Freeze coated sticks before frying.
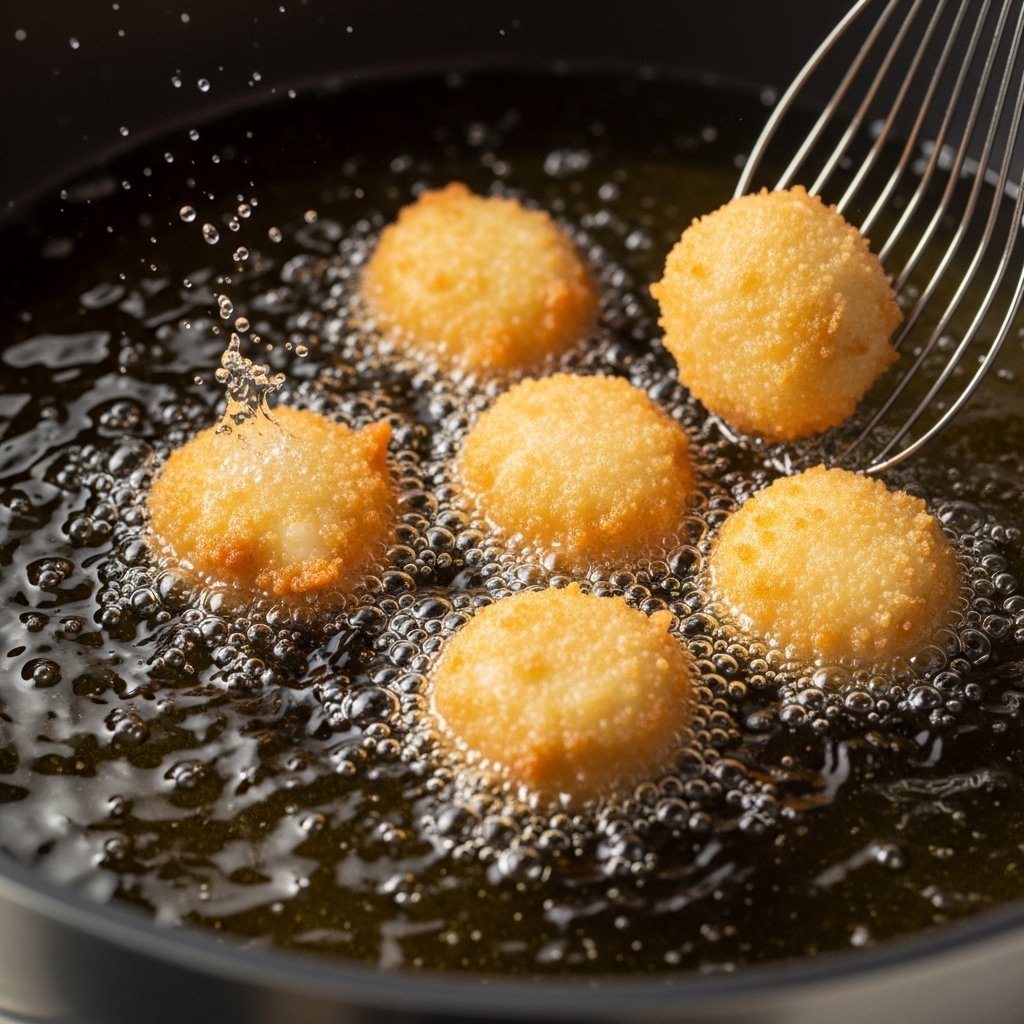
6. Fry Until Golden
Fry until crispy and golden brown.
7. Serve with Marinara
Serve hot with warm marinara sauce.
Tips for Perfect Results
To make the best crispy mozzarella sticks with marinara, follow these tips:
- Always freeze before frying to prevent melting
- Use panko breadcrumbs for extra crunch
- Double coat for thicker crust
- Maintain oil temperature around 350°F
- Serve immediately for best cheese pull
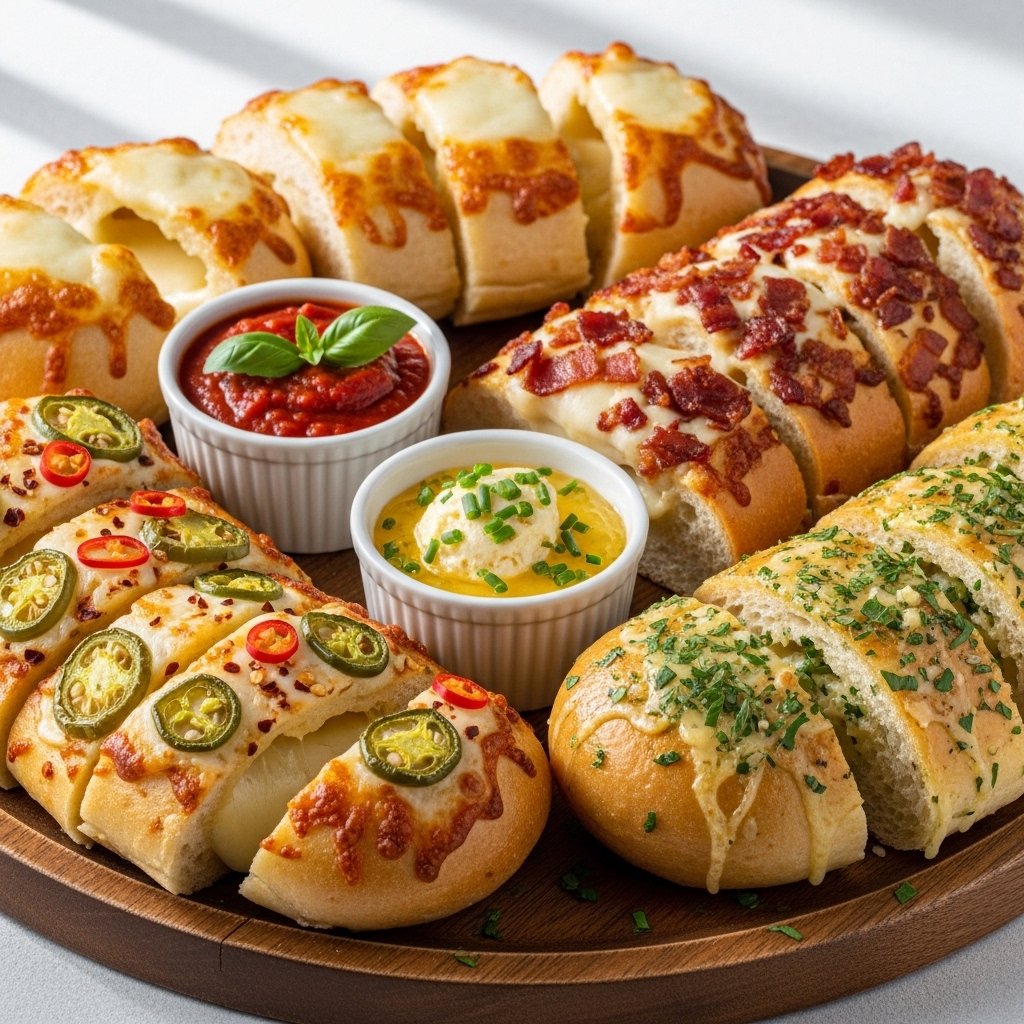
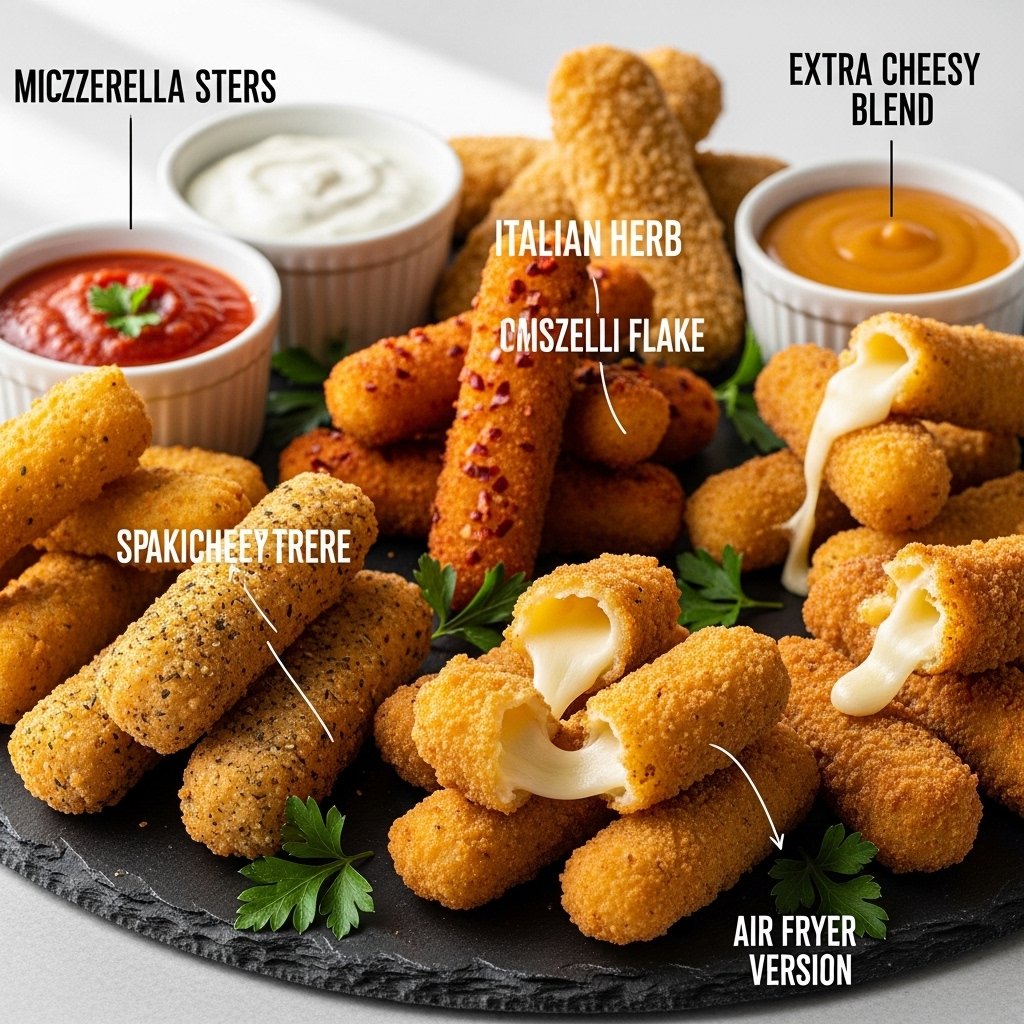
Variations
Try these delicious twists:
Spicy Mozzarella Sticks
Add chili flakes or cayenne pepper.
Herb-Crusted Version
Mix Italian herbs into breadcrumbs.
Air Fryer Mozzarella Sticks
Healthier but still crispy.
Cheesy Blend Sticks
Mix mozzarella with cheddar or provolone.

What to Serve With It
These crispy mozzarella sticks with marinara pair perfectly with:
- Marinara sauce
- Ranch dressing
- Garlic aioli
- Pizza or pasta dishes
- Game day snacks like wings and fries
They fit any appetizer spread.
Storage & Reheating
- Store in airtight container for up to 2 days
- Reheat in oven or air fryer for crispiness
- Avoid microwave (makes coating soft)
- Can freeze before frying for meal prep
Common Mistakes to Avoid
- Skipping freezing step
- Not double coating
- Overheating oil
- Using fresh mozzarella (too watery)
- Overcrowding pan while frying
FAQs
Can I bake mozzarella sticks instead of frying?
Yes, bake at high heat or use an air fryer.
Why is my cheese leaking?
You likely skipped freezing or didn’t double coat.
Can I use string cheese?
Yes, it works perfectly for this recipe.
Can I make them ahead of time?
Yes, freeze them before frying for later use.
Final Thoughts
These crispy mozzarella sticks with marinara are everything you want in a cheesy appetizer—crispy, gooey, and incredibly satisfying. They’re easy to make, fun to eat, and always a hit at any gathering.
Once you try homemade, you’ll never go back to frozen store-bought versions again 🧀🔥