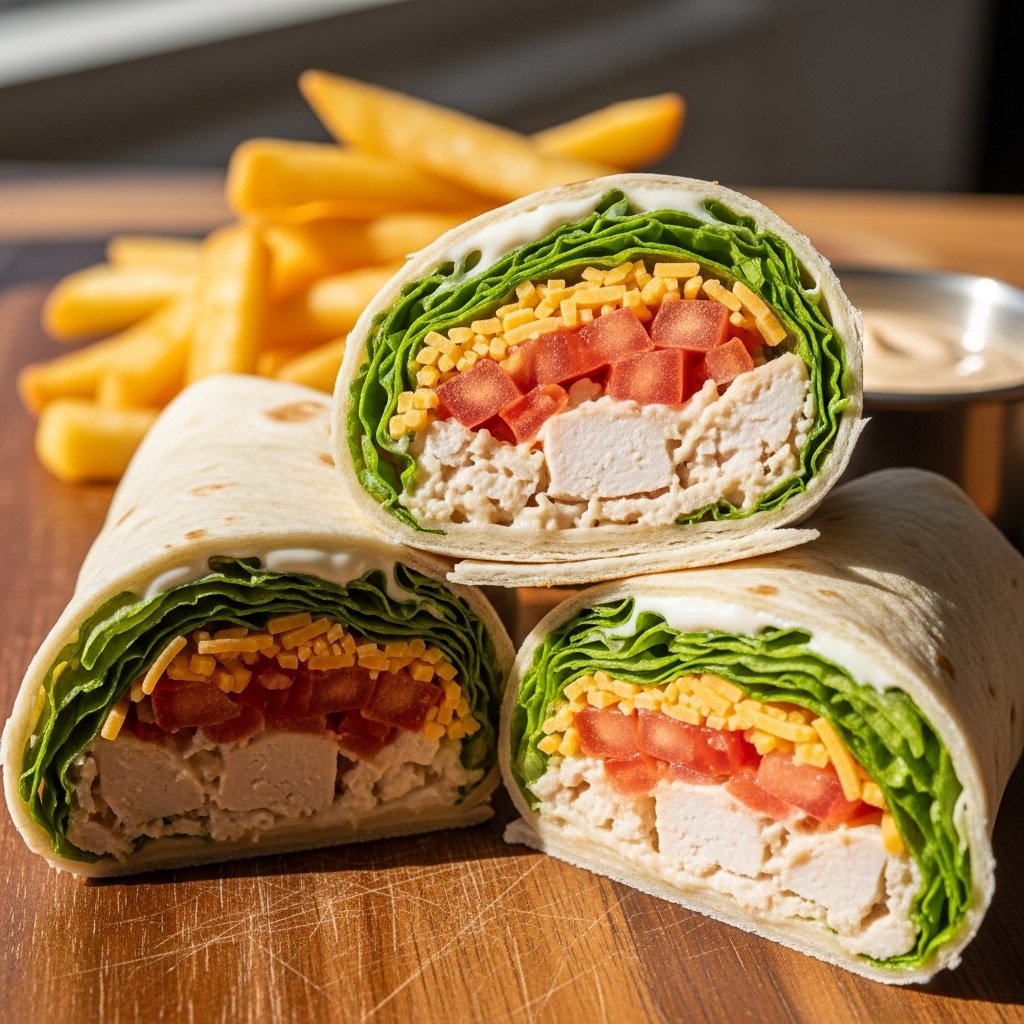
If you’re craving something quick, creamy, and ridiculously satisfying, these Homemade Snack Wraps with Extra Mayo are exactly what you need. They’re simple to make, packed with flavor, and perfect for busy days when you want something filling without spending hours in the kitchen.
The magic of this recipe is in its balance: crispy chicken or protein, fresh veggies, soft tortillas, and that generous layer of creamy mayo that ties everything together. It’s comfort food in wrap form—easy, customizable, and absolutely delicious.
Why You’ll Love These Homemade Snack Wraps with Extra Mayo
These Homemade Snack Wraps with Extra Mayo are more than just a quick meal—they’re a lifestyle upgrade for busy food lovers.
- Ready in under 20 minutes
- Creamy, crunchy, and satisfying in every bite
- Budget-friendly and customizable
- Great for lunchboxes or on-the-go meals
- Tastes better than fast food wraps
Once you try them, you’ll understand why they’re so addictive.
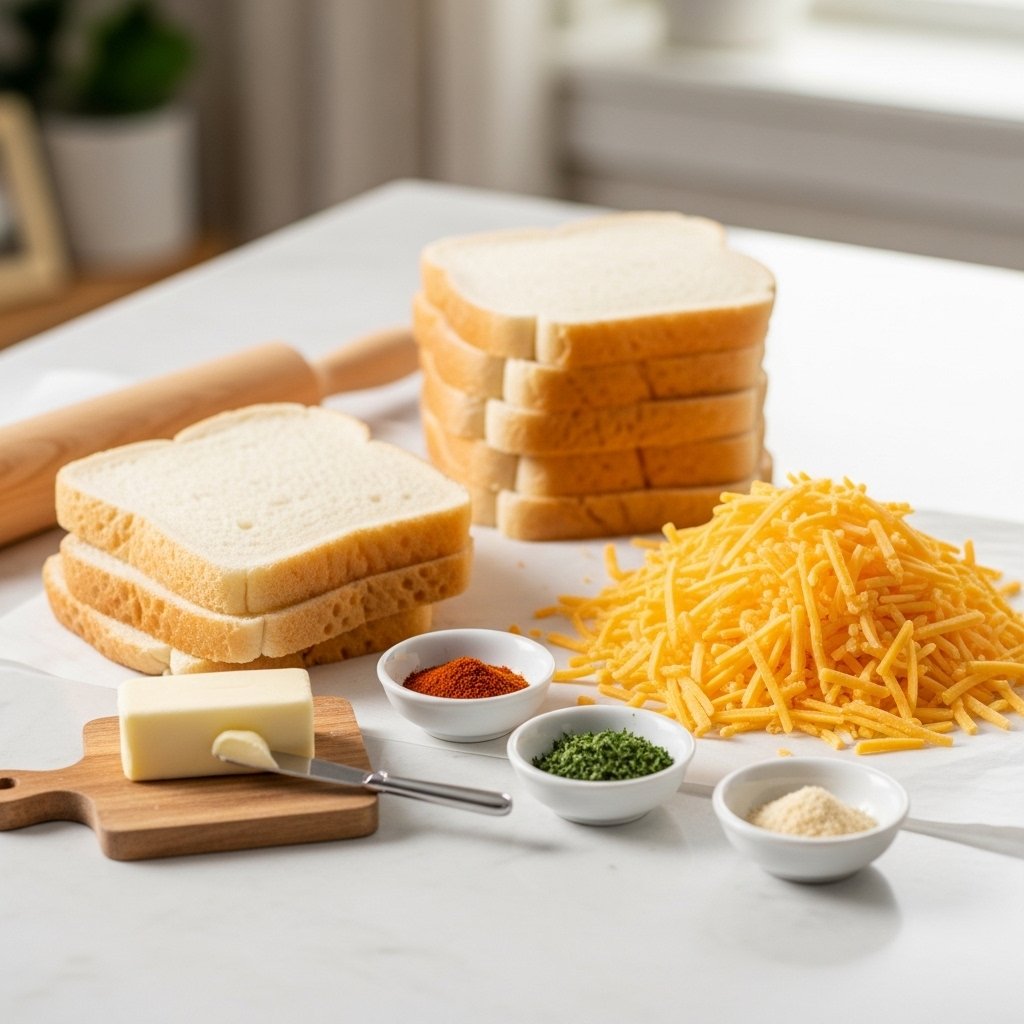
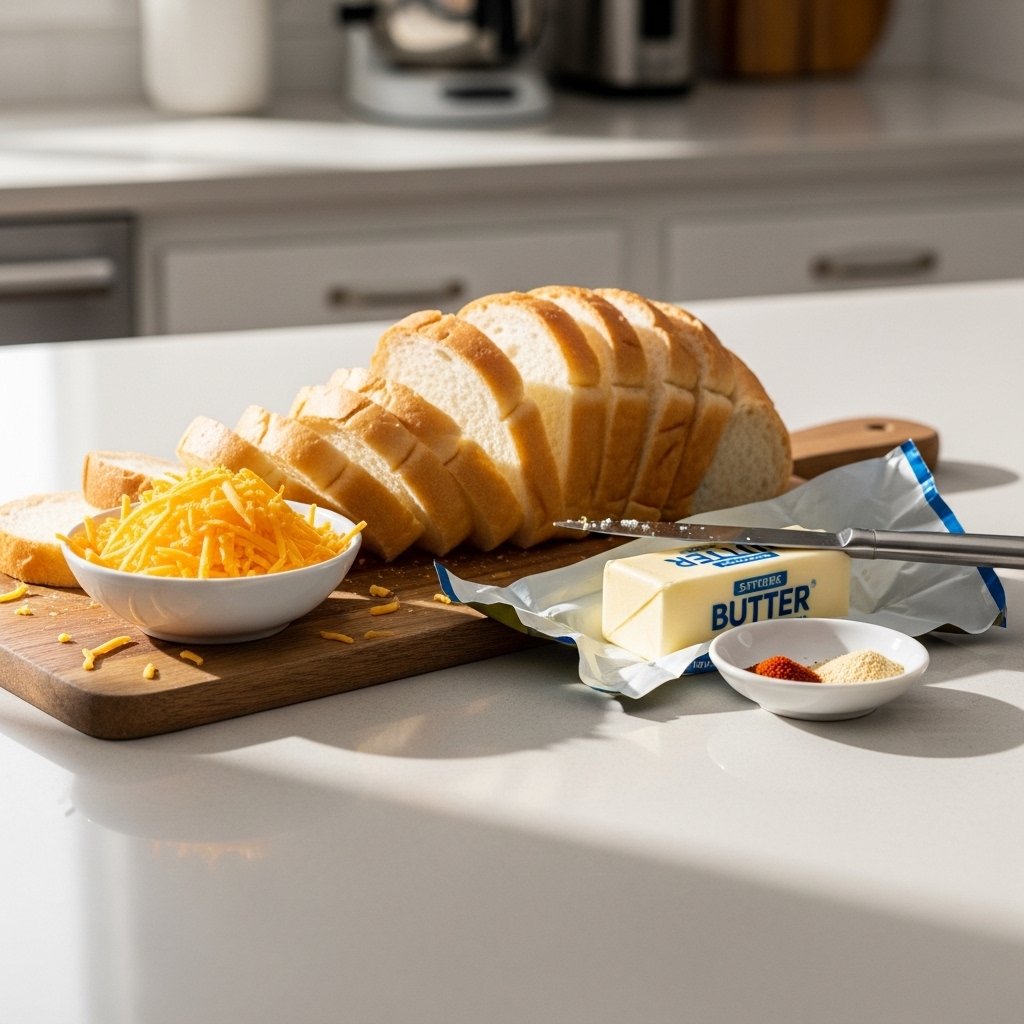
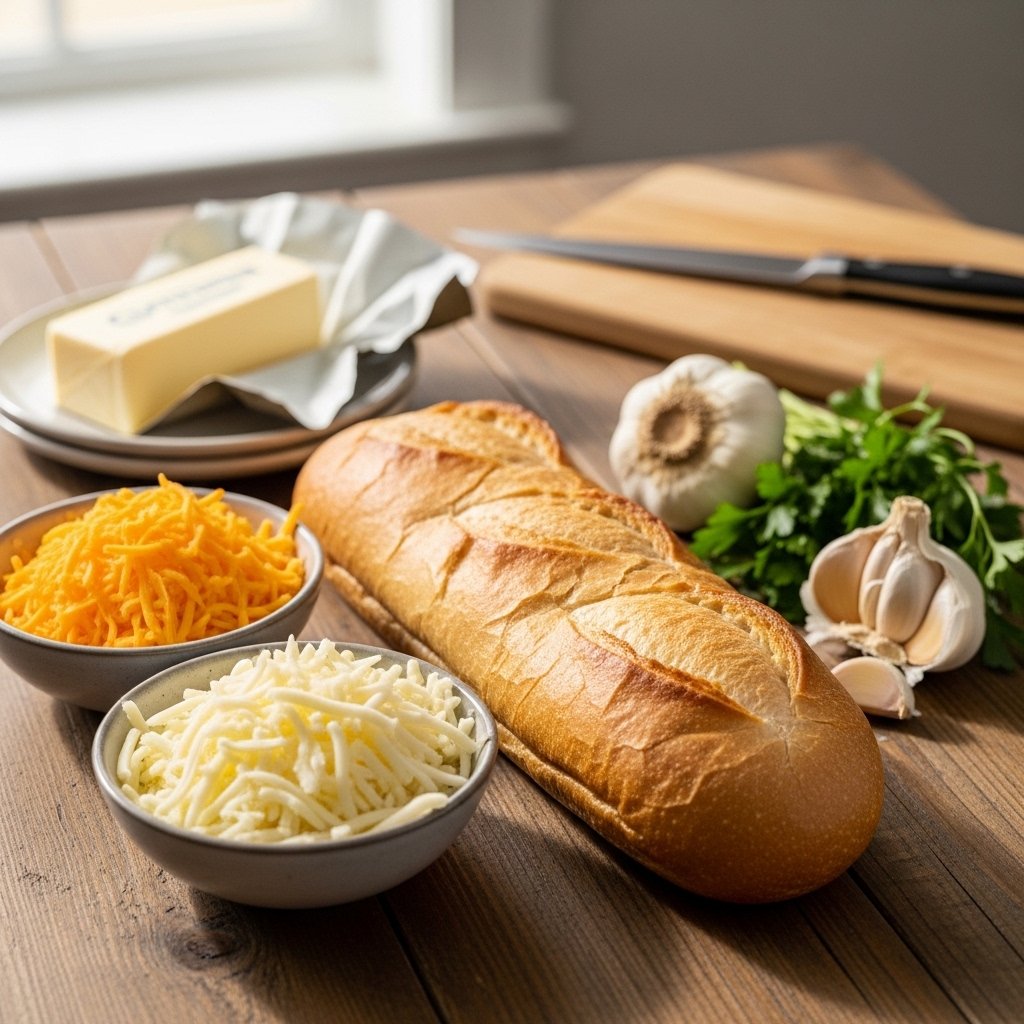
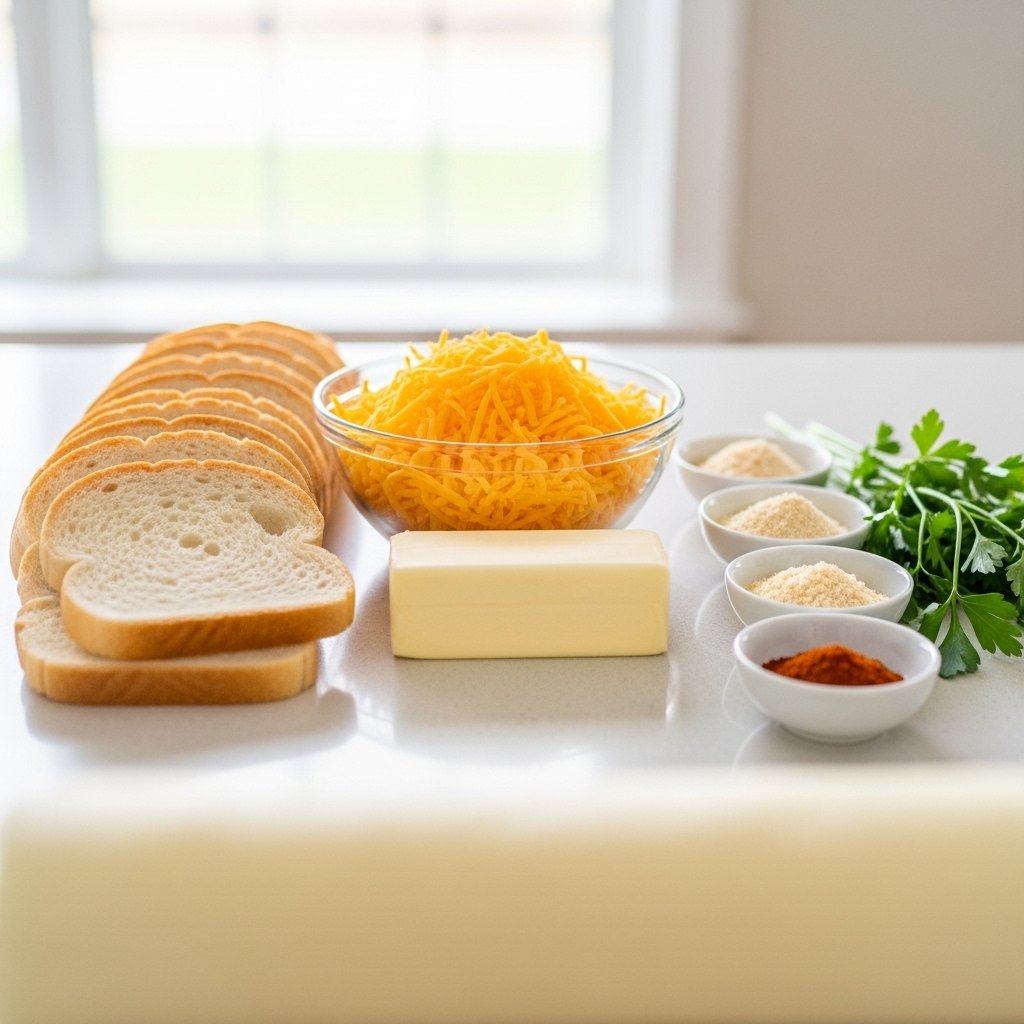
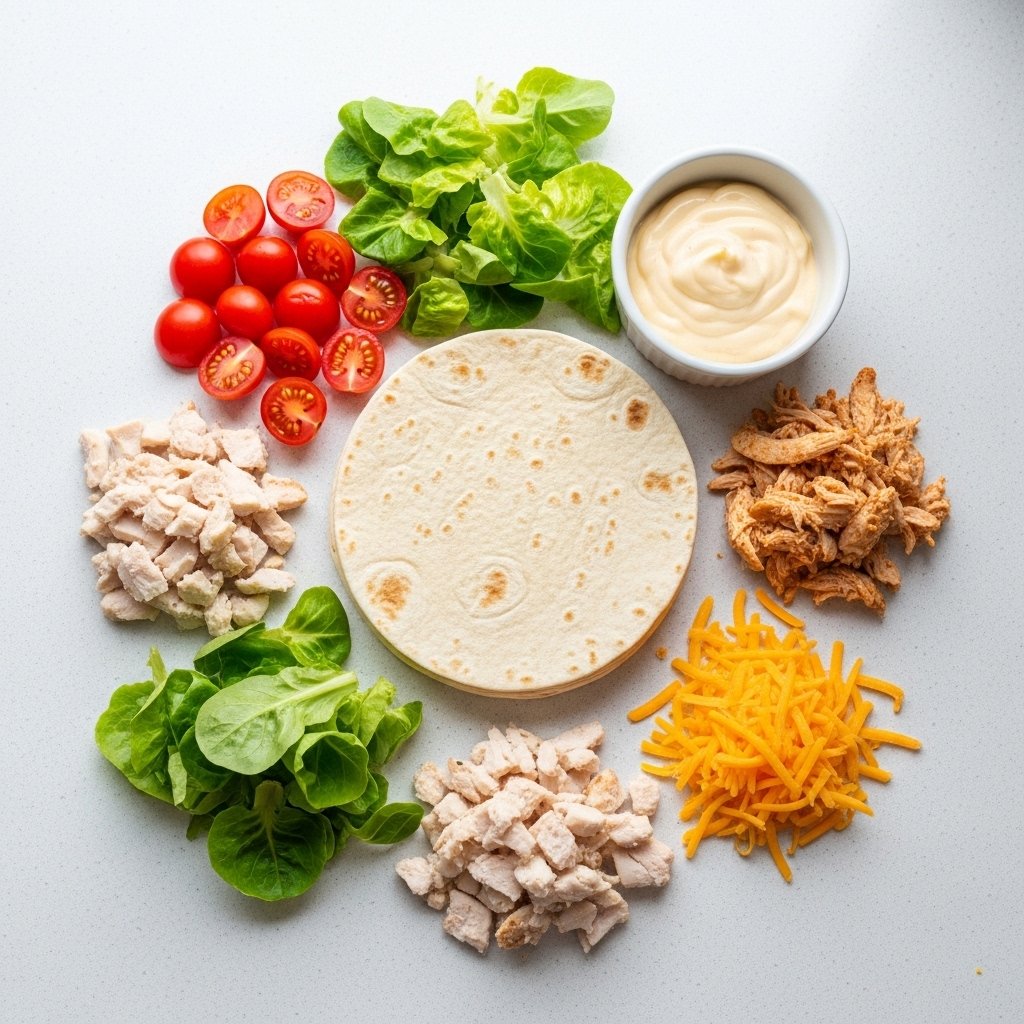
Ingredients
To make the best Homemade Snack Wraps with Extra Mayo, you’ll need:
Main Ingredients:
- 2 large flour tortillas
- 1 cup cooked chicken tenders (or grilled chicken)
- 1 cup shredded lettuce
- ½ cup shredded cheese (cheddar or mozzarella)
- ½ cup sliced tomatoes
Sauce:
- 3–4 tbsp mayonnaise (extra creamy style)
- 1 tsp garlic powder (optional)
- 1 tsp lemon juice
- Salt and pepper to taste
Ingredient Notes
The key to perfect Homemade Snack Wraps with Extra Mayo is the quality of your mayo. A rich, creamy mayonnaise adds moisture and flavor, making every bite smooth and indulgent.
You can use grilled chicken for a lighter version or crispy chicken for a more indulgent fast-food-style wrap.
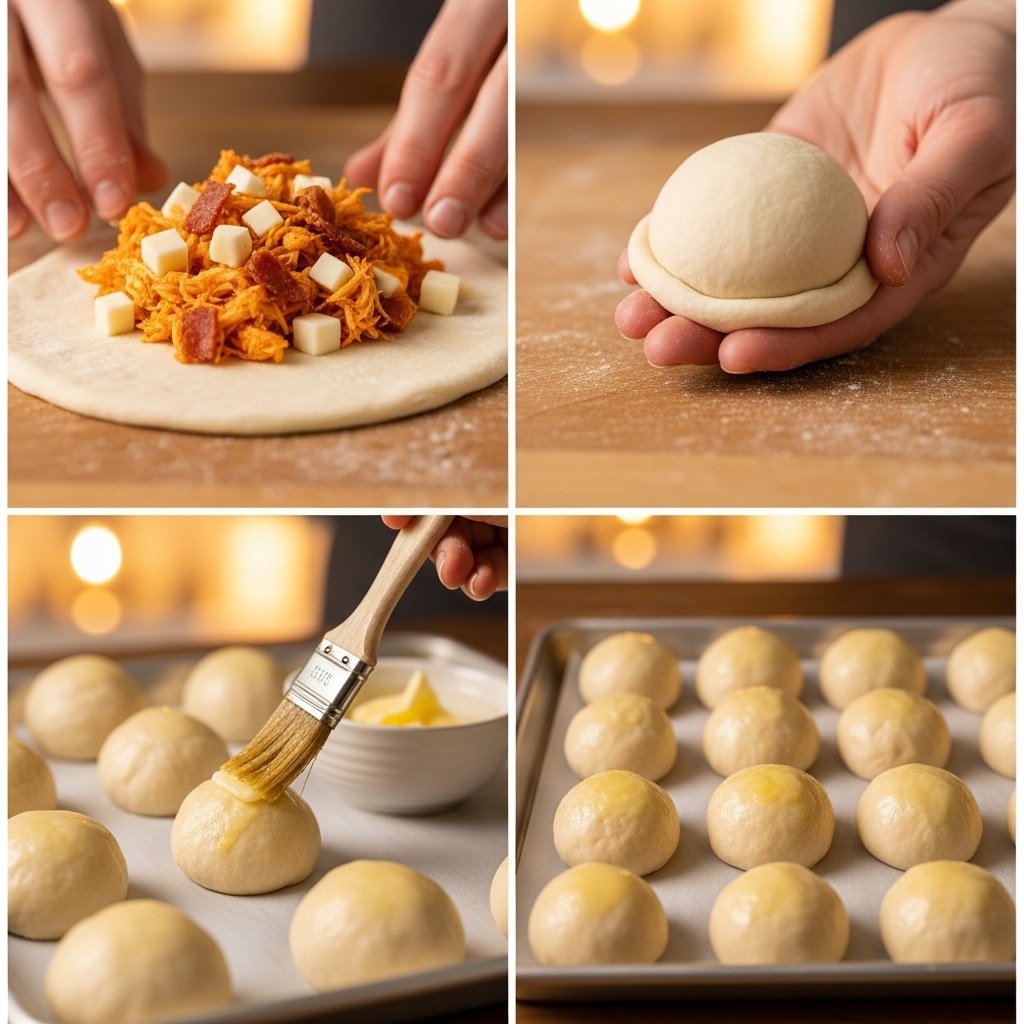
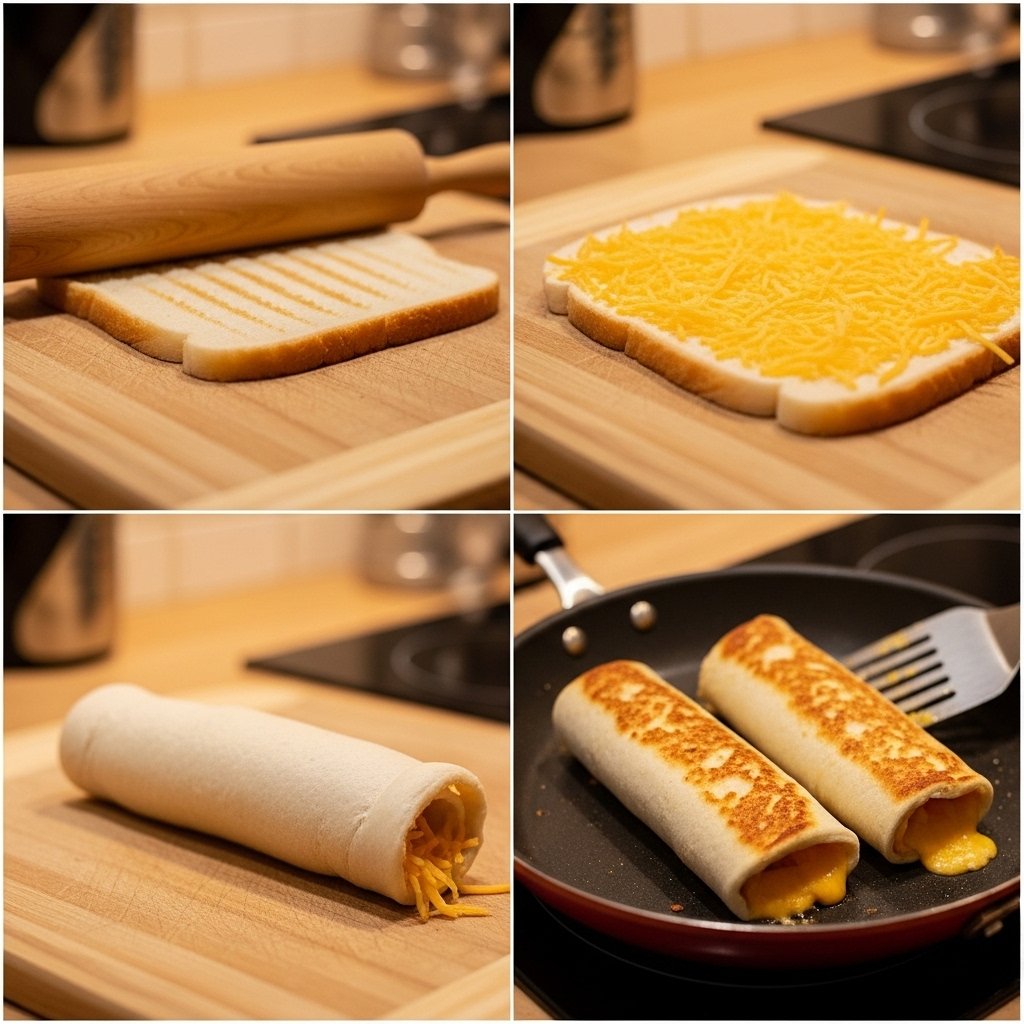
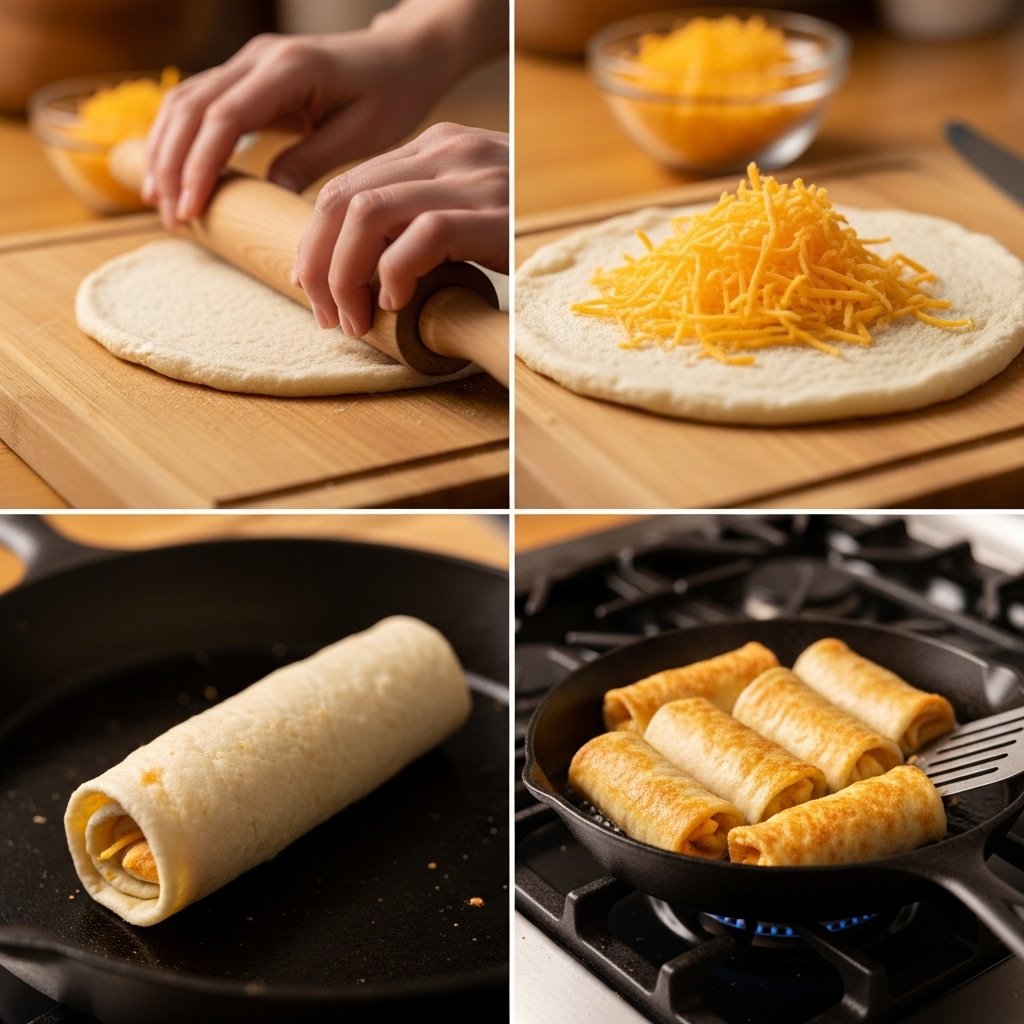
Step-by-Step Instructions
1. Prepare the Sauce
Mix mayonnaise, garlic powder, lemon juice, salt, and pepper until smooth.
2. Warm the Tortillas
Heat tortillas slightly so they’re soft and flexible.
3. Assemble the Wraps
Spread extra mayo generously on the tortilla.
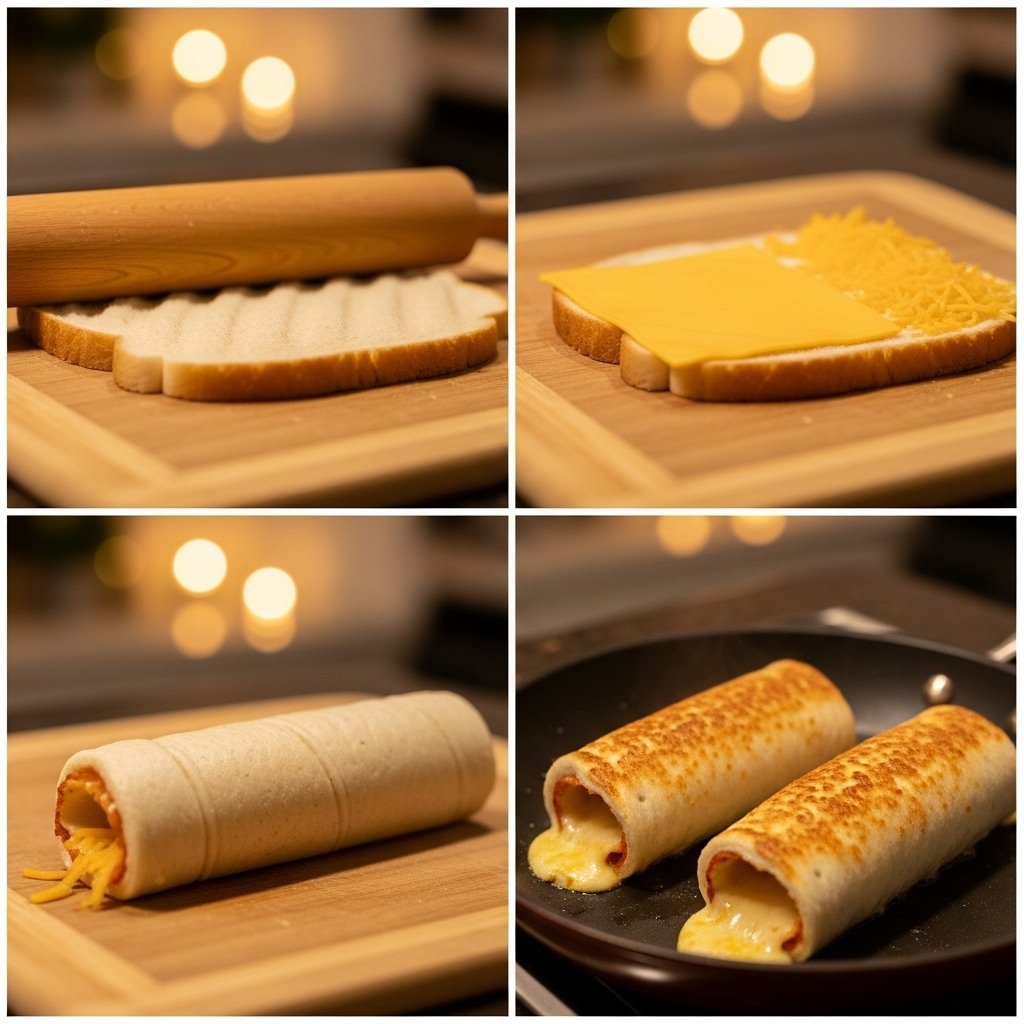
4. Add Fillings
Layer chicken, lettuce, cheese, and tomatoes evenly.
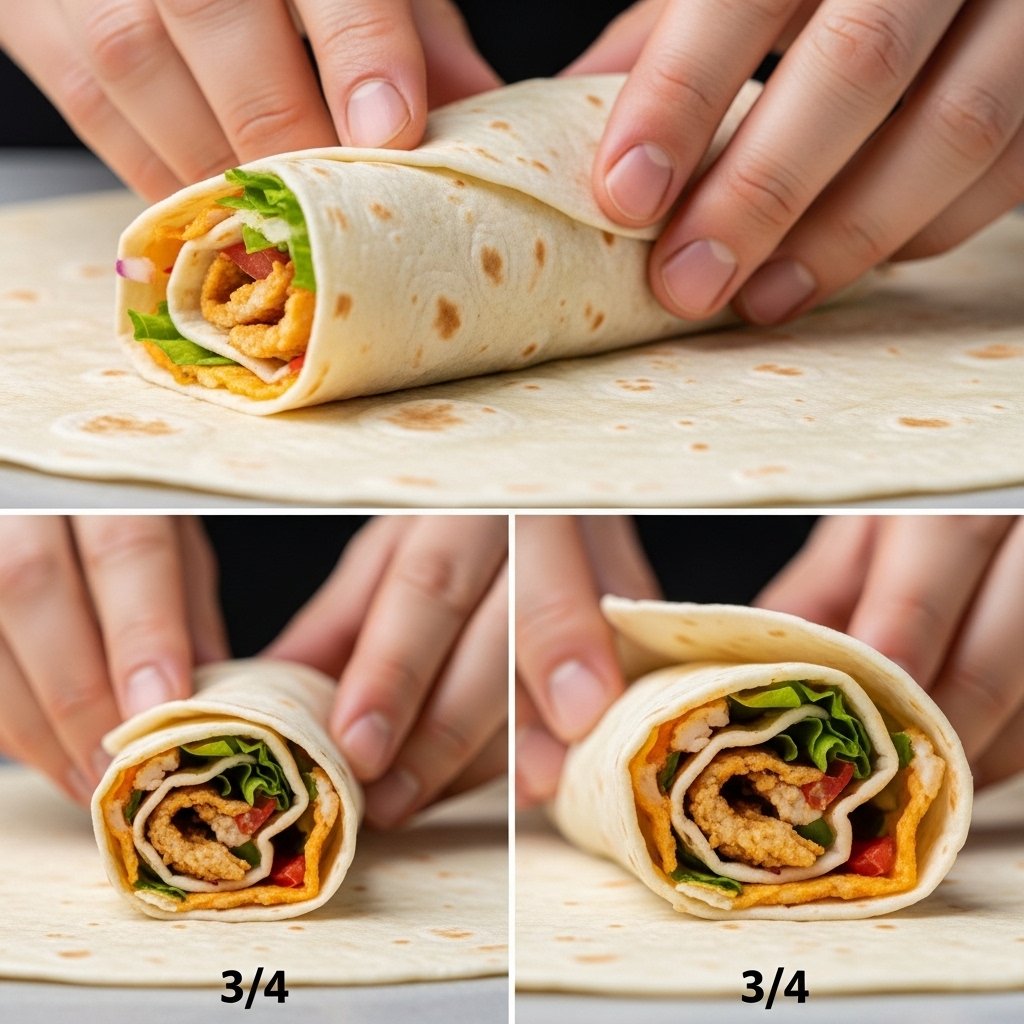
5. Wrap It Up
Fold tightly into a wrap or burrito style.
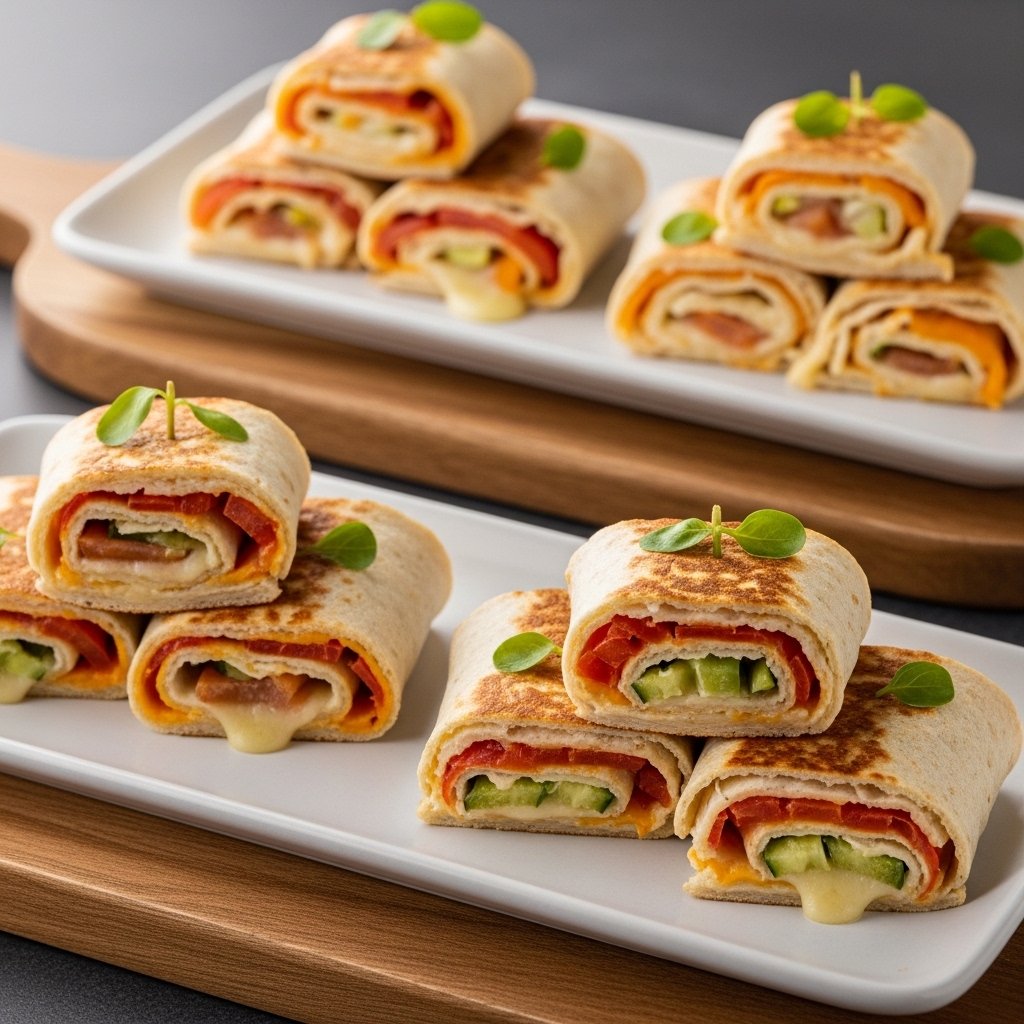
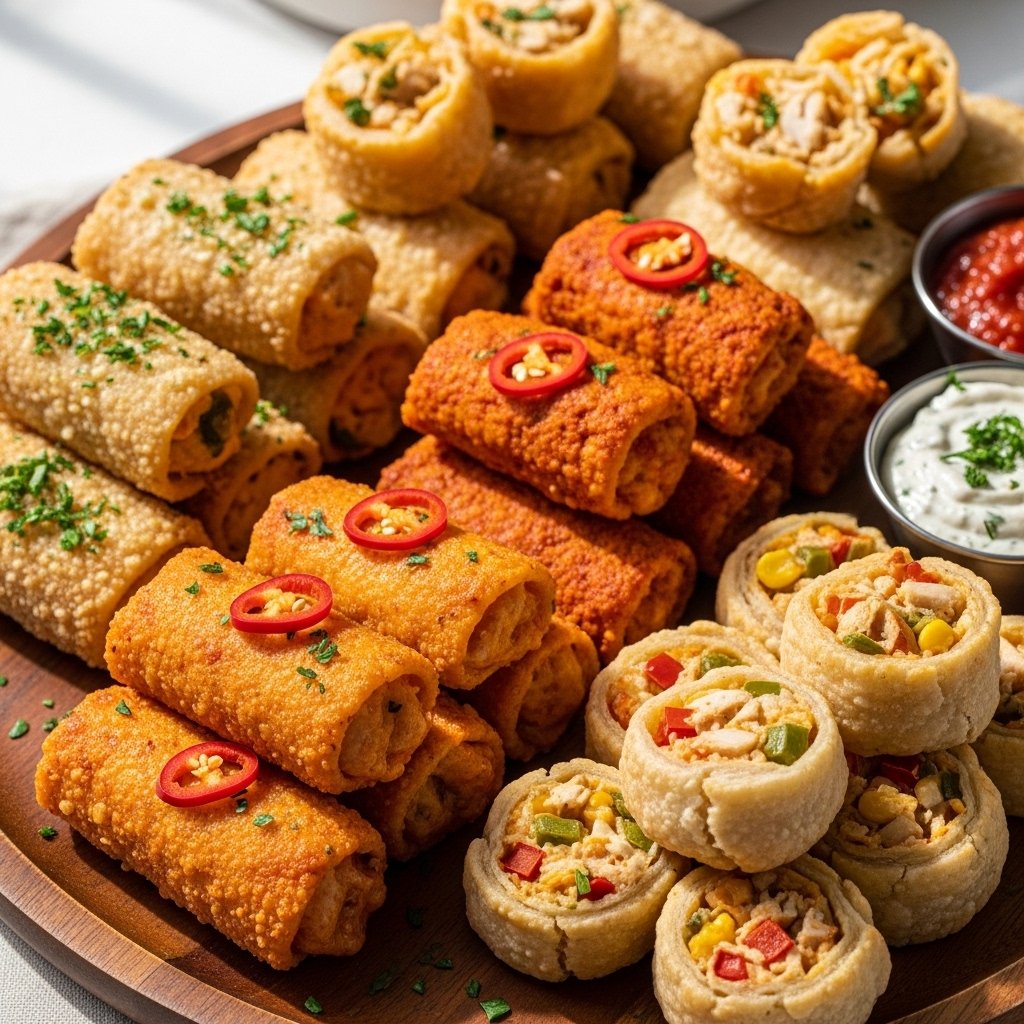
6. Slice and Serve
Cut in half and enjoy immediately.
Tips for Perfect Results
To make the best Homemade Snack Wraps with Extra Mayo, keep these tips in mind:
- Don’t overfill the wrap or it will fall apart
- Warm tortillas for easier rolling
- Use chilled veggies for extra crunch
- Add mayo just before wrapping for freshness
- Cut diagonally for a better presentation
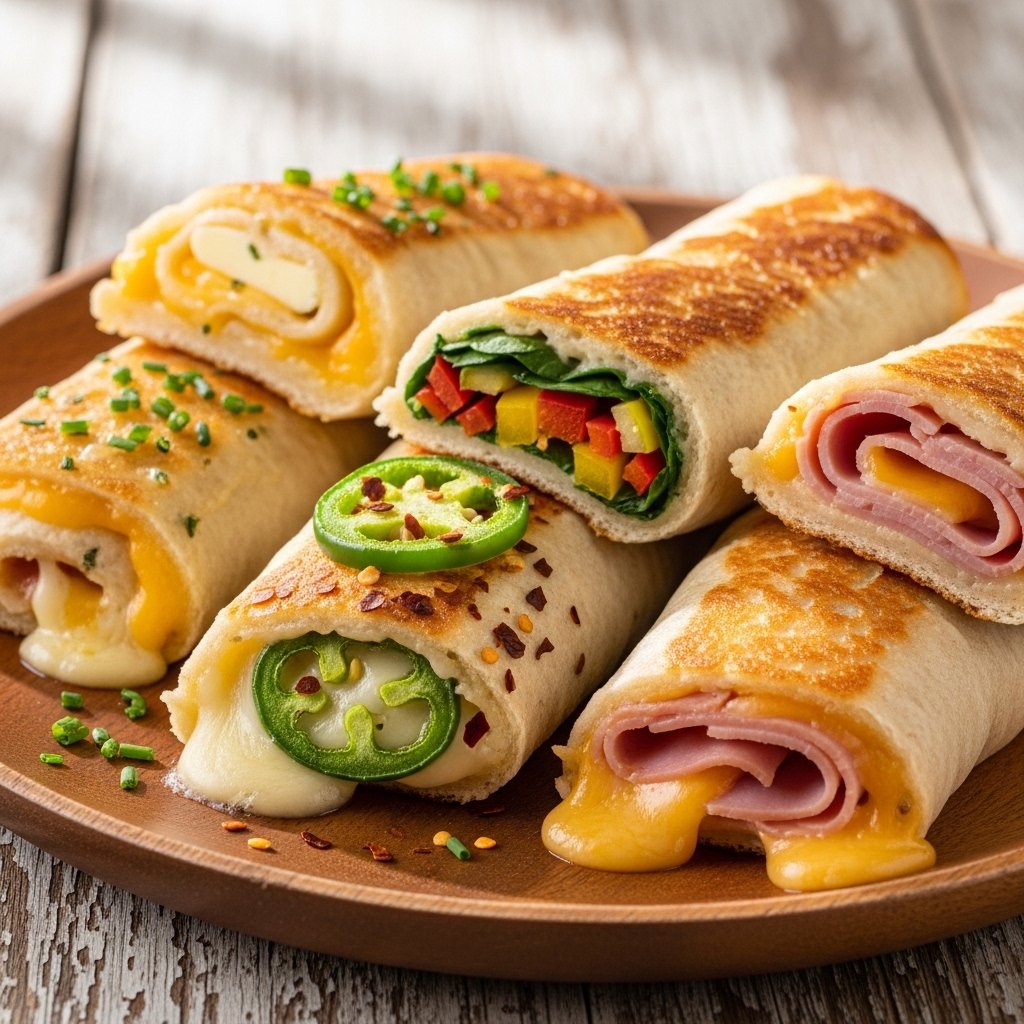
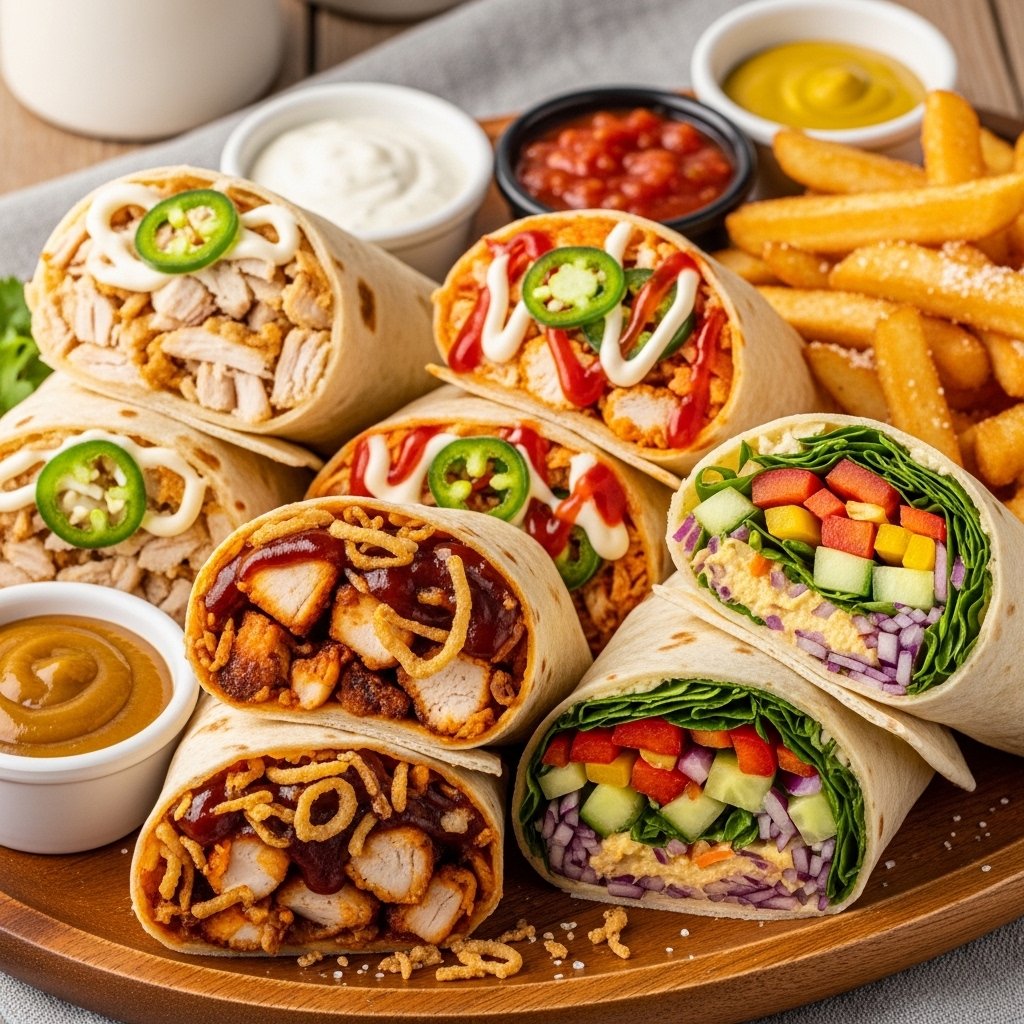
Variations
You can easily customize your Homemade Snack Wraps with Extra Mayo:
Spicy Version
Add hot sauce or spicy mayo.
BBQ Chicken Wrap
Replace mayo with BBQ sauce.
Healthy Wrap
Use Greek yogurt instead of mayo.
Vegetarian Option
Swap chicken with crispy tofu or beans.
What to Serve With It
These wraps go perfectly with:
- French fries or sweet potato fries
- Coleslaw
- Pickles
- Fresh fruit
- Iced drinks or lemonade
They make a complete and satisfying meal.
Storage & Reheating
- Best eaten fresh for maximum crunch
- Store wrapped (without mayo) in fridge for up to 1 day
- Reheat chicken separately if needed
- Avoid freezing assembled wraps
Common Mistakes to Avoid
- Adding too much mayo (can make wraps soggy)
- Overstuffing the tortilla
- Using cold tortillas that crack
- Skipping seasoning for chicken
- Not sealing the wrap tightly
FAQs
Can I make snack wraps ahead of time?
Yes, but store ingredients separately and assemble before eating.
What mayo works best?
Full-fat mayo gives the creamiest and richest flavor.
Can I use rotisserie chicken?
Absolutely—it saves time and tastes great.
Are these wraps kid-friendly?
Yes, kids love the creamy texture and simple flavors.
Final Thoughts
These Homemade Snack Wraps with Extra Mayo are the ultimate quick comfort food—creamy, crunchy, and incredibly satisfying. Whether you’re making lunch, a quick dinner, or a snack on the go, this recipe always delivers.
Simple ingredients, fast preparation, and endless customization make it a go-to favorite for busy days. Once you try them, you’ll definitely keep them in your regular rotation! 🌯✨