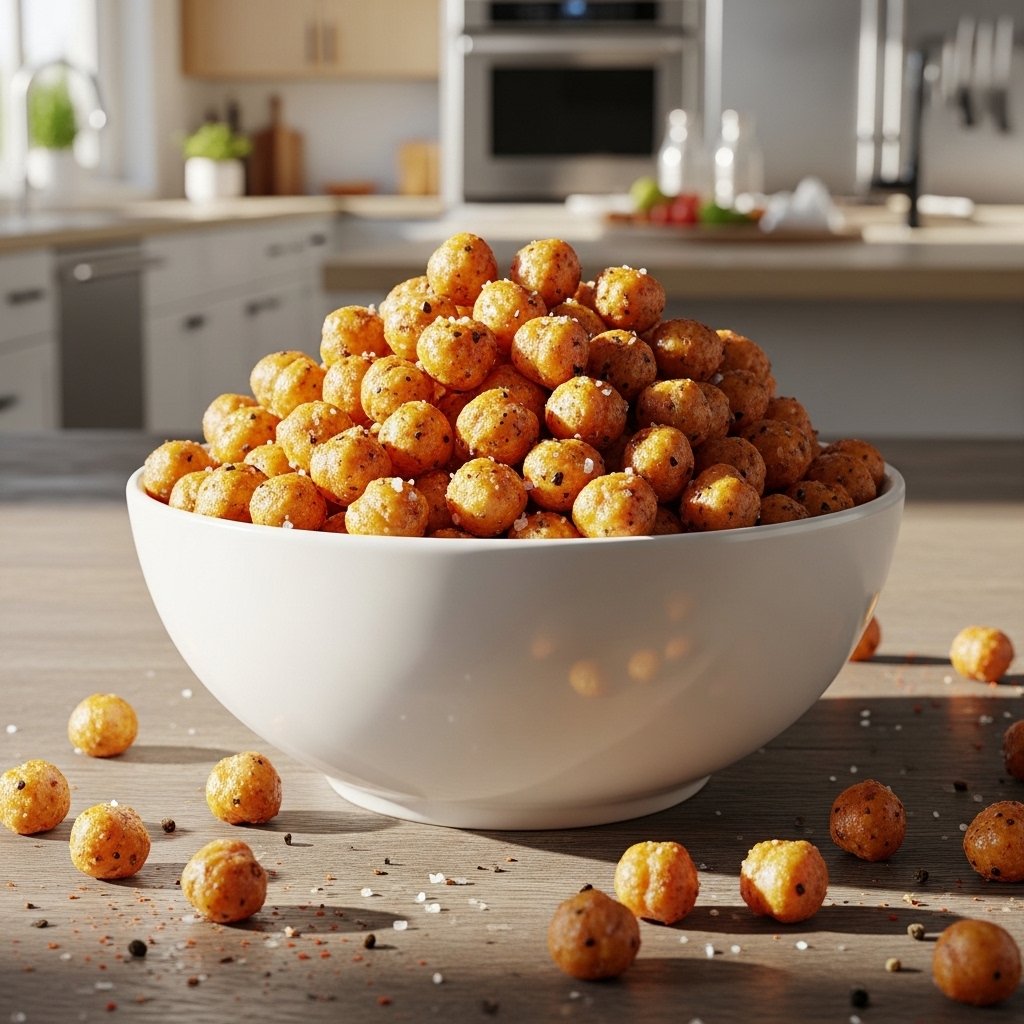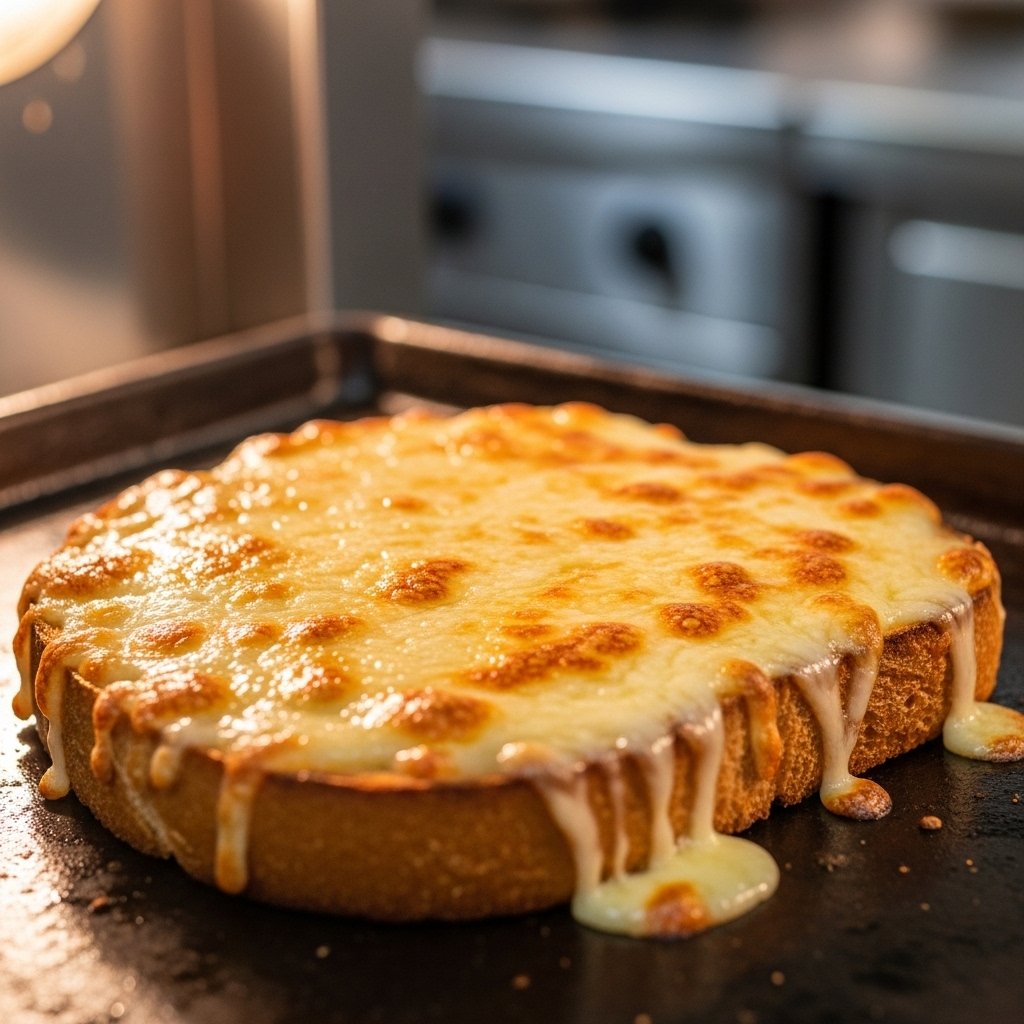
If you’re looking for something quick, portable, and packed with cheesy goodness, this pocket cheese snack is about to become your new favorite go-to. It’s everything you want in a snack—crispy on the outside, warm and melty on the inside, and incredibly easy to make with just a few ingredients.
This recipe is perfect for busy days when you need something satisfying without spending a lot of time in the kitchen. Whether you’re packing lunchboxes, preparing an after-school snack, or just craving something cheesy, this simple idea delivers big flavor with minimal effort.

Why You’ll Love This Pocket Cheese Snack
This pocket cheese snack is the perfect mix of convenience and comfort.
- Quick and easy to make in under 10 minutes
- Requires minimal ingredients
- Crispy outside with gooey melted cheese
- Perfect for on-the-go snacking
- Great for kids and adults alike
- Easy to customize with different fillings
Once you try it, you’ll see why it’s such a versatile and satisfying snack.
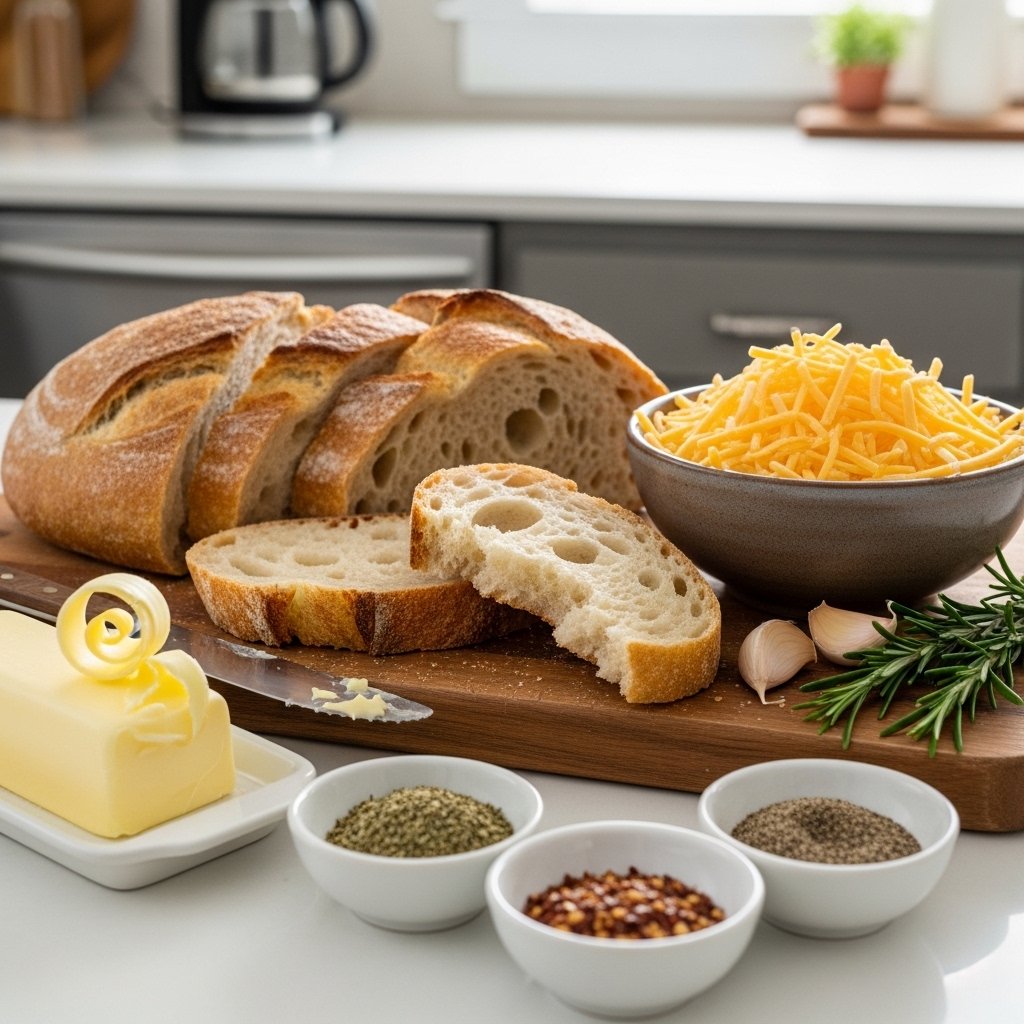
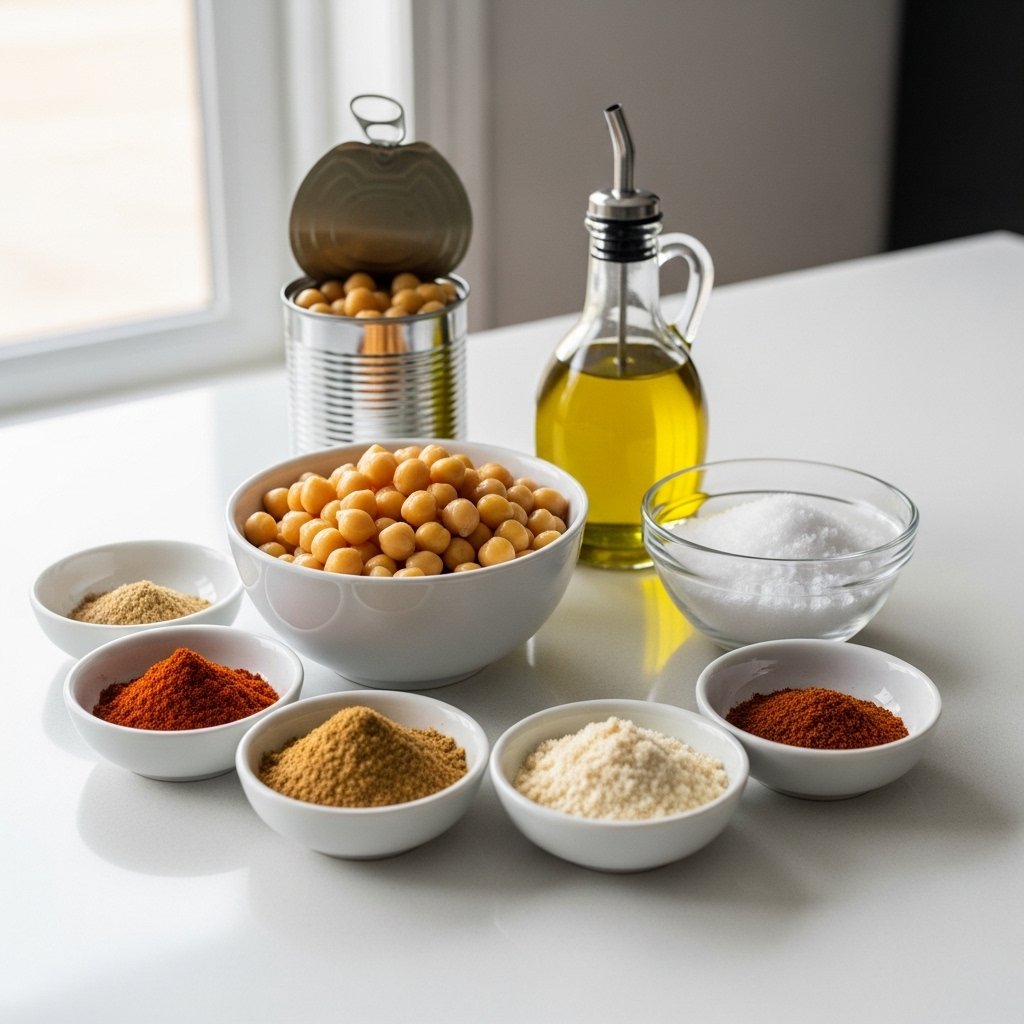
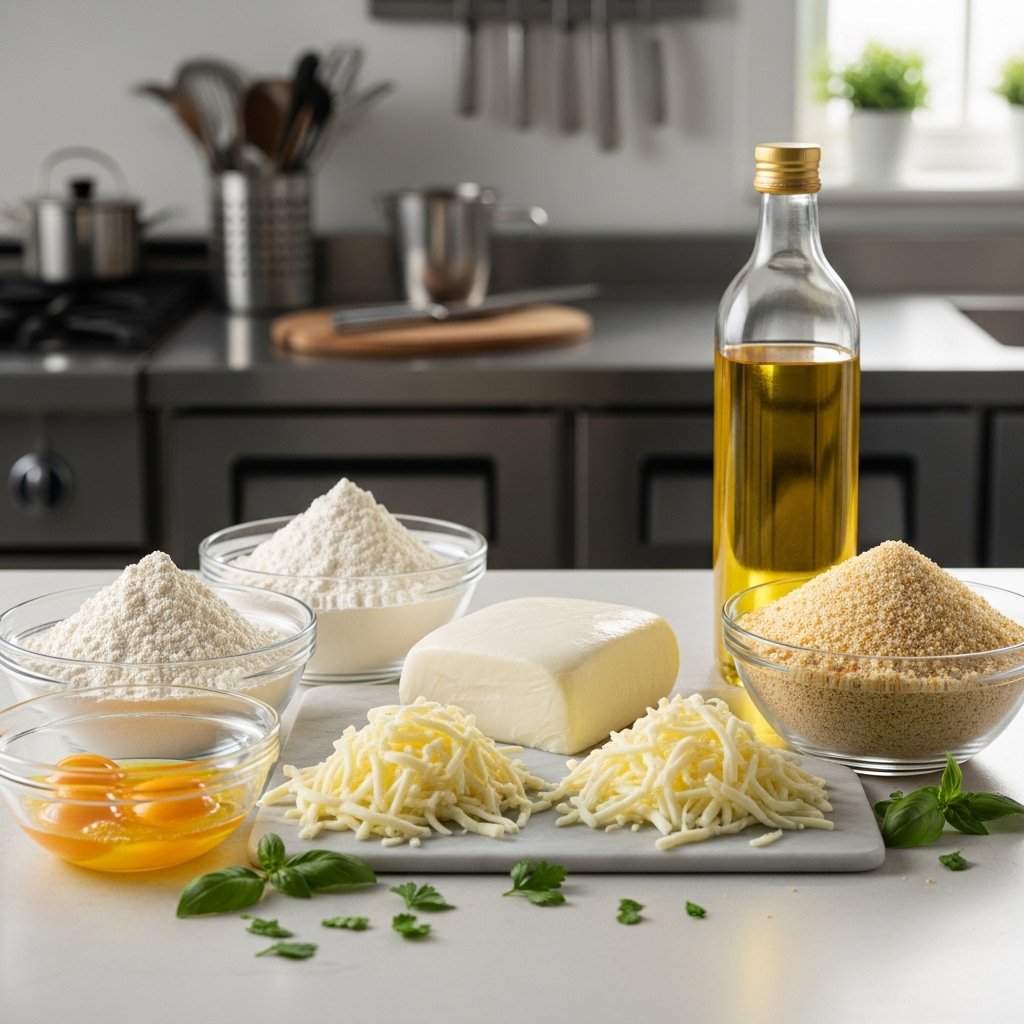
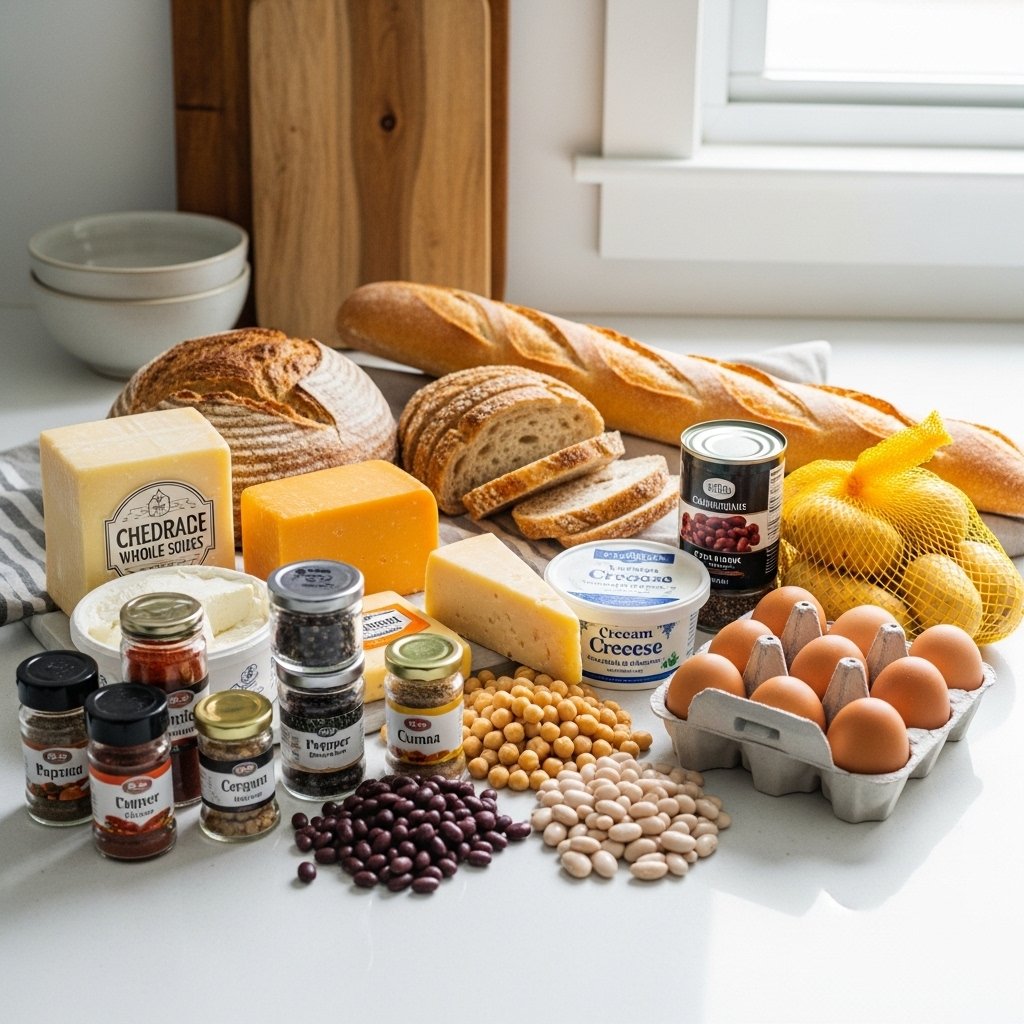
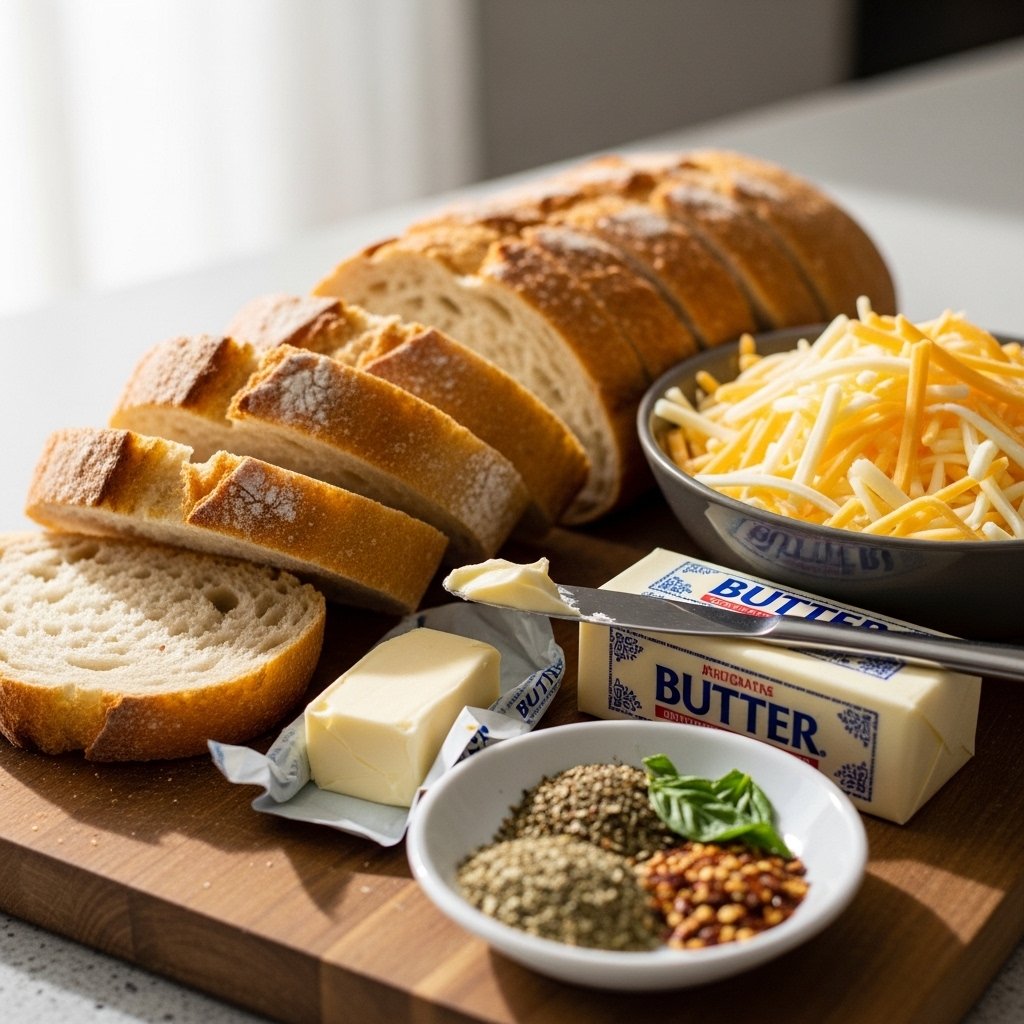
Ingredients
Here’s what you need to make this delicious pocket cheese snack:
- 4 slices of sandwich bread
- 1 cup shredded cheese (cheddar, mozzarella, or a blend)
- 1 tablespoon butter or olive oil
- 1 tablespoon milk (for sealing edges)
- Optional: herbs, garlic powder, or chili flakes
Ingredient Notes
The simplicity of this pocket cheese snack is what makes it so appealing. Soft sandwich bread works best because it’s easy to fold and seal into a pocket shape.
For cheese, go with something that melts beautifully. Mozzarella gives that stretchy texture, while cheddar adds a richer flavor. You can even combine both for the perfect balance.
A little butter or oil helps create that crispy golden exterior, while optional seasonings add an extra layer of flavor without complicating the recipe.
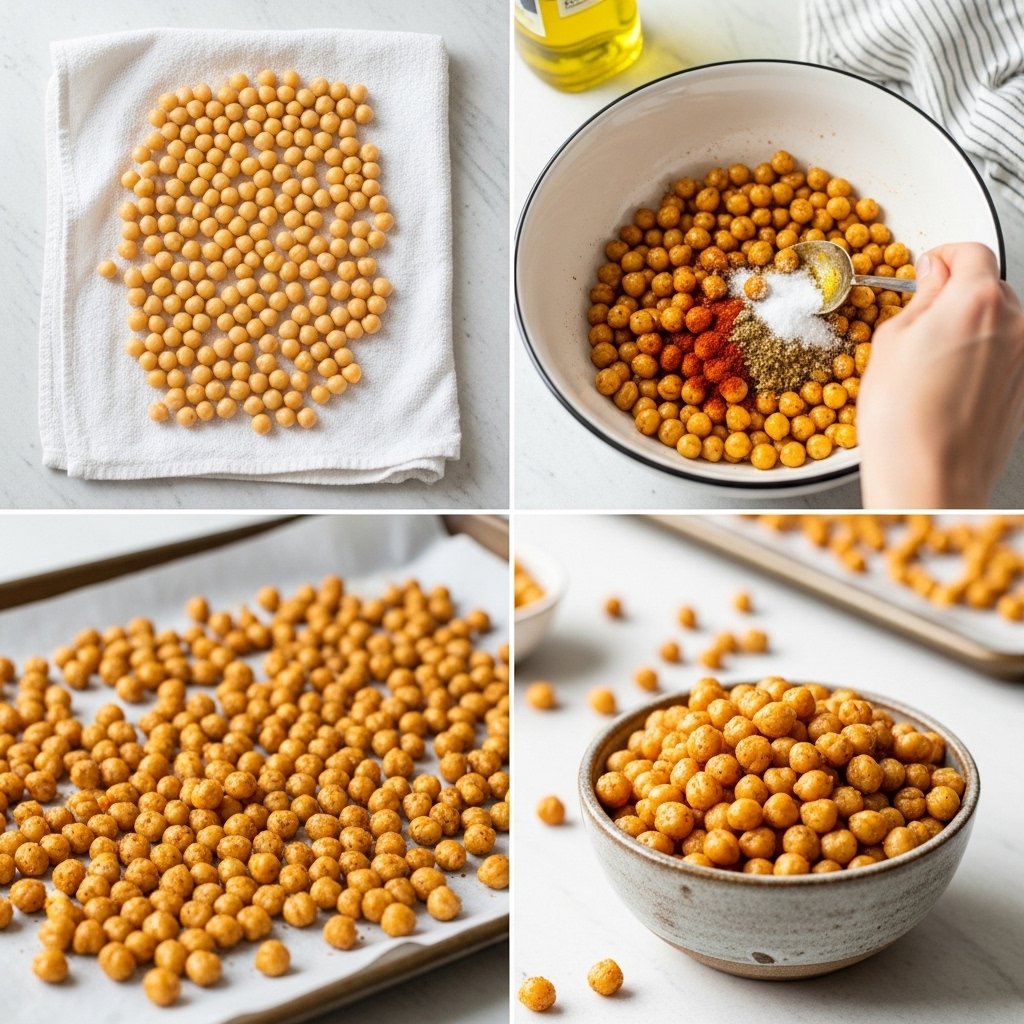
Step-by-Step Instructions
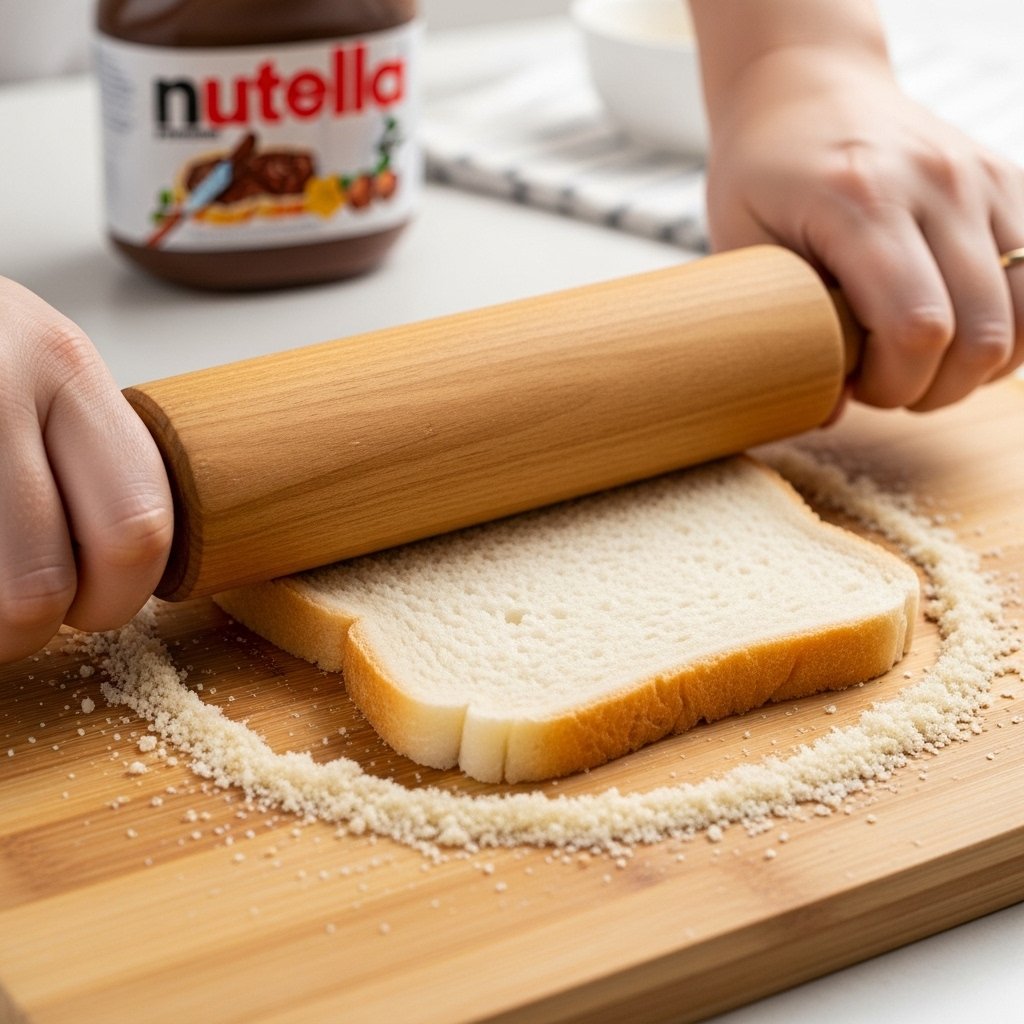
1. Flatten the Bread
Use a rolling pin to flatten each slice of bread slightly.
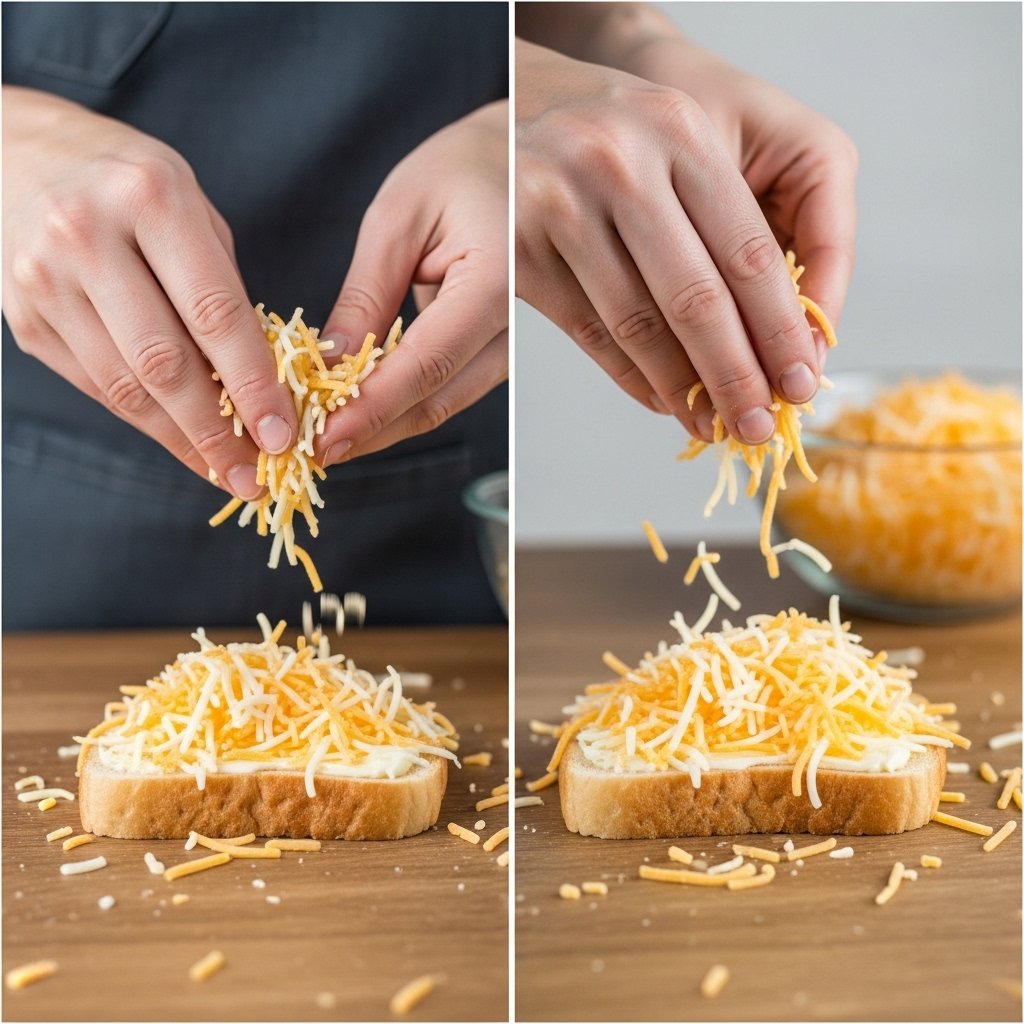
2. Add the Cheese
Place shredded cheese in the center of each slice.
3. Seal the Pocket
Fold the bread over and press the edges with a fork. Use a bit of milk to seal.
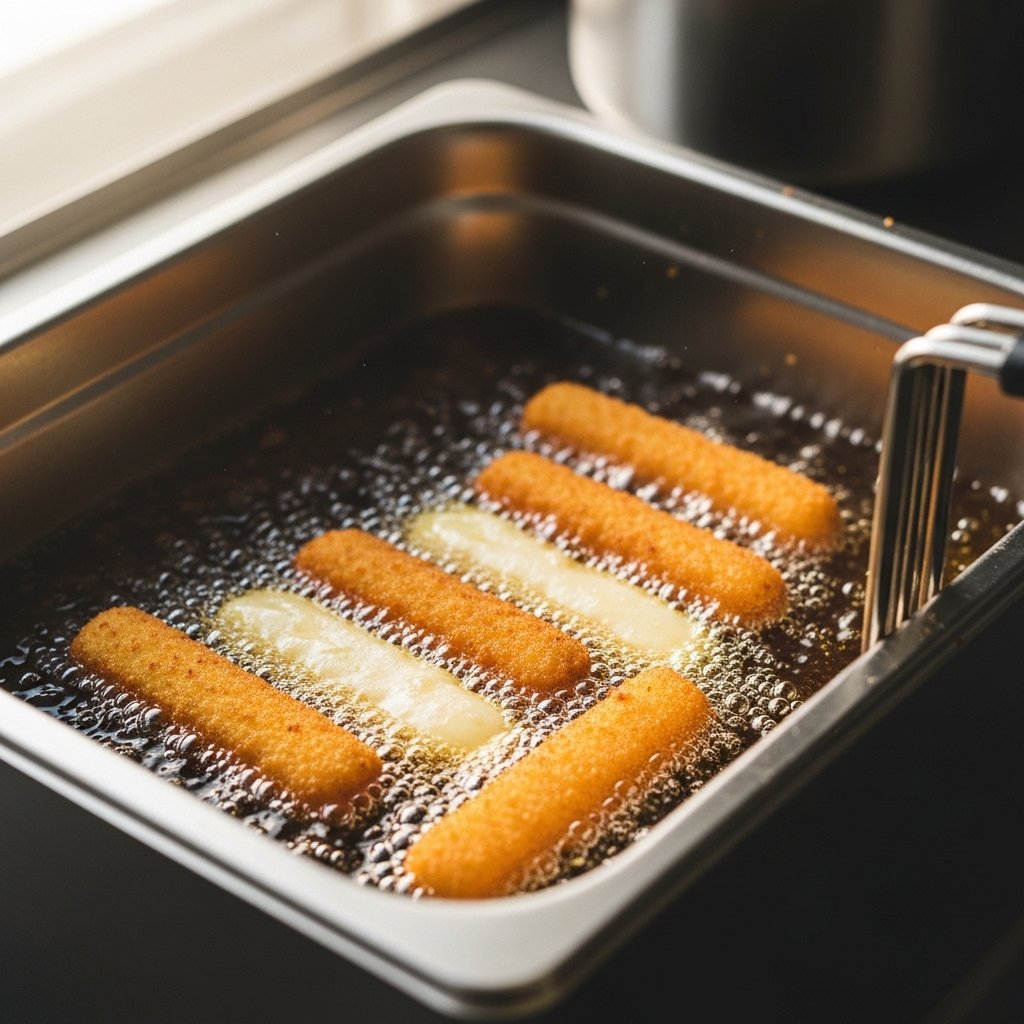
4. Cook the Snack
Heat a pan over medium heat and cook until golden brown on both sides.
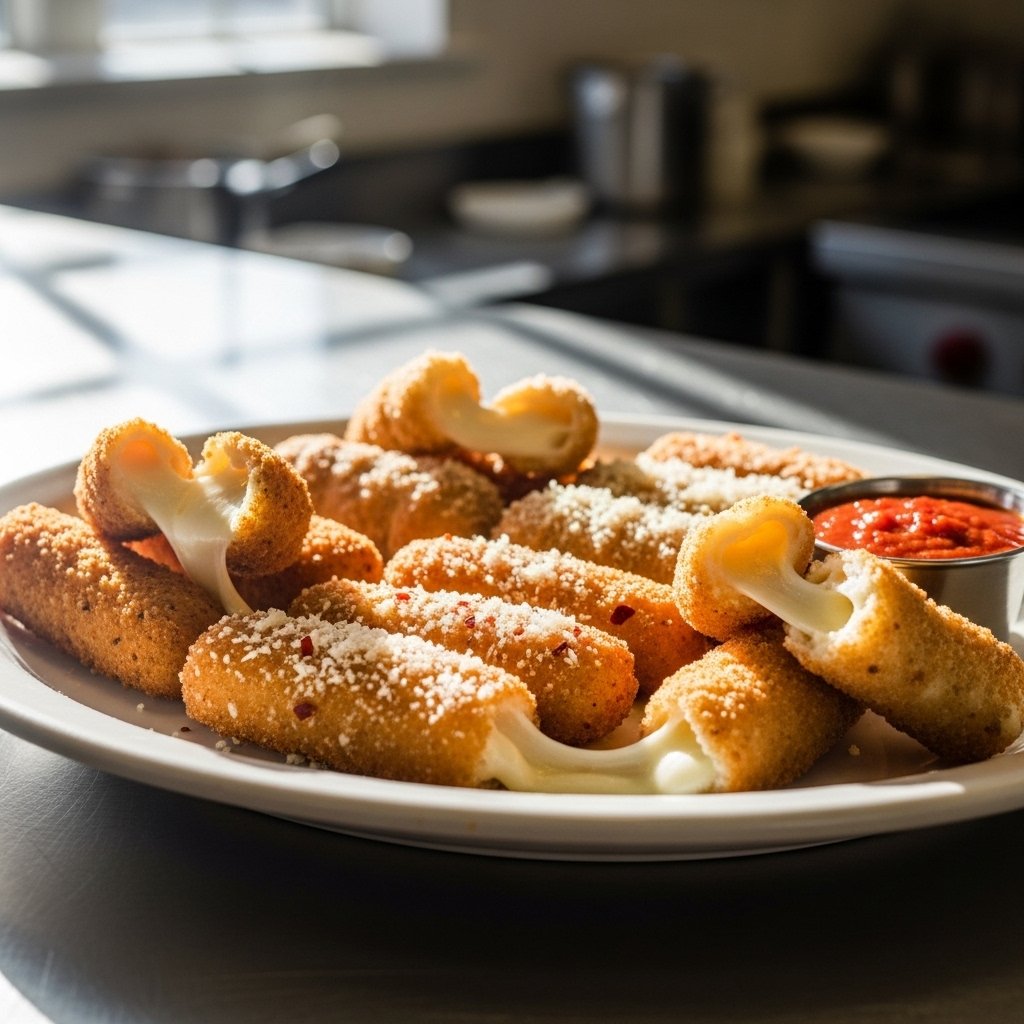
5. Serve Hot
Enjoy immediately while the cheese is warm and melty.

Tips for Perfect Results
To get the best pocket cheese snack every time:
- Don’t overfill with cheese to prevent leaks
- Seal edges tightly using a fork
- Cook on medium heat for even browning
- Use freshly shredded cheese for better melting
- Serve immediately for the best texture
These simple tips ensure your snack turns out perfectly crispy and delicious.
Variations of Pocket Cheese Snack
This pocket cheese snack is easy to customize:
Garlic Cheese Pocket
Add garlic butter for a rich, savory flavor.
Spicy Cheese Pocket
Add chili flakes or hot sauce for heat.
Veggie Cheese Pocket
Include spinach, tomatoes, or peppers.
Protein-Packed Version
Add cooked chicken, turkey, or eggs.

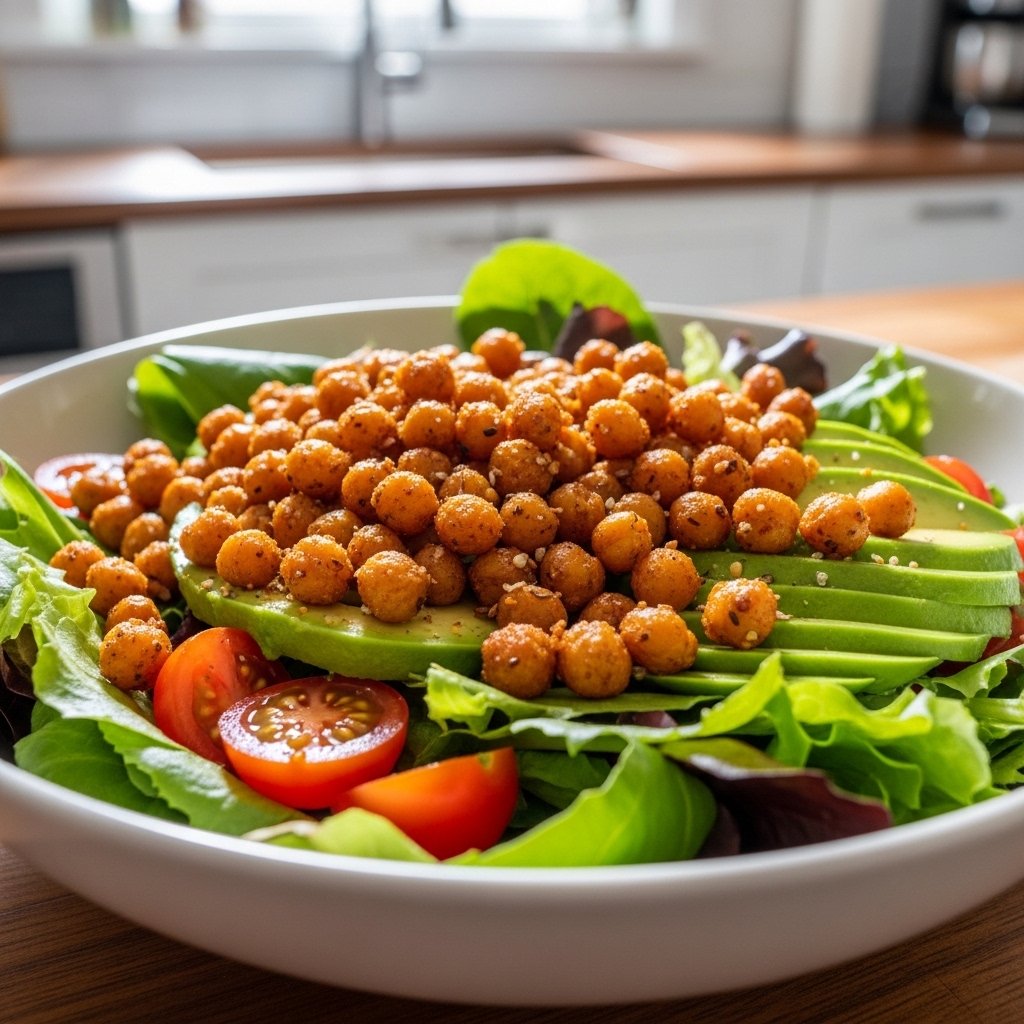
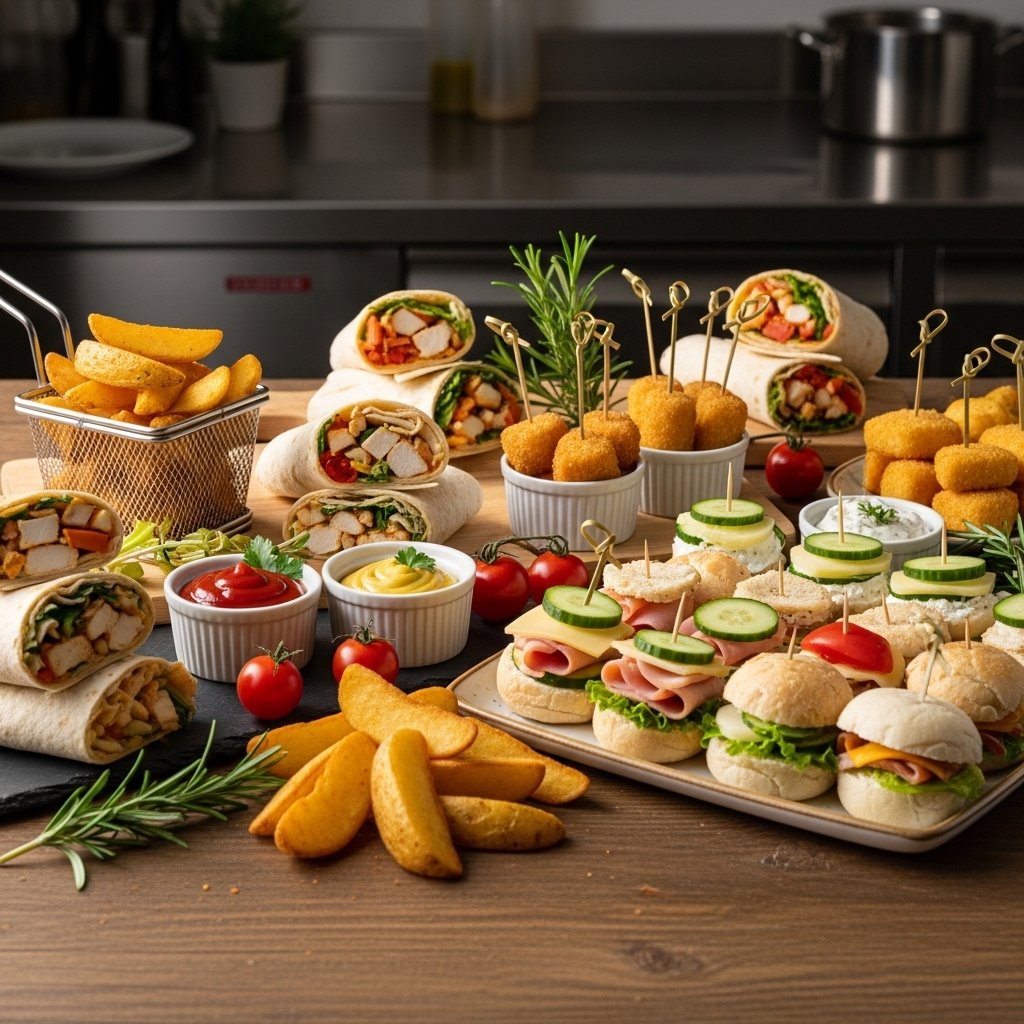
What to Serve With It
Pair your pocket cheese snack with:
- Tomato soup
- Fresh salad
- Dipping sauces (ketchup, ranch, or marinara)
- Smoothies or juice
- Coffee or tea
These pairings turn a simple snack into a satisfying mini-meal.
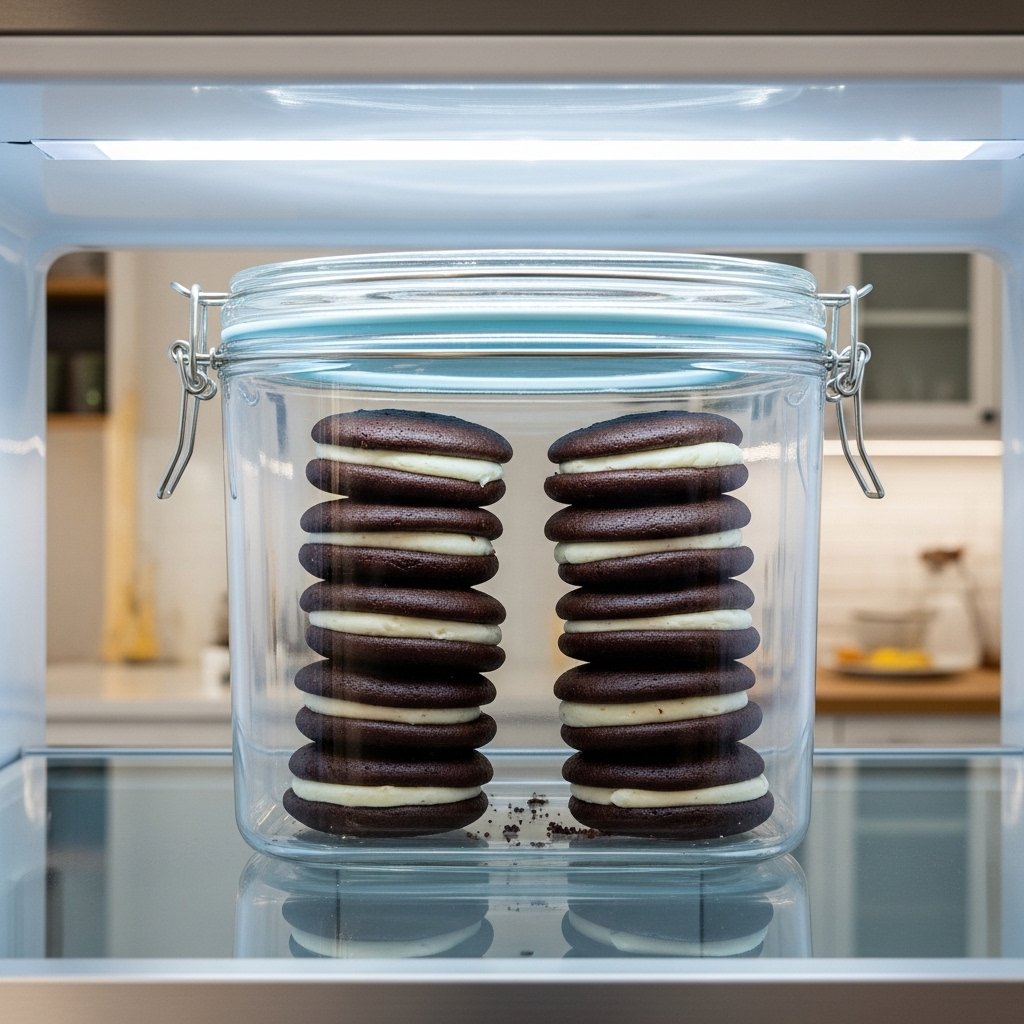
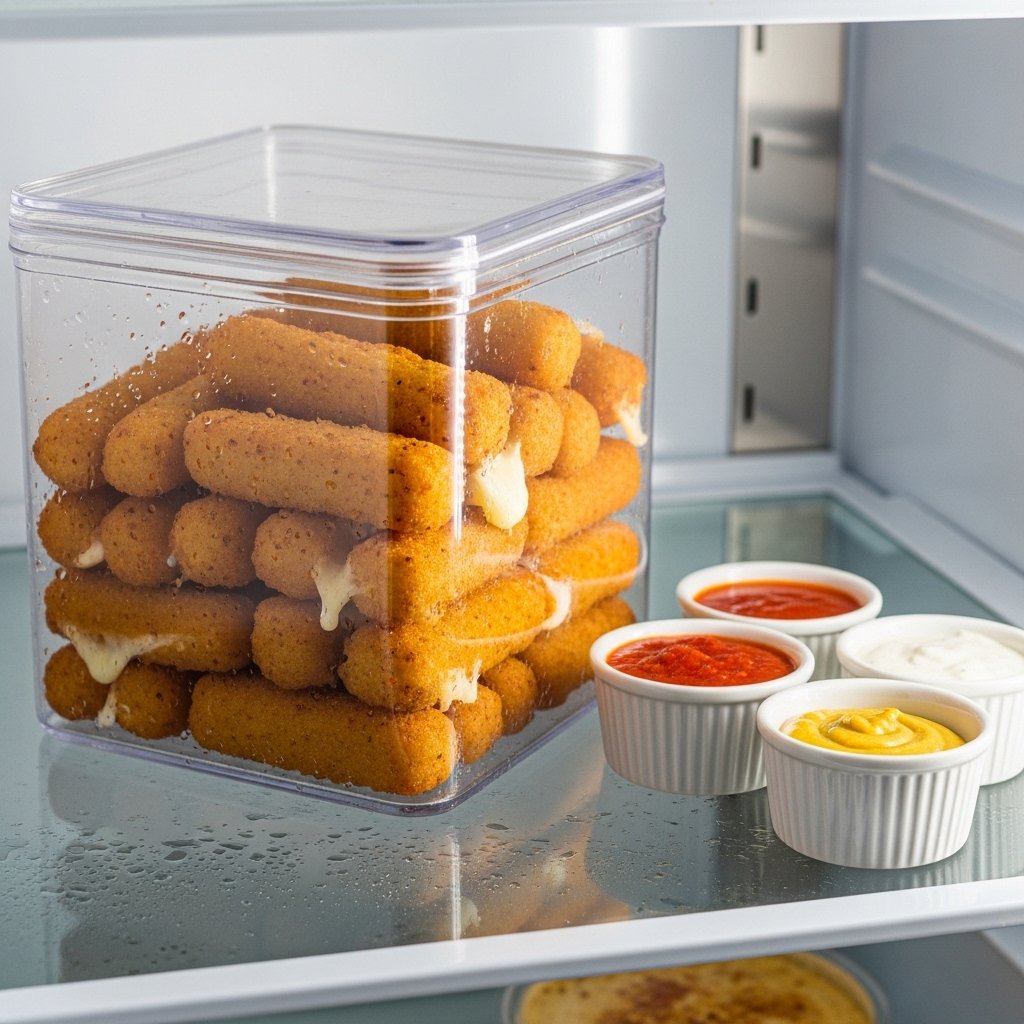
Storage & Reheating
Here’s how to store your pocket cheese snack:
- Store in an airtight container for up to 2 days
- Reheat in a pan or air fryer for crispiness
- Avoid microwaving to prevent soggy texture
Reheating properly helps maintain the crispy outside.
Common Mistakes to Avoid
When making a pocket cheese snack, avoid:
- Overfilling with cheese
- Not sealing edges properly
- Cooking on high heat
- Skipping butter or oil
- Overcooking until too hard
Keeping things simple ensures perfect results.
FAQs
Can I make pocket cheese snacks ahead of time?
Yes, you can prep them and cook when ready to eat.
What cheese works best?
Mozzarella, cheddar, or a mix of both works perfectly.
Can I use an air fryer?
Yes, cook at 350°F for about 5–7 minutes.
Are these good for kids?
Absolutely! They’re simple, cheesy, and very kid-friendly.
Final Thoughts
This pocket cheese snack is proof that simple recipes can still be incredibly delicious. With minimal ingredients and just a few minutes, you can create a snack that’s crispy, cheesy, and totally satisfying.
Whether you’re making it for yourself or sharing with family, this recipe is one you’ll keep coming back to whenever cravings hit.