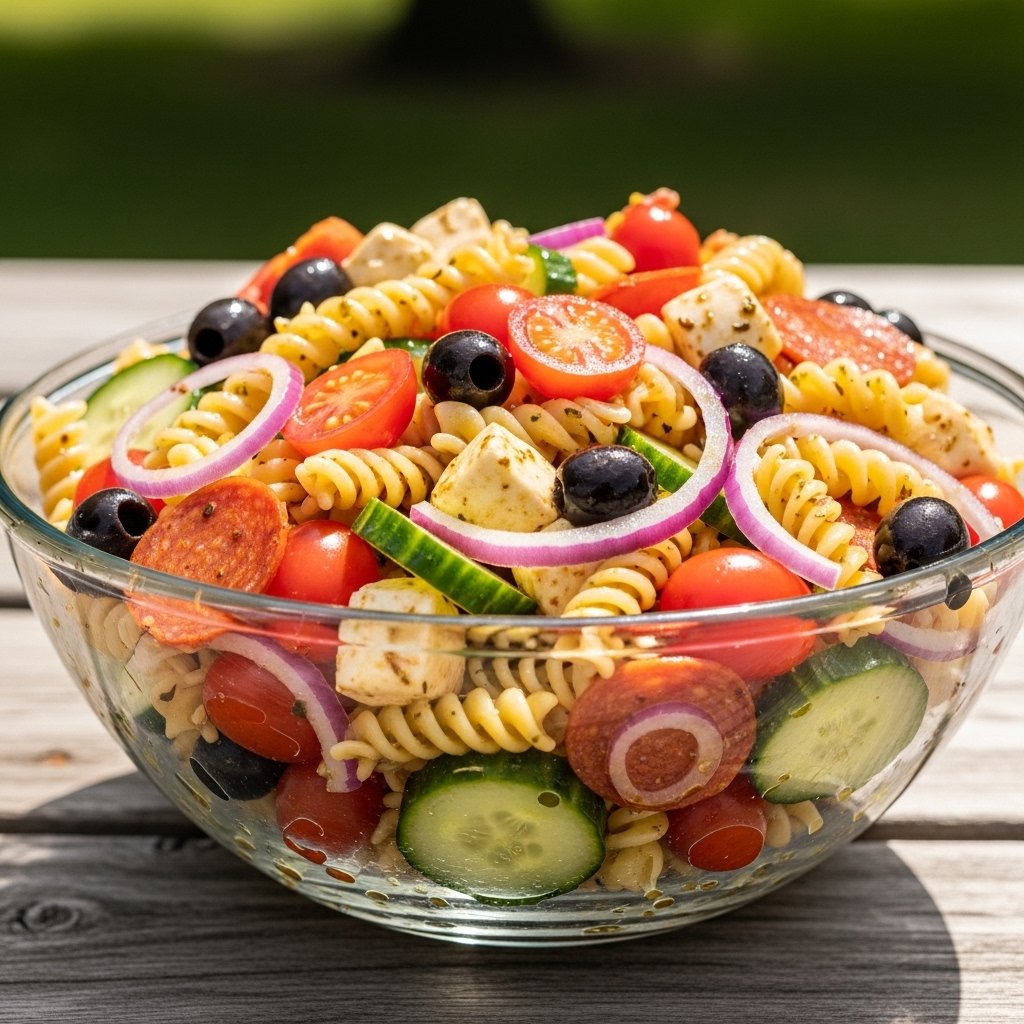
If you’re searching for a refreshing, make-ahead dish that screams summer, this zesty Italian pasta salad: delicious cold pasta salad recipes with Italian dressing summer is exactly what you need. It’s bright, flavorful, and packed with colorful vegetables, tender pasta, and a tangy Italian dressing that ties everything together.
This cold pasta salad is a true crowd-pleaser for BBQs, potlucks, picnics, and even quick weekday lunches. It’s one of those recipes that tastes even better after sitting in the fridge, making it perfect for meal prep and entertaining.
Why You’ll Love This Zesty Italian Pasta Salad
This zesty Italian pasta salad: delicious cold pasta salad recipes with Italian dressing summer is a must-try because:
- It’s fresh, tangy, and full of bold Italian flavors
- Perfect for hot summer days and outdoor gatherings
- Easy to prepare ahead of time
- Customizable with your favorite ingredients
- Great for potlucks, BBQs, and meal prep
- Stays delicious even after chilling
It’s the ultimate no-fuss summer side dish.
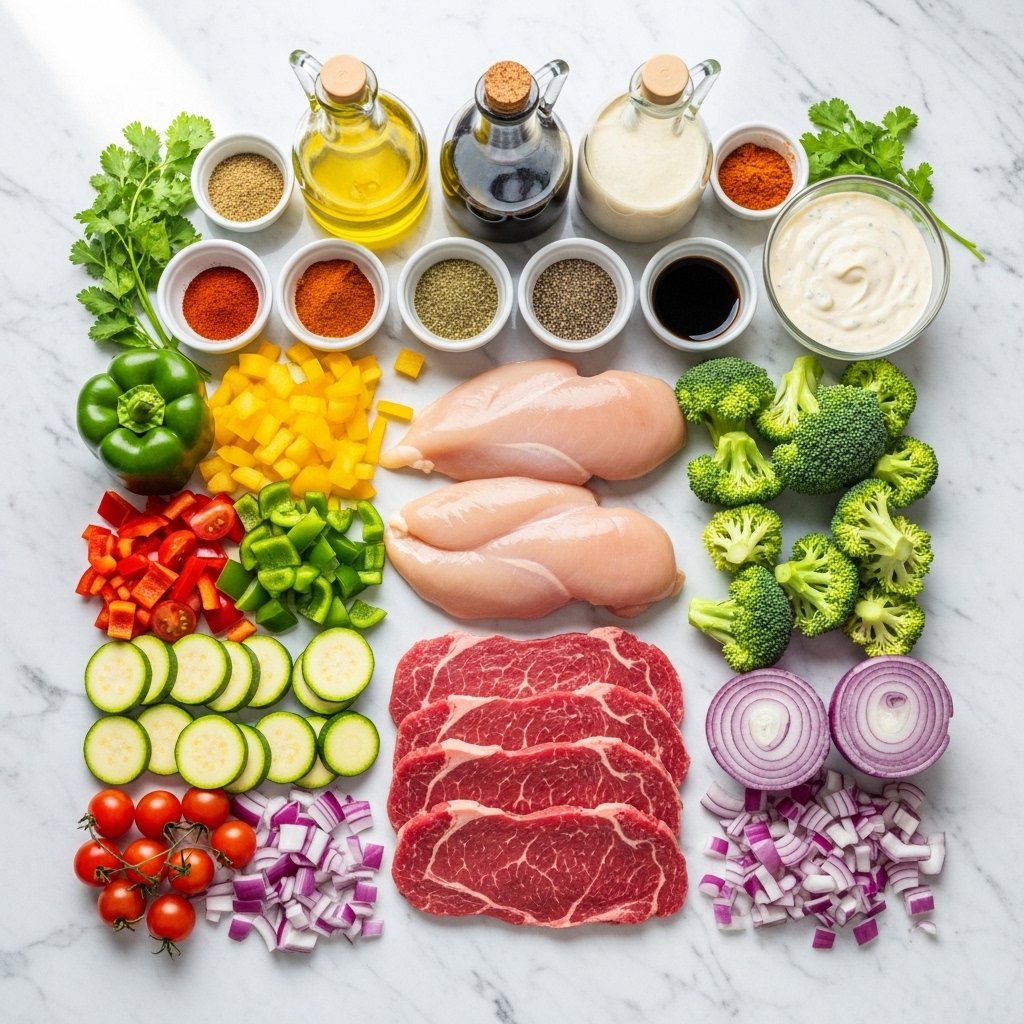
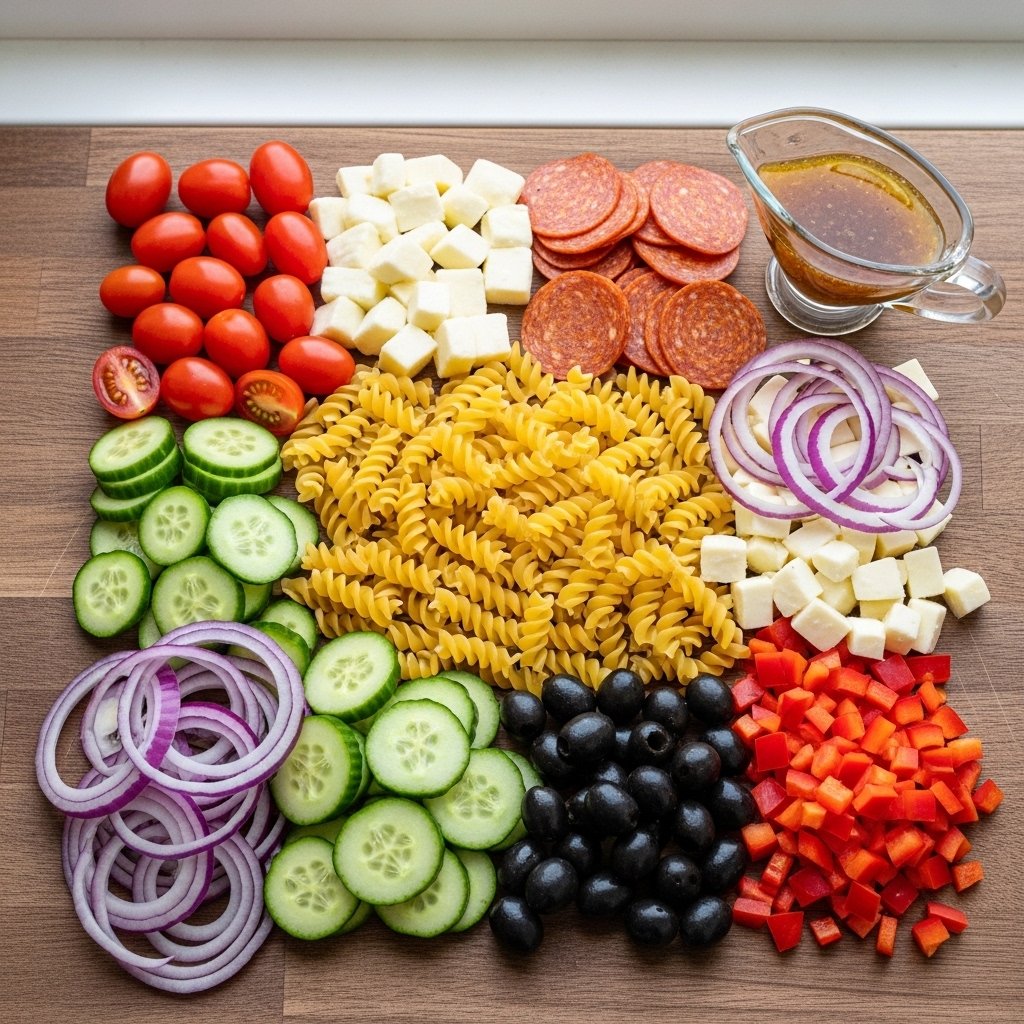
Ingredients
To make this zesty Italian pasta salad: delicious cold pasta salad recipes with Italian dressing summer, you’ll need:
- 12 oz rotini or penne pasta
- 1 cup cherry tomatoes, halved
- 1 cup cucumber, diced
- ½ cup black olives, sliced
- 1 cup mozzarella balls or cubed cheese
- ½ cup pepperoni slices (optional)
- ½ cup red bell pepper, chopped
- ¼ cup red onion, thinly sliced
- ¾ cup Italian dressing (store-bought or homemade)
- Salt and pepper to taste
- Optional: fresh basil or parsley
Ingredient Notes
The key to a great zesty Italian pasta salad: delicious cold pasta salad recipes with Italian dressing summer is using high-quality Italian dressing. A good dressing brings acidity, herbs, and richness that makes the salad pop.
Rotini pasta works best because its spiral shape holds onto the dressing beautifully. You can also use bowtie or penne pasta depending on your preference.
Step-by-Step Instructions
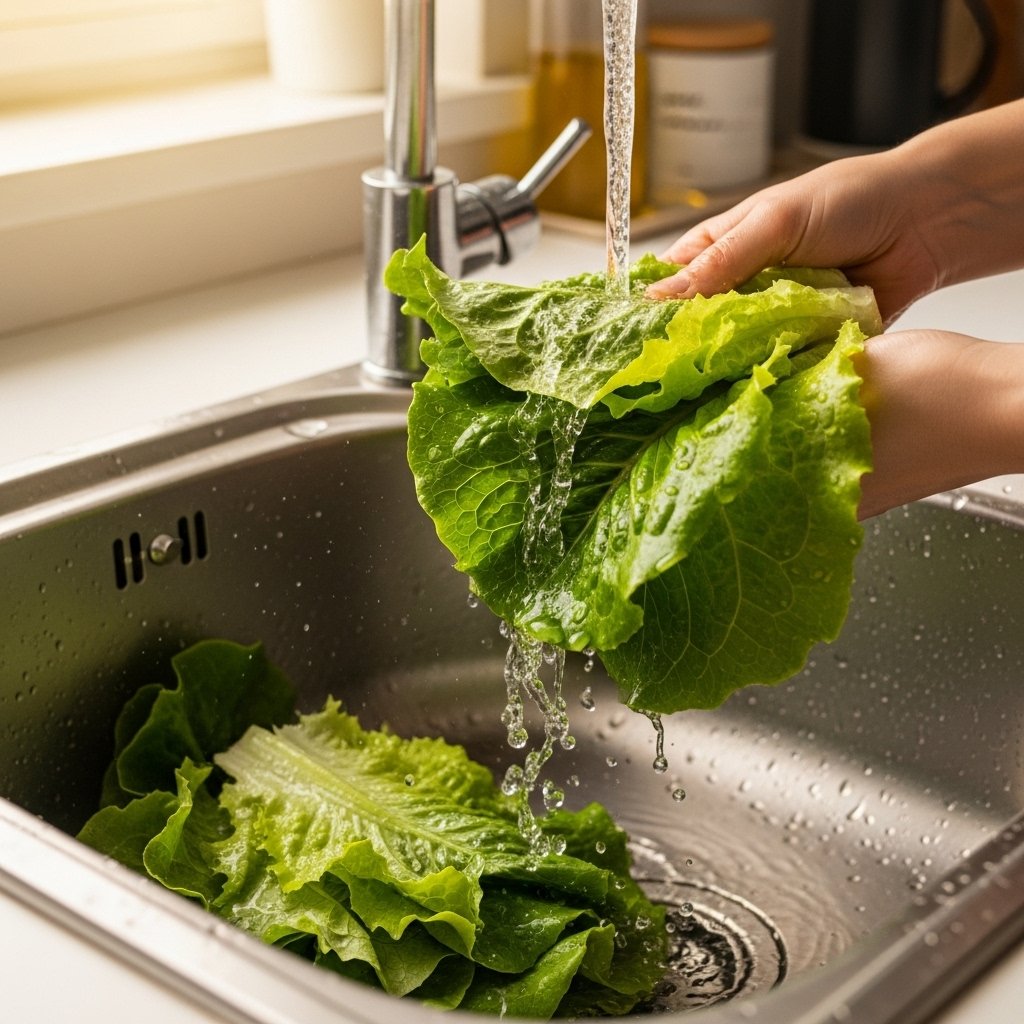
1. Cook the Pasta
Boil pasta according to package instructions until al dente. Drain and rinse under cold water.
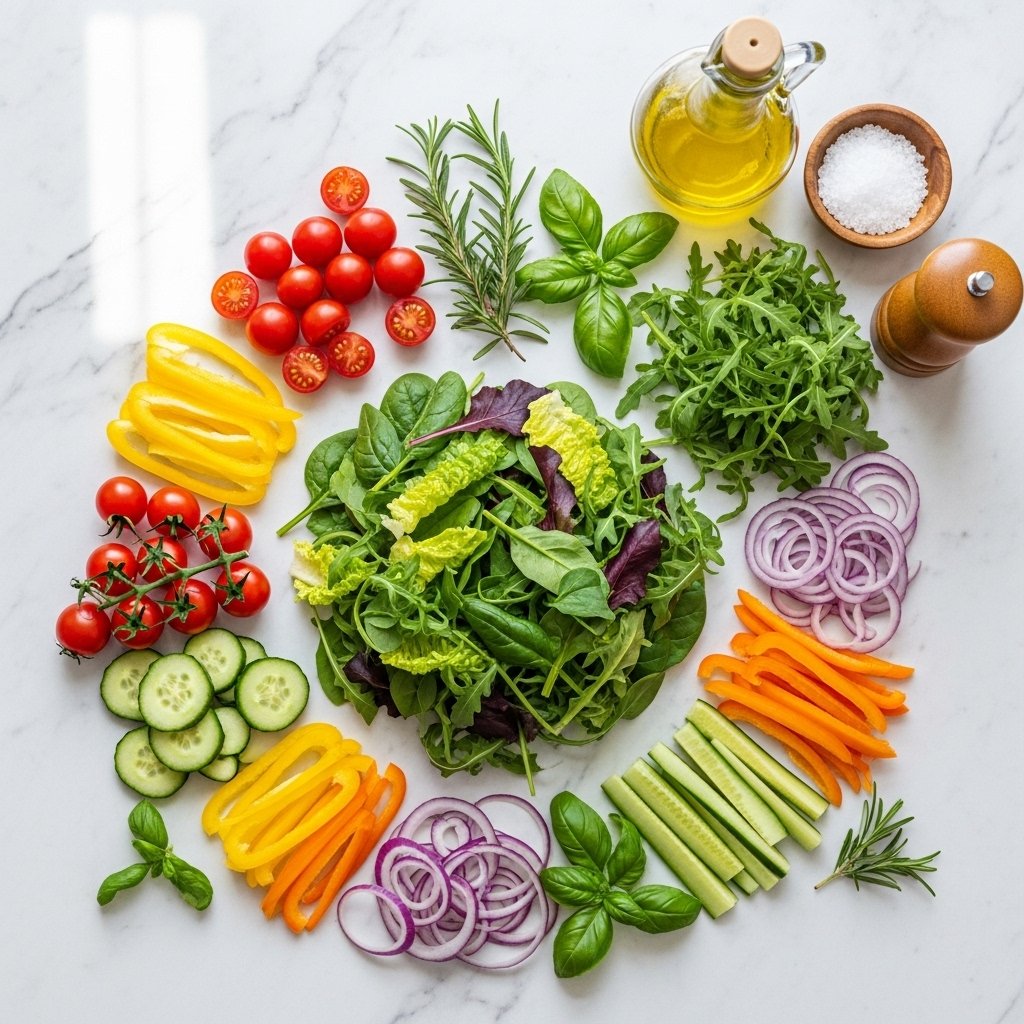
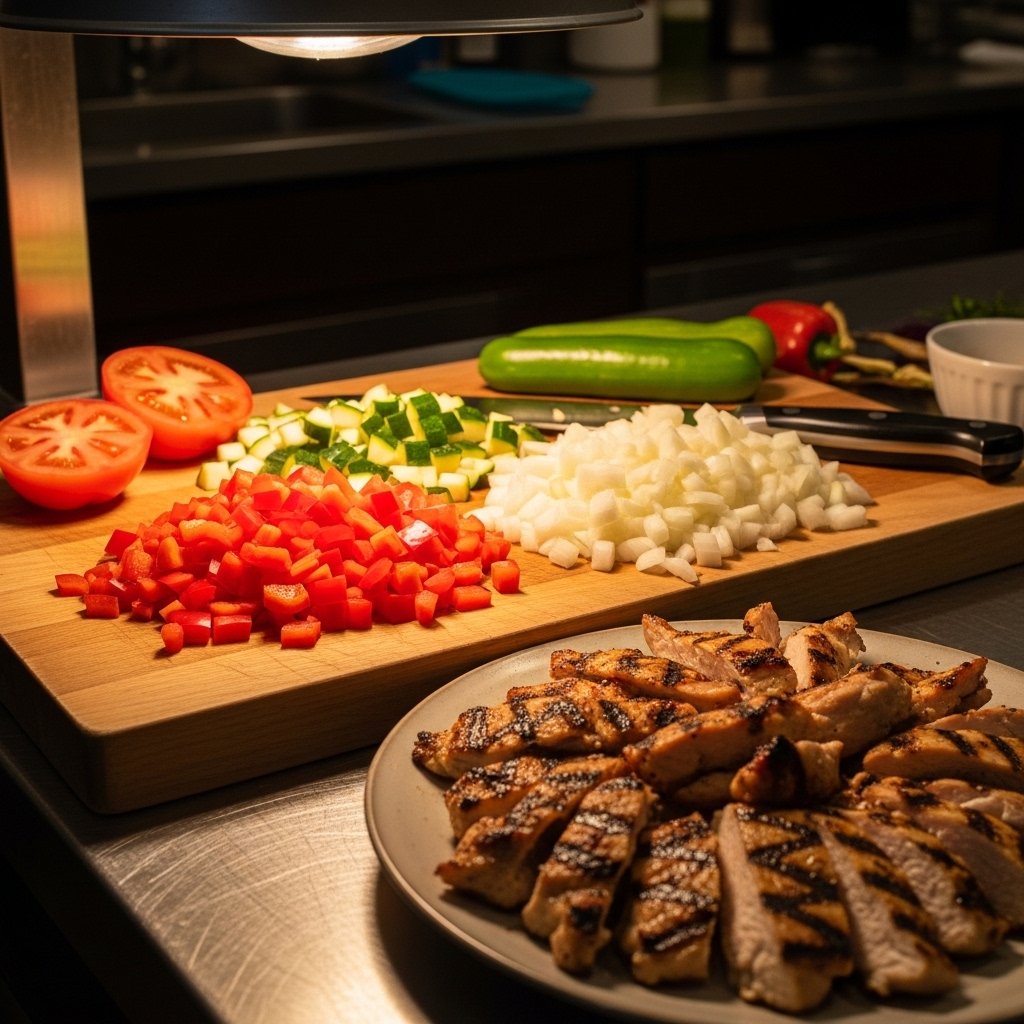
2. Prepare the Vegetables
Chop tomatoes, cucumbers, peppers, and onions into bite-sized pieces.
3. Mix the Ingredients
In a large bowl, combine pasta, vegetables, olives, cheese, and pepperoni.
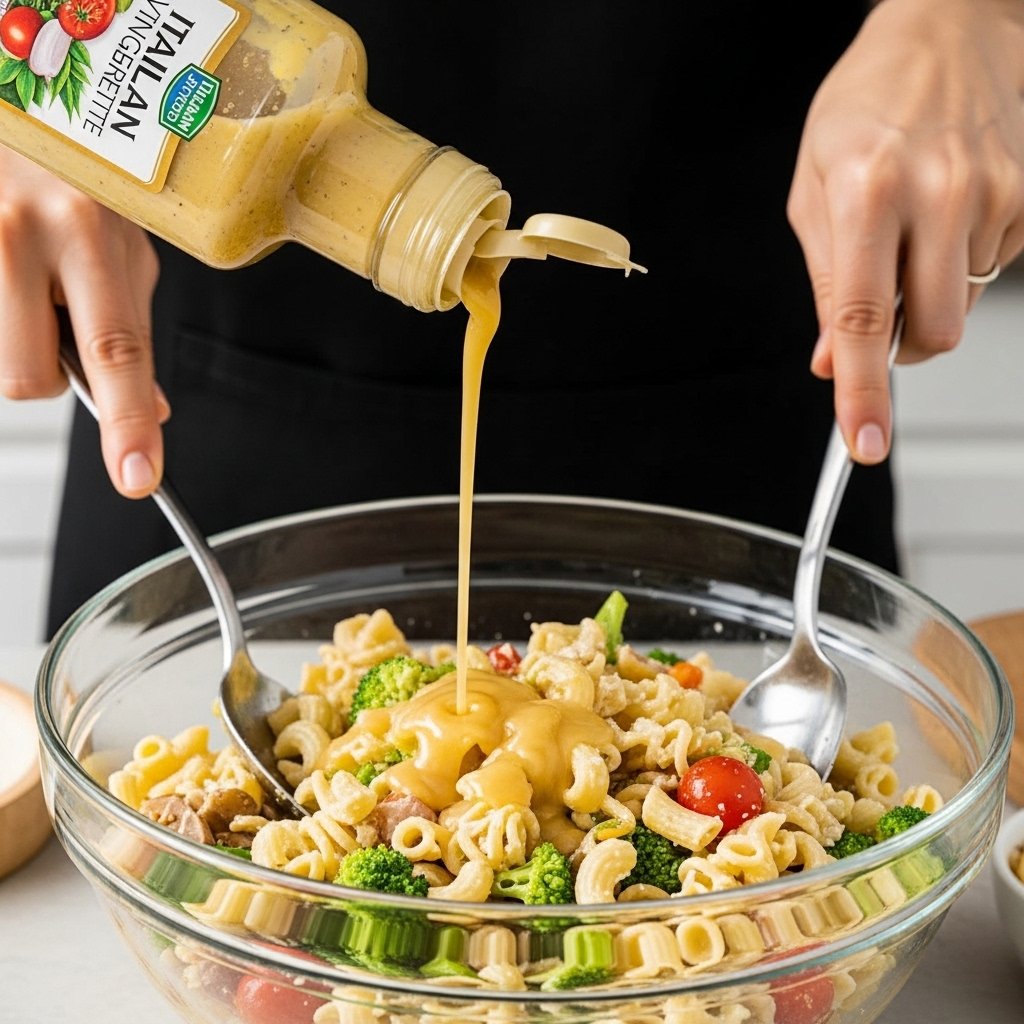
4. Add Dressing
Pour Italian dressing over the salad and toss well to coat evenly.
5. Chill and Serve
Refrigerate for at least 1 hour before serving to enhance flavor.
Tips for Perfect Results
To make the best zesty Italian pasta salad: delicious cold pasta salad recipes with Italian dressing summer, follow these tips:
- Rinse pasta with cold water to stop cooking
- Toss pasta with a little dressing before adding other ingredients
- Let the salad chill for deeper flavor
- Add fresh herbs right before serving
- Taste and adjust seasoning after chilling
These tips help balance flavor and texture perfectly.
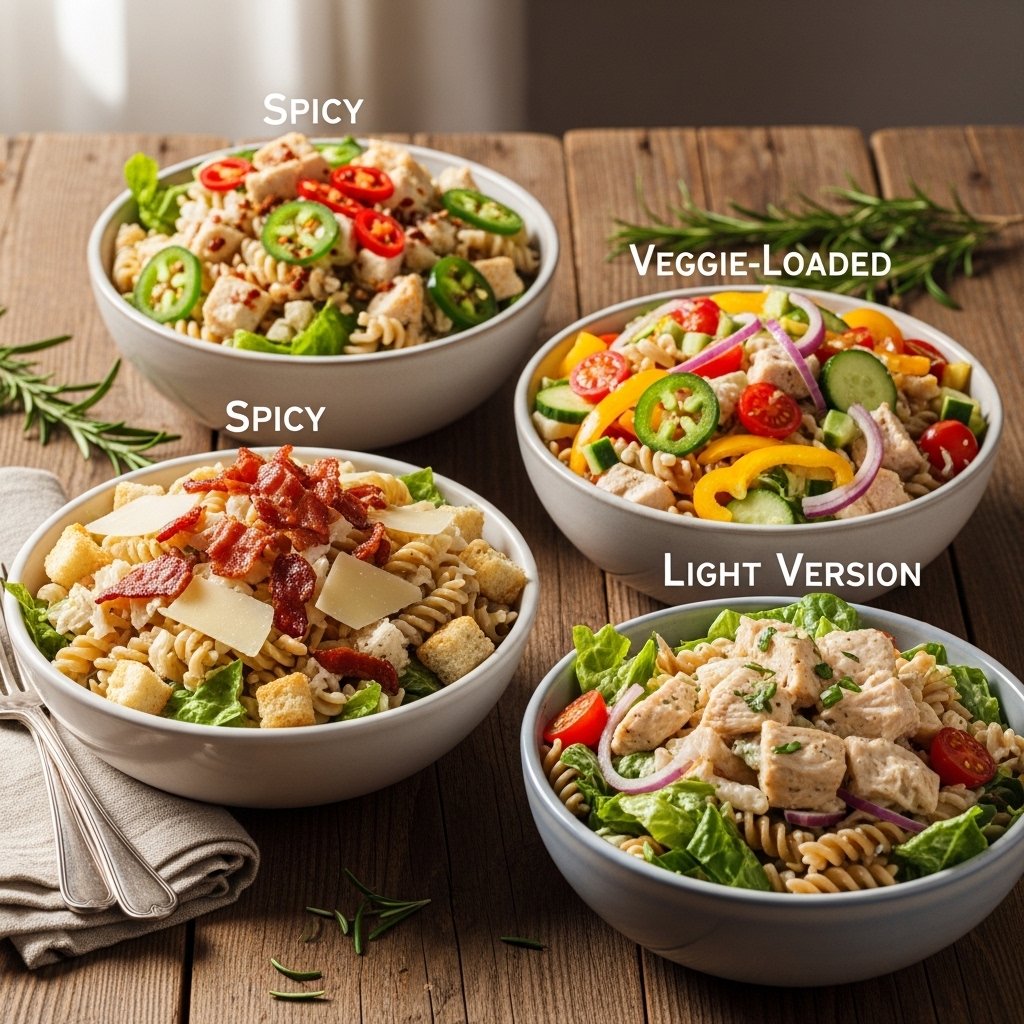
Variations
Customize your zesty Italian pasta salad: delicious cold pasta salad recipes with Italian dressing summer:
Vegetarian Version
Skip pepperoni and add chickpeas or extra veggies.
Protein-Packed Version
Add grilled chicken or shrimp.
Extra Creamy Version
Mix in a spoonful of mayo or Greek yogurt.
Spicy Version
Add red pepper flakes or spicy salami.

What to Serve With It
This zesty Italian pasta salad: delicious cold pasta salad recipes with Italian dressing summer pairs perfectly with:
- Grilled chicken or steak
- Burgers and hot dogs
- BBQ ribs or pulled pork
- Sandwiches and wraps
- Fresh fruit salads
It’s the ultimate side dish for summer meals.
Storage & Reheating
For best results:
- Store in an airtight container in the fridge for up to 3–4 days
- Stir before serving to redistribute dressing
- Add extra dressing if pasta absorbs too much
- Do not freeze (texture changes)
- Serve cold or slightly chilled
Perfect for make-ahead lunches.
Common Mistakes to Avoid
Avoid these when making zesty Italian pasta salad: delicious cold pasta salad recipes with Italian dressing summer:
- Overcooking pasta
- Skipping cold rinse after boiling
- Not seasoning properly
- Adding dressing too late
- Using low-quality dressing
These mistakes can weaken flavor and texture.
FAQs
Can I make this pasta salad ahead of time?
Yes, it actually tastes better after sitting in the fridge.
What pasta works best?
Rotini, penne, or bowtie pasta work great.
Can I make it dairy-free?
Yes, simply skip the cheese or use dairy-free alternatives.
How long does it last in the fridge?
Up to 3–4 days when stored properly.
Final Thoughts
This zesty Italian pasta salad: delicious cold pasta salad recipes with Italian dressing summer is the perfect combination of fresh vegetables, tender pasta, and bold Italian flavor. It’s quick to make, easy to customize, and always a hit at any gathering.
Whether you’re planning a summer BBQ, picnic, or simple weeknight dinner, this cold pasta salad will quickly become a staple in your kitchen. 🍝🌿