If you love the sweet-and-savory combo of a McGriddle but want something easier to make and share, these Savory Breakfast McGriddle Bites are about to become your new favorite breakfast recipe. They take all the flavors of a classic breakfast sandwich—maple, sausage, eggs, and cheese—and turn them into soft, fluffy, bite-sized muffins.
Perfect for busy mornings, brunch spreads, or meal prep, these little bites are portable, freezer-friendly, and incredibly satisfying. Plus, they’re fun to make and even more fun to eat.

Why You’ll Love These Savory Breakfast McGriddle Bites
These Savory Breakfast McGriddle Bites are a breakfast game-changer because:
- Sweet and savory flavor in every bite
- Easy grab-and-go breakfast option
- Perfect for meal prep and freezing
- Kid-friendly and family-approved
- Made with simple pantry ingredients
- Great for brunch gatherings or parties
They deliver all the comfort of a breakfast sandwich without the mess.
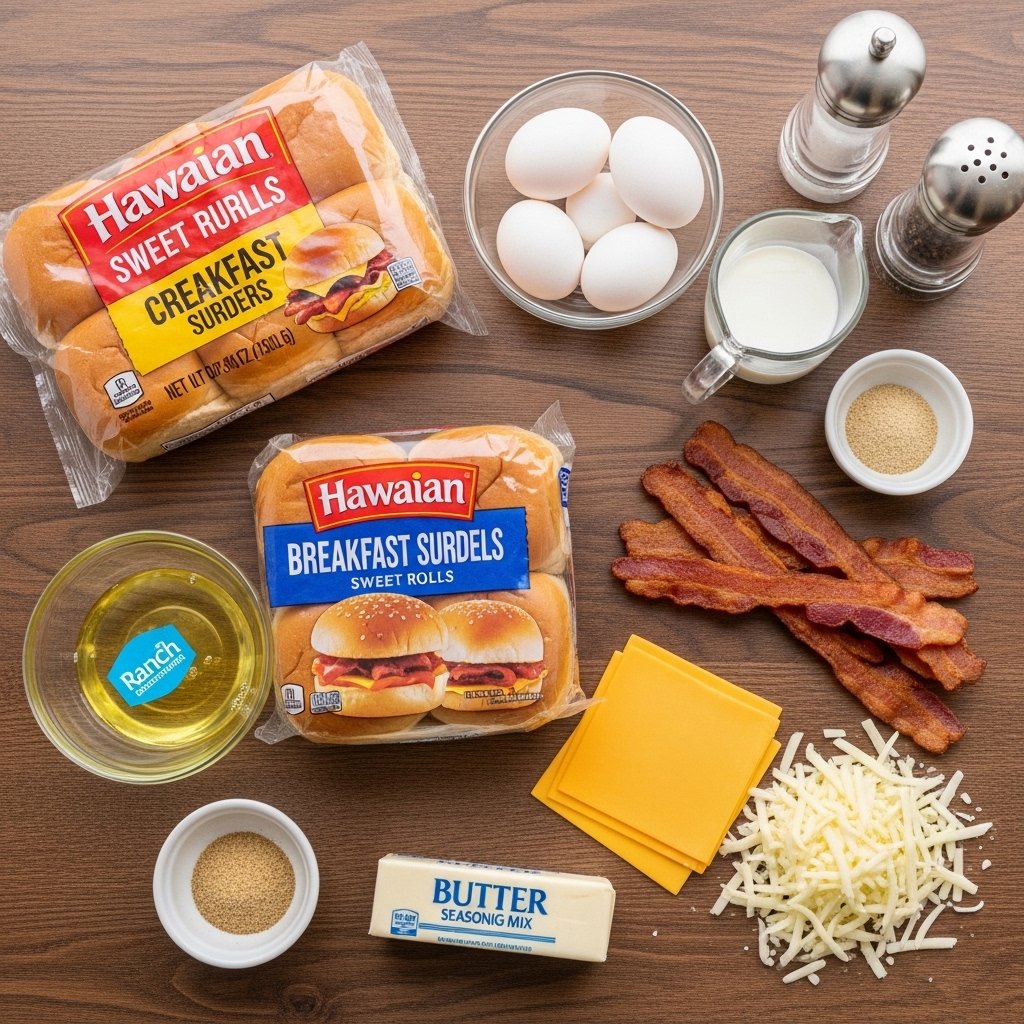
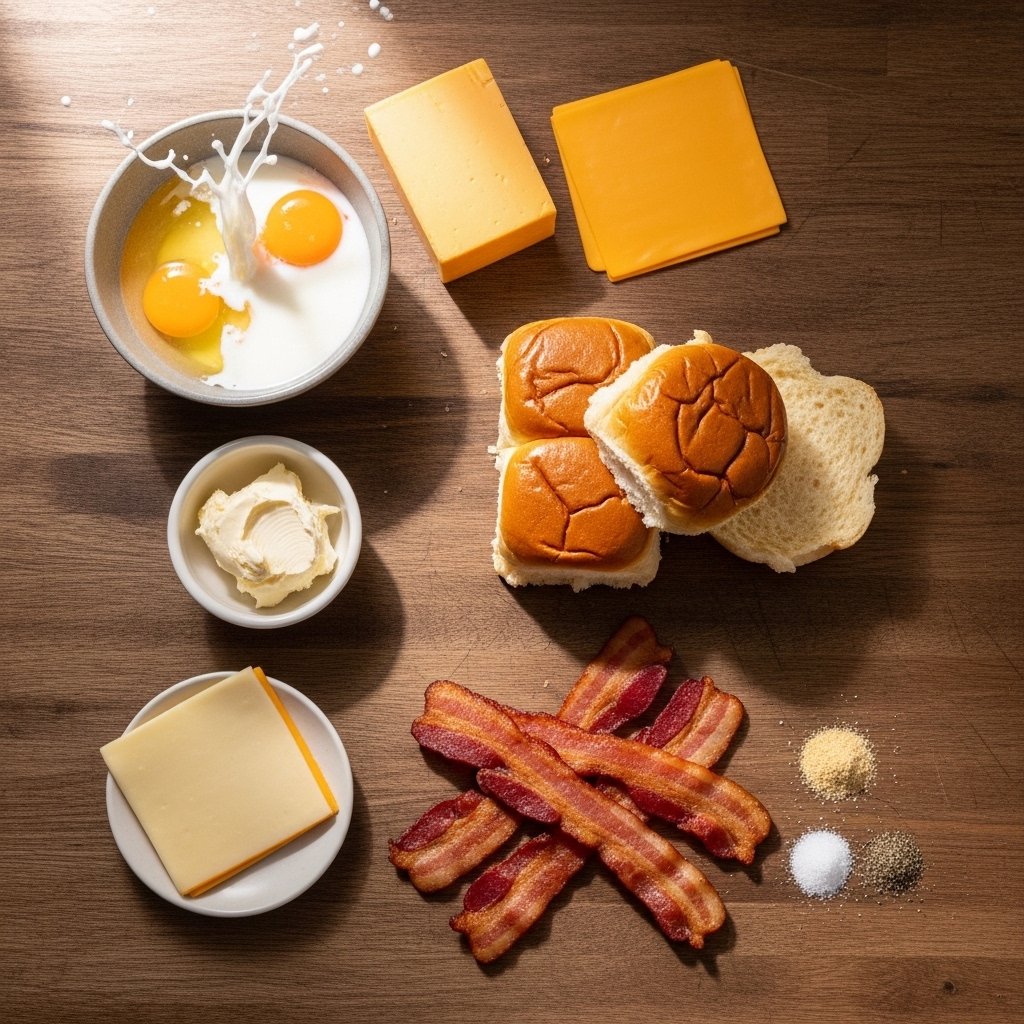
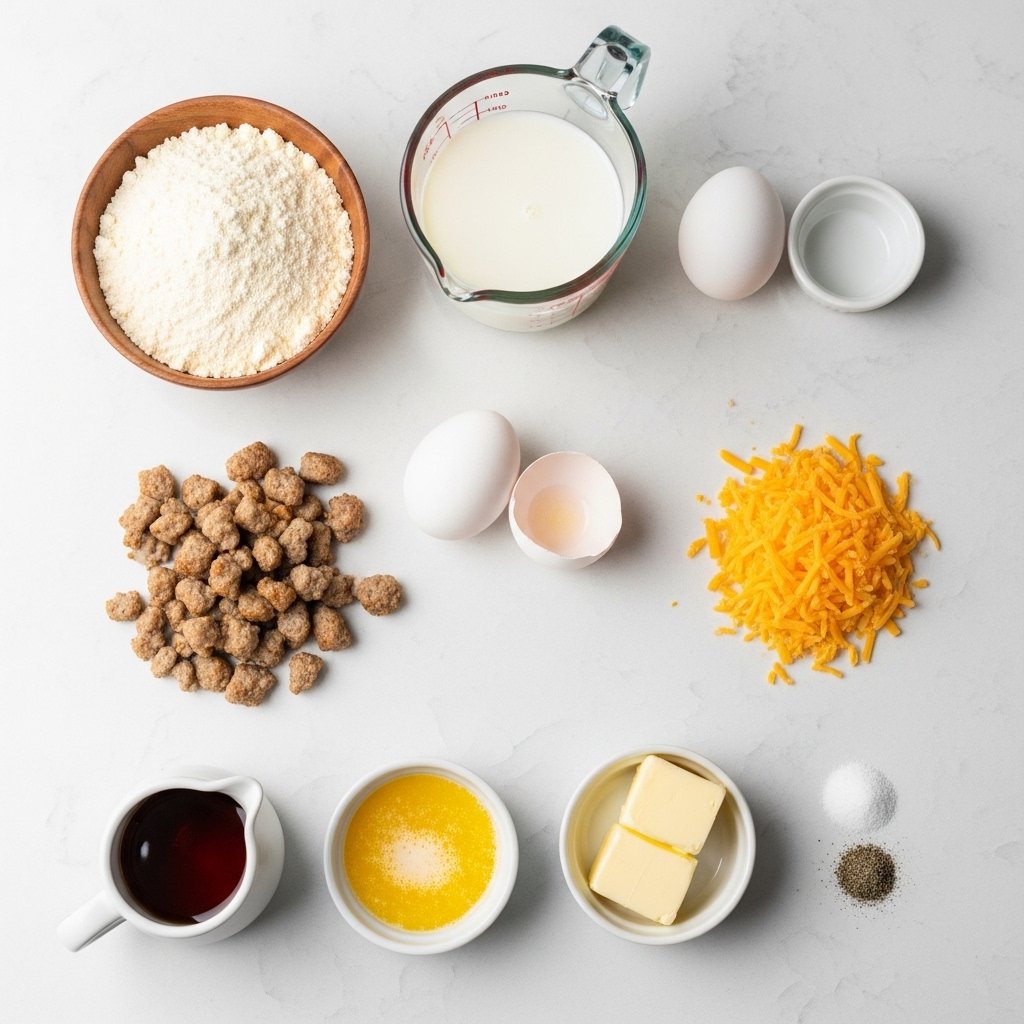
Ingredients
To make these Savory Breakfast McGriddle Bites, you’ll need:
- 1 cup pancake mix
- ¾ cup milk
- 1 large egg
- ½ cup cooked breakfast sausage (crumbled)
- ½ cup shredded cheddar cheese
- 2 tbsp maple syrup (plus more for serving)
- 1 tbsp melted butter
- ½ tsp salt
- ¼ tsp black pepper
- Cooking spray or muffin liners
Ingredient Notes
The magic of these Savory Breakfast McGriddle Bites is the balance between fluffy pancake batter and savory fillings.
The maple syrup in the batter gives that signature McGriddle sweetness, while the sausage and cheese bring a rich, savory bite.
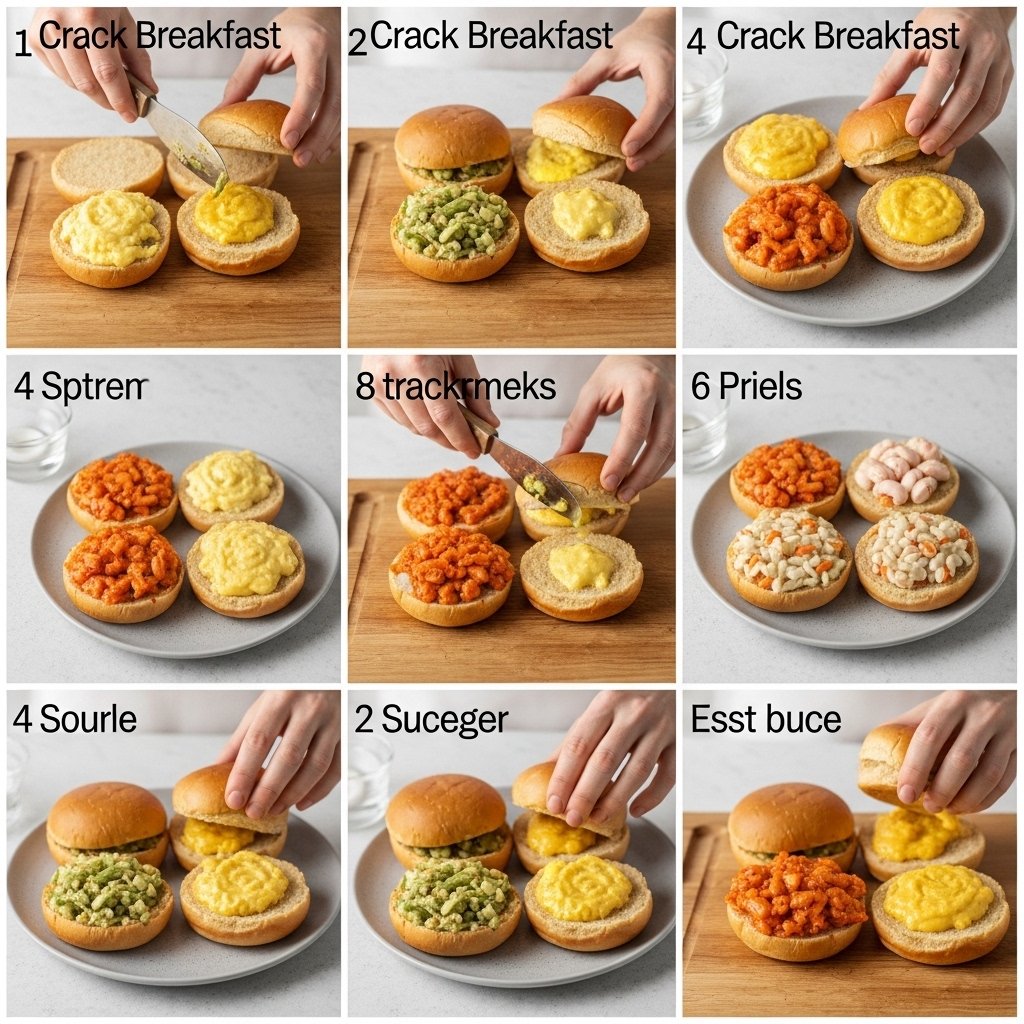
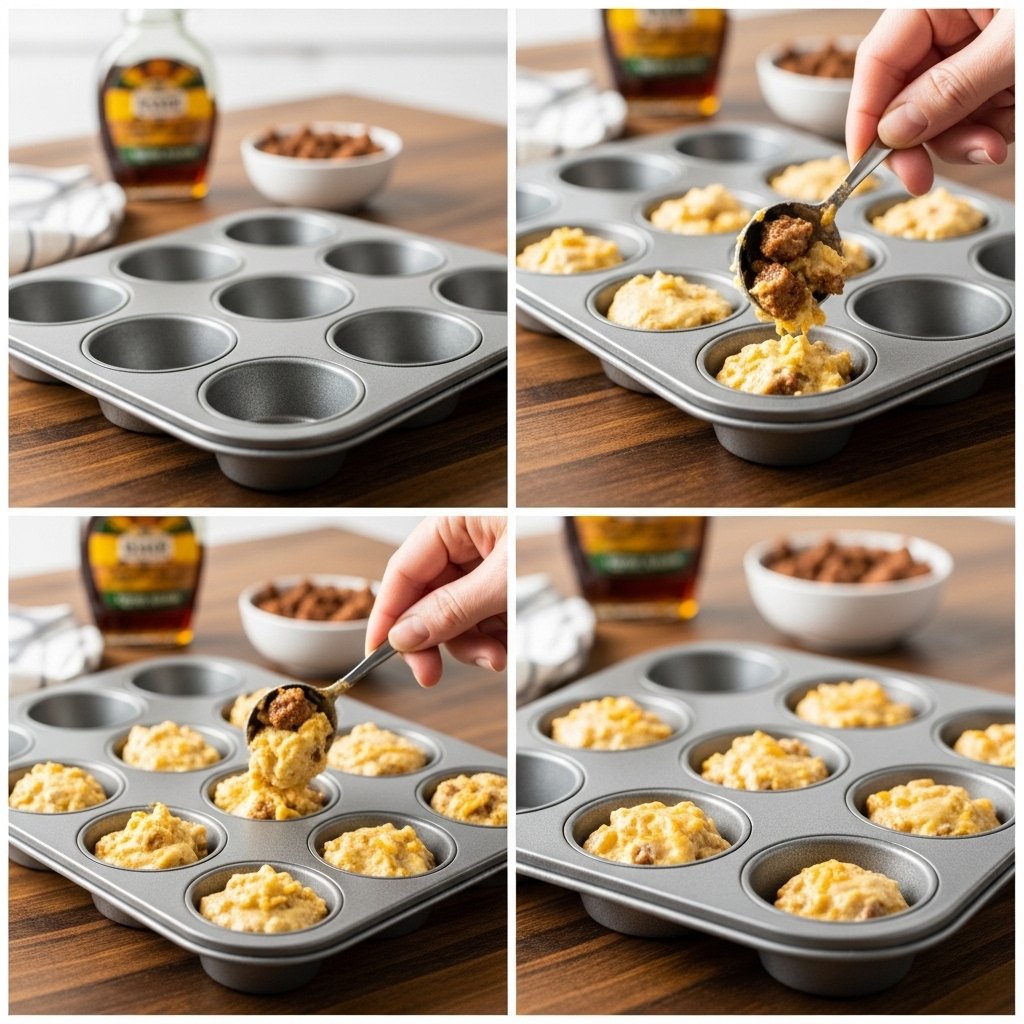
Step-by-Step Instructions
1. Preheat Oven
Preheat oven to 375°F (190°C) and grease a mini muffin pan.
2. Mix Batter
In a bowl, combine pancake mix, milk, egg, melted butter, salt, pepper, and maple syrup.
3. Add Fillings
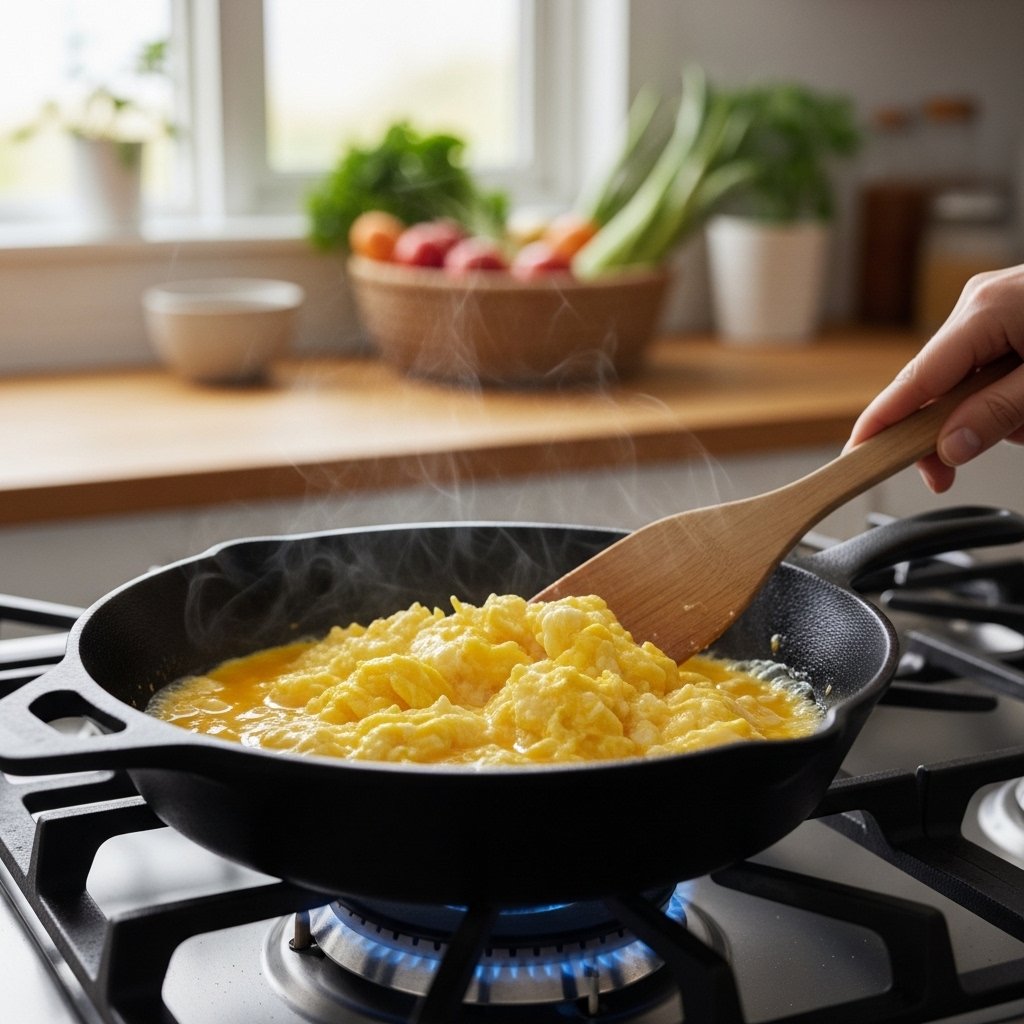
Stir in cooked sausage and shredded cheese.
4. Fill Muffin Pan
Spoon batter into mini muffin cups, filling about ¾ full.
5. Bake
Bake for 12–15 minutes until golden and set.
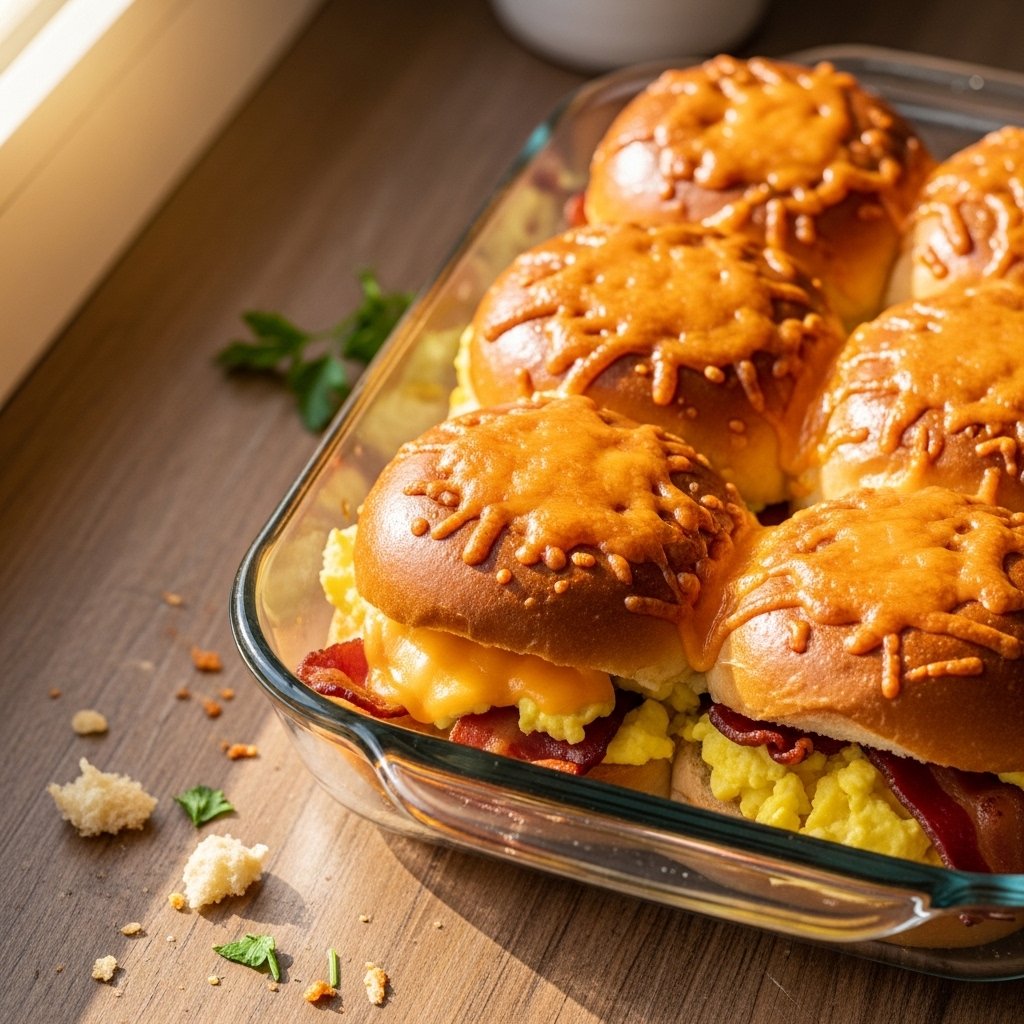
6. Serve
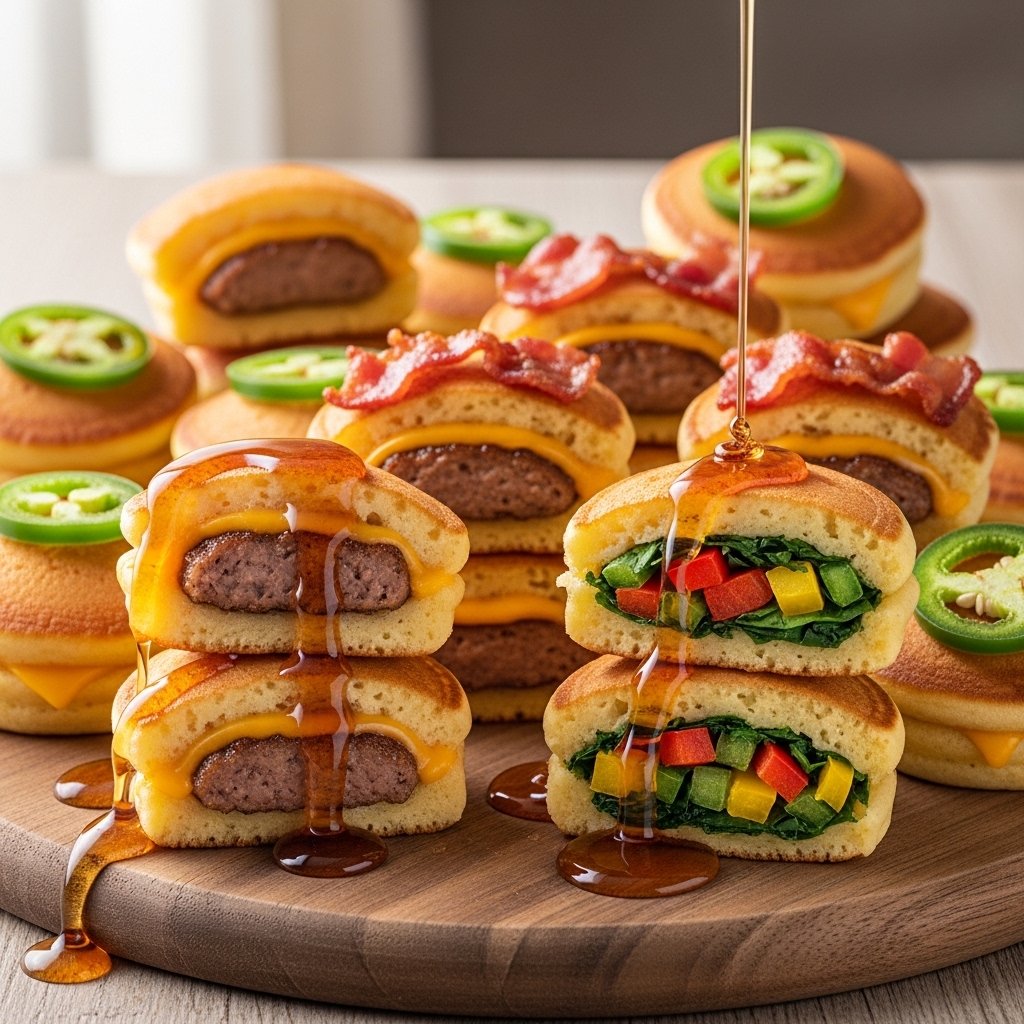
Drizzle with extra maple syrup and enjoy warm.
Tips for Perfect Results
To make the best Savory Breakfast McGriddle Bites, keep these tips in mind:
- Don’t overmix batter for fluffy texture
- Use pre-cooked sausage to save time
- Fill muffin cups evenly for consistent baking
- Let them cool slightly before removing
- Serve warm for best flavor
Variations
Try these fun twists:
Bacon Version
Swap sausage for crispy bacon bits.
Veggie Version
Add spinach, peppers, and onions.
Spicy Version
Add jalapeños or hot sauce.
Extra Cheesy Version
Mix in pepper jack or mozzarella.
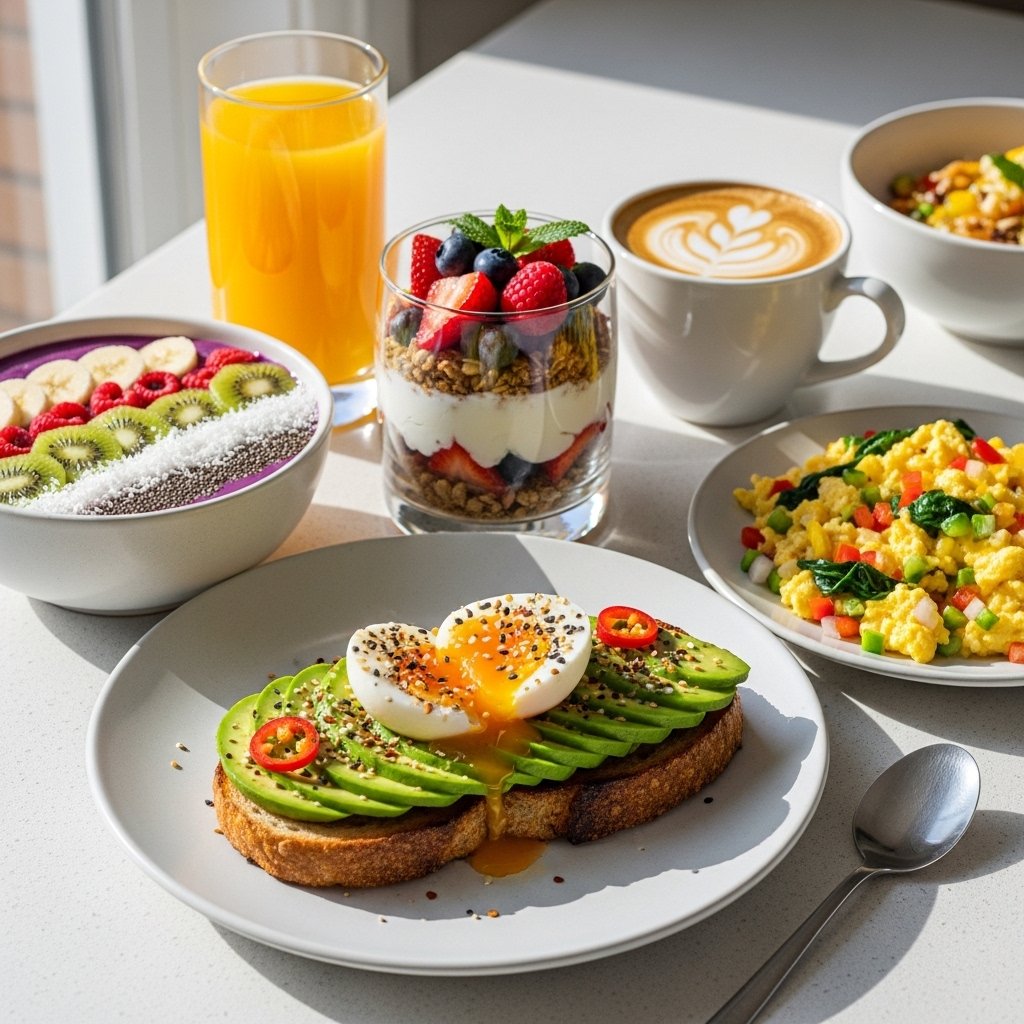
What to Serve With It
These Savory Breakfast McGriddle Bites pair perfectly with:
- Fresh fruit bowl
- Scrambled eggs
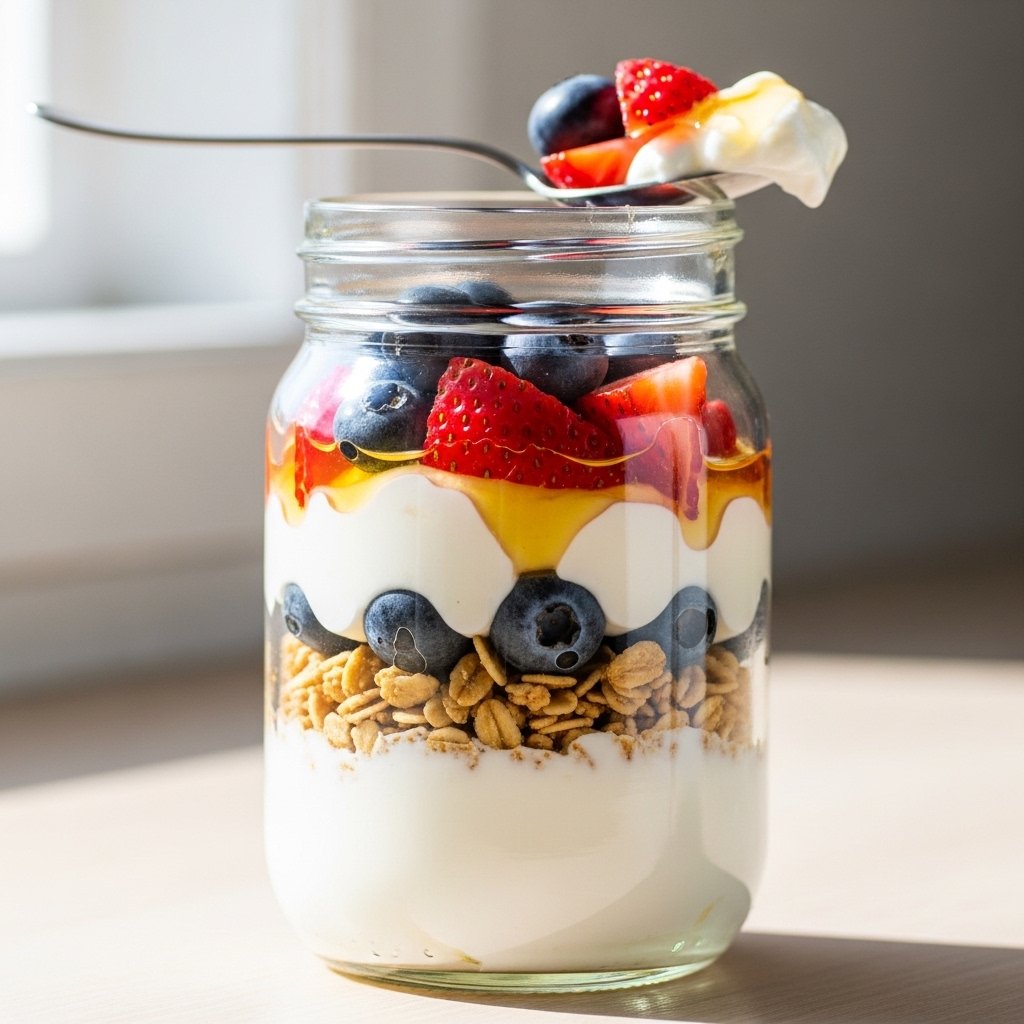
- Yogurt parfait
- Coffee or latte
- Hash browns
Storage & Reheating
- Store in airtight container up to 4 days
- Freeze up to 2 months
- Reheat in microwave for 20–30 seconds
- Oven reheat for crisp edges
- Serve with fresh syrup after reheating
Common Mistakes to Avoid
- Overfilling muffin cups
- Overbaking (makes them dry)
- Using raw sausage instead of cooked
- Skipping muffin greasing step
- Not letting bites cool slightly before removing
FAQs
Can I make McGriddle bites ahead of time?
Yes, they are perfect for meal prep and freezing.
Can I use homemade pancake batter?
Absolutely, it works just as well.
Are they sweet or savory?
They are both—sweet maple flavor with savory sausage and cheese.
Can I make them gluten-free?
Yes, just use gluten-free pancake mix.
Final Thoughts
These Savory Breakfast McGriddle Bites are the perfect mix of sweet, savory, soft, and satisfying. They’re quick to make, easy to store, and ideal for busy mornings or brunch gatherings.
Once you try them, they’ll become a regular part of your breakfast rotation. 🍁🥞🍳