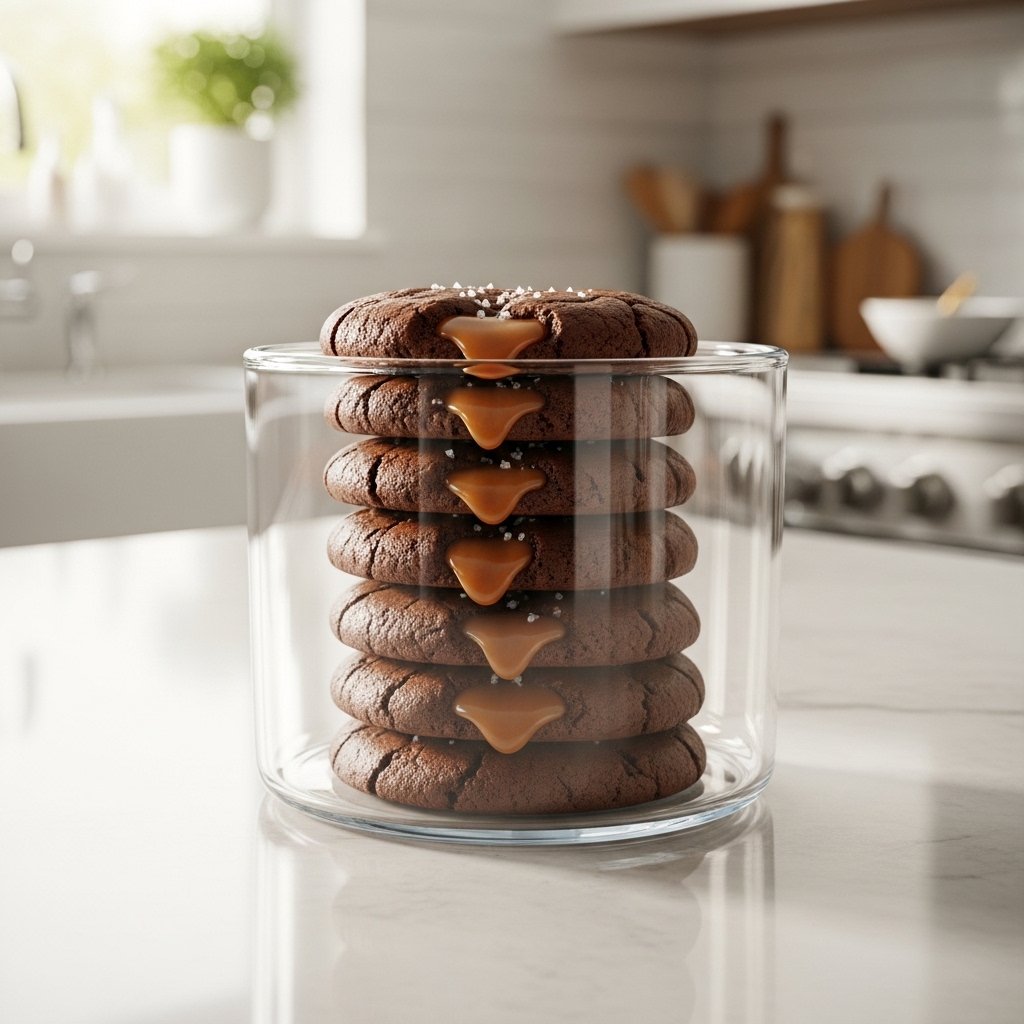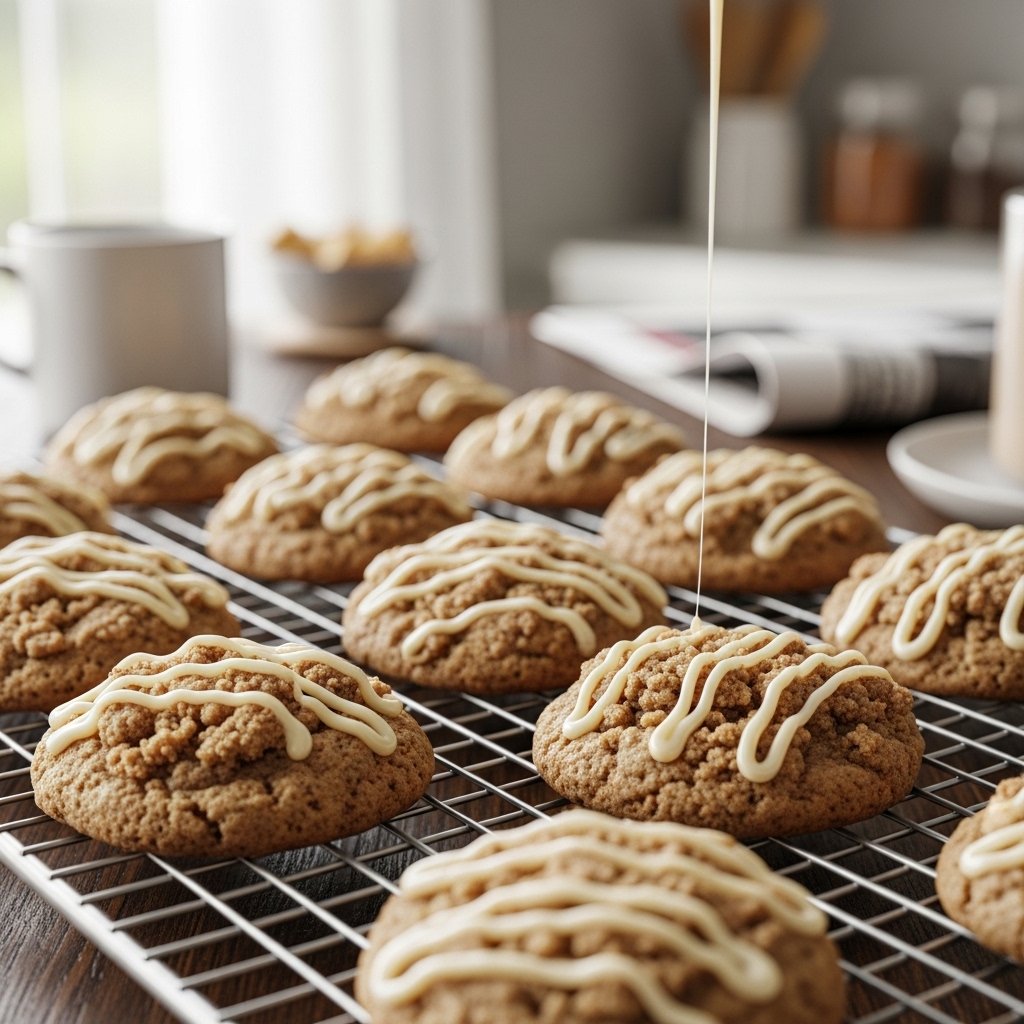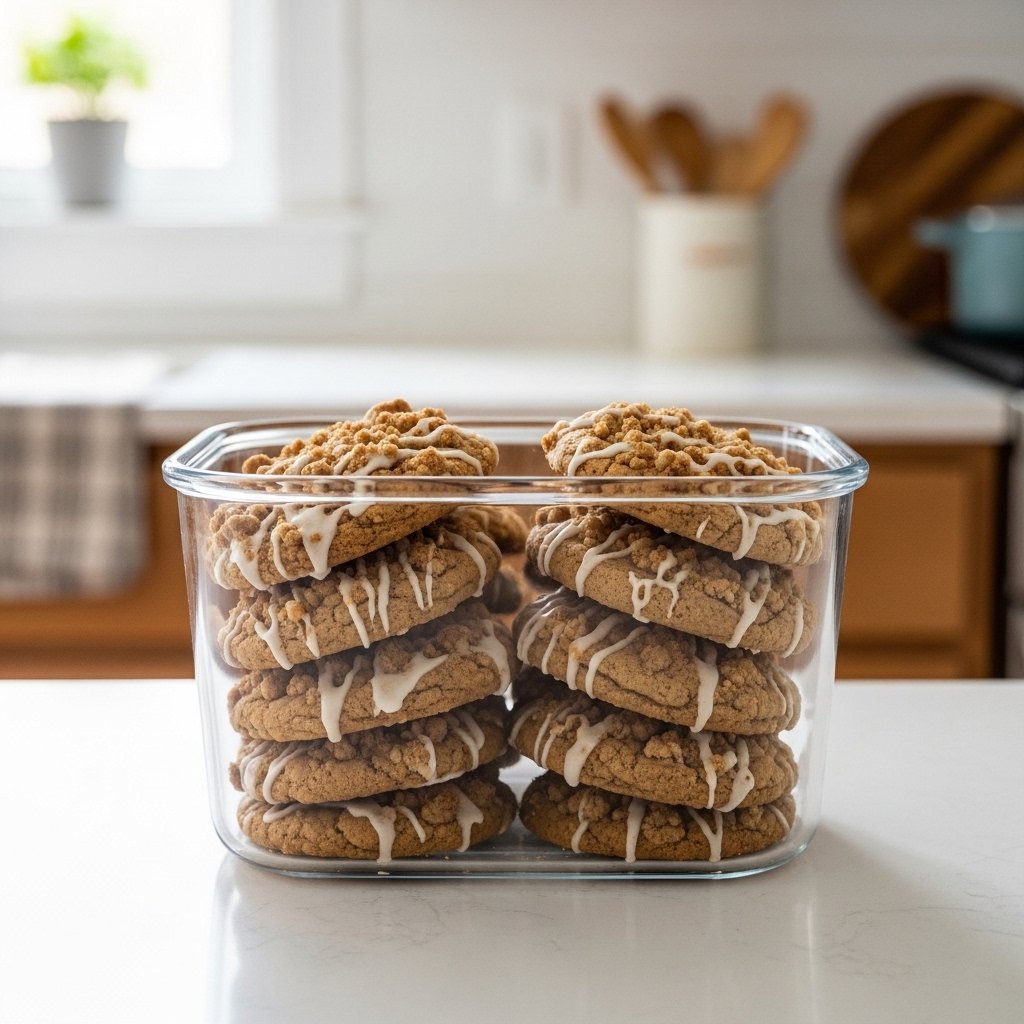
Sometimes, you just need dessert—and you need it fast. That’s exactly where these 11 quick and easy 5-minute dessert recipes come in. Whether you’re dealing with a sudden sweet craving, unexpected guests, or just want something simple after dinner, these recipes are designed to deliver maximum flavor with minimal effort.
From creamy mug cakes to refreshing fruit treats, these desserts prove you don’t need hours in the kitchen to enjoy something indulgent. Let’s dive into these quick, easy, and absolutely delicious options that anyone can make.

Why You’ll Love These 5-Minute Desserts
These 11 quick and easy 5-minute dessert recipes are perfect for busy lifestyles.
- Ready in minutes
- Minimal ingredients required
- No complicated techniques
- Perfect for beginners
- Easily customizable
They’re ideal for anyone who wants delicious desserts without the hassle.
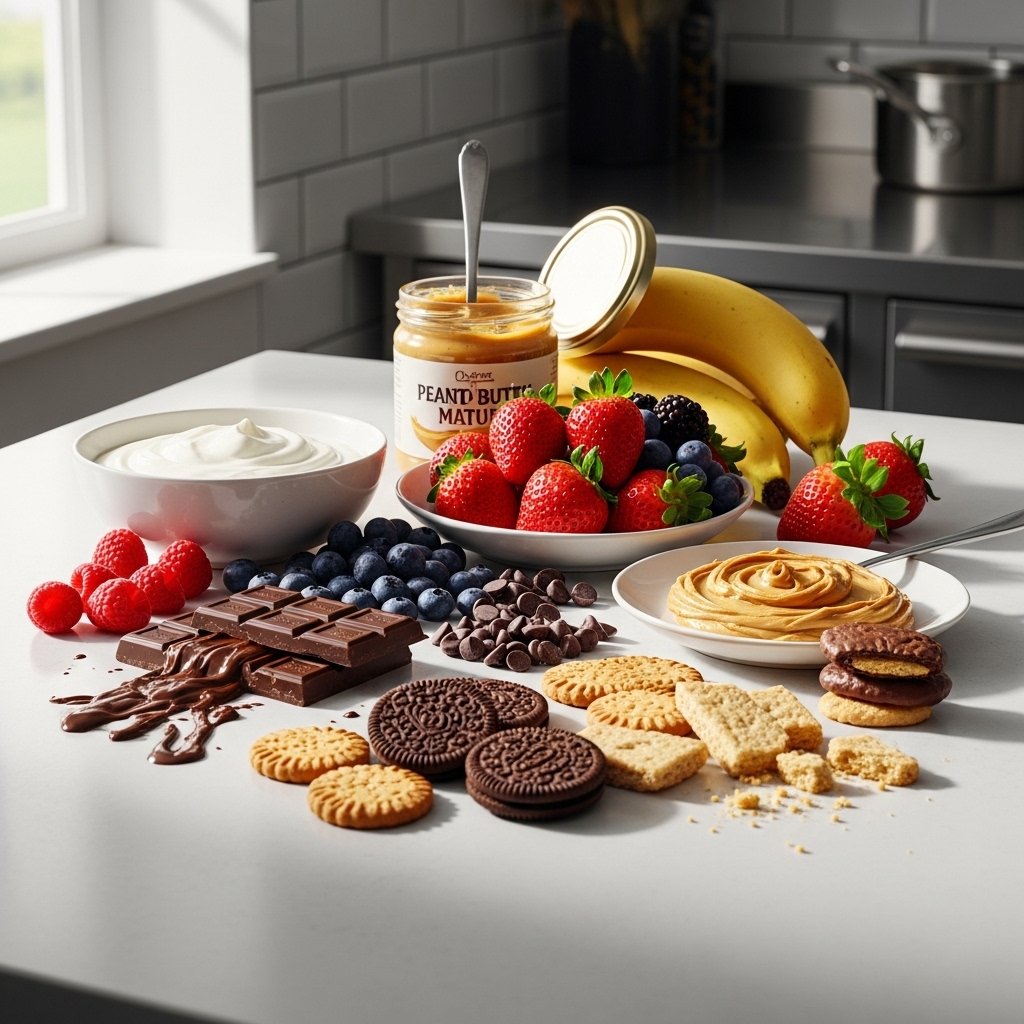
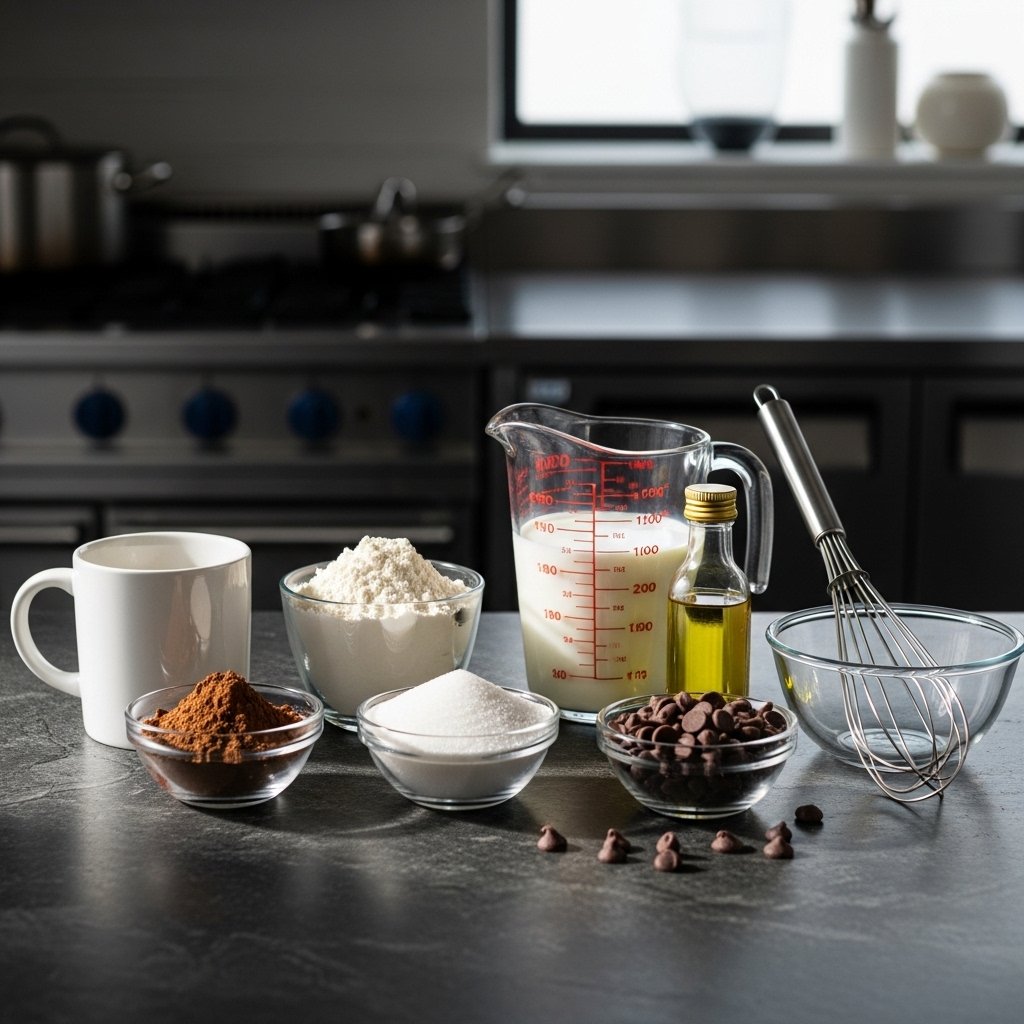
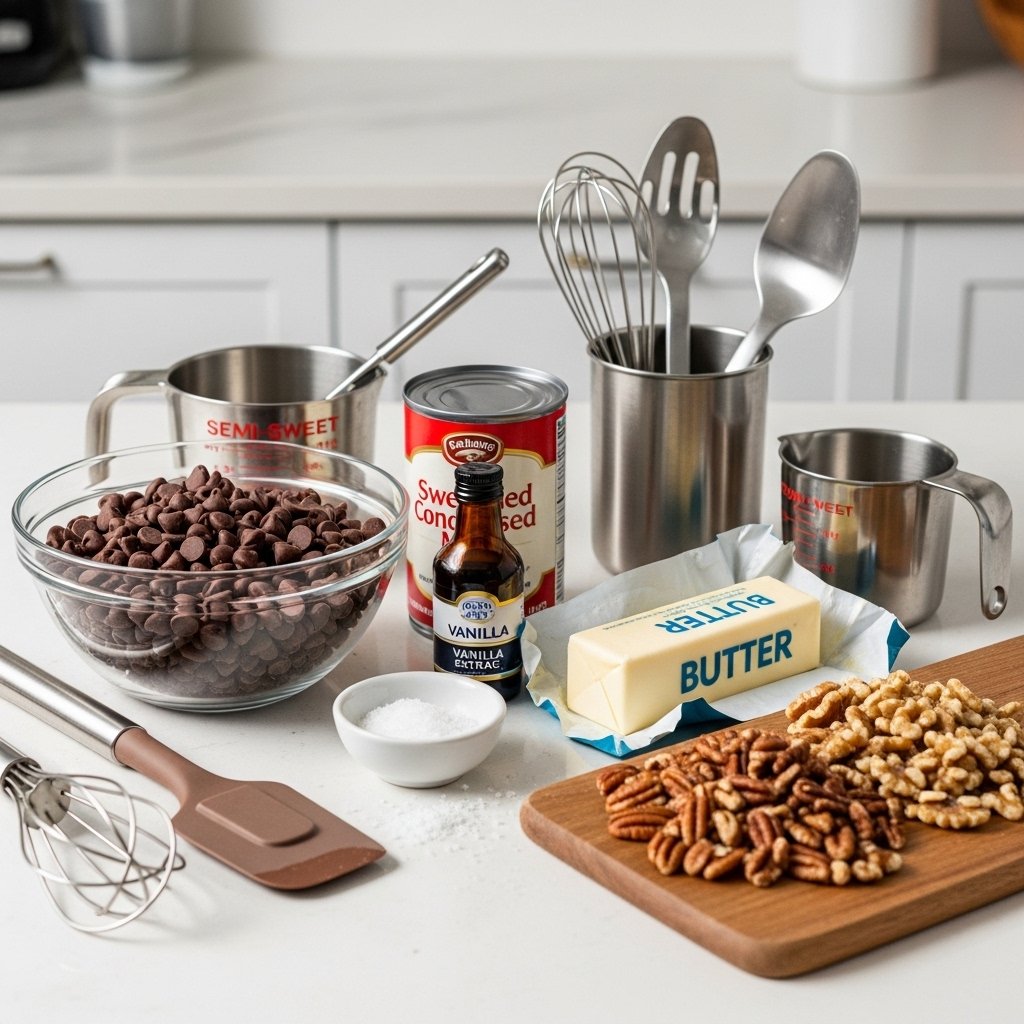
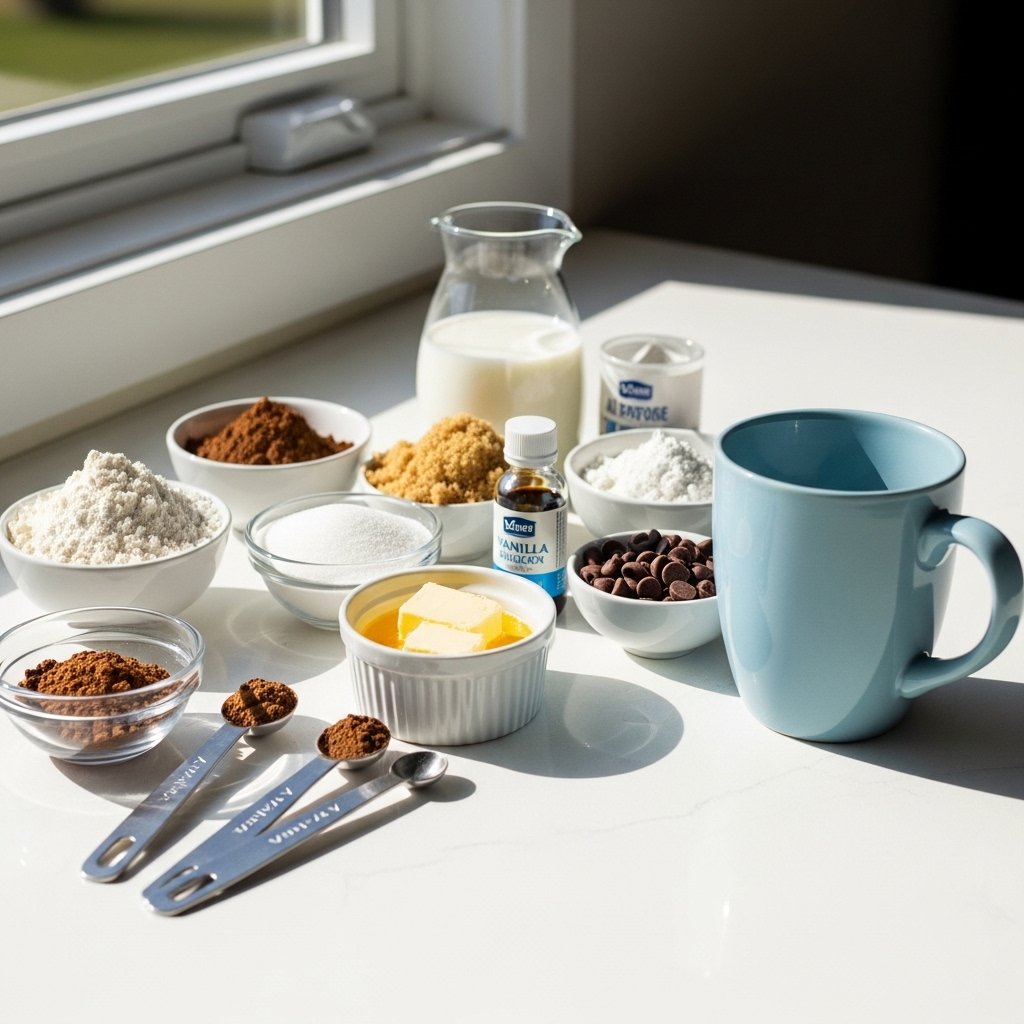
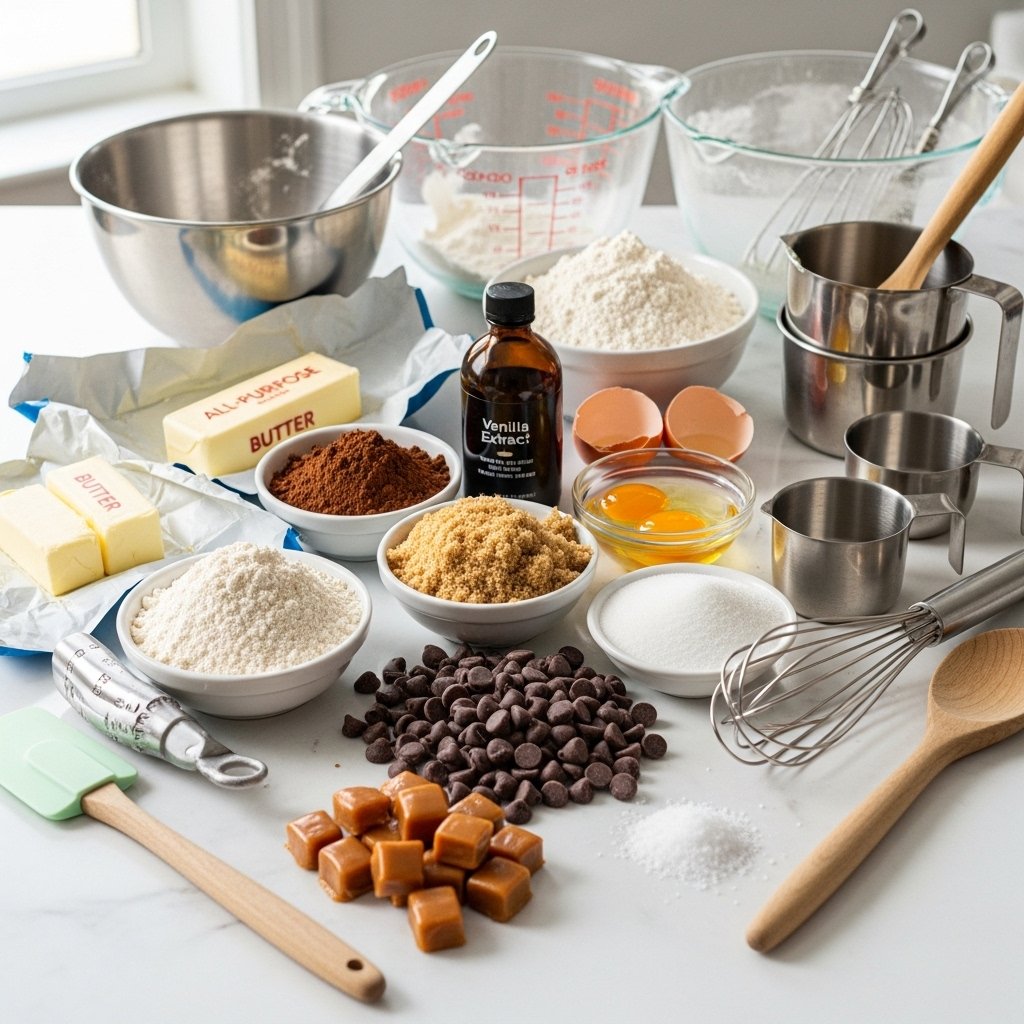
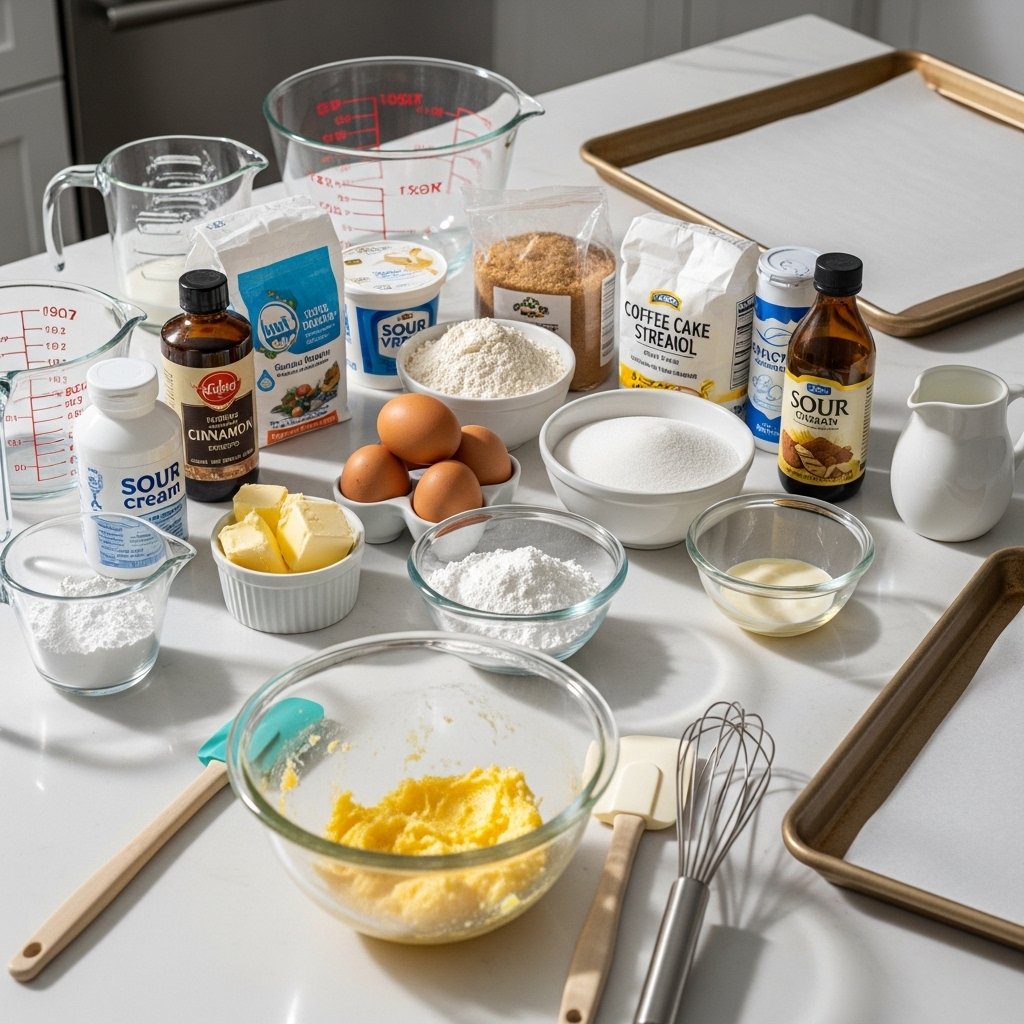
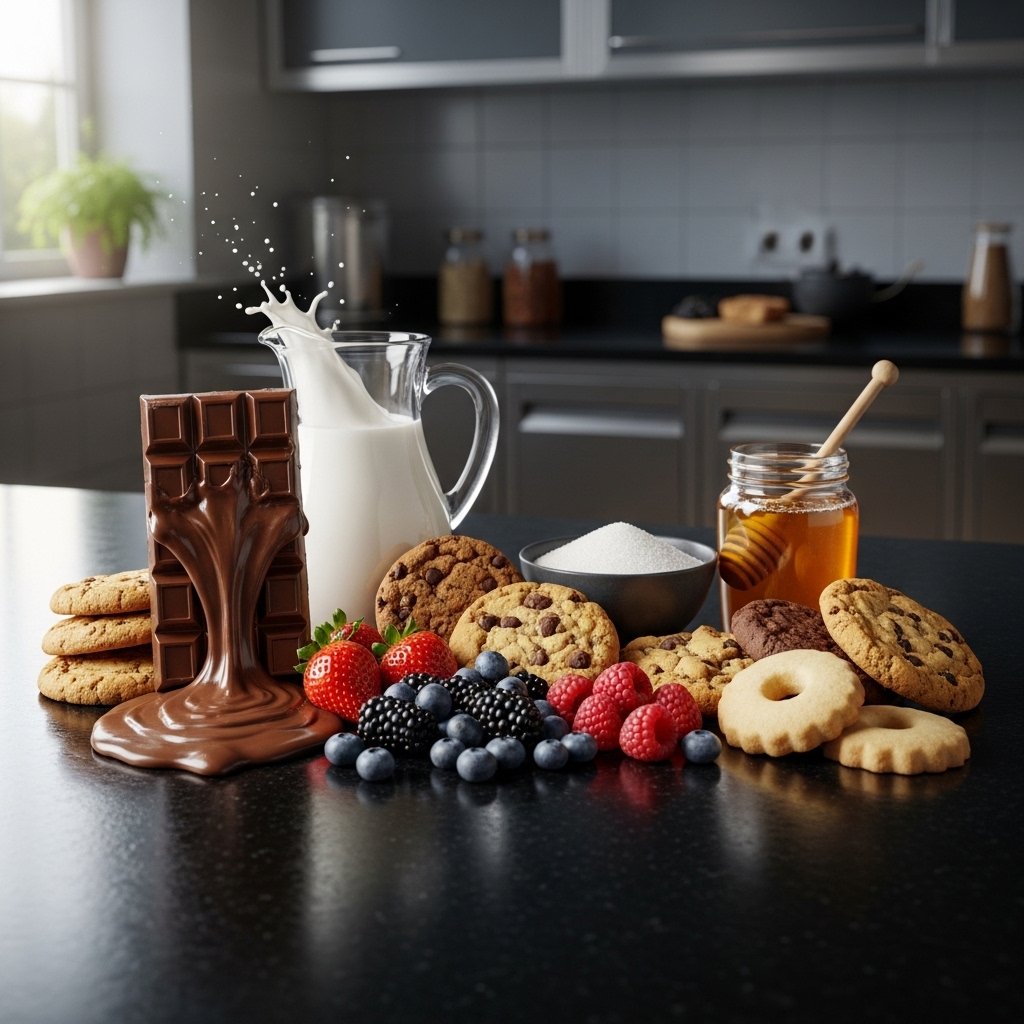
Essential Ingredients for Quick Desserts
To make these 11 quick and easy 5-minute dessert recipes, keep these basics on hand:
- Cocoa powder and chocolate chips
- Milk, cream, or yogurt
- Fresh fruits like berries and bananas
- Cookies or crackers
- Sugar, honey, or syrup
Ingredient Notes
The beauty of these 11 quick and easy 5-minute dessert recipes is flexibility. You can swap ingredients based on what you have at home. For example, yogurt can replace cream, and honey can be used instead of sugar.
Fresh, high-quality ingredients will always give you the best flavor, even in quick recipes.
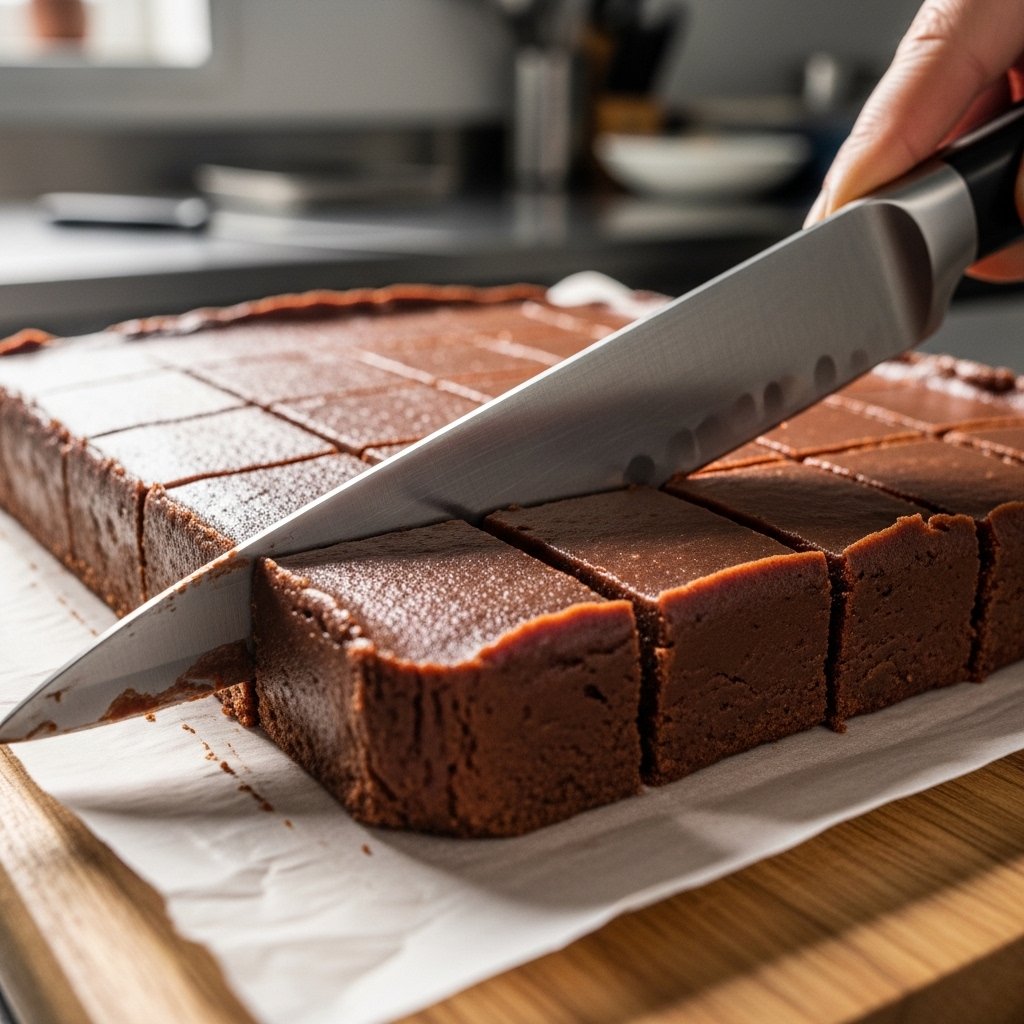
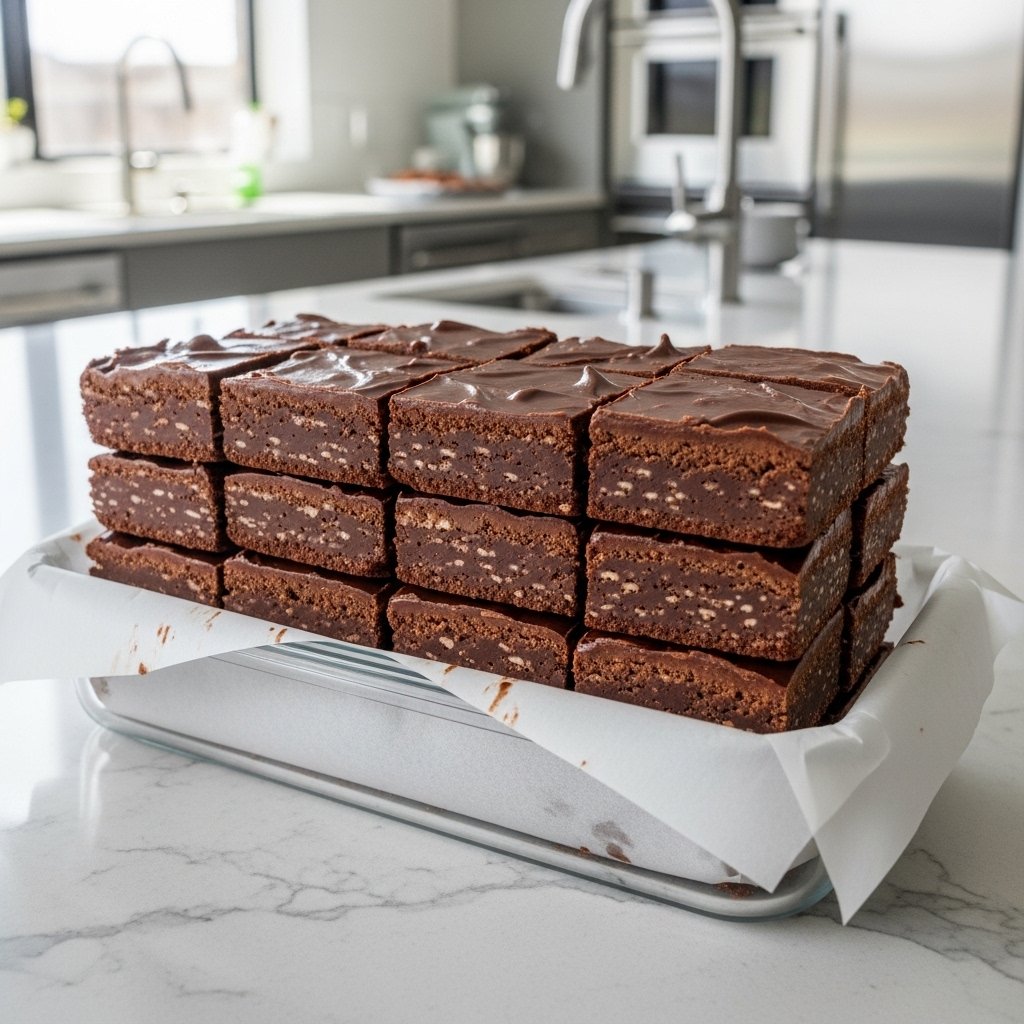
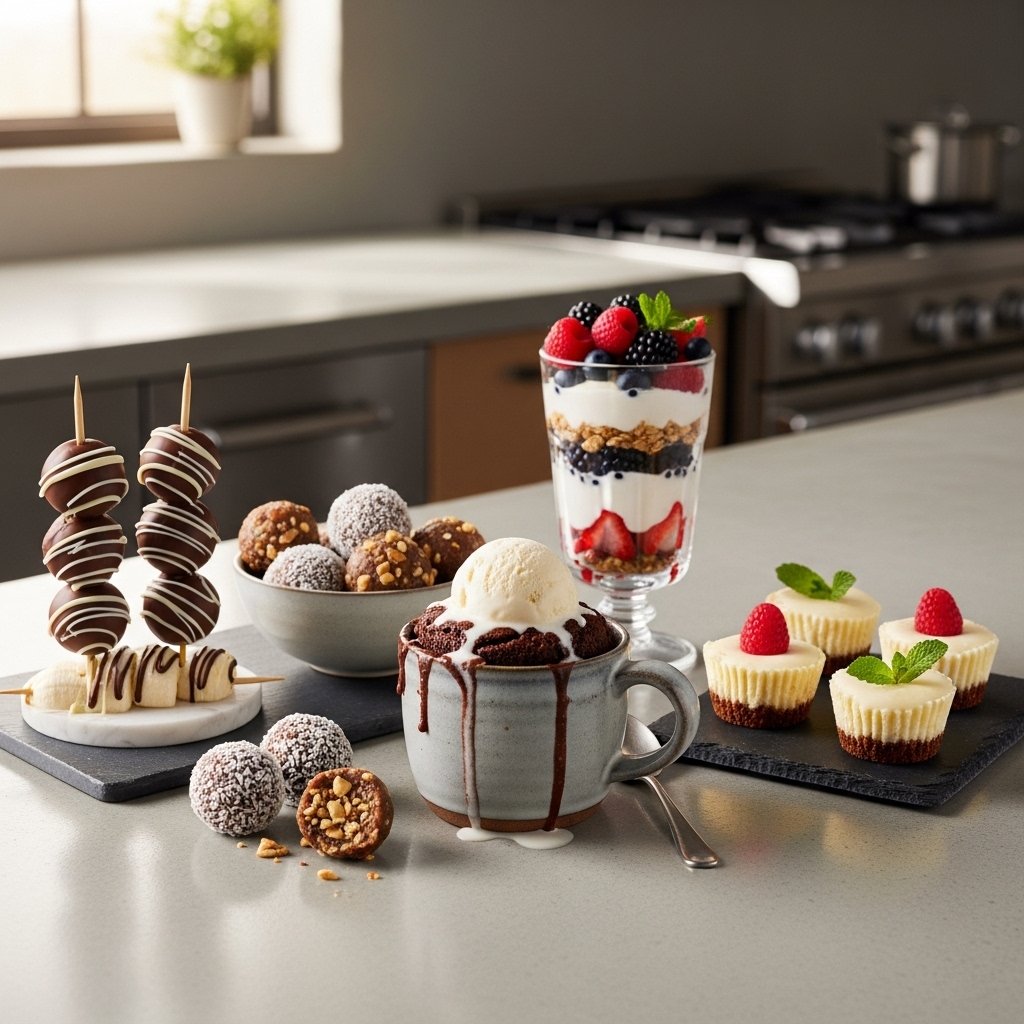
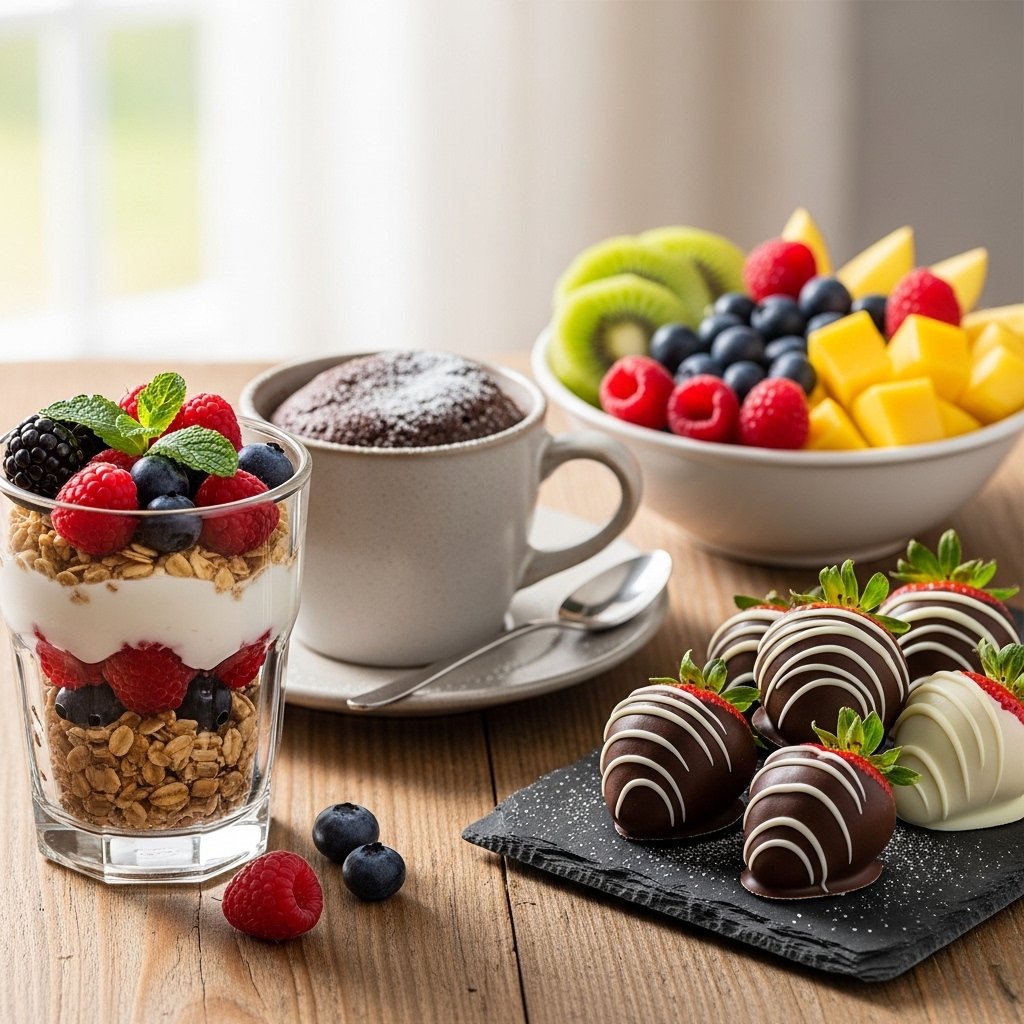
11 Quick and Easy 5-Minute Dessert Recipes
Here are some of the best ideas to try:
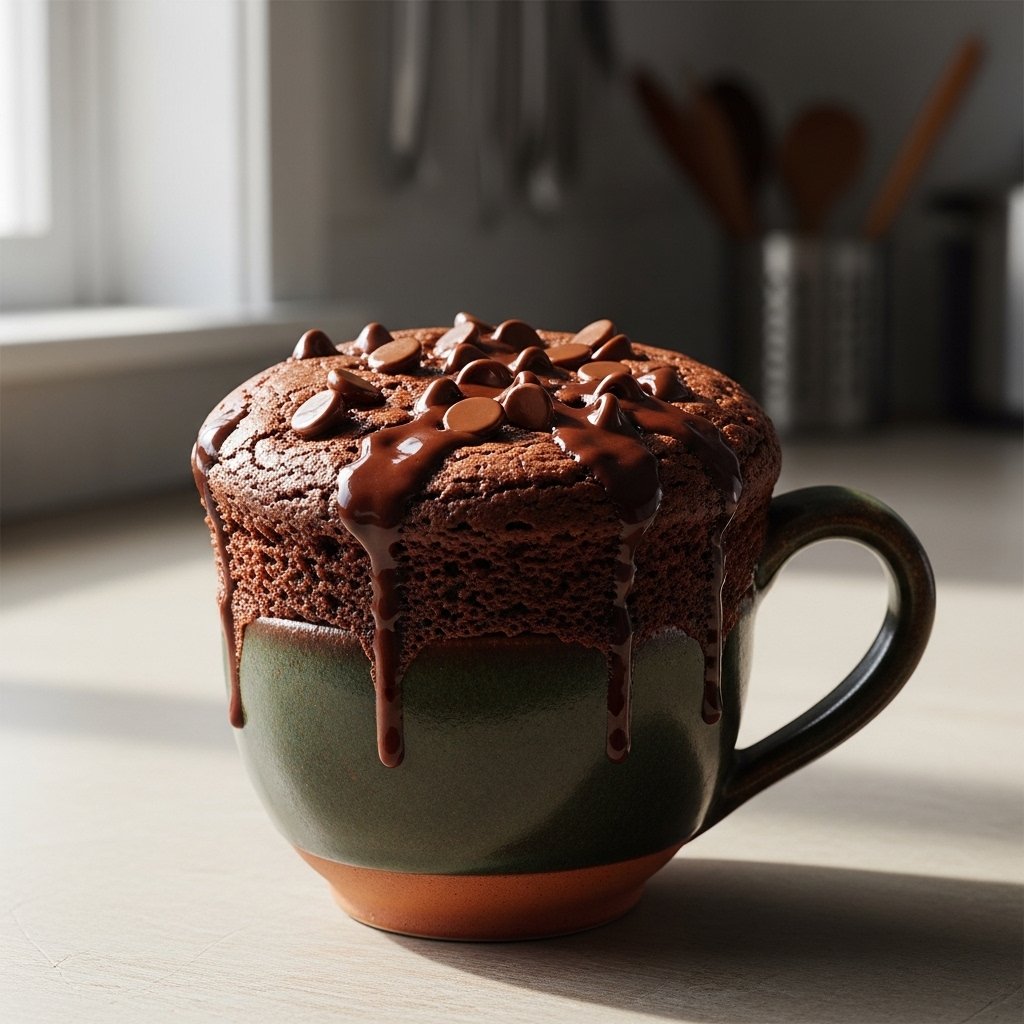
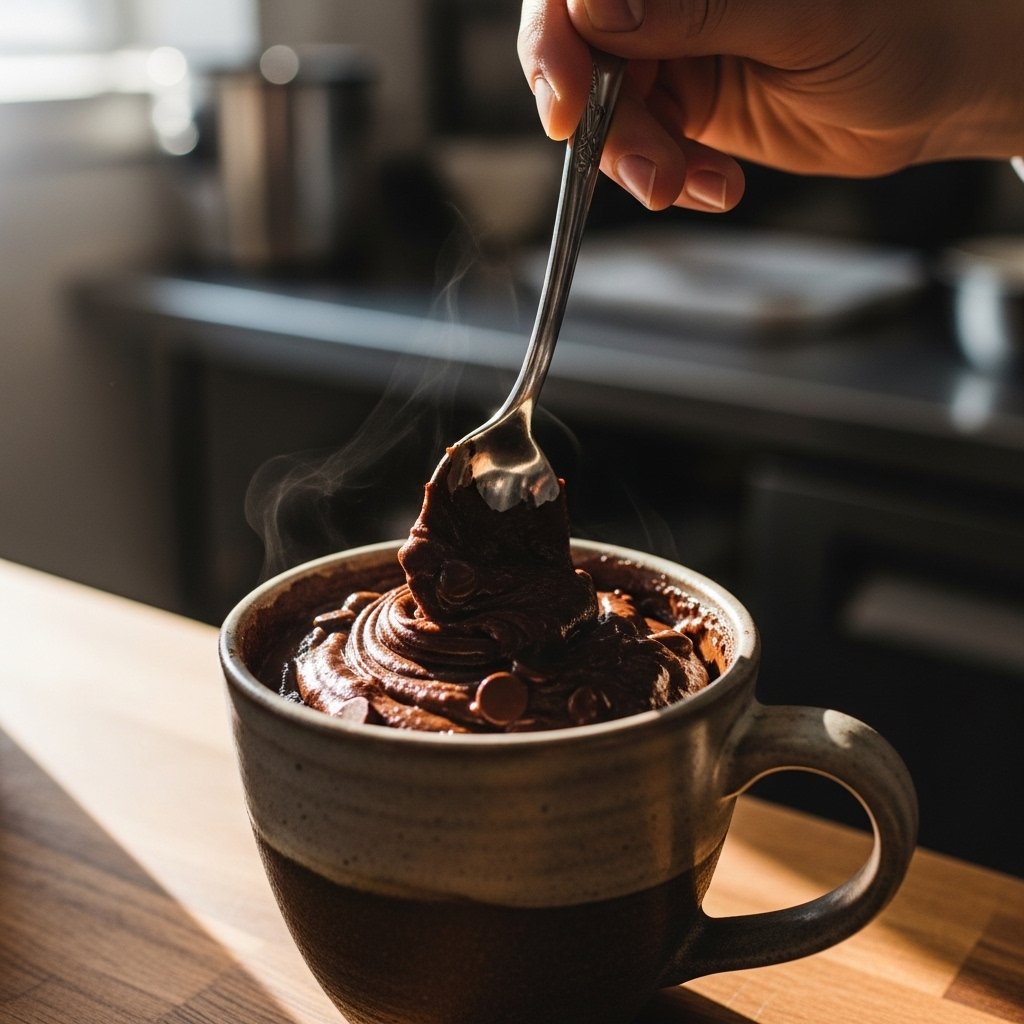
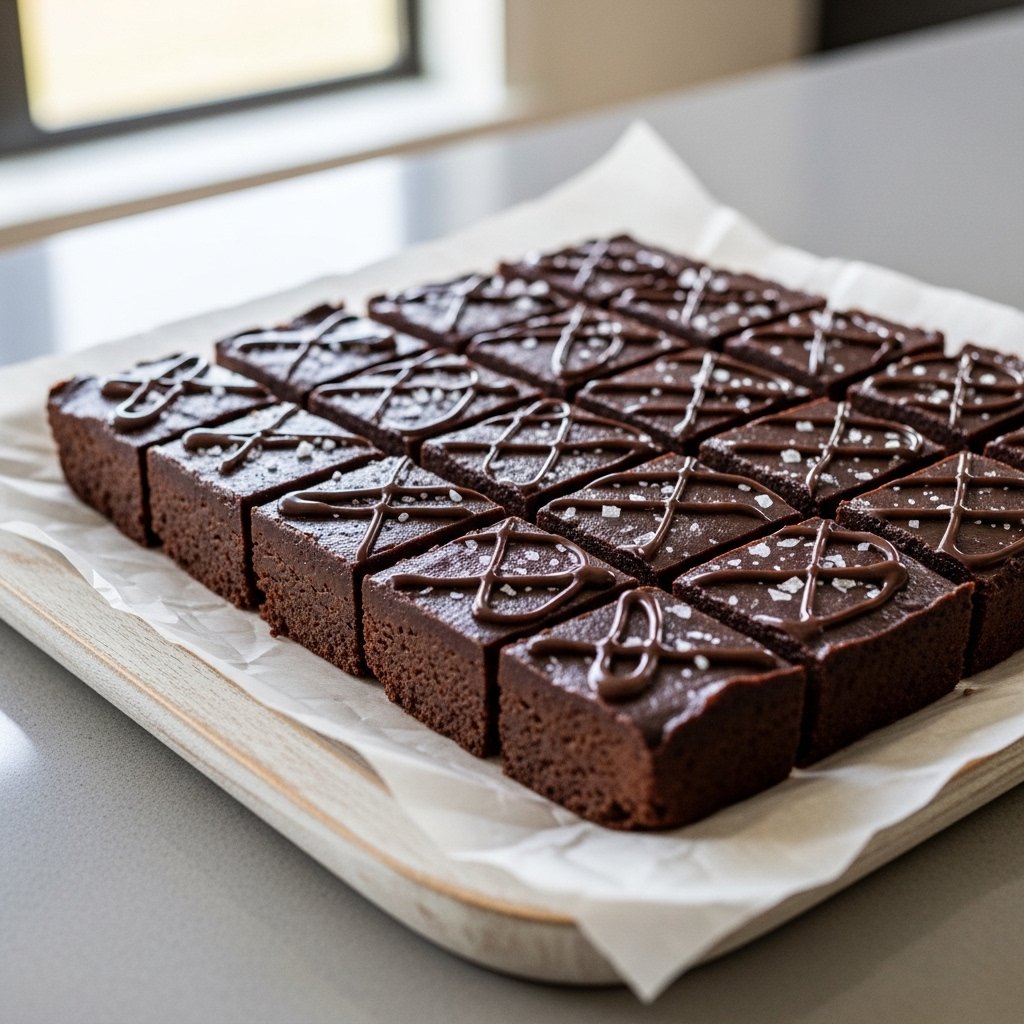
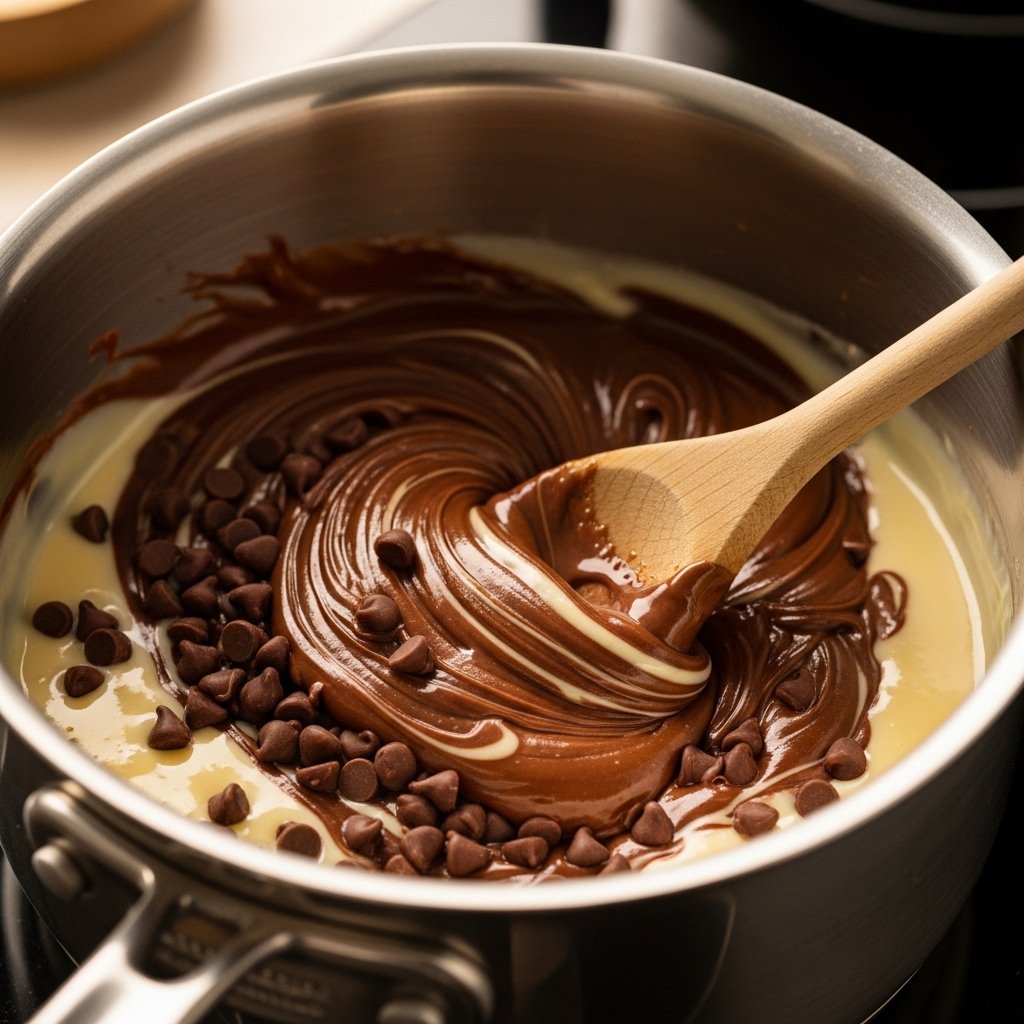
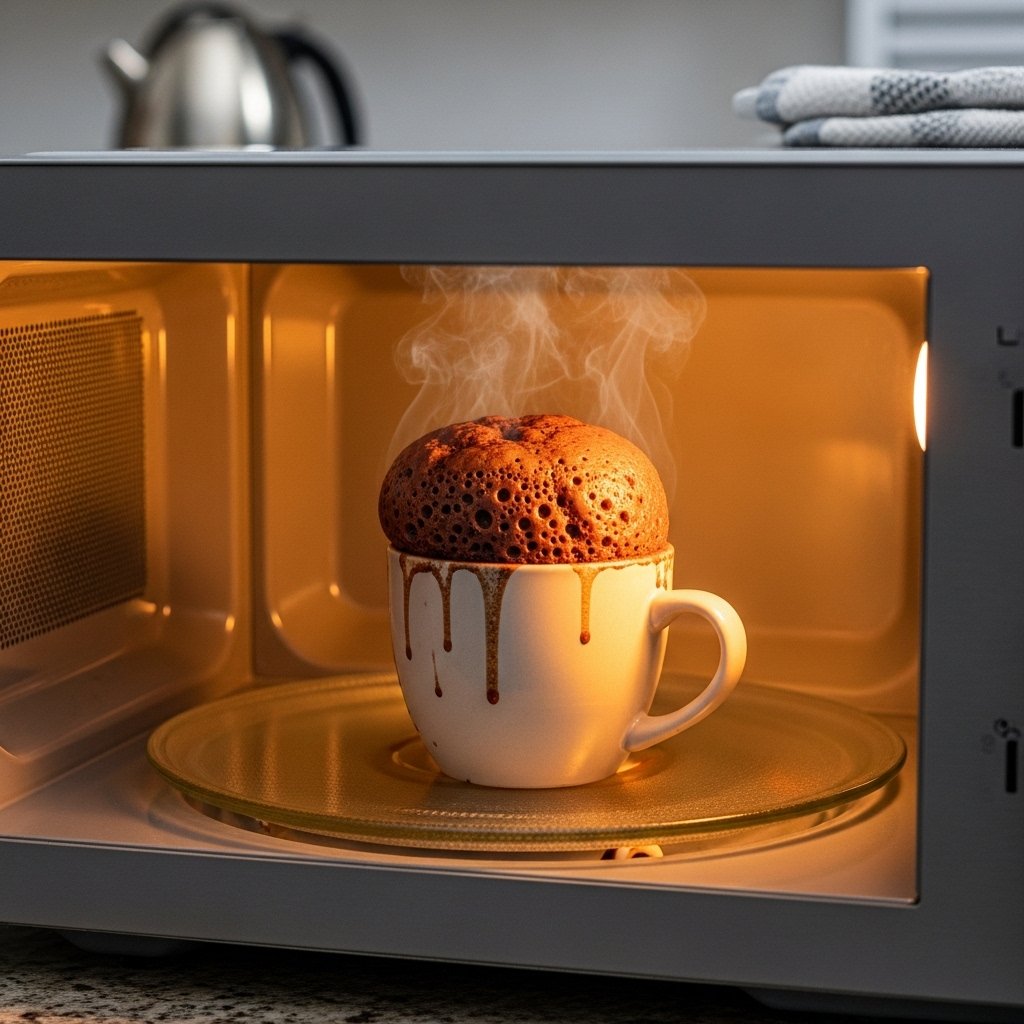
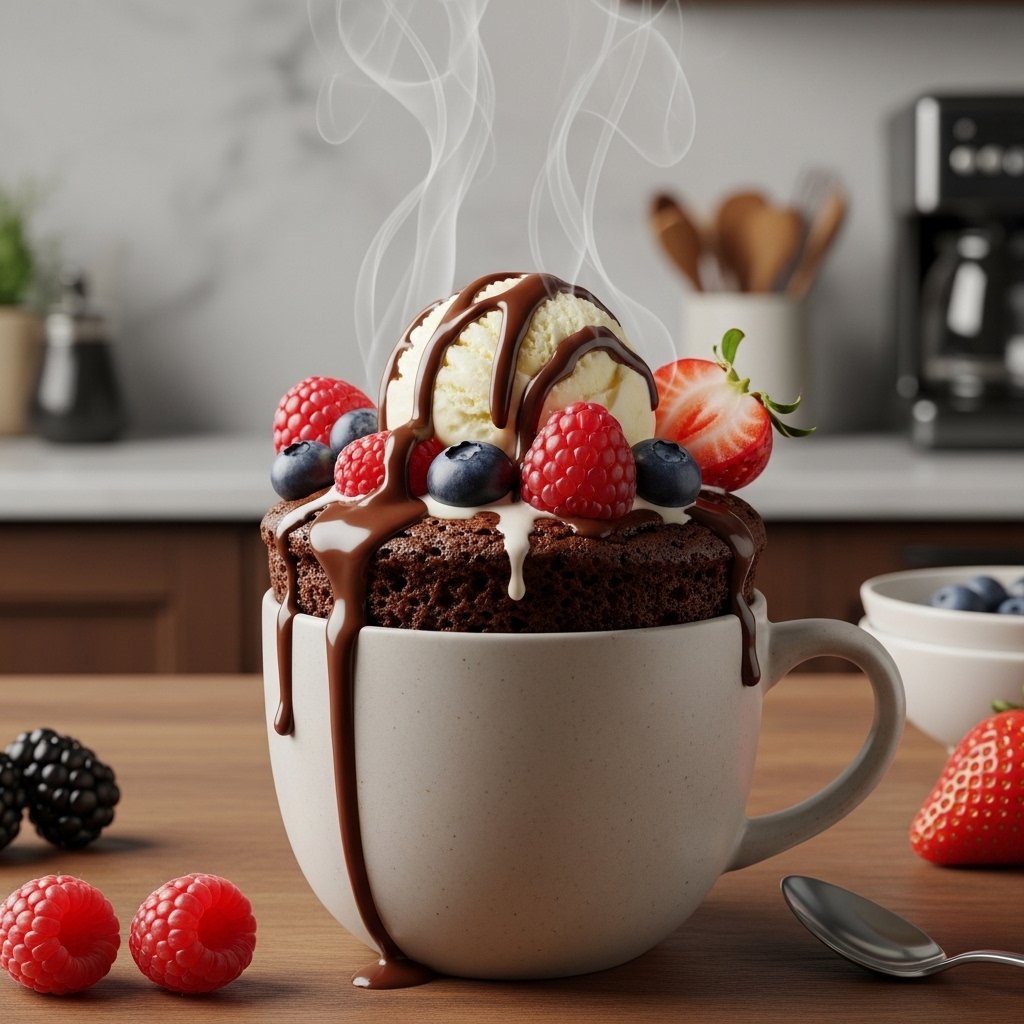
1. Chocolate Mug Cake
A rich, warm dessert made in the microwave.
2. Strawberry Yogurt Parfait
Layered with fresh fruit and creamy yogurt.
3. Banana Peanut Butter Bites
Simple, healthy, and satisfying.
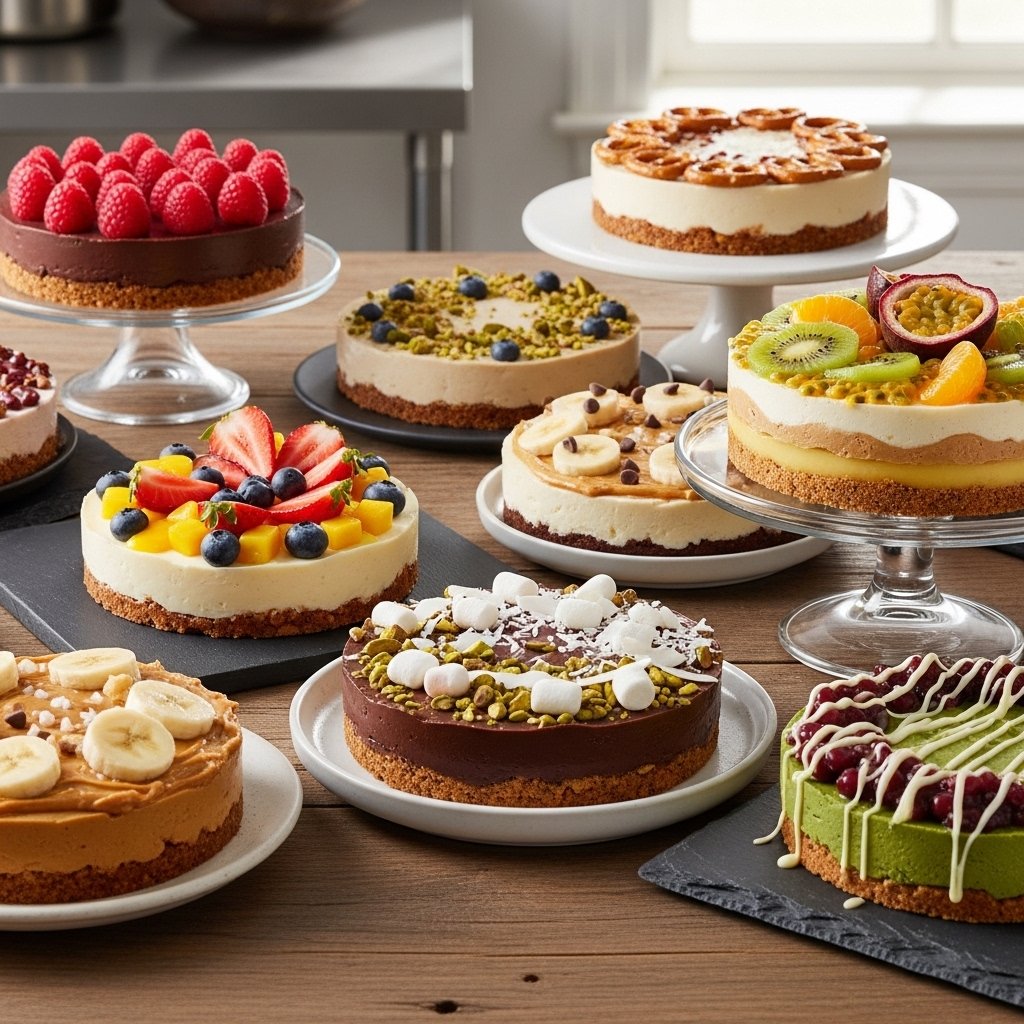
4. No-Bake Cheesecake Cups
Creamy and indulgent with a cookie base.
5. Chocolate-Dipped Strawberries
Elegant and easy.
6. Ice Cream Sundae
Classic and customizable.
7. Oreo Mug Dessert
Crushed cookies mixed with milk and microwaved.
8. Fruit Salad with Honey
Refreshing and naturally sweet.
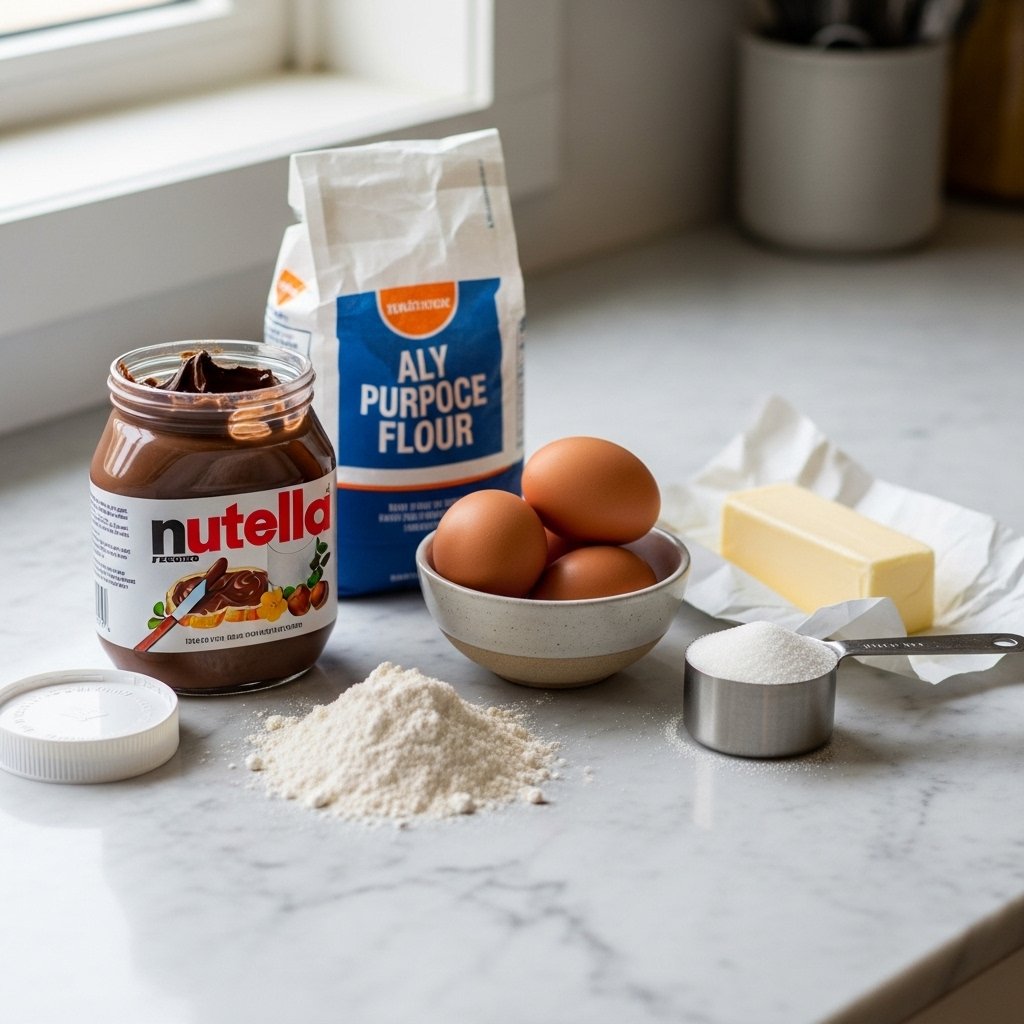
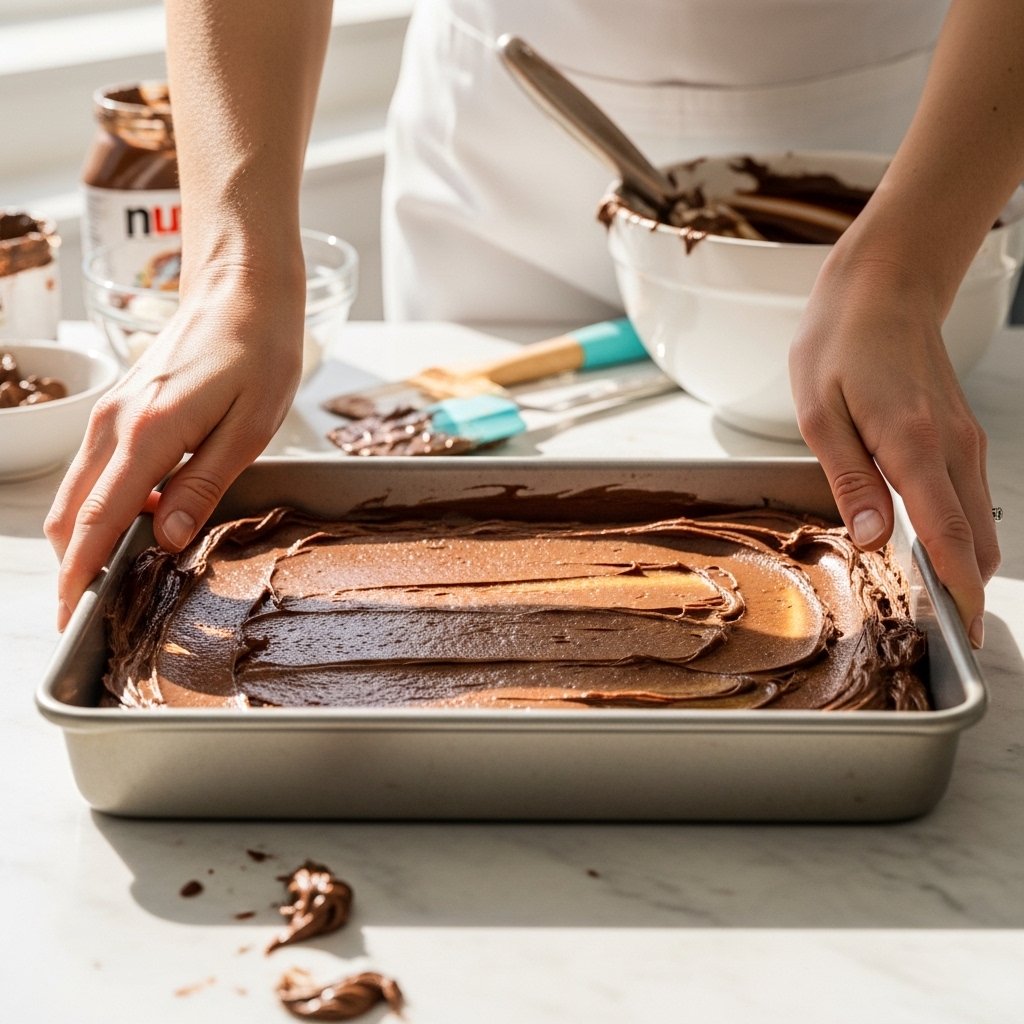
9. Nutella Toast Dessert
Quick and chocolatey.
10. Rice Cake with Peanut Butter & Chocolate
Crunchy and satisfying.
11. Instant Pudding Delight
Smooth and creamy in minutes.
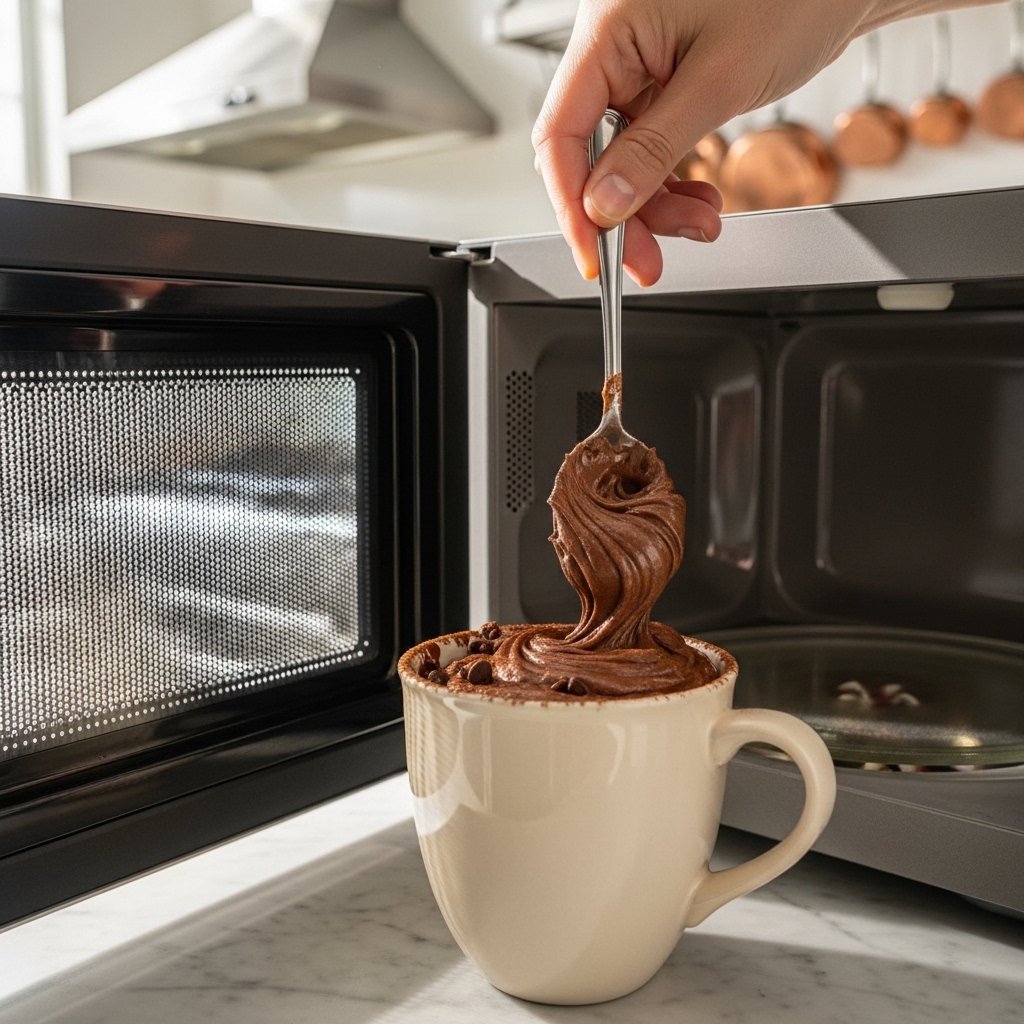
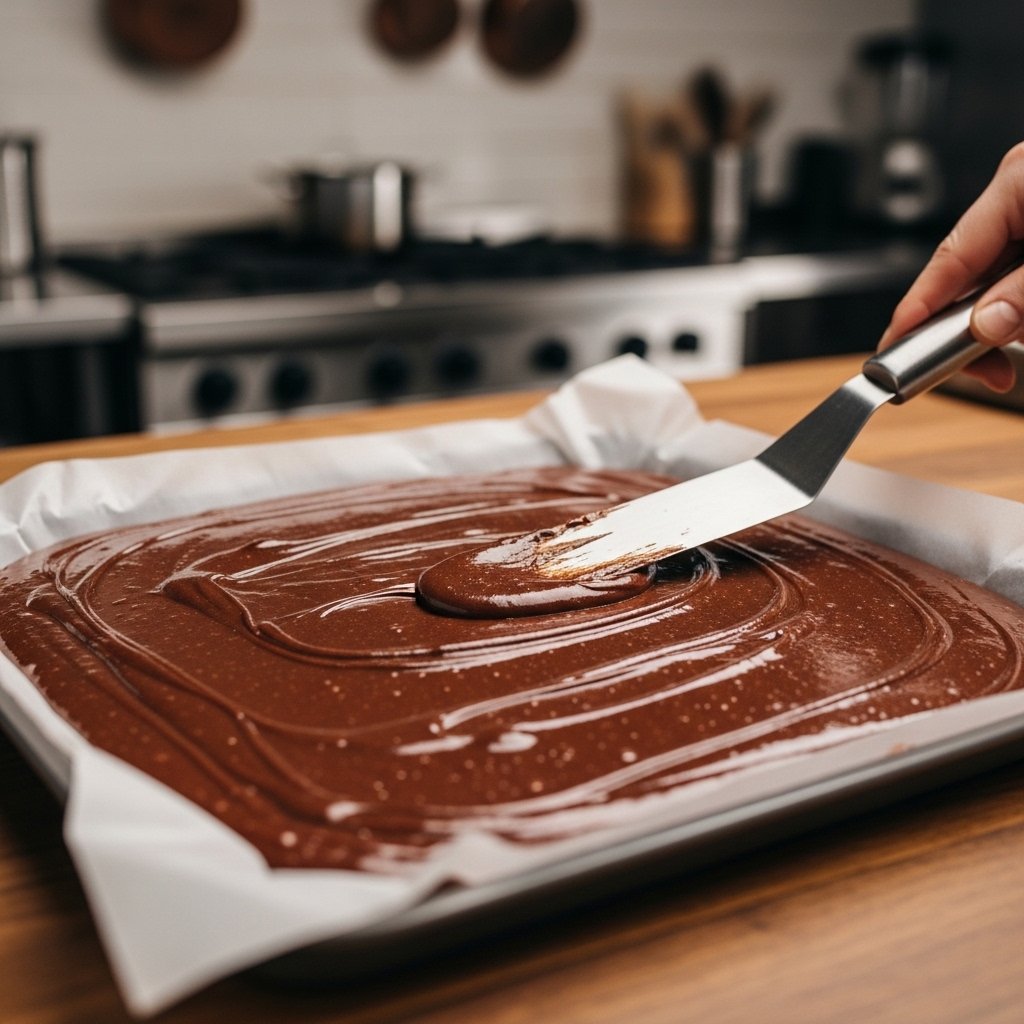
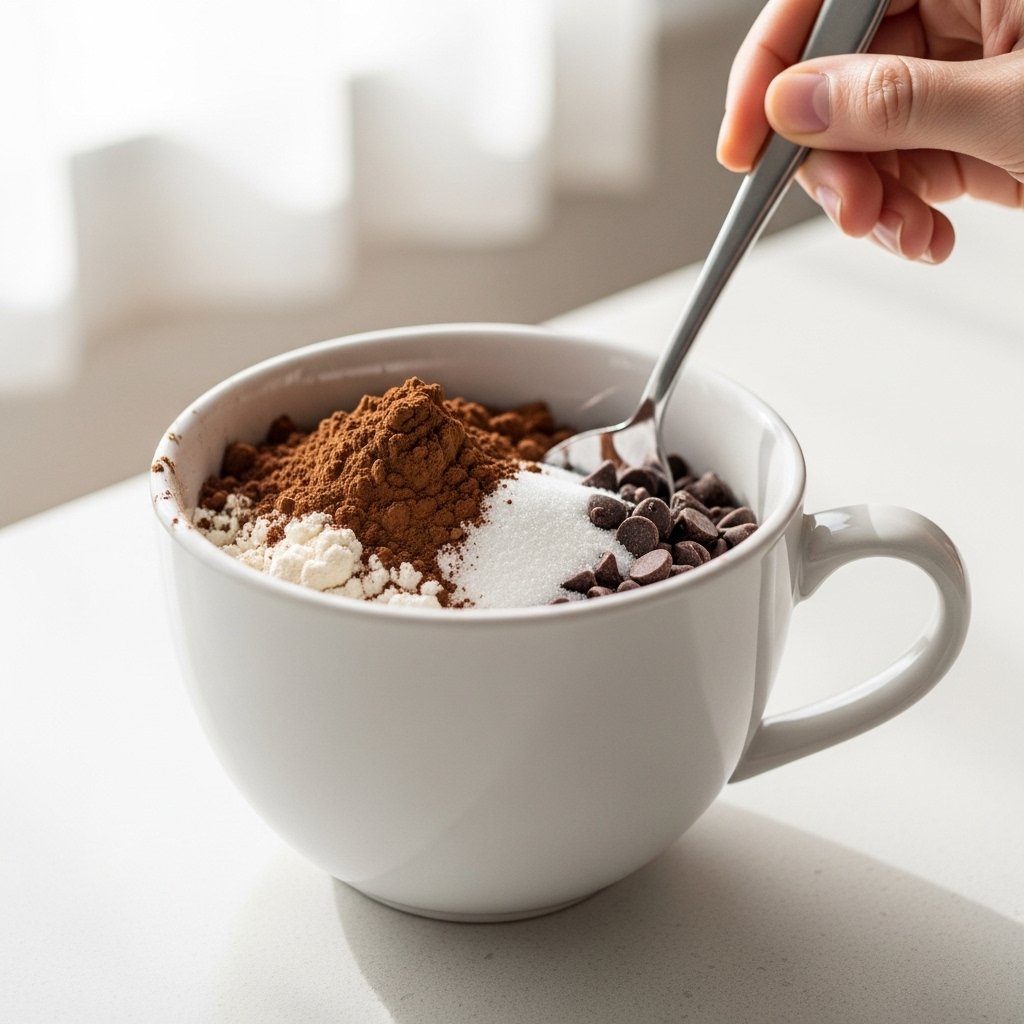
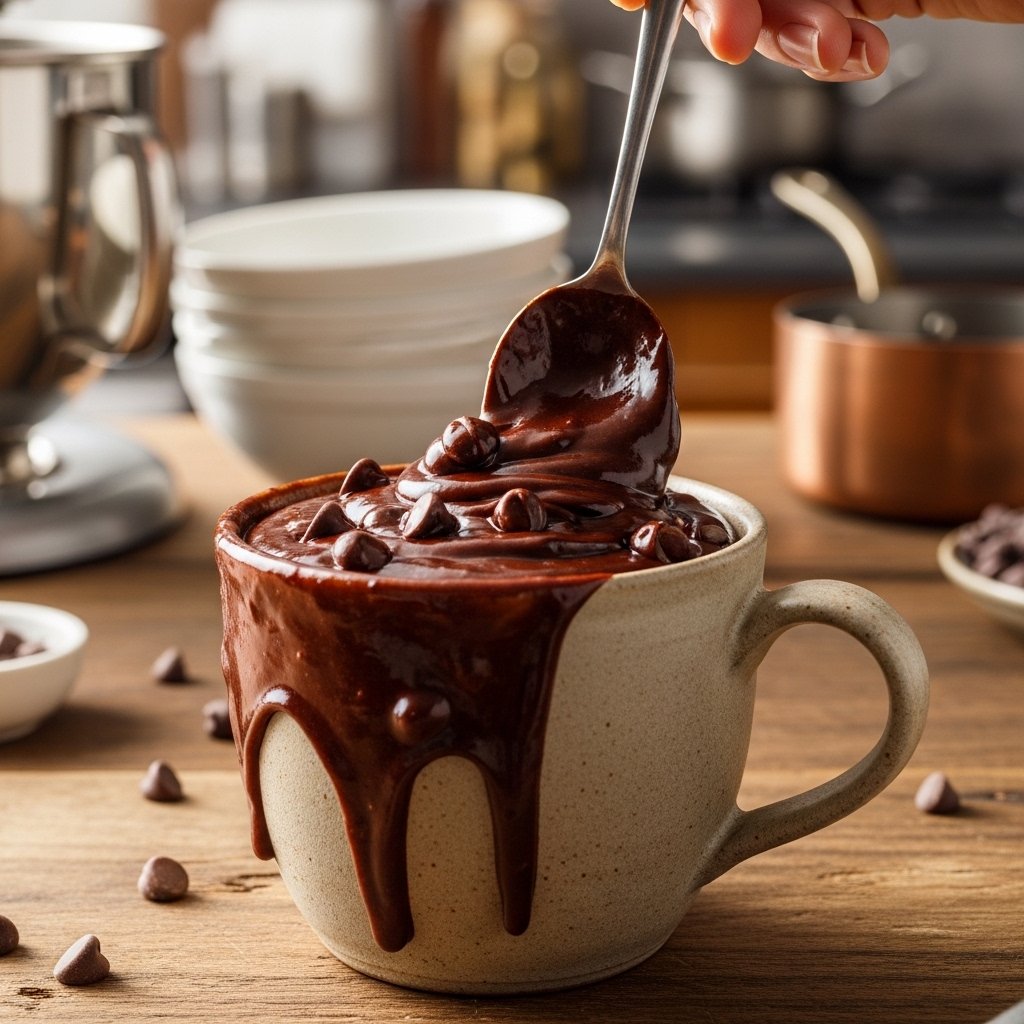
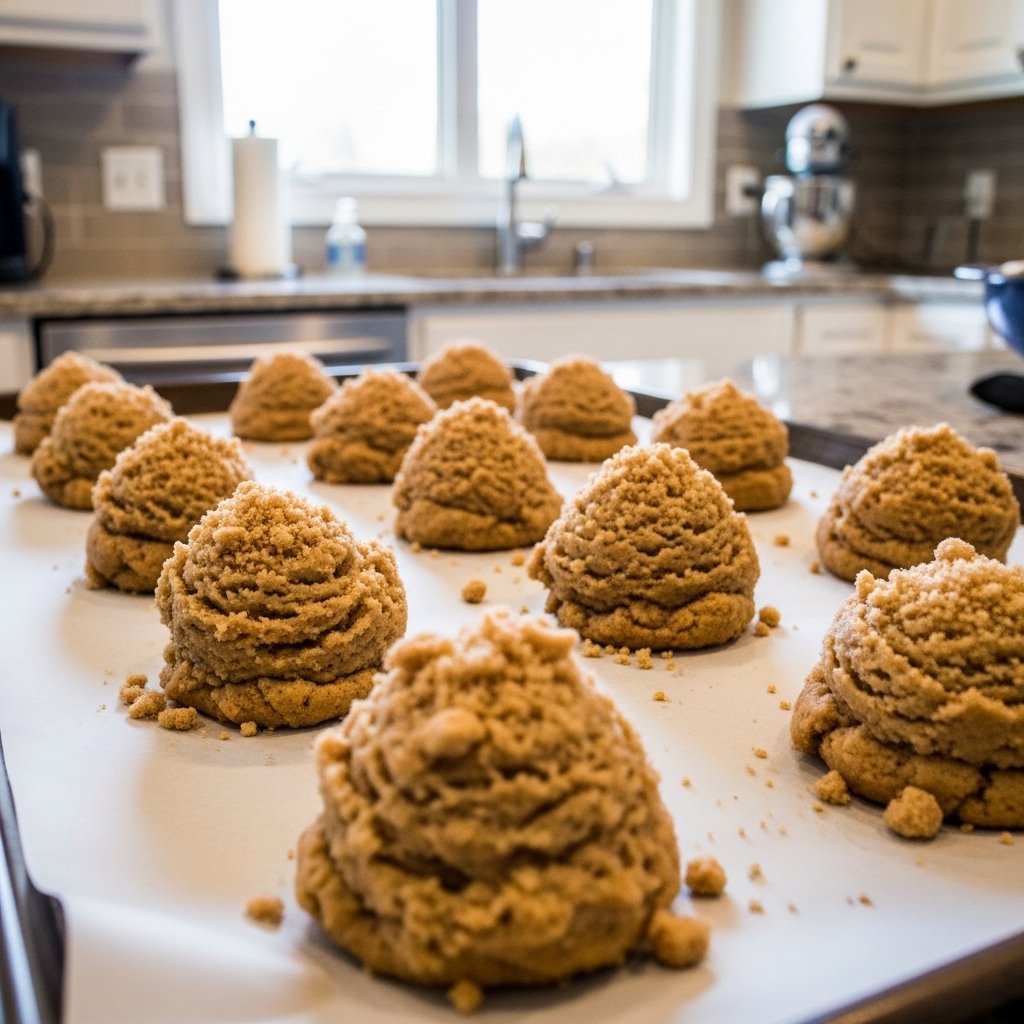
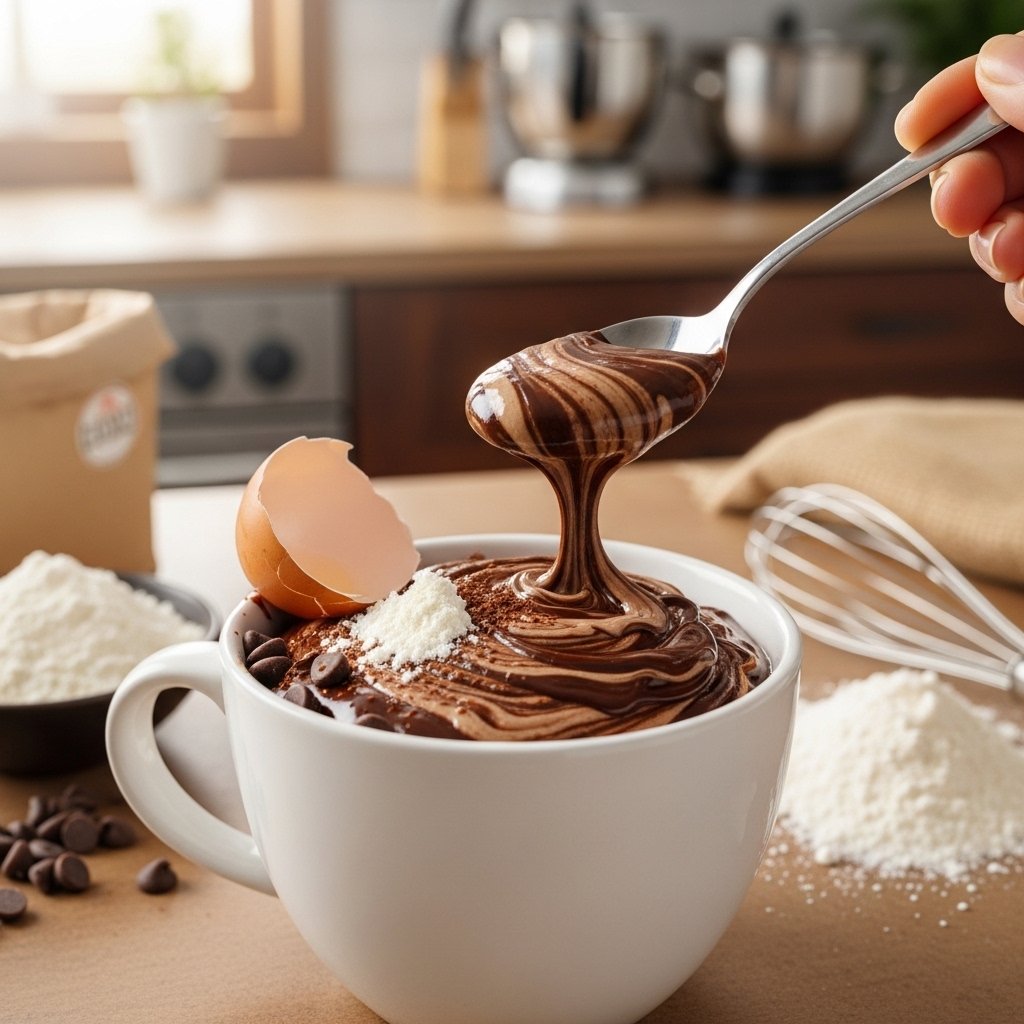
Step-by-Step Example: Chocolate Mug Cake
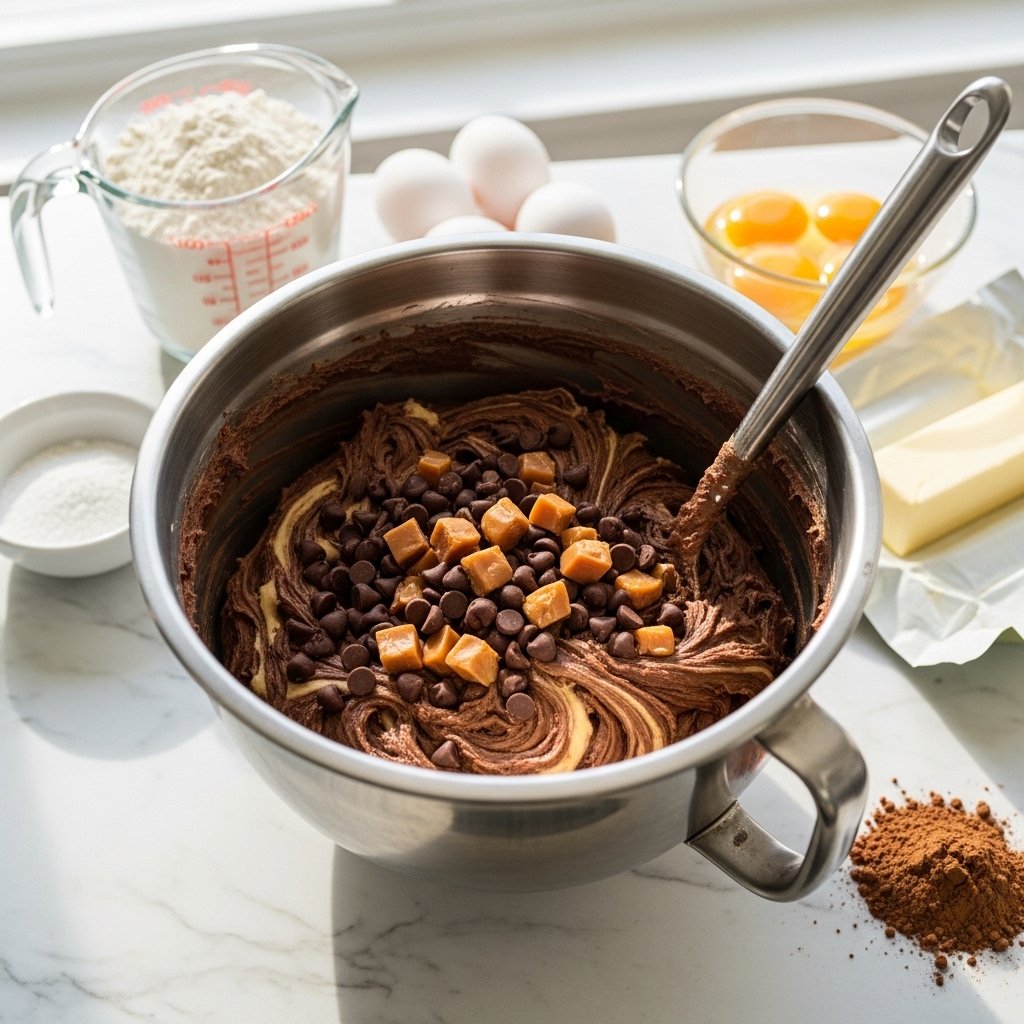
1. Mix Ingredients
Combine flour, cocoa powder, sugar, milk, and oil in a mug.
2. Microwave
Cook for 60–90 seconds.
3. Serve
Top with chocolate chips or whipped cream.
Tips for Perfect 5-Minute Desserts
To master these 11 quick and easy 5-minute dessert recipes:
- Use fresh ingredients
- Don’t overcook microwave desserts
- Keep portions small
- Taste and adjust sweetness
These simple tips help you get consistent, delicious results.
Variations to Try
Get creative with your 11 quick and easy 5-minute dessert recipes:
- Add nuts or seeds for texture
- Use flavored yogurt or milk
- Mix different fruits
- Try dark chocolate for a richer taste

What to Serve With These Desserts
Pair your quick desserts with:
- Coffee or tea
- Milk or plant-based alternatives
- Fresh fruit juices
- Smoothies
These pairings enhance the overall experience.
Storage & Reheating Tips
Most of these 11 quick and easy 5-minute dessert recipes are best enjoyed fresh, but:
- Refrigerate leftovers for short-term storage
- Reheat mug desserts briefly if needed
- Store ingredients prepped for quick assembly

Common Mistakes to Avoid
Avoid these mistakes:
- Overcooking microwave desserts
- Using too much sugar
- Skipping measurements
- Not balancing flavors
Even quick recipes benefit from attention to detail.
FAQs
Can I really make desserts in 5 minutes?
Yes! These recipes are designed to be quick and simple.
Are these desserts kid-friendly?
Absolutely—most are easy enough for kids to help make.
Can I make them healthier?
Yes, by reducing sugar or using healthier substitutes.
Do I need special equipment?
No—just basic kitchen tools and a microwave for some recipes.
Final Thoughts
These 11 quick and easy 5-minute dessert recipes prove that delicious treats don’t have to be time-consuming. With simple ingredients and minimal effort, you can create satisfying desserts anytime.
Whether you’re craving chocolate, fruit, or something creamy, these recipes have you covered. Try them out and enjoy quick, sweet moments whenever you need them!