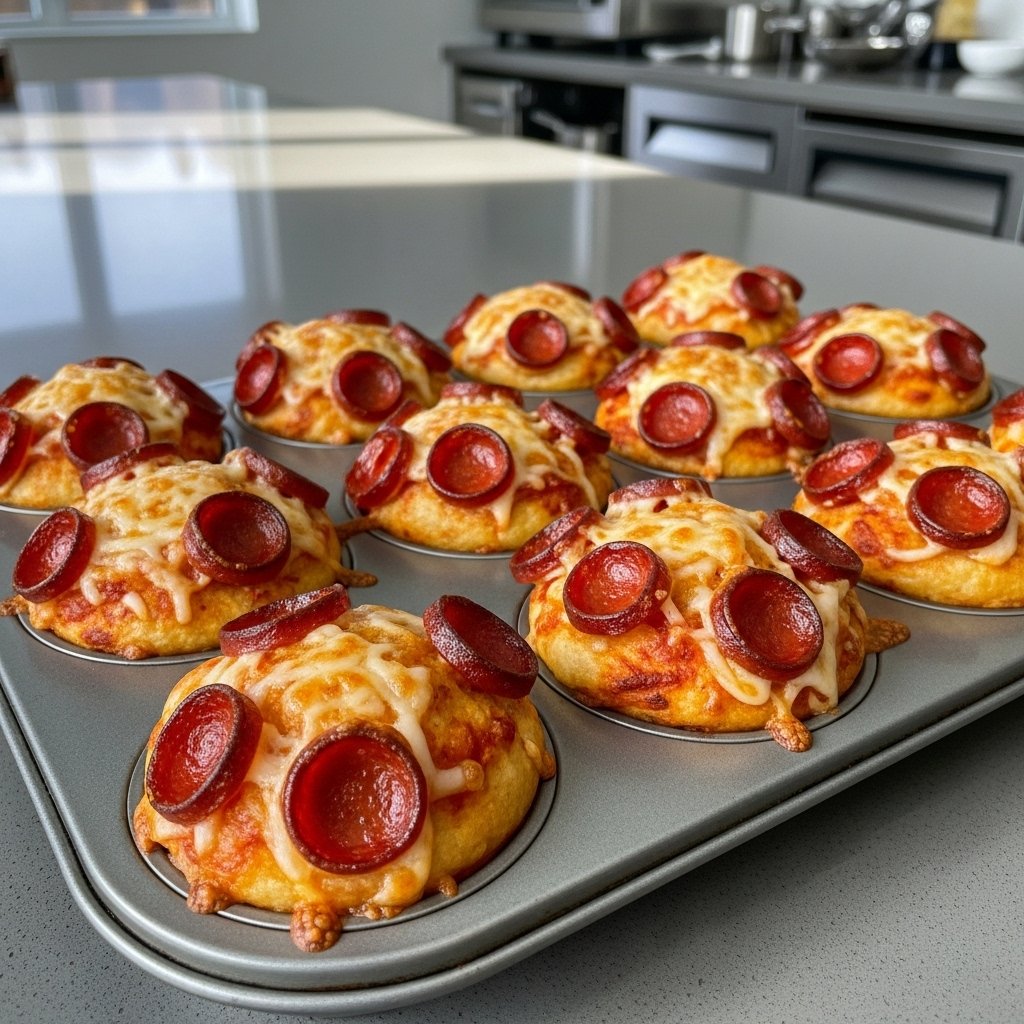
If you’re looking for a snack that’s quick, satisfying, and guaranteed to disappear fast, these ham and cheese sticks are exactly what you need. Crispy on the outside, gooey on the inside, and packed with savory flavor, they’re a crowd-pleaser for both kids and adults.
What makes these ham and cheese sticks so special is how simple they are to prepare. With just a handful of ingredients, you can create a snack that feels like something you’d order at a café or serve at a party. Whether you’re prepping for game day, packing lunchboxes, or just craving something warm and cheesy, this recipe delivers every time.

Why You’ll Love These Ham and Cheese Sticks
These ham and cheese sticks are popular for a reason:
- Quick and easy to make
- Crispy and golden outside
- Melty, cheesy center
- Perfect for snacks or appetizers
- Kid-friendly and lunchbox-ready
- Customizable with different fillings
They hit that perfect balance between comfort food and convenience.
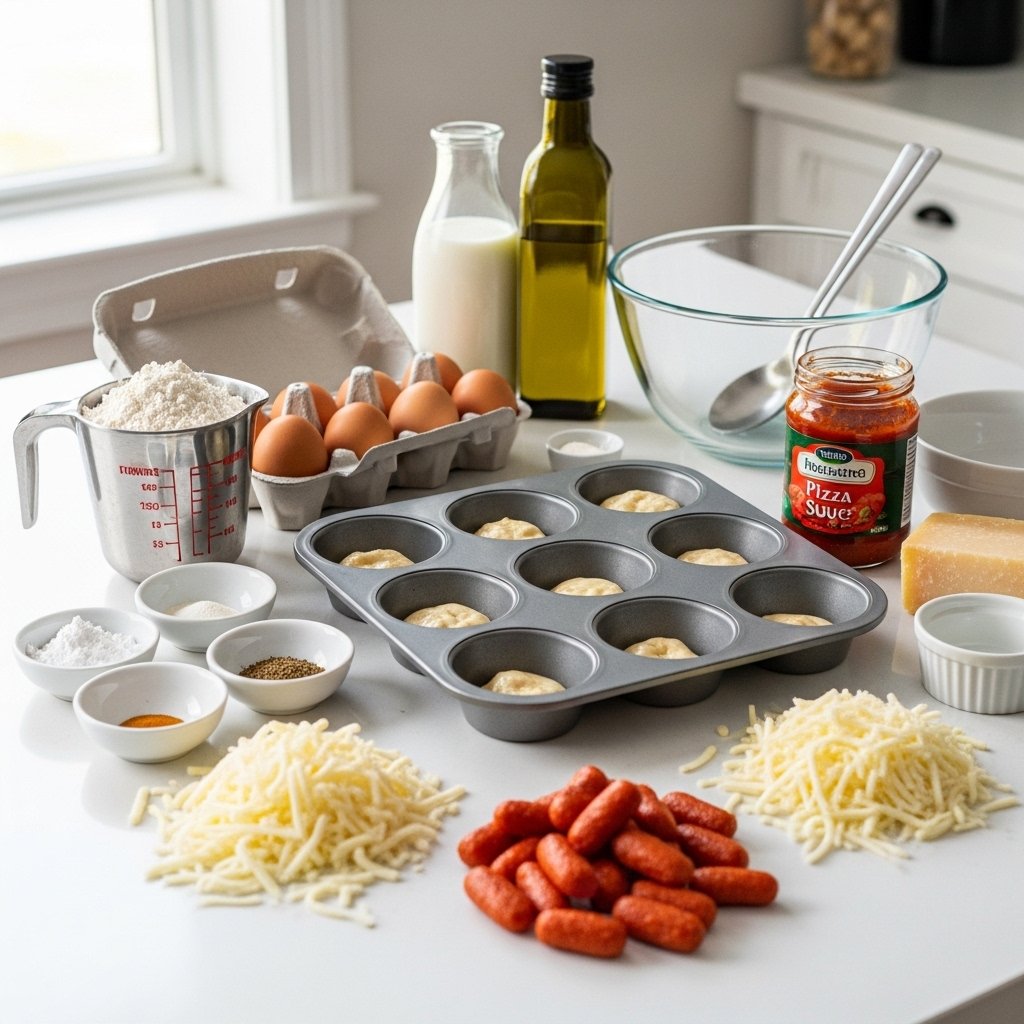
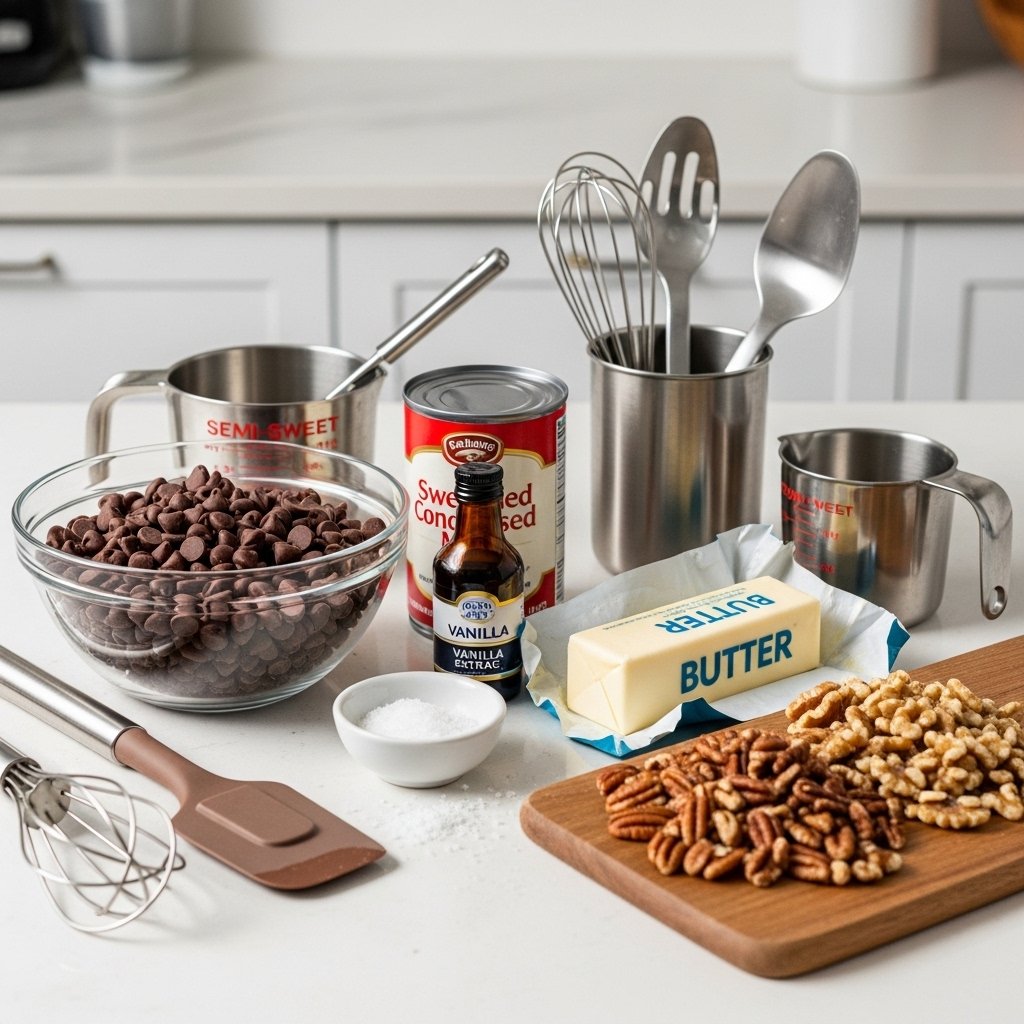
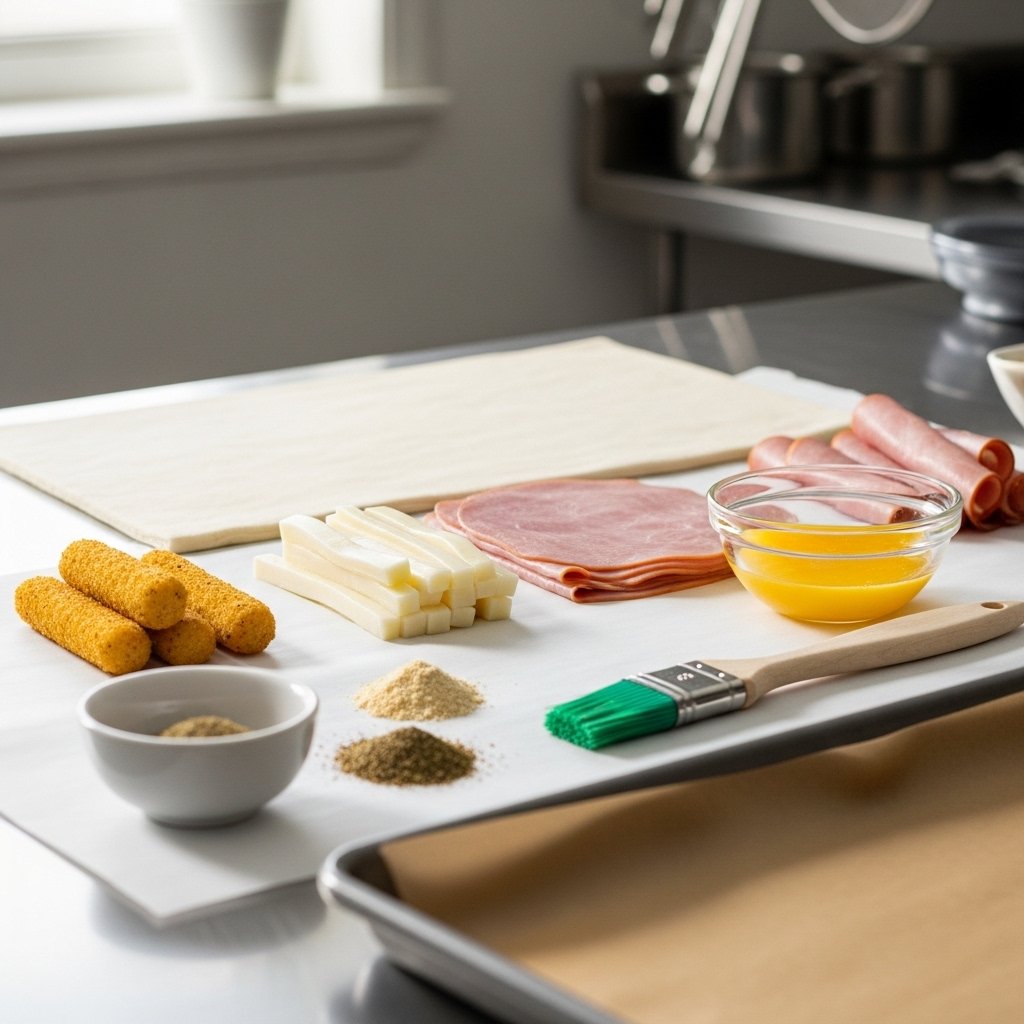
Ingredients You’ll Need
To make these ham and cheese sticks, gather:
Main Ingredients
- 1 sheet puff pastry or pizza dough
- 6–8 slices deli ham
- 6–8 sticks mozzarella cheese (or string cheese)
For Brushing
- 1 egg (for egg wash)
- 1 tablespoon water
Optional Seasonings
- Garlic powder
- Italian seasoning
- Sesame seeds
These ingredients create a crispy, flavorful snack with a gooey center.
Ingredient Notes and Tips
Best Dough to Use
You can use:
- Puff pastry (flakier texture)
- Pizza dough (softer, bread-like)
Both work beautifully depending on your preference.
Cheese Choices
Mozzarella is ideal because:
- It melts smoothly
- It creates that classic cheese pull
You can also try:
- Cheddar
- Provolone
Ham Options
Choose:
- Thinly sliced deli ham
- Smoked ham for extra flavor
Quality ingredients make a big difference.
Step-by-Step Instructions
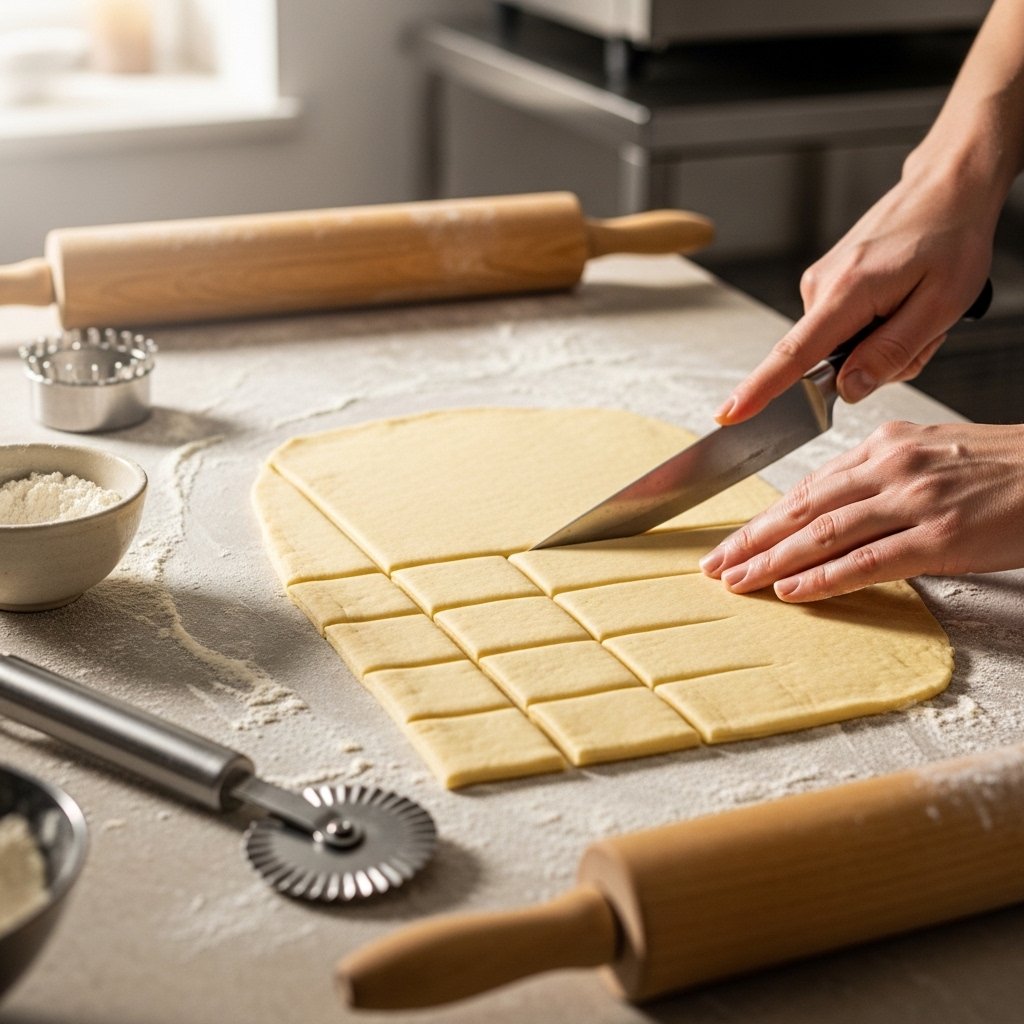
Step 1: Prepare the Dough
Preheat oven:
- 400°F
Roll out dough on a lightly floured surface.
Cut into rectangles:
- About 3×4 inches
This size works well for wrapping.
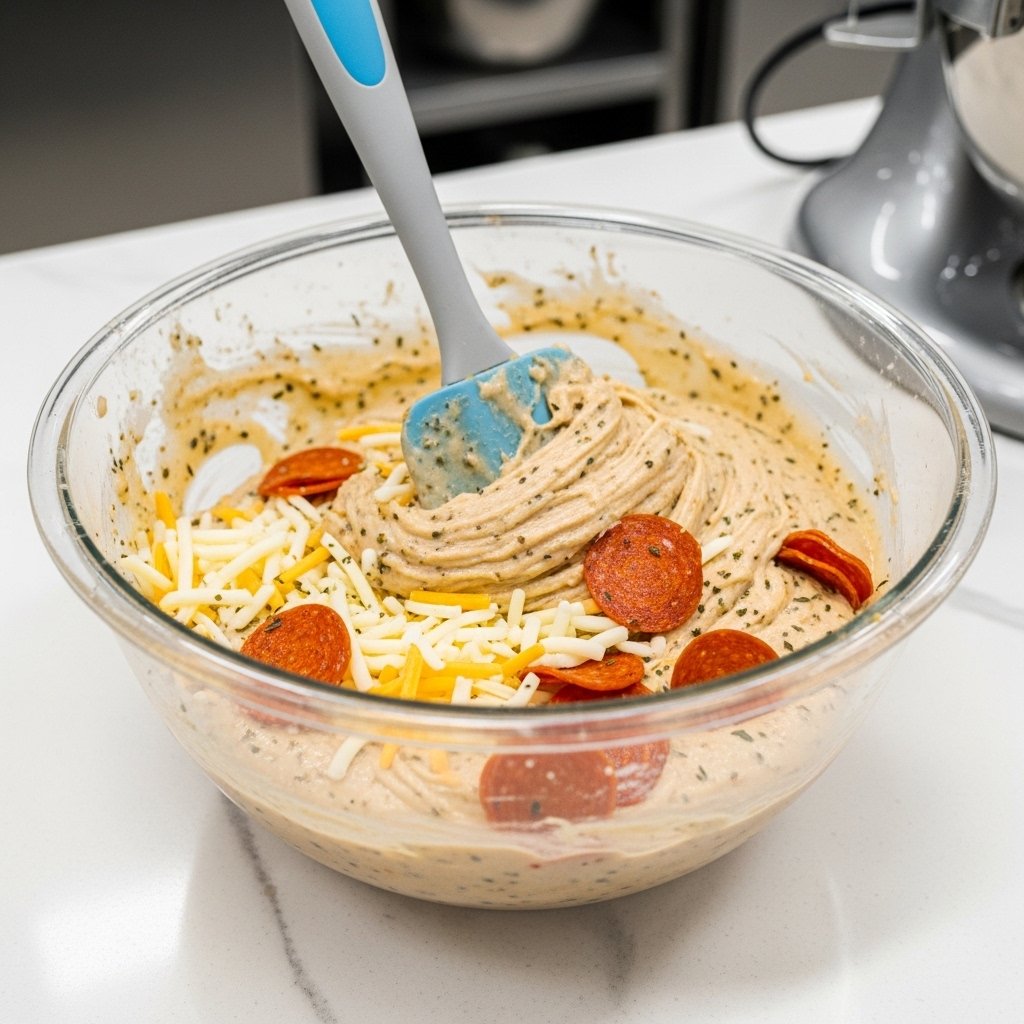
Step 2: Assemble the Sticks
Place:
- Slice of ham
- Cheese stick
on each dough piece.
Roll tightly, sealing edges.
Place seam-side down on baking sheet.
This keeps everything secure while baking.

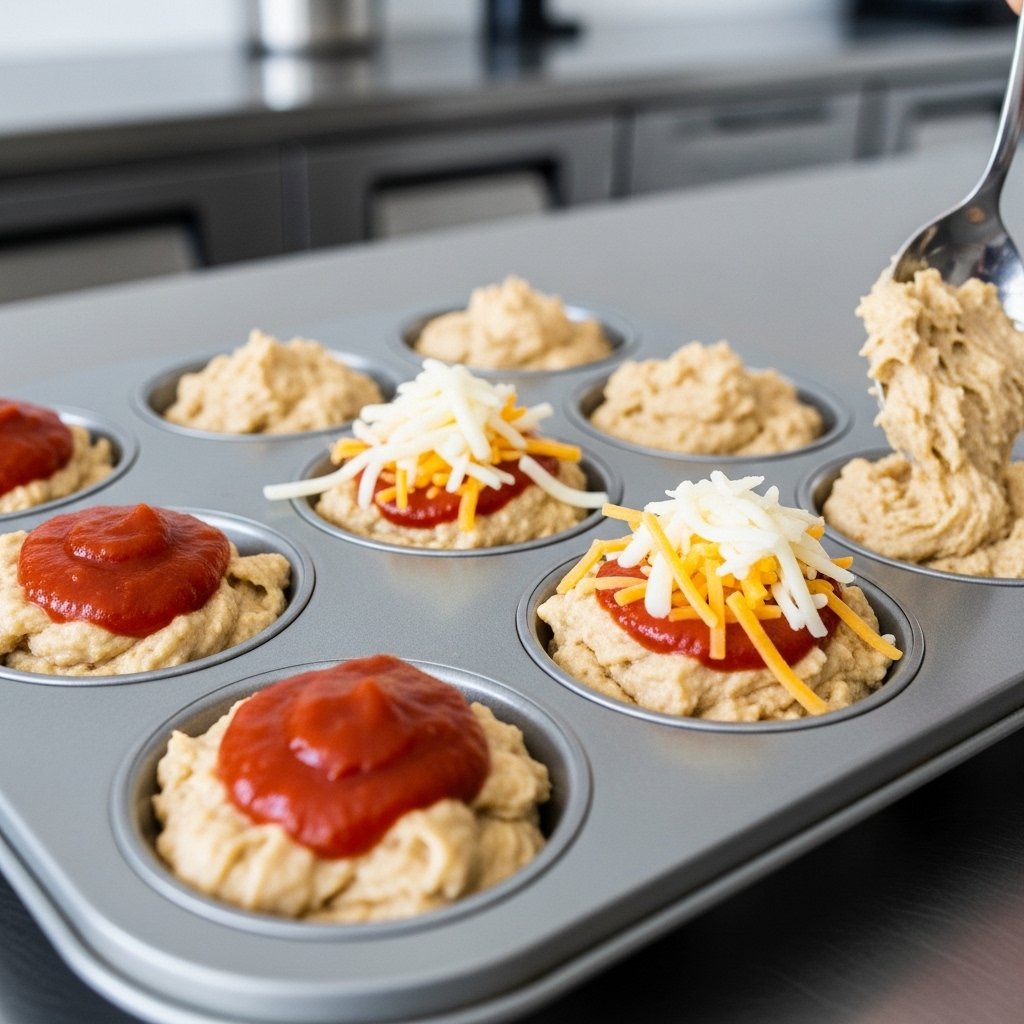
Step 3: Brush and Season
Mix egg wash:
- Egg + water
Brush over sticks.
Sprinkle:
- Garlic powder
- Italian seasoning
This adds flavor and golden color.

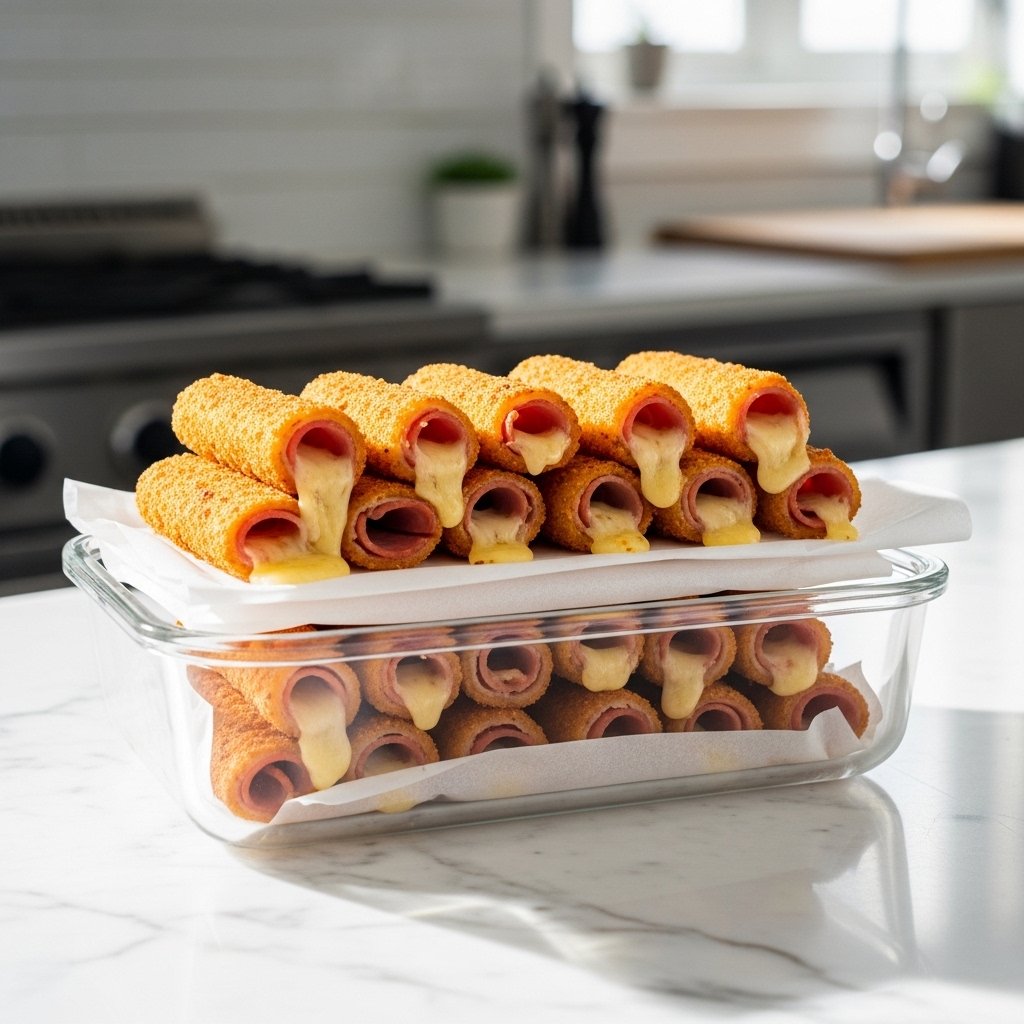
Step 4: Bake Until Golden
Bake:
- 15–18 minutes
Until:
- Golden brown
- Crispy outside
- Cheese melted inside
Let cool slightly before serving.
Tips for Perfect Ham and Cheese Sticks
For the best results:
- Don’t overfill with cheese
- Seal edges tightly
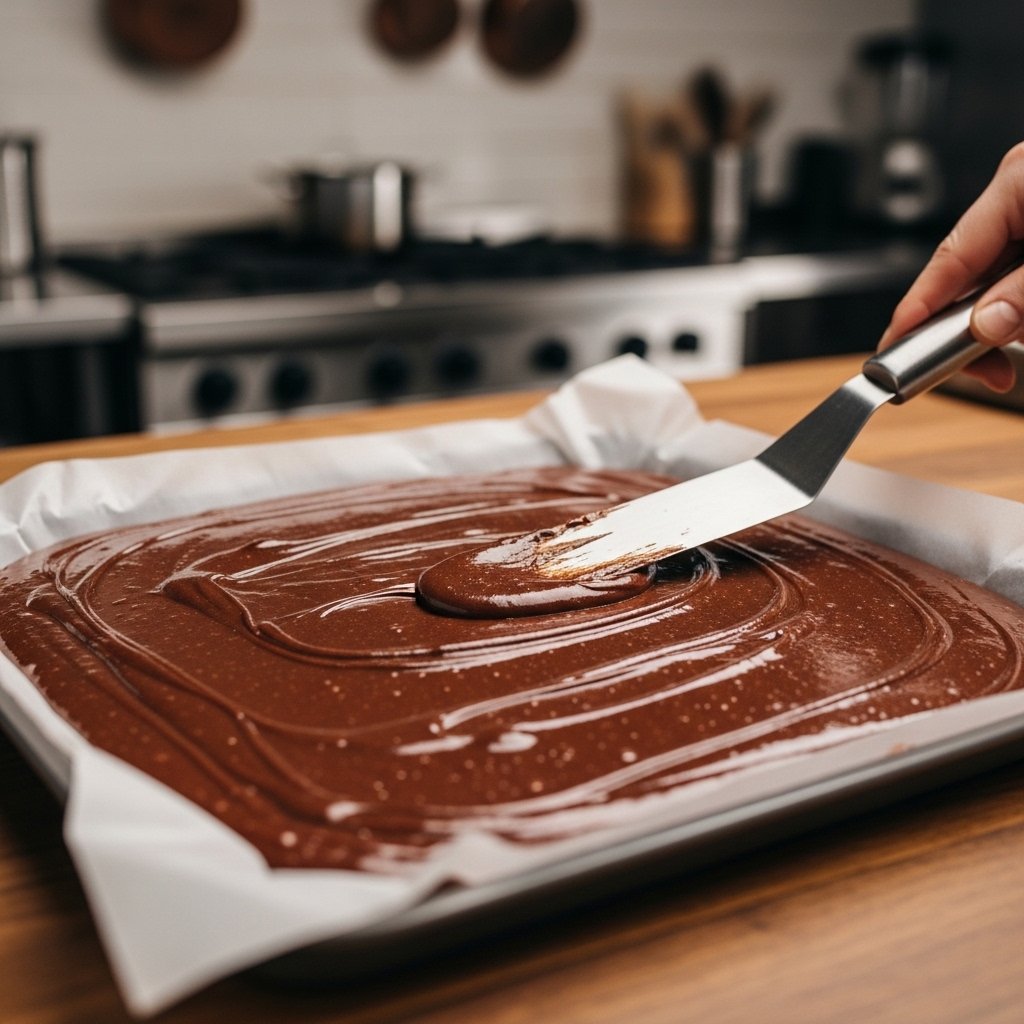
- Use parchment paper
- Watch baking time carefully
- Let them cool slightly before serving
These tips ensure crisp texture and perfect cheese melt.
Delicious Variations
Switch things up with:
Flavor Ideas
- Add mustard or honey mustard inside
- Sprinkle everything bagel seasoning
- Add a slice of turkey
Cheesy Twists
- Mix cheeses
- Add cream cheese layer
Kid-Friendly Options
- Use mini versions
- Add pizza sauce
These variations keep the recipe fun and versatile.
What to Serve With Ham and Cheese Sticks
These sticks pair perfectly with:
- Marinara sauce
- Honey mustard
- Ranch dressing
- Garlic aioli
Serve them for:
- Game nights
- Parties
- Lunchboxes
- After-school snacks
They’re always a hit.
Storage and Reheating Tips
These ham and cheese sticks store well.
Refrigerator
- Up to 3 days
Freezer
- Up to 1 month
Reheating
- Oven: 5–8 minutes at 350°F
- Air fryer: 3–5 minutes
Avoid microwaving to keep them crispy.

Common Mistakes to Avoid
To get perfect ham and cheese sticks:
- Don’t leave gaps in dough
- Don’t overbake
- Don’t skip egg wash
- Don’t overcrowd the tray
Attention to detail makes all the difference.
Frequently Asked Questions
Can I make these ahead?
Yes, assemble and refrigerate before baking.
Can I use crescent roll dough?
Absolutely, it works great.
Can I air fry them?
Yes, cook at 375°F for about 10 minutes.
Can I make them vegetarian?
Yes, skip ham and add veggies or cheese only.
Why is my cheese leaking?
Edges may not be sealed tightly enough.
Final Thoughts
These ham and cheese sticks are the ultimate savory snack—crispy, cheesy, and incredibly easy to make. They’re perfect for busy days, entertaining guests, or satisfying cravings with minimal effort.
Once you try them, you’ll find yourself making them again and again. With endless variations and simple ingredients, this recipe is one you’ll want to keep in your rotation for years to come.