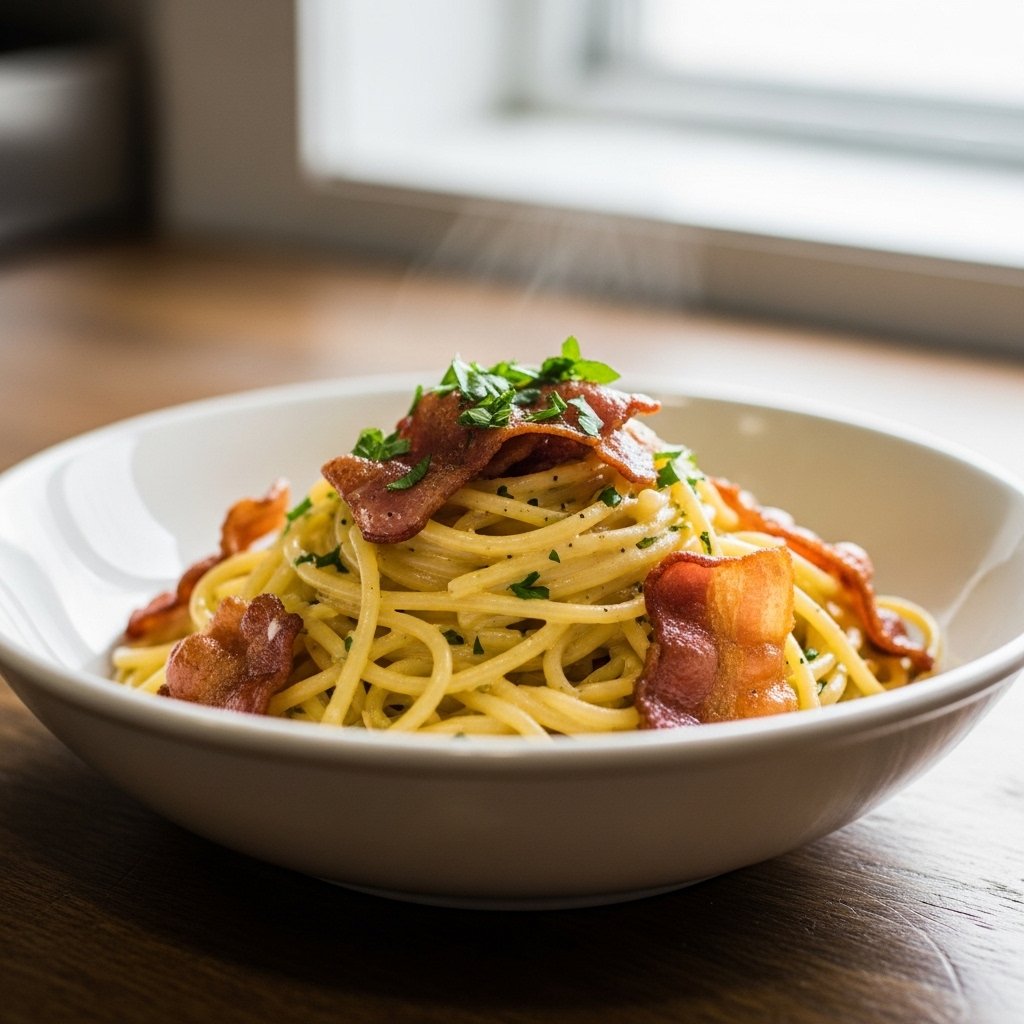
If you’re craving something rich, comforting, and incredibly satisfying, this creamy bacon carbonara pasta is exactly what you need. With its silky sauce, crispy bacon, and perfectly cooked pasta, this dish delivers restaurant-quality flavor right in your own kitchen.
Unlike complicated recipes, this creamy carbonara comes together quickly with simple ingredients. It’s perfect for busy weeknights but elegant enough to serve at a dinner gathering. Once you try it, this creamy bacon carbonara pasta will become a regular in your meal rotation.
Why You’ll Love This Creamy Bacon Carbonara Pasta
This creamy bacon carbonara pasta stands out for so many reasons:
- Rich, creamy texture without being heavy
- Crispy bacon adds incredible flavor
- Quick and easy to prepare
- Made with simple pantry ingredients
- Perfect for both casual and special meals
It’s the kind of recipe that feels indulgent but is surprisingly easy to master.
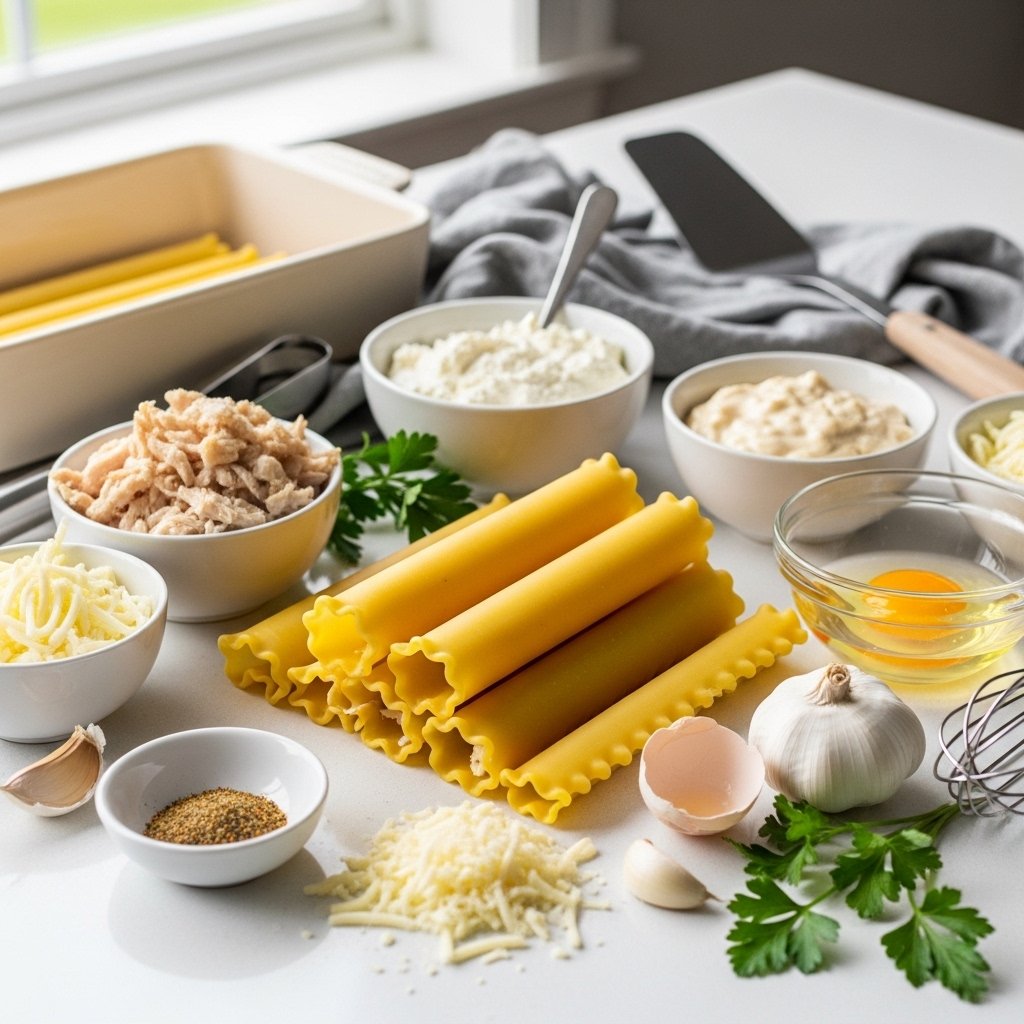
Ingredients
To make the best creamy bacon carbonara pasta, you’ll need:
- 12 oz spaghetti or fettuccine
- 6 slices bacon (chopped)
- 3 large eggs
- 1 cup grated Parmesan cheese
- 3 cloves garlic (minced)
- ½ cup heavy cream
- Salt and black pepper to taste
- Fresh parsley (for garnish)

Ingredient Notes
The beauty of creamy bacon carbonara pasta lies in its simplicity. High-quality Parmesan cheese makes a big difference in flavor, while fresh eggs create that signature silky sauce.
If you want a lighter version, you can reduce the cream slightly, but keeping a balance is key to maintaining that creamy texture.
Step-by-Step Instructions
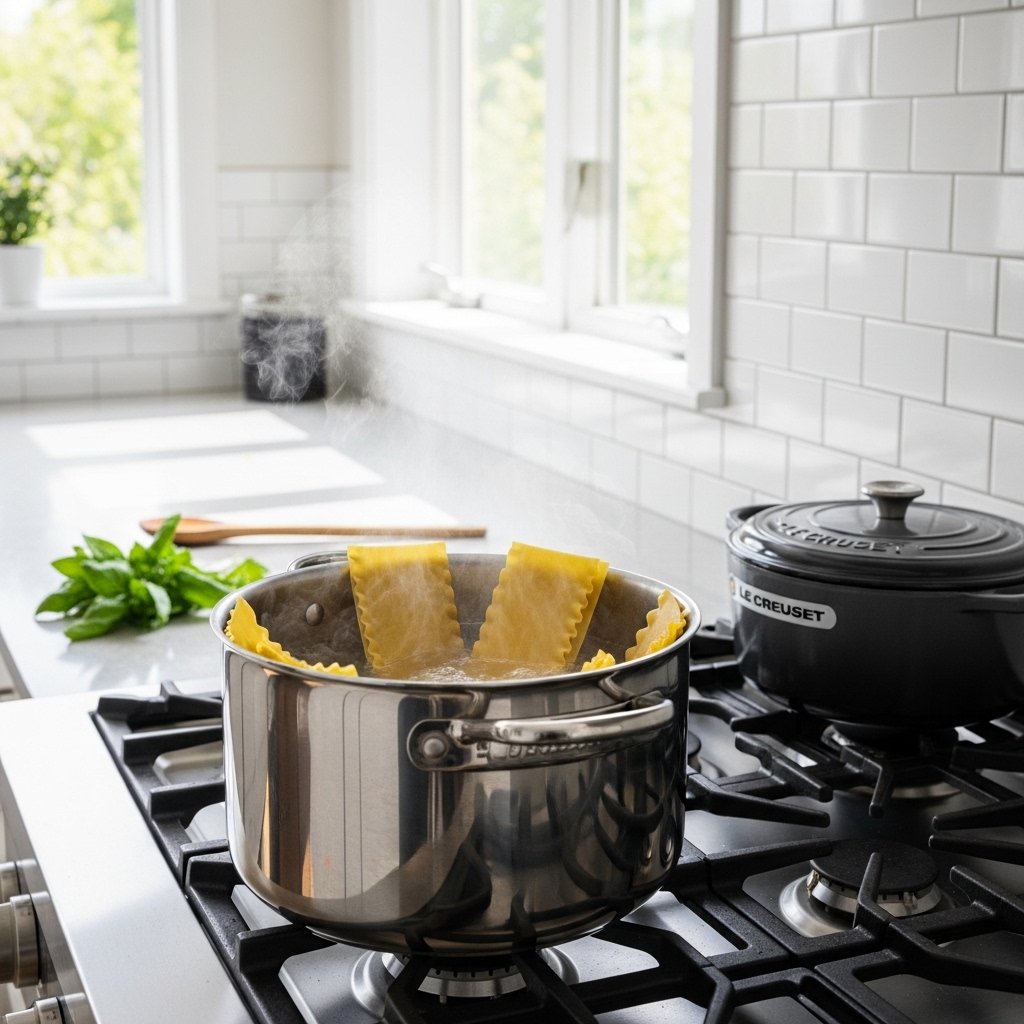
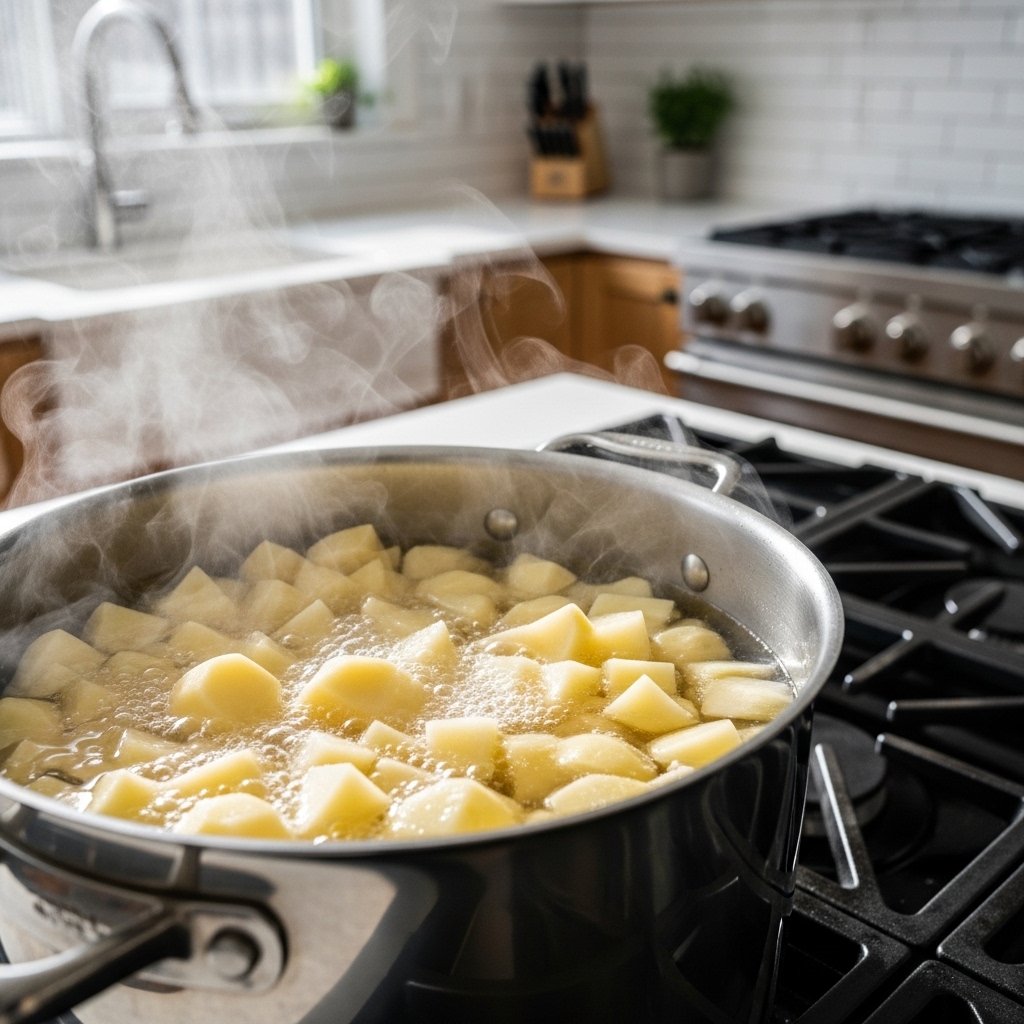
1. Cook the Pasta
Bring a large pot of salted water to a boil and cook pasta until al dente. Reserve about ½ cup of pasta water before draining.
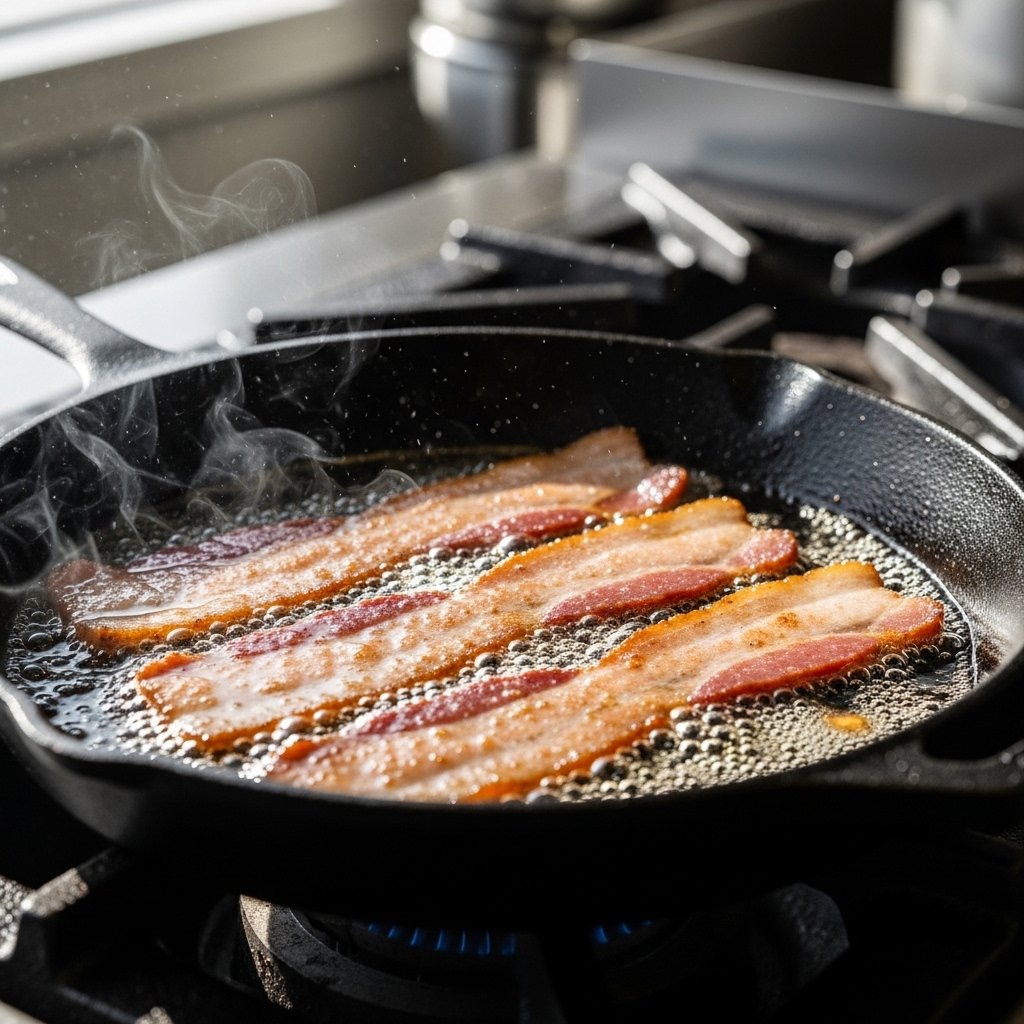
2. Cook the Bacon
In a large skillet, cook chopped bacon until crispy. Remove excess grease, leaving a little for flavor.
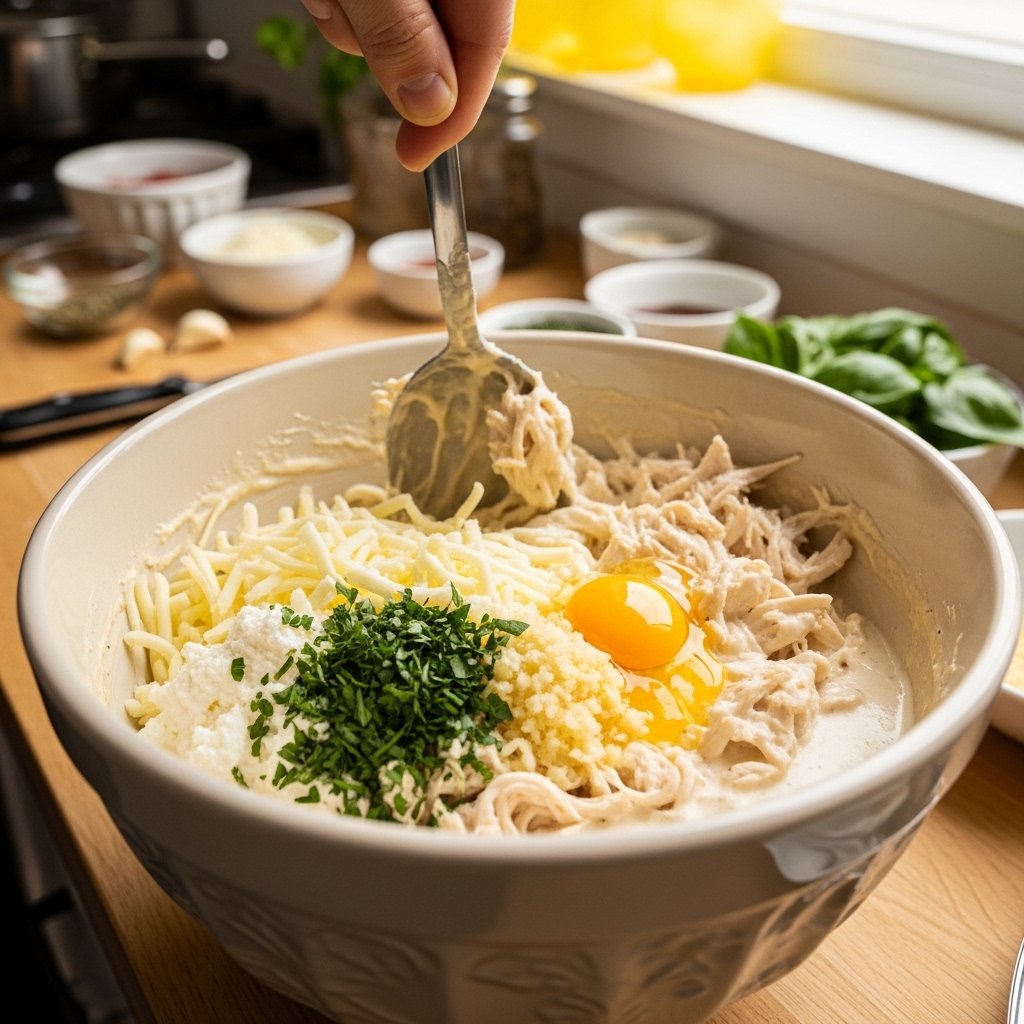
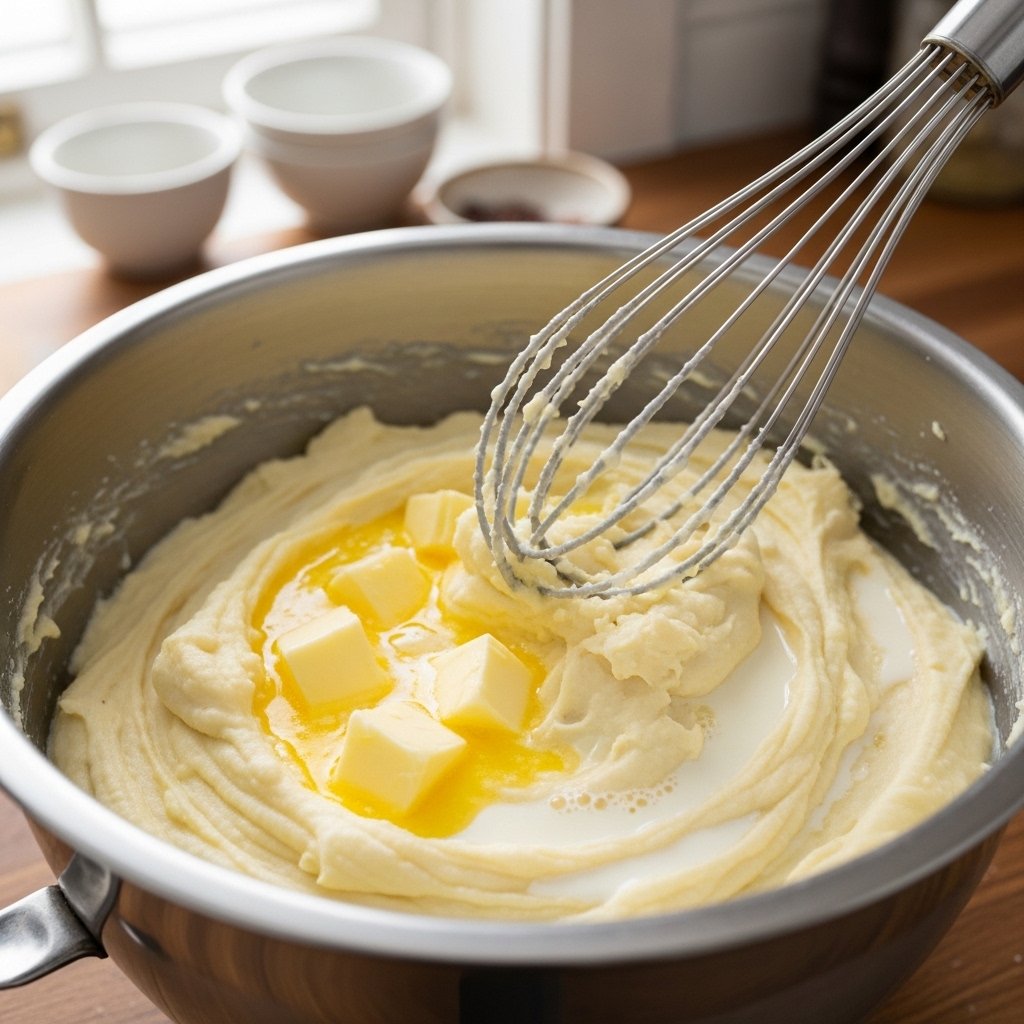
3. Prepare the Sauce
In a bowl, whisk together eggs, Parmesan cheese, and cream until smooth.
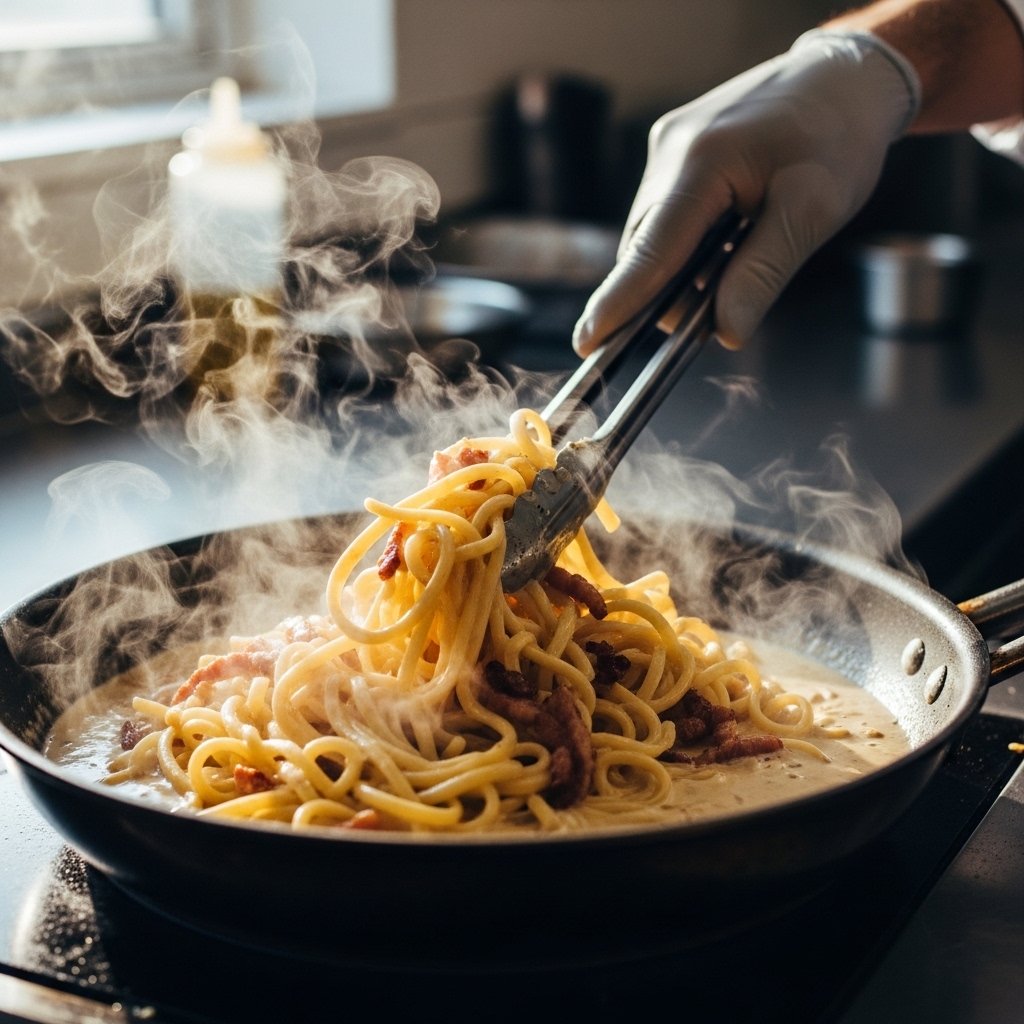
4. Combine Everything
Add hot pasta to the skillet with bacon. Remove from heat, then quickly stir in the egg mixture, tossing continuously to create a creamy sauce.
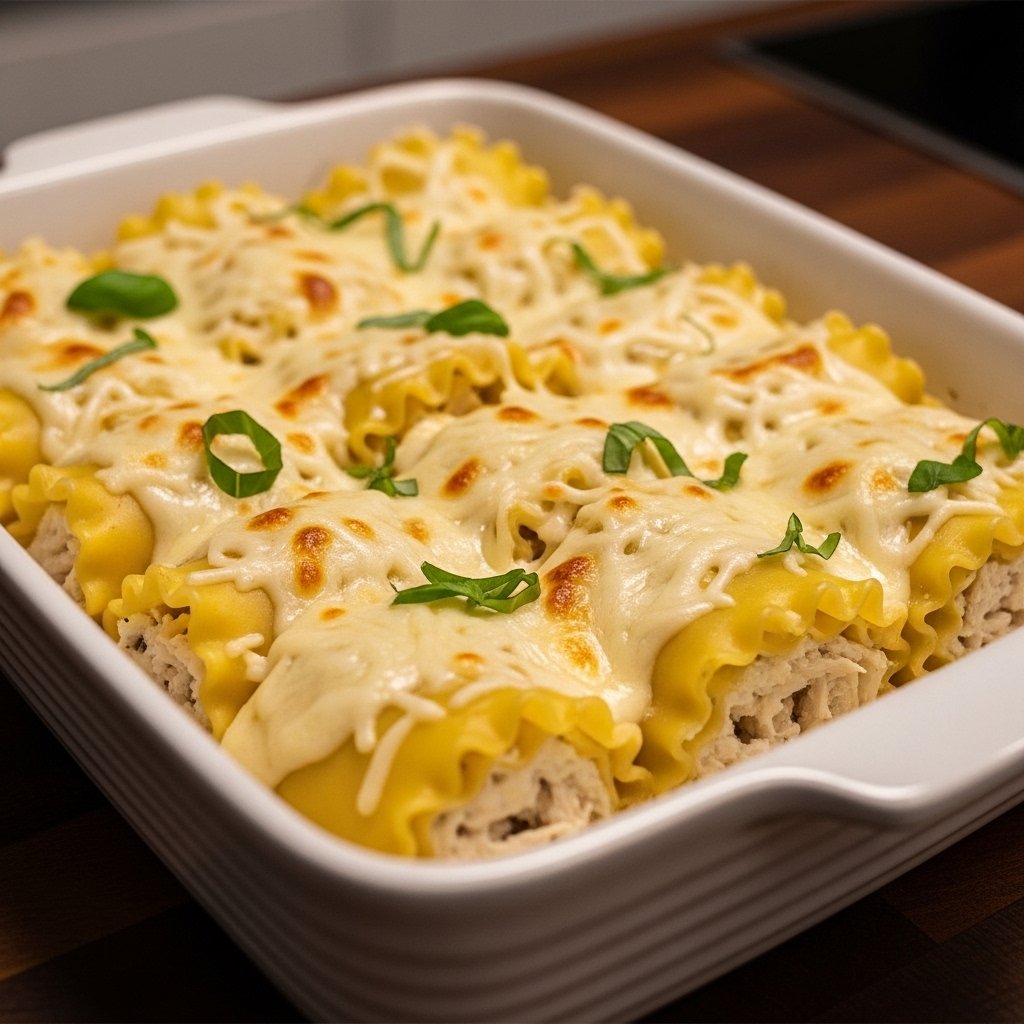
5. Adjust and Serve
Add reserved pasta water if needed for consistency. Season with pepper and garnish with parsley.
Tips for Perfect Creamy Bacon Carbonara Pasta
To get the best results with your creamy bacon carbonara pasta, keep these tips in mind:
- Always remove the pan from heat before adding eggs
- Toss quickly to avoid scrambling the eggs
- Use freshly grated cheese for smoother sauce
- Add pasta water gradually for perfect texture
These small techniques make a huge difference in achieving that signature creamy finish.
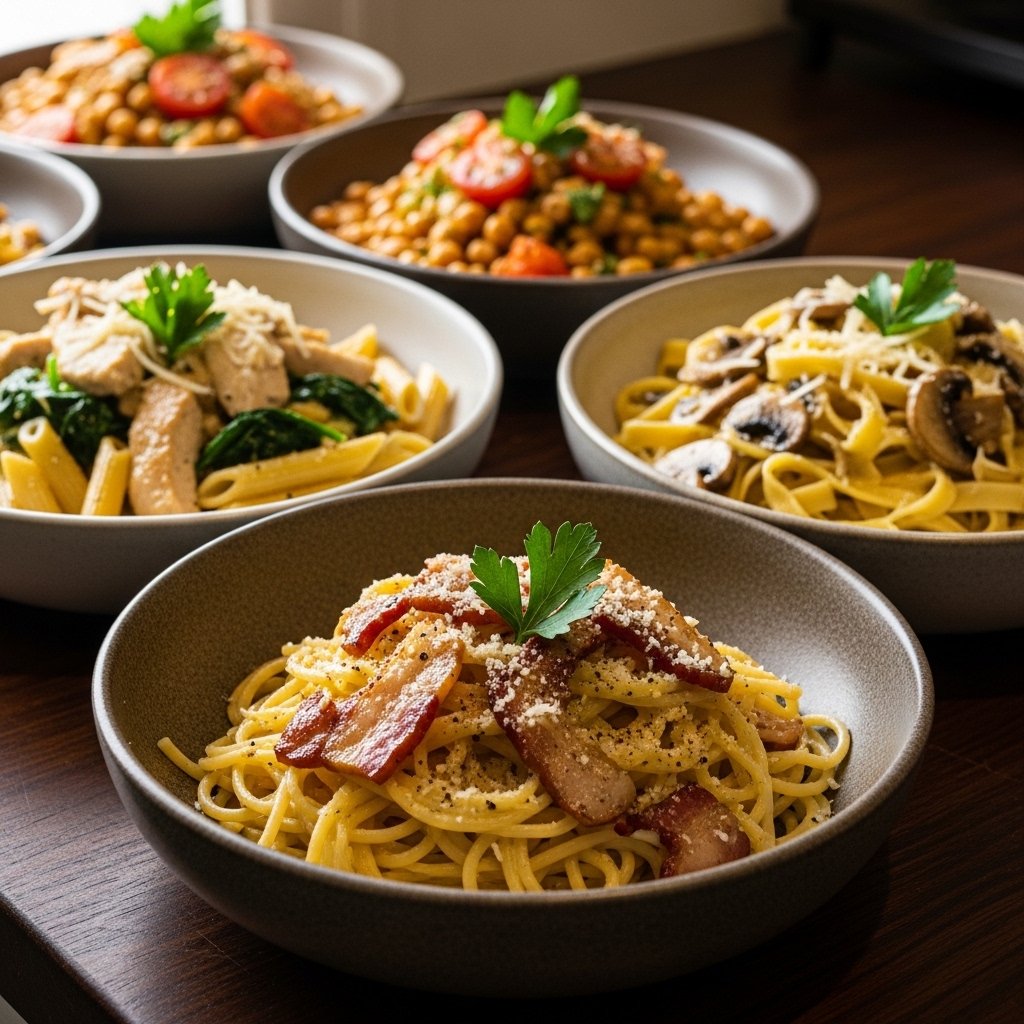
Variations to Try
Customize your creamy bacon carbonara pasta with these ideas:
- Add grilled chicken for extra protein
- Use turkey bacon for a lighter option
- Mix in peas or spinach for added color and nutrition
- Swap pasta types like penne or linguine
What to Serve With It
This creamy bacon carbonara pasta pairs beautifully with:
- Garlic bread or crusty bread
- Fresh green salad
- Roasted vegetables
- Light soup starters
These sides help balance the richness of the dish.
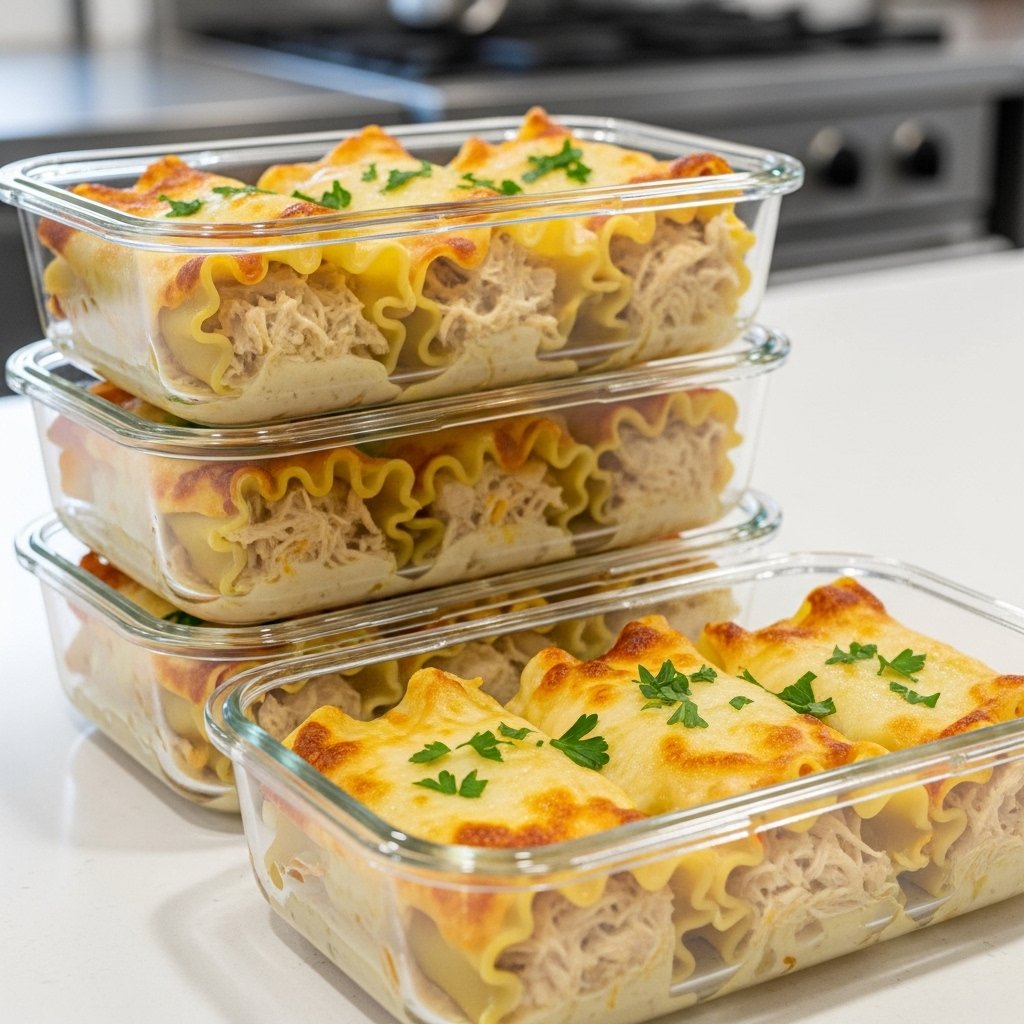
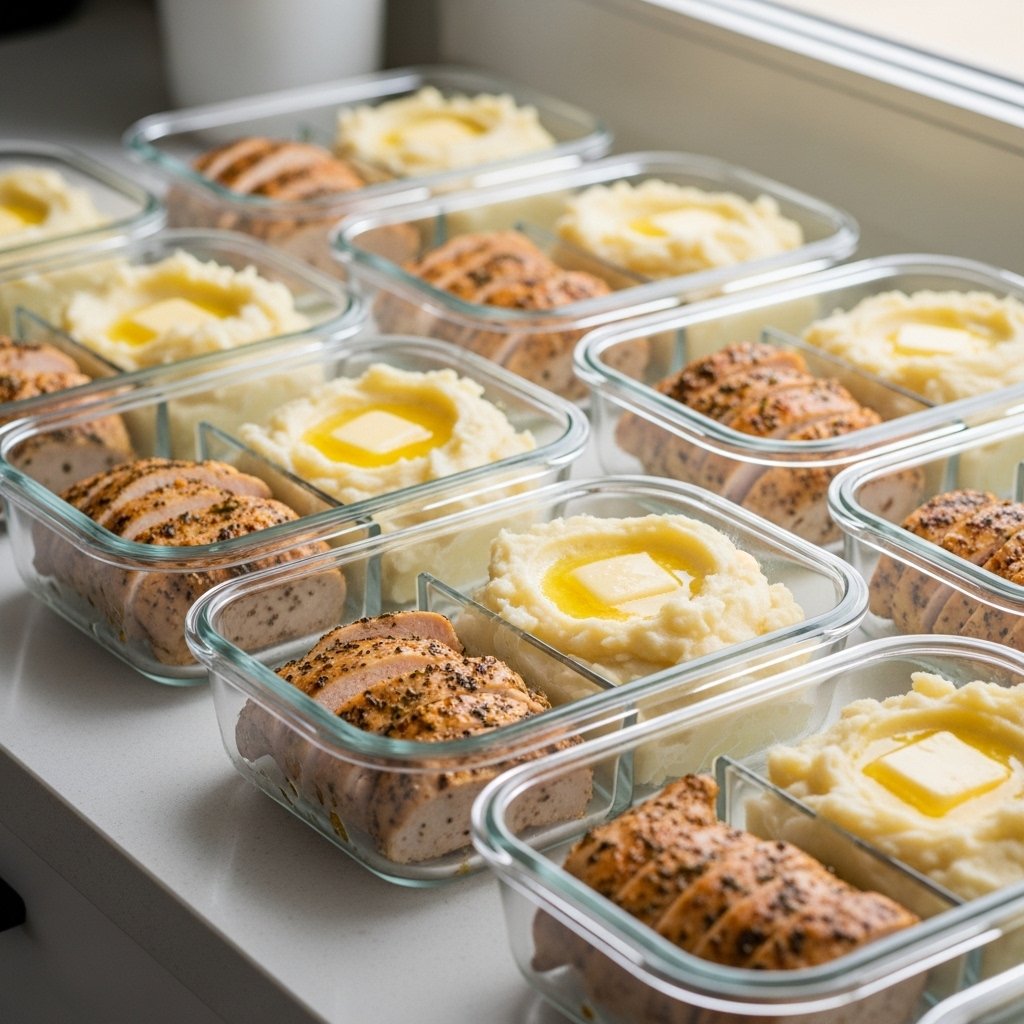
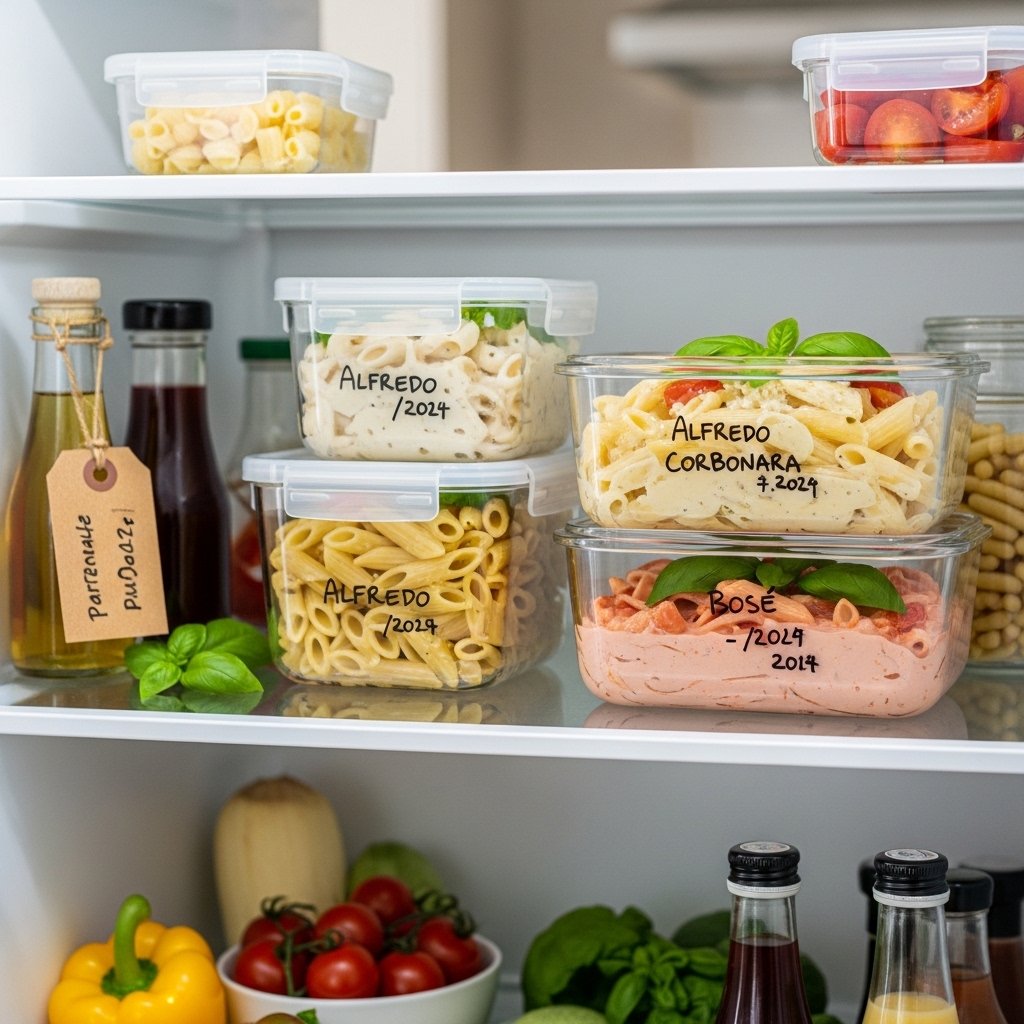
Storage & Reheating Tips
For storing your creamy bacon carbonara pasta:
- Keep in an airtight container in the fridge for up to 3 days
- Reheat gently on low heat with a splash of milk or cream
- Avoid microwaving at high heat to prevent drying out
Common Mistakes to Avoid
Avoid these common pitfalls:
- Adding eggs over high heat (causes scrambling)
- Skipping pasta water
- Using pre-grated cheese
- Overcooking the pasta
Paying attention to these details ensures a perfect dish every time.
FAQs
Is carbonara supposed to have cream?
Traditional carbonara doesn’t, but this creamy version adds richness and ease.
Can I use a different type of pasta?
Yes, fettuccine, linguine, or penne all work well.
How do I make it lighter?
Use less cream and add more pasta water.
Can I make it ahead of time?
It’s best fresh, but you can reheat gently if needed.
Final Thoughts
This creamy bacon carbonara pasta is the ultimate comfort dish—rich, flavorful, and incredibly satisfying. With just a handful of ingredients and simple techniques, you can create a restaurant-worthy meal at home.
Whether you’re cooking for yourself or sharing with loved ones, this recipe is guaranteed to impress. Try it once, and it’ll quickly become one of your go-to pasta favorites!