If you’re searching for a satisfying, plant-based alternative to traditional burgers, these black bean burgers are exactly what you need. Packed with bold flavors, hearty texture, and wholesome ingredients, they’re a delicious option whether you’re vegetarian, vegan, or simply looking to eat healthier.
What makes these burgers so special is their perfect balance—crispy on the outside, tender on the inside, and bursting with savory goodness. Plus, they’re incredibly easy to prepare using pantry staples, making them ideal for weeknight meals or casual gatherings.

Why You’ll Love These Black Bean Burgers
These black bean burgers are loved for so many reasons:
- Packed with plant-based protein and fiber
- Budget-friendly and easy to make
- Crispy outside with a soft, flavorful center
- Perfect for meal prep or quick dinners
- Customizable with your favorite toppings
They’re proof that healthy eating can be both delicious and satisfying.
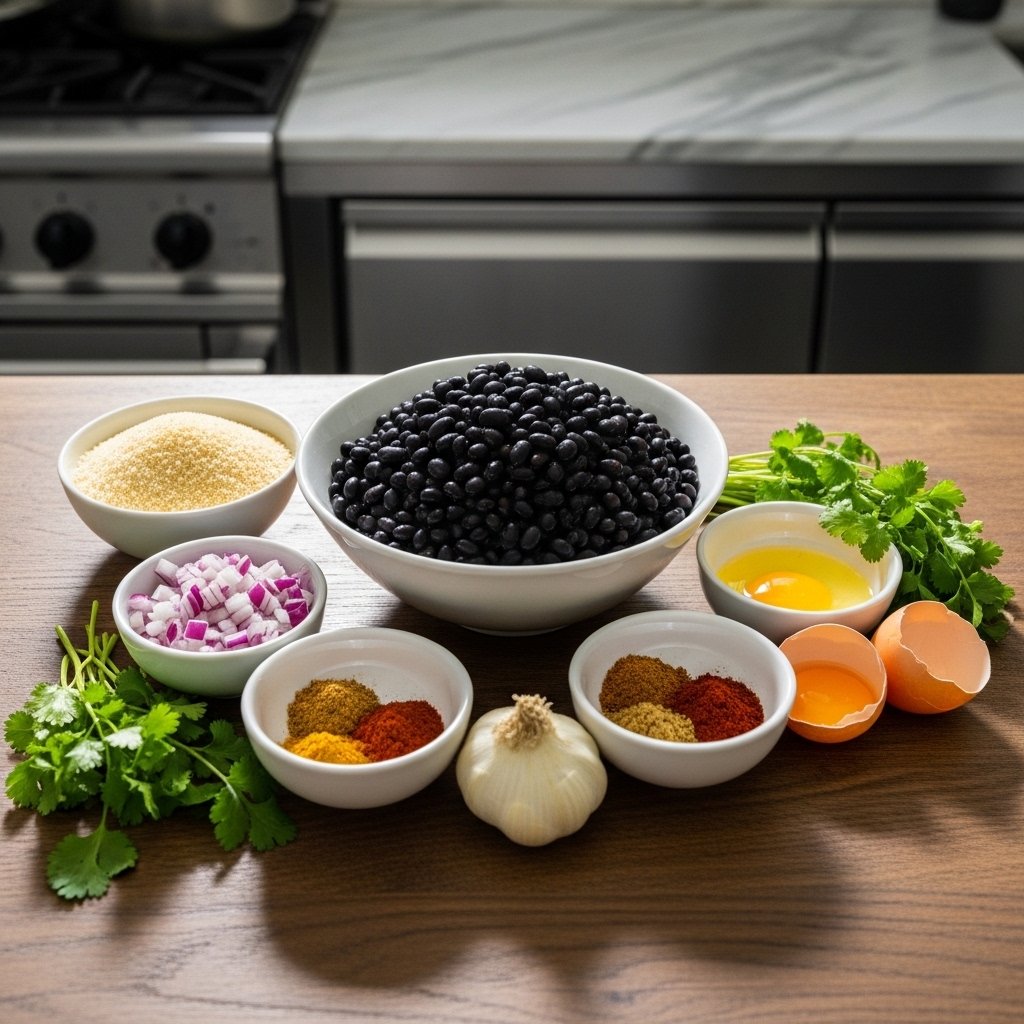
Ingredients for Black Bean Burgers
To make these flavorful black bean burgers, you’ll need:
- Canned black beans (drained and rinsed)
- Breadcrumbs or oats
- Onion (finely chopped)
- Garlic
- Egg (or flax egg for vegan option)
- Spices (cumin, paprika, salt, pepper)
- Olive oil
Ingredient Notes
The key to great black bean burgers is achieving the right texture. Beans should be mashed but still slightly chunky for a hearty bite. Breadcrumbs or oats help bind the mixture, while spices bring out bold, smoky flavors.
For a vegan version, simply replace the egg with a flax egg or another binder like mashed sweet potato.
Step-by-Step Instructions
1. Mash the Beans
In a bowl, mash black beans until mostly smooth with some chunks remaining.
2. Mix Ingredients
Add onion, garlic, breadcrumbs, egg, and spices. Mix until combined.
3. Form Patties
Shape the mixture into burger-sized patties.
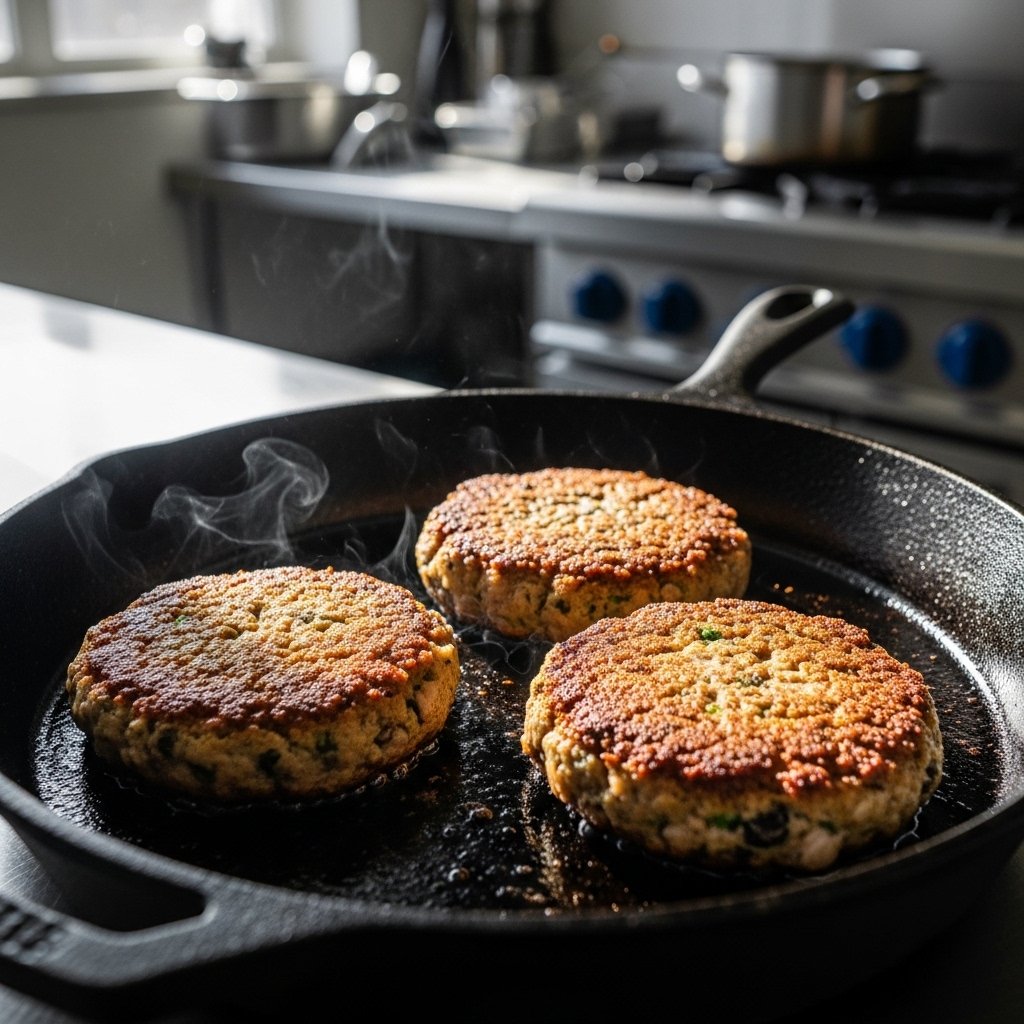
4. Cook the Patties
Heat oil in a skillet and cook patties for 4–5 minutes per side until crispy.
5. Assemble Burgers
Serve on buns with your favorite toppings.
Tips for Perfect Black Bean Burgers
To make the best black bean burgers, follow these tips:
- Dry beans well to avoid soggy patties
- Chill the mixture before shaping
- Don’t over-mash (texture matters!)
- Cook on medium heat for even browning
These simple steps ensure your burgers hold together and taste amazing.
Variations and Customizations
You can easily customize your black bean burgers:
- Add corn or bell peppers for texture
- Mix in shredded cheese for extra richness
- Spice it up with chili powder or jalapeños
- Use different herbs like cilantro or parsley

What to Serve With Black Bean Burgers
Pair your black bean burgers with:
- Sweet potato fries
- Coleslaw or salad
- Avocado slices or guacamole
- Pickles and sauces
These sides complete your meal perfectly.
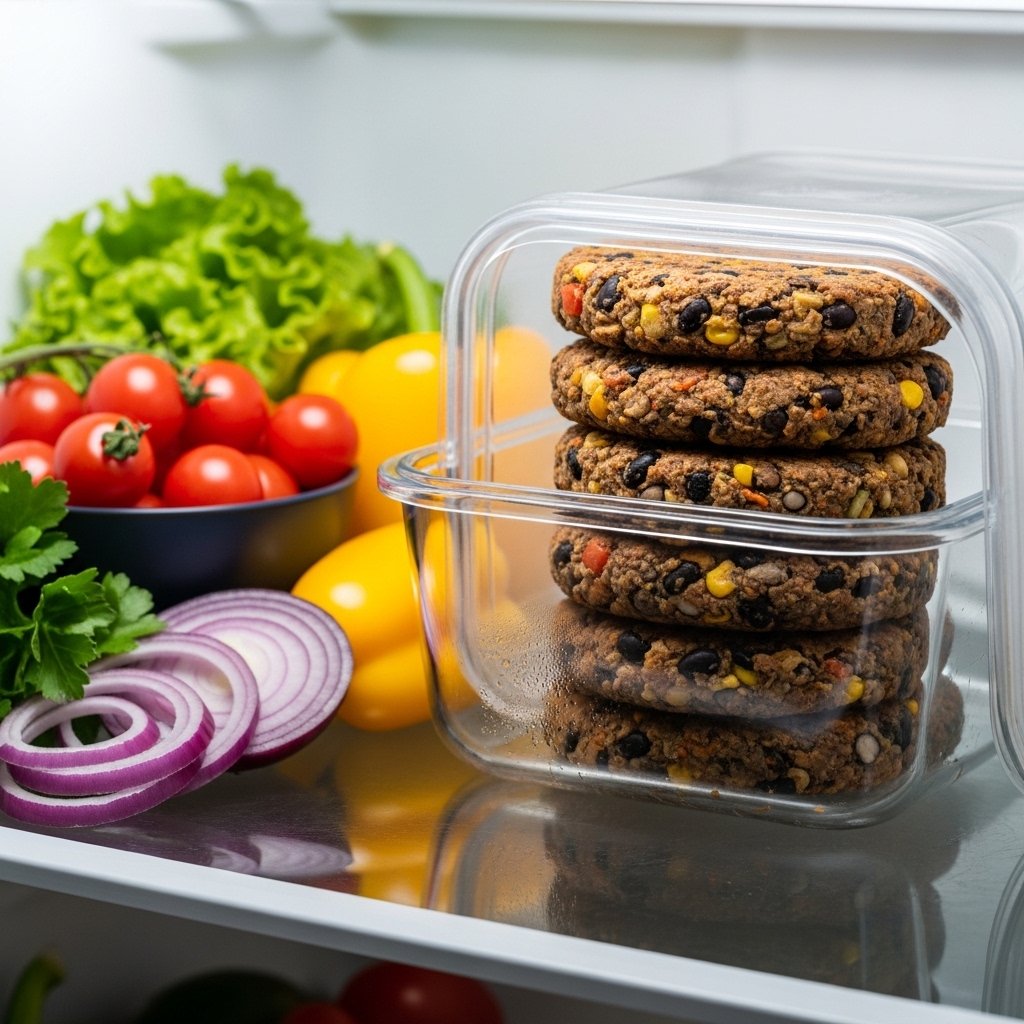
Storage & Reheating Tips
To store your black bean burgers:
- Refrigerate cooked patties for up to 4 days
- Freeze uncooked or cooked patties for up to 2 months
- Reheat in a skillet or oven for best texture
Common Mistakes to Avoid
When making black bean burgers, avoid:
- Using wet beans (causes falling apart)
- Skipping binders like breadcrumbs
- Overcooking (can dry them out)
- Making patties too thick
Paying attention to these details ensures success.
FAQs
Are black bean burgers healthy?
Yes! They’re rich in fiber, protein, and nutrients.
Can I make them vegan?
Absolutely—just use a flax egg instead of a regular egg.
Why are my burgers falling apart?
They may need more binder or better-drained beans.
Can I grill black bean burgers?
Yes, but chill them first to help them hold their shape.
Final Thoughts
These black bean burgers are a fantastic way to enjoy a hearty, flavorful meal without relying on meat. They’re simple, nutritious, and endlessly customizable, making them perfect for any occasion.
Whether you’re new to plant-based cooking or already a fan, this recipe is one you’ll come back to again and again. Give it a try and discover just how delicious homemade veggie burgers can be!