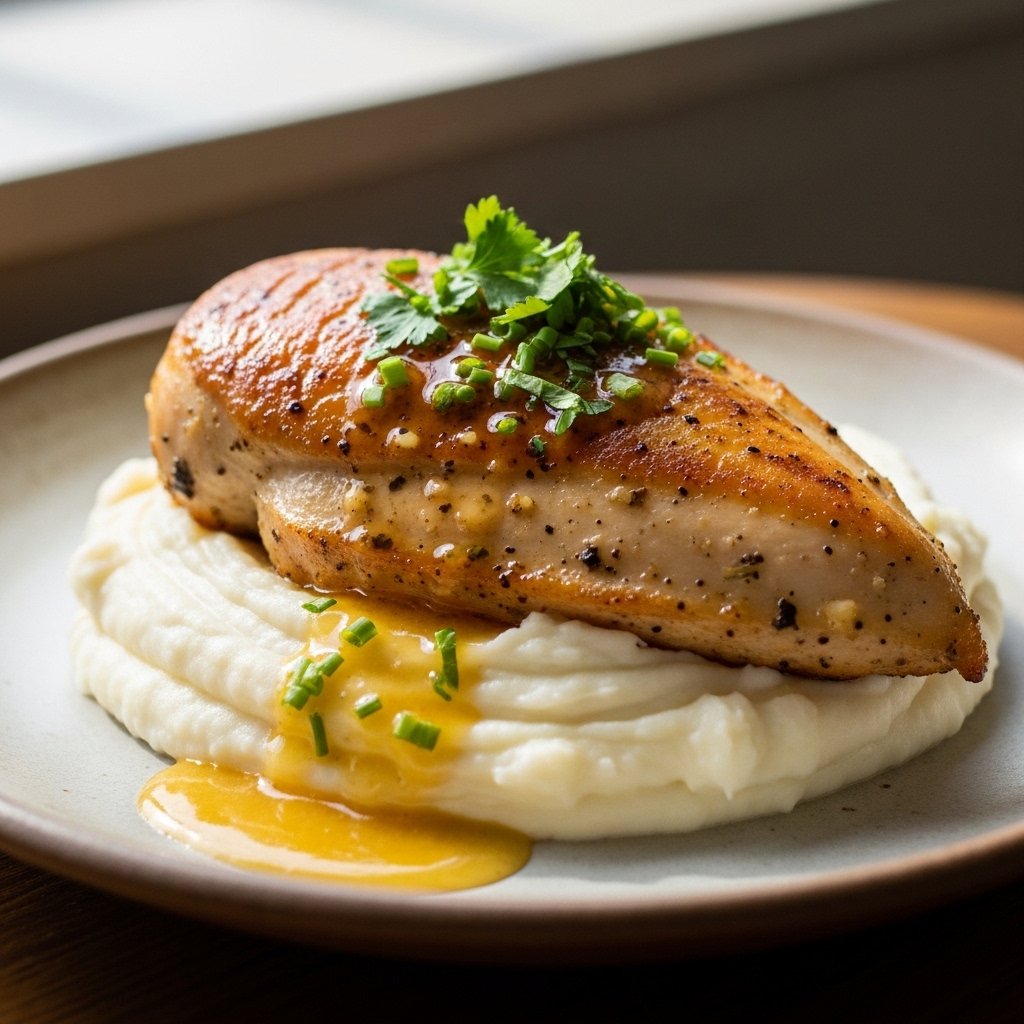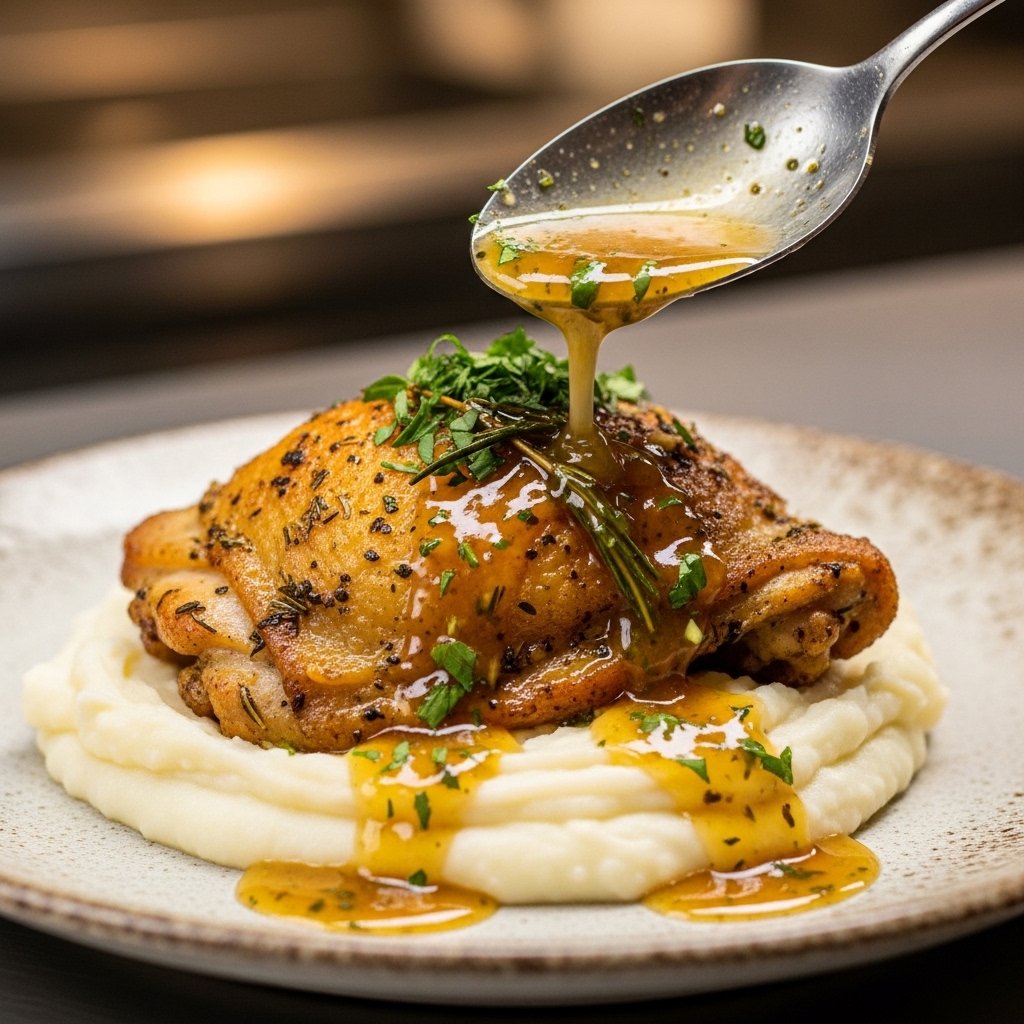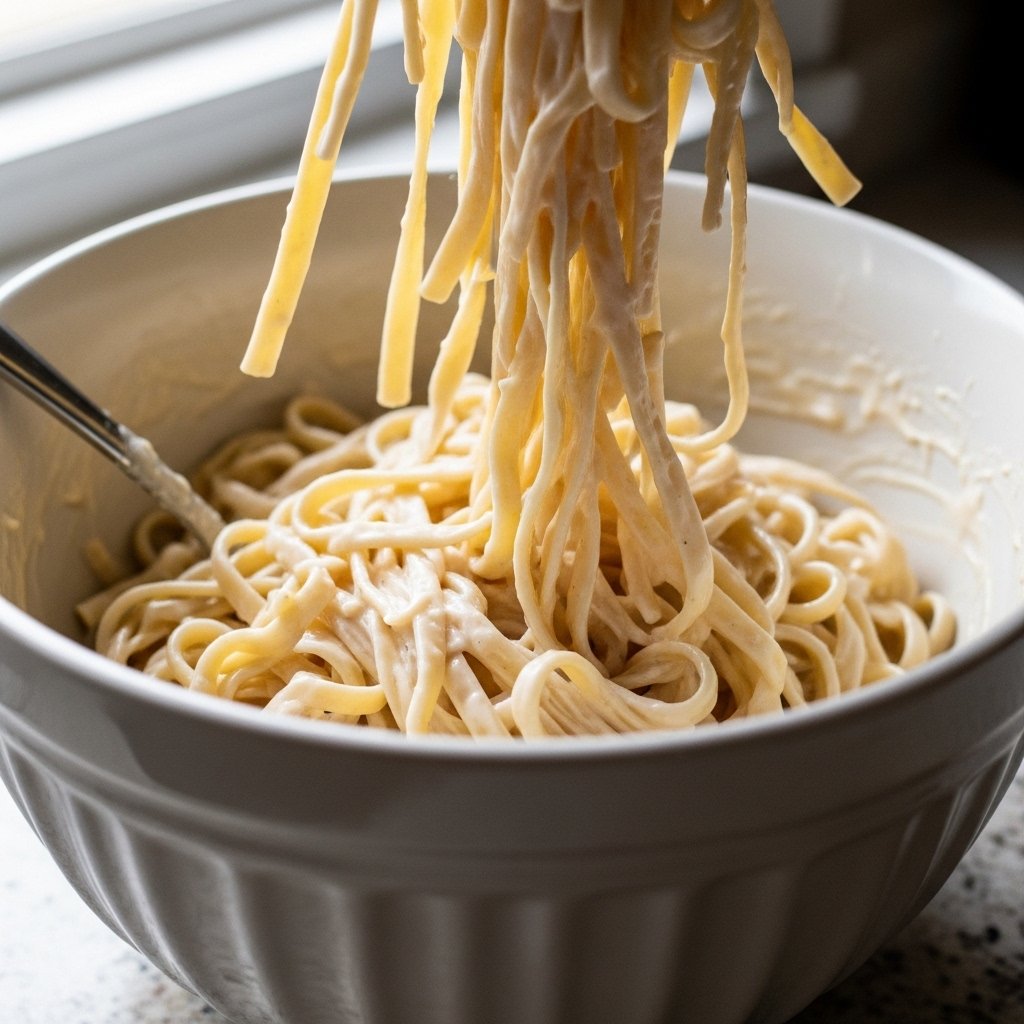
If you love creamy pasta dishes but don’t always have time for a full baked lasagna, these 15 minute chicken Alfredo lasagna rolls are about to become your new weeknight favorite. They deliver all the rich, cheesy comfort of classic lasagna in a faster, easier format that feels just as special.
Tender lasagna noodles are rolled up with juicy chicken, creamy Alfredo sauce, and melty cheese, then baked just long enough to become bubbling and irresistible. This recipe is ideal for busy families, meal prep, or when you want a cozy homemade chicken dinner without spending hours in the kitchen.
Why You’ll Love These Chicken Alfredo Lasagna Rolls
This easy chicken dinner recipe is a total comfort food win.
Why This Recipe Works
- Ready in about 15 minutes of prep
- Rich and creamy Alfredo flavor
- Family-friendly and kid-approved
- Great for leftovers
- Easy to customize
- Feels special without extra work
It’s everything you want in a cozy pasta dinner.
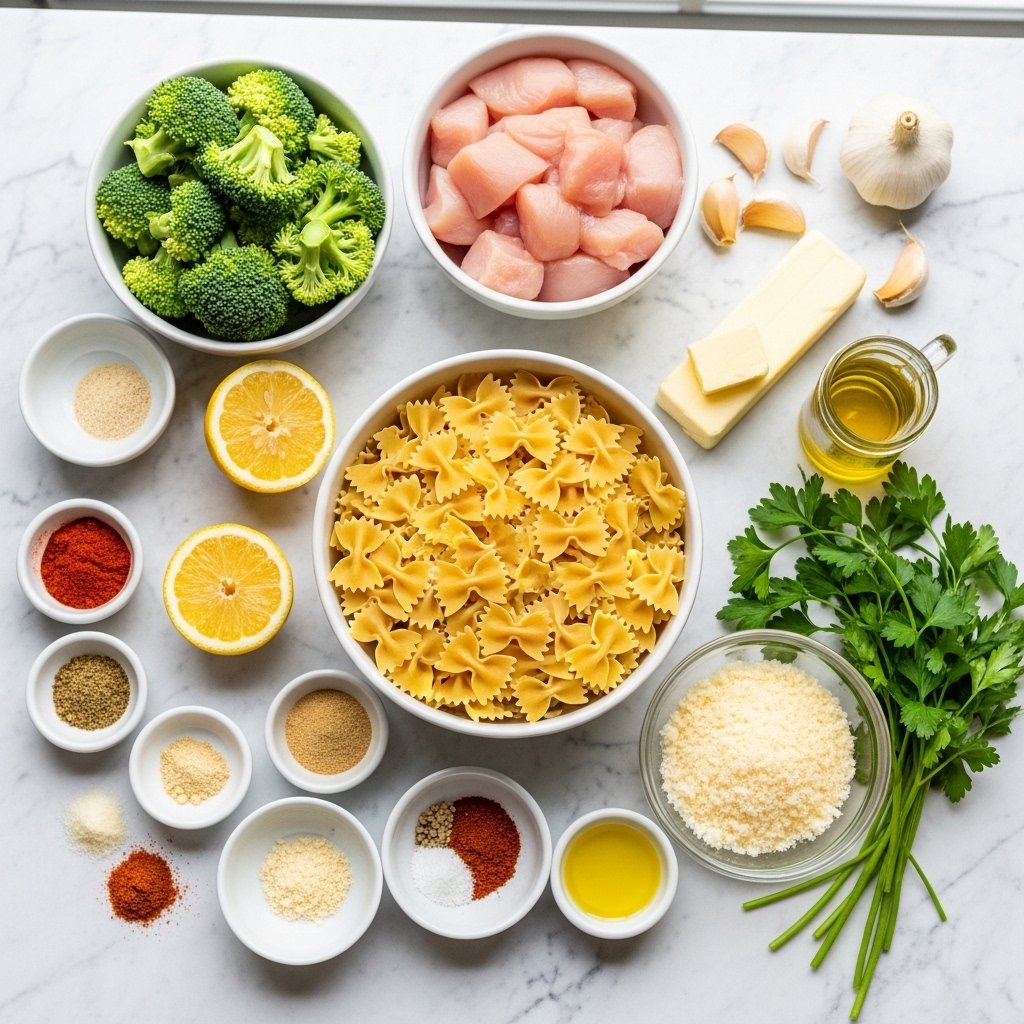
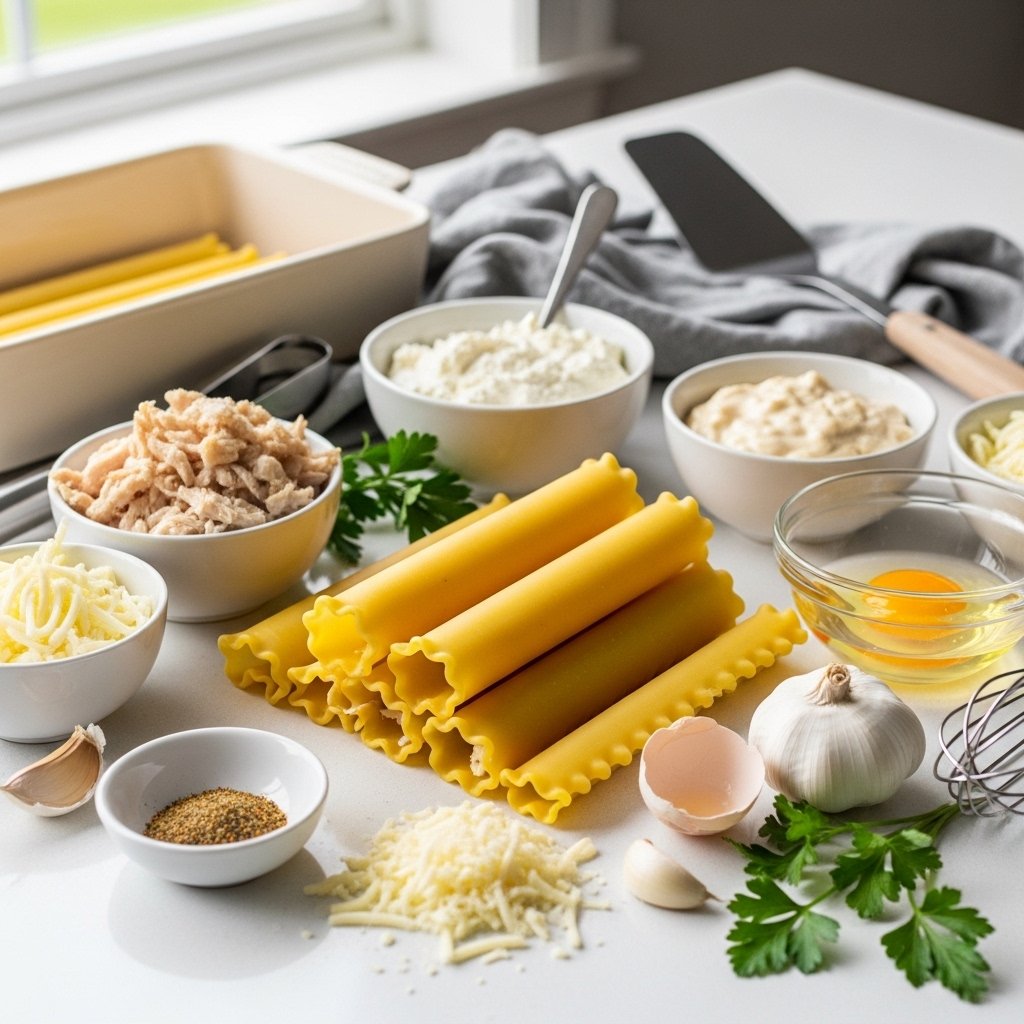
Ingredients You’ll Need
To make these delicious chicken Alfredo lasagna rolls, gather:
Main Ingredients
- 8 lasagna noodles
- 2 cups cooked shredded chicken
- 2 cups Alfredo sauce
- 1 1/2 cups shredded mozzarella cheese
- 1/2 cup grated Parmesan cheese
- 1 cup ricotta cheese
- 1 egg
- 2 garlic cloves, minced
- 1 teaspoon Italian seasoning
- Salt and pepper to taste
Optional Garnishes
- Fresh parsley
- Crushed red pepper flakes
These ingredients create a creamy, cheesy filling that tastes incredible.
Ingredient Notes and Helpful Prep Tips
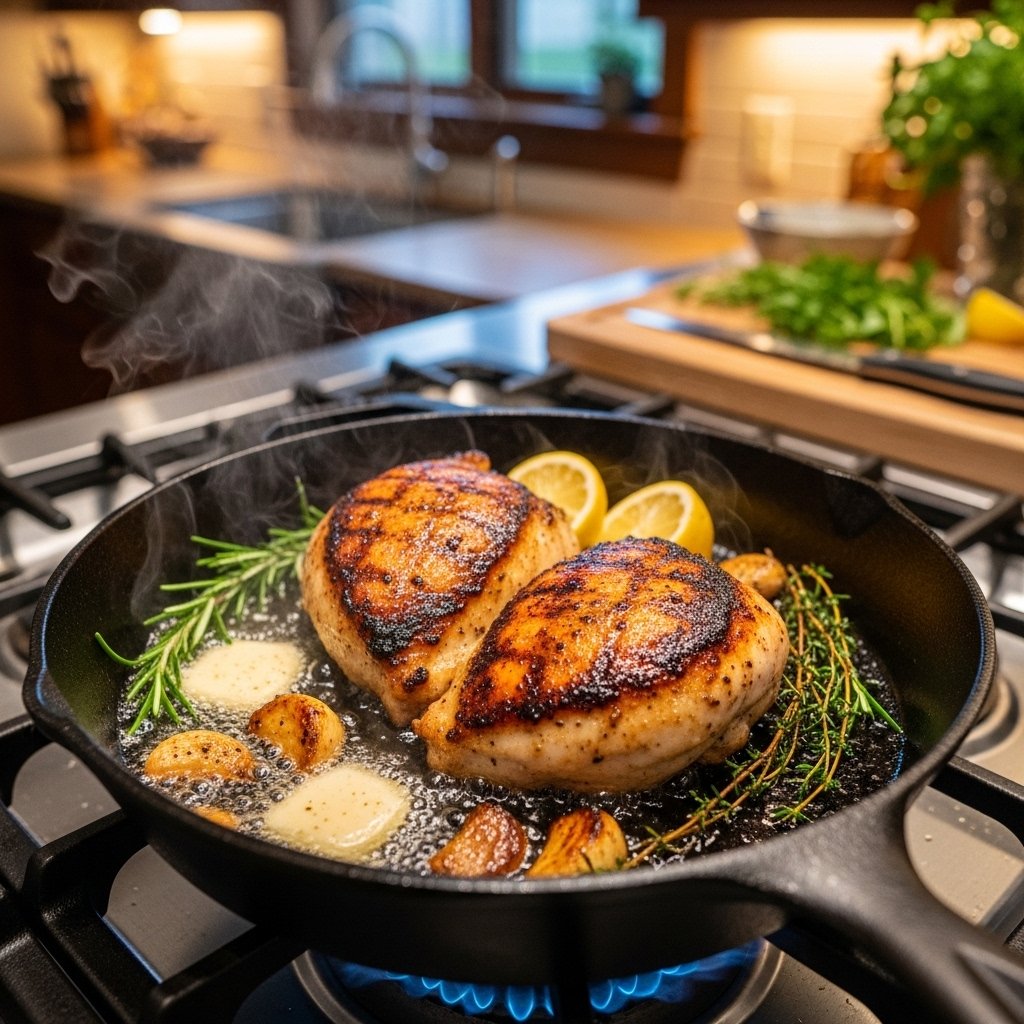
Best Chicken to Use
Easy options:
- Rotisserie chicken
- Leftover grilled chicken
- Poached chicken breast
Alfredo Sauce Tip
Use:
- Homemade Alfredo for richer flavor
- Store-bought for convenience
Noodle Tip
Cook noodles:
- Just until tender
- Not too soft
This makes rolling easier.
Step-by-Step Instructions
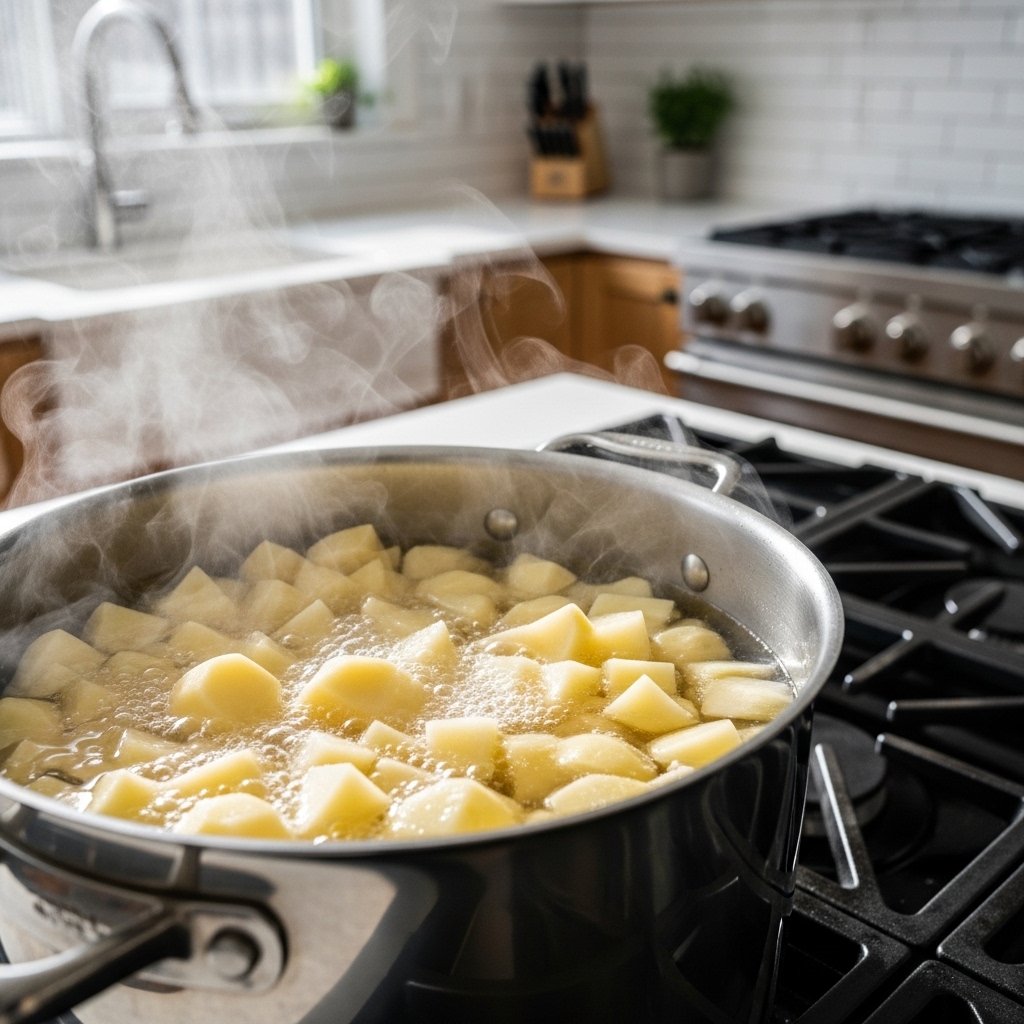
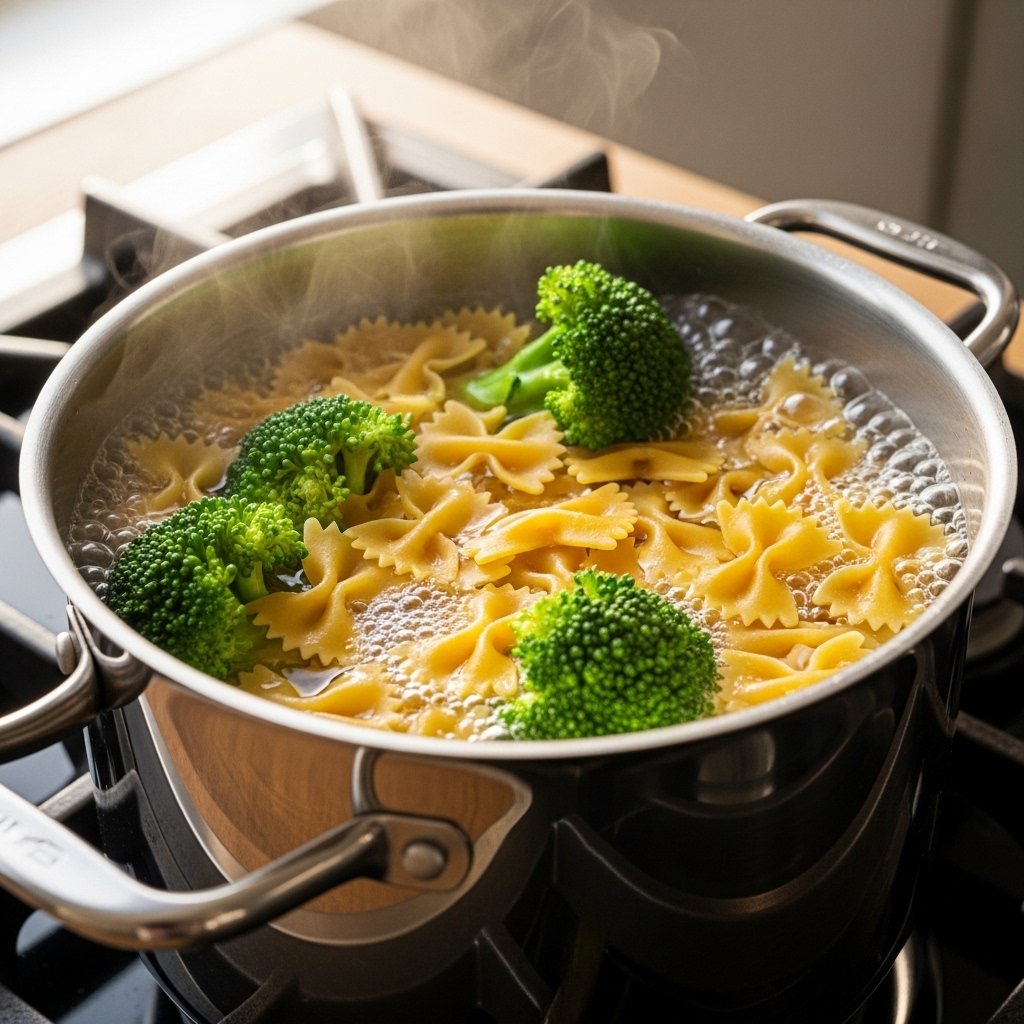
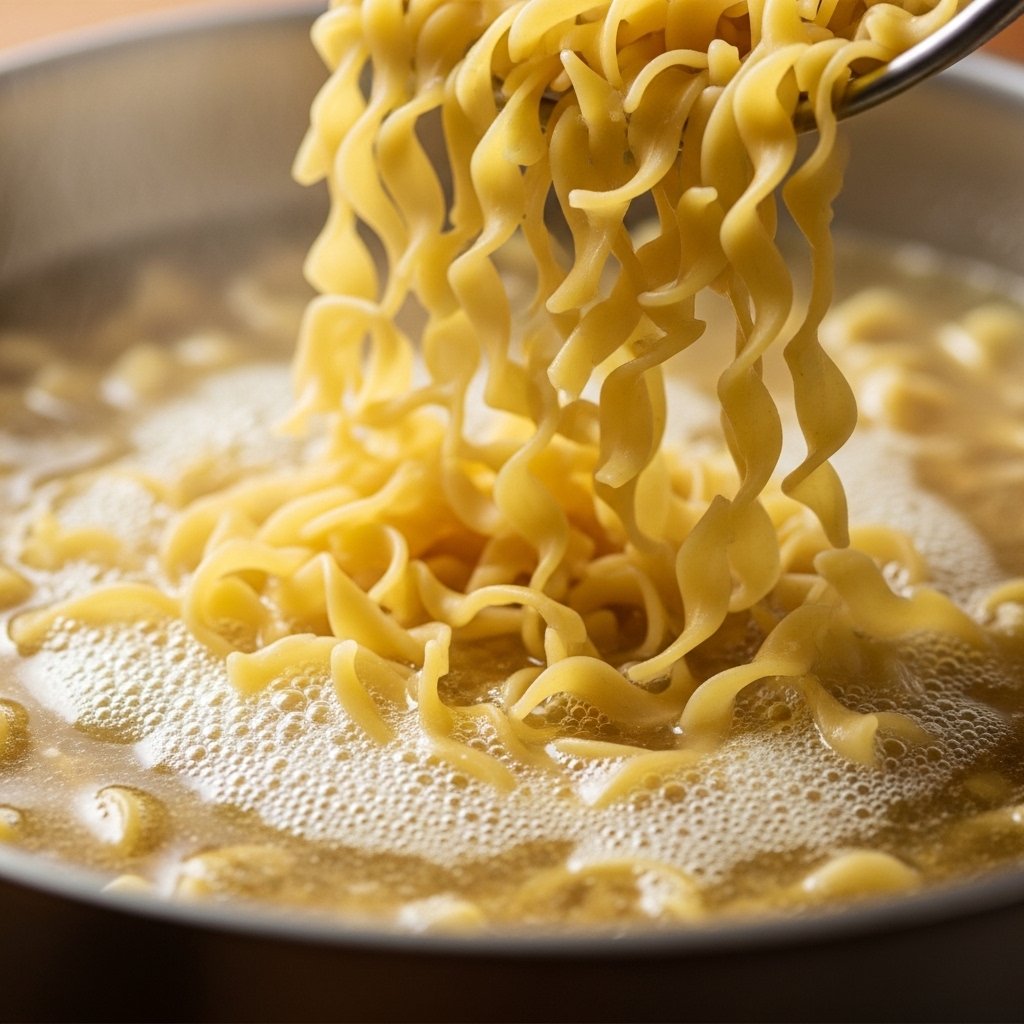
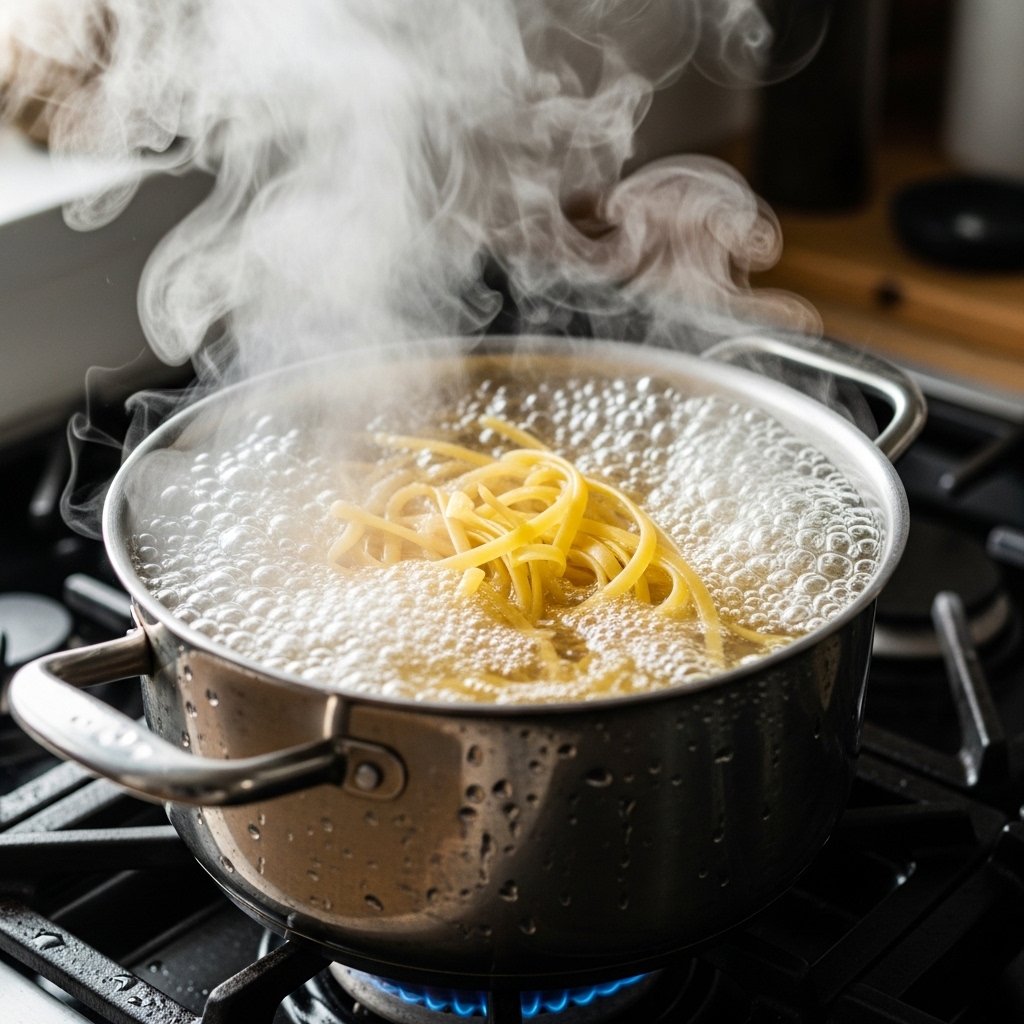
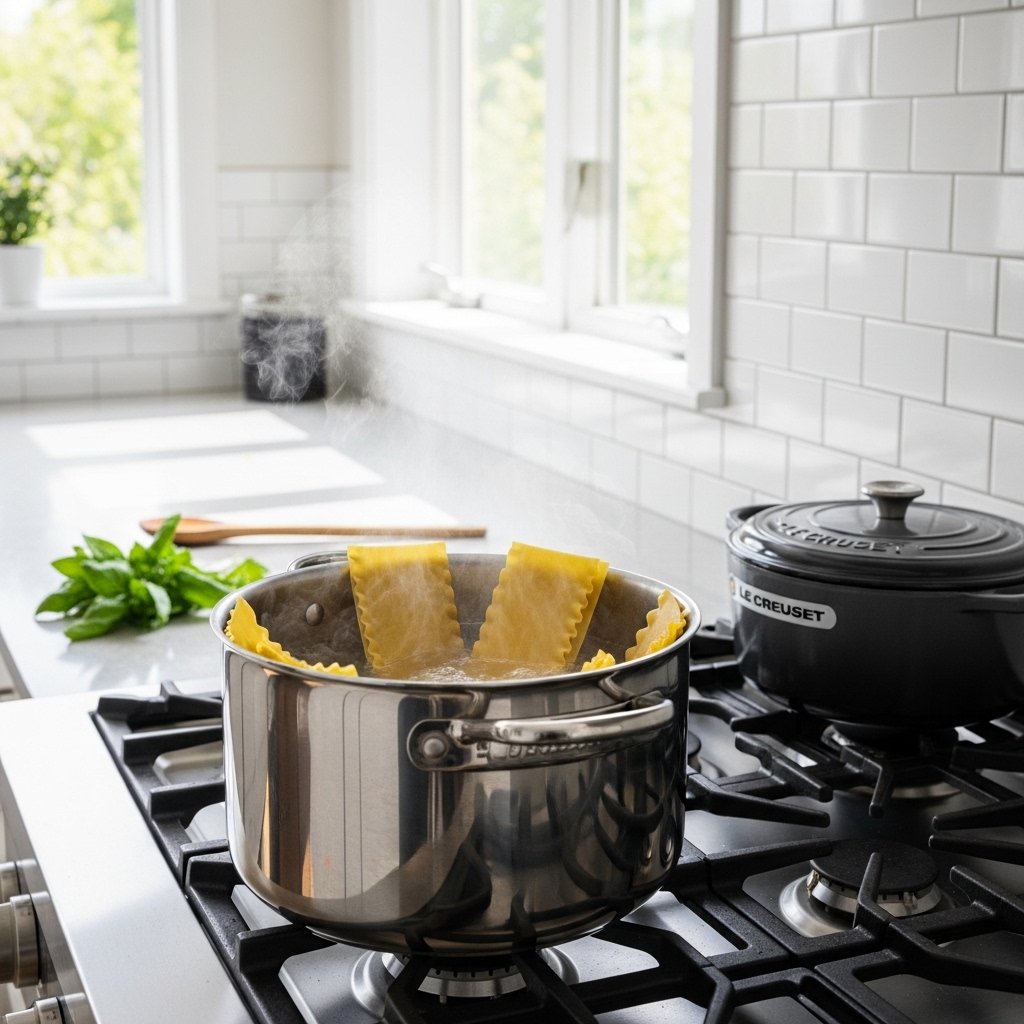
Step 1: Cook the Lasagna Noodles
Boil noodles according to package directions.
Drain and lay flat.
Lightly oil:
- Prevent sticking
This step helps create perfect rolls.
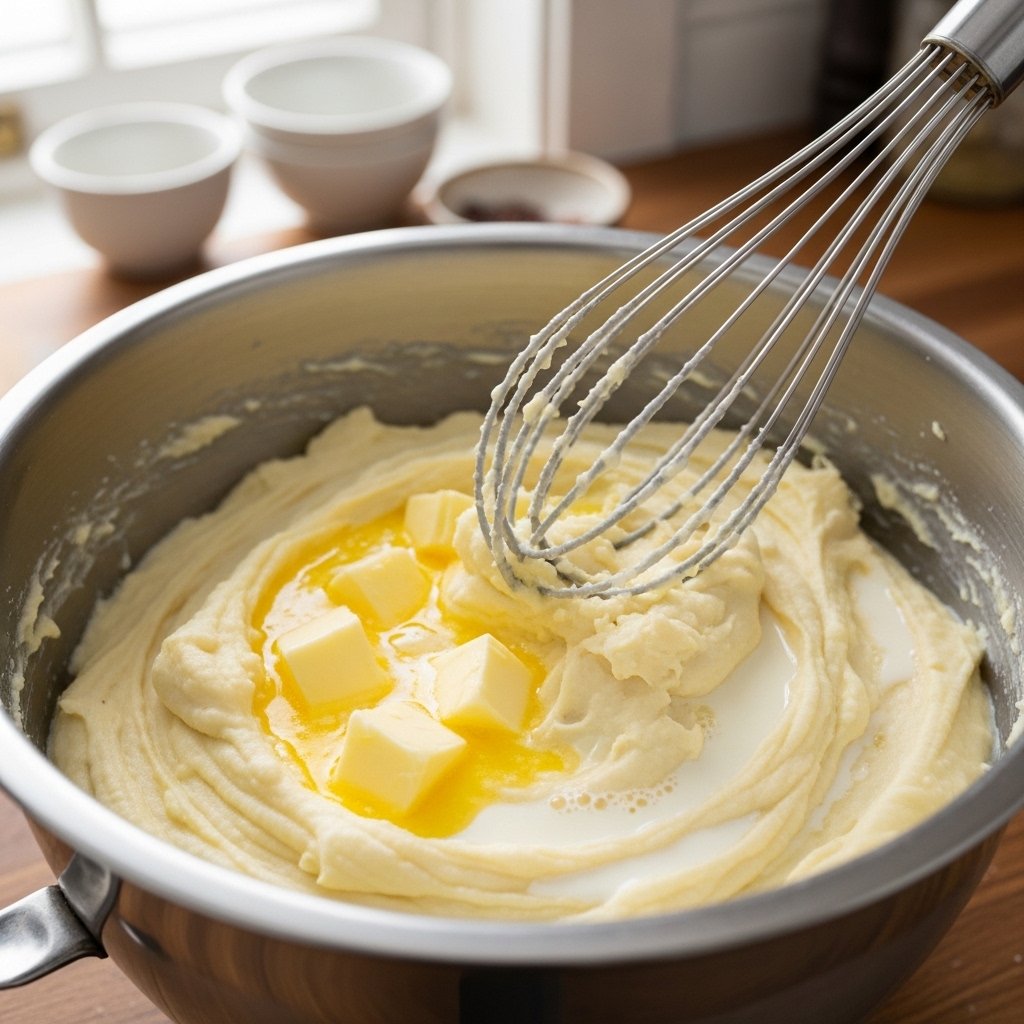
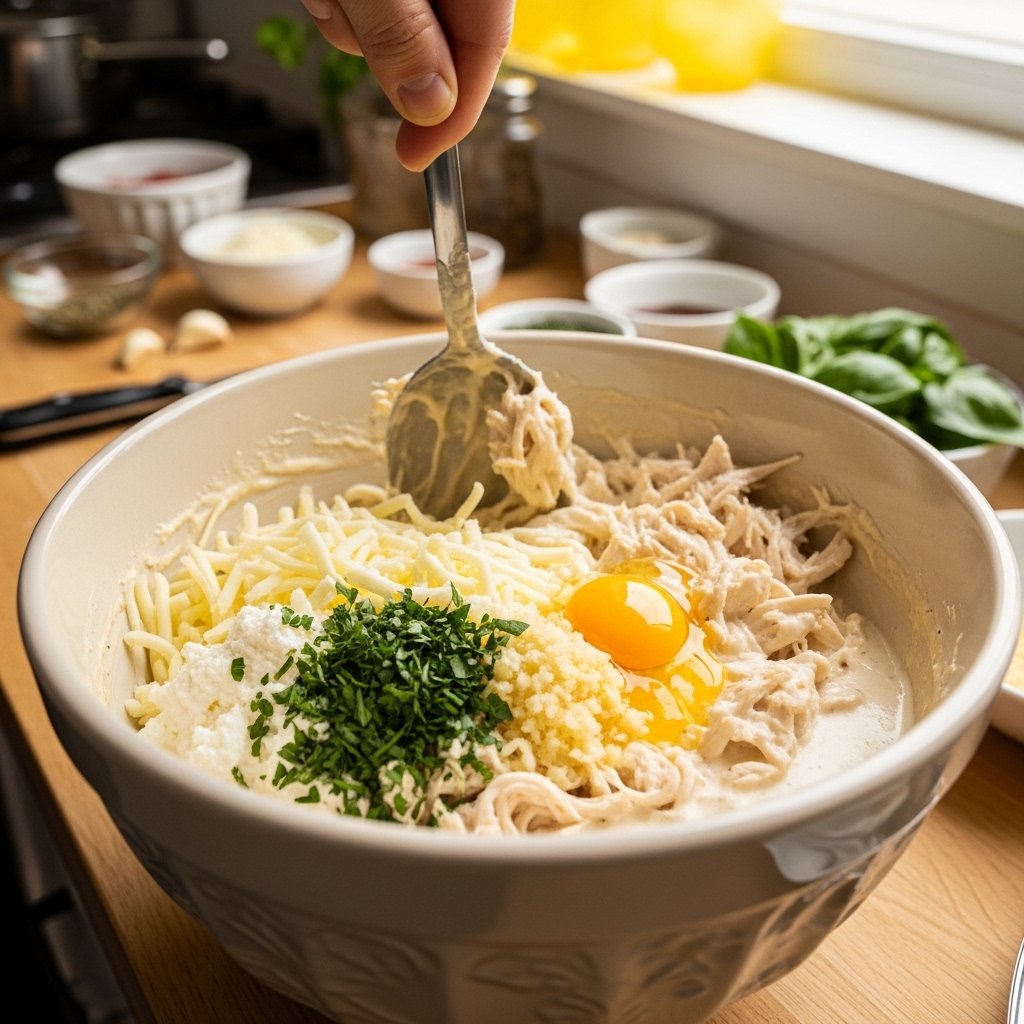
Step 2: Make the Filling
In a bowl, combine:
- Shredded chicken
- Ricotta
- Half mozzarella
- Parmesan
- Egg
- Garlic
- Italian seasoning
Mix until creamy and evenly combined.
This filling makes every bite rich and satisfying.
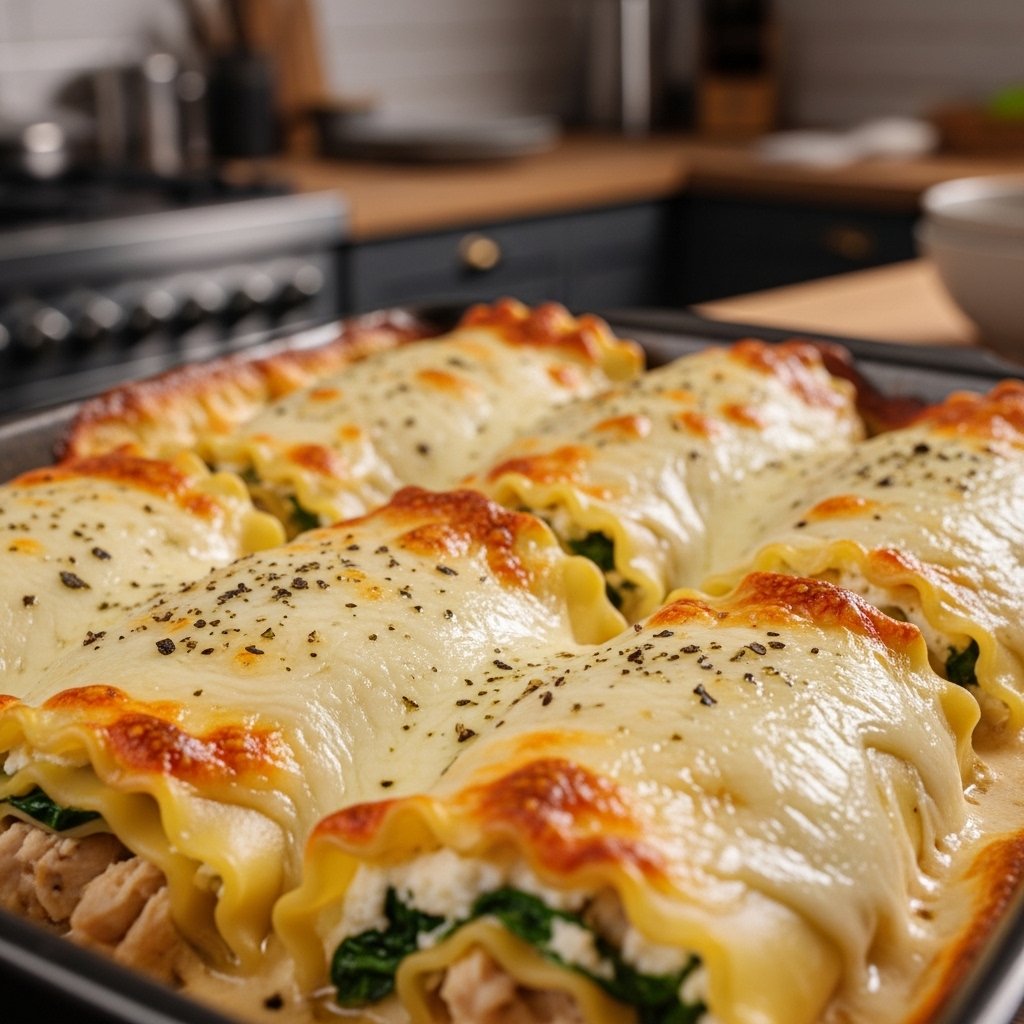
Step 3: Assemble the Rolls
Spread Alfredo sauce over bottom of baking dish.
Spread filling over each noodle.
Roll tightly and place seam-side down.
Top with:
- More Alfredo sauce
- Remaining mozzarella
This keeps everything creamy.
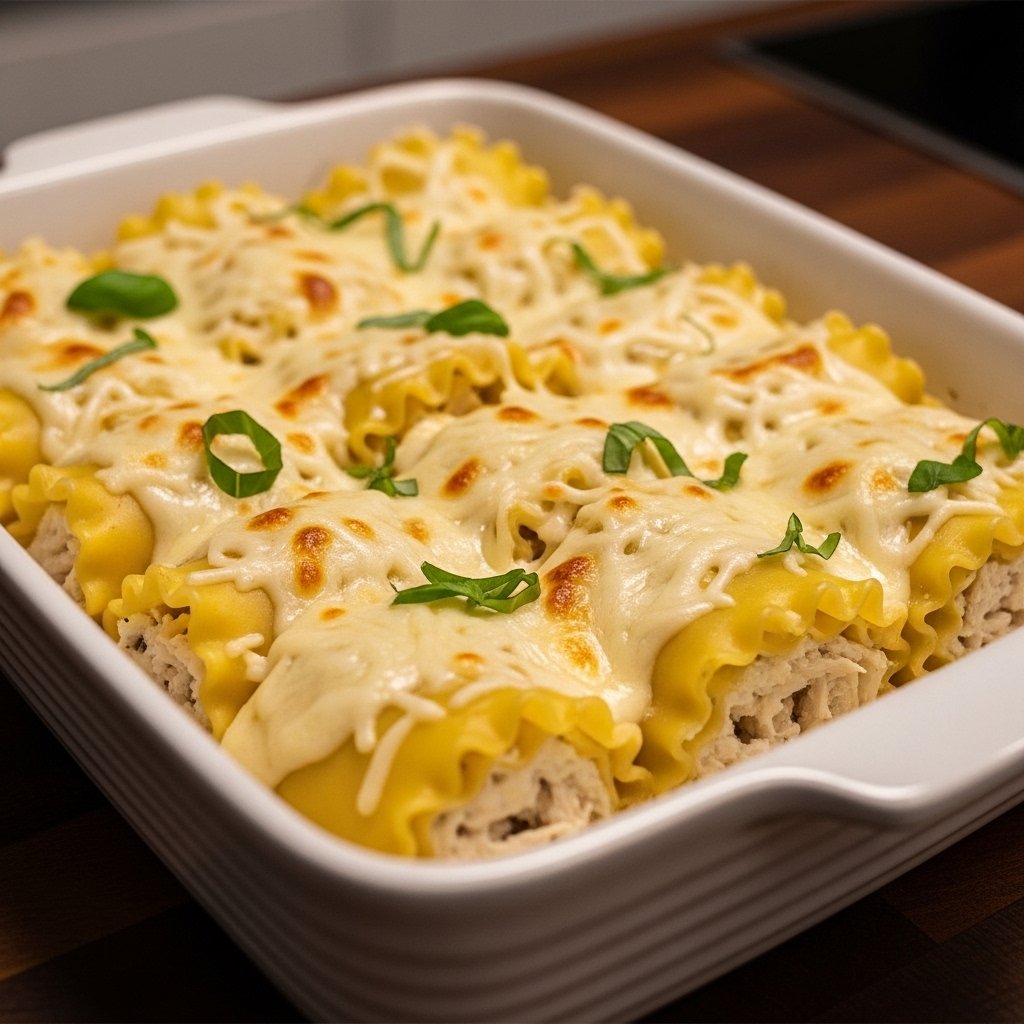
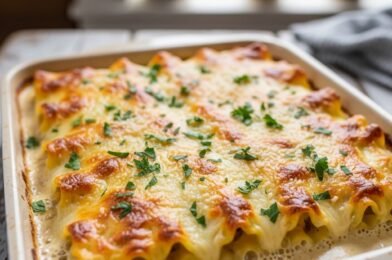
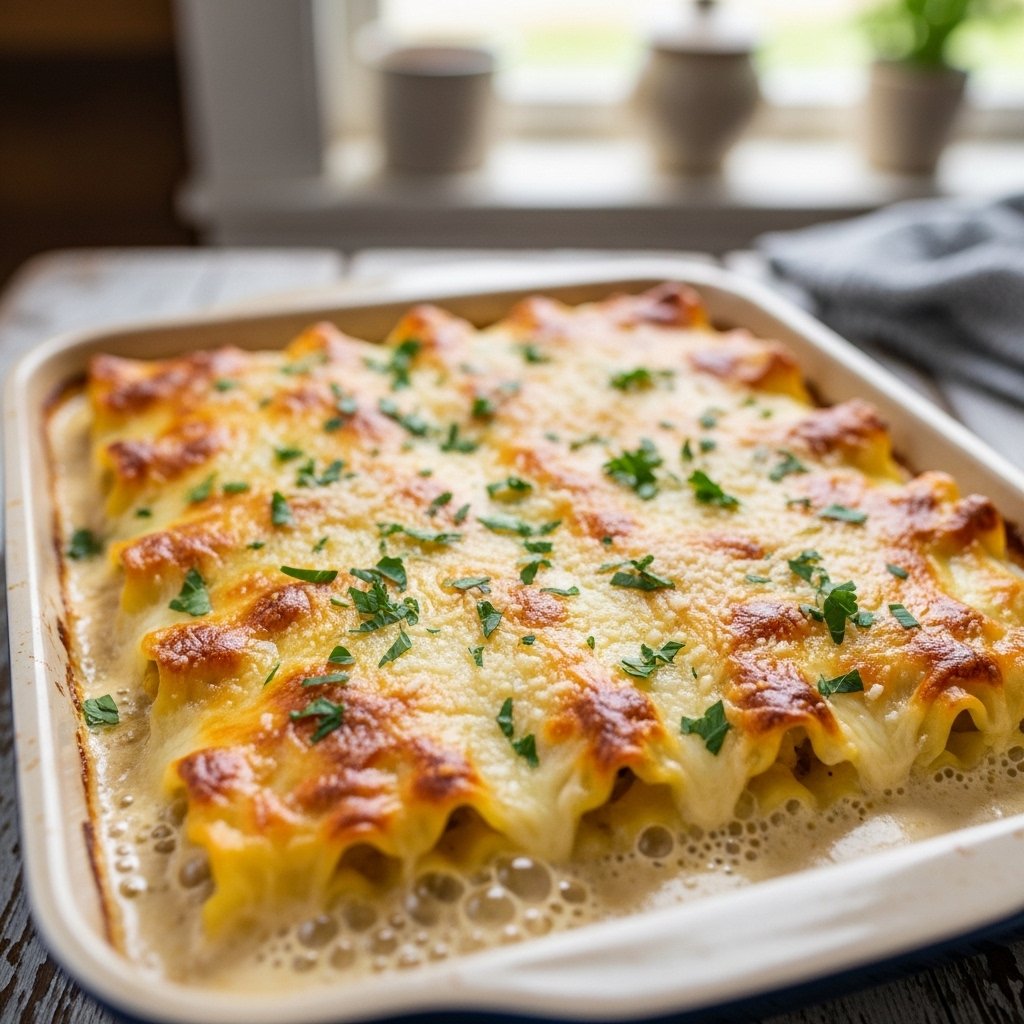
Step 4: Bake Until Bubbly
Bake at 375°F:
- 20–25 minutes
Until:
- Cheese melts
- Sauce bubbles
- Tops lightly golden
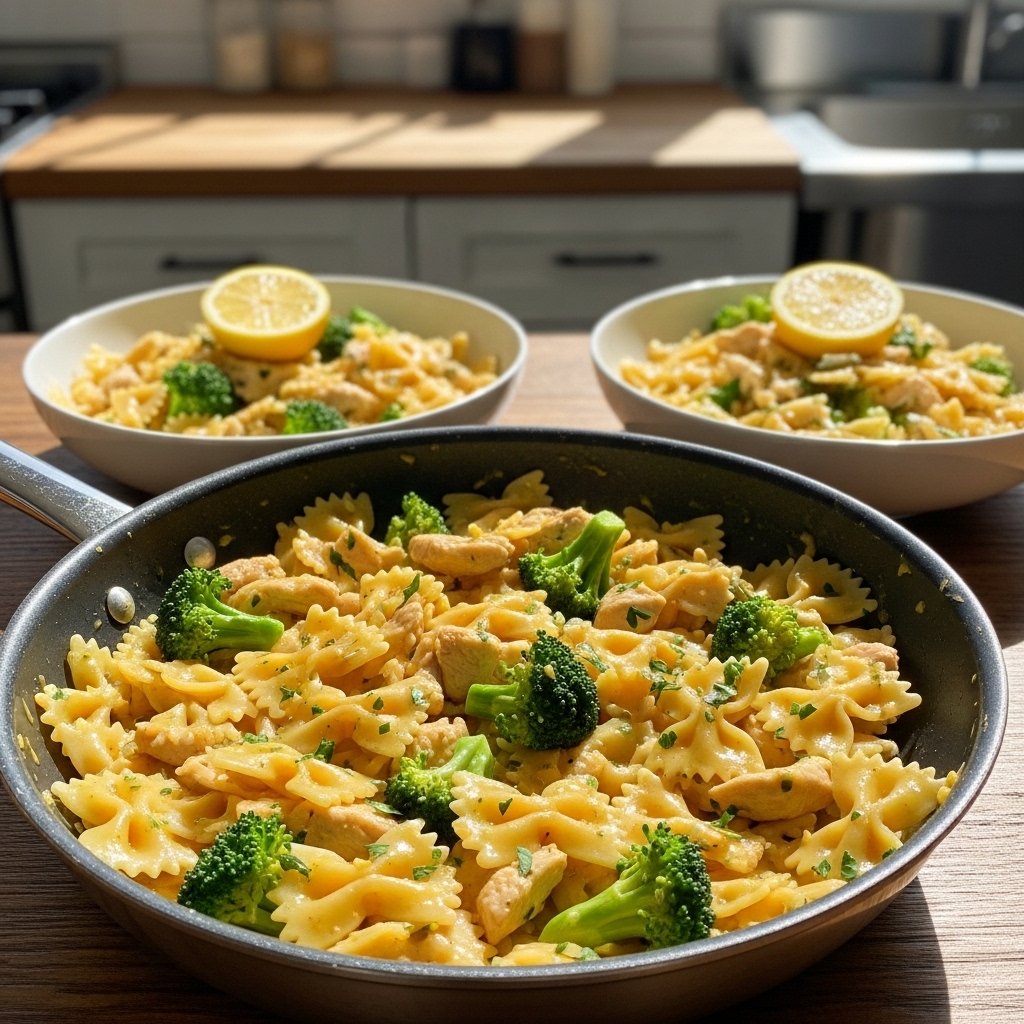
Garnish and serve hot.
This final bake brings it all together beautifully.
Tips for Perfect Chicken Alfredo Lasagna Rolls
For the best results:
- Don’t overcook noodles
- Let filling cool slightly
- Cover while baking for moisture
- Use enough sauce
- Rest before serving
These tips keep the rolls creamy and neat.
Variations and Customizations
This recipe is easy to make your own.
Delicious Add-Ins
- Spinach
- Mushrooms
- Broccoli
Protein Swaps
- Turkey
- Shrimp
Sauce Options
- Garlic Parmesan sauce
- Pesto Alfredo
This keeps dinner exciting.
What to Serve With Chicken Alfredo Lasagna Rolls
Pair with:
- Caesar salad
- Garlic bread
- Roasted broccoli
- Steamed green beans
Perfect for:
- Weeknight dinners
- Family gatherings
- Meal prep
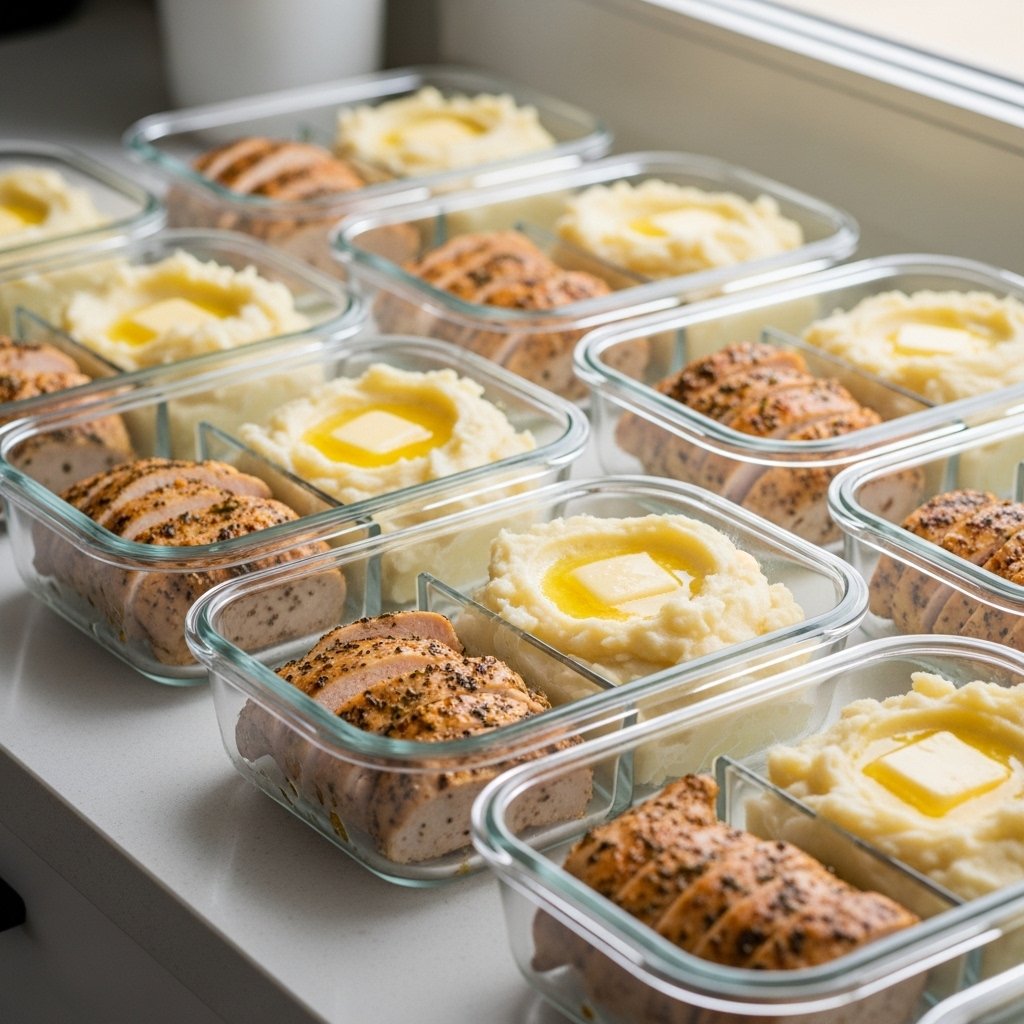
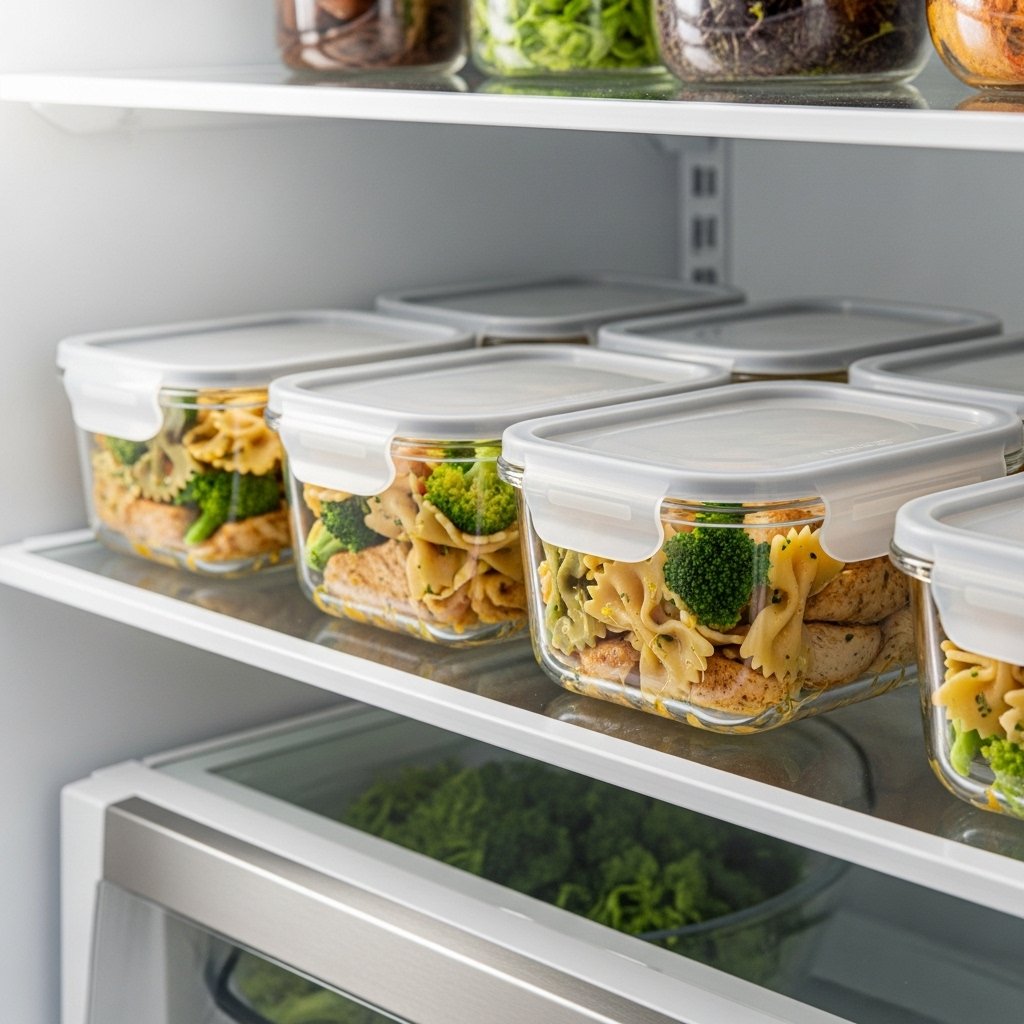
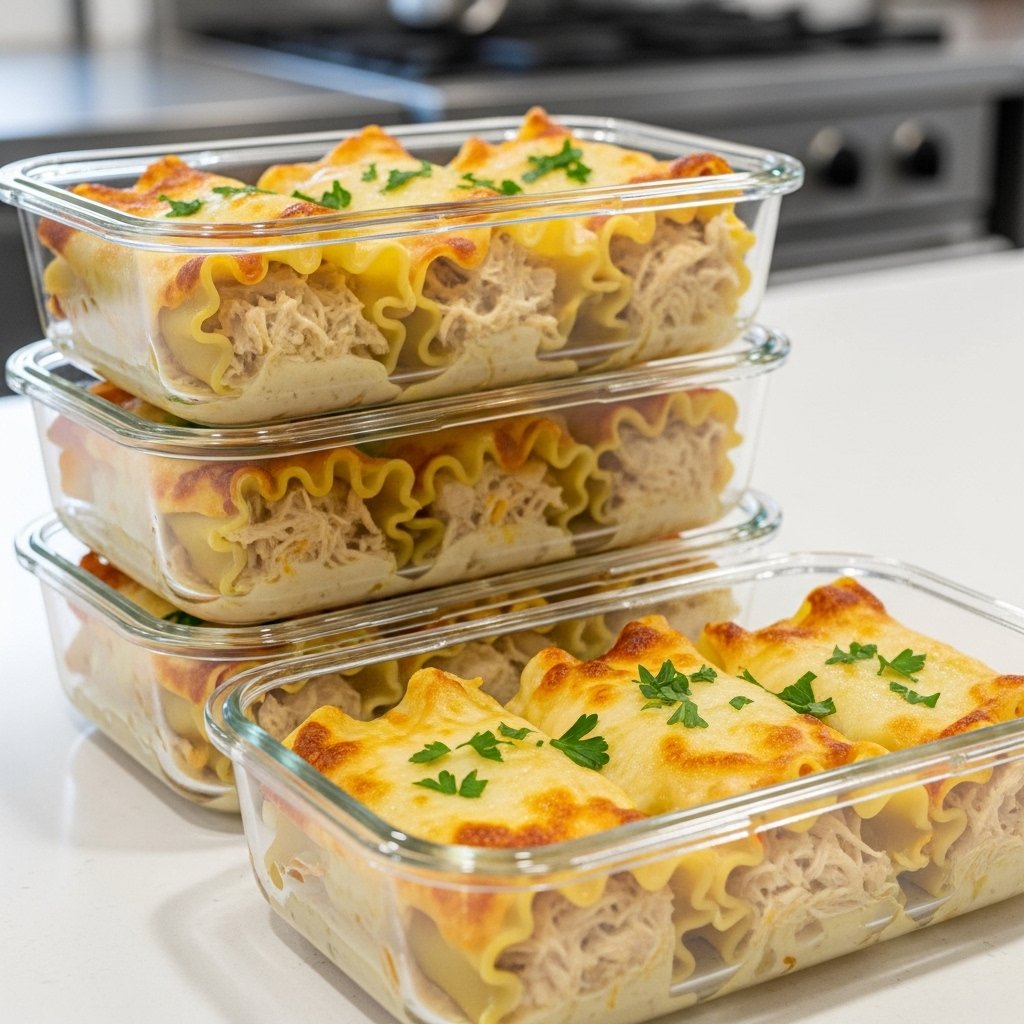
Storage and Reheating Tips
These lasagna rolls store beautifully.
Refrigerator
- Store up to 4 days
Freezer
- Freeze before or after baking
Reheat
- Oven for best texture
- Microwave for quick meals
Add extra sauce if reheating.
Common Mistakes to Avoid
For the best creamy lasagna rolls:
- Don’t skip sauce on bottom
- Don’t overfill noodles
- Don’t overbake
- Don’t rush resting time
- Don’t use dry chicken
Small details make a big difference.
Frequently Asked Questions
Can I make these ahead?
Yes, assemble and refrigerate before baking.
Can I use jarred Alfredo?
Absolutely.
Can I freeze leftovers?
Yes, they freeze well.
Can I add vegetables?
Yes, spinach and broccoli are great.
Do I need ricotta?
It’s best for texture, but cottage cheese can work.
Final Thoughts
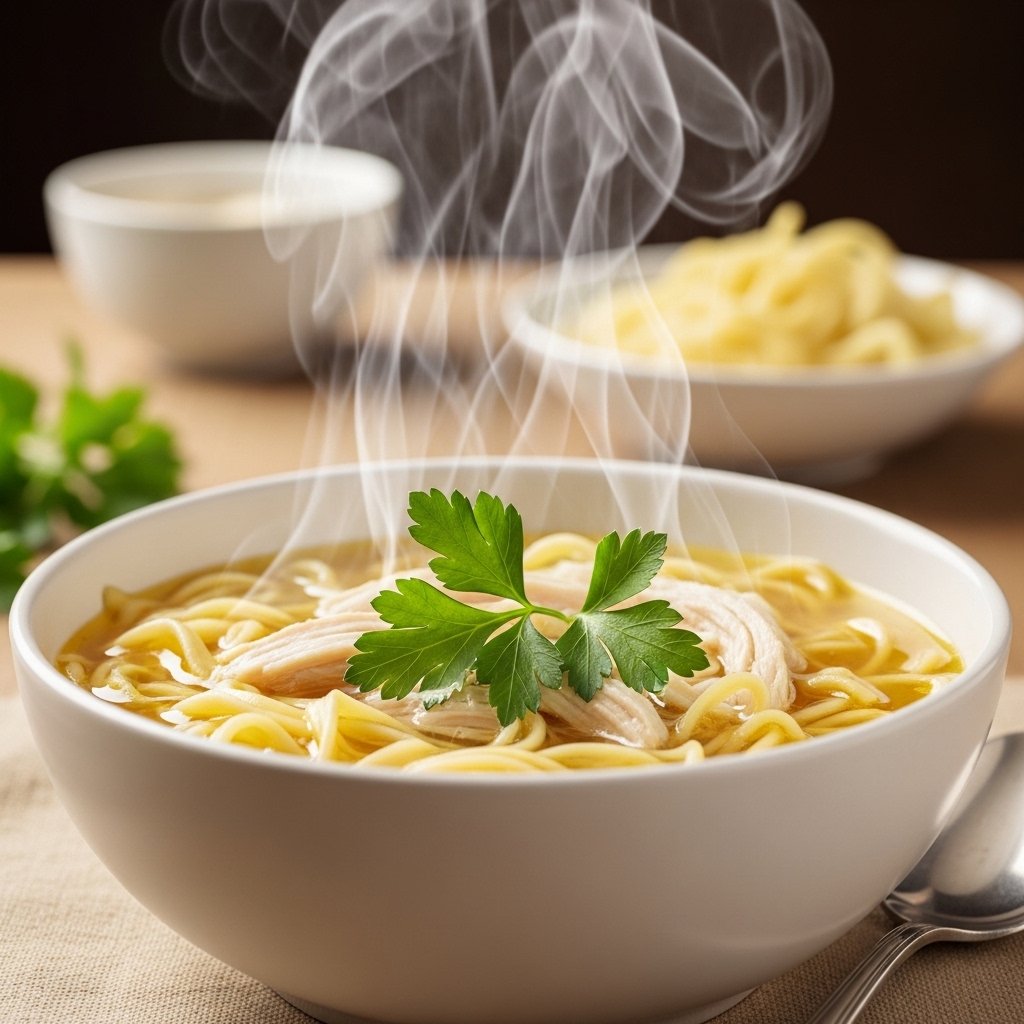
These 15 minute chicken Alfredo lasagna rolls are the perfect answer when you want a comforting chicken dinner that feels homemade and indulgent without a ton of effort. They’re creamy, cheesy, satisfying, and packed with flavor in every bite.
Whether you’re making them for a quick weeknight dinner, meal prepping ahead, or serving guests, this recipe delivers all the cozy pasta comfort you could want. One bite, and it’s easy to see why this dish becomes an instant favorite.