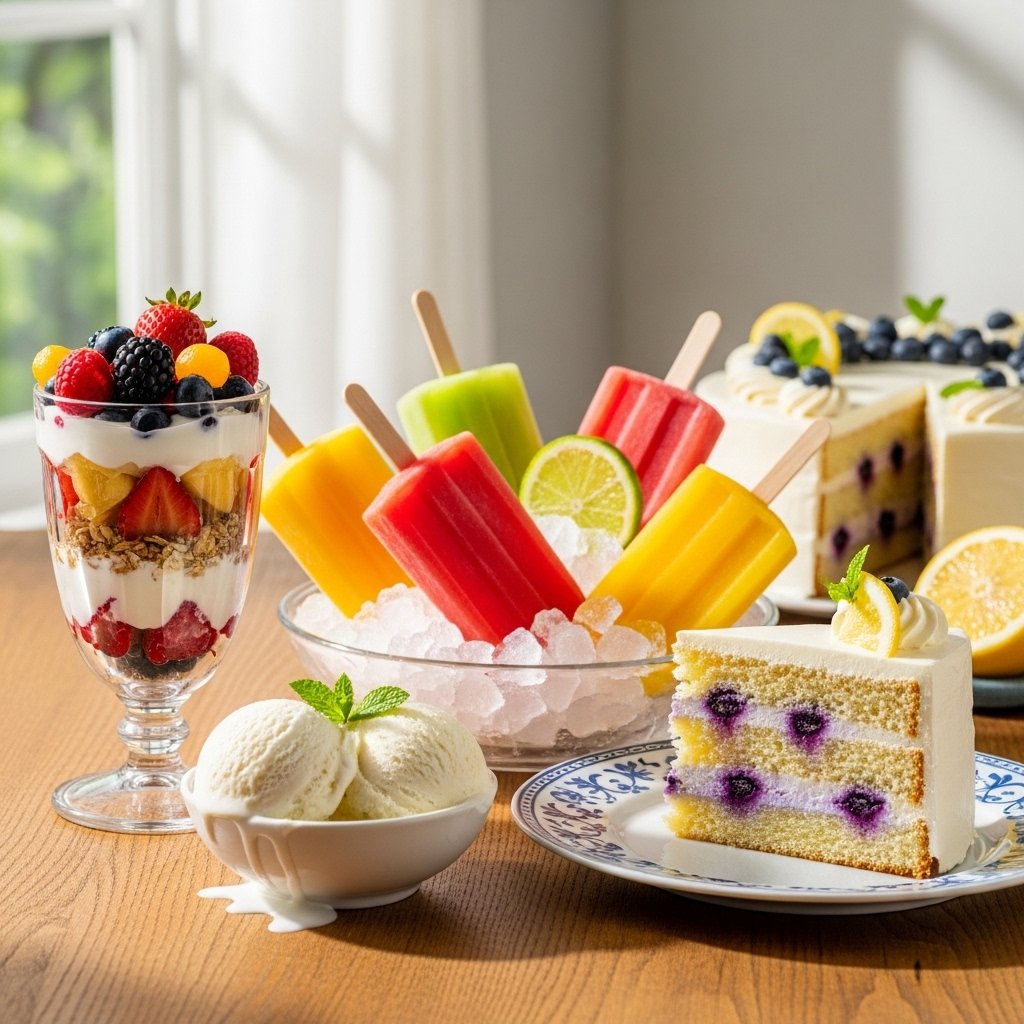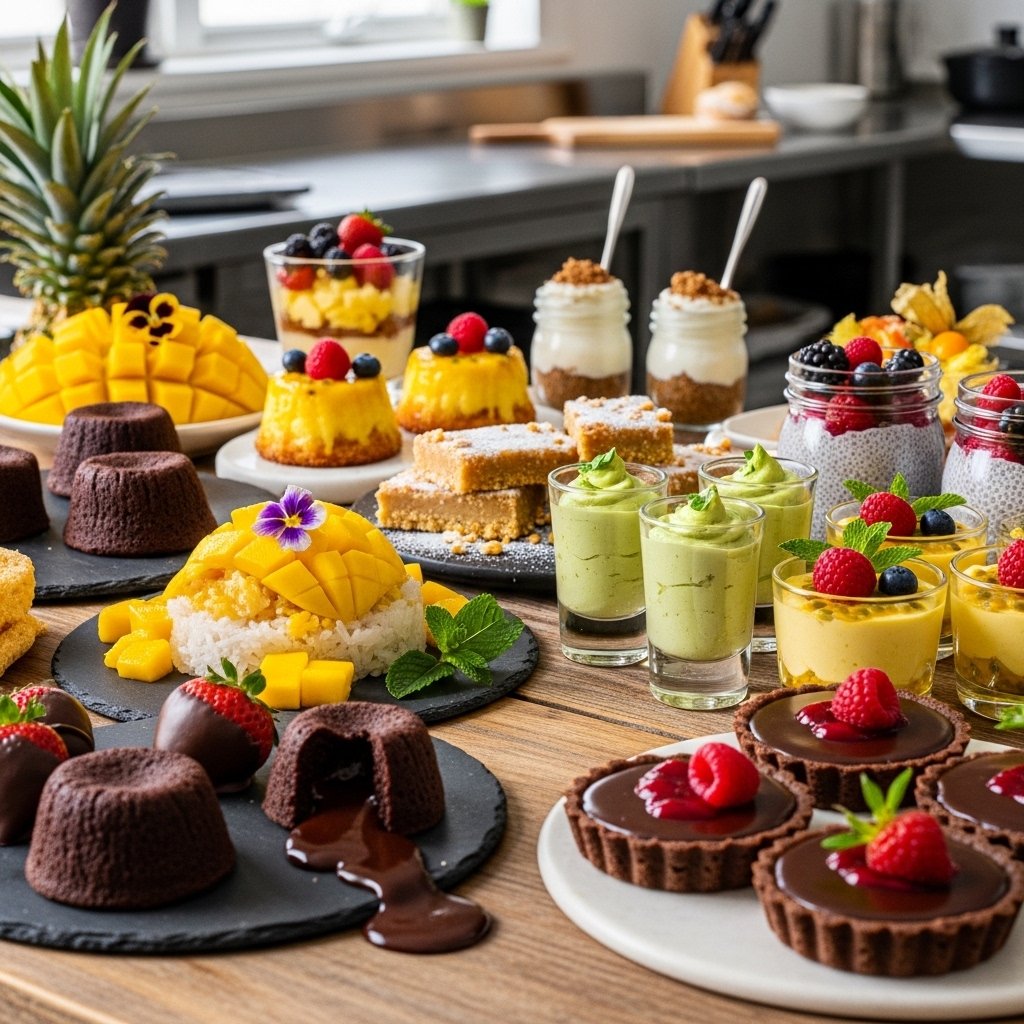
When summer temperatures soar, the last thing you want is to turn on the oven. That’s exactly why these best no bake desserts for hot summer days are such a game changer. They’re cool, simple, and incredibly satisfying—perfect for everything from lazy afternoons to backyard gatherings.
These desserts focus on fresh flavors, creamy textures, and minimal effort. Whether you’re craving something fruity, chocolatey, or light and refreshing, you’ll find plenty of inspiration here to keep your sweet tooth happy without overheating your kitchen.
Why You’ll Love These No Bake Desserts
These best no bake desserts for hot summer days are perfect for anyone looking for easy, delicious recipes.
- No oven required
- Quick and beginner-friendly
- Perfect for hot weather
- Great for entertaining
- Customizable with simple ingredients
They’re ideal for busy days when you want something sweet without spending hours in the kitchen.
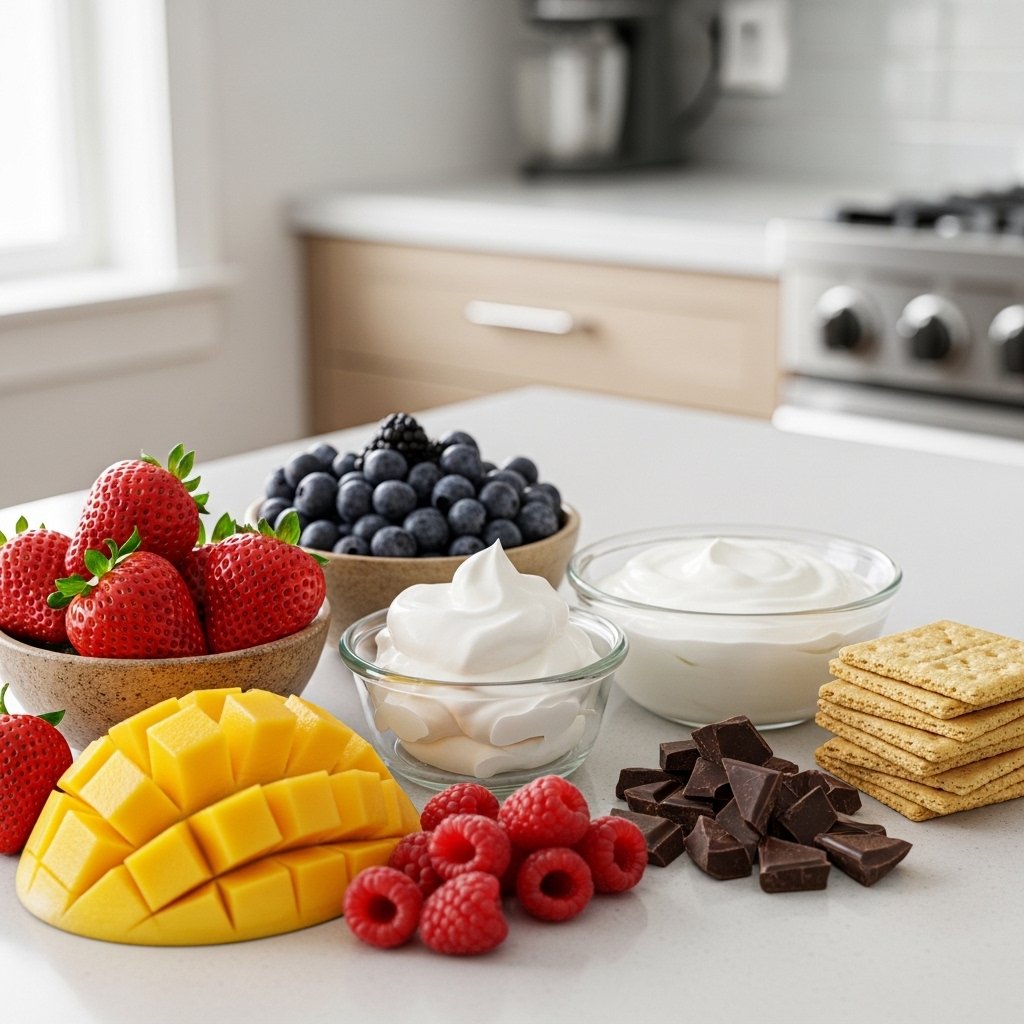
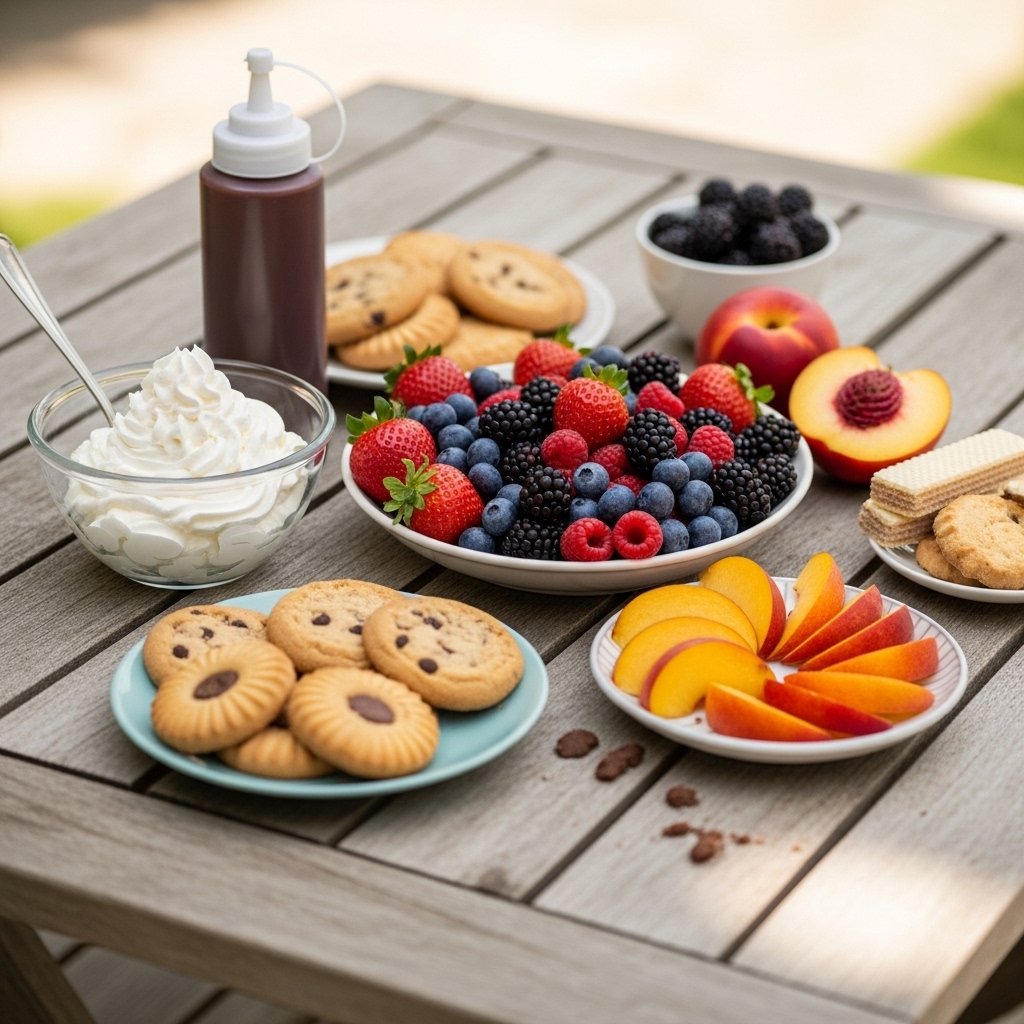
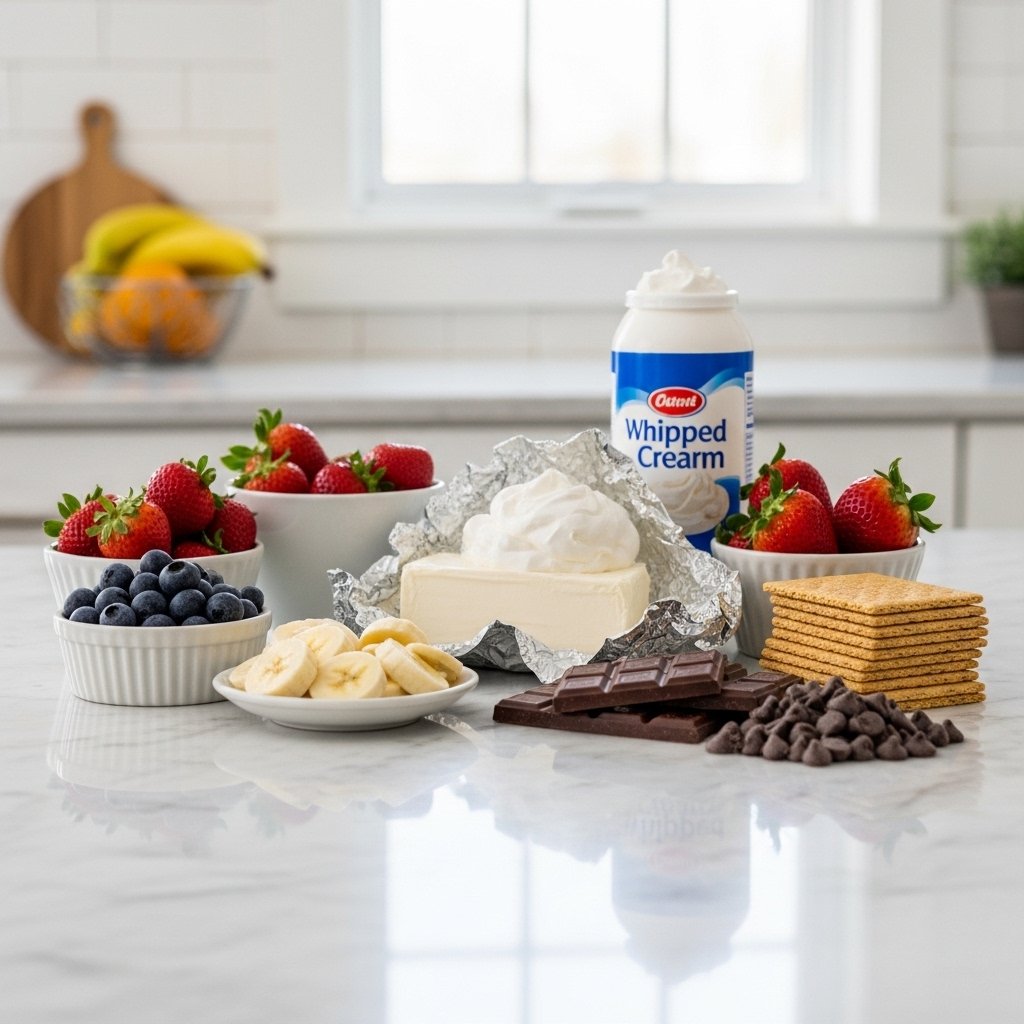
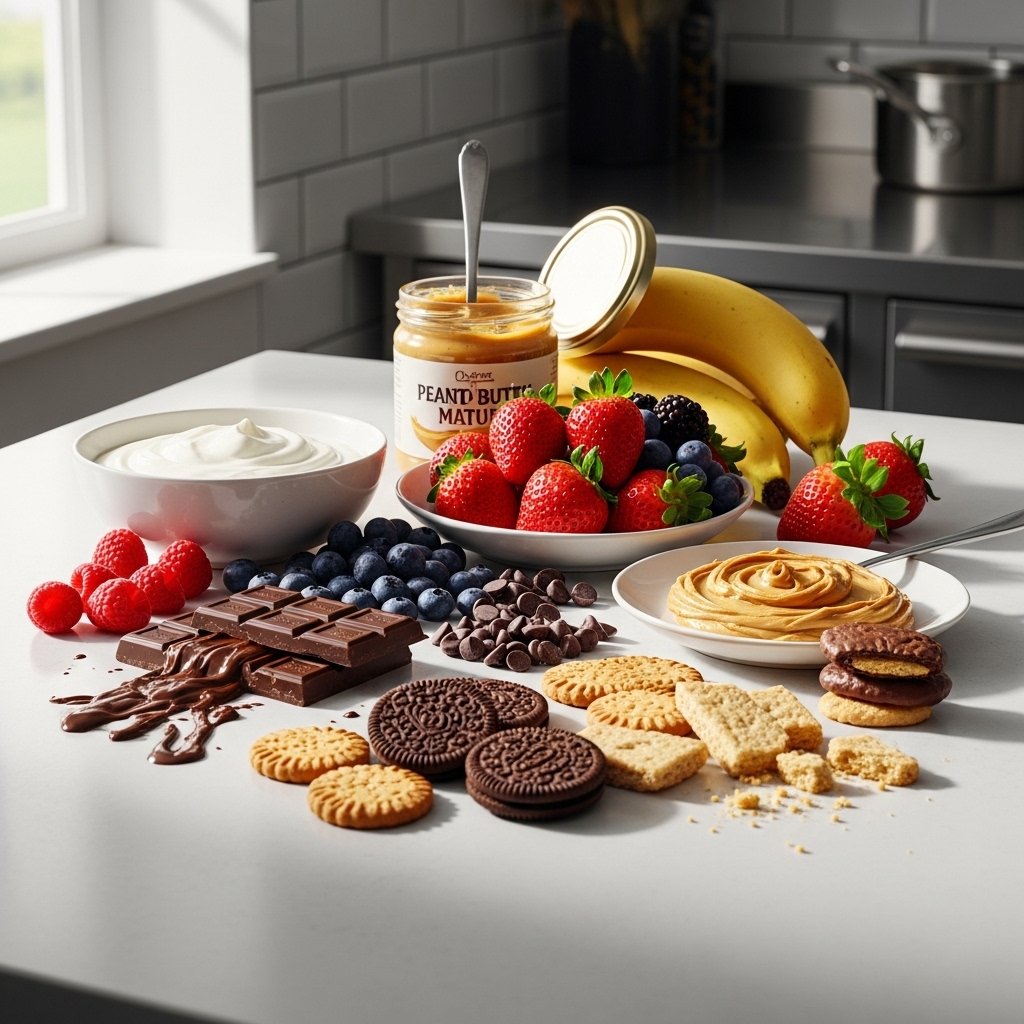
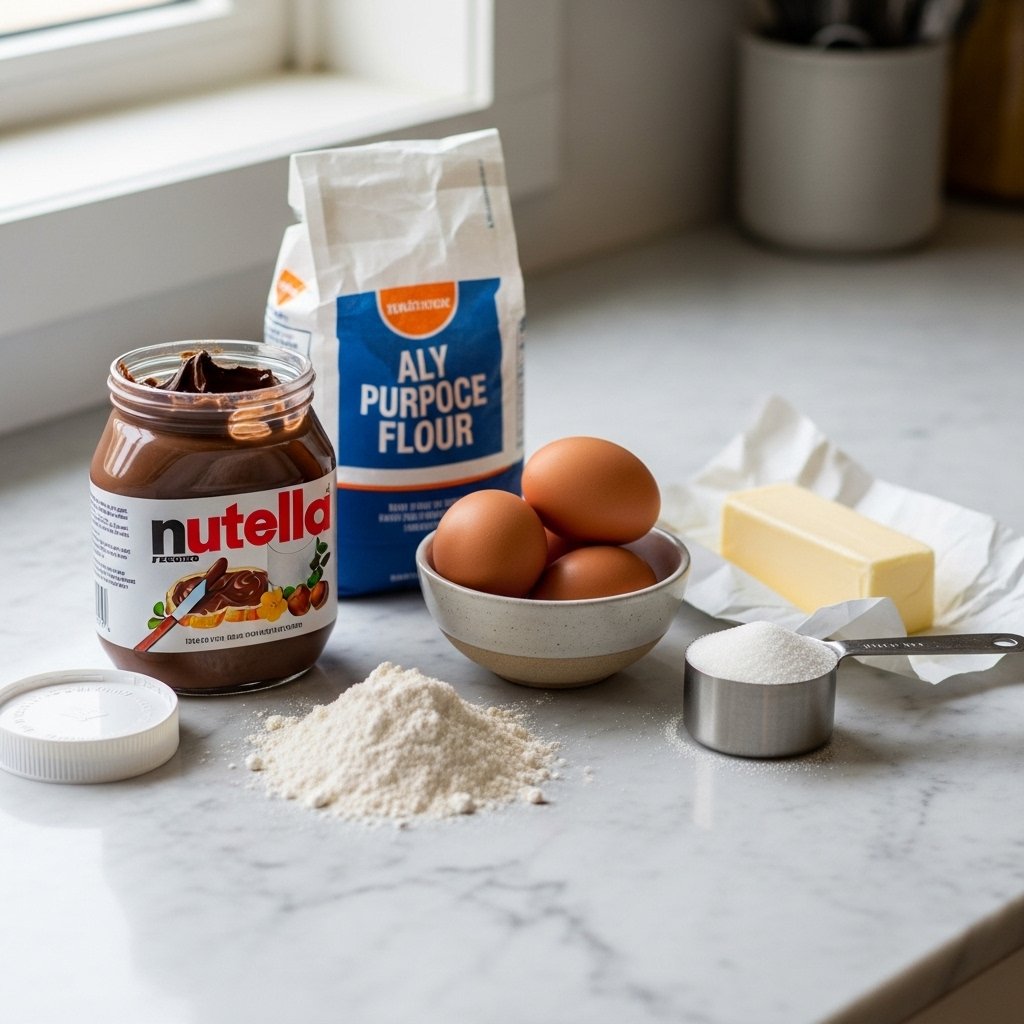
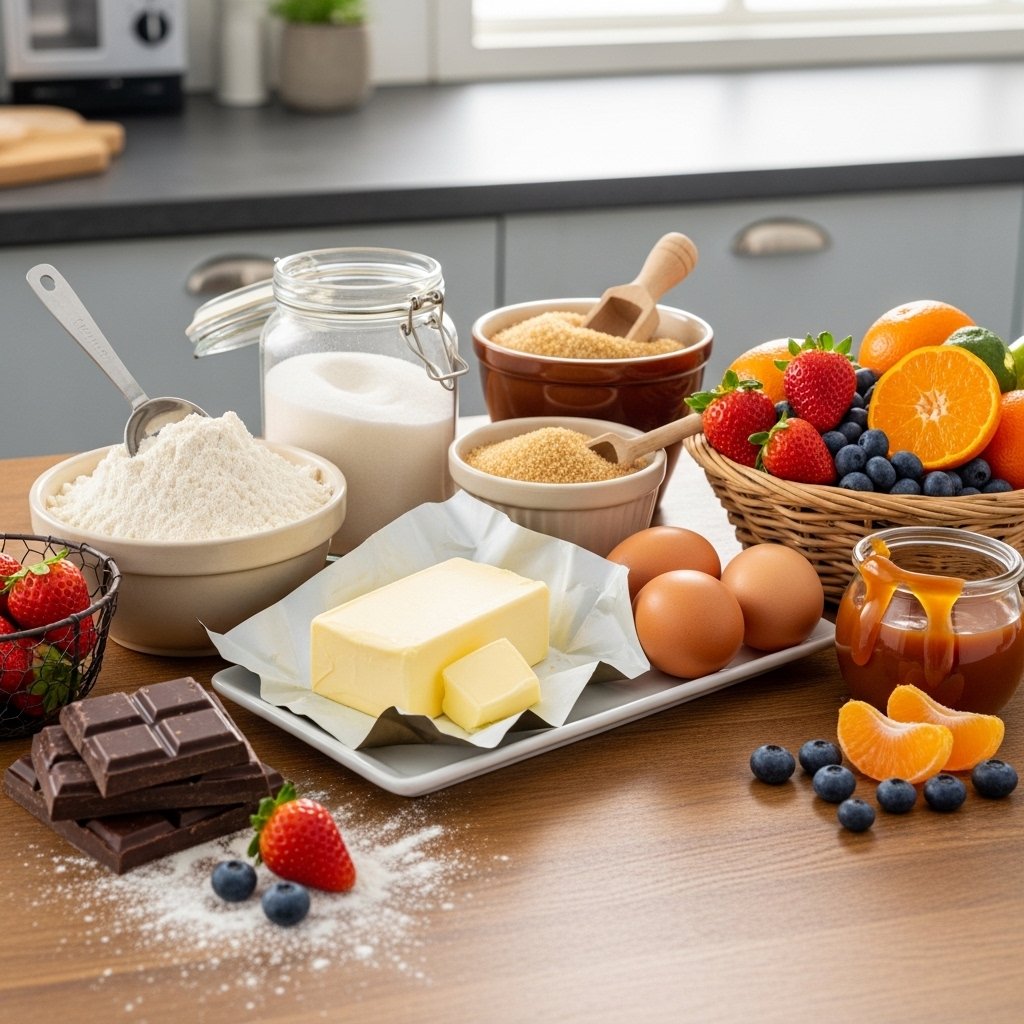
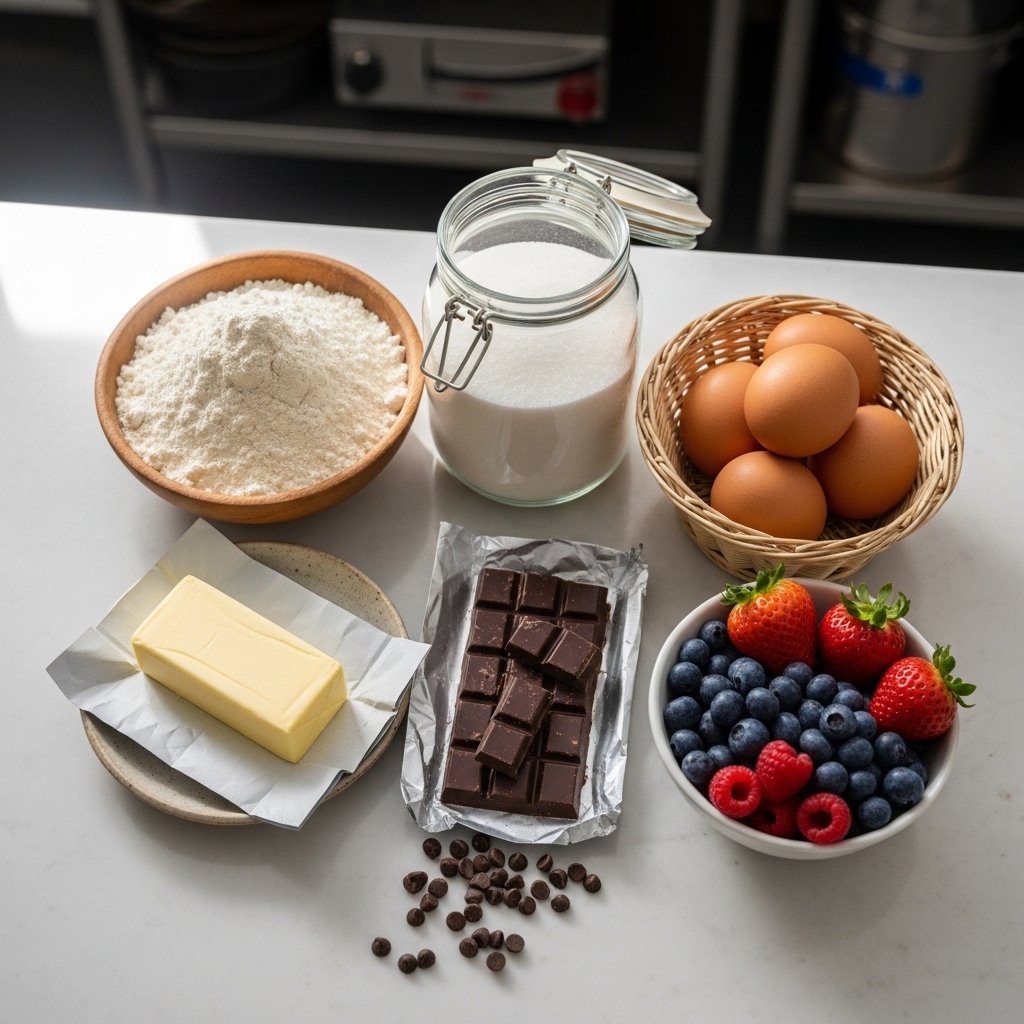
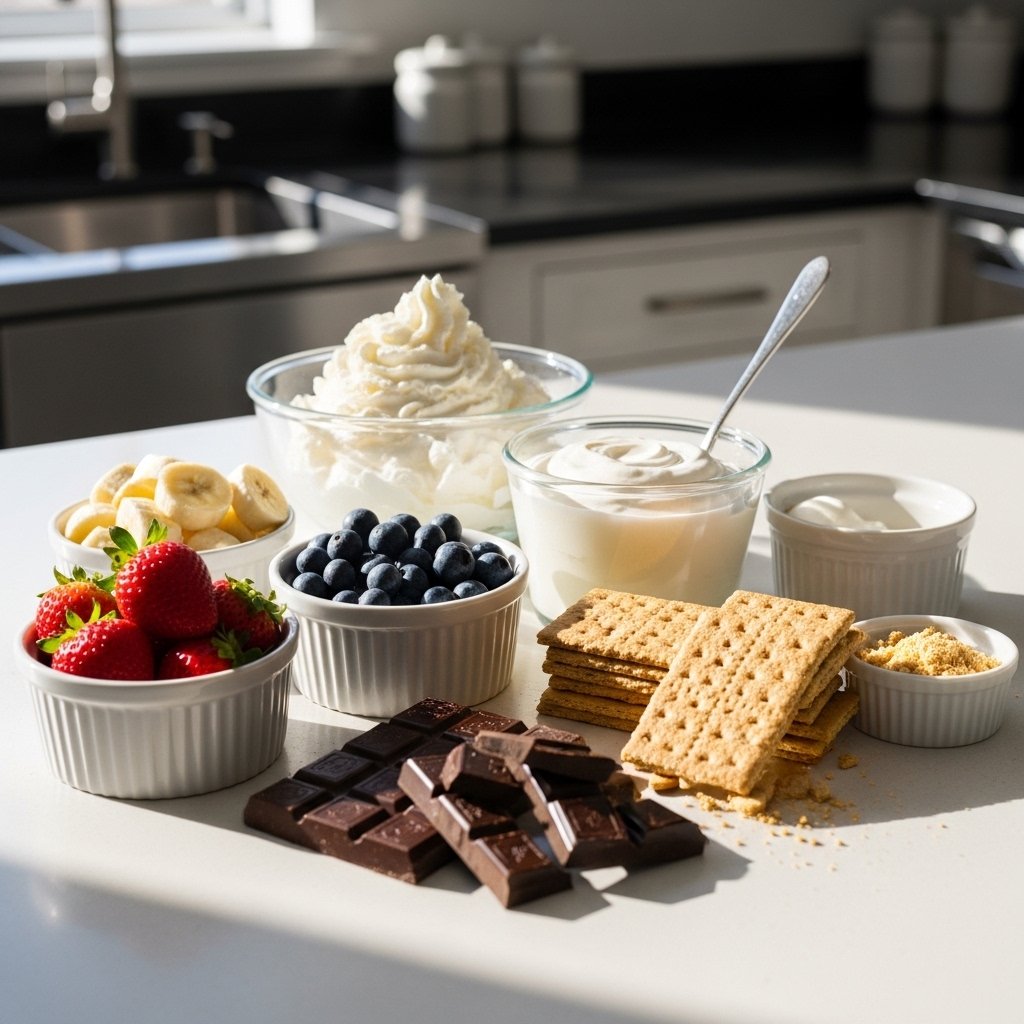
Essential Ingredients for No Bake Desserts
To create the best no bake desserts for hot summer days, keep these staples on hand:
- Fresh fruits (berries, bananas, mango, peaches)
- Yogurt, cream cheese, or whipped cream
- Chocolate chips or cocoa
- Graham crackers, cookies, or granola
- Honey or natural sweeteners
Ingredient Notes
The key to mastering the best no bake desserts for hot summer days is balancing flavors and textures. Creamy layers pair beautifully with crunchy bases, while fresh fruit adds brightness and natural sweetness.
You can easily adapt recipes for dietary needs by using dairy-free alternatives or low-sugar options. The flexibility is what makes no-bake desserts so appealing.
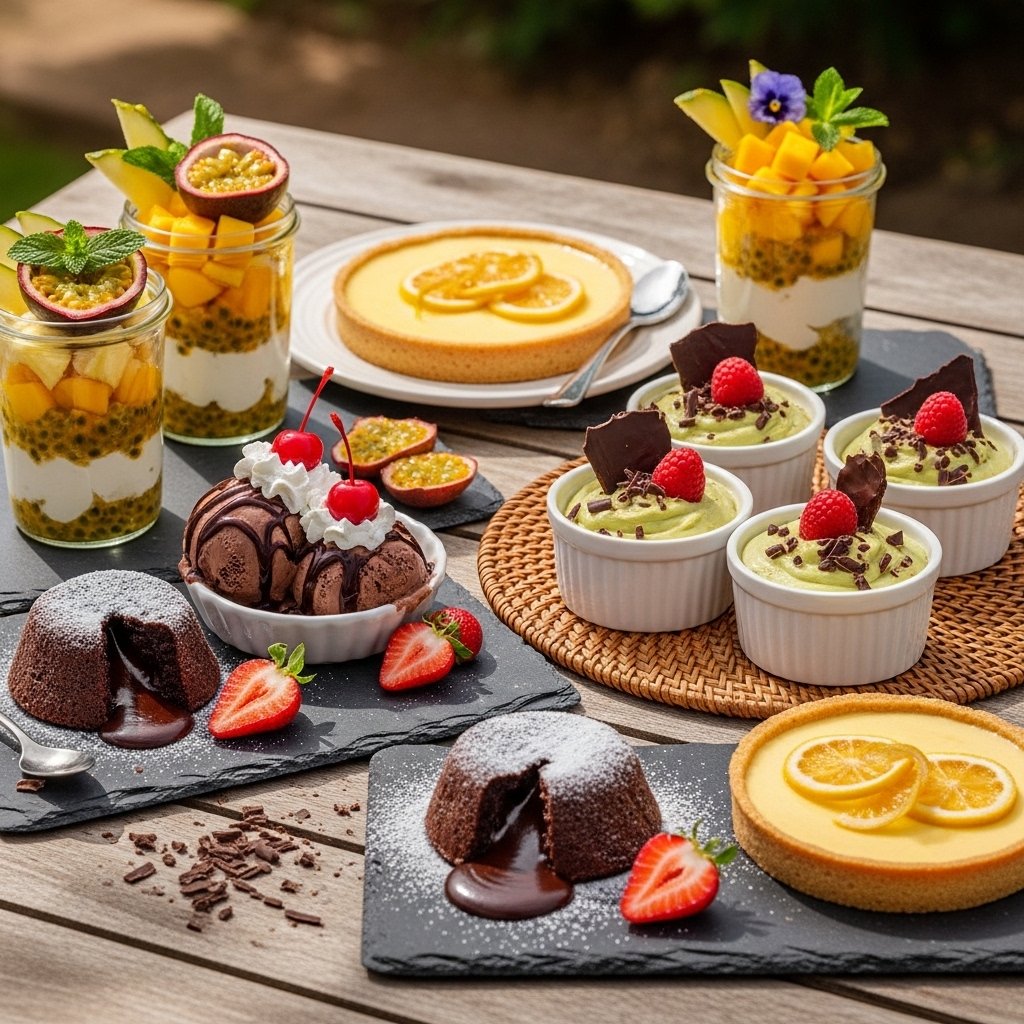
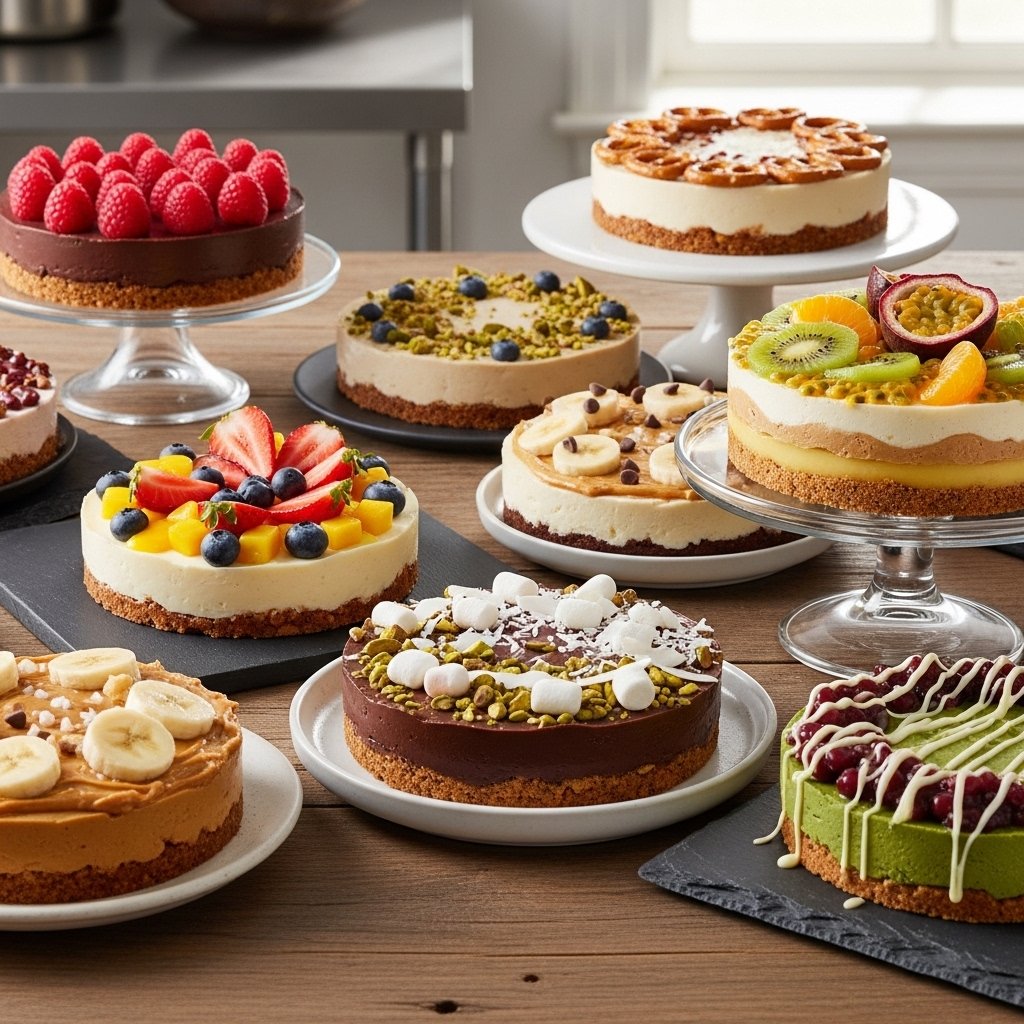
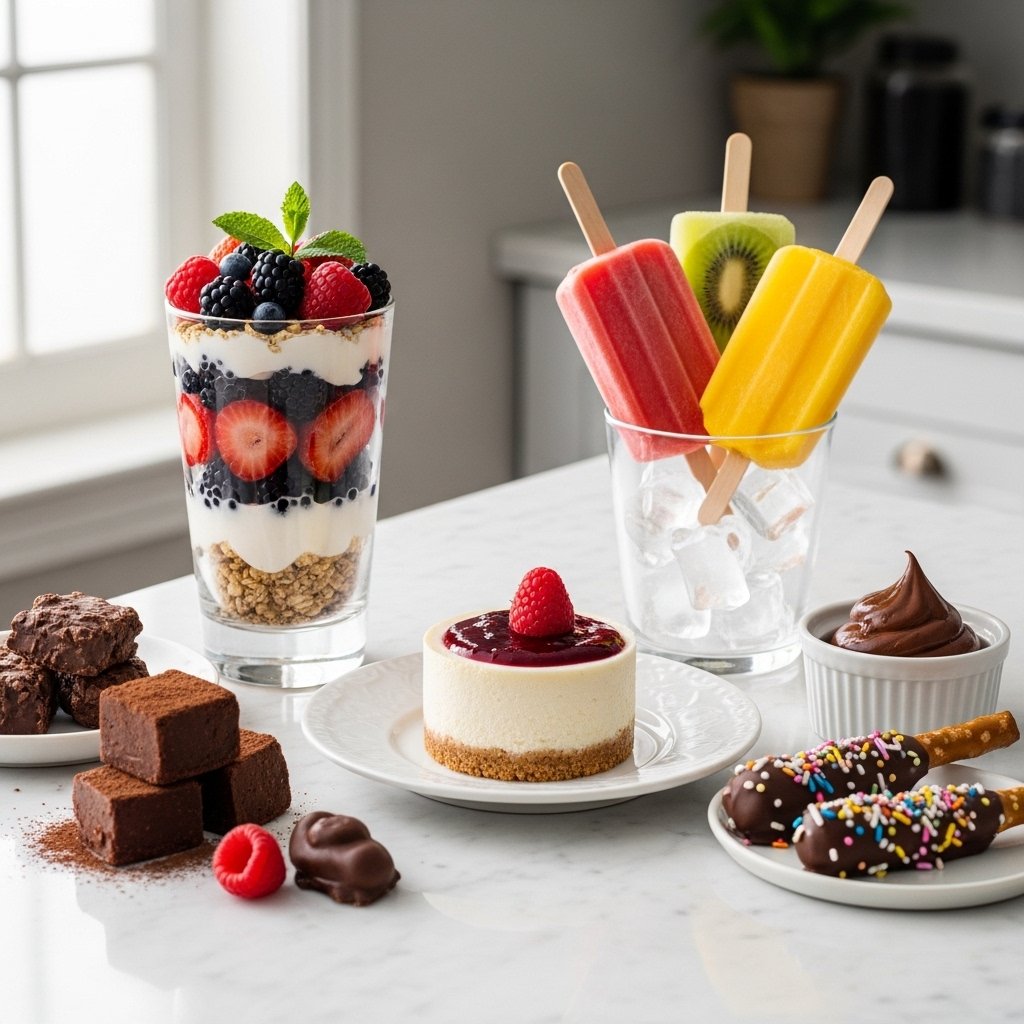
Best No Bake Desserts for Hot Summer Days
Here are some irresistible ideas:
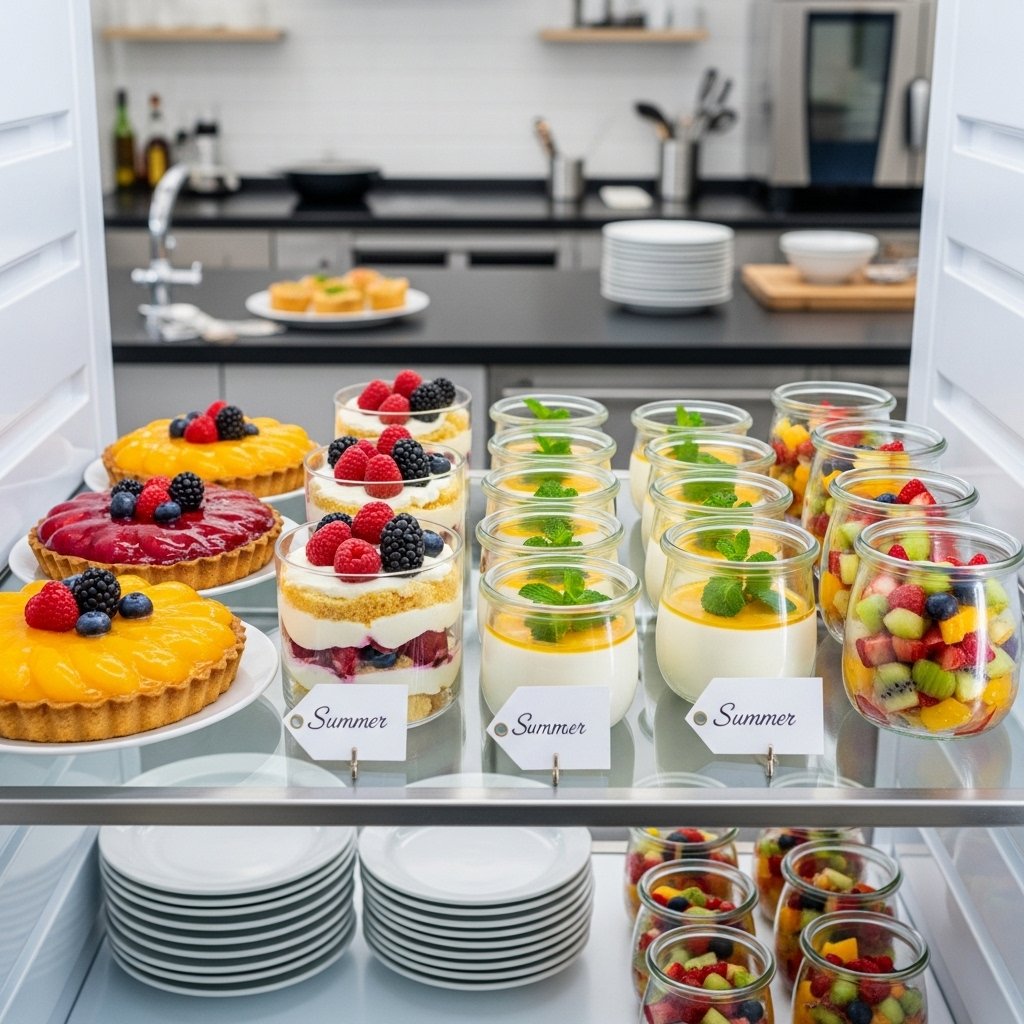
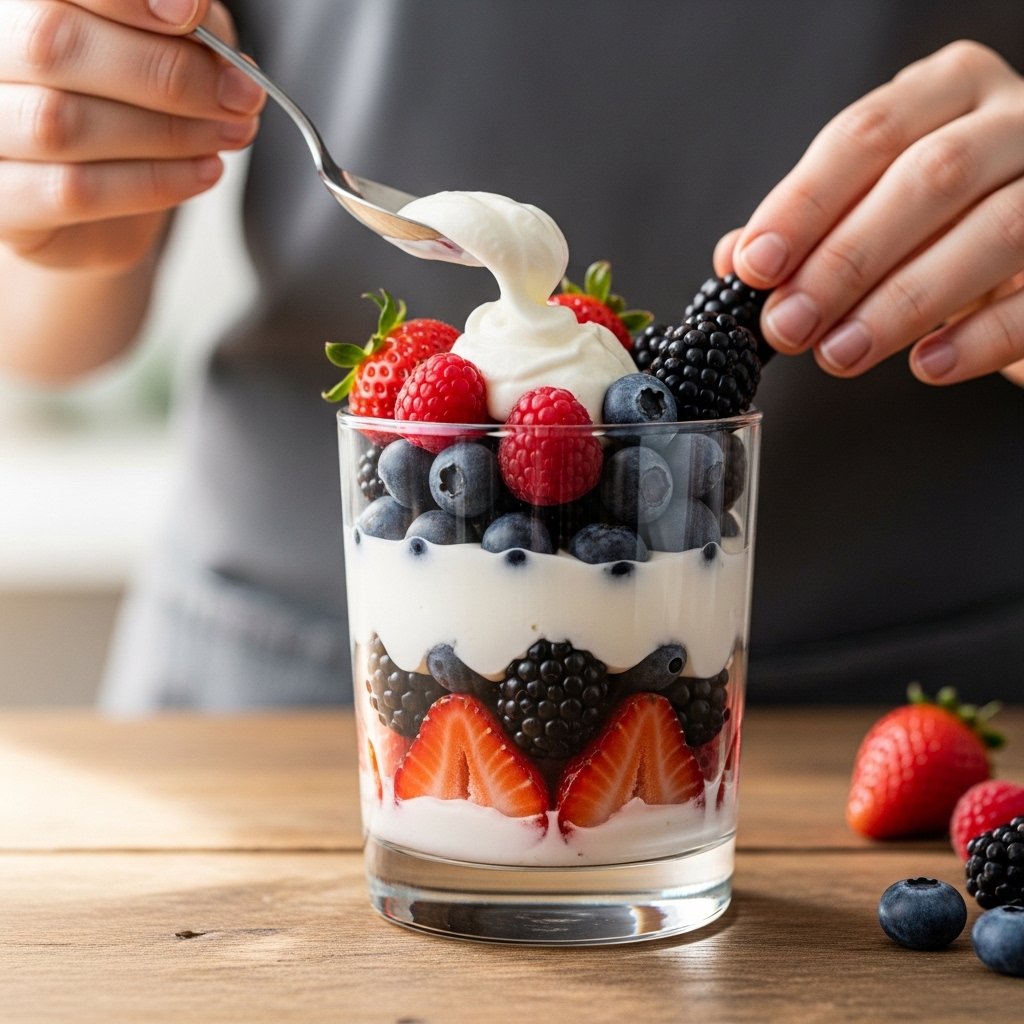
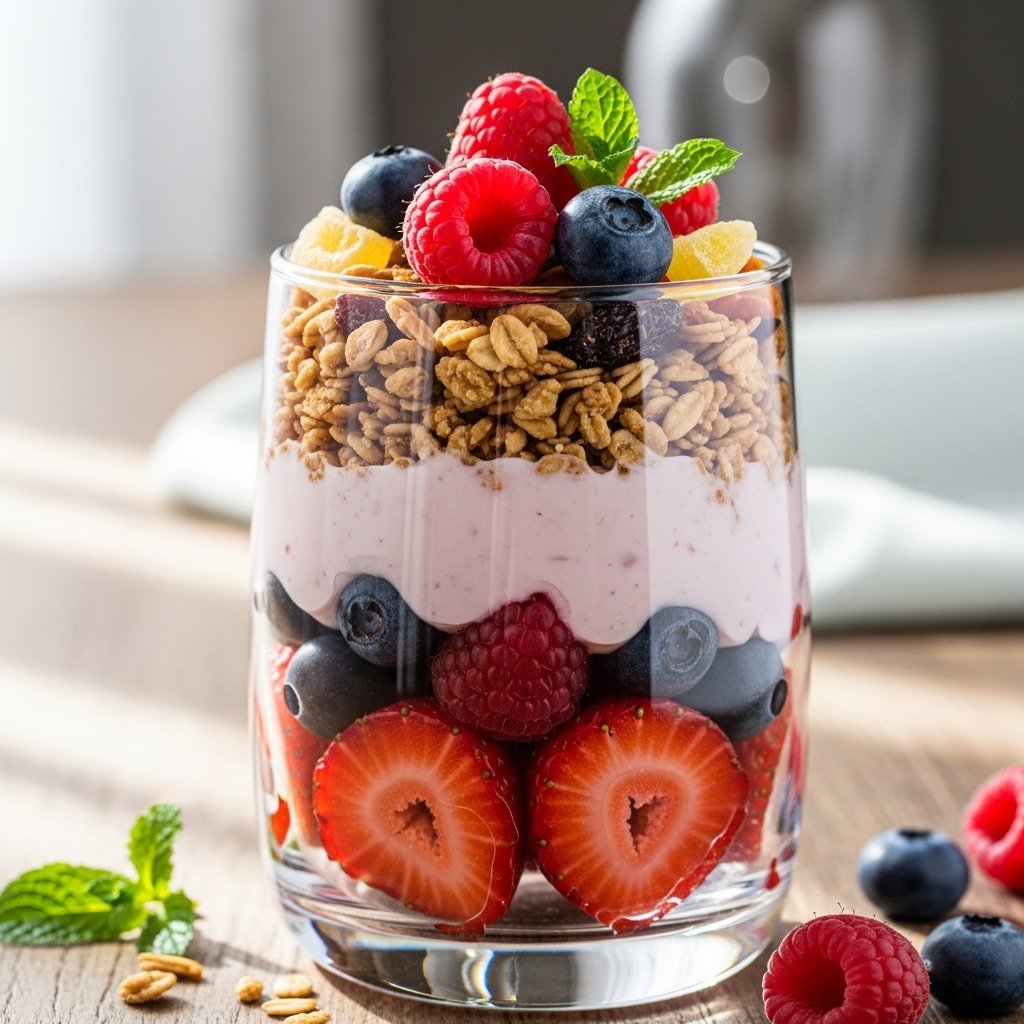
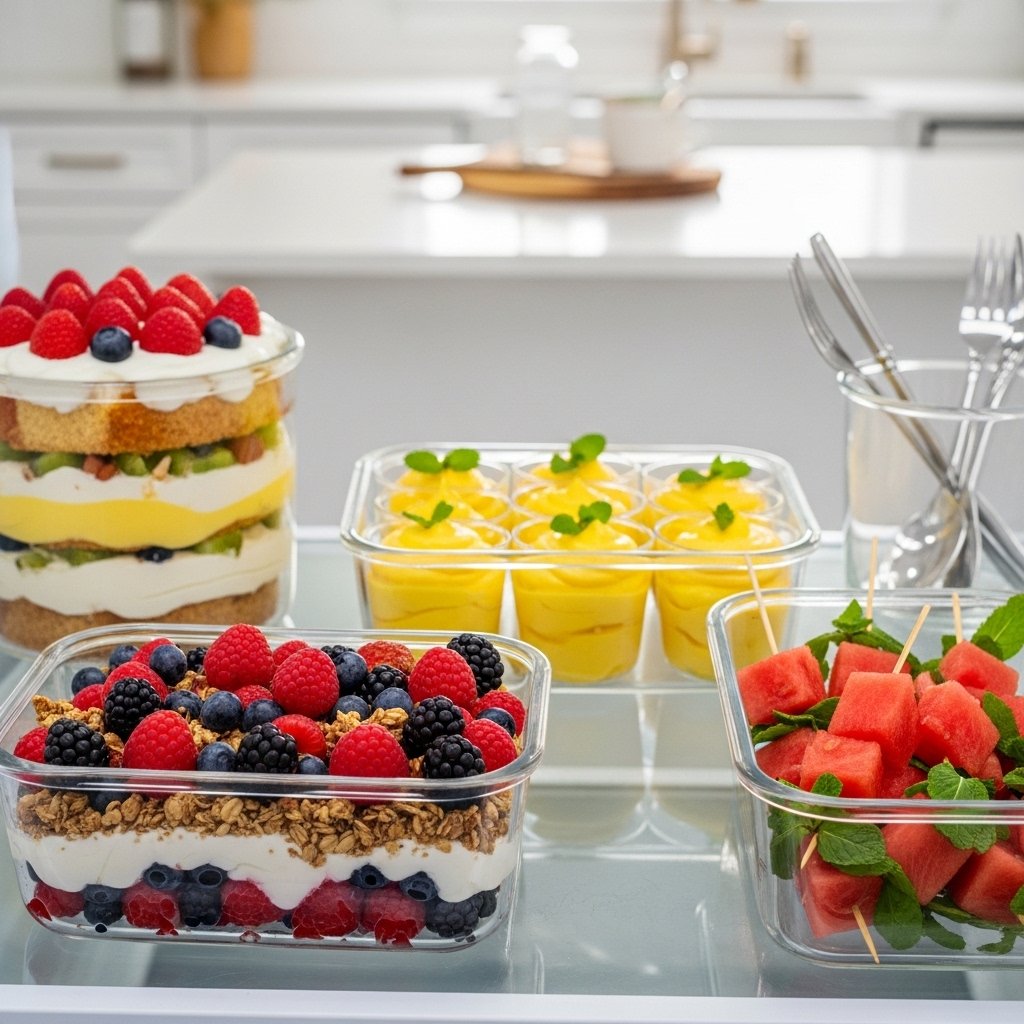
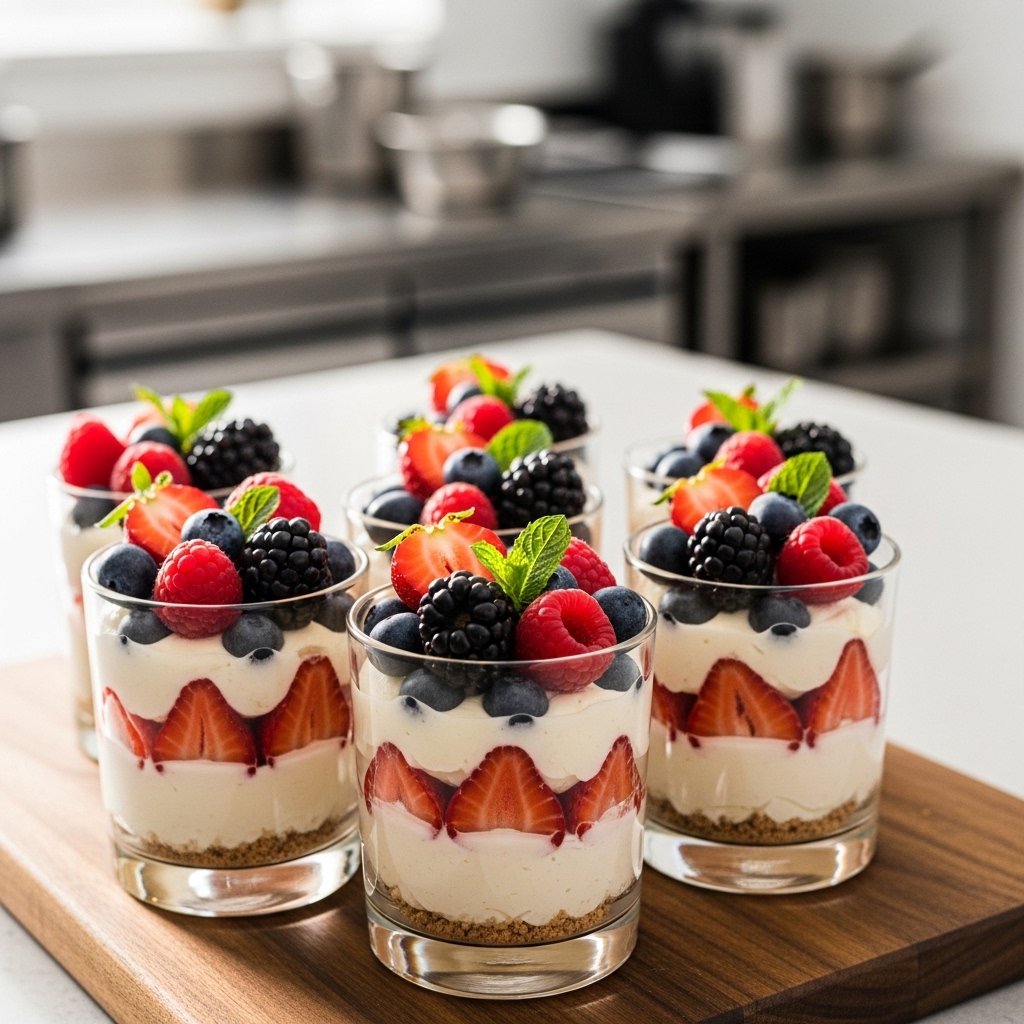
Fruity & Refreshing Treats
- Berry parfaits
- Watermelon fruit cups
- Mango yogurt bowls
- Strawberry shortcake cups
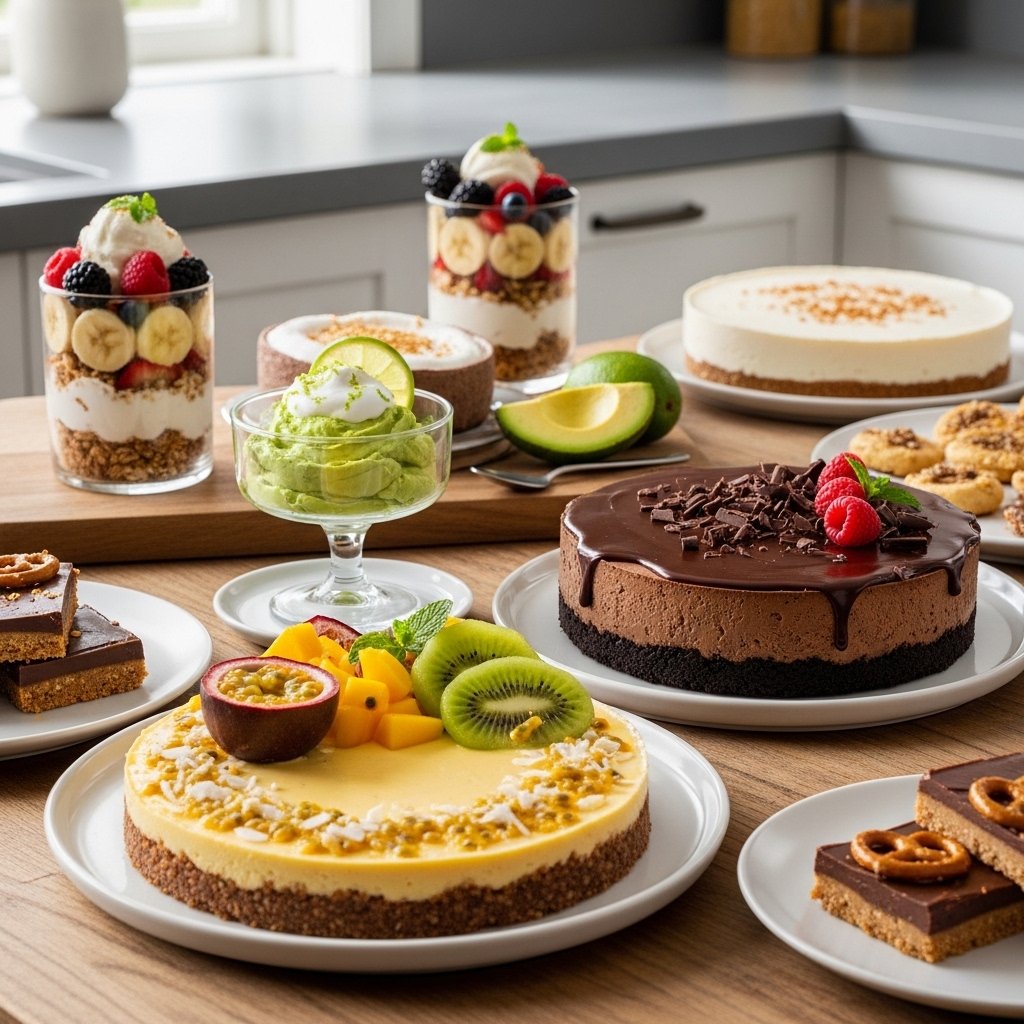
Creamy Favorites
- No-bake cheesecake
- Chocolate mousse
- Peanut butter pie
- Icebox cake
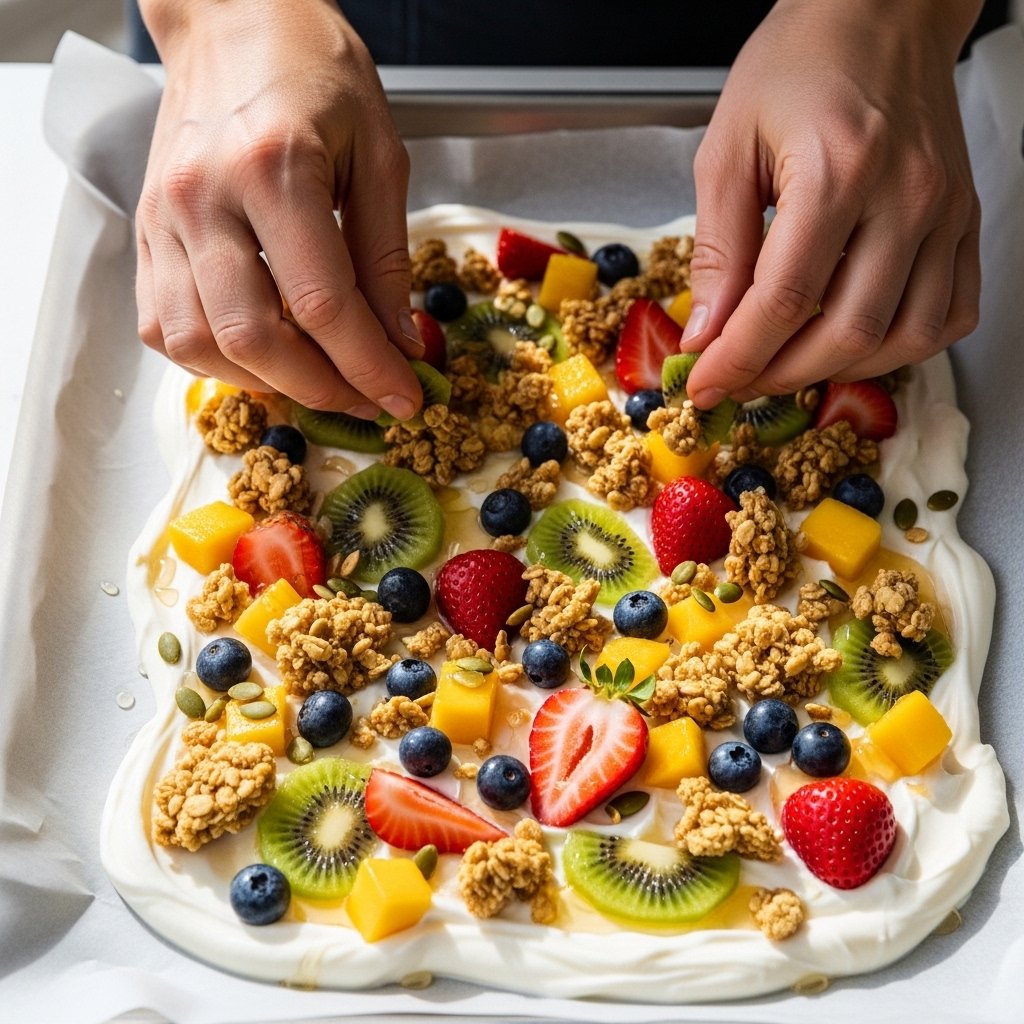
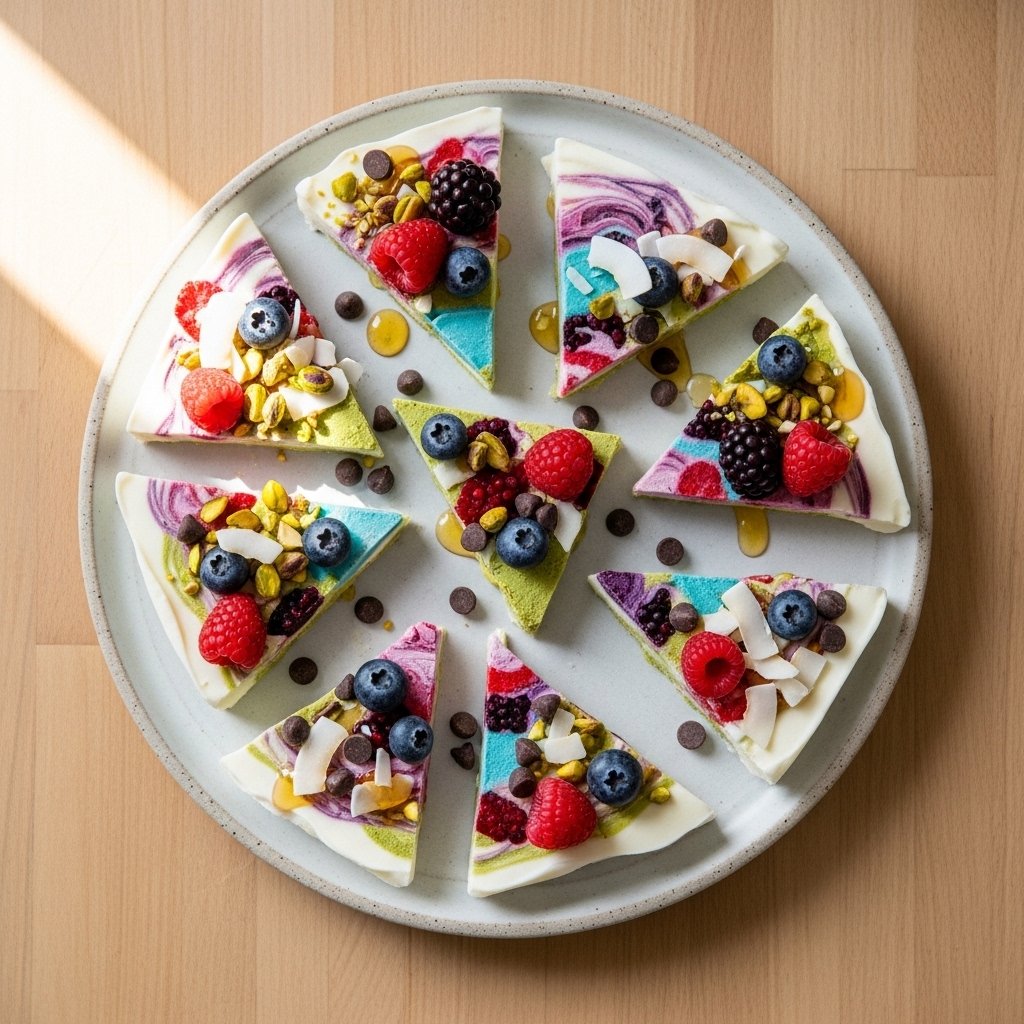
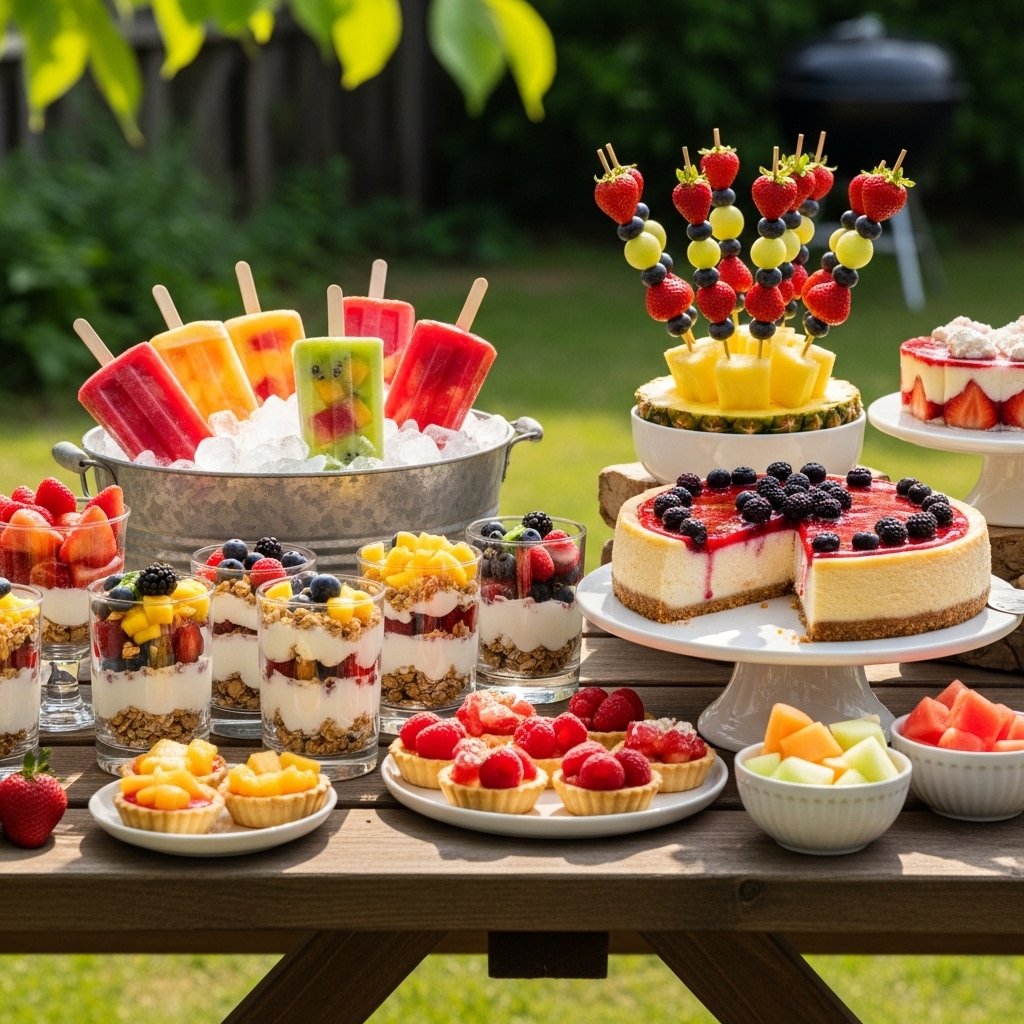
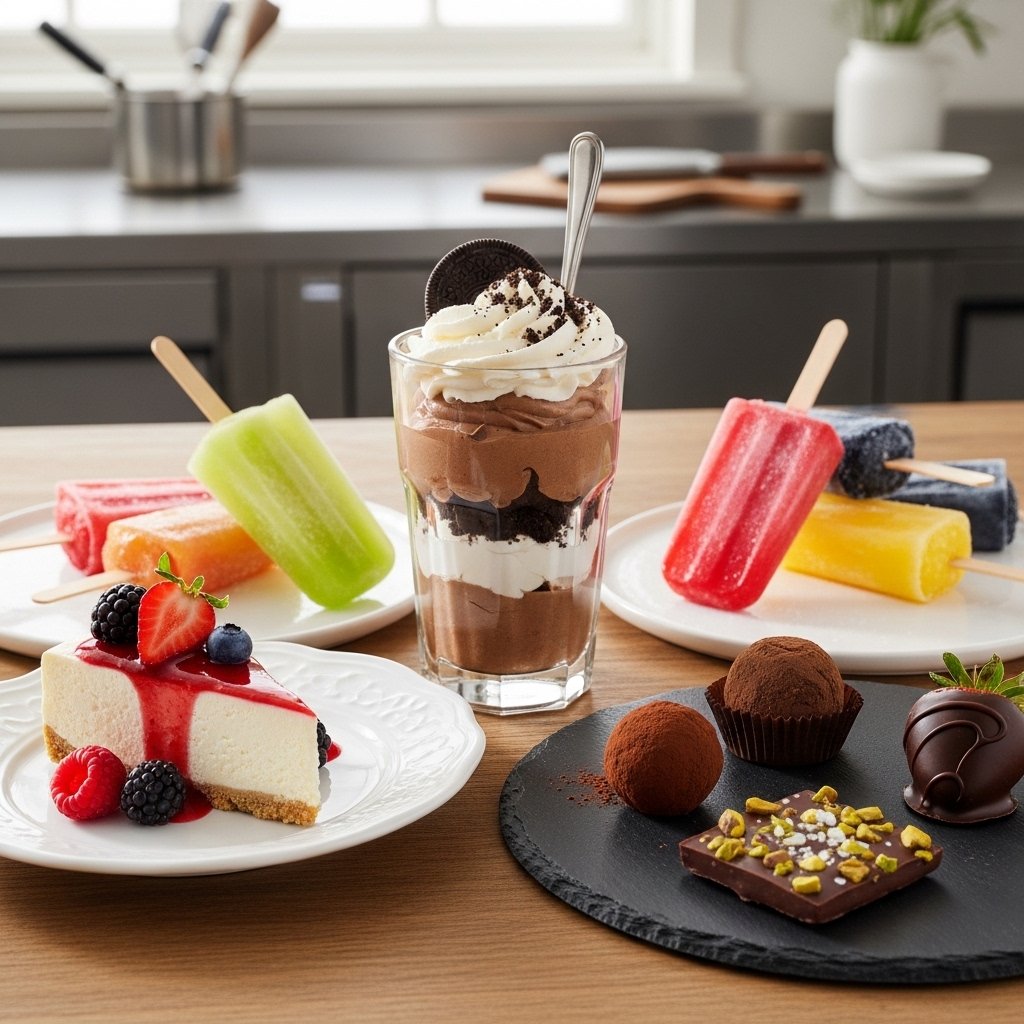
Frozen Delights
- Popsicles
- Frozen yogurt bark
- Ice cream sandwiches
- Banana bites
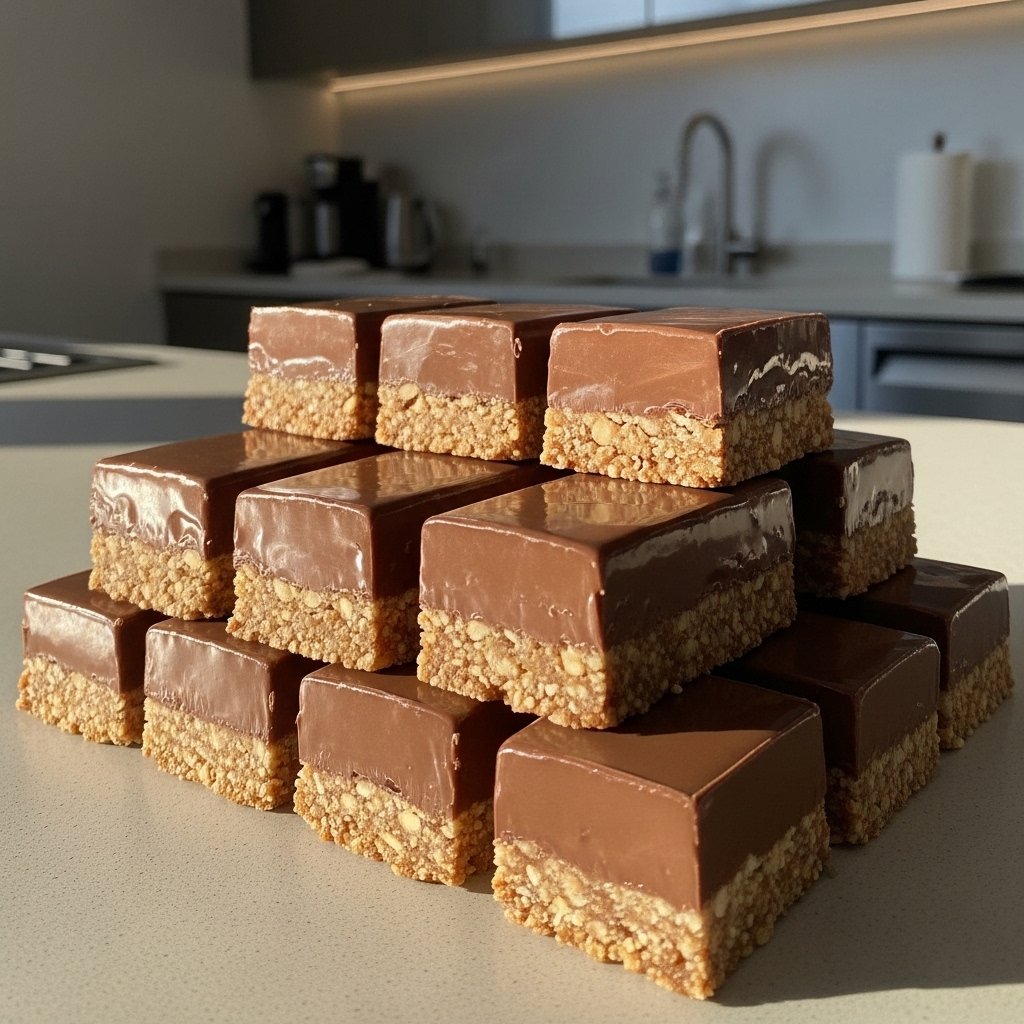
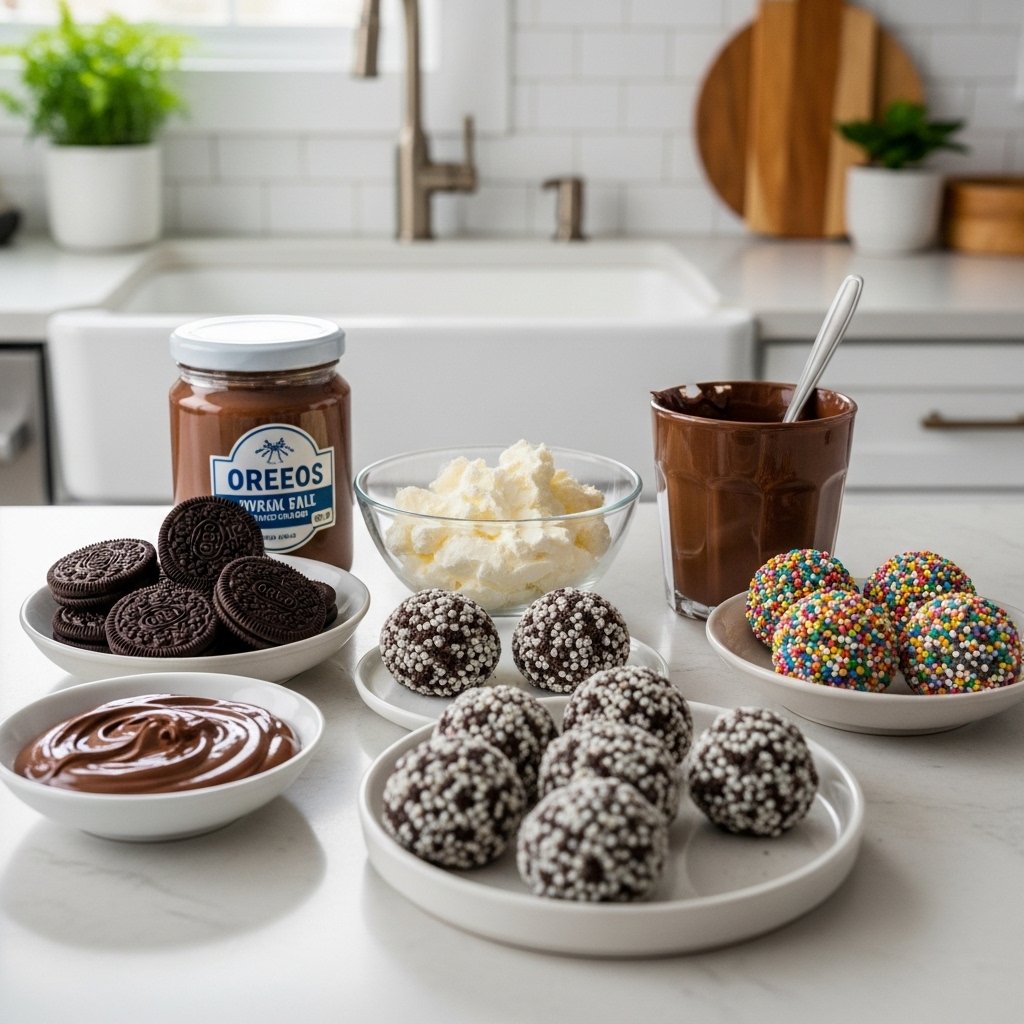
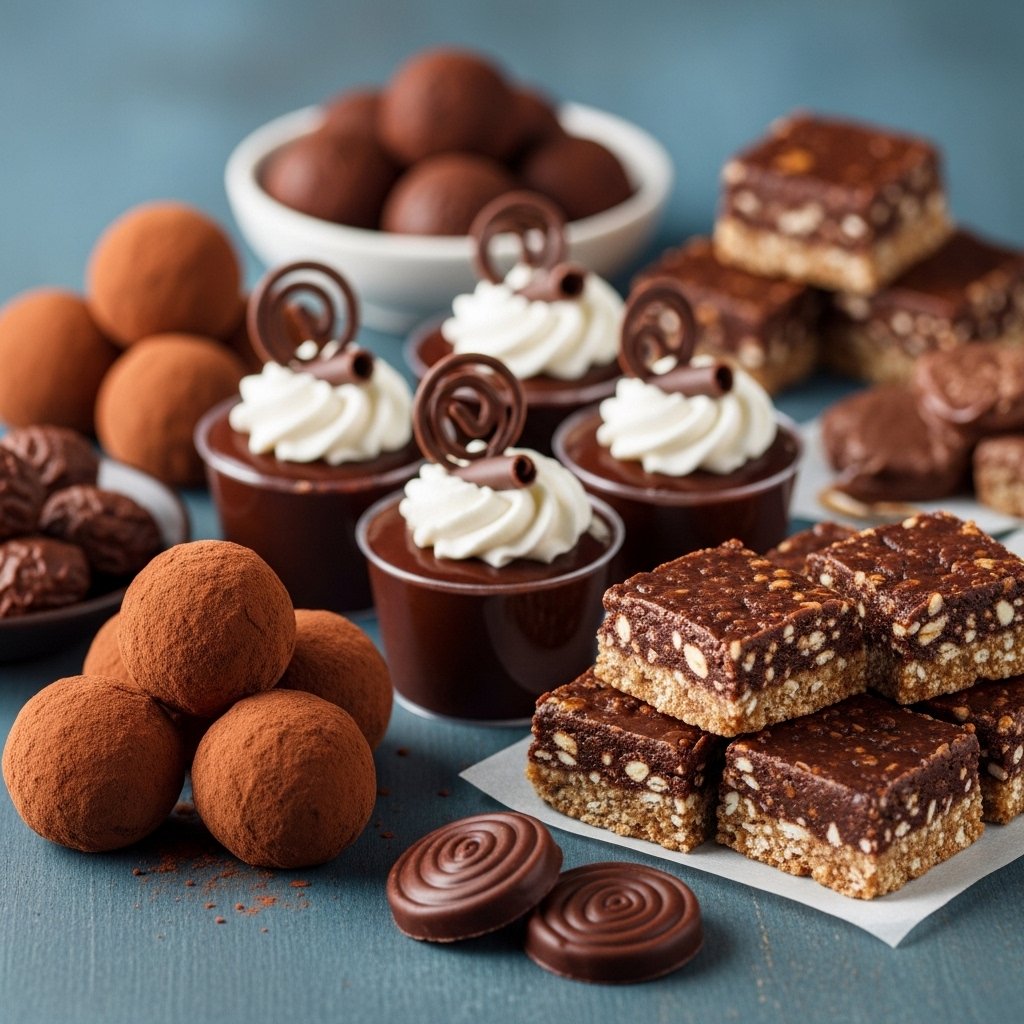
Quick & Fun Desserts
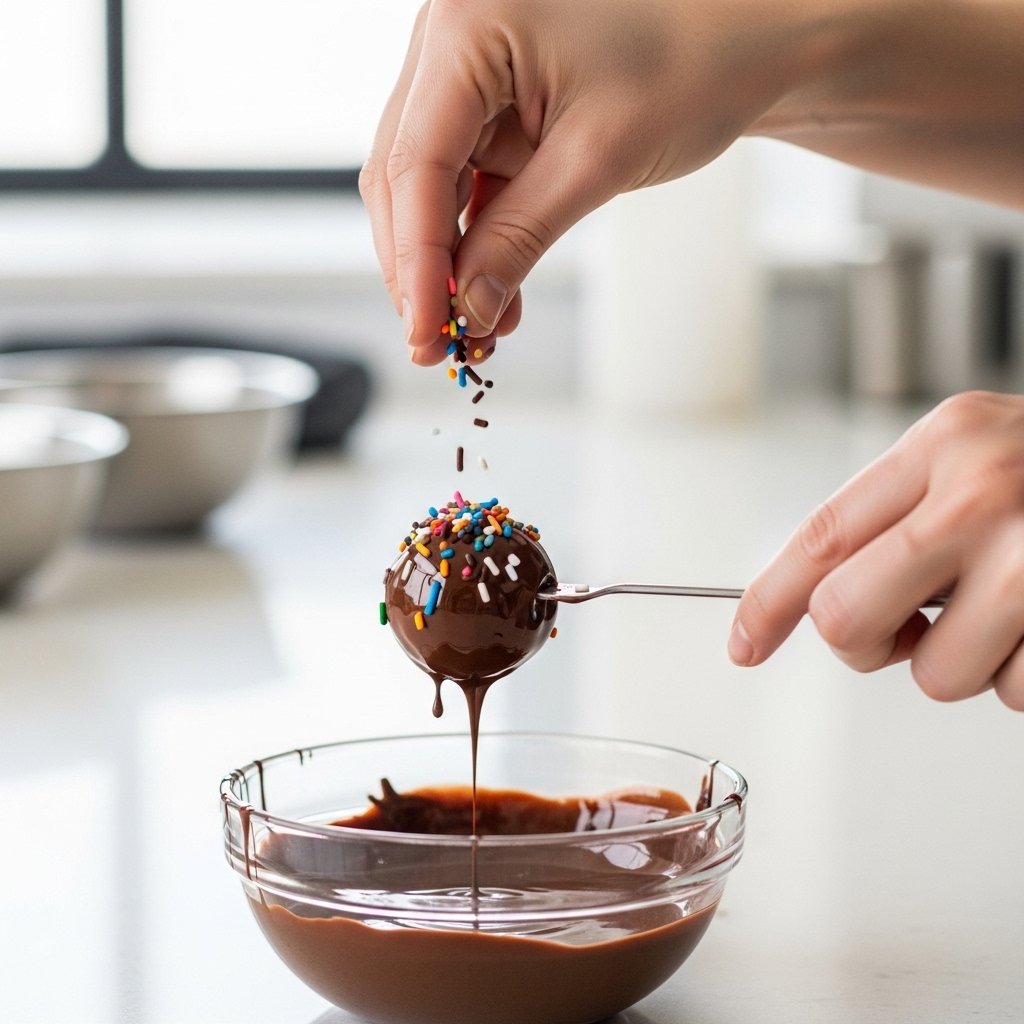
- Chocolate truffles
- No-bake cookie bars
- Dessert cups
- Trail mix sweets
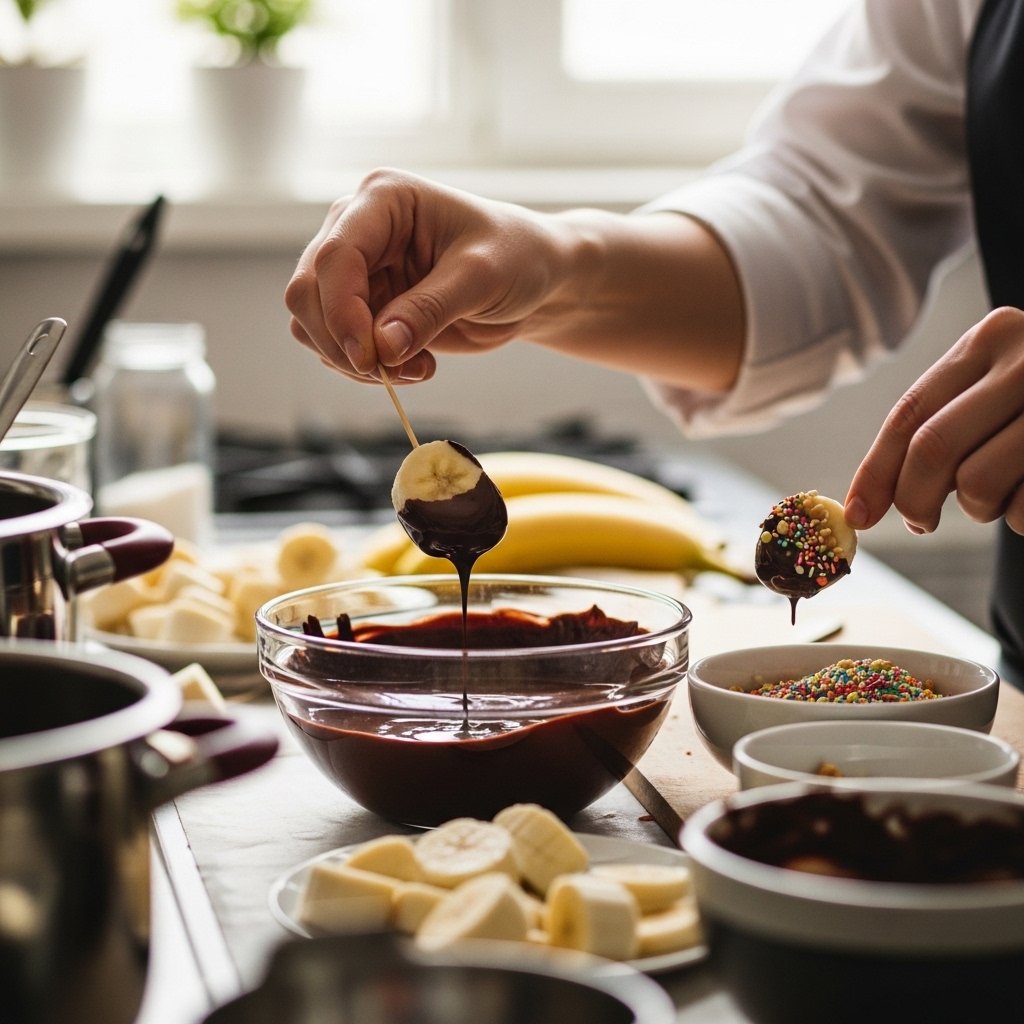
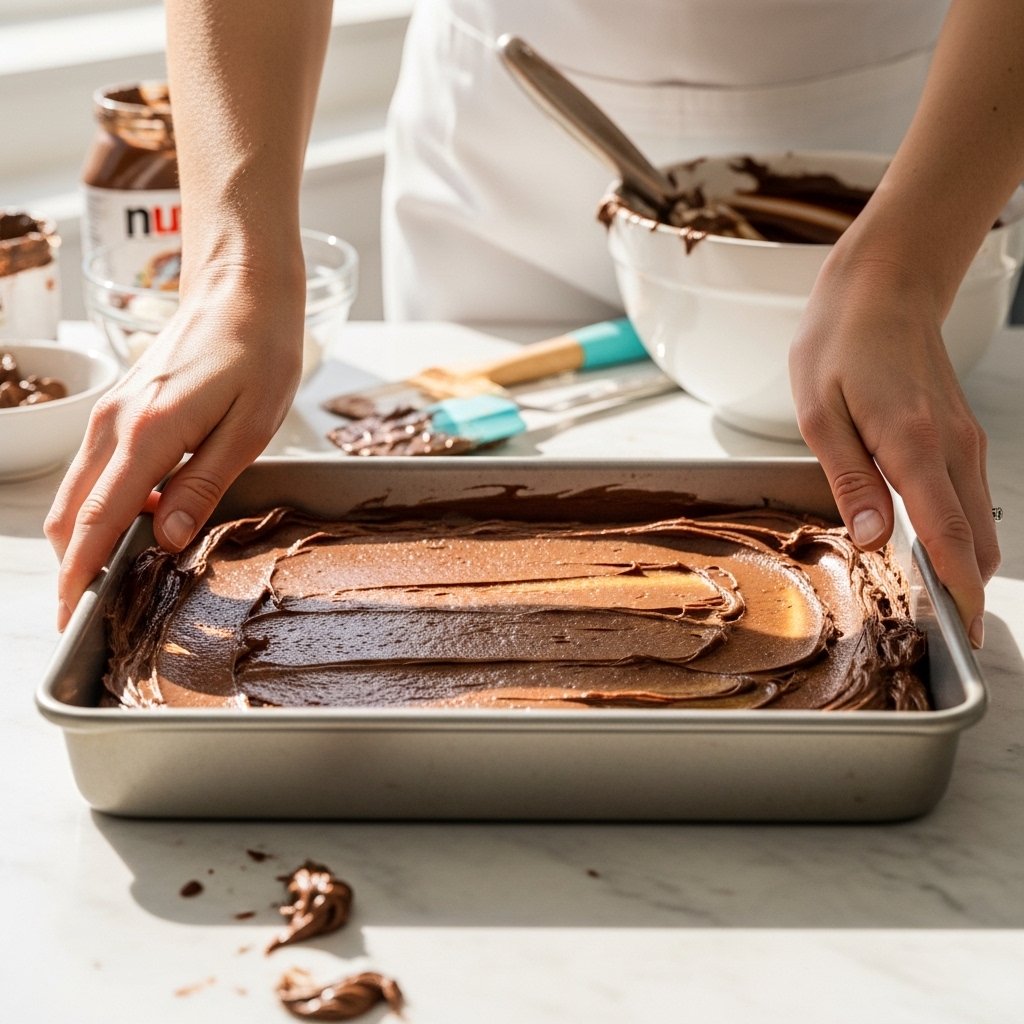
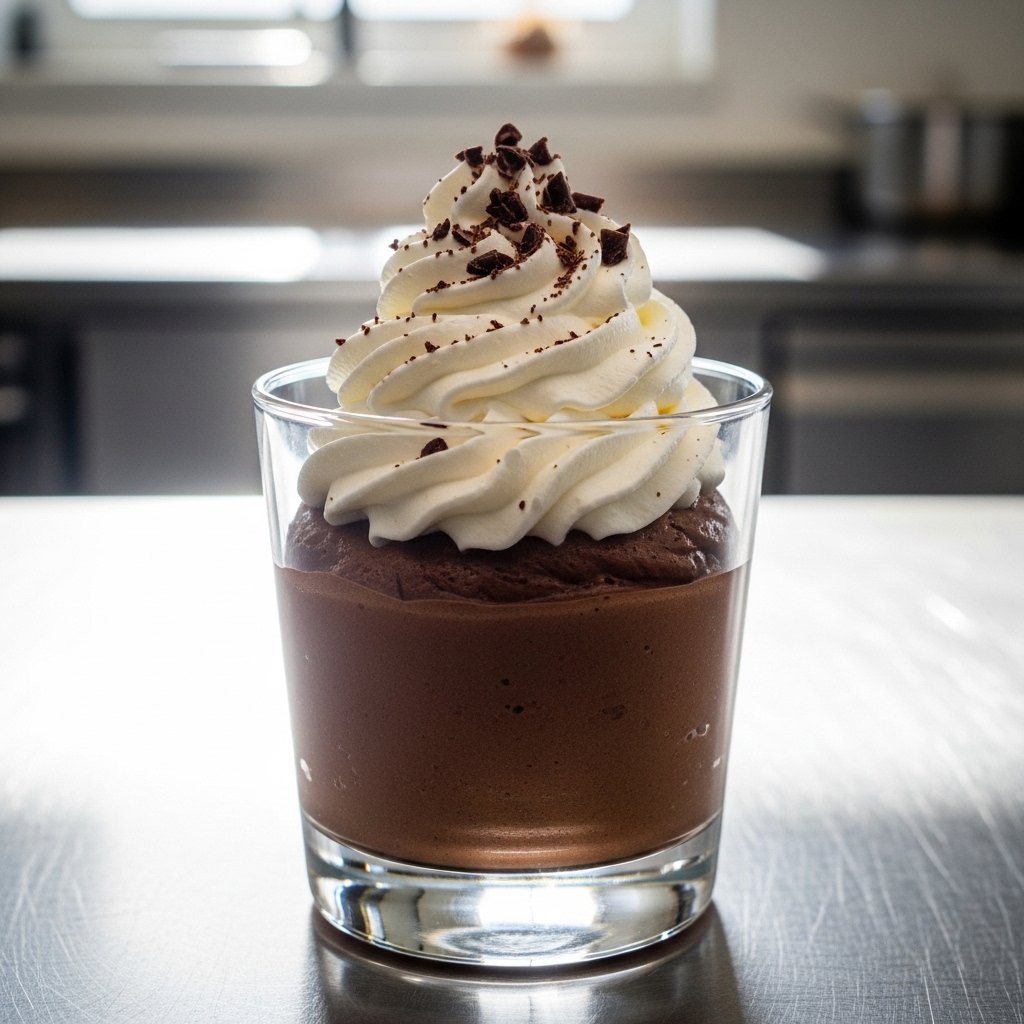
Step-by-Step Example: No-Bake Chocolate Mousse
1. Prepare the Base
Melt chocolate and let it cool slightly.
2. Whip the Cream
Whip cream until soft peaks form.
3. Fold Together
Gently fold chocolate into whipped cream.
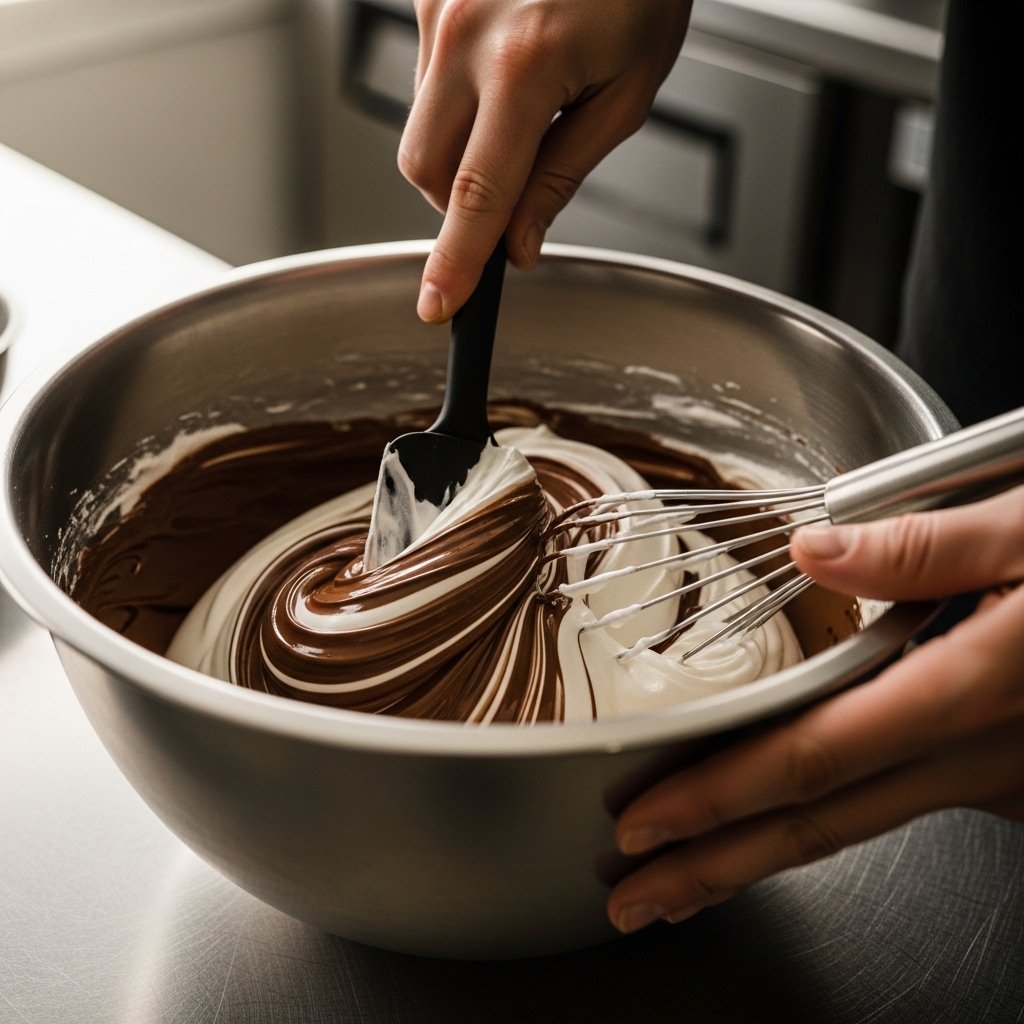
4. Chill and Serve
Refrigerate until set, then serve.
Tips for Perfect Results
To make the best no bake desserts for hot summer days, keep these tips in mind:
- Always chill desserts thoroughly
- Use high-quality ingredients
- Keep flavors balanced
- Prepare ahead when possible
These simple tips ensure your desserts turn out perfectly every time.
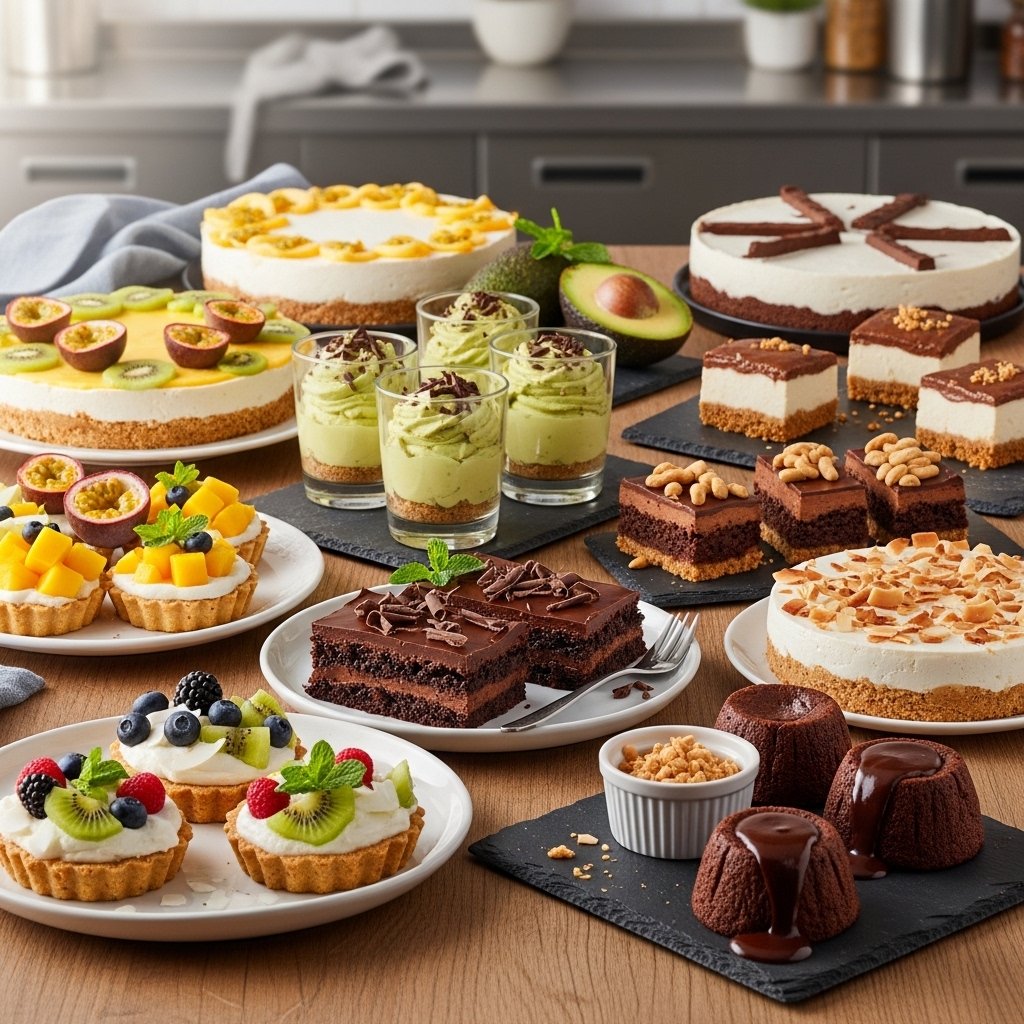
Variations to Try
Switch things up with these ideas:
- Add tropical fruits like pineapple or coconut
- Use flavored yogurt or whipped cream
- Try vegan or dairy-free options
- Incorporate crunchy toppings like nuts or granola
What to Serve With These Desserts
Pair your desserts with refreshing drinks:
- Iced coffee
- Lemonade
- Sparkling water
- Fruit smoothies
These pairings enhance the overall experience and keep things cool.
Storage & Reheating Tips
To store your best no bake desserts for hot summer days:
- Keep in airtight containers
- Refrigerate creamy desserts
- Freeze when necessary
- Serve chilled for best texture

Common Mistakes to Avoid
Avoid these common issues:
- Not chilling desserts long enough
- Using overly sweet ingredients
- Skipping proper layering
- Leaving desserts out in the heat
A little attention to detail goes a long way.
FAQs
What are the easiest no bake desserts?
Parfaits, mousse, and fruit-based desserts are among the easiest.
Can I make these desserts ahead of time?
Yes, most no-bake desserts are perfect for prepping in advance.
How long do no bake desserts last?
Typically 2–4 days when stored in the refrigerator.
Are no bake desserts healthier?
They can be, especially when made with fresh fruit and natural ingredients.
Final Thoughts
These best no bake desserts for hot summer days are everything you need to stay cool while enjoying something sweet. They’re easy, versatile, and perfect for any occasion—from casual afternoons to festive gatherings.
With so many delicious options to choose from, you’ll never run out of ways to treat yourself without turning on the oven. Try a few favorites and make your summer desserts effortless and unforgettable!