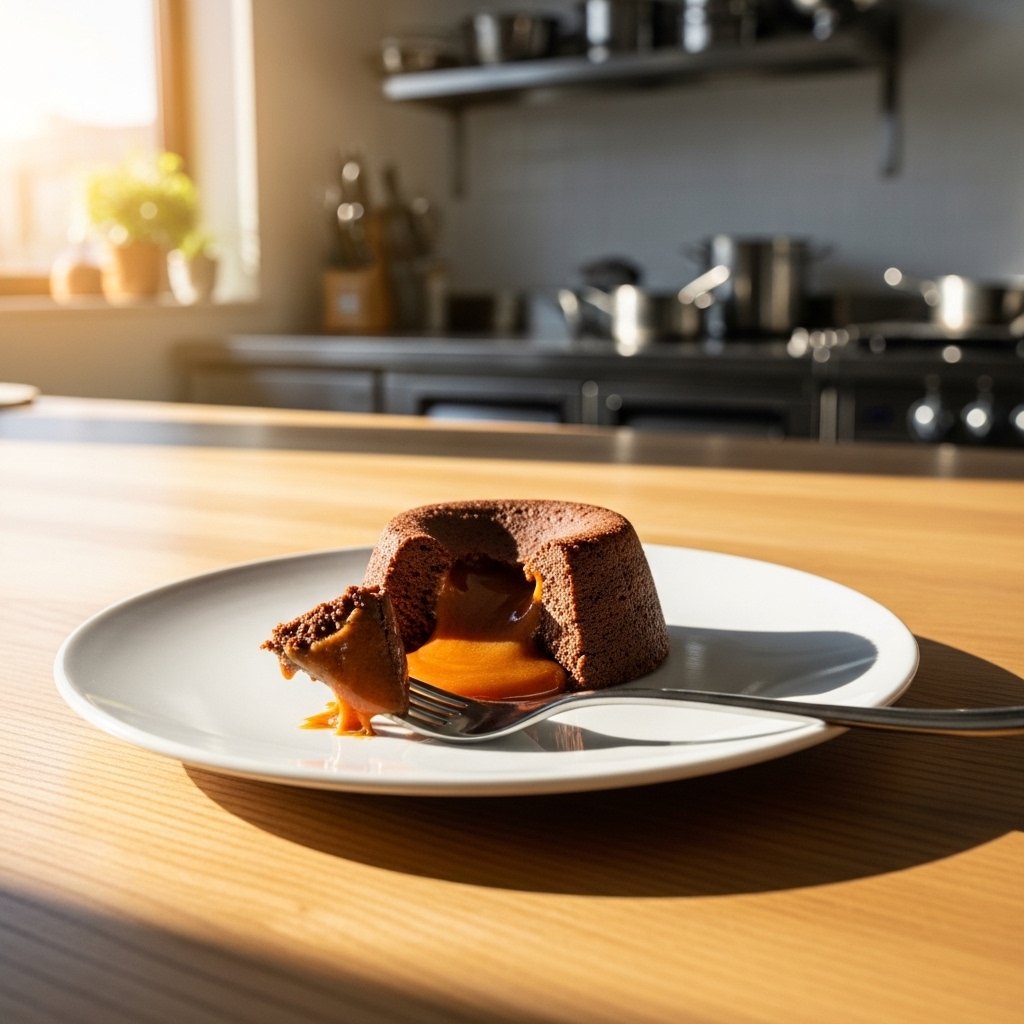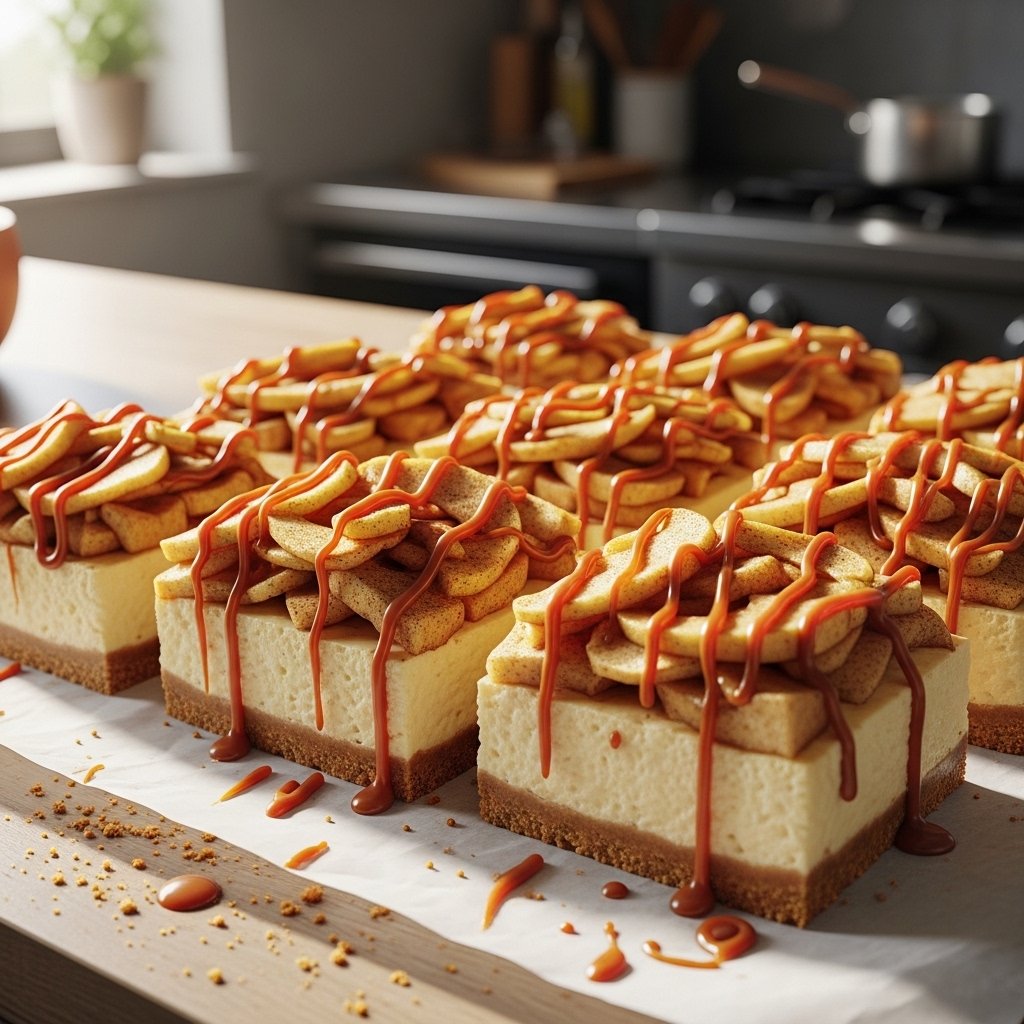
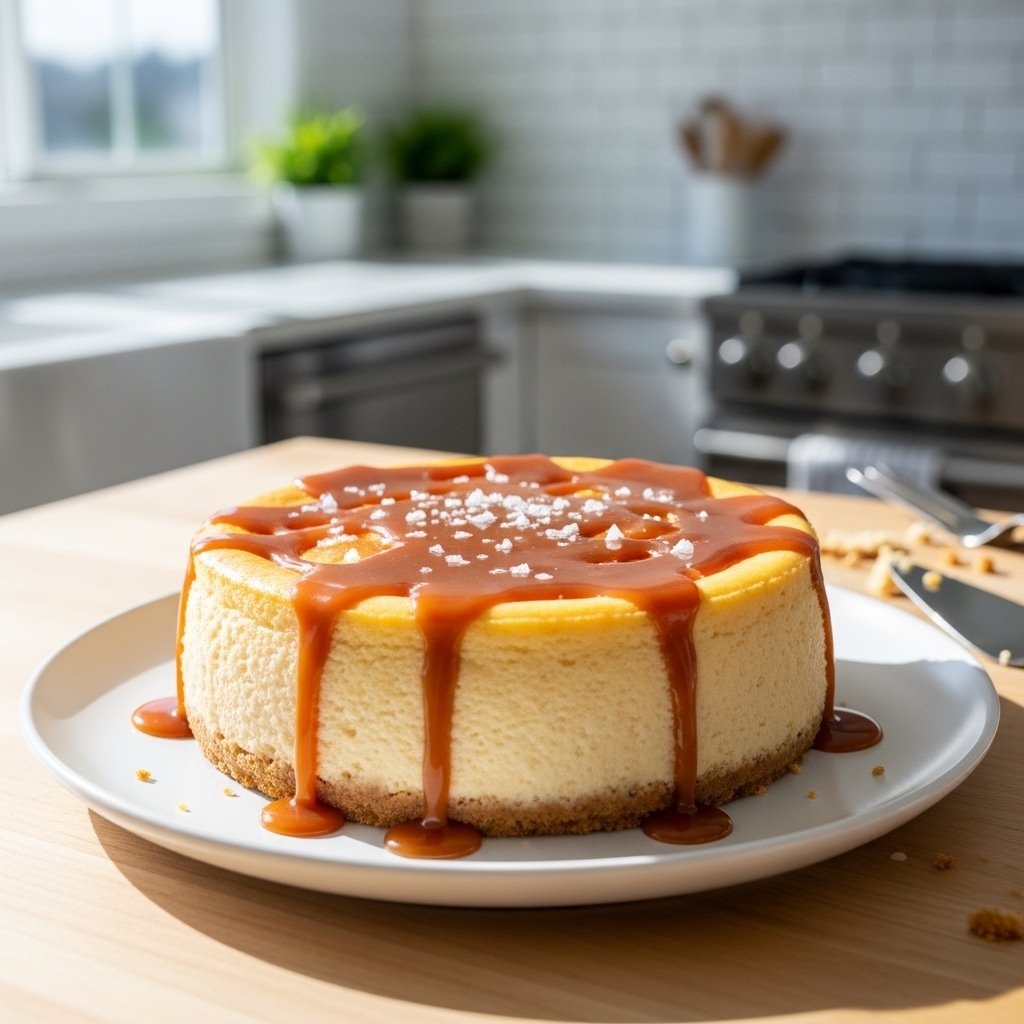
If you’re craving a rich, indulgent dessert without the hassle of multiple dishes, this one pot salted caramel cheesecake is about to become your new favorite treat. It’s creamy, smooth, perfectly sweet, and finished with a luscious salted caramel topping that takes it to the next level.
What makes this recipe truly special is how simple it is. You get all the elegance of a classic cheesecake, but with minimal effort and cleanup thanks to the one-pot approach. Whether you’re making dessert for a dinner party or just treating yourself, this recipe delivers every time.
Why You’ll Love This One Pot Salted Caramel Cheesecake
This one pot salted caramel cheesecake is a dream for both beginners and experienced bakers.
Here’s why:
- Minimal cleanup with one-pot preparation
- Rich, creamy texture
- Perfect balance of sweet and salty
- Elegant enough for special occasions
- Easy to customize
It’s everything you want in a dessert—simple, beautiful, and absolutely delicious.
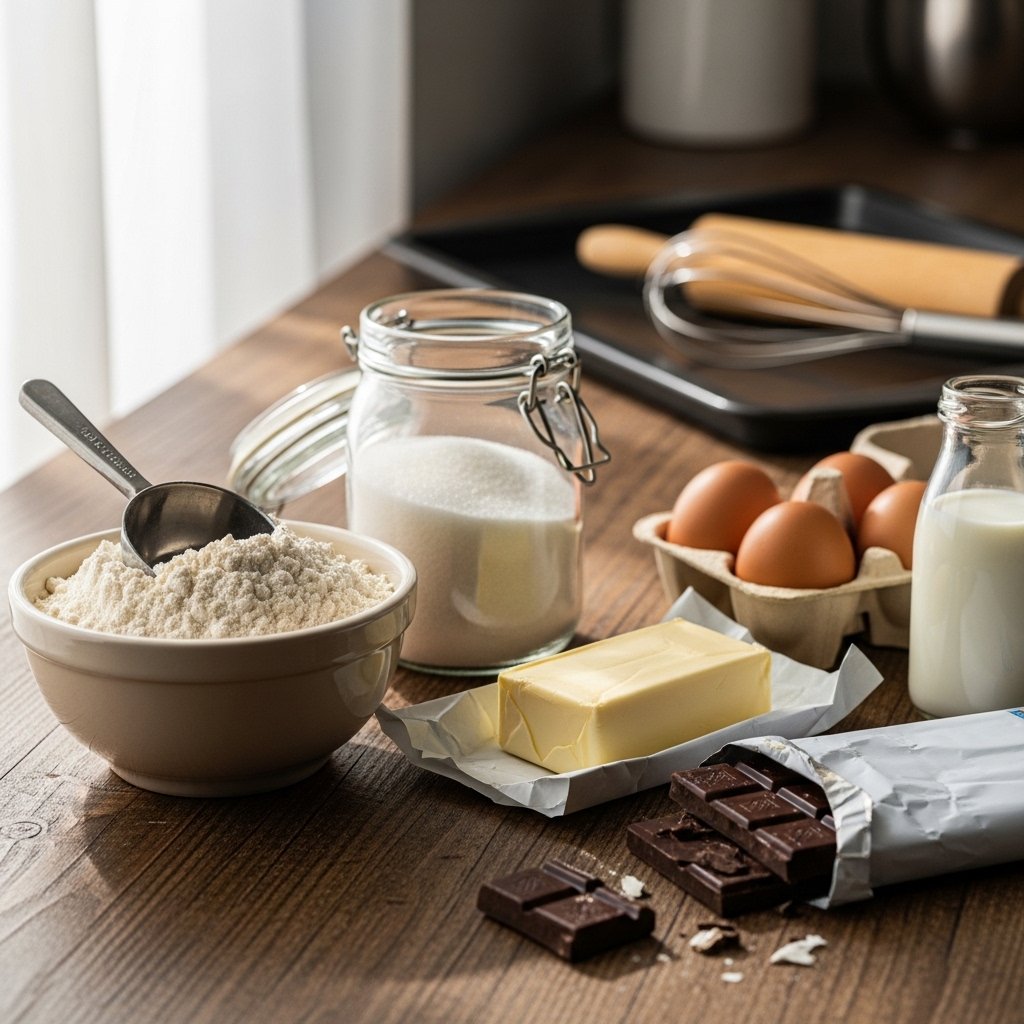
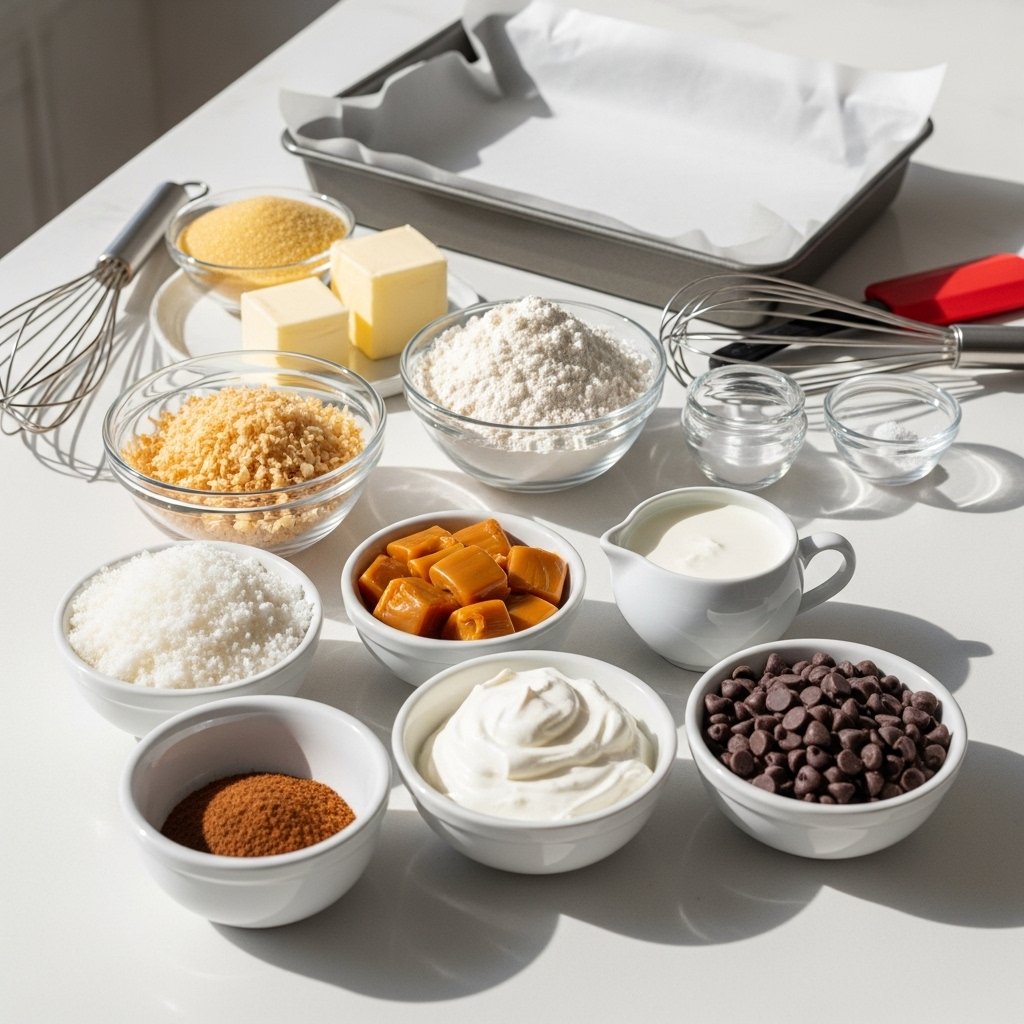
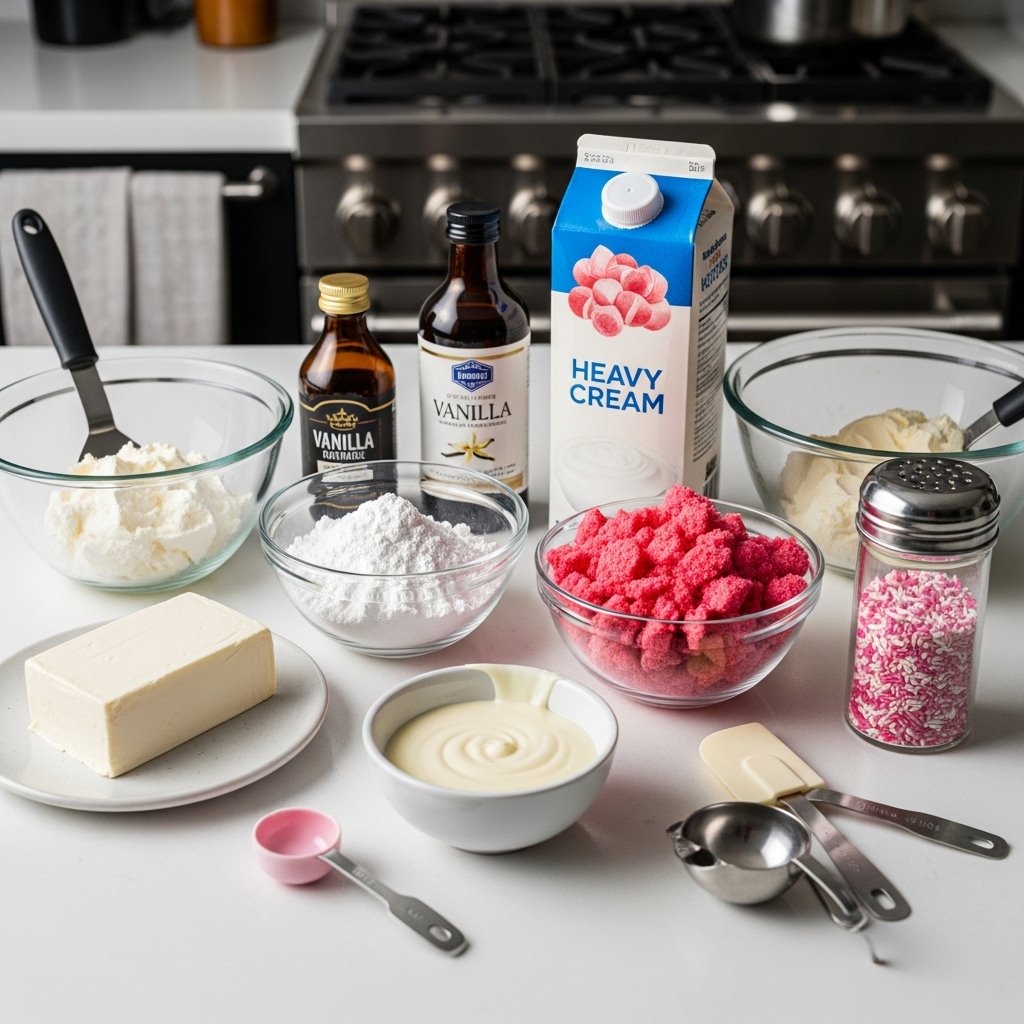
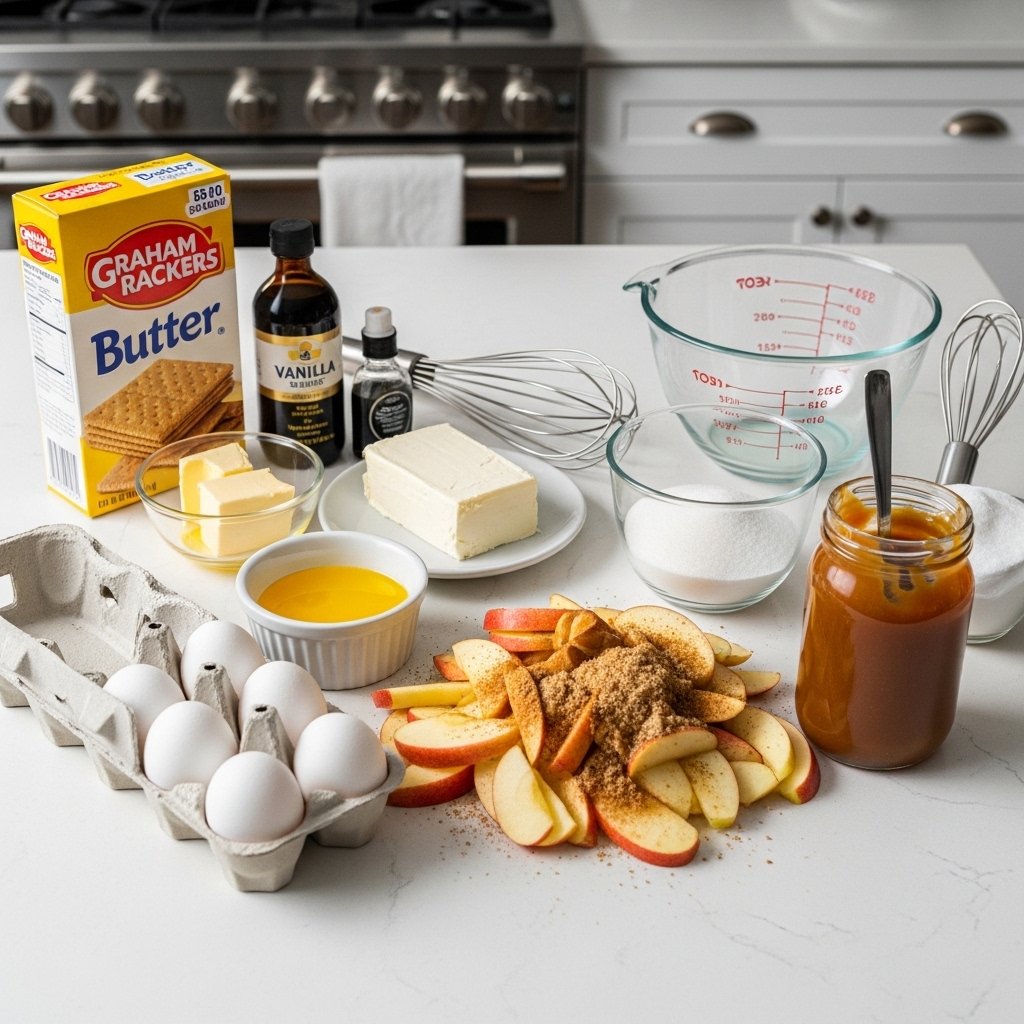
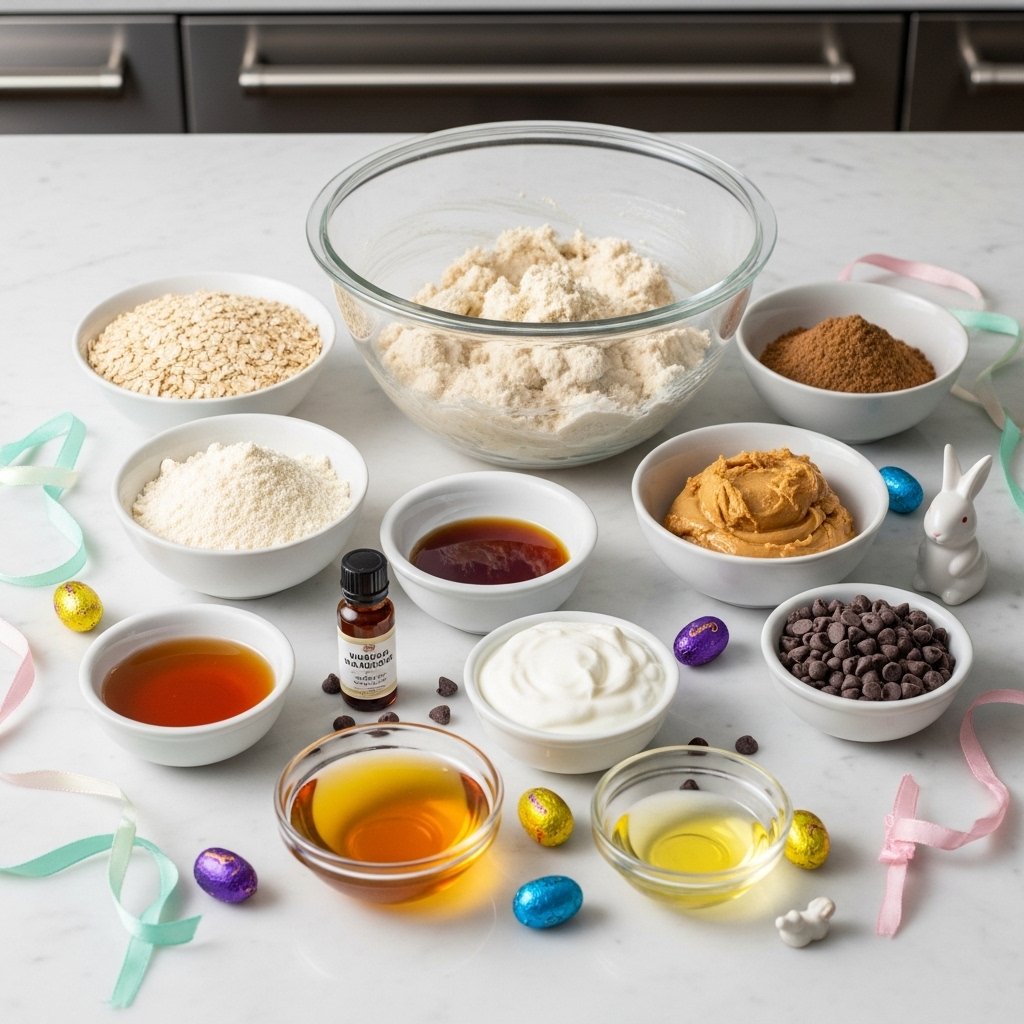
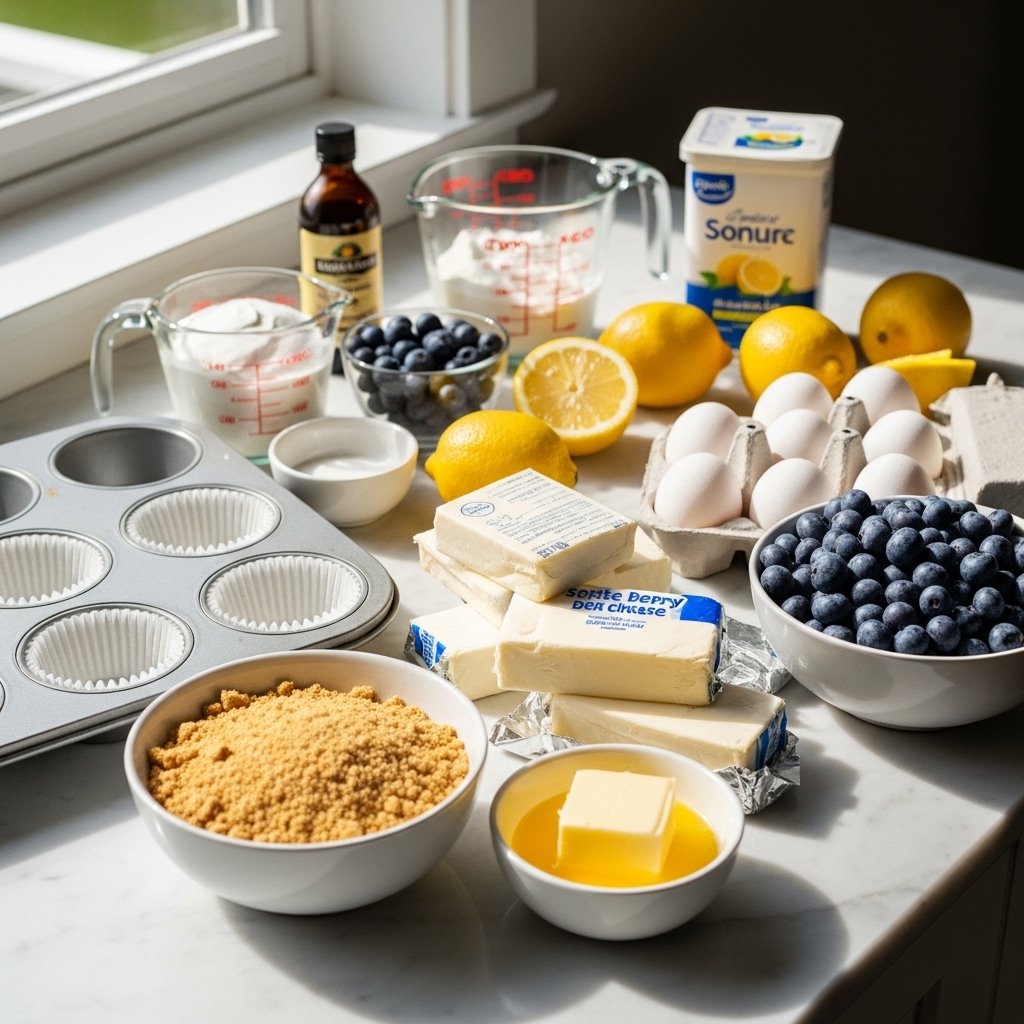
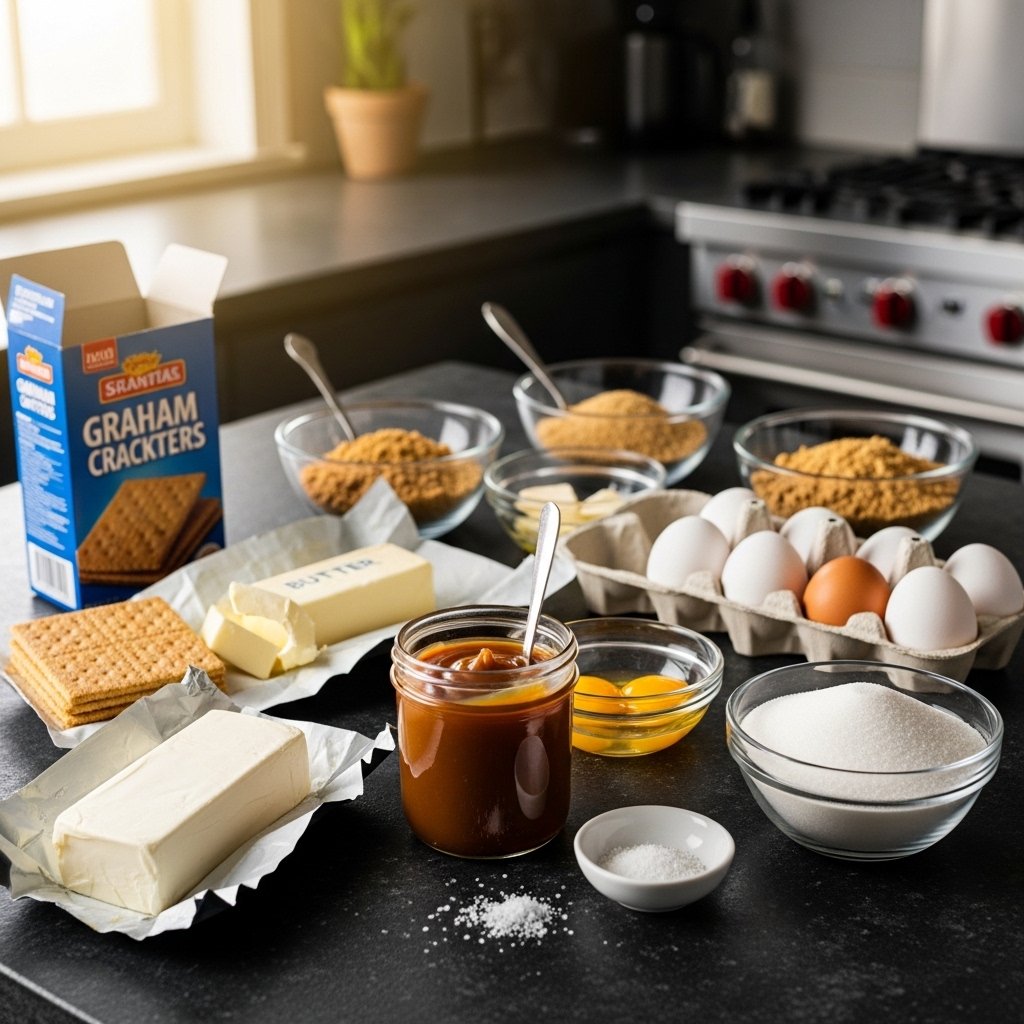
Ingredients
To make this one pot salted caramel cheesecake, you’ll need:
For the Cheesecake
- Cream cheese
- Sugar
- Eggs
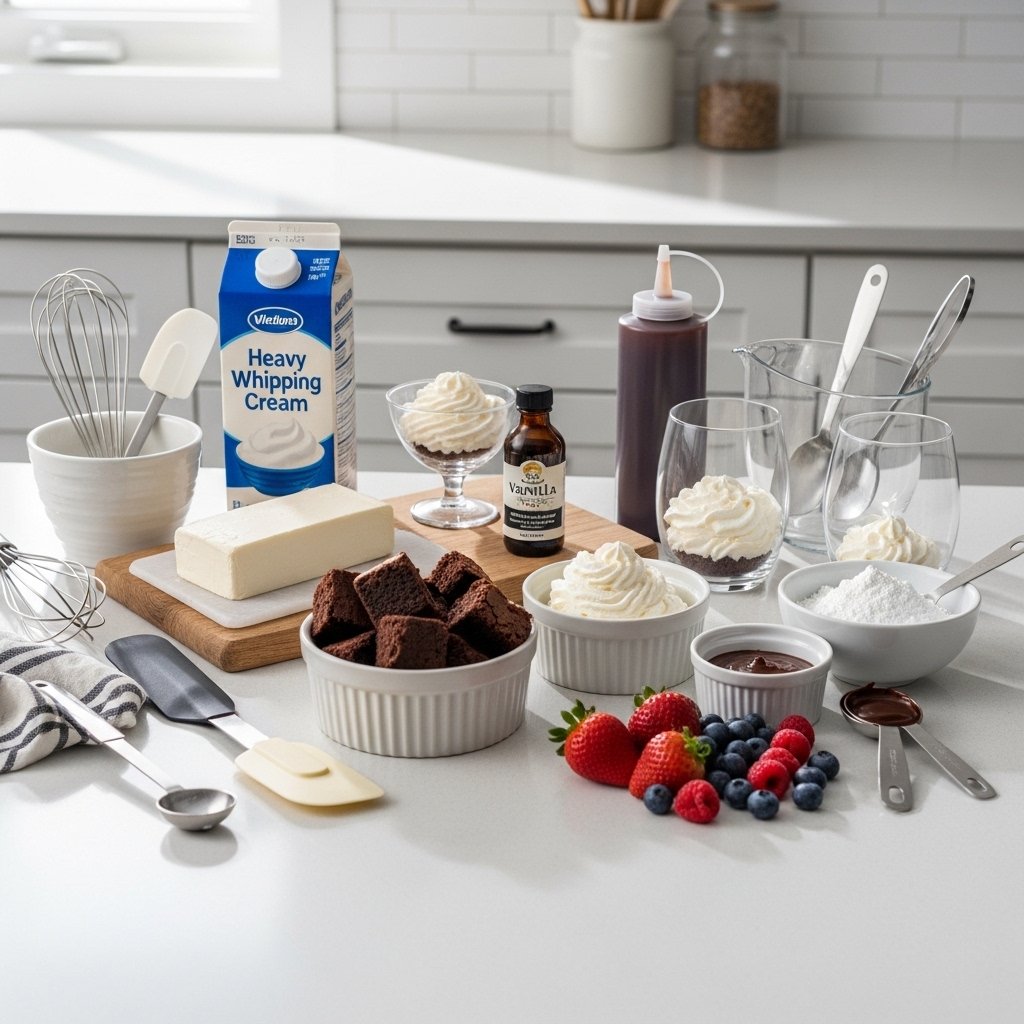
- Vanilla extract
- Heavy cream
For the Base
- Crushed graham crackers
- Melted butter
For the Salted Caramel
- Sugar
- Butter
- Heavy cream
- Sea salt
These ingredients come together to create a perfectly balanced dessert.
Ingredient Notes & Substitutions
Cream Cheese Tips
Use full-fat cream cheese for the creamiest texture.
Sweetness Balance
Adjust sugar slightly depending on your preference.
Caramel Options
You can use store-bought caramel if you’re short on time, but homemade gives the best flavor.
These small adjustments help you perfect your one pot salted caramel cheesecake.
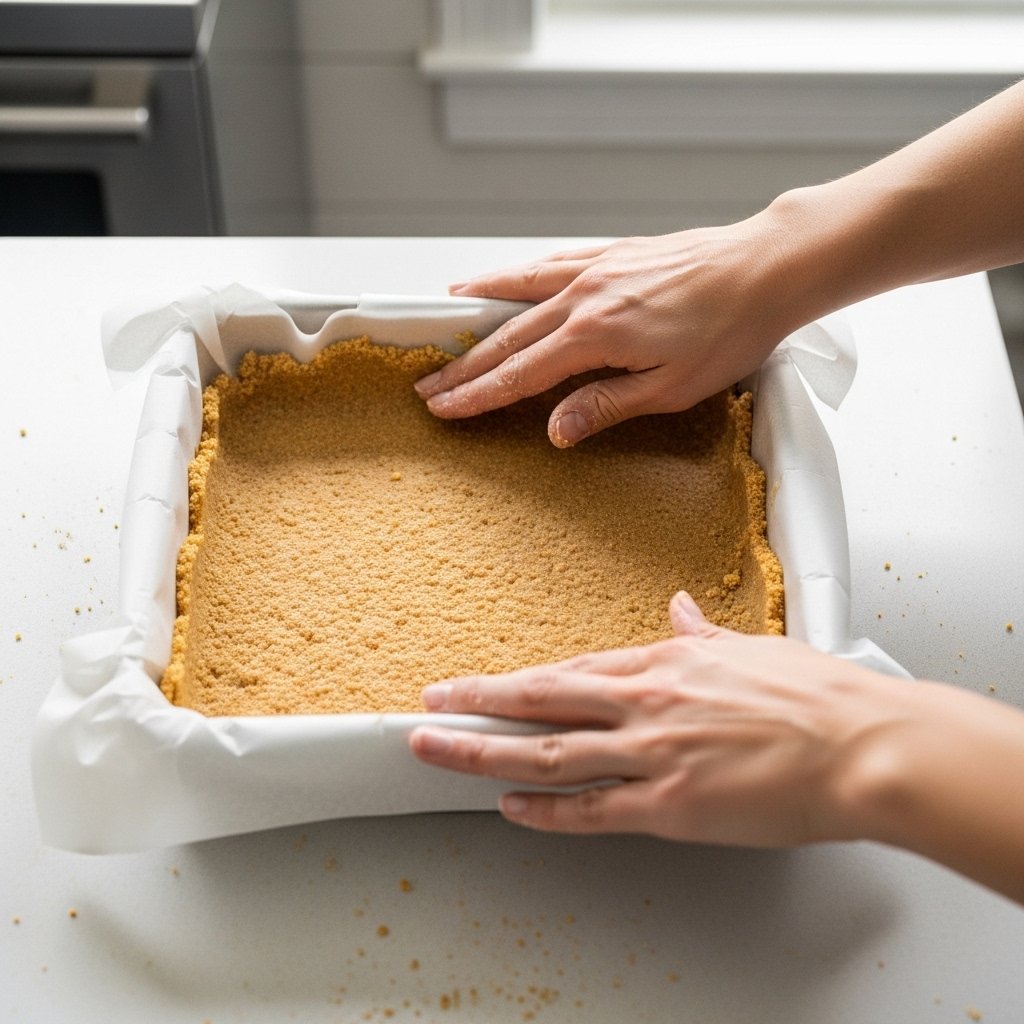
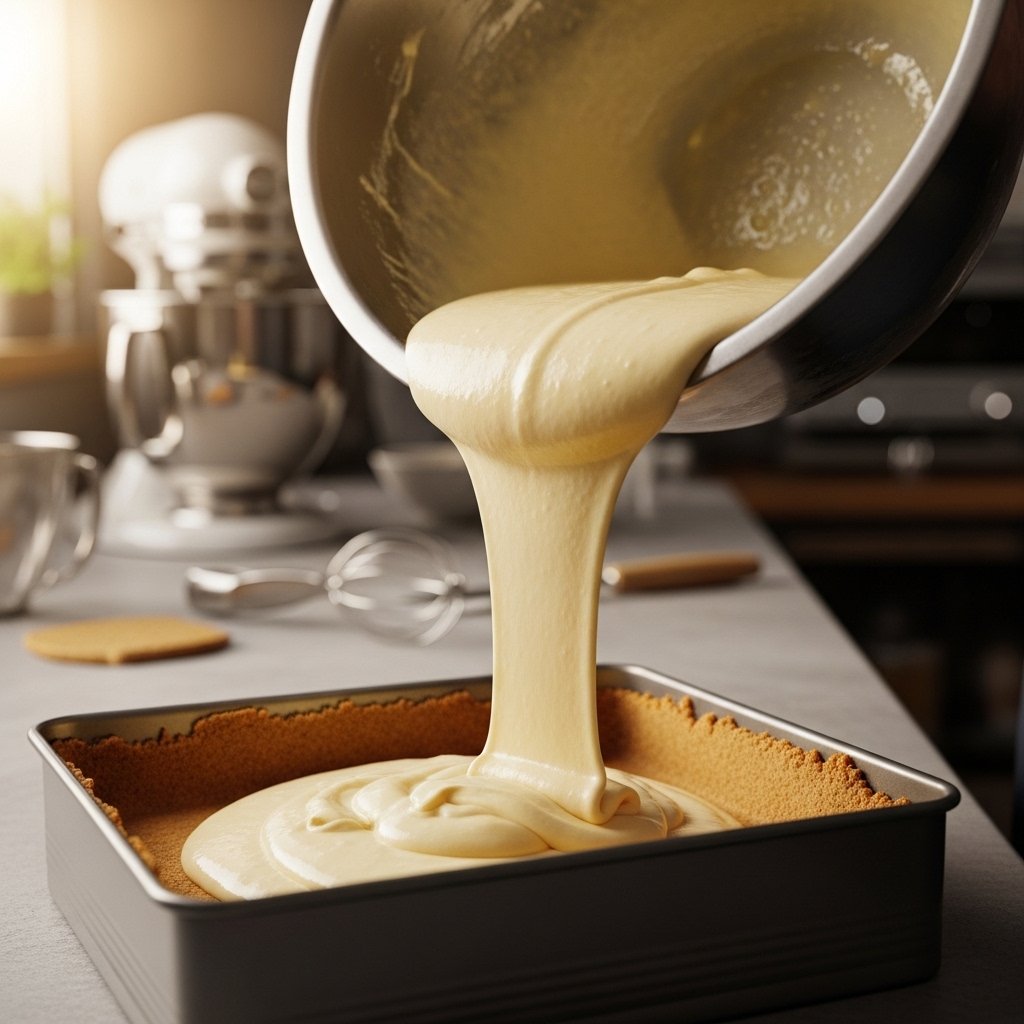
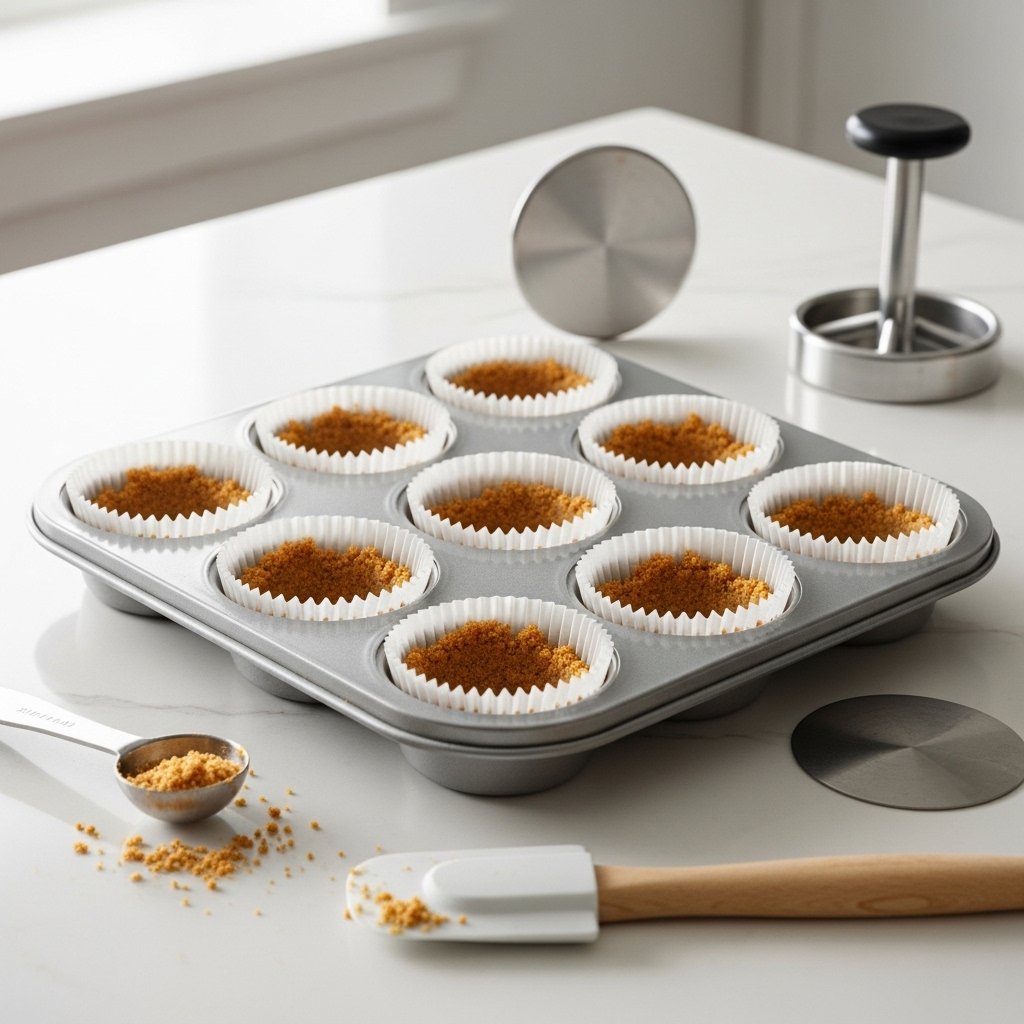
Step-by-Step Instructions
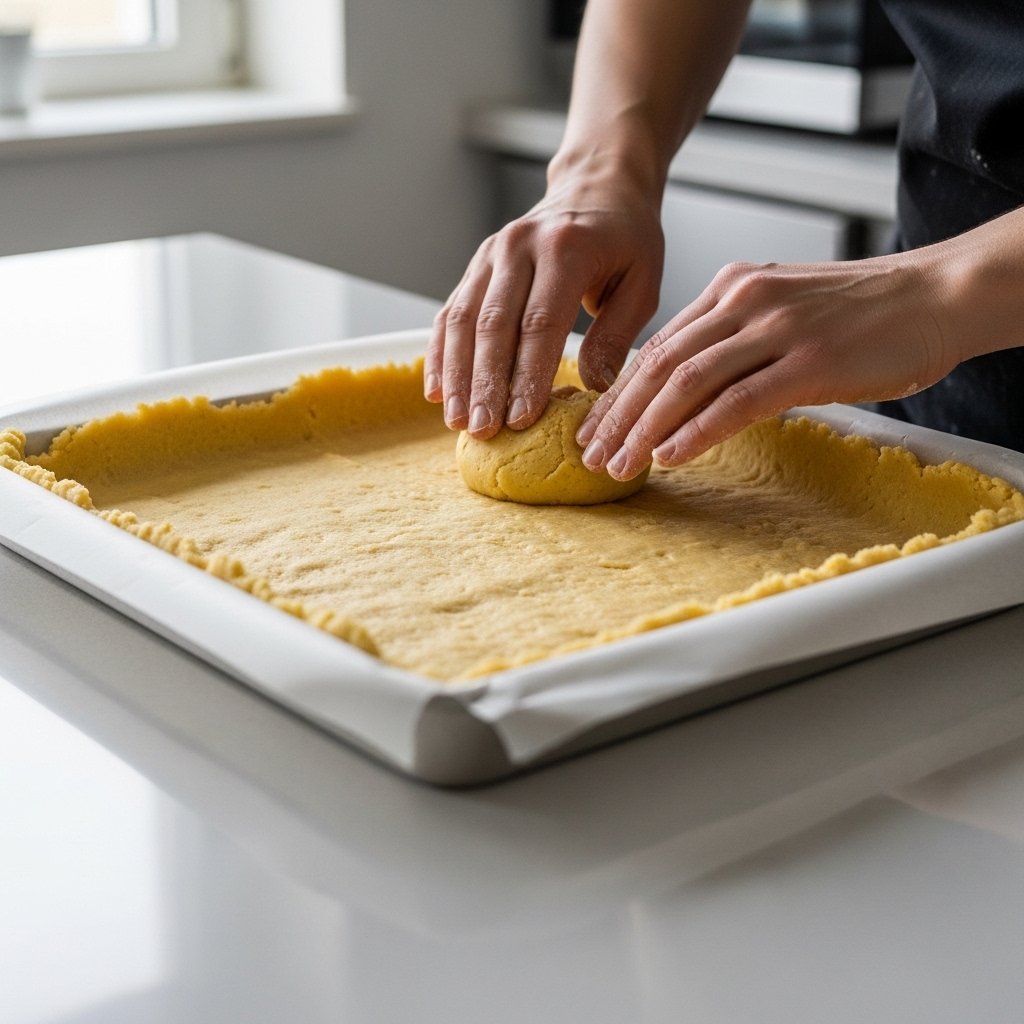
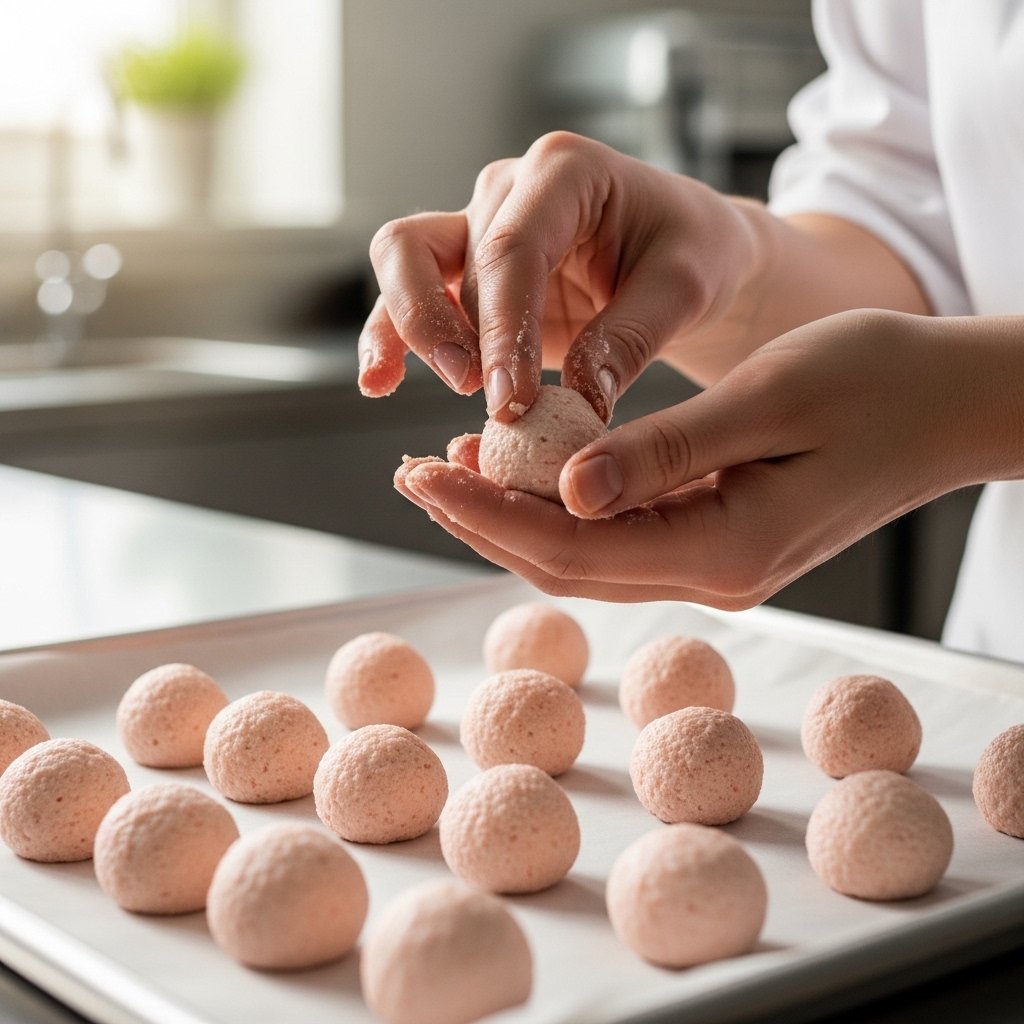
Step 1: Prepare the Crust
Mix crushed graham crackers with melted butter and press into the base of your pot or pan.
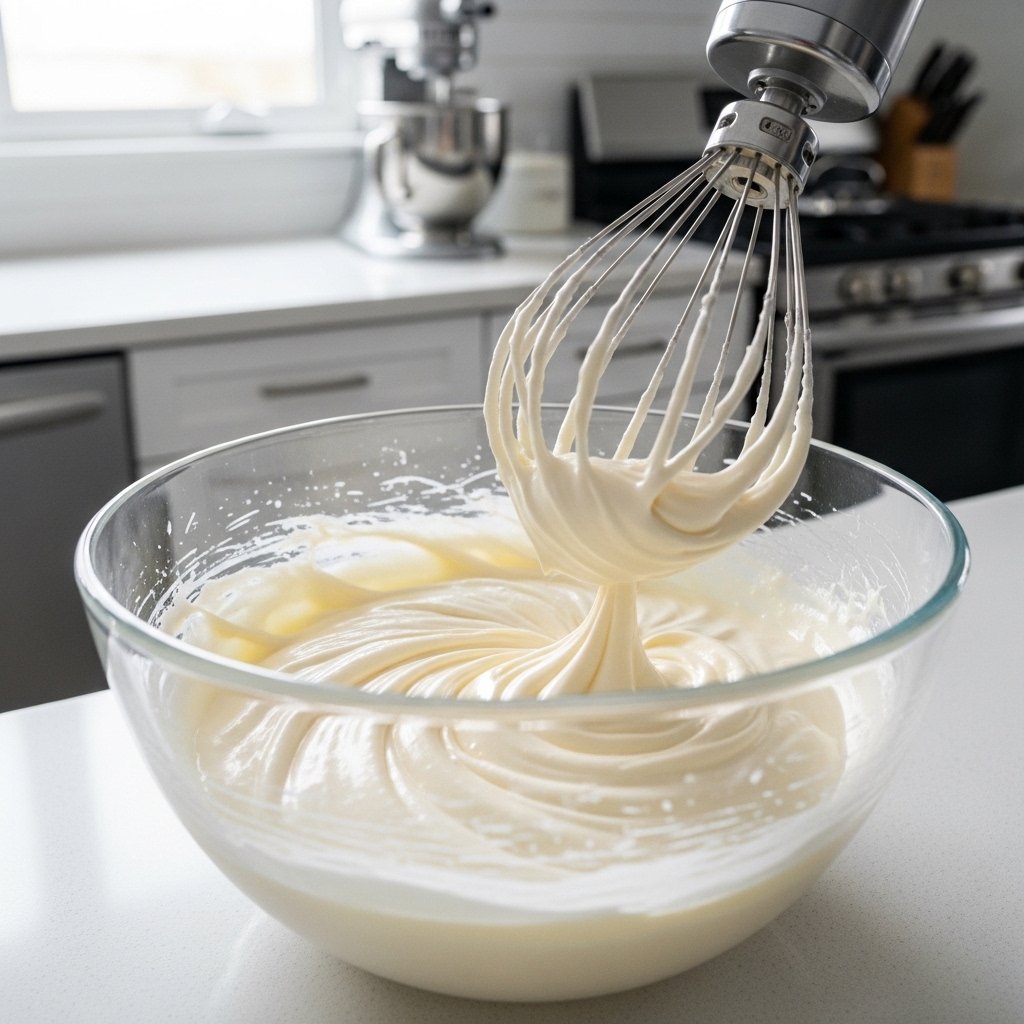
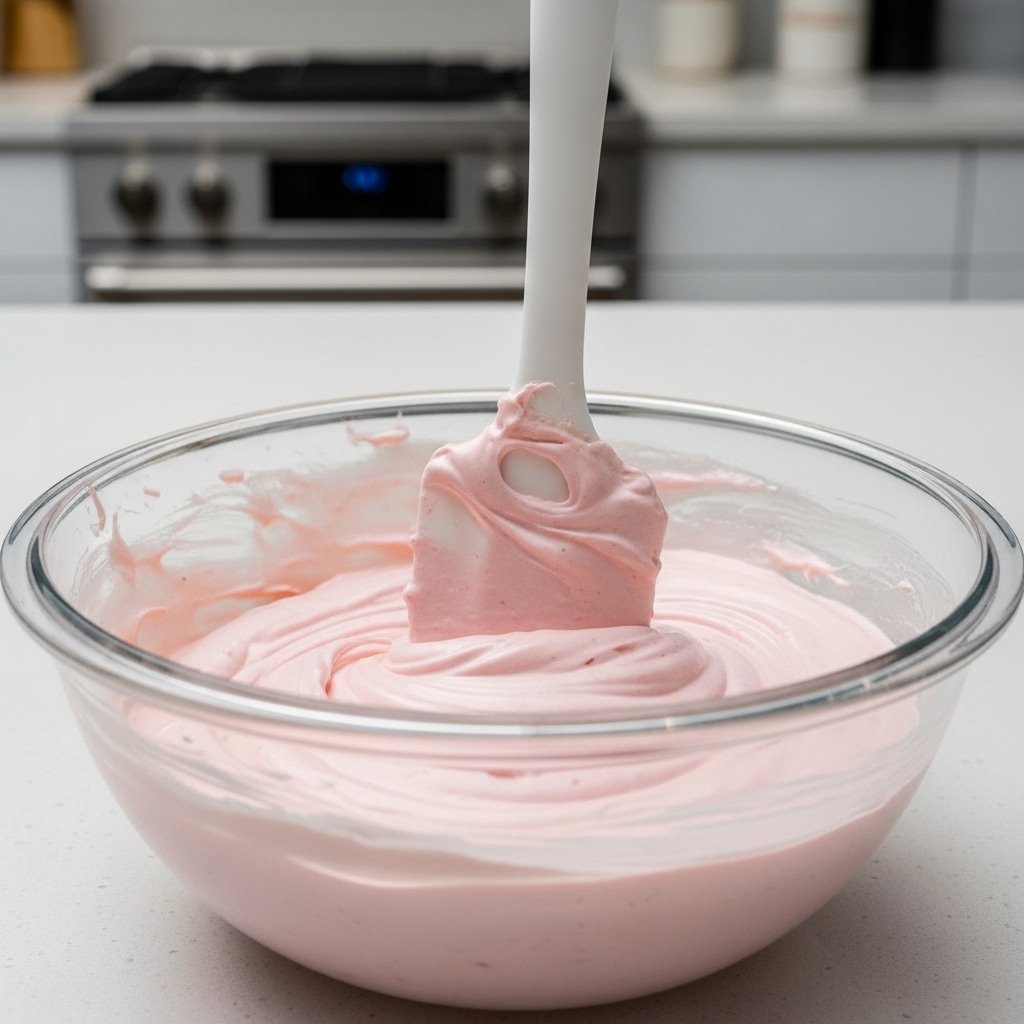
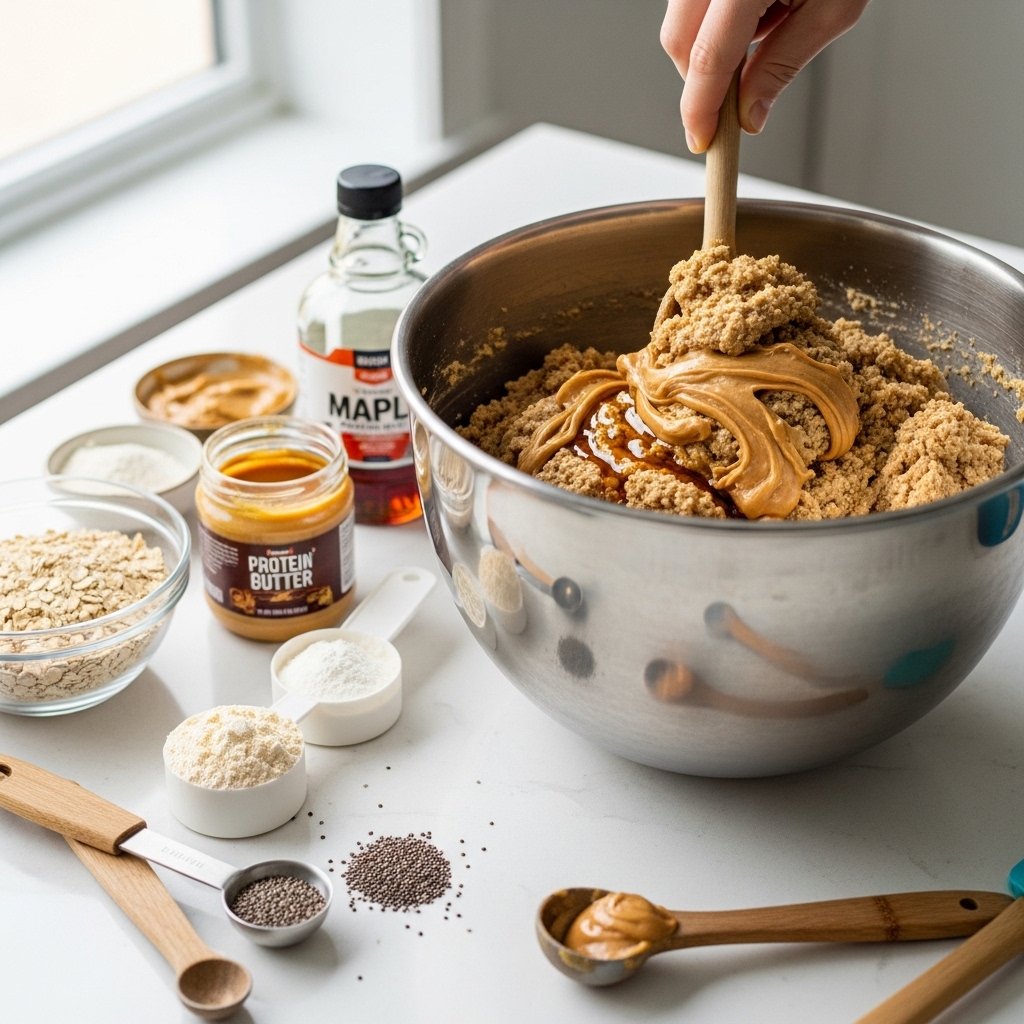
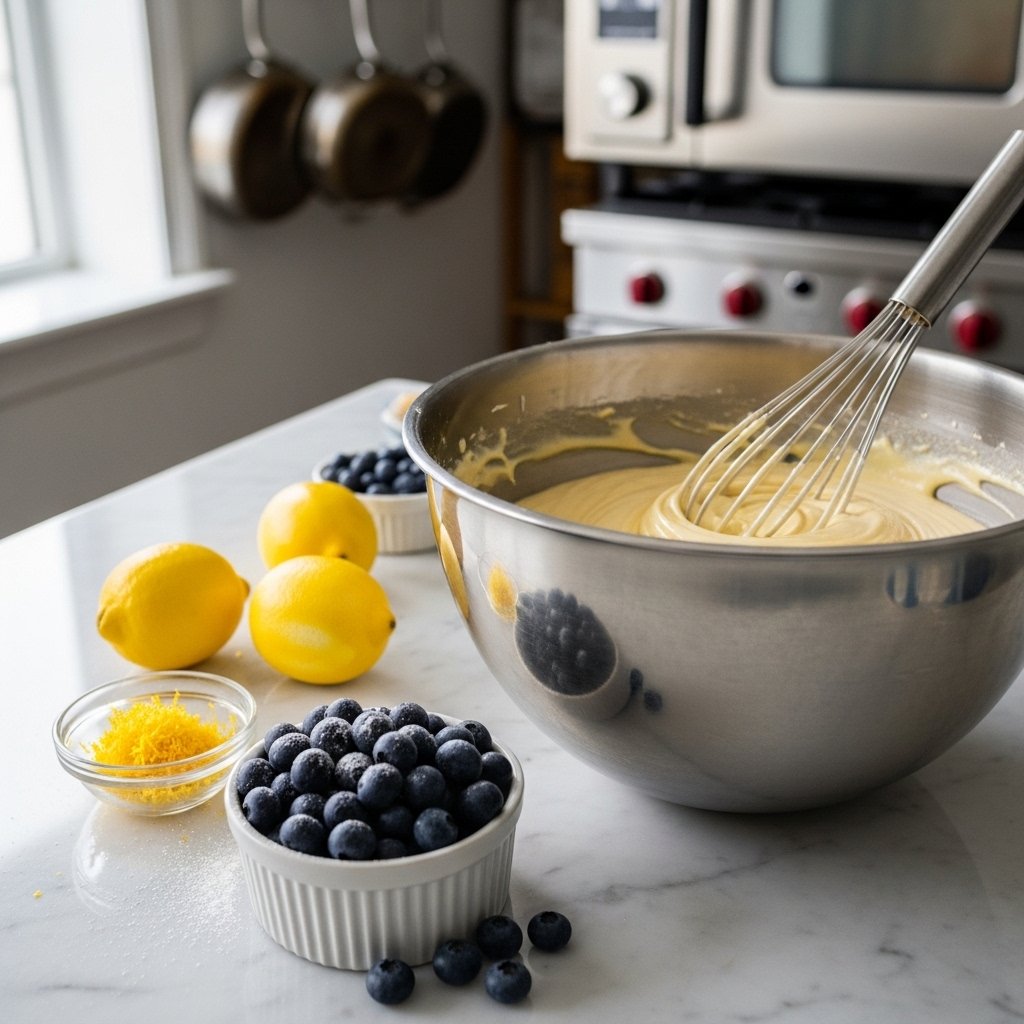
Step 2: Make the Cheesecake Filling
In the same pot, blend cream cheese, sugar, eggs, vanilla, and cream until smooth.
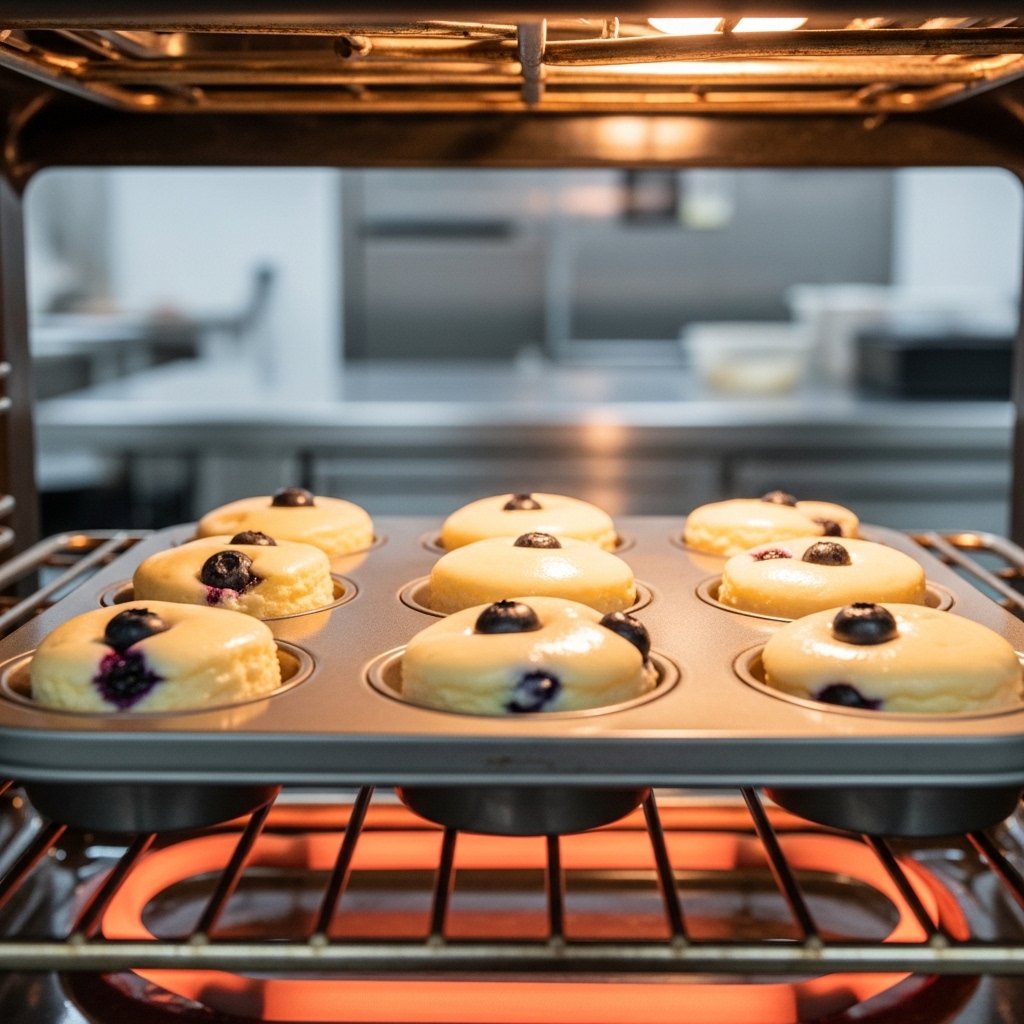
Step 3: Cook or Bake
Cook gently or bake until the cheesecake is set but still slightly jiggly in the center.
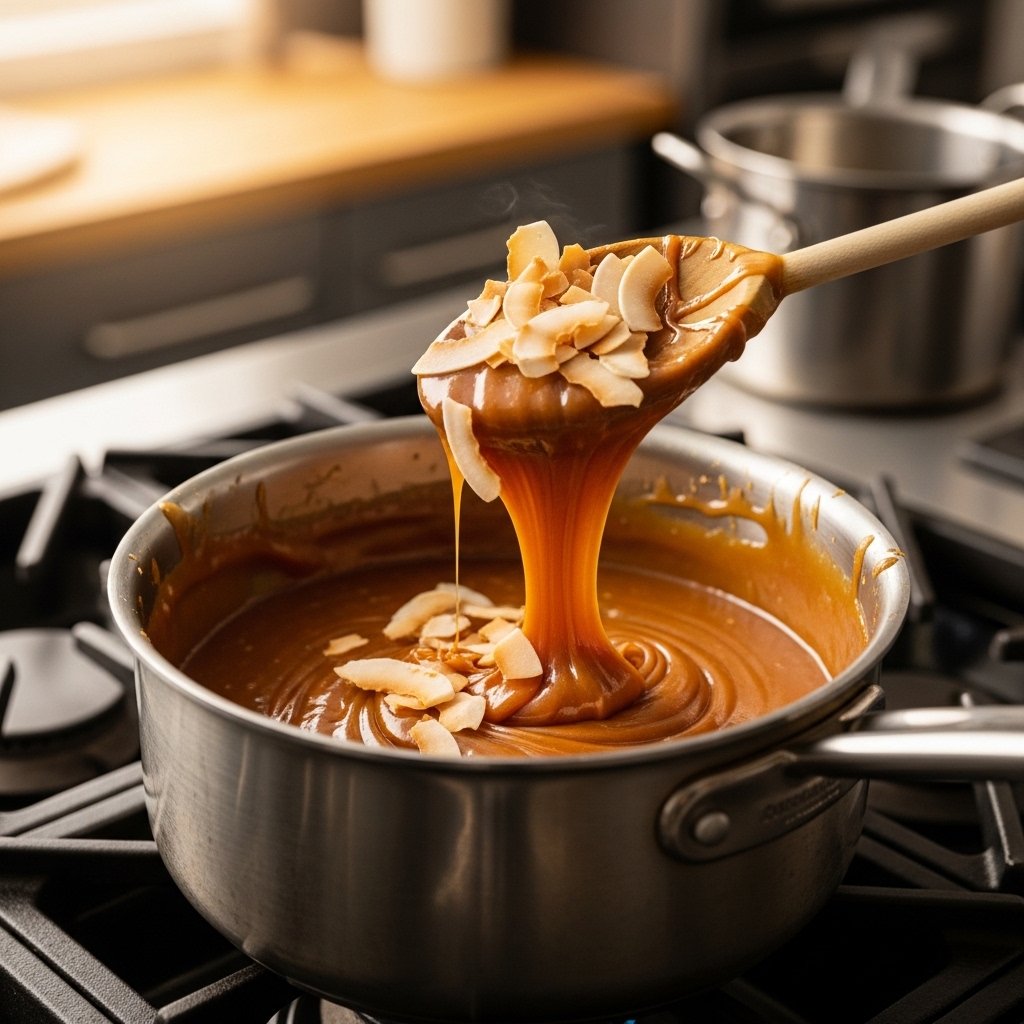
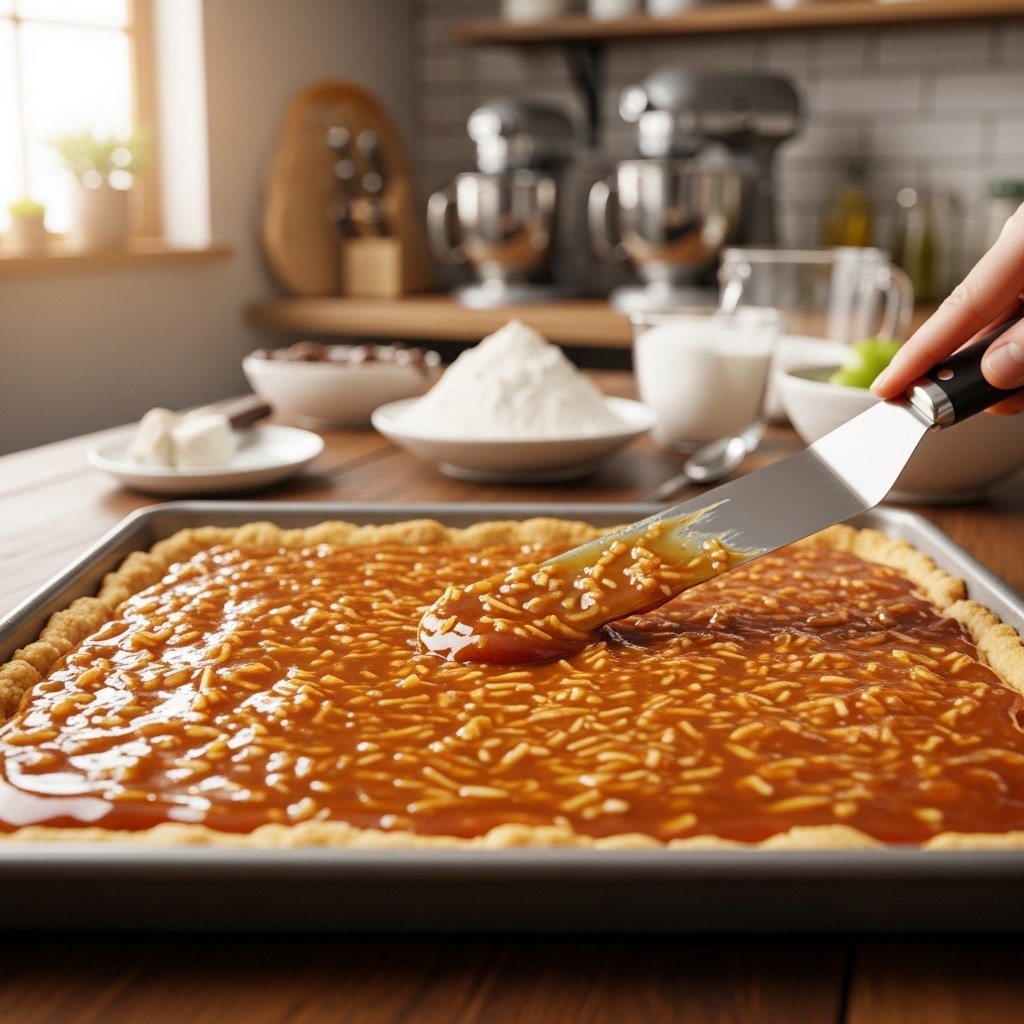
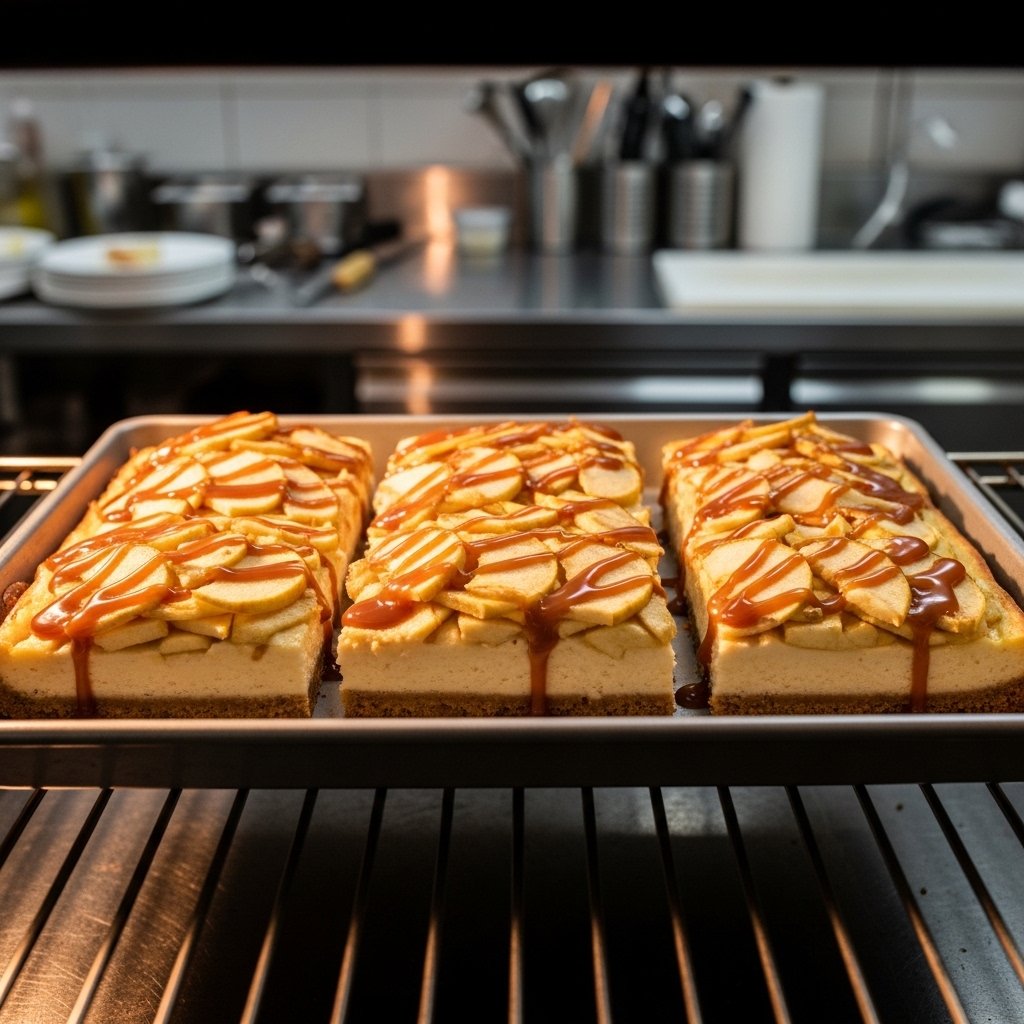
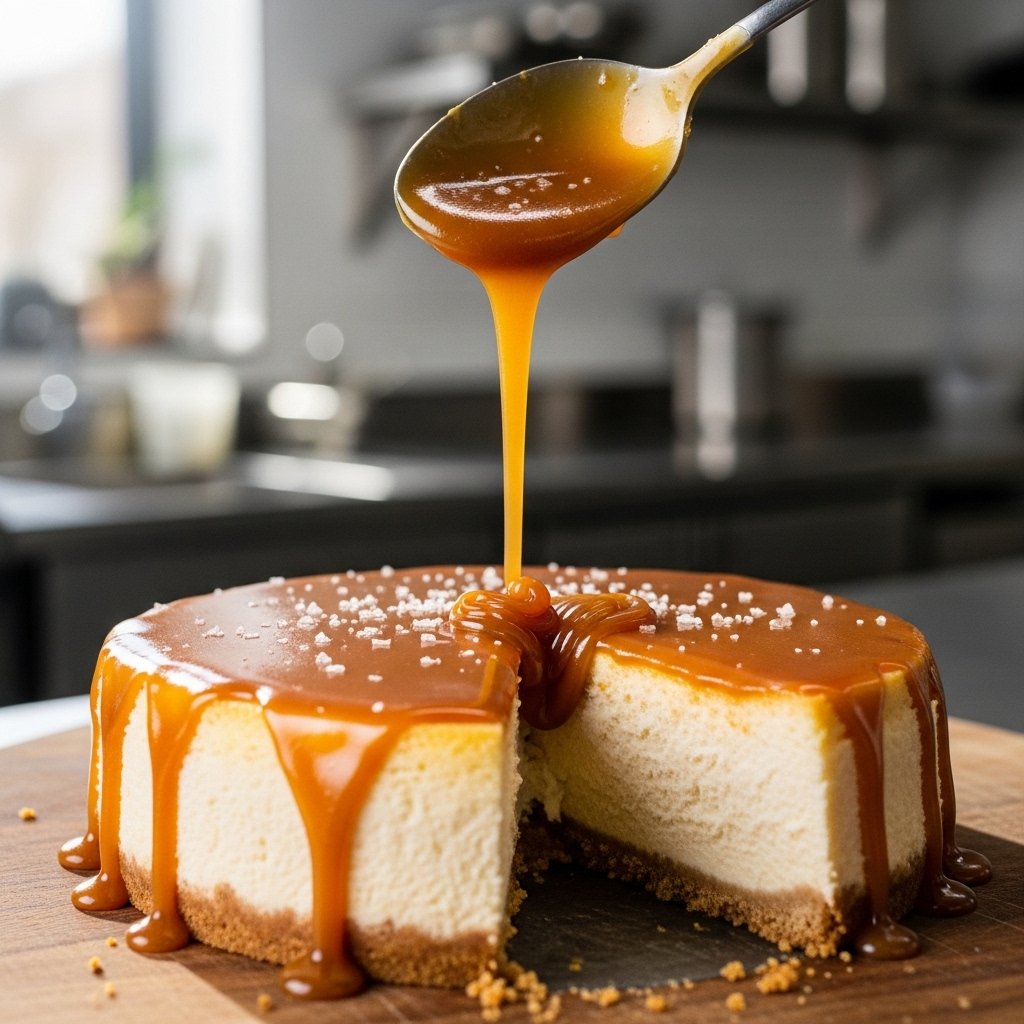
Step 4: Make the Salted Caramel
In a saucepan, melt sugar until golden, then add butter and cream. Finish with a pinch of sea salt.
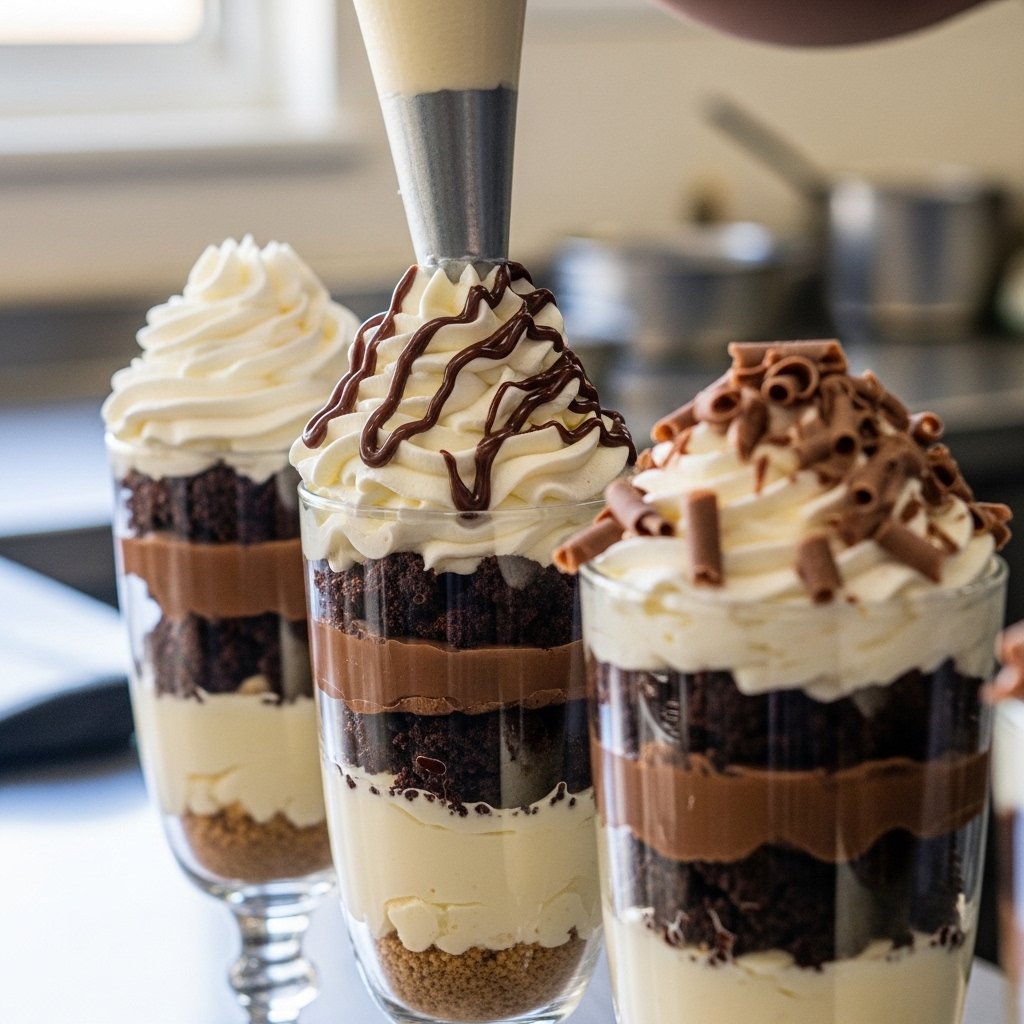
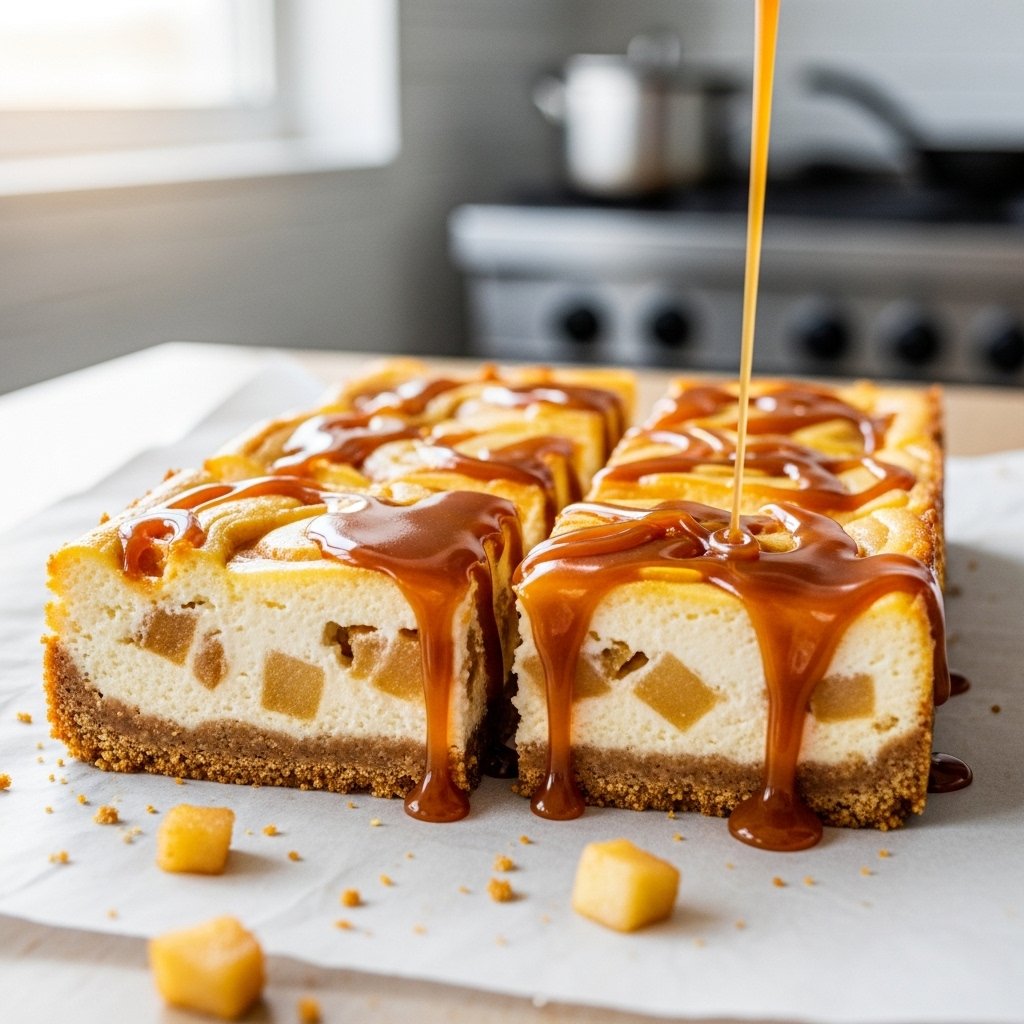
Step 5: Assemble
Pour the caramel over the cheesecake and let it chill completely before serving.
Tips for Perfect Results
To master this one pot salted caramel cheesecake, keep these tips in mind:
- Don’t overmix the batter
- Use room-temperature ingredients
- Avoid overbaking
- Chill for at least 4 hours before serving
Patience is key to achieving the perfect texture.
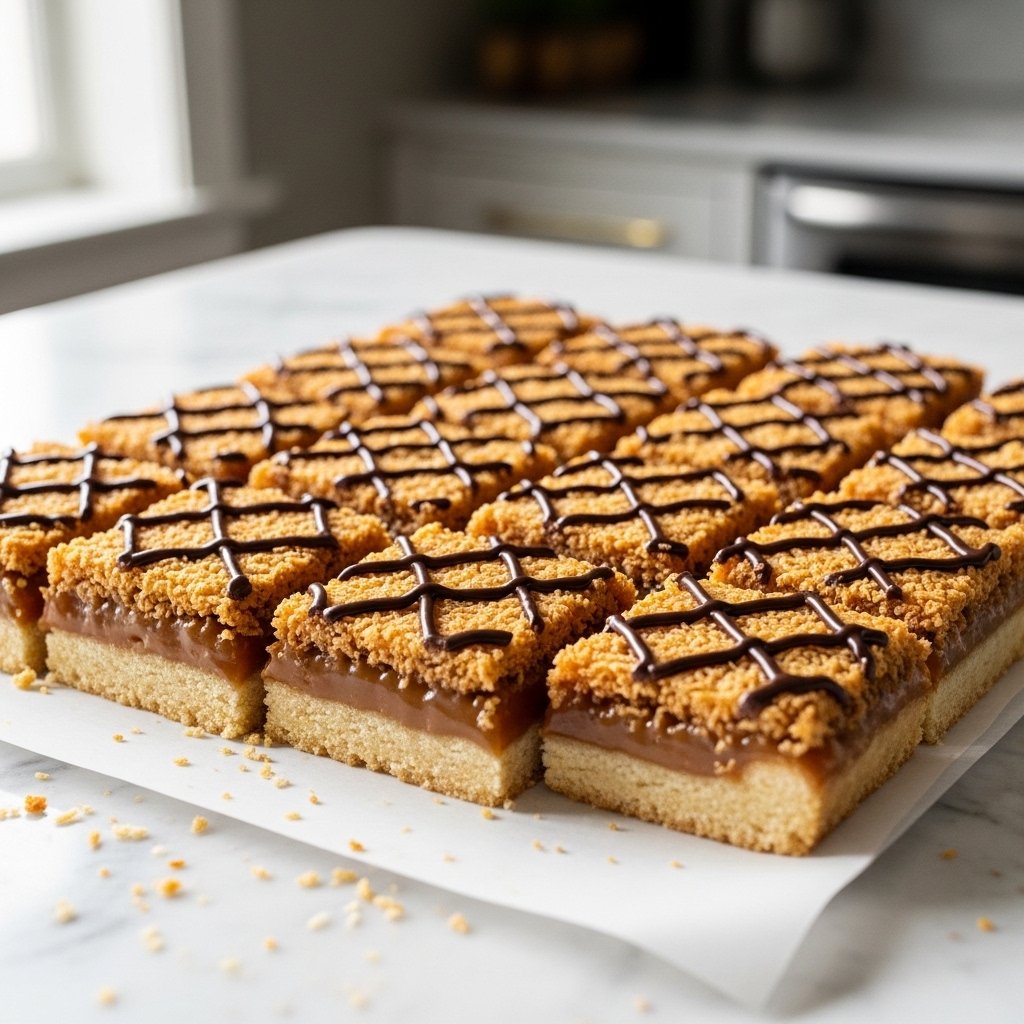
Variations to Try
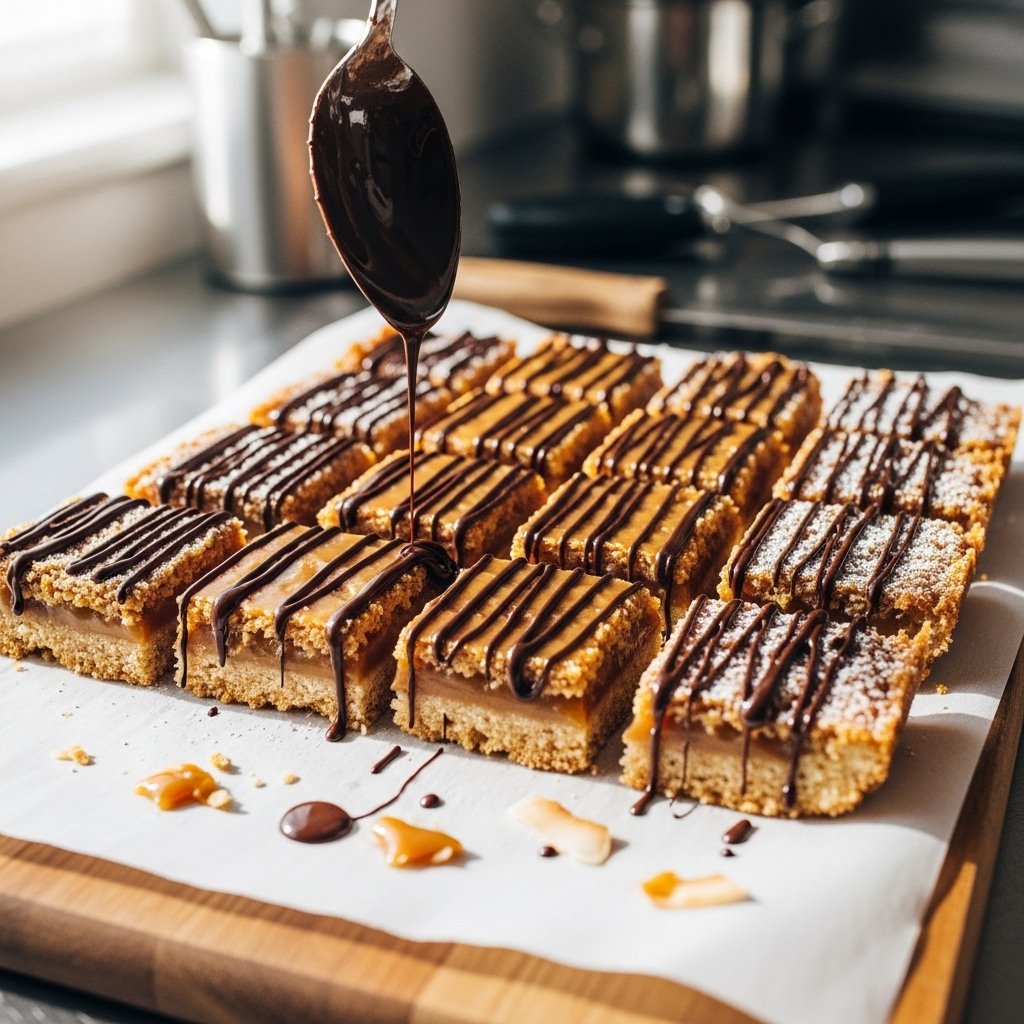
Chocolate Caramel Cheesecake
Add melted chocolate to the batter for a richer flavor.
No-Bake Version
Skip baking and let the cheesecake set in the fridge.
Nutty Twist
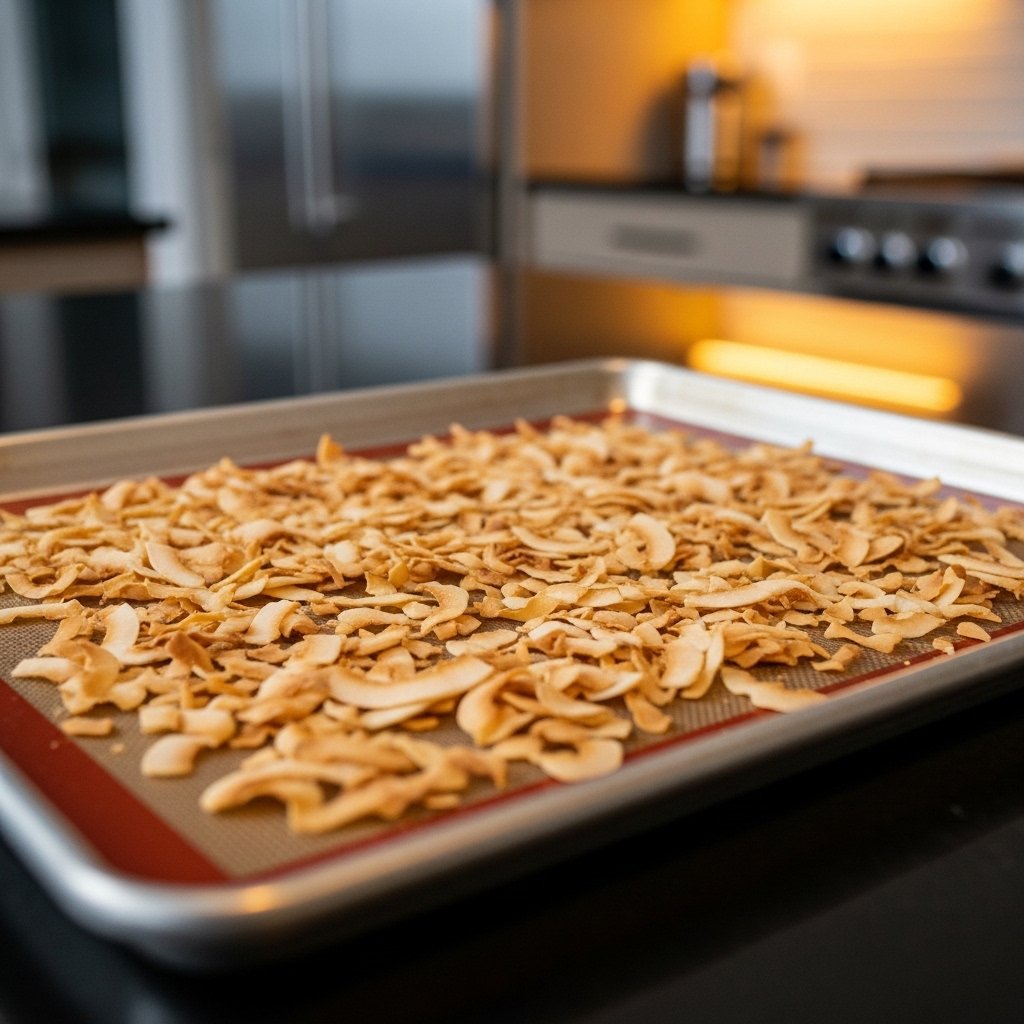
Add crushed pecans or walnuts to the crust.
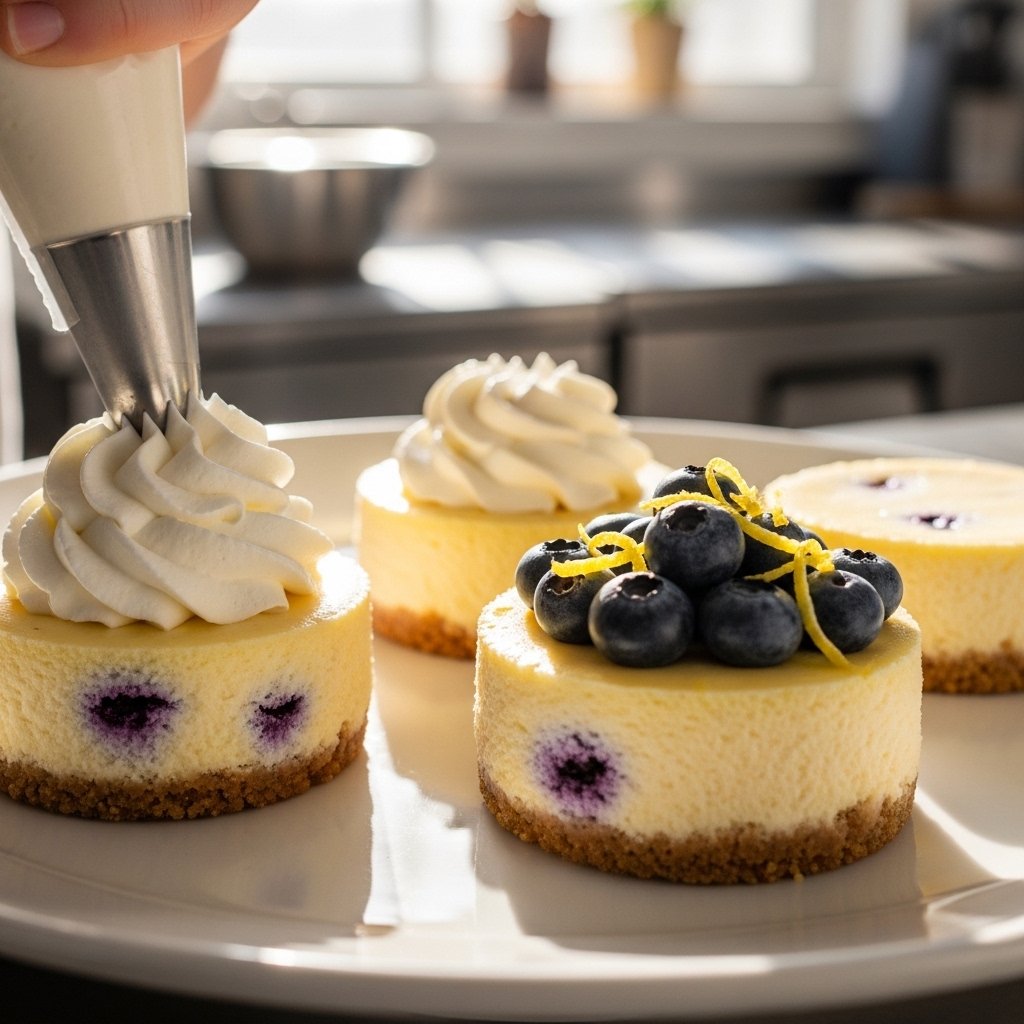
Mini Cheesecakes
Make individual portions for easy serving.
These variations keep your one pot salted caramel cheesecake exciting every time.
What to Serve With It
Pair this dessert with:
- Fresh berries
- Whipped cream
- Coffee or espresso
These additions enhance the overall experience.
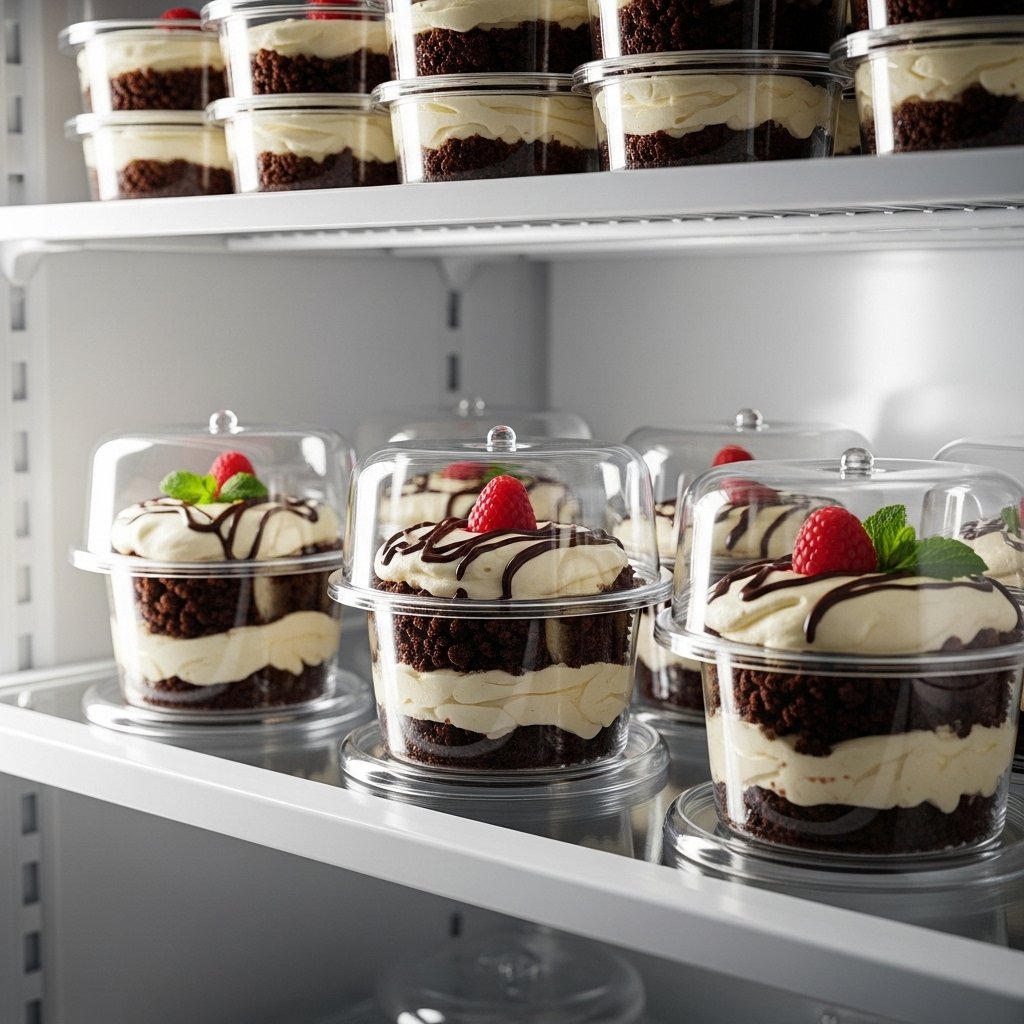
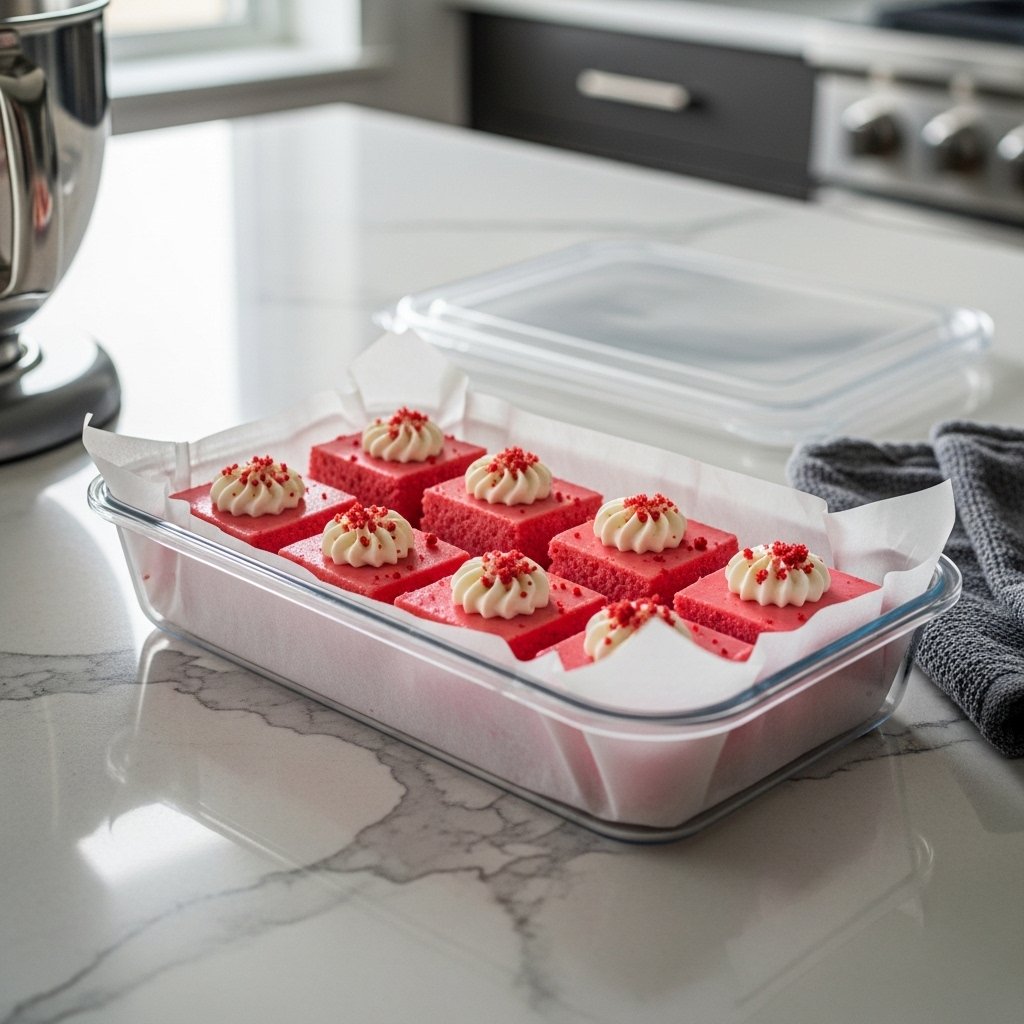
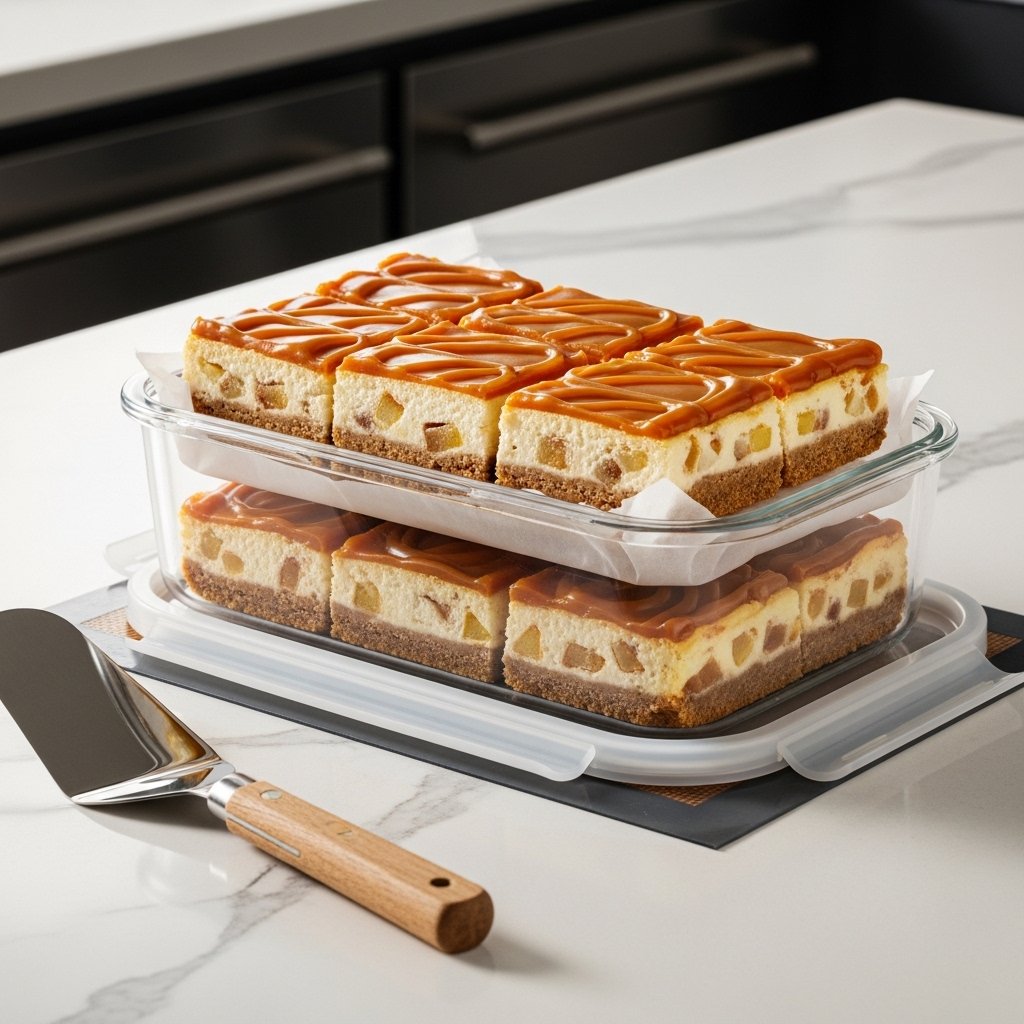
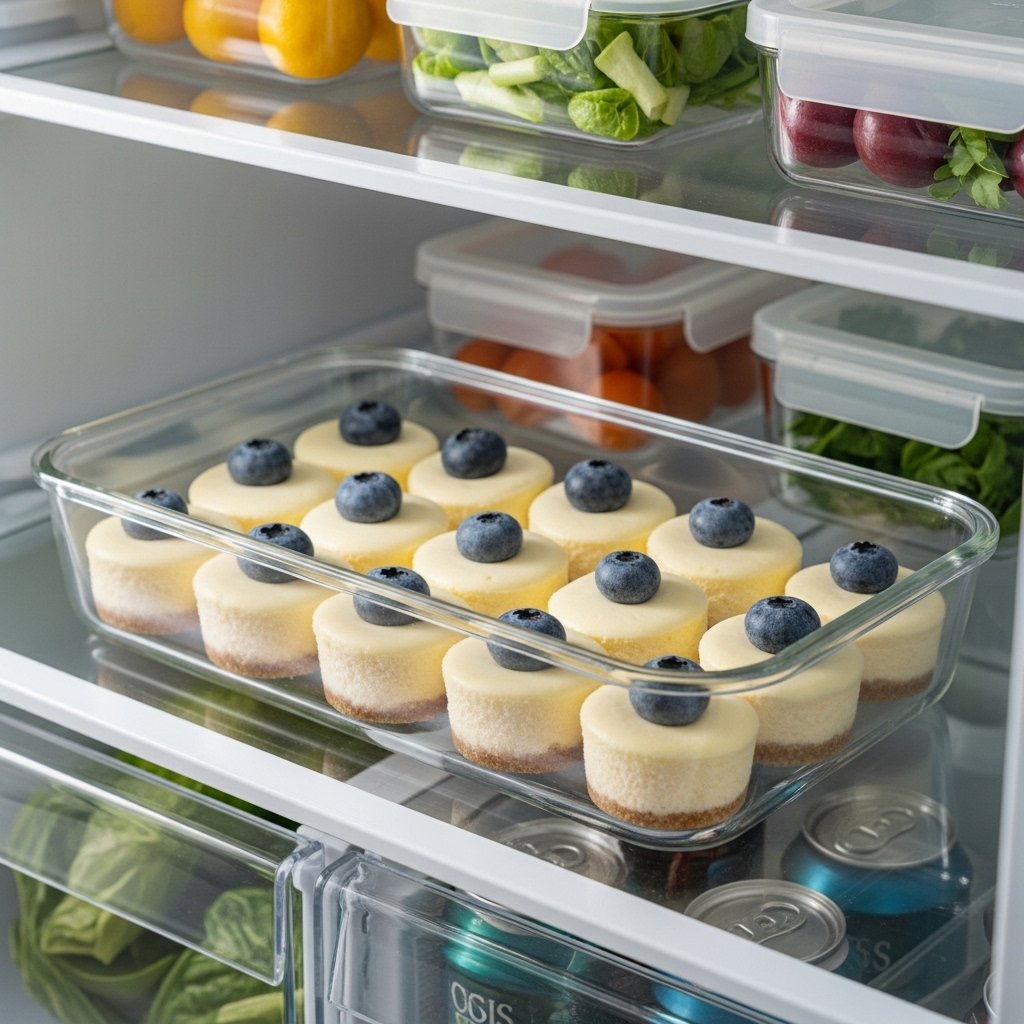
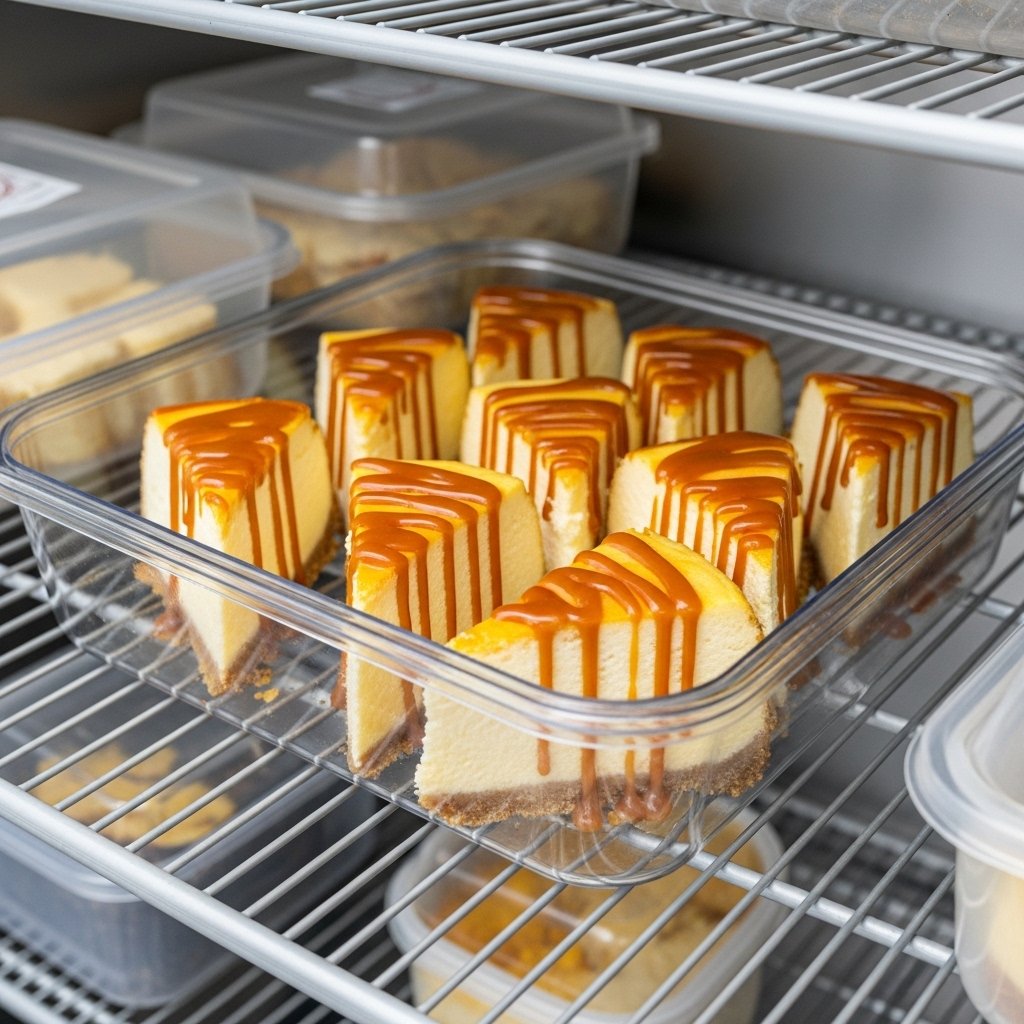
Storage & Reheating
Storage
- Keep refrigerated in an airtight container
- Best consumed within 4–5 days
Freezing
- Freeze for up to 1 month
- Thaw in the refrigerator overnight
Common Mistakes to Avoid
Avoid these common issues:
- Overcooking the cheesecake
- Skipping the chilling step
- Burning the caramel
- Using cold ingredients
Attention to detail ensures perfect results.
Frequently Asked Questions
Can I make this cheesecake ahead of time?
Yes! It’s actually better when made a day in advance.
Can I use store-bought caramel?
Absolutely, though homemade adds more flavor.
Why is my cheesecake cracked?
It may be overbaked or cooled too quickly.
Can I make it without eggs?
Yes, use egg substitutes or try a no-bake version.
How do I get a smooth texture?
Use room-temperature ingredients and mix gently.
Final Thoughts
This one pot salted caramel cheesecake is the perfect combination of simplicity and indulgence. With its creamy texture and rich caramel topping, it’s a dessert that feels luxurious without being complicated.
Whether you’re making it for a celebration or just because, this recipe is guaranteed to impress and satisfy every sweet craving.