If you’ve ever felt like your salads needed a little more excitement, these homemade salad dressing recipes are exactly what you’ve been missing. Store-bought dressings can’t compete with the fresh, vibrant flavors you get when you make your own at home. From creamy classics to zesty vinaigrettes, there’s something here for everyone.
These homemade salad dressing recipes are designed to be simple, versatile, and packed with flavor. Whether you’re preparing a quick lunch or hosting a dinner party, the right dressing can completely transform your dish.
Why You’ll Love These Homemade Salad Dressing Recipes
Making your own dressings isn’t just about flavor—it’s about control, freshness, and creativity.
Here’s why these homemade salad dressing recipes are worth trying:
- No preservatives or artificial ingredients
- Easy to customize flavors
- Quick to prepare in minutes
- More affordable than store-bought
- Perfect for a variety of dishes
Once you start making your own, it’s hard to go back.
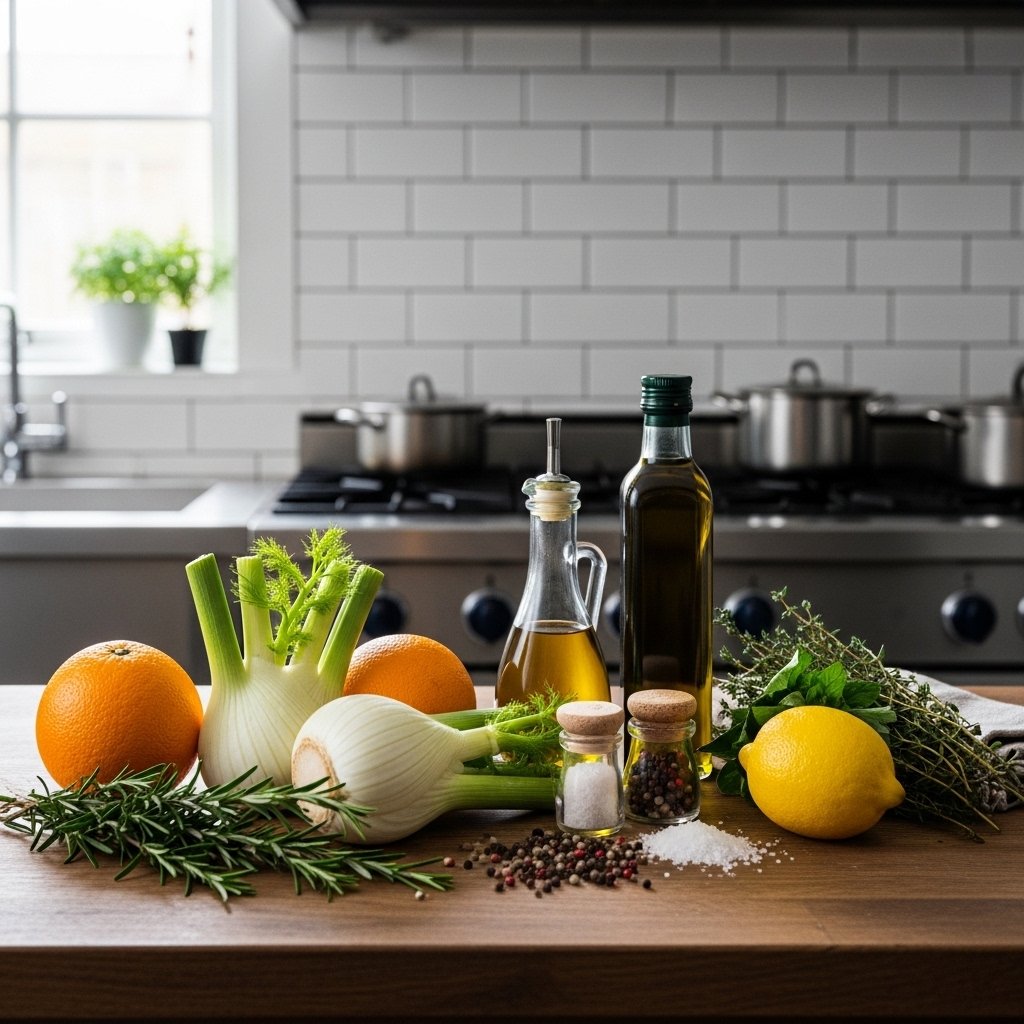
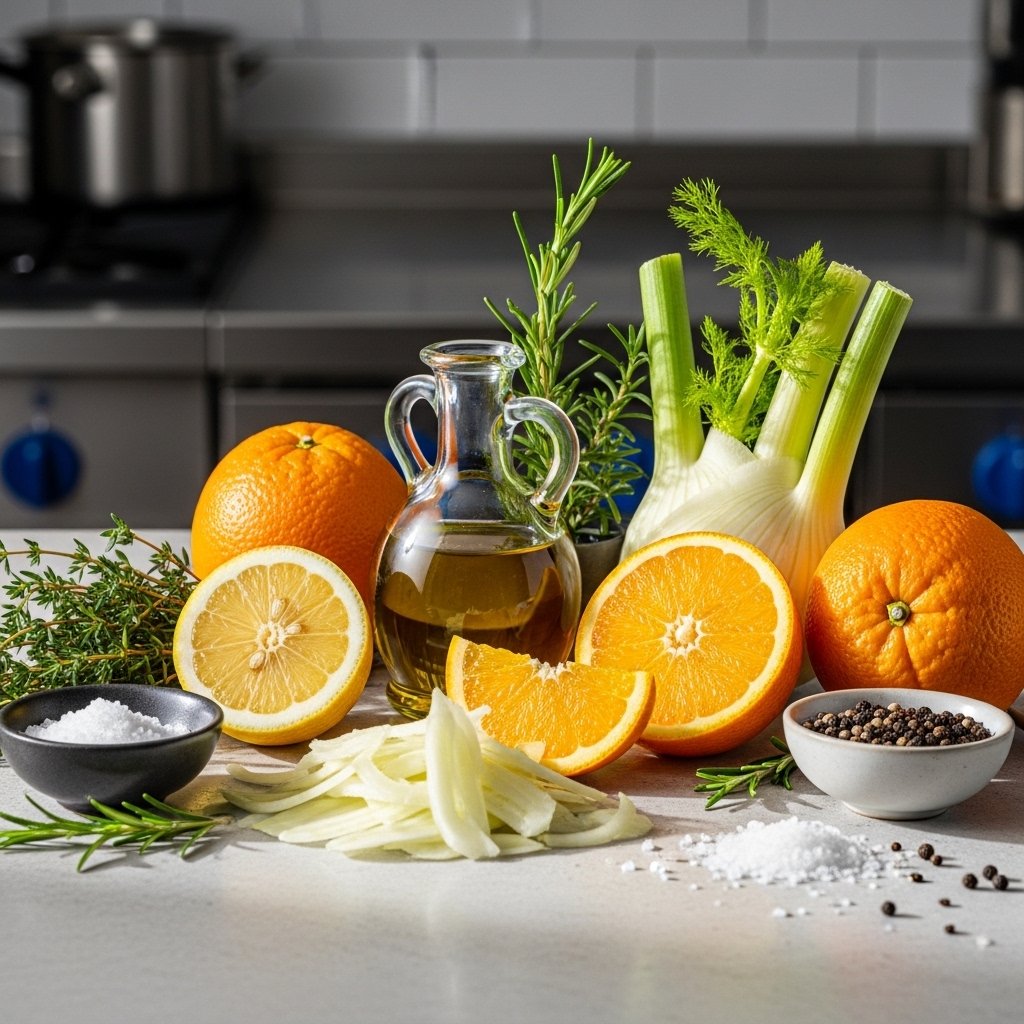
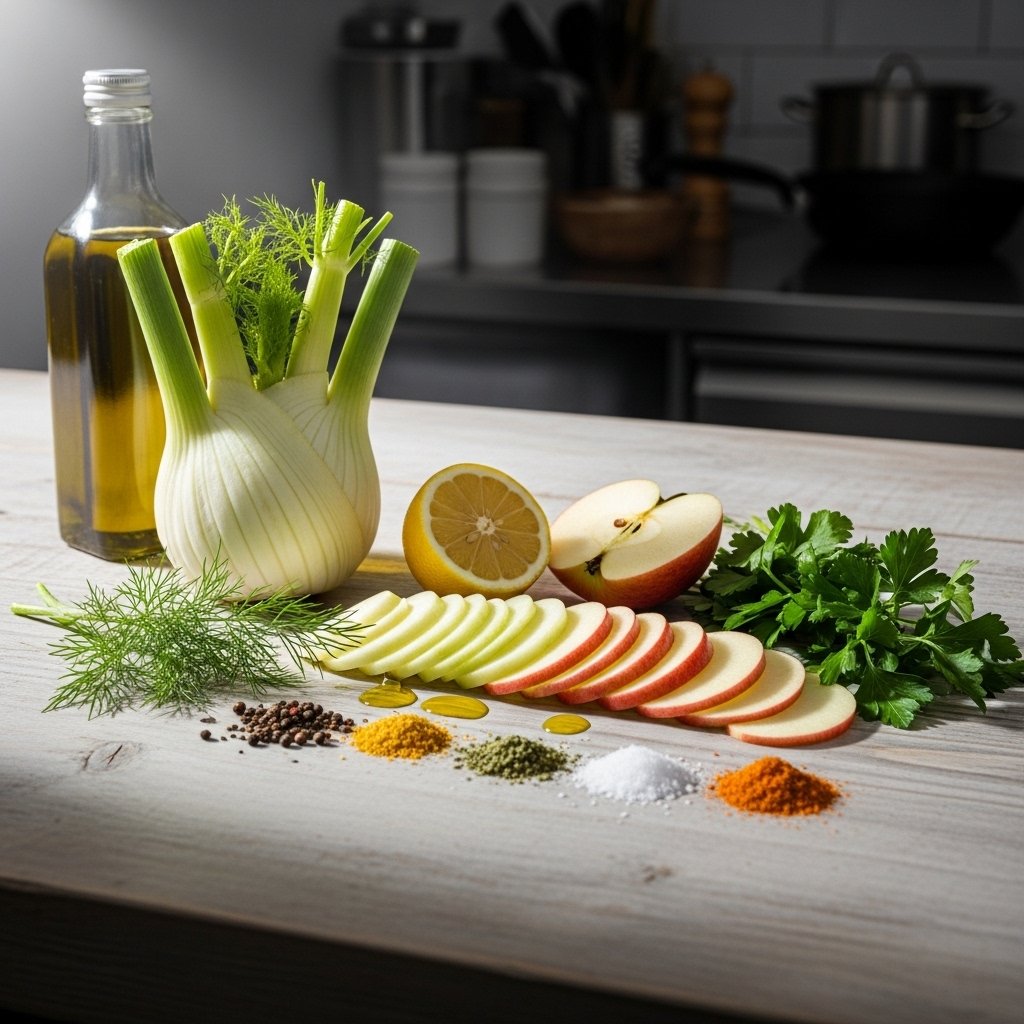
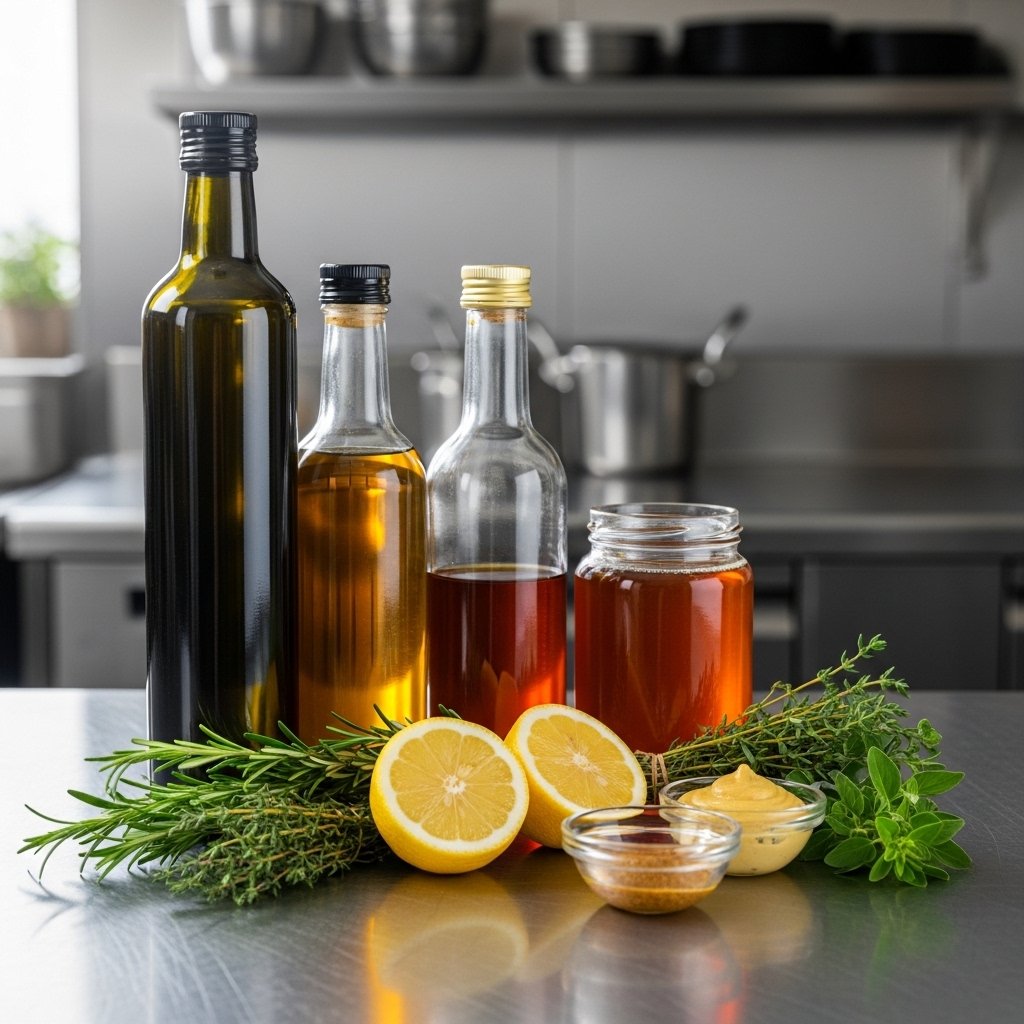
Essential Ingredients for Salad Dressings
Before diving into the recipes, it’s helpful to understand the basics of homemade salad dressing recipes.
Most dressings include:
- Oil (olive oil, avocado oil)
- Acid (vinegar, lemon juice)
- Sweetener (honey, maple syrup)
- Seasonings (salt, pepper, herbs)
- Emulsifiers (mustard, yogurt, mayo)
These components create balance and depth in every dressing.
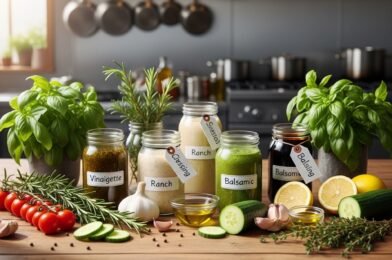
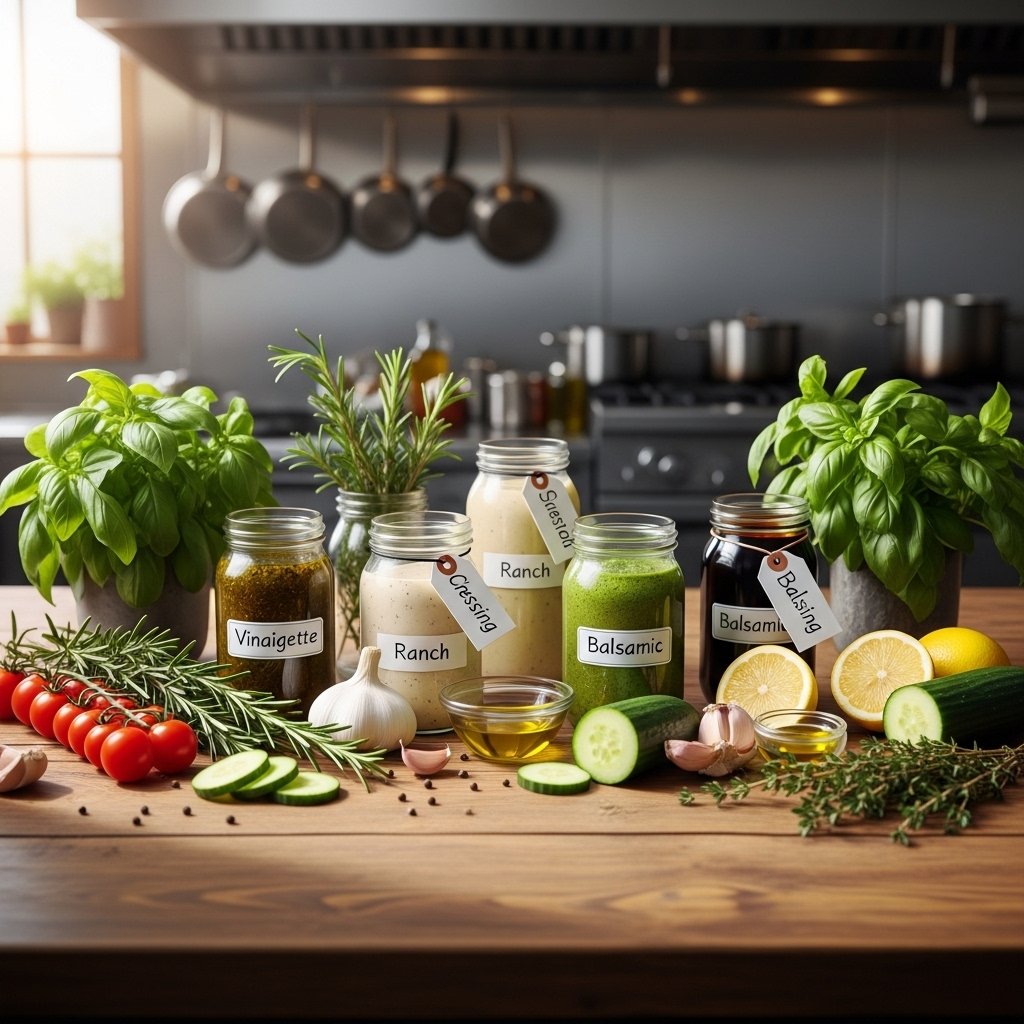
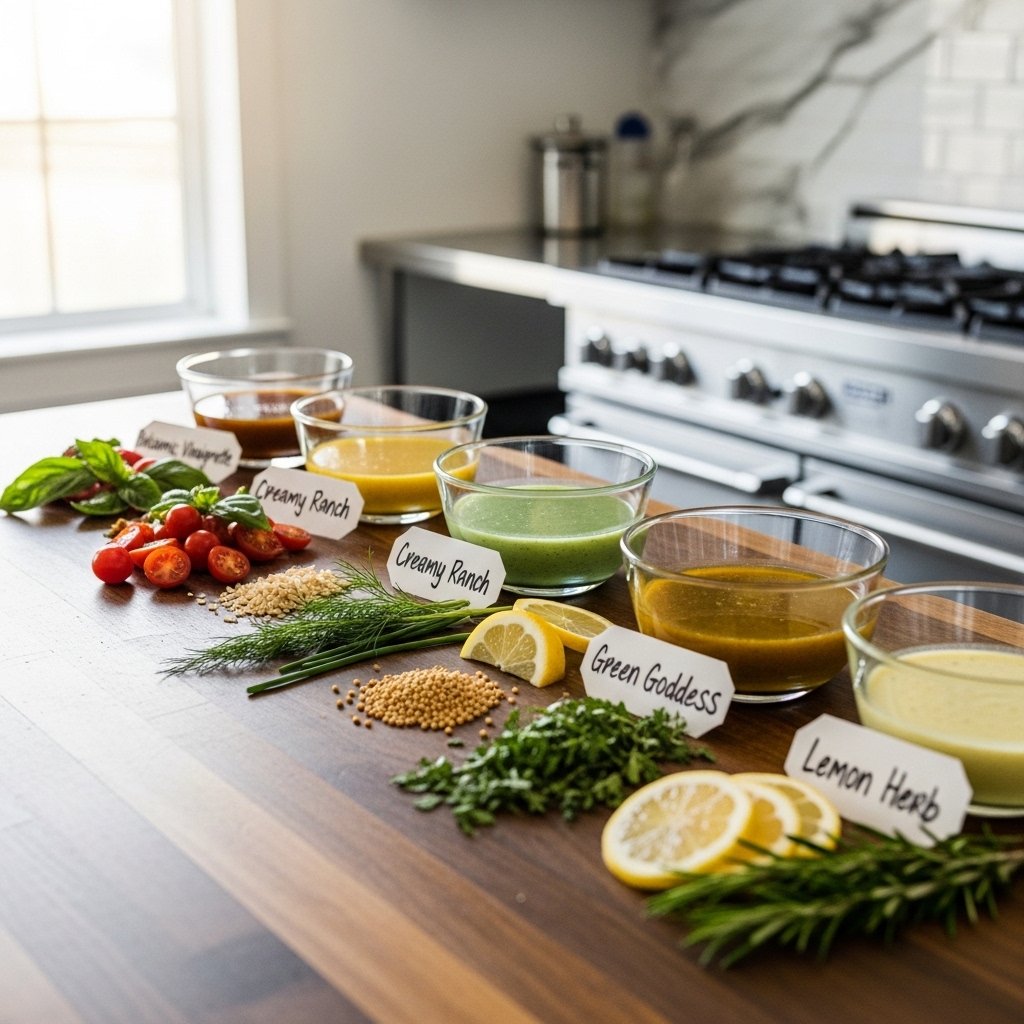
14 Delicious Homemade Salad Dressing Recipes
1. Classic Balsamic Vinaigrette
A timeless favorite with olive oil, balsamic vinegar, Dijon mustard, and honey.
2. Creamy Ranch Dressing
Made with yogurt, herbs, garlic, and a touch of lemon.
3. Lemon Garlic Dressing
Bright and zesty with fresh lemon juice and garlic.
4. Honey Mustard Dressing
Sweet and tangy, perfect for salads or dipping.
5. Caesar Dressing
Rich and creamy with Parmesan, garlic, and anchovy paste.
6. Greek Dressing
Packed with oregano, lemon, and olive oil.
7. Avocado Lime Dressing
Creamy, fresh, and perfect for tacos or salads.
8. Tahini Dressing
Nutty and smooth with sesame flavor.
9. Apple Cider Vinaigrette
Light and tangy with a hint of sweetness.
10. Blue Cheese Dressing
Bold and creamy with chunks of blue cheese.
11. Sesame Ginger Dressing
Perfect for Asian-inspired salads.
12. Strawberry Vinaigrette
Fruity and slightly sweet.
13. Cilantro Lime Dressing
Fresh and herbaceous.
14. Maple Dijon Dressing
Sweet, tangy, and versatile.
These homemade salad dressing recipes offer something for every taste preference.
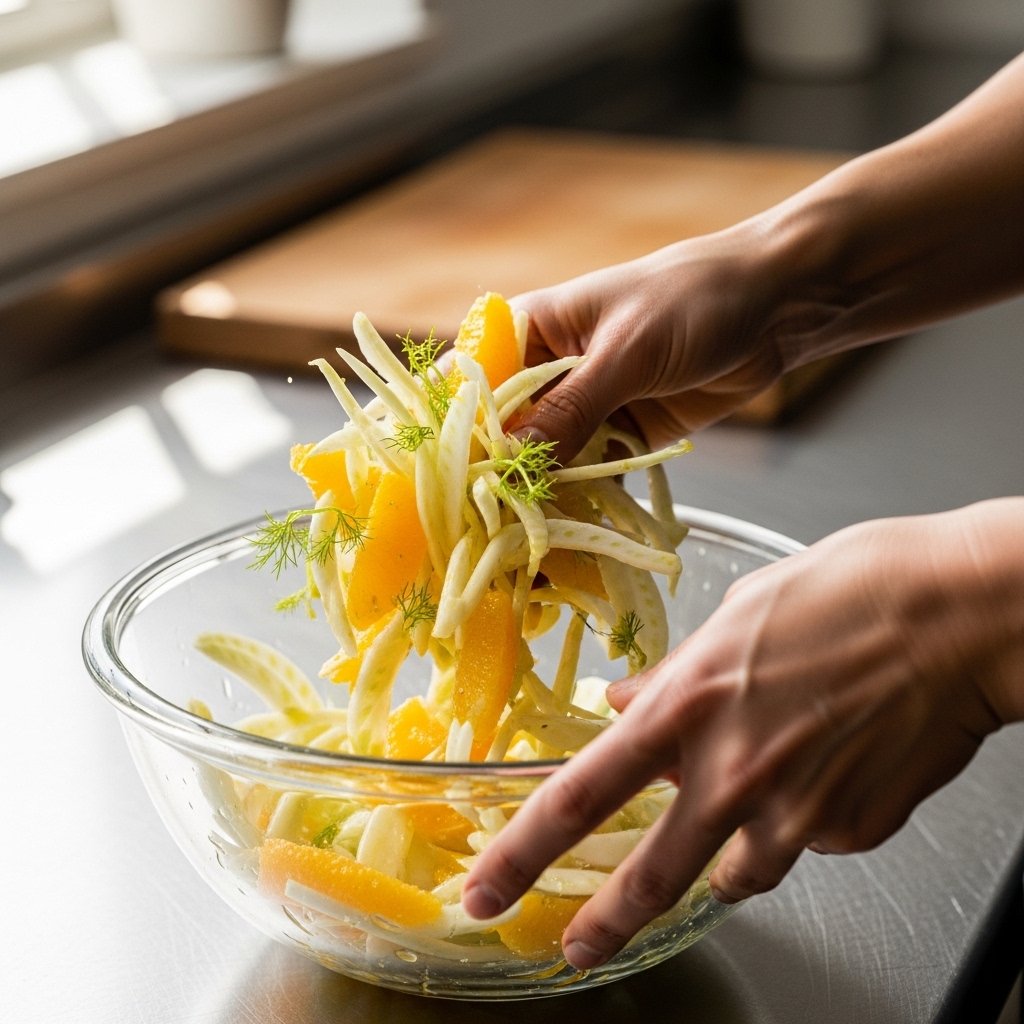
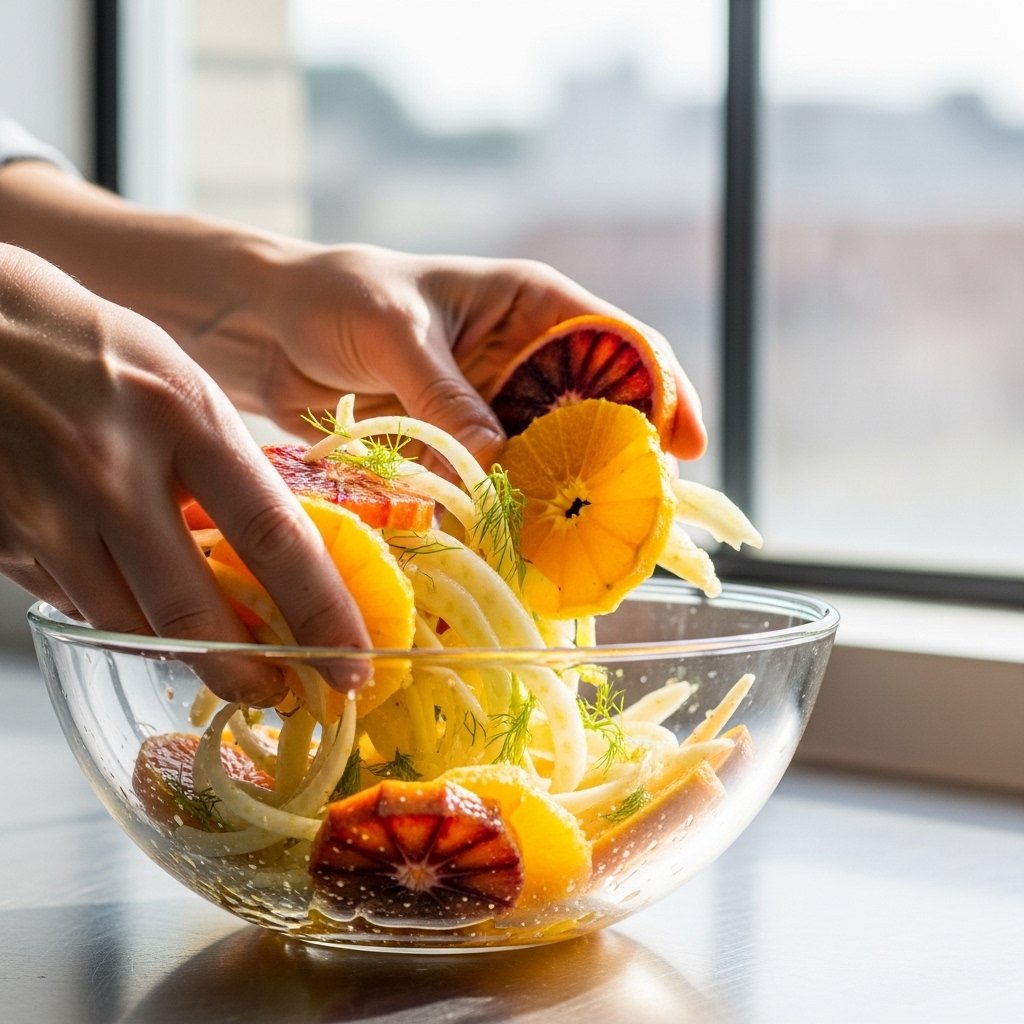
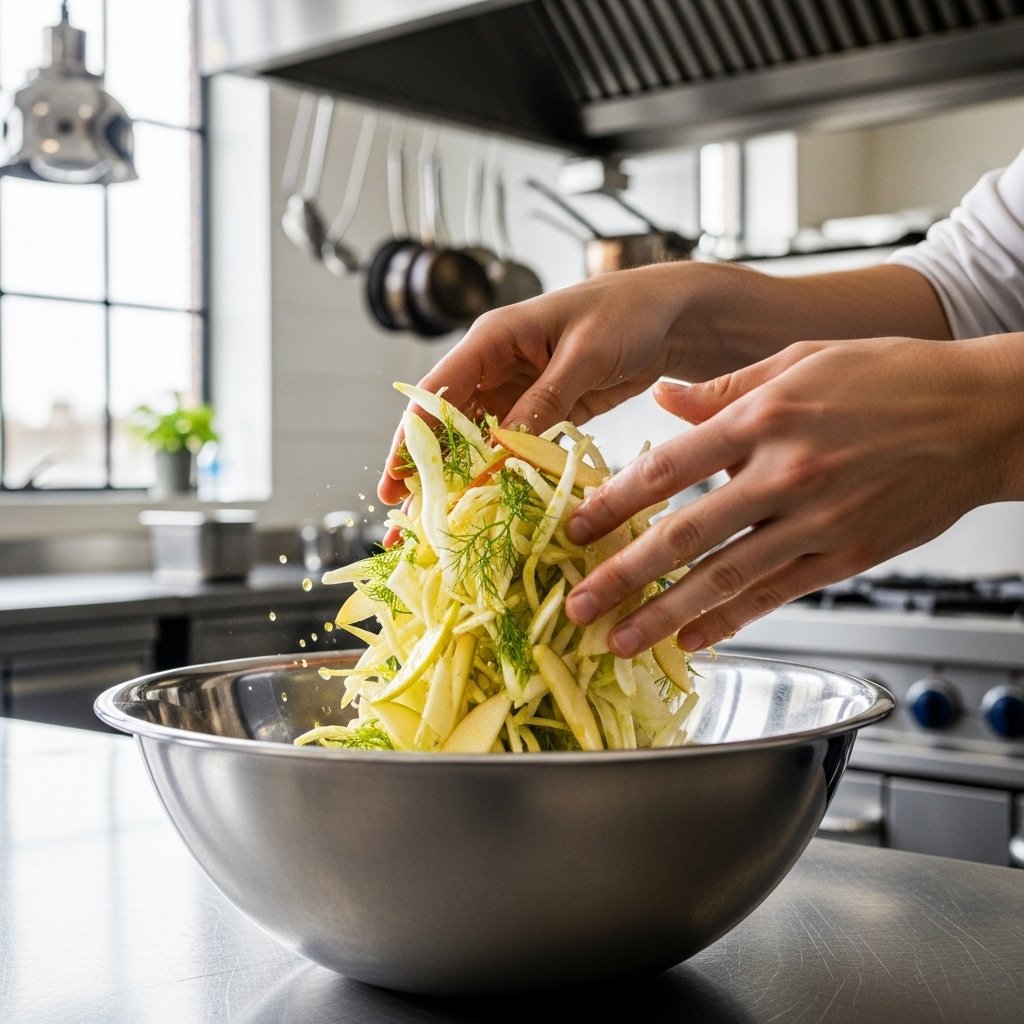
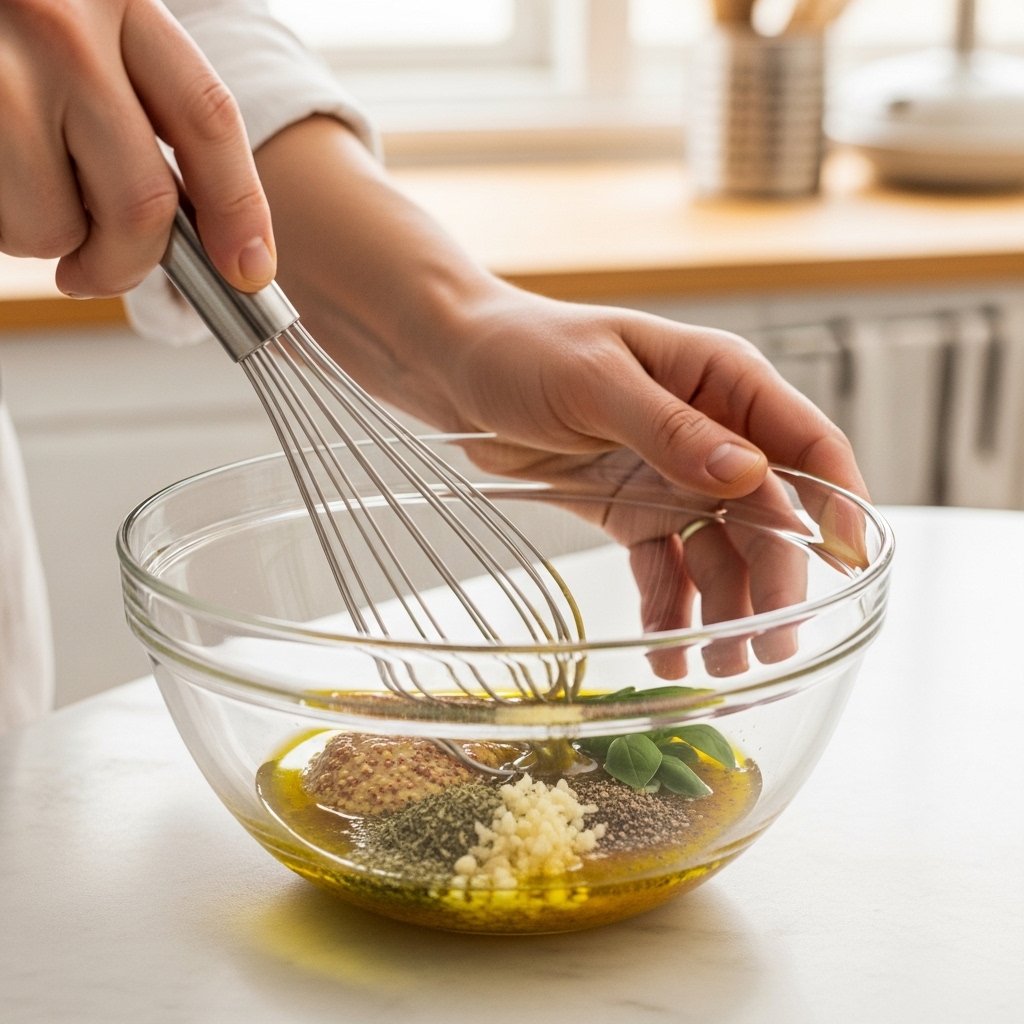
Step-by-Step Basic Dressing Method
Step 1: Combine Ingredients
Add oil, acid, and flavorings to a bowl or jar.
Step 2: Whisk or Shake
Mix until fully combined and emulsified.
Step 3: Taste and Adjust
Balance sweetness, acidity, and seasoning.
Step 4: Serve or Store
Use immediately or refrigerate.
This simple method works for most homemade salad dressing recipes.
Tips for Perfect Results
To master homemade salad dressing recipes, keep these tips in mind:
- Use high-quality olive oil
- Always taste before serving
- Adjust ratios to your preference
- Store in airtight containers
Small adjustments make a big difference in flavor.
Variations to Try
One of the best things about homemade salad dressing recipes is how customizable they are.
Try these ideas:
- Add fresh herbs for extra flavor
- Use different vinegars for variety
- Blend fruits for sweetness
- Spice it up with chili flakes
Experimenting keeps things exciting.
What to Serve With These Dressings
These dressings pair well with:
- Fresh green salads
- Grain bowls
- Roasted vegetables
- Sandwiches and wraps
They’re incredibly versatile beyond just salads.
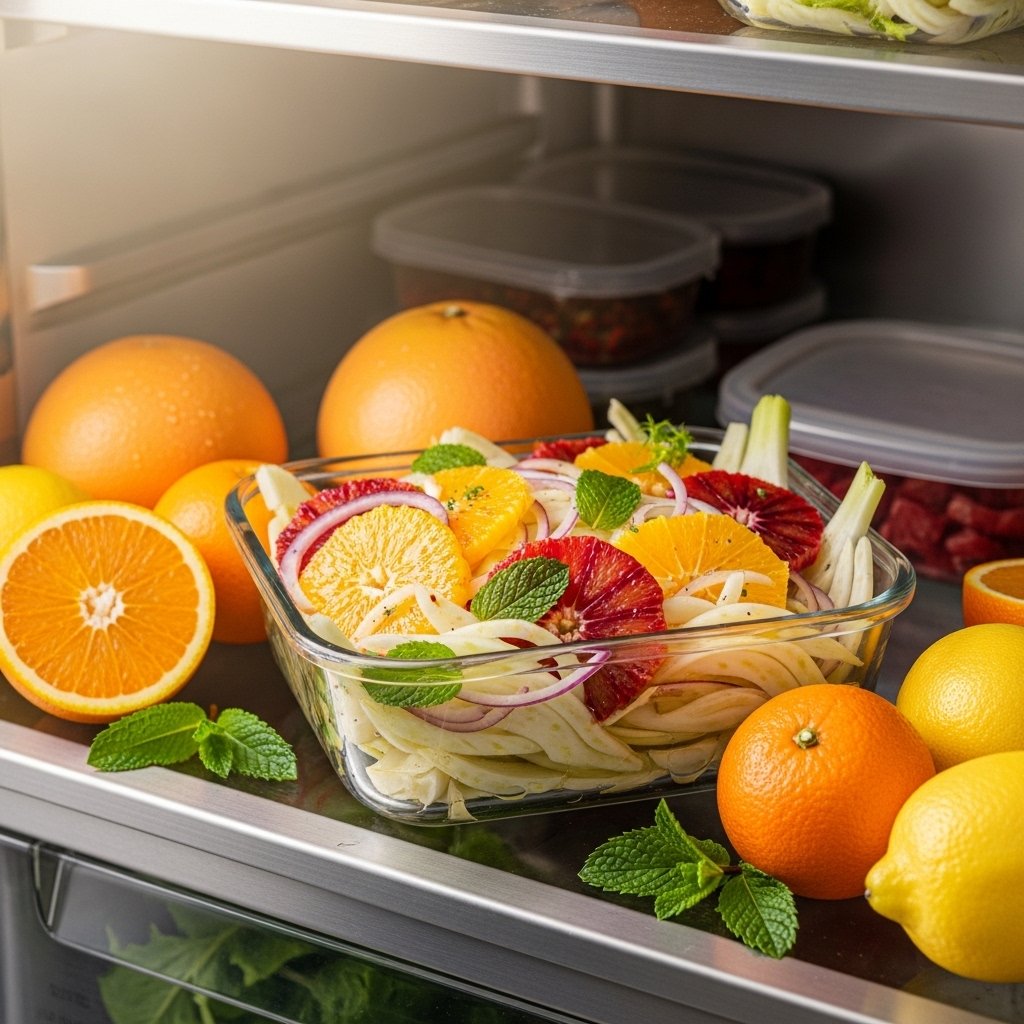
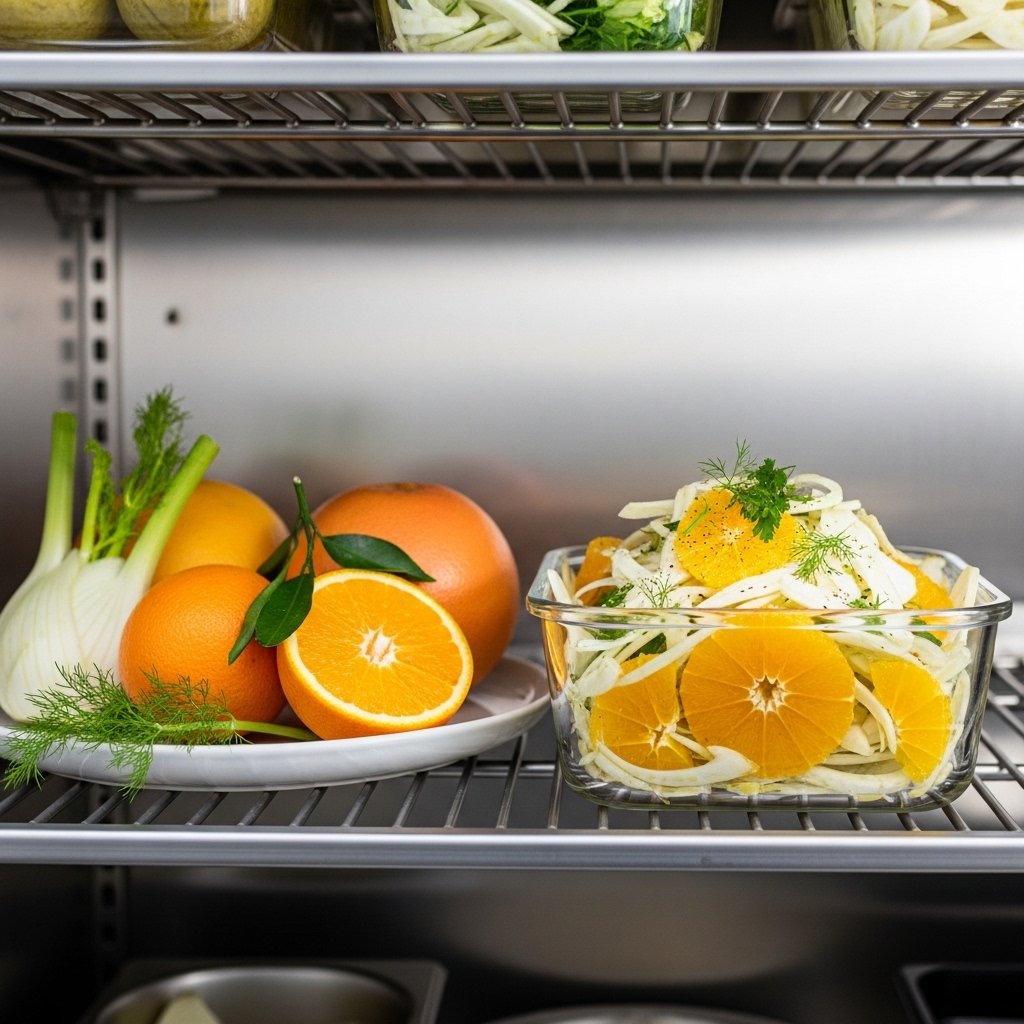
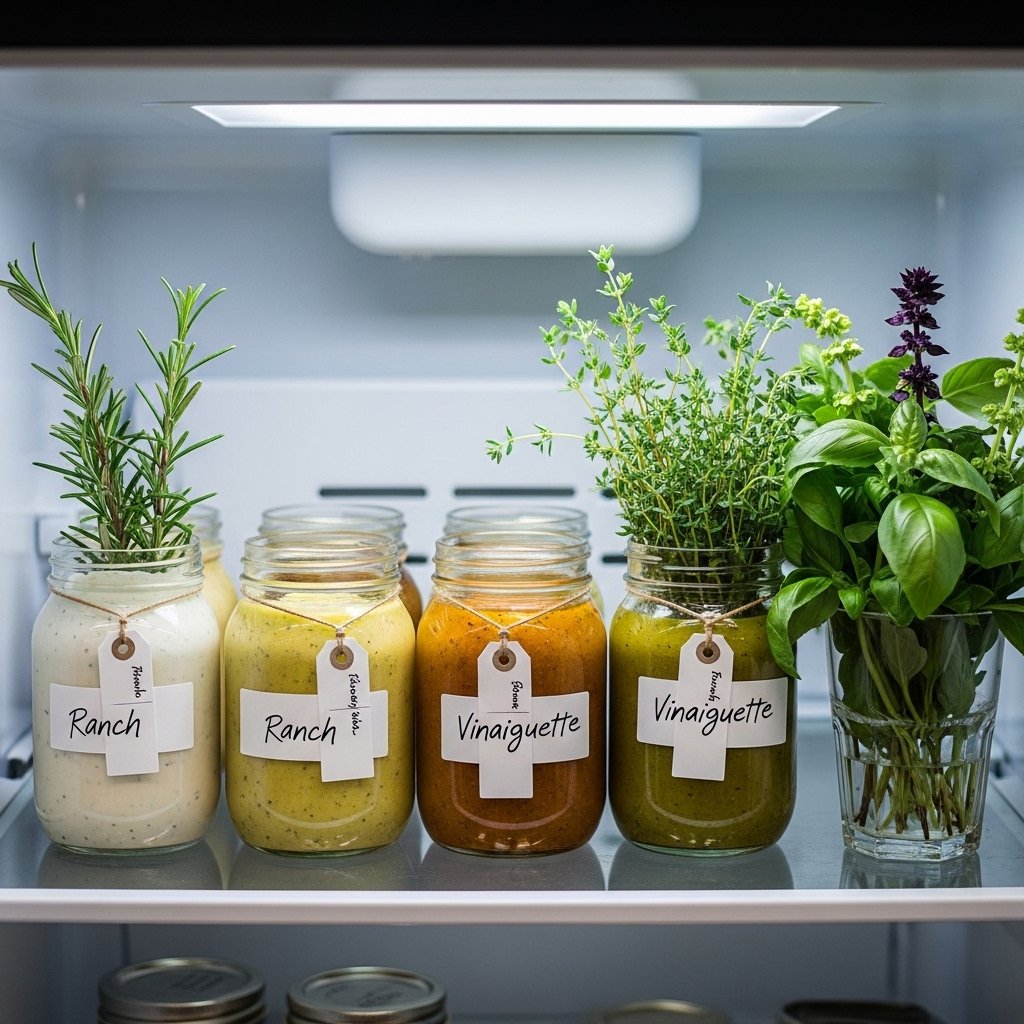
Storage & Shelf Life
Storage
- Store in airtight jars in the refrigerator
Shelf Life
- Most last 3–7 days depending on ingredients
Tip
- Shake or stir before using
Common Mistakes to Avoid
When making homemade salad dressing recipes, avoid:
- Using too much acid
- Not emulsifying properly
- Skipping seasoning
- Using low-quality ingredients
Avoiding these ensures balanced and flavorful results.
Frequently Asked Questions
How long do homemade dressings last?
Most last up to a week in the fridge.
Can I freeze salad dressing?
Not recommended for creamy dressings.
What’s the best oil to use?
Olive oil is the most popular choice.
How do I fix a dressing that’s too acidic?
Add a bit of sweetener or more oil.
Are homemade dressings healthier?
Yes, they contain fewer additives and preservatives.
Final Thoughts
These homemade salad dressing recipes prove that small changes can make a big impact in your cooking. With just a few ingredients and a little creativity, you can elevate any salad into something truly special.
Whether you prefer creamy, tangy, or sweet flavors, there’s a dressing here for every palate. Once you start making your own, you’ll never look at store-bought the same way again.