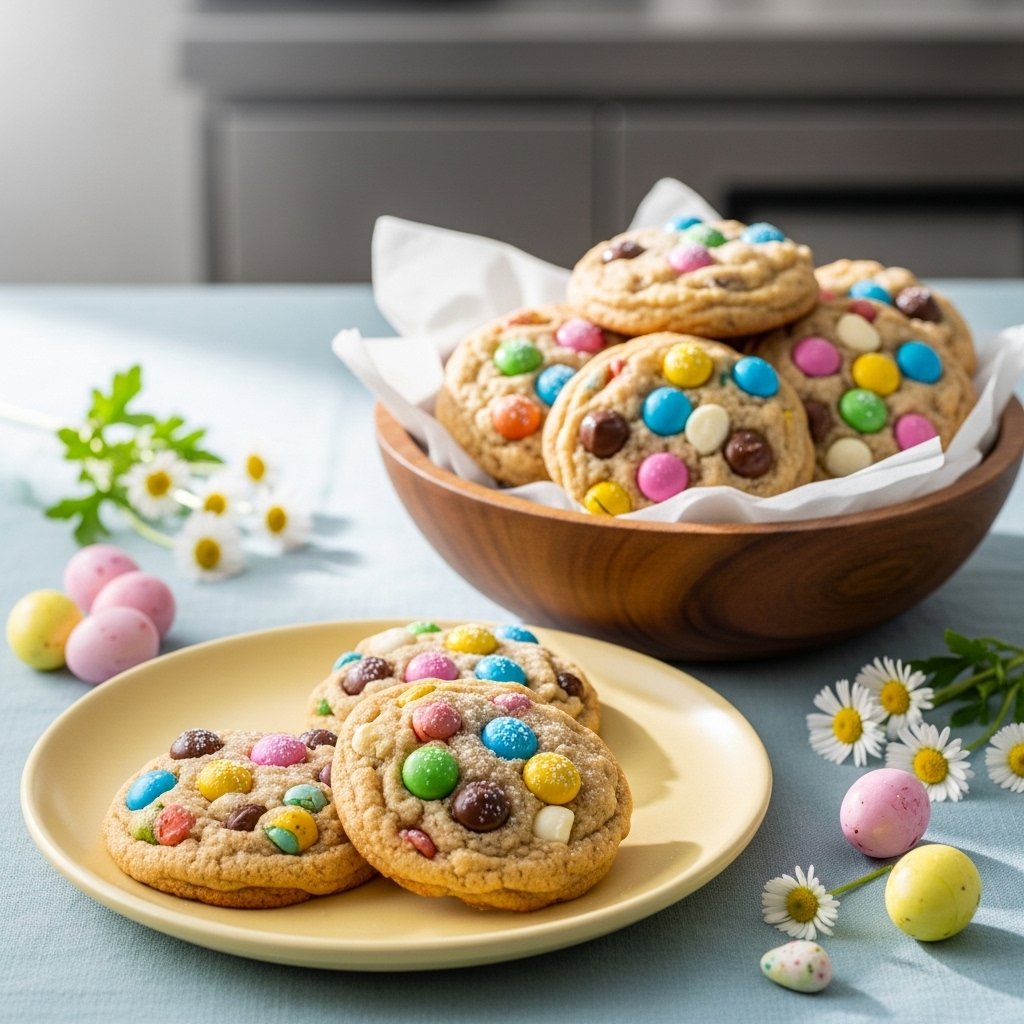
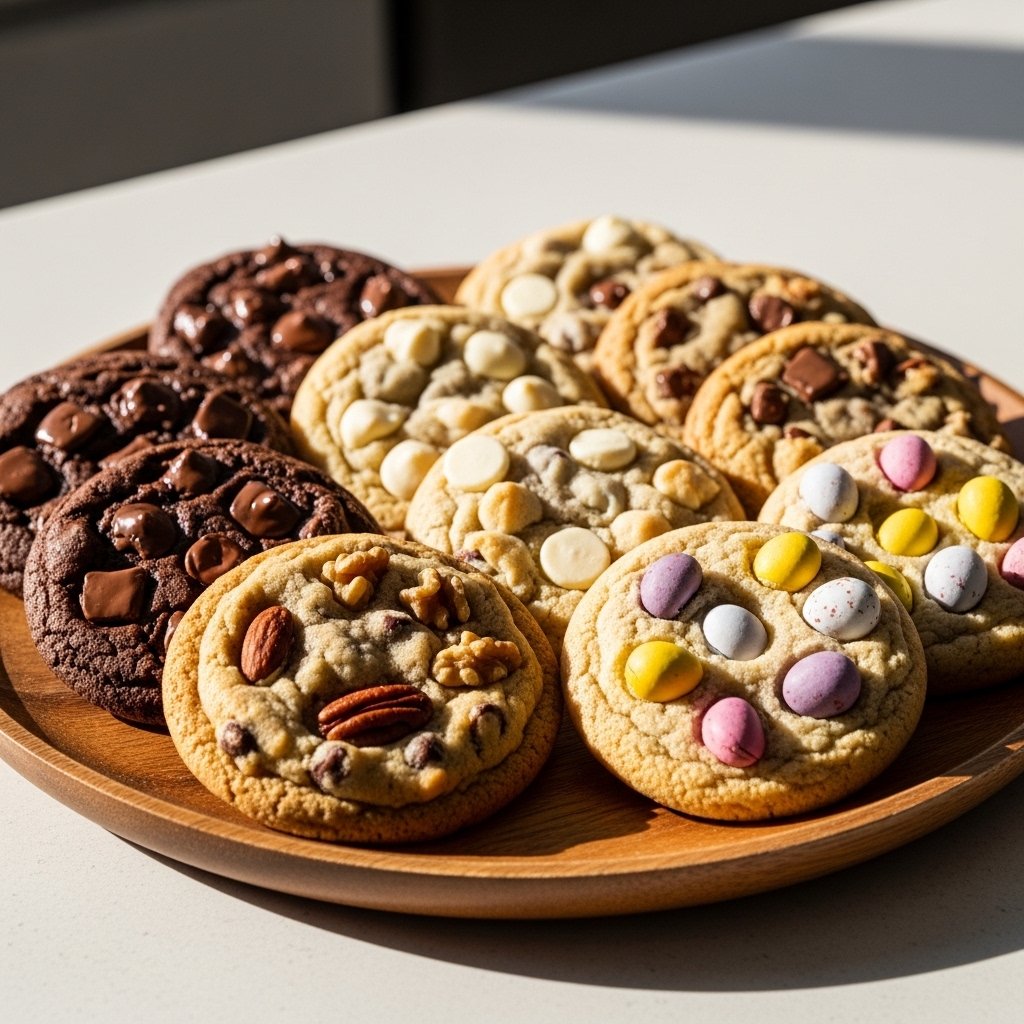
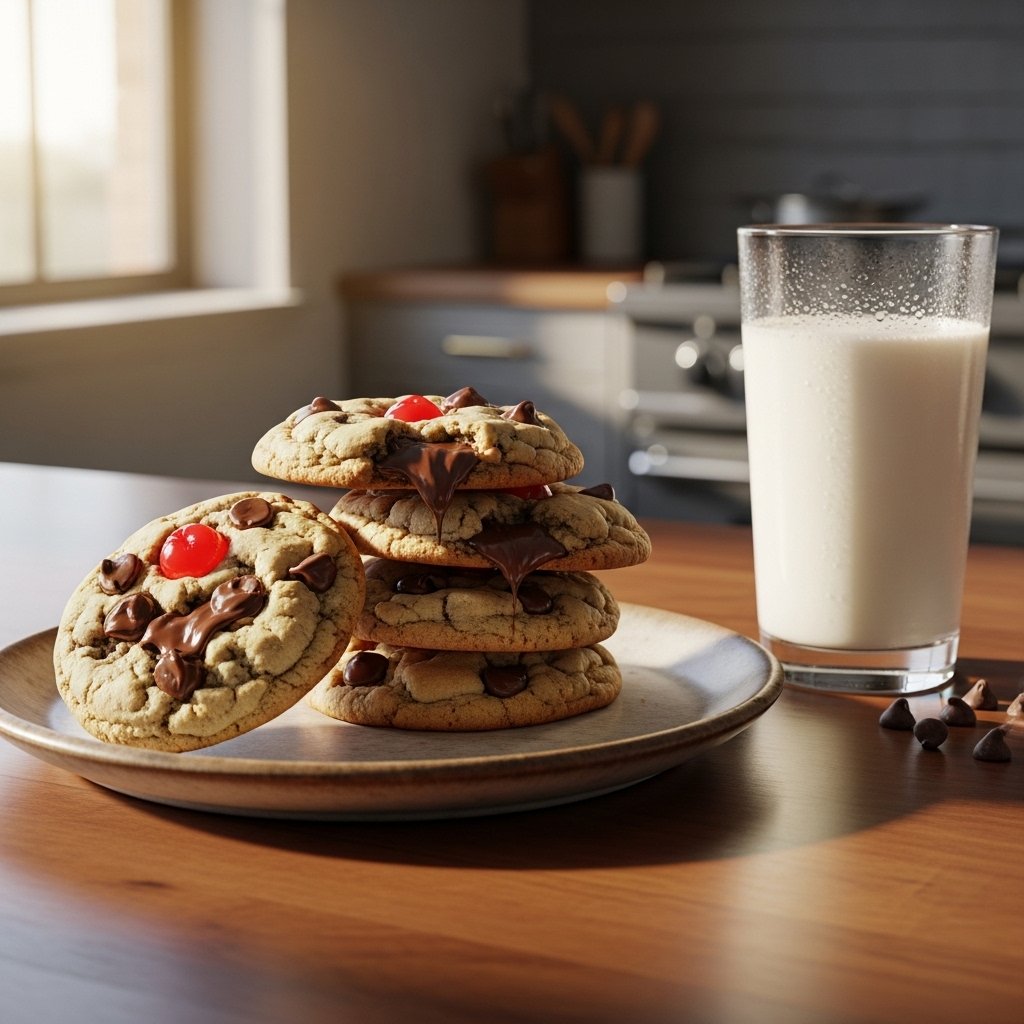
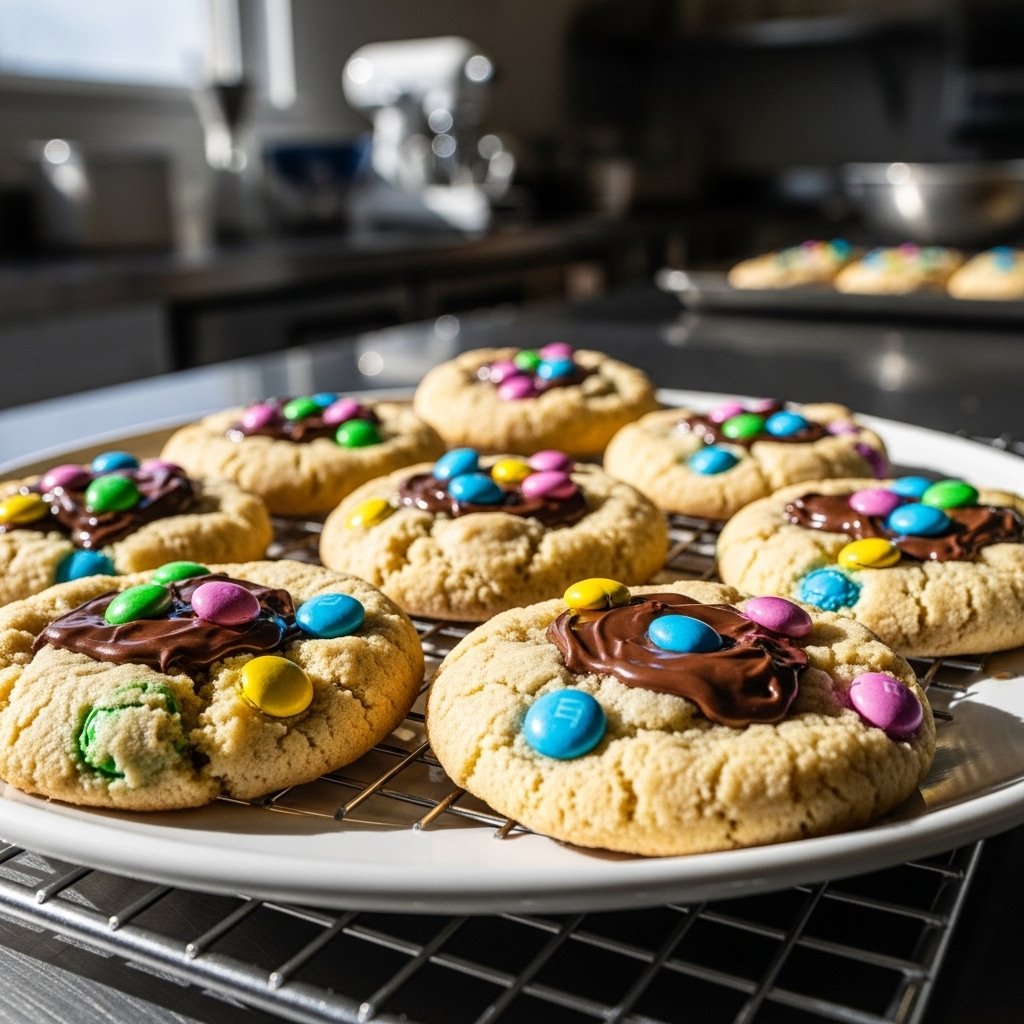
If you’re looking for a cheerful, crowd-pleasing dessert this spring, these Easter M&M cookies are exactly what you need. Bursting with pastel colors and rich chocolate flavor, they’re a festive twist on classic chocolate chip cookies that instantly brighten any Easter table.
These cookies are perfect for baking with kids, sharing at gatherings, or simply enjoying with a glass of milk. The soft centers, slightly crisp edges, and crunchy candy coating create a texture and flavor combination that’s impossible to resist.

Why You’ll Love These Easter M&M Cookies
These Easter M&M cookies are a must-bake during the spring season.
- Soft and chewy with a slight crunch from candies
- Bright pastel colors perfect for Easter
- Easy to make with simple ingredients
- Great for parties, gifting, or family baking
- Customizable with your favorite mix-ins
They combine festive fun with classic cookie comfort in every bite.
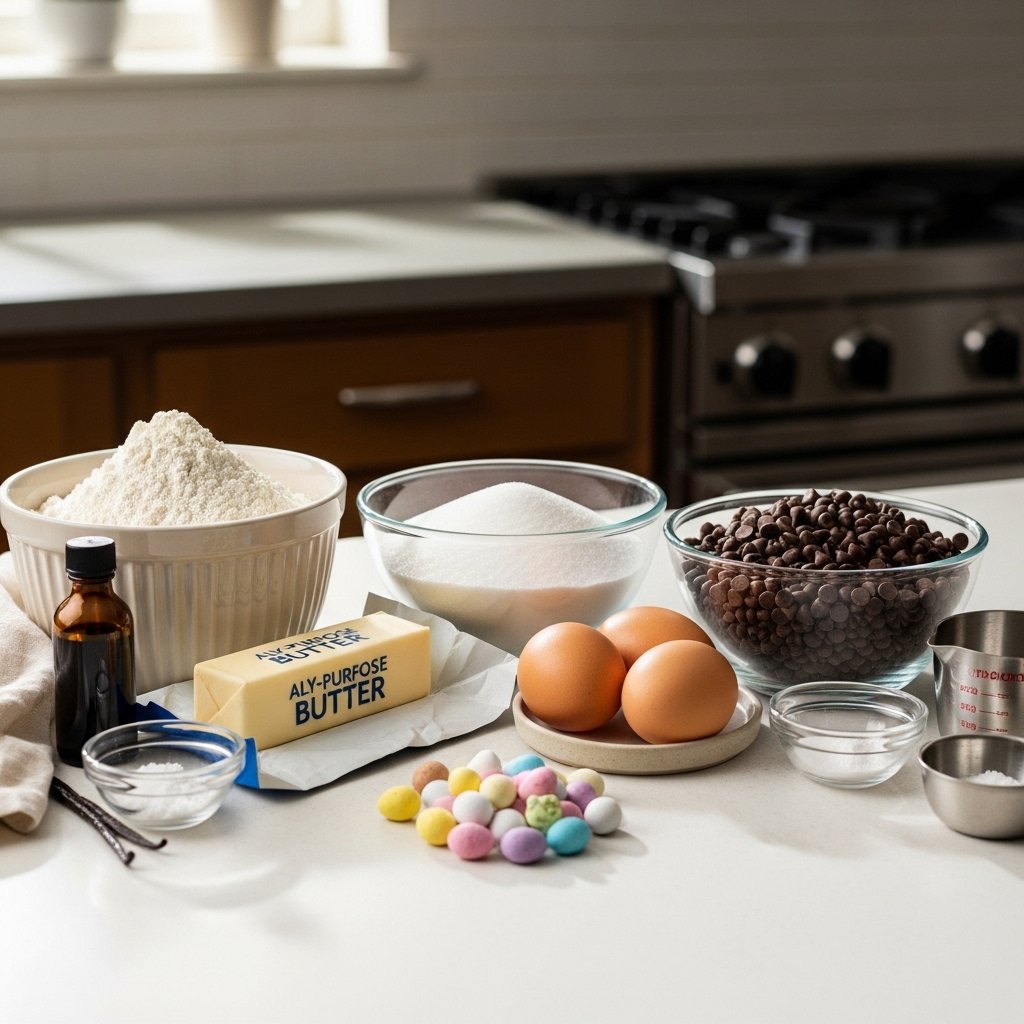
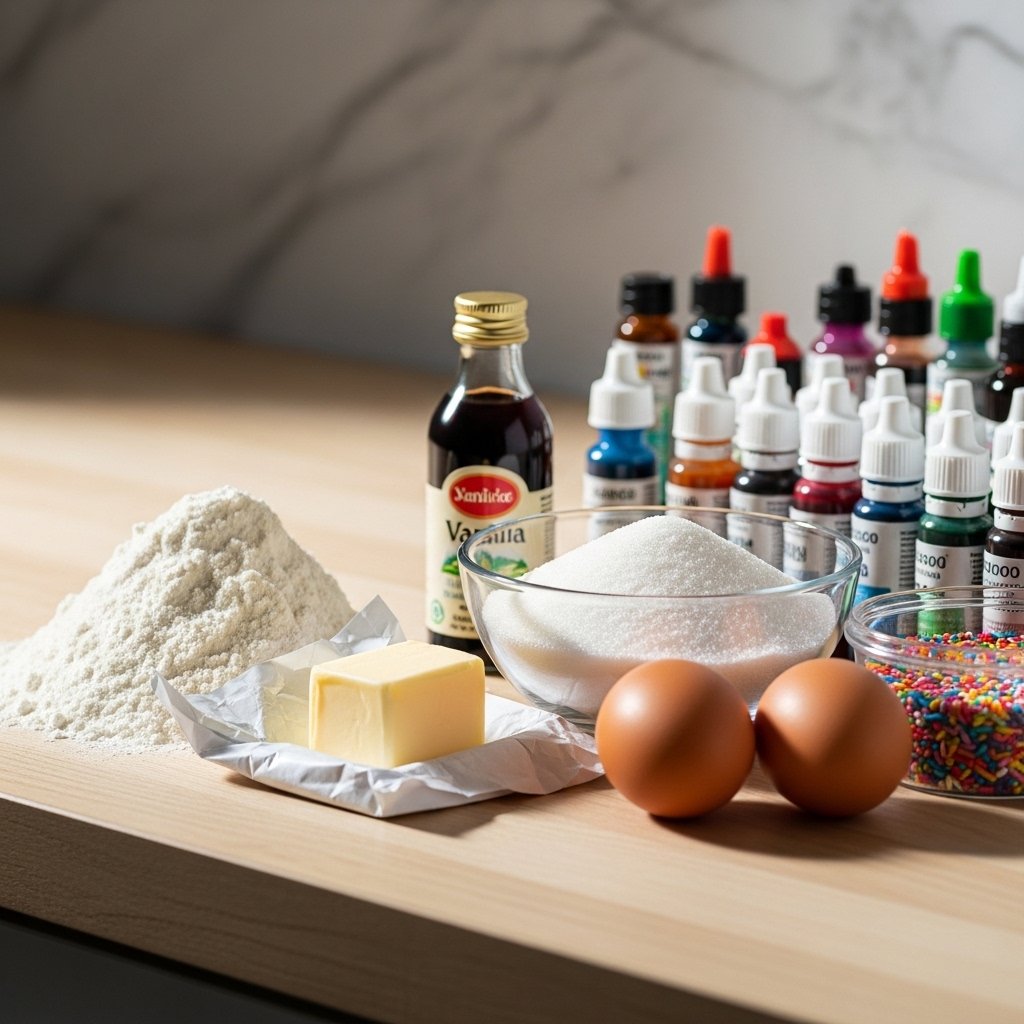
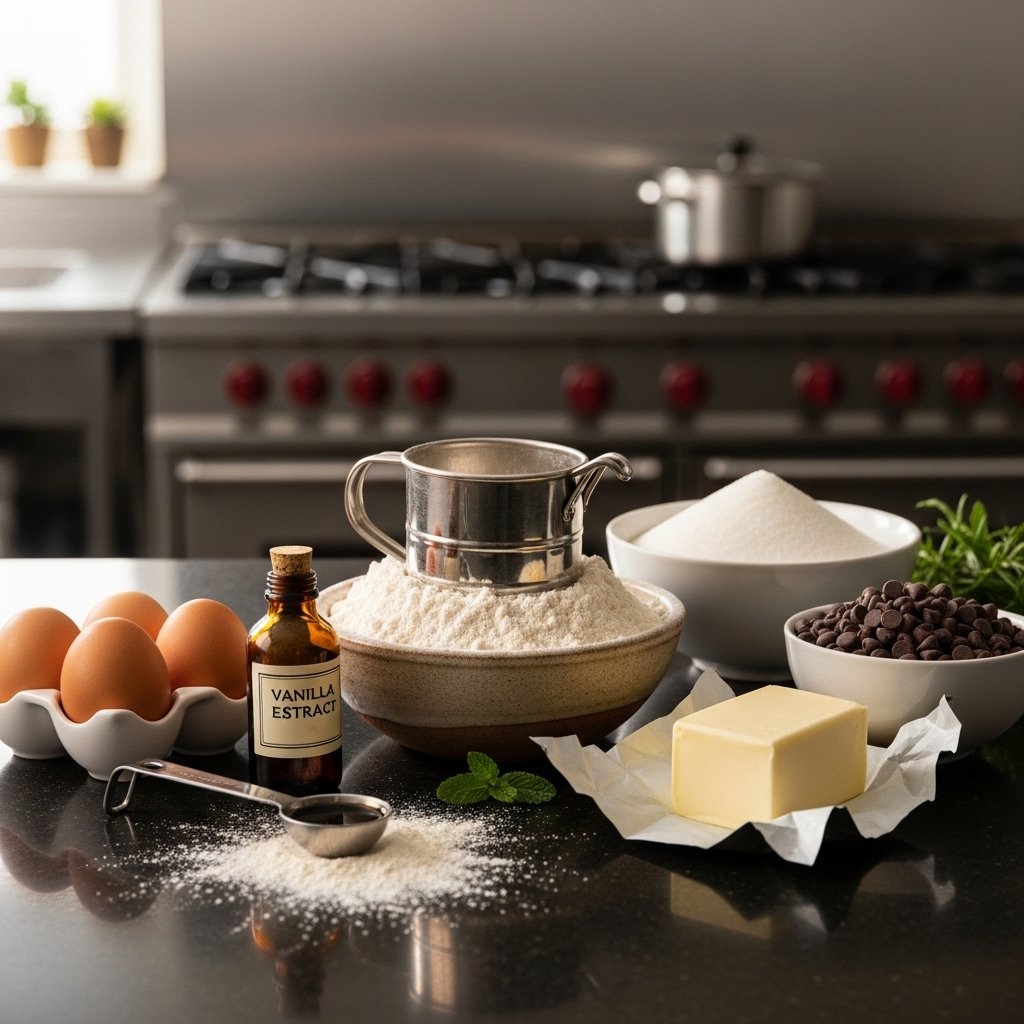
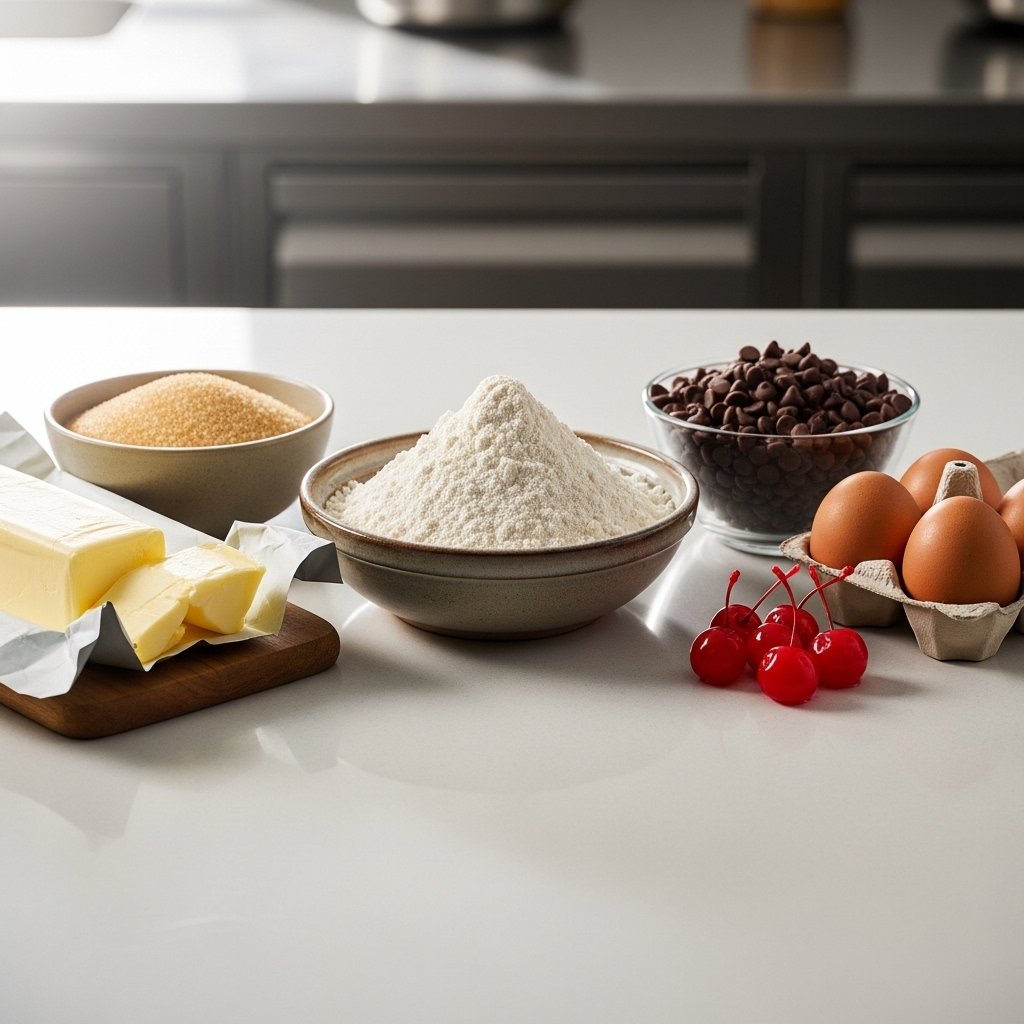
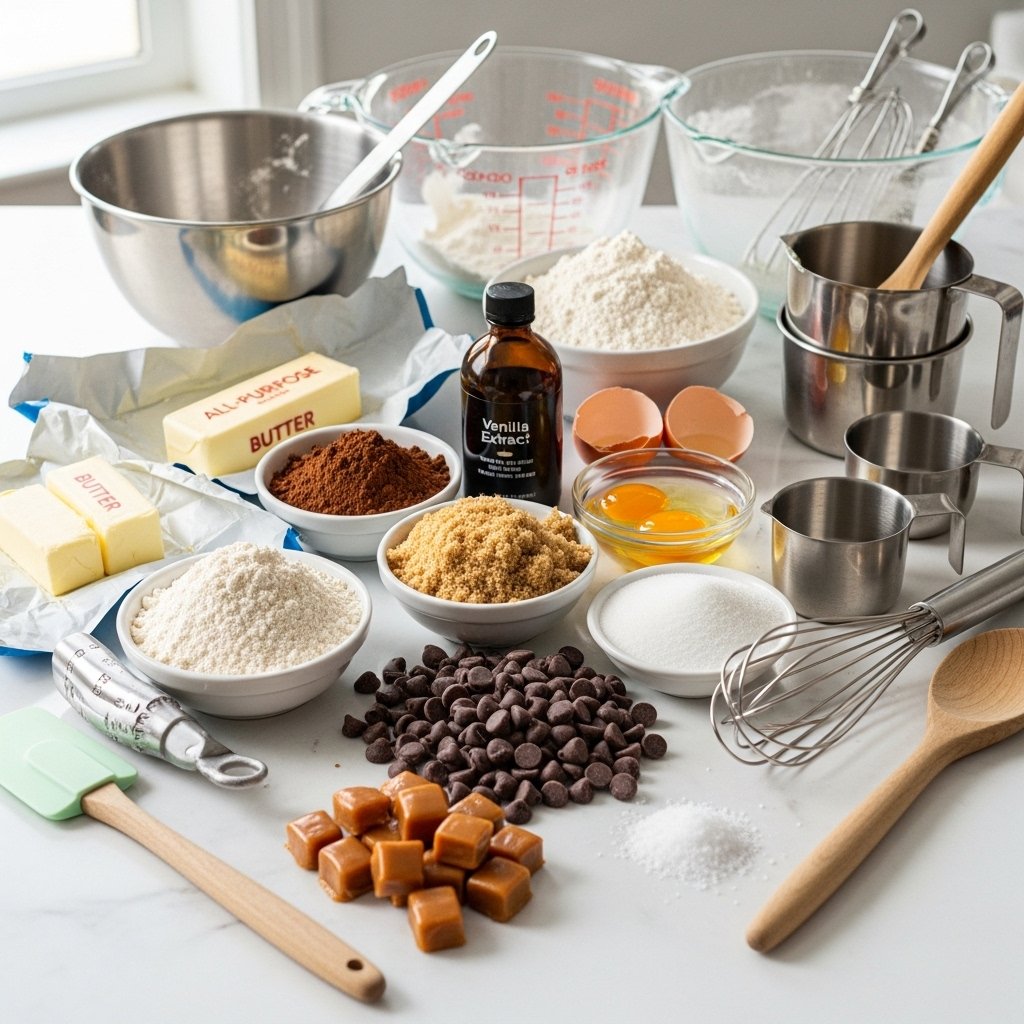
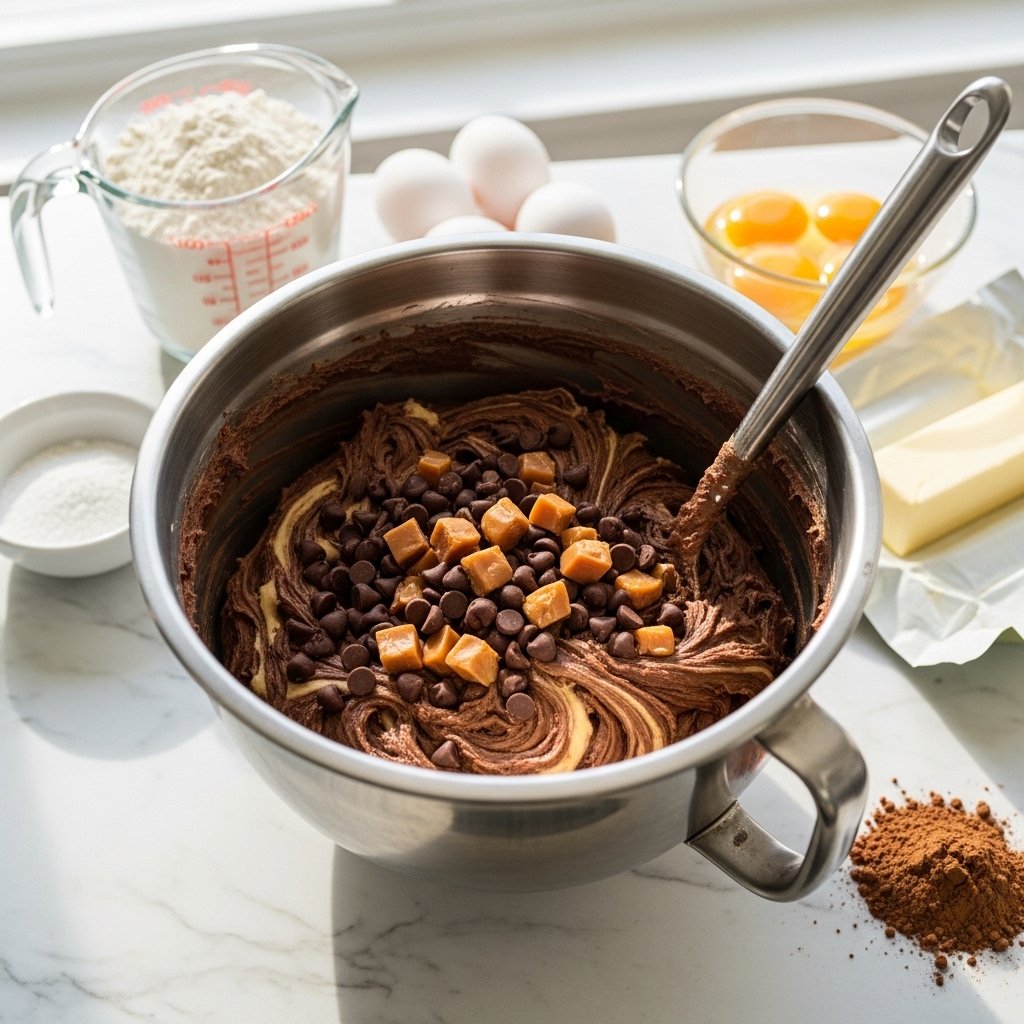
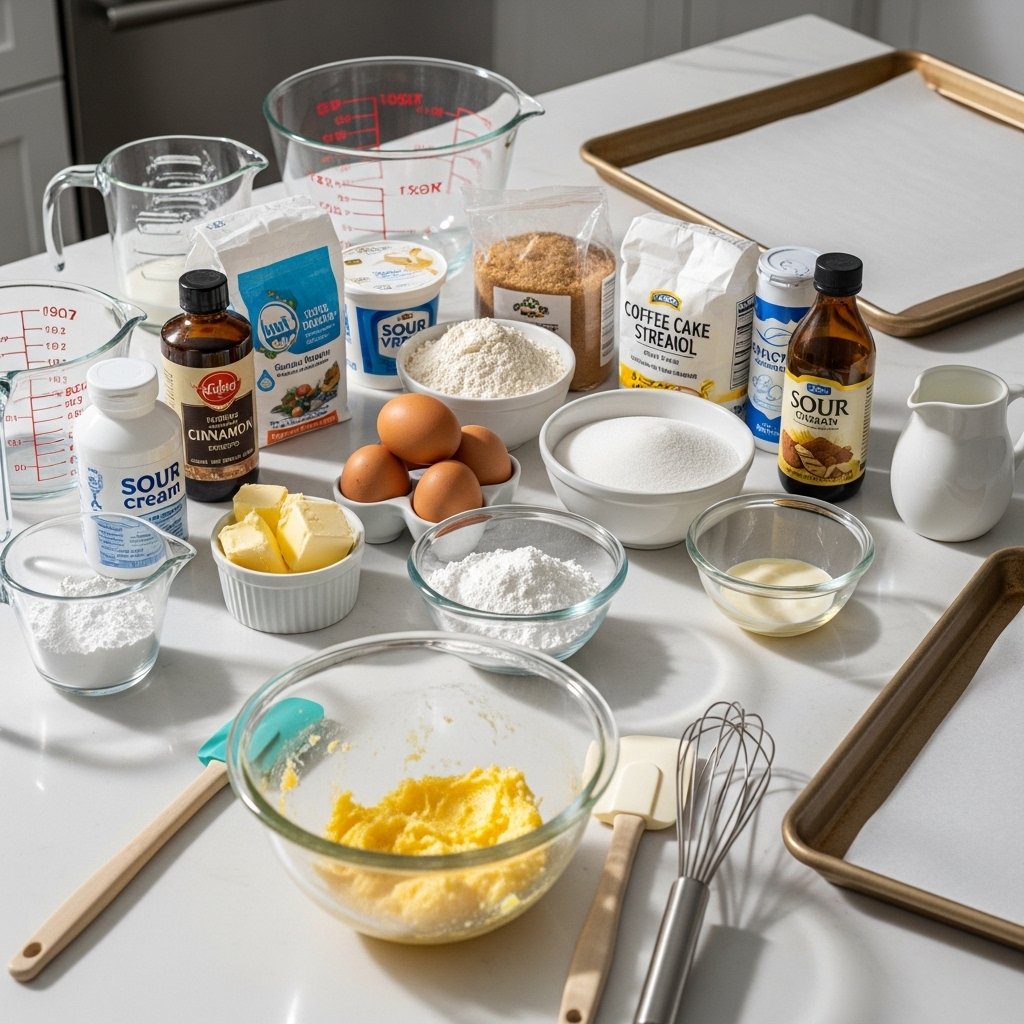
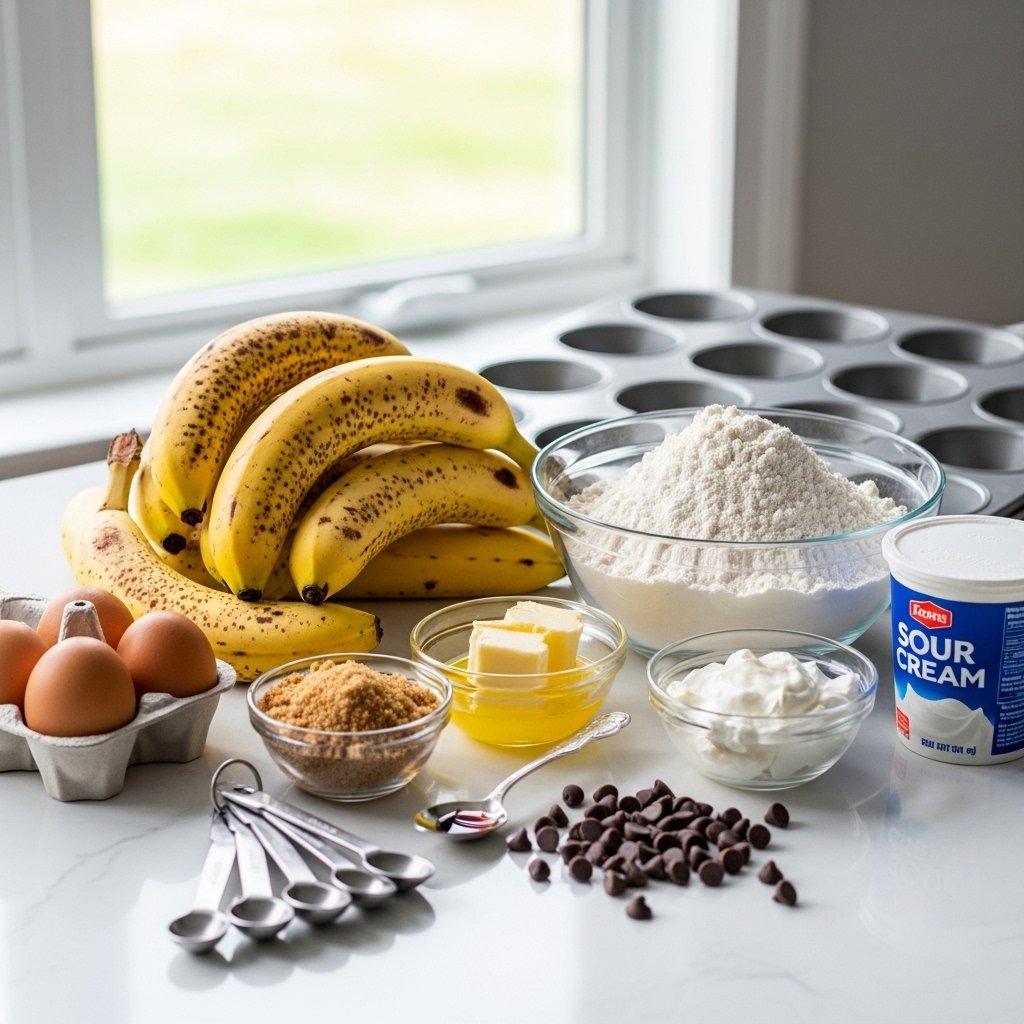
Ingredients
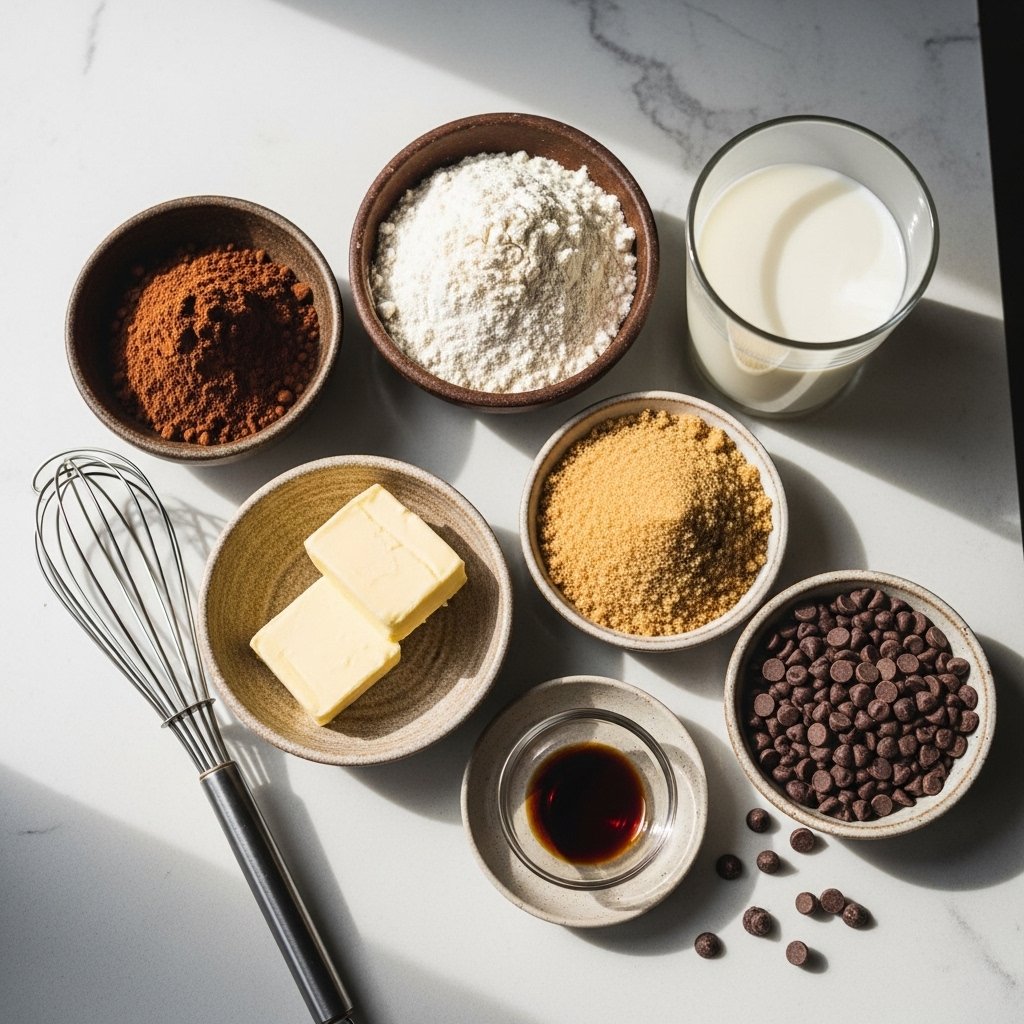
To make these delicious Easter M&M cookies, you’ll need:
- 2 ¼ cups all-purpose flour
- 1 tsp baking soda
- ½ tsp salt
- 1 cup unsalted butter (softened)
- ¾ cup brown sugar
- ½ cup granulated sugar
- 2 large eggs
- 2 tsp vanilla extract
- 1 cup chocolate chips
- 1 cup Easter M&M candies

Ingredient Notes
The secret to perfect Easter M&M cookies lies in balancing flavors and textures. Brown sugar helps keep the cookies moist and chewy, while granulated sugar gives a slight crispness.
Using pastel-colored M&Ms adds both sweetness and visual appeal. For best results, reserve a few candies to press on top of the cookies before baking for a bakery-style finish.
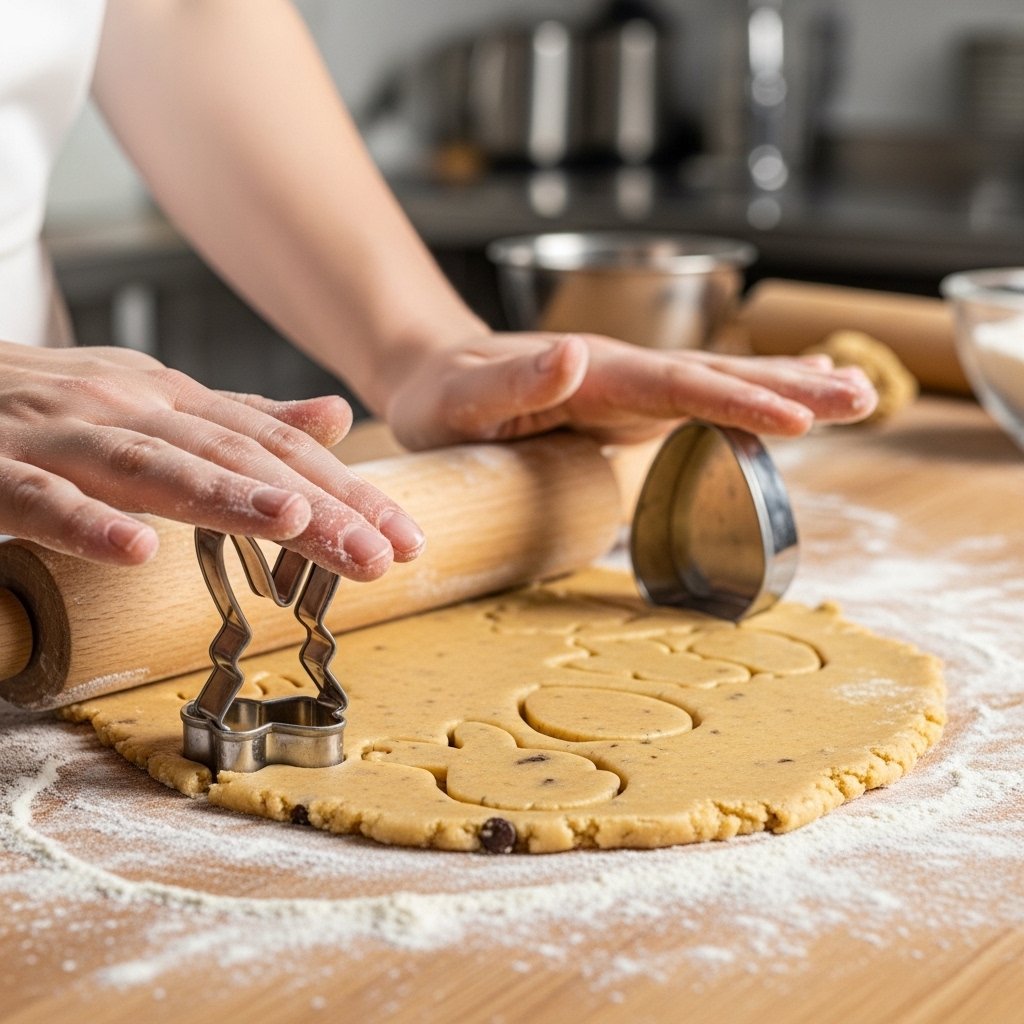
Step-by-Step Instructions
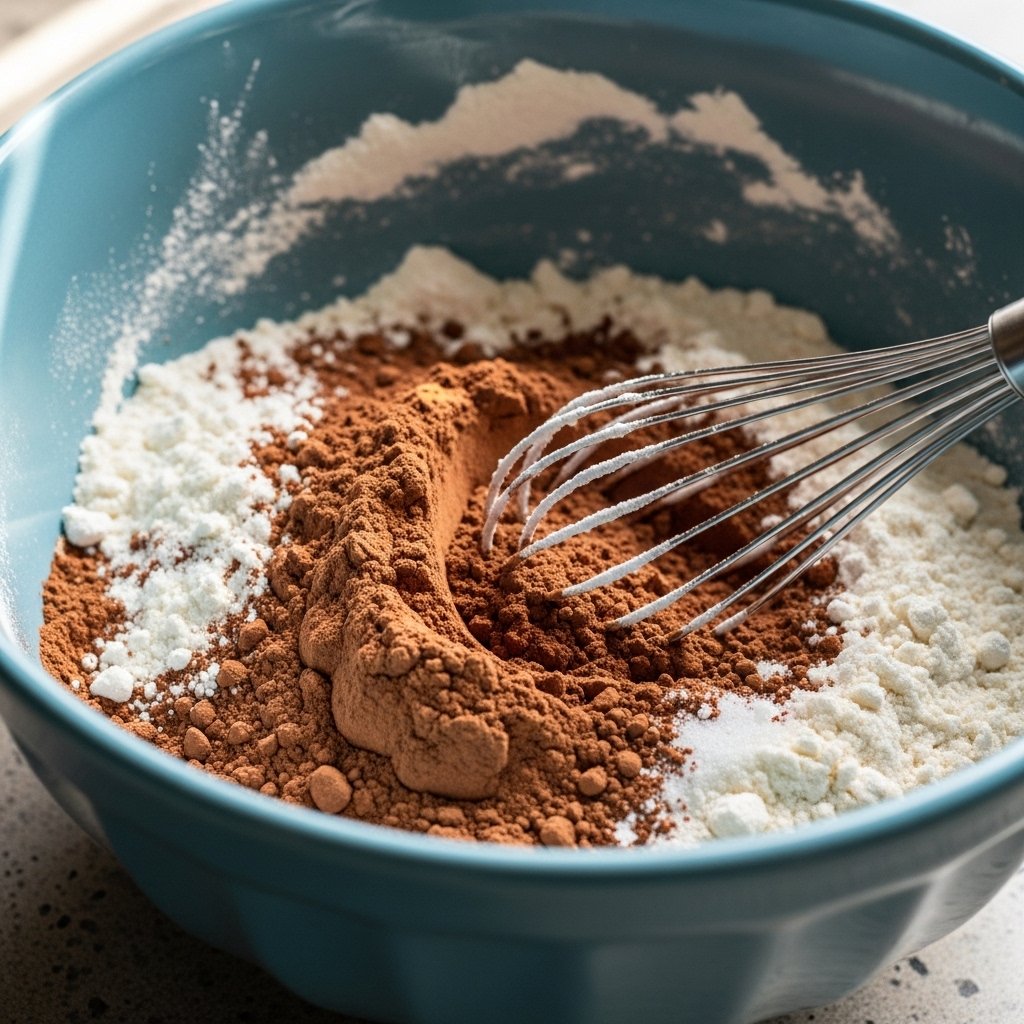
1. Mix Dry Ingredients
In a bowl, whisk together flour, baking soda, and salt.
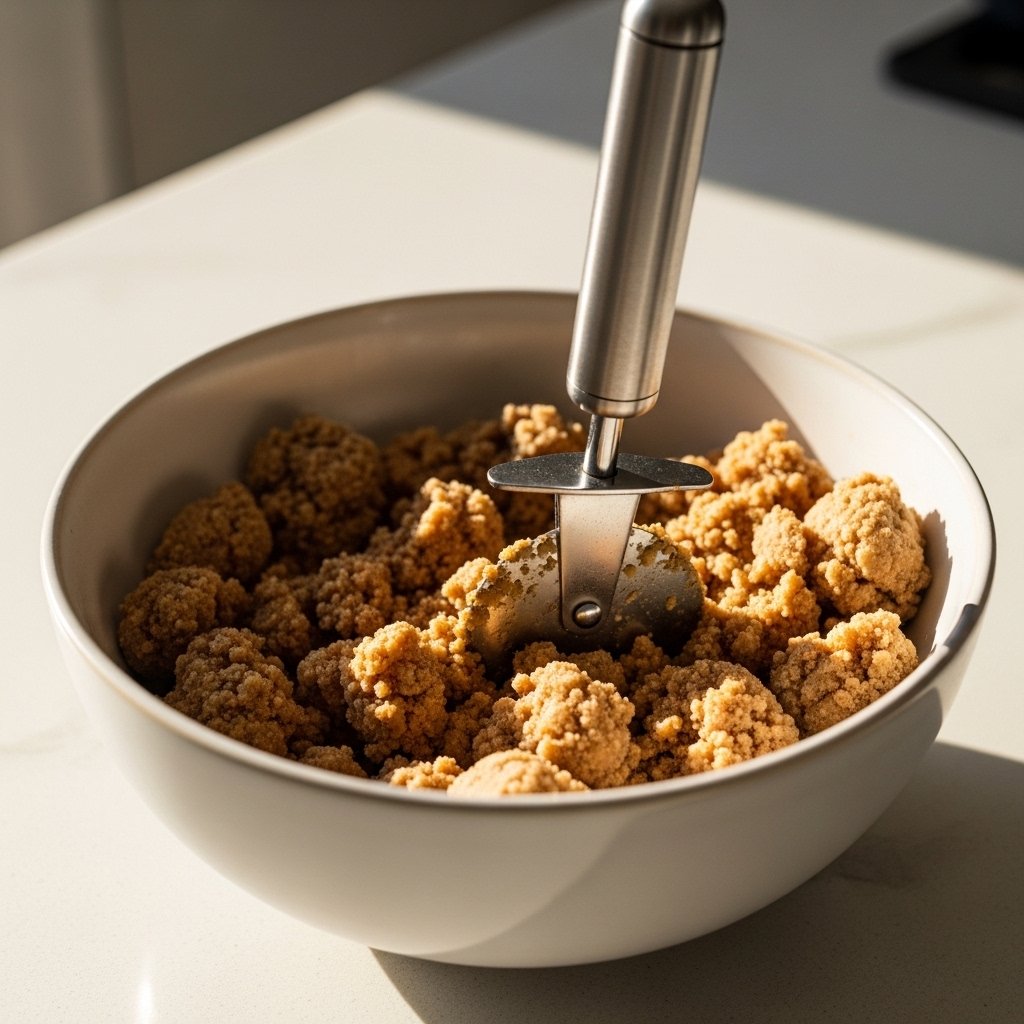
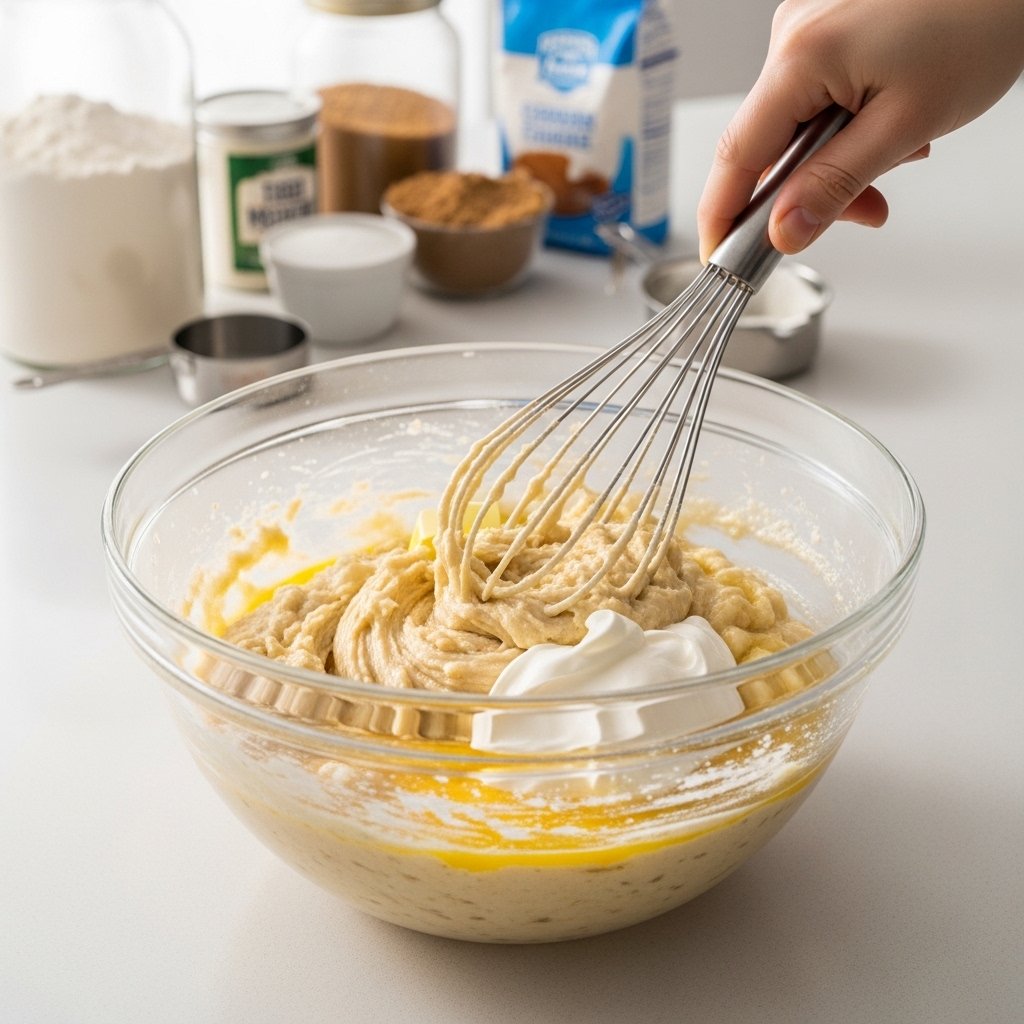
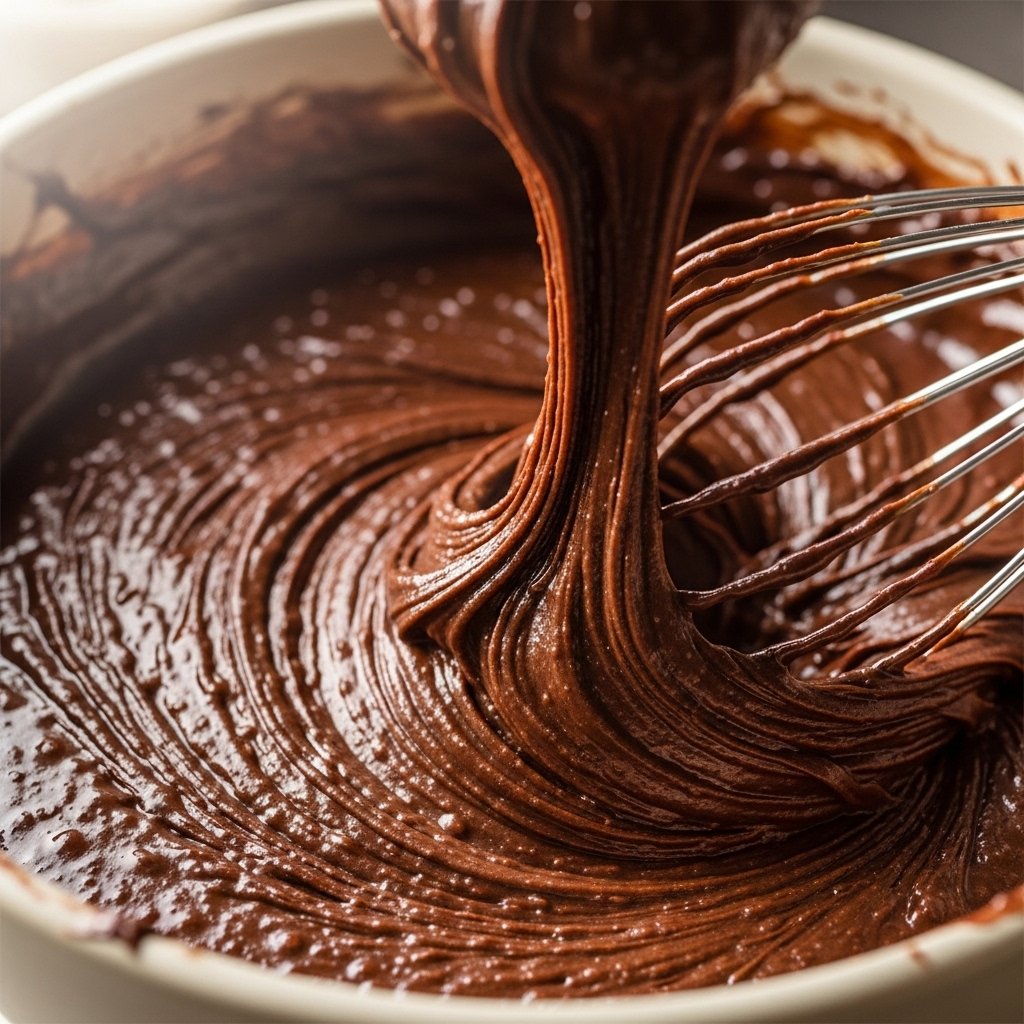
2. Cream Butter and Sugars
Beat butter, brown sugar, and granulated sugar until light and fluffy.
3. Add Eggs and Vanilla
Mix in eggs one at a time, followed by vanilla extract.
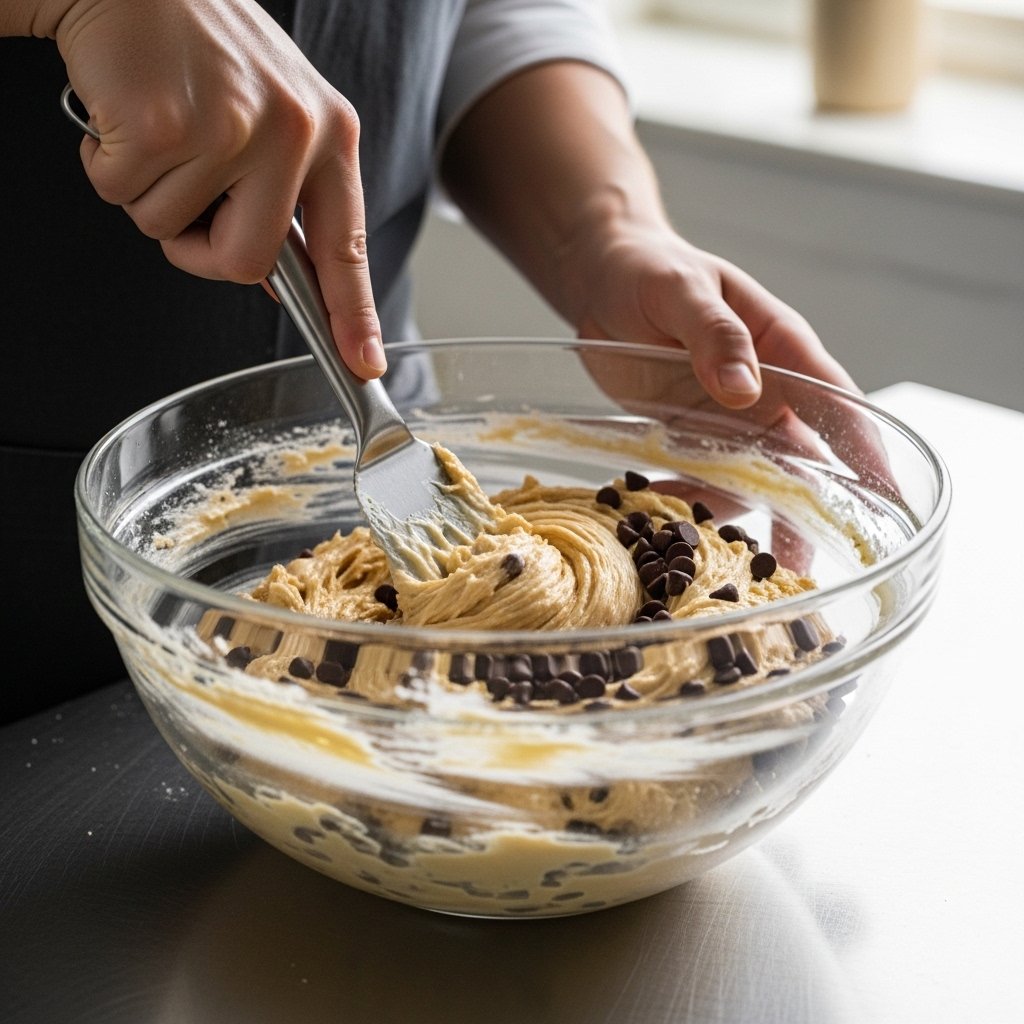
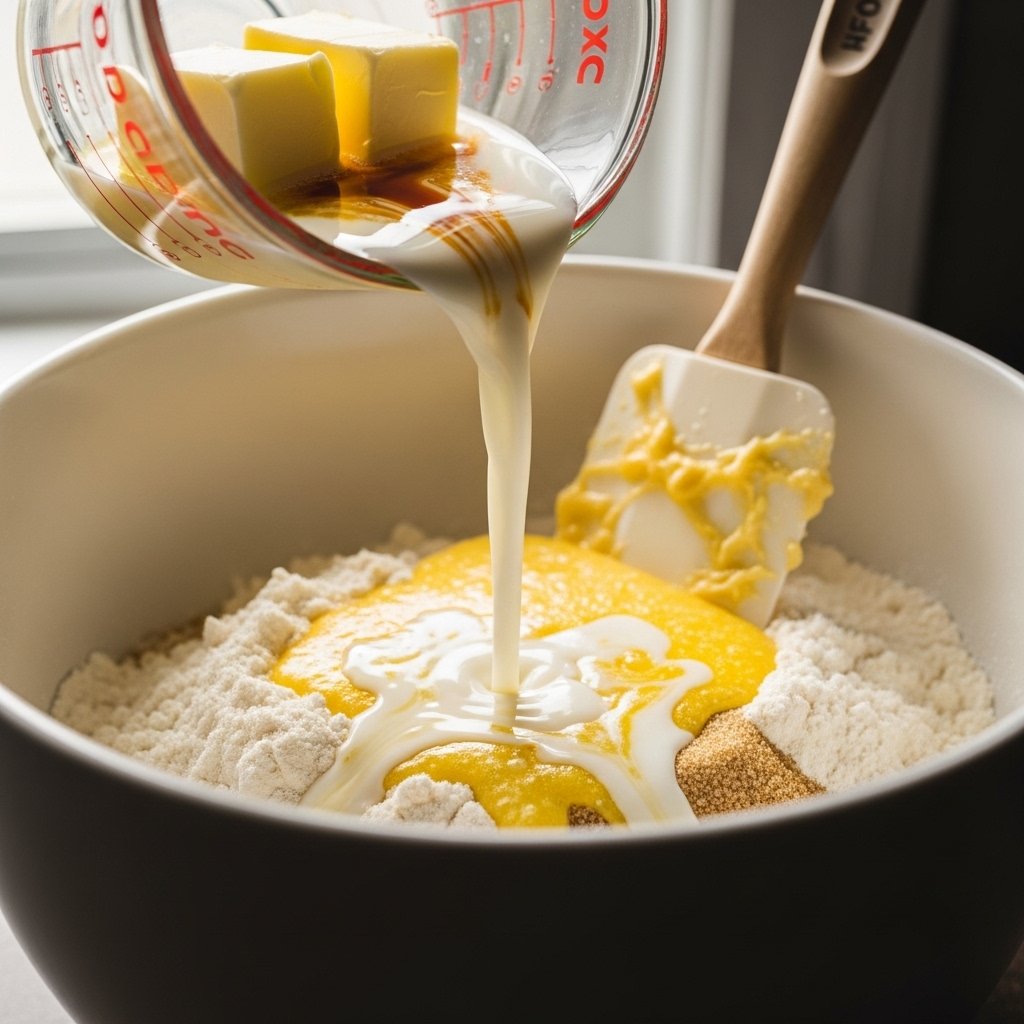
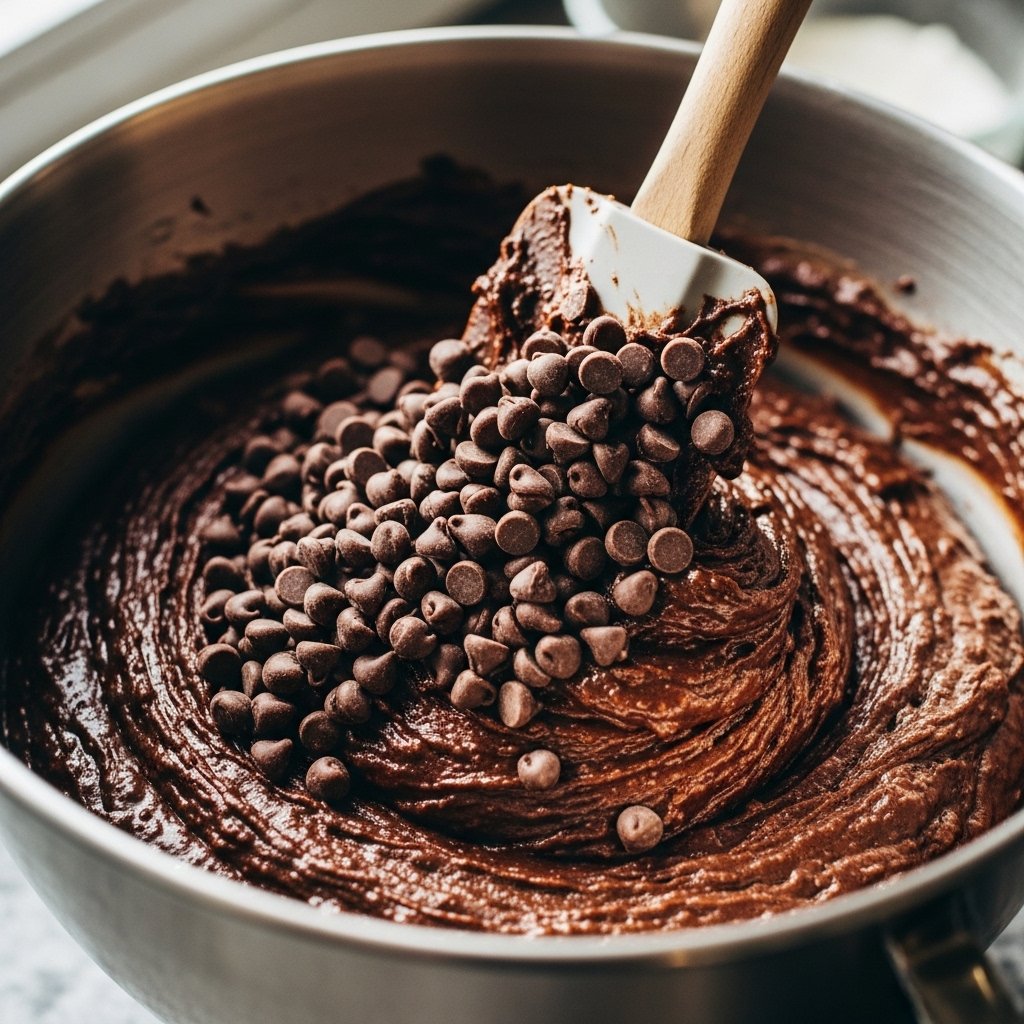
4. Combine and Fold
Gradually mix in dry ingredients, then fold in chocolate chips and M&Ms.

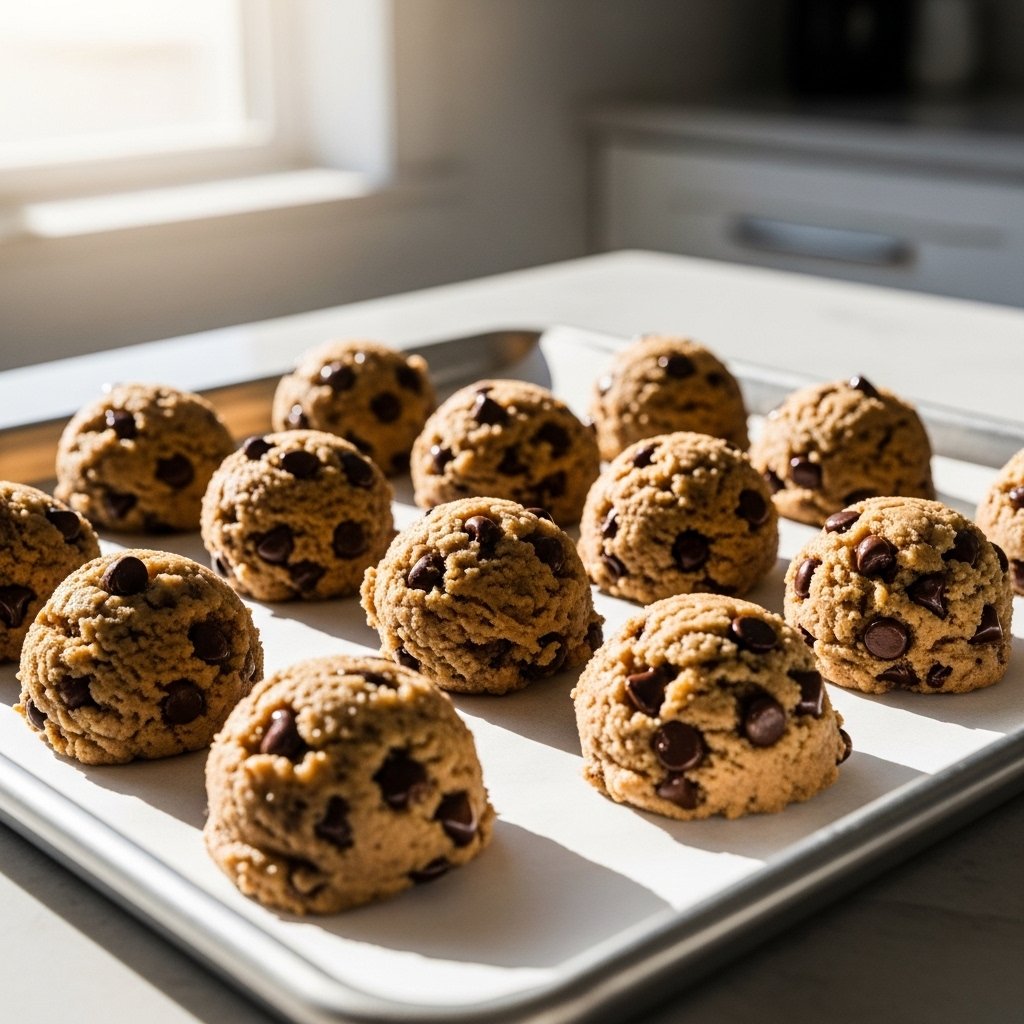
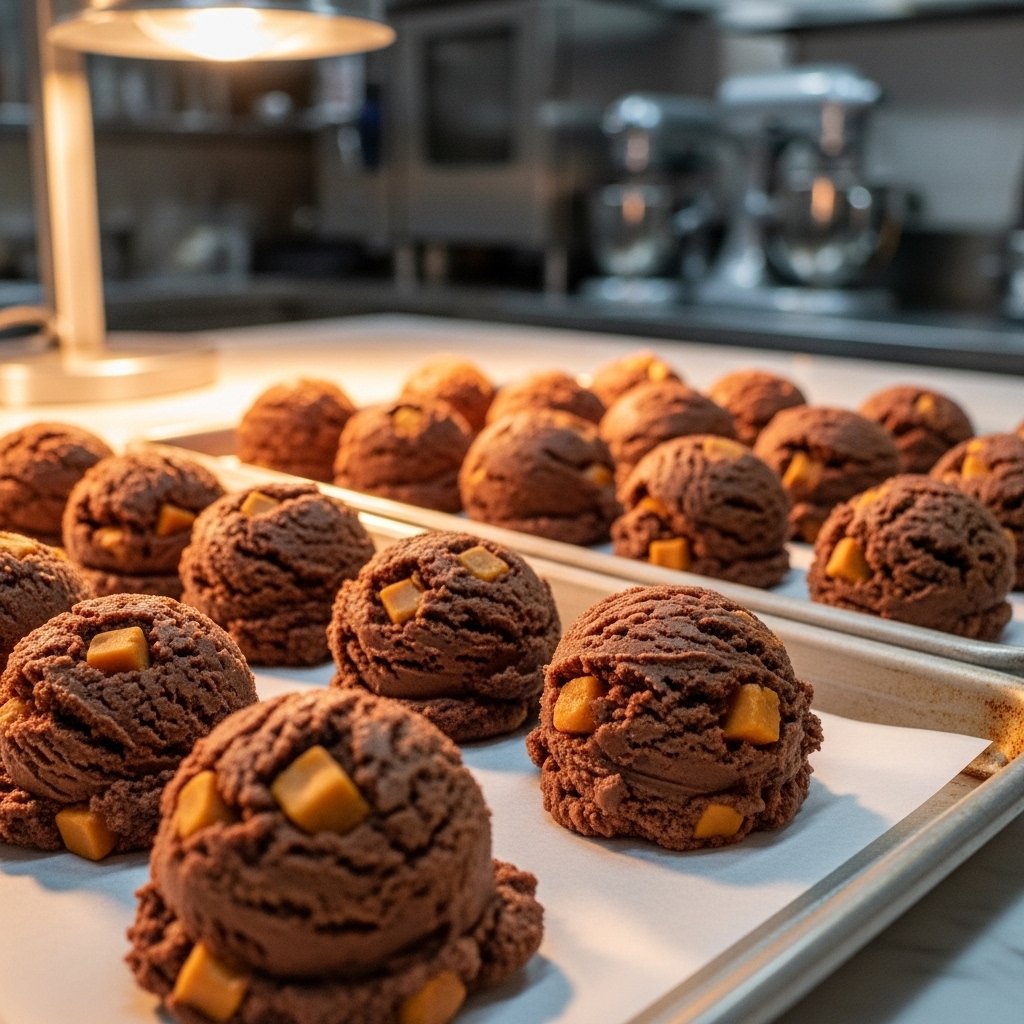
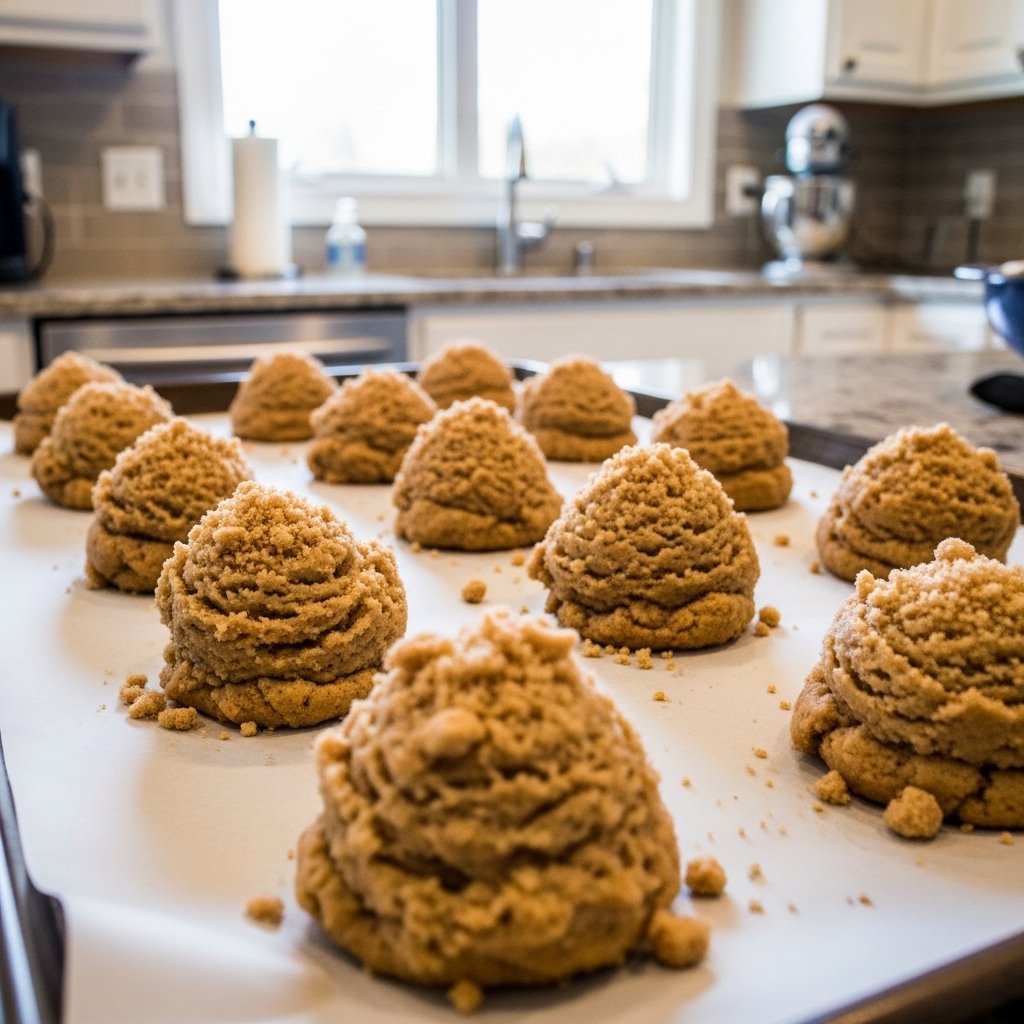
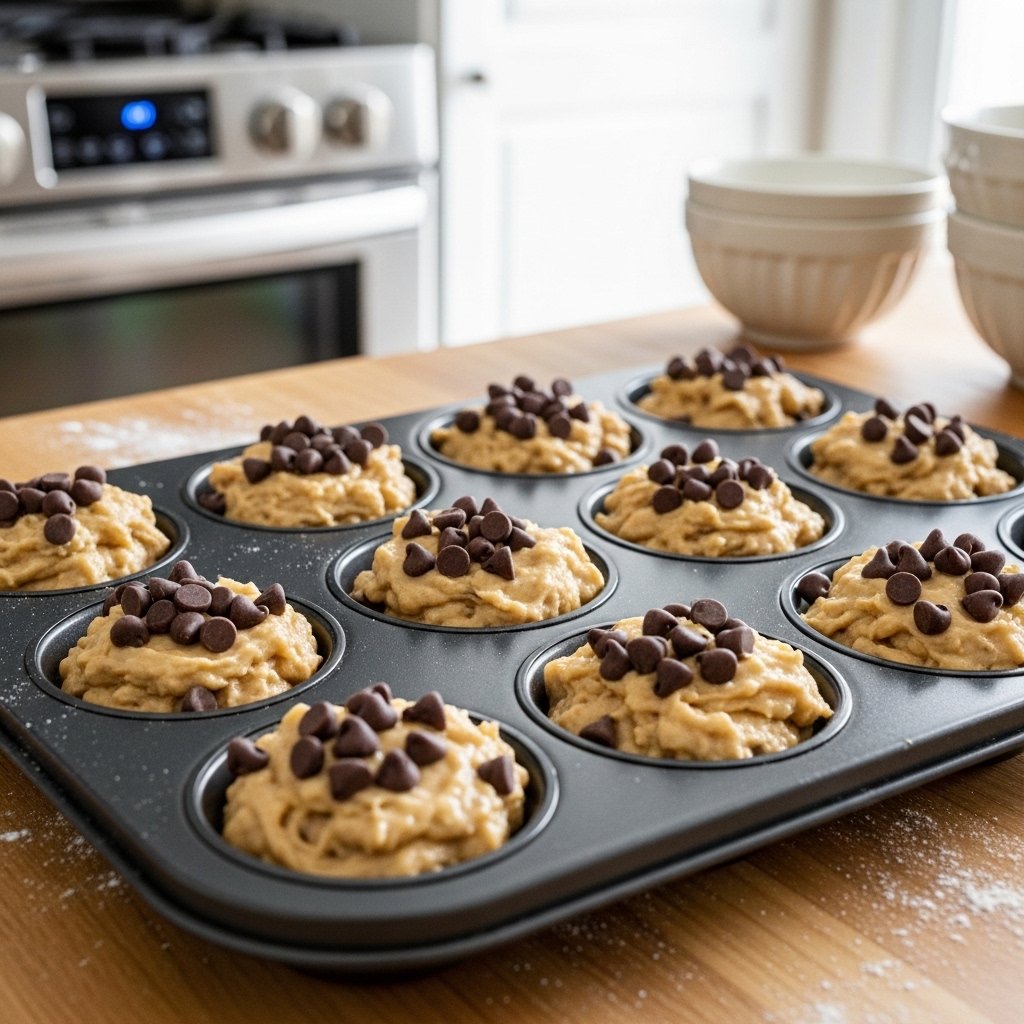
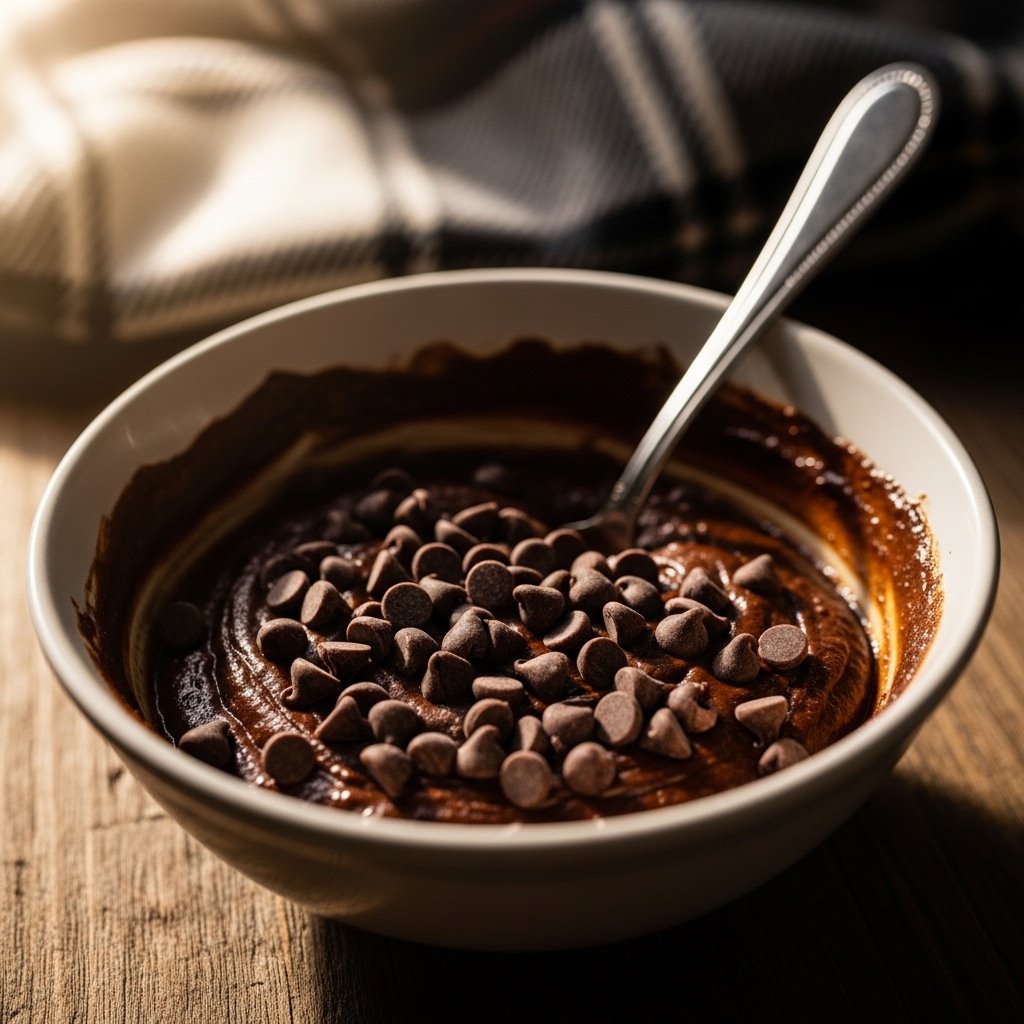
5. Scoop Dough
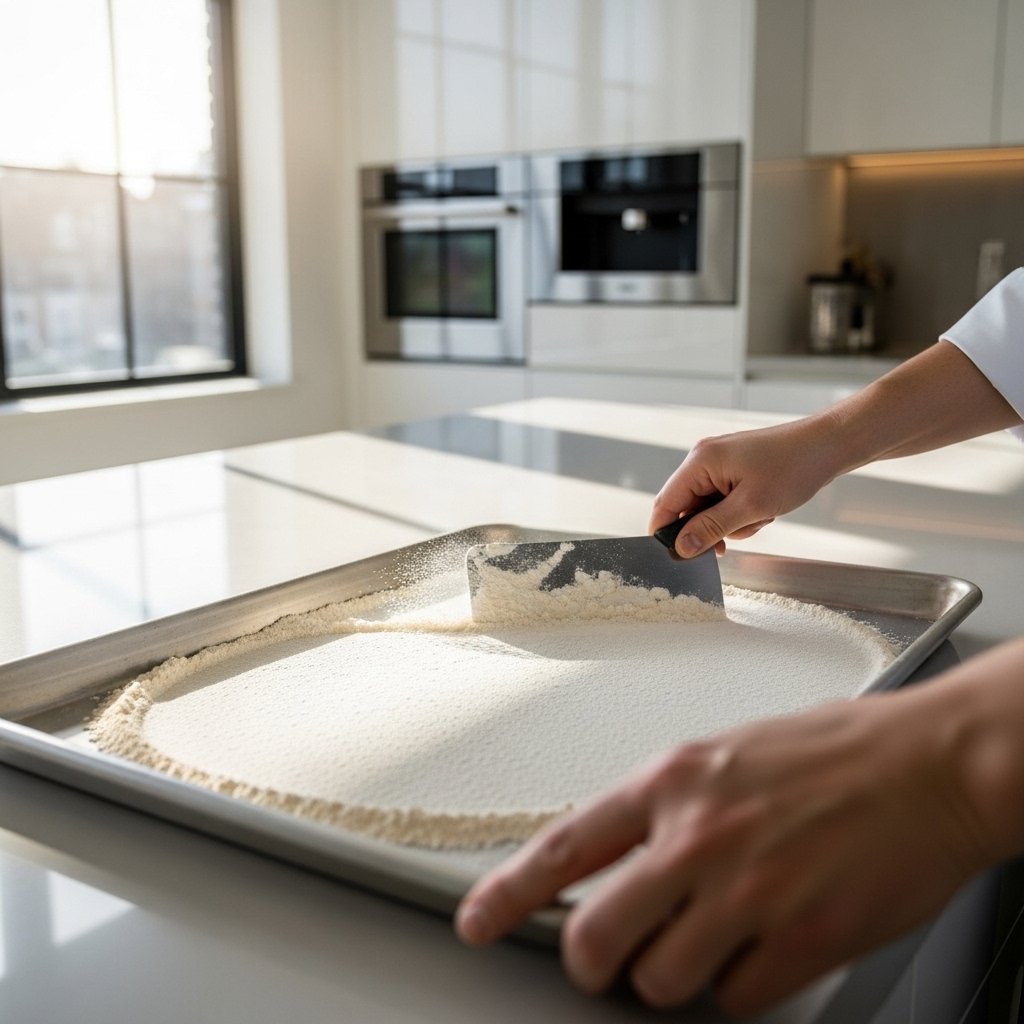
Scoop dough onto a lined baking sheet, spacing evenly.
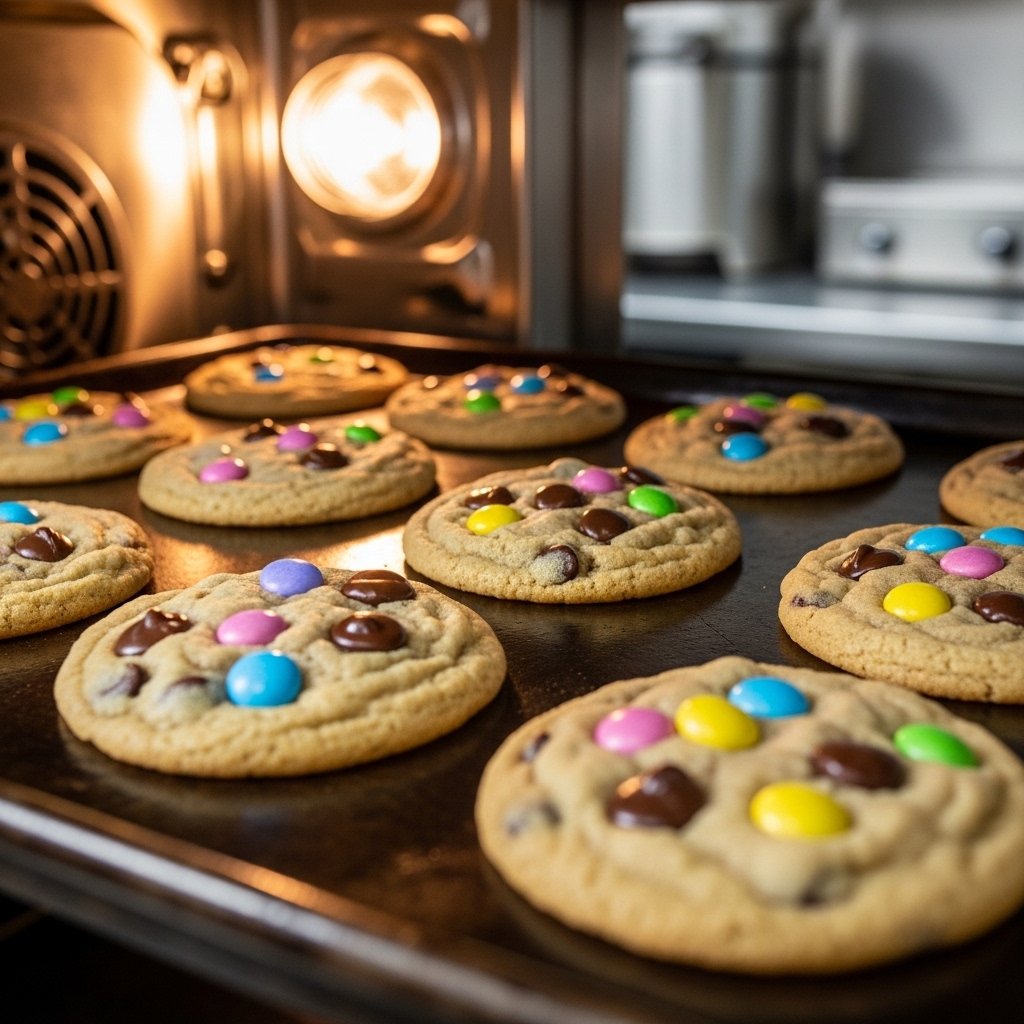
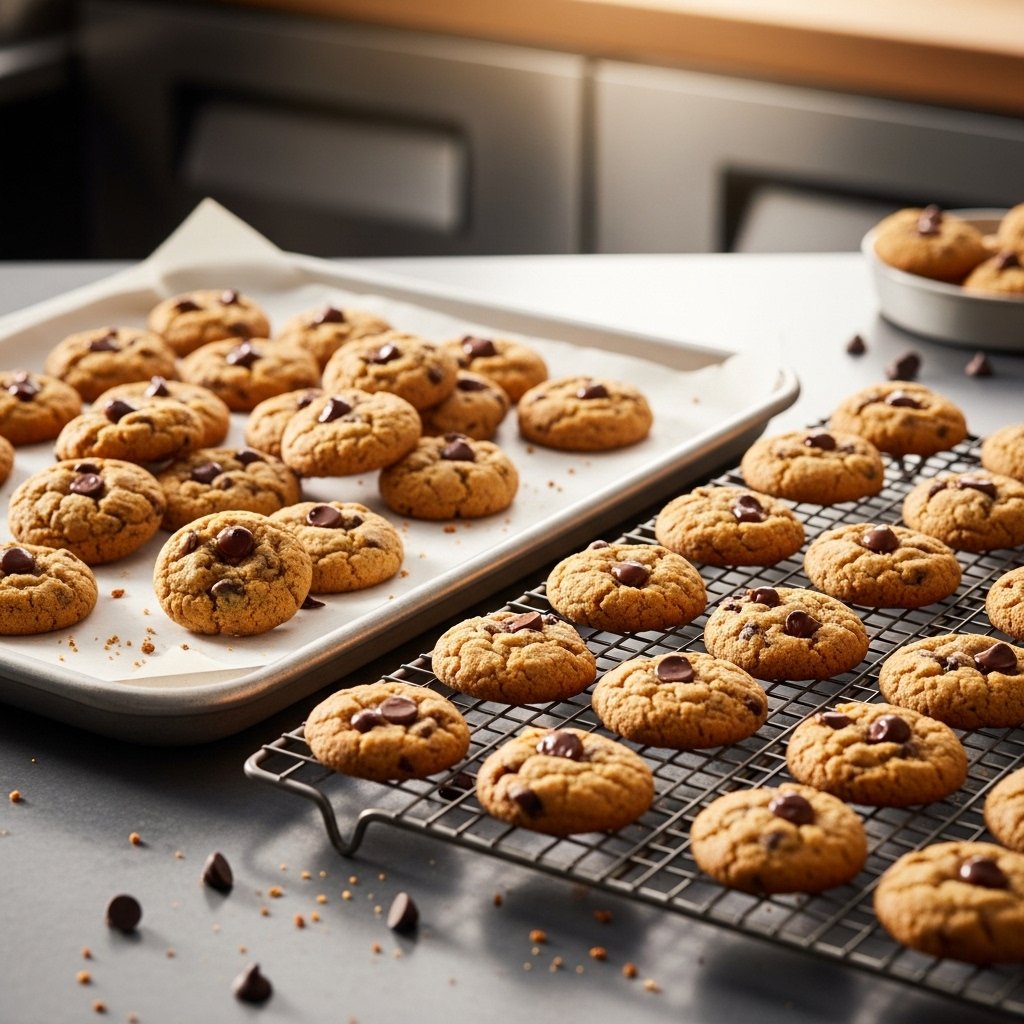
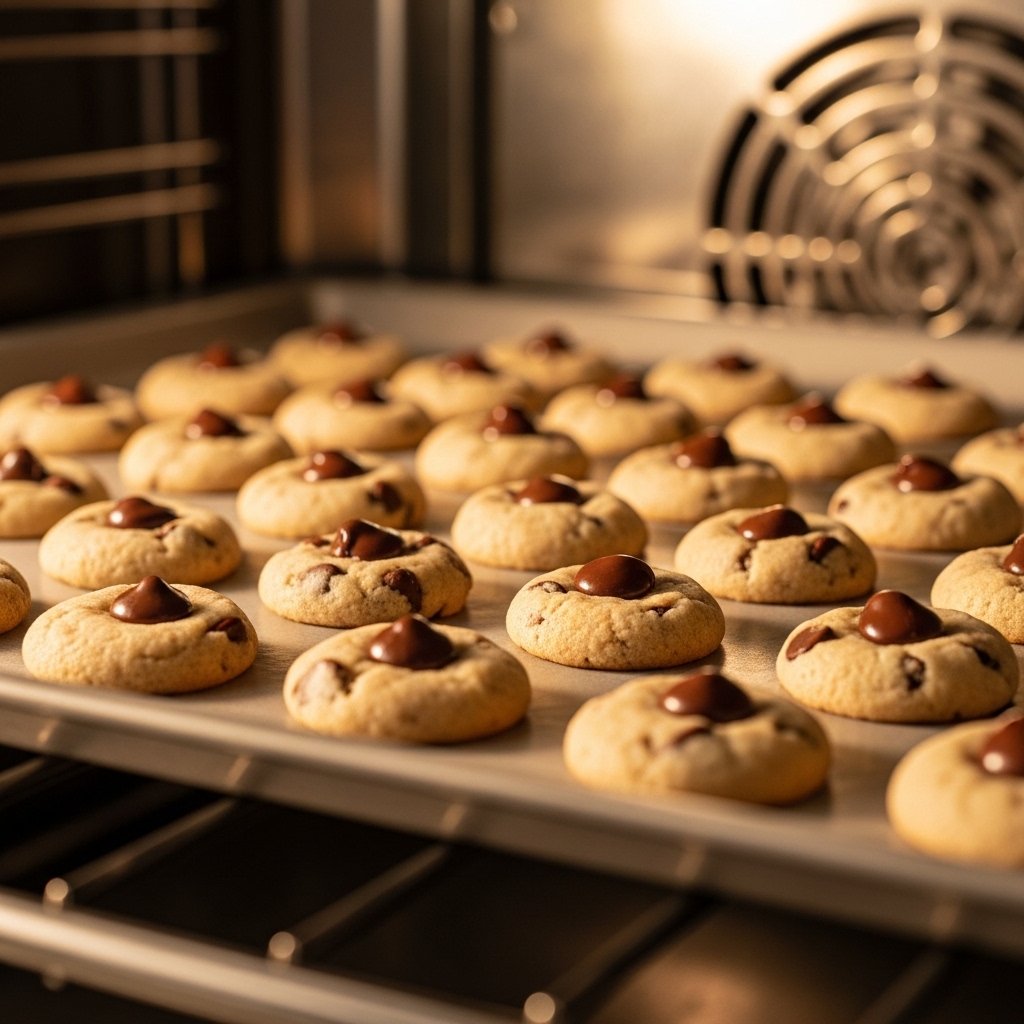
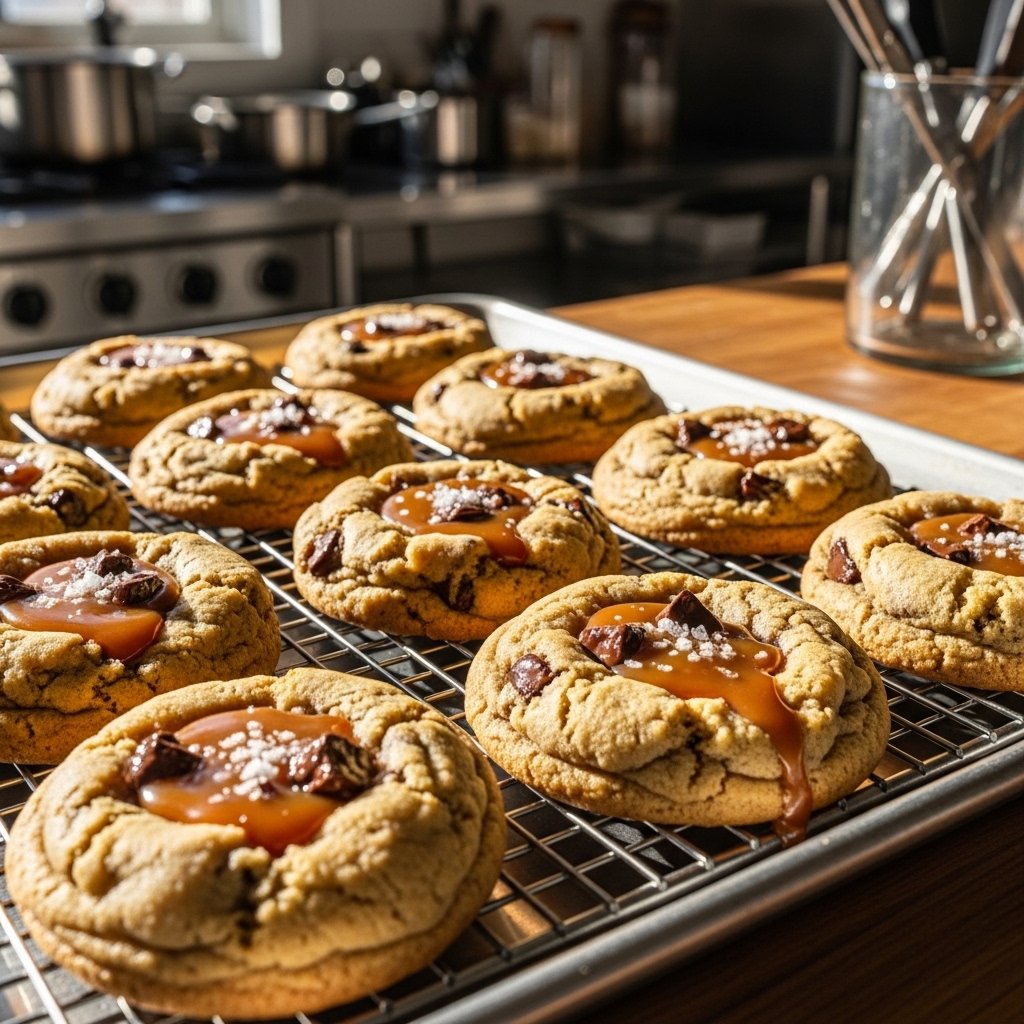
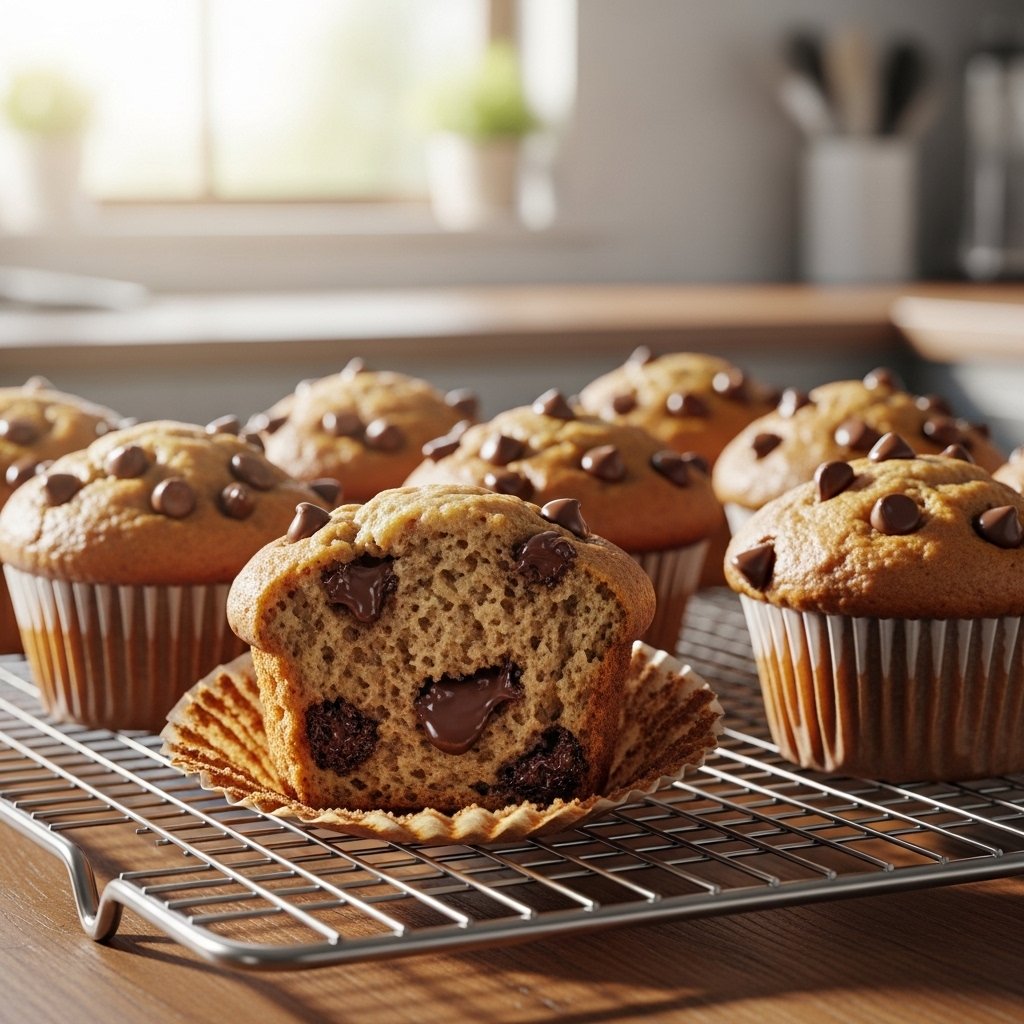
6. Bake
Bake at 350°F (175°C) for 10–12 minutes until edges are golden.

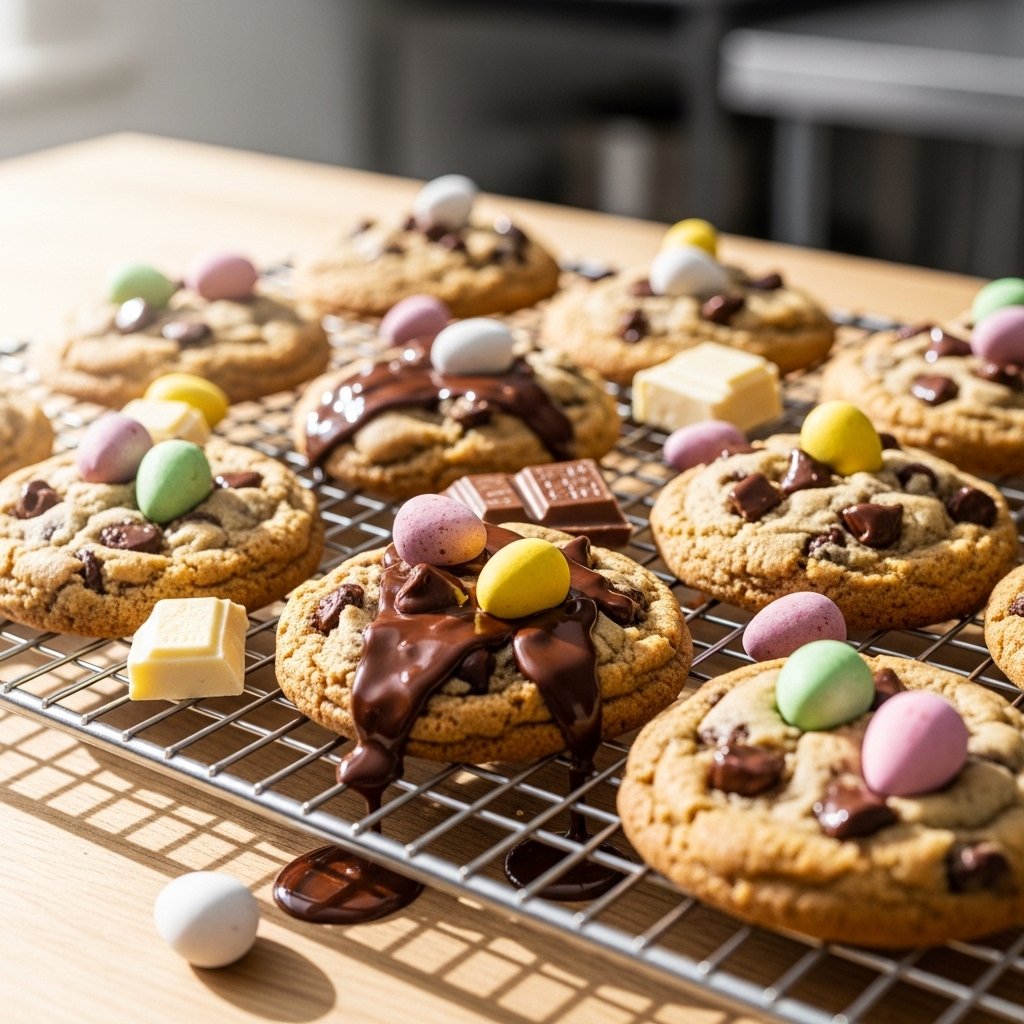
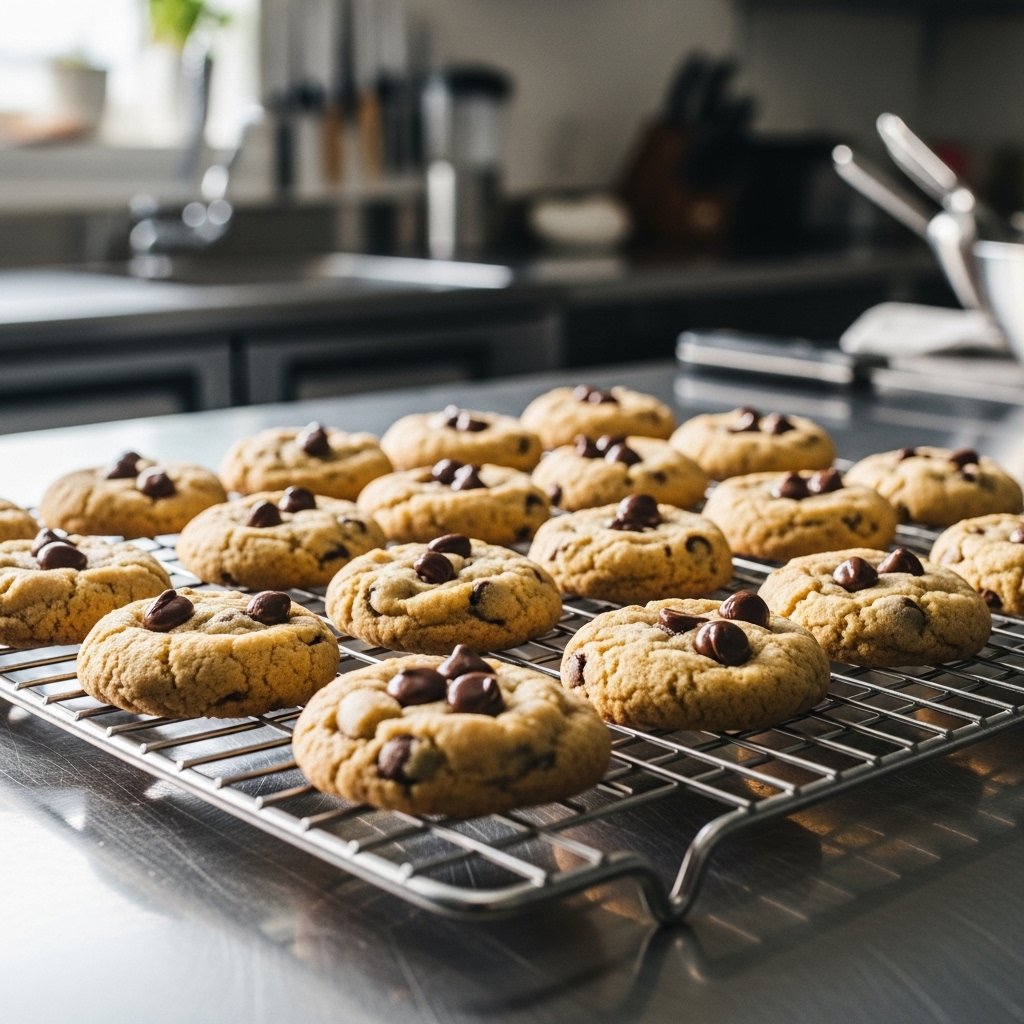
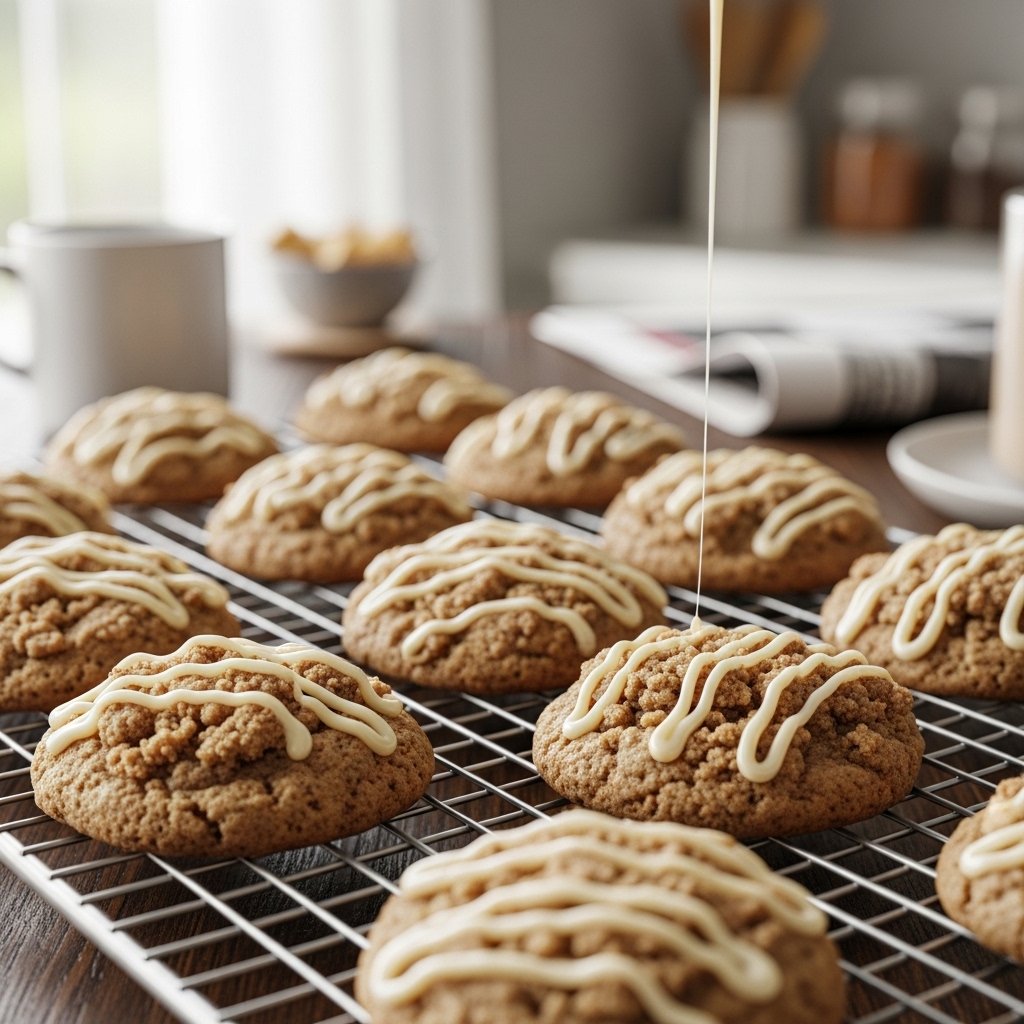
7. Cool and Serve
Let cookies cool on a wire rack before serving.
Tips for Perfect Easter M&M Cookies
To get the best Easter M&M cookies, follow these tips:
- Chill the dough for thicker cookies
- Don’t overbake—centers should be soft
- Add extra M&Ms on top before baking
- Use parchment paper for even baking
These tips will give you soft, bakery-style cookies every time.
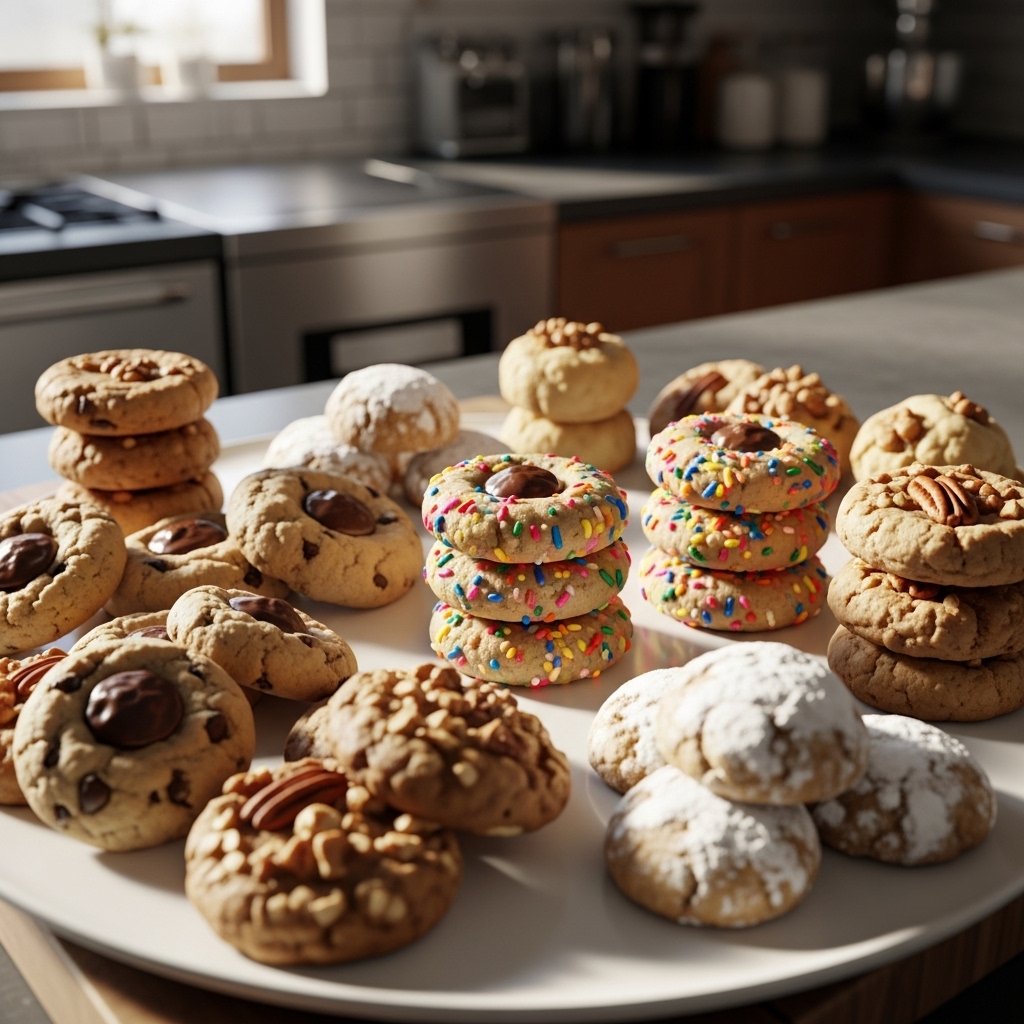
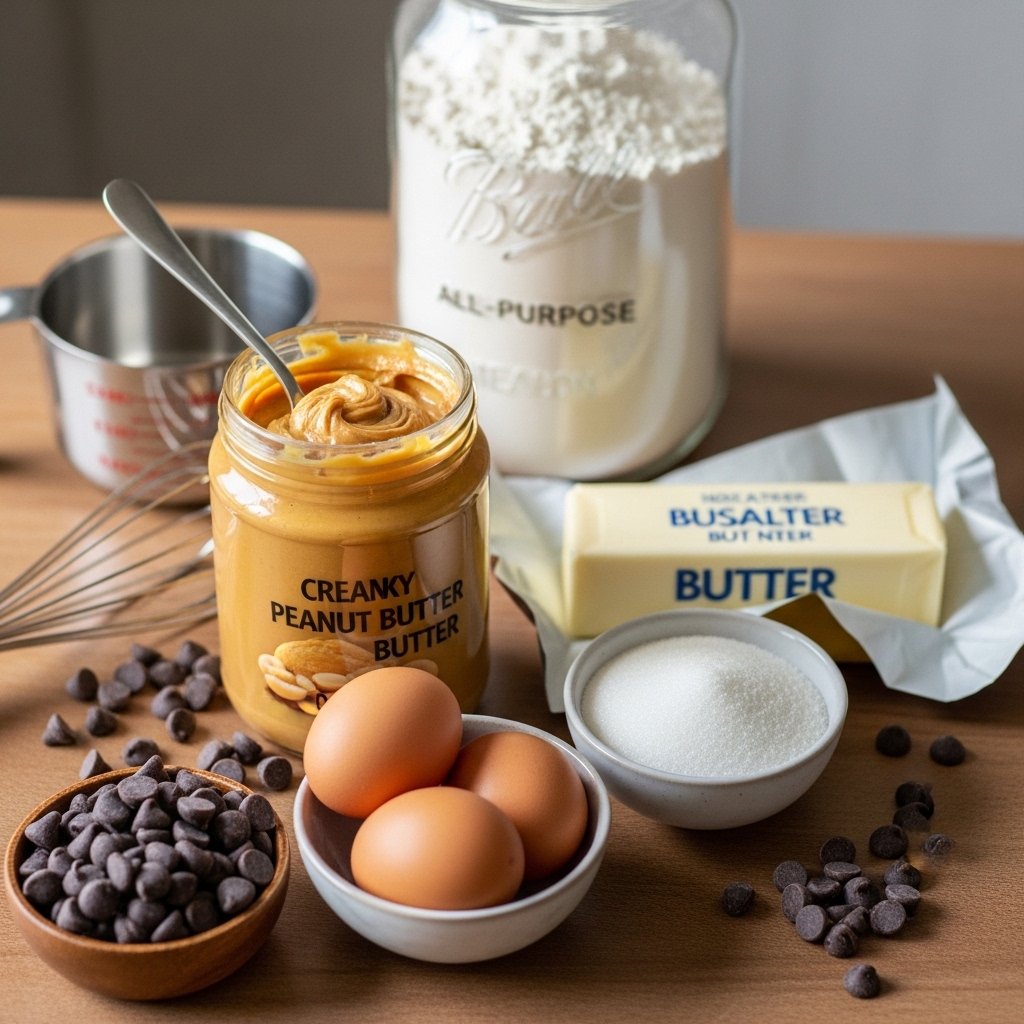
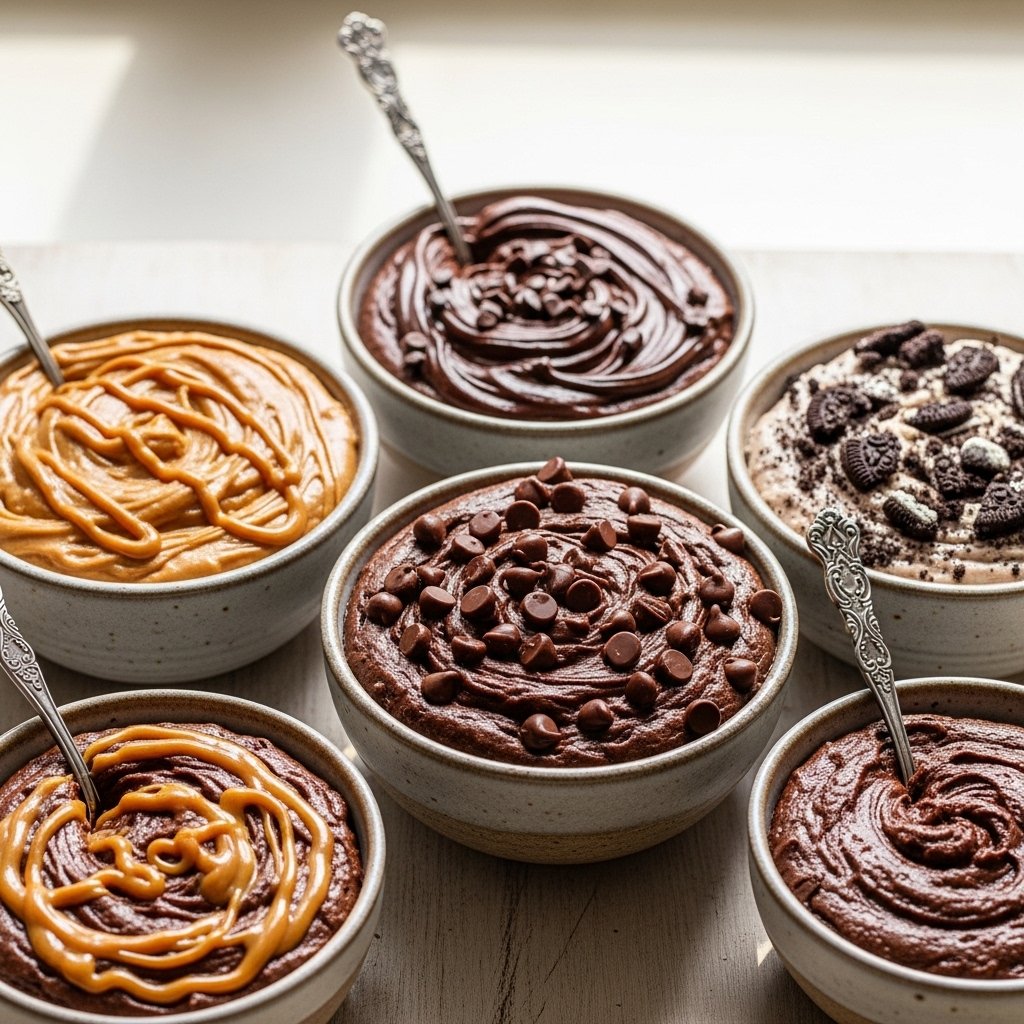
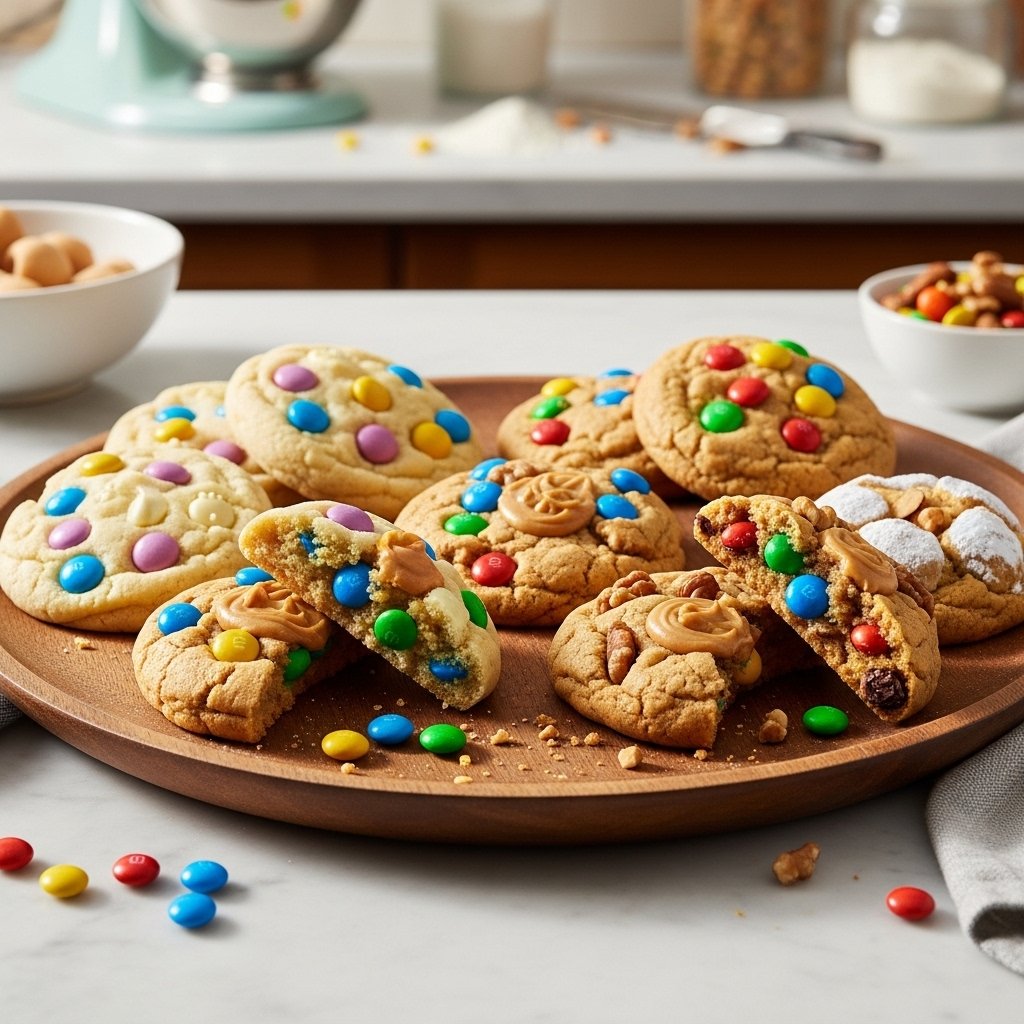
Variations to Try
Switch things up with these fun ideas:
- Use white chocolate chips instead of regular
- Add chopped nuts for crunch
- Try peanut butter dough for a richer flavor
- Use mini M&Ms for smaller cookies
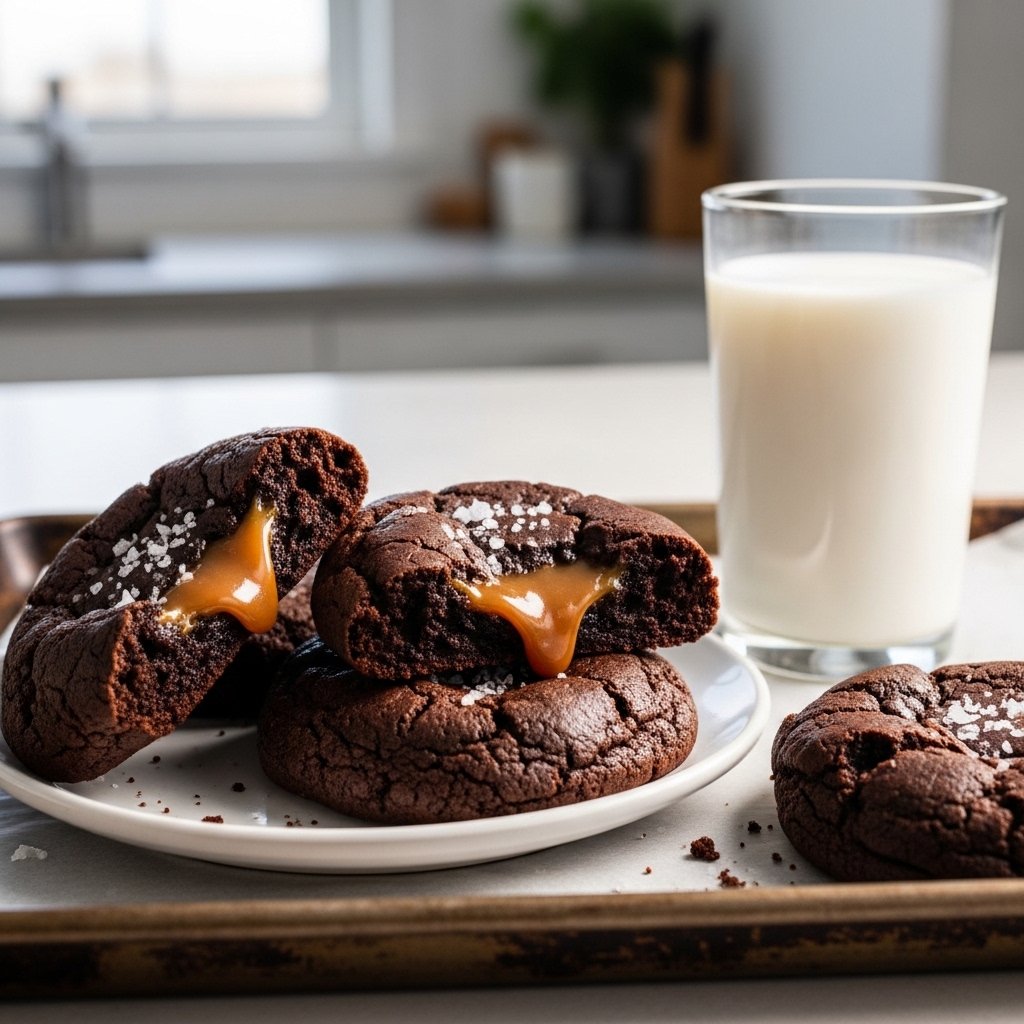
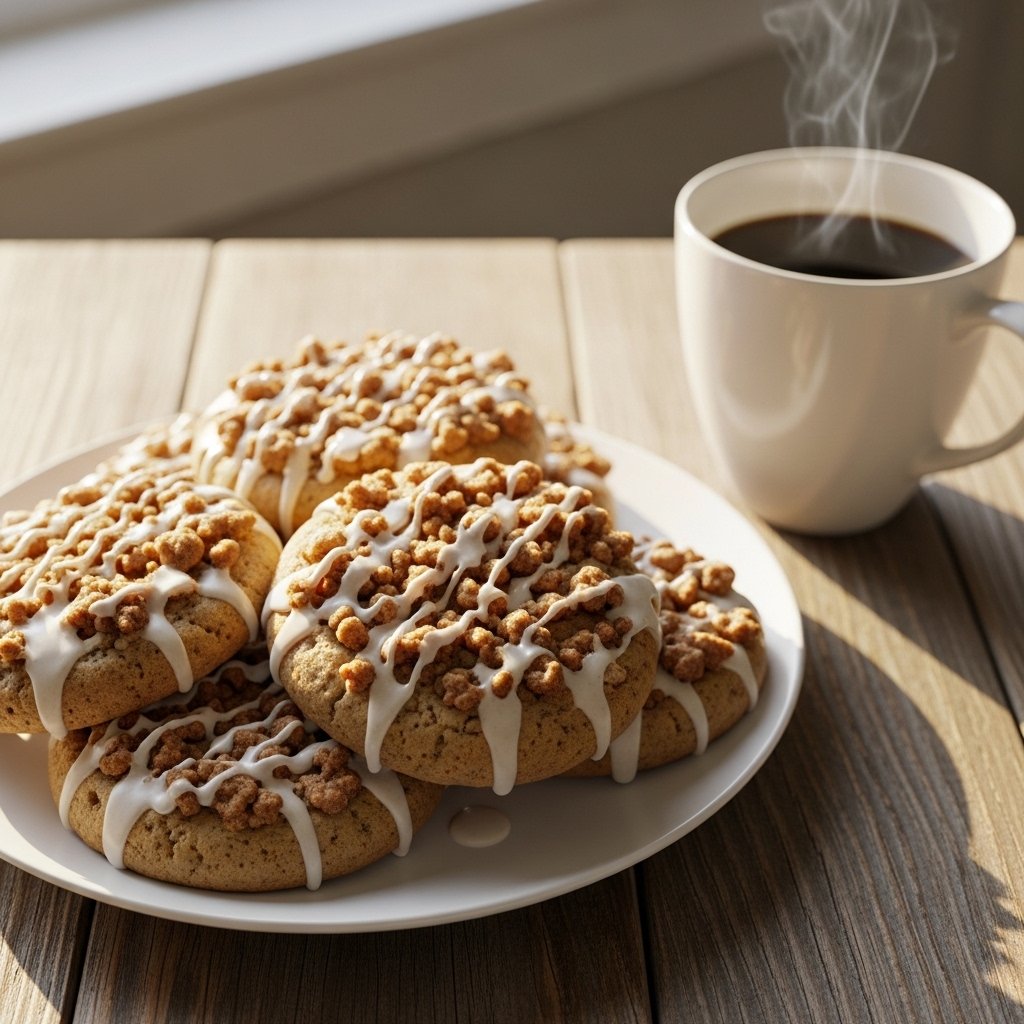
What to Serve With Easter M&M Cookies
These cookies pair perfectly with:
- Cold milk or flavored milk
- Coffee or tea
- Vanilla ice cream for cookie sandwiches
- Fresh fruit for a balanced treat
They’re perfect for dessert tables or casual snacking.
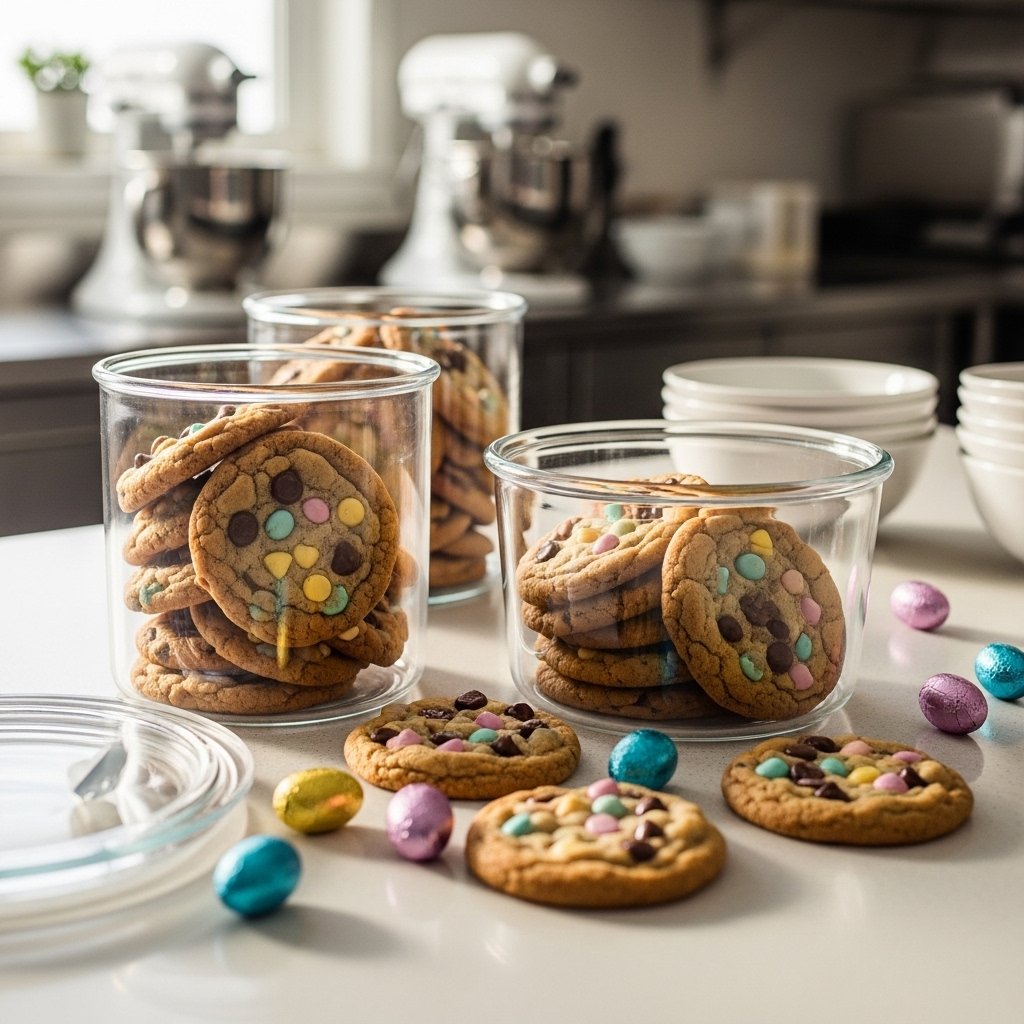
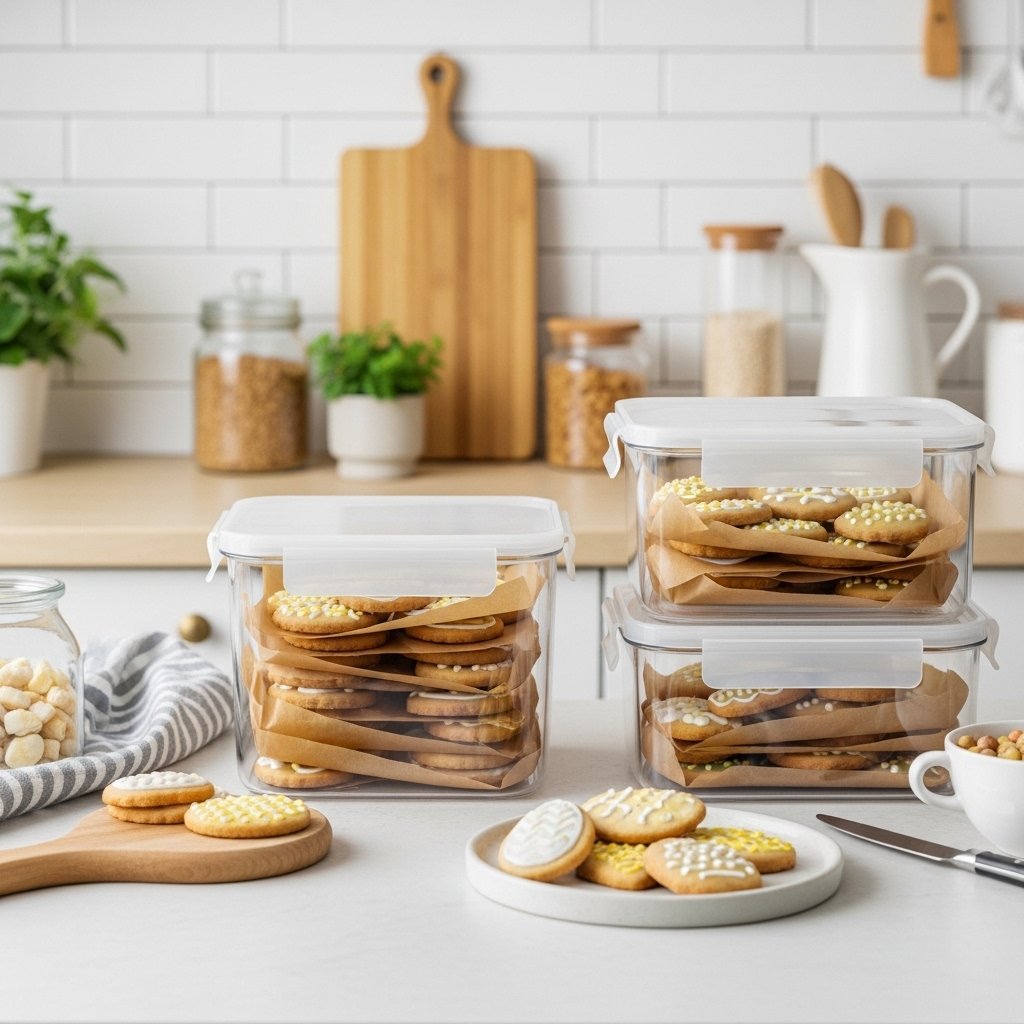
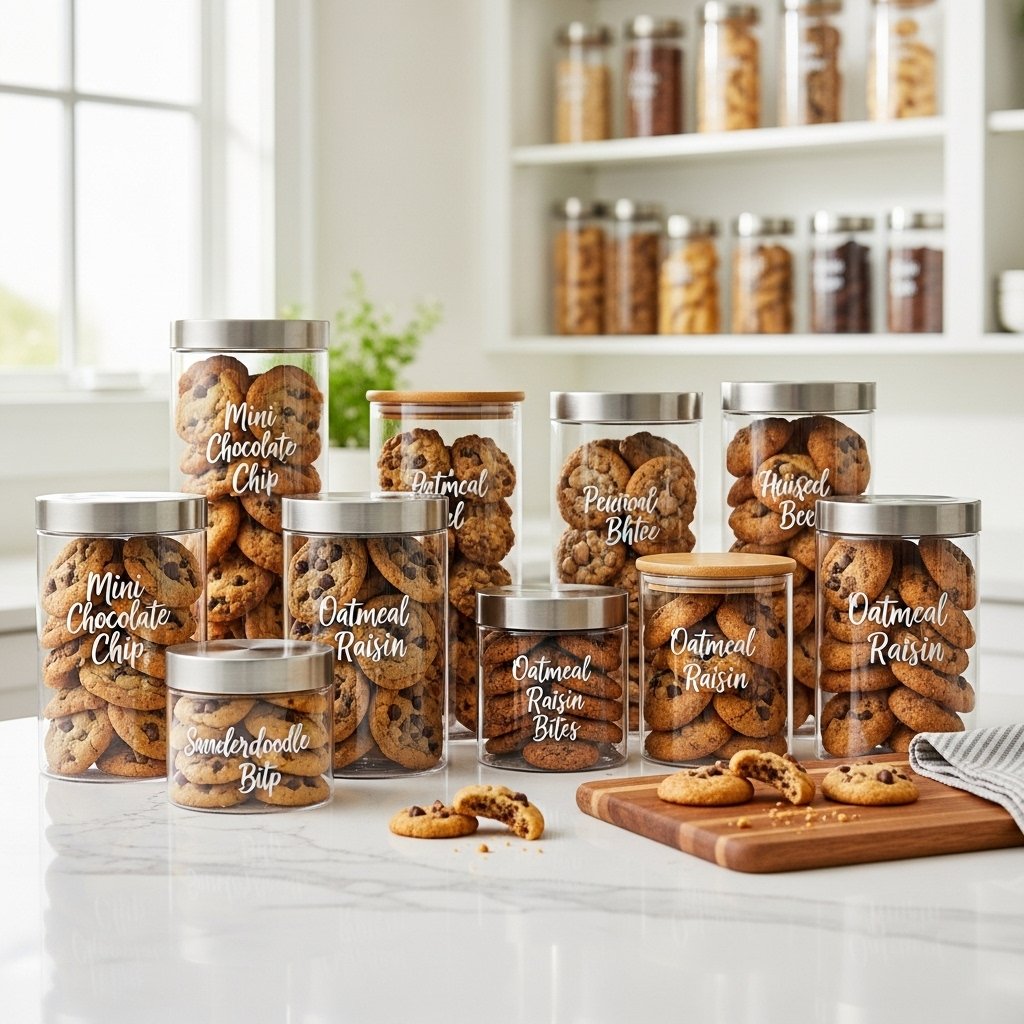
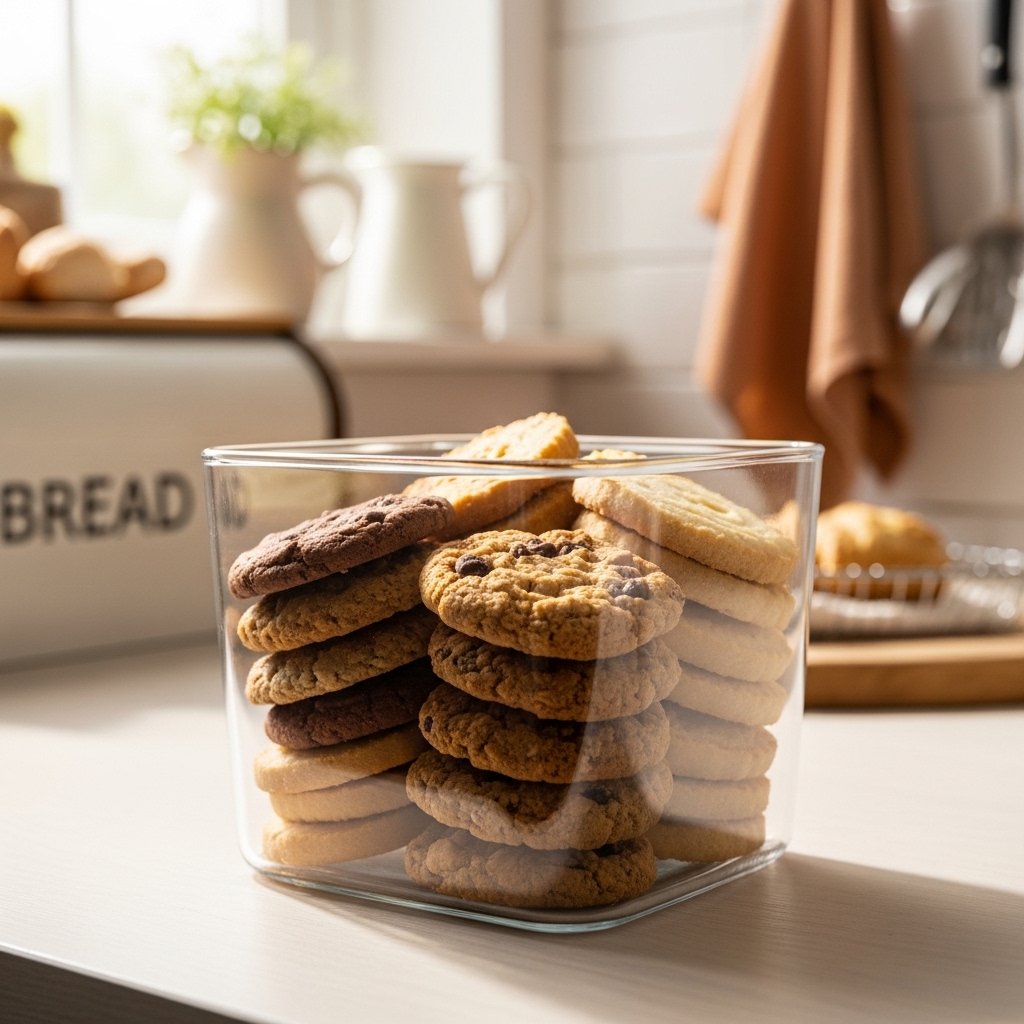
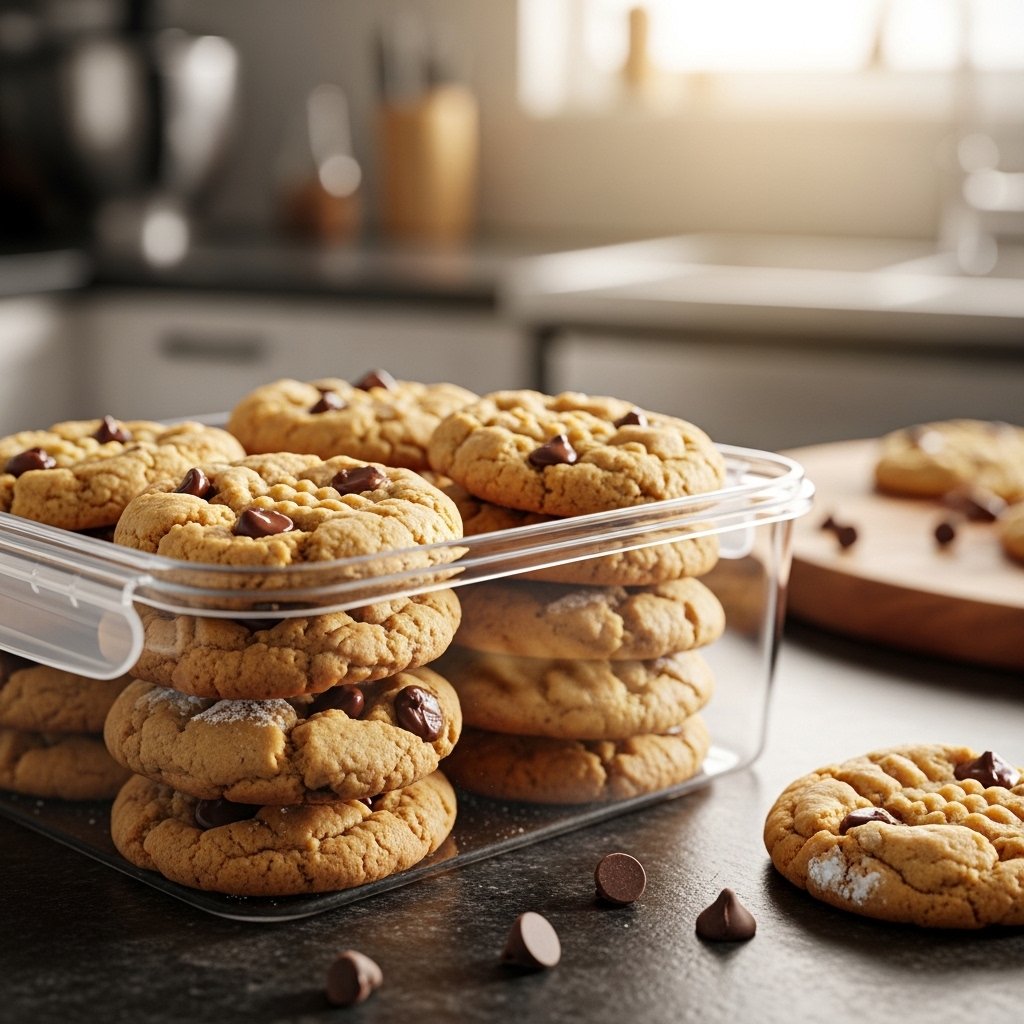
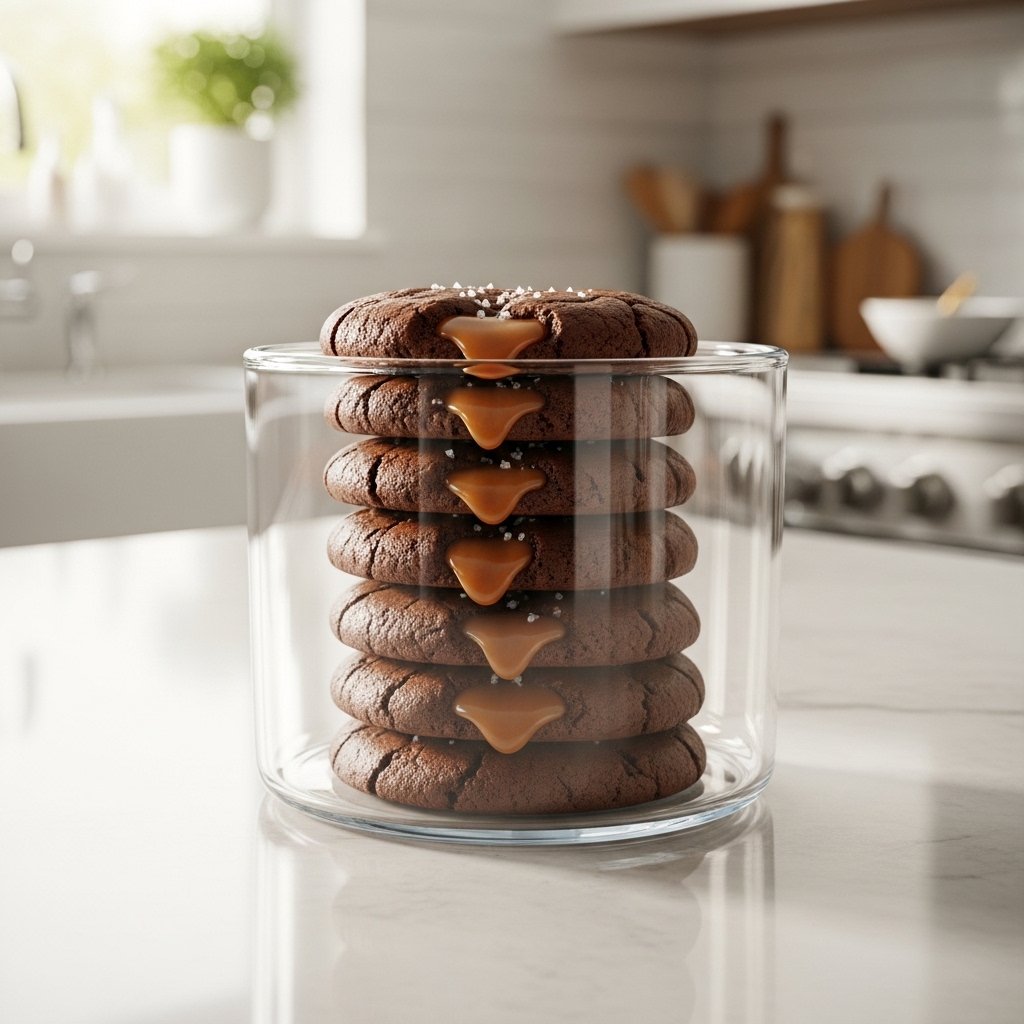
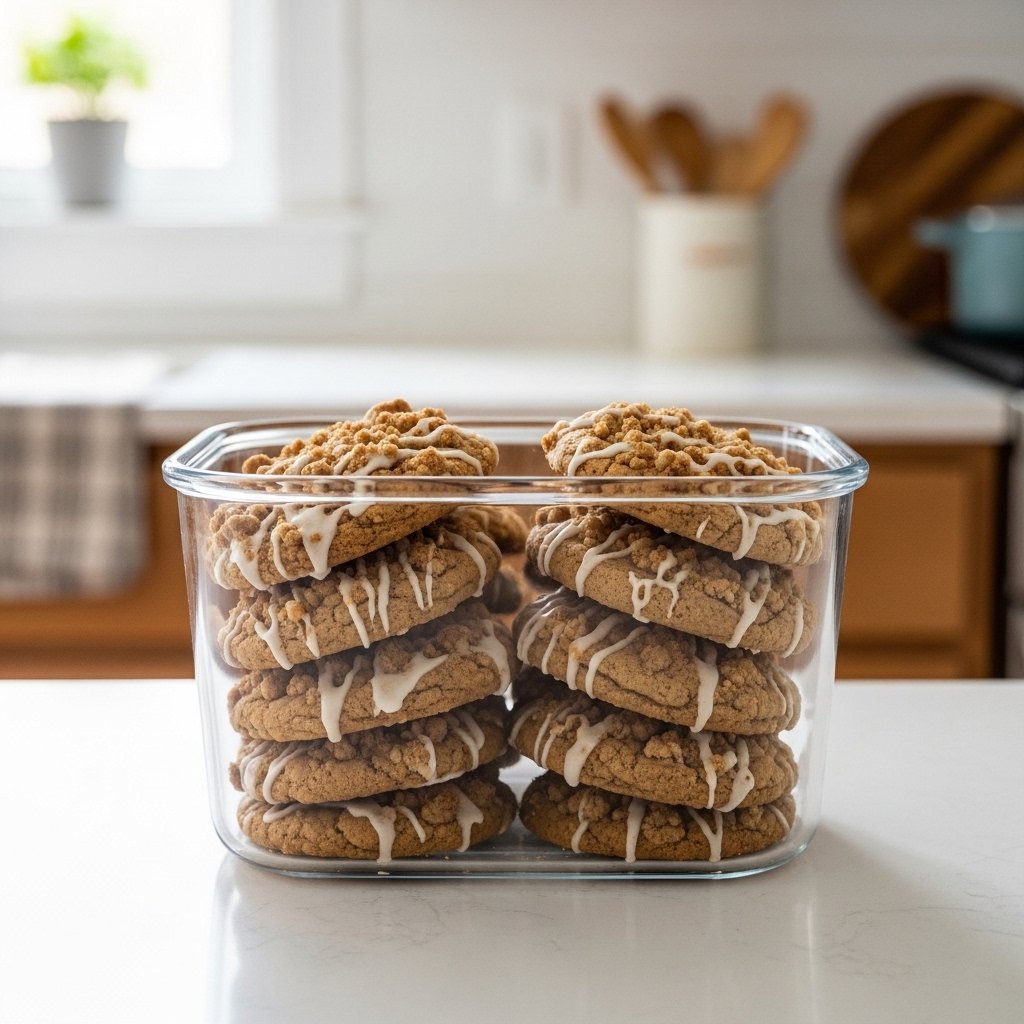
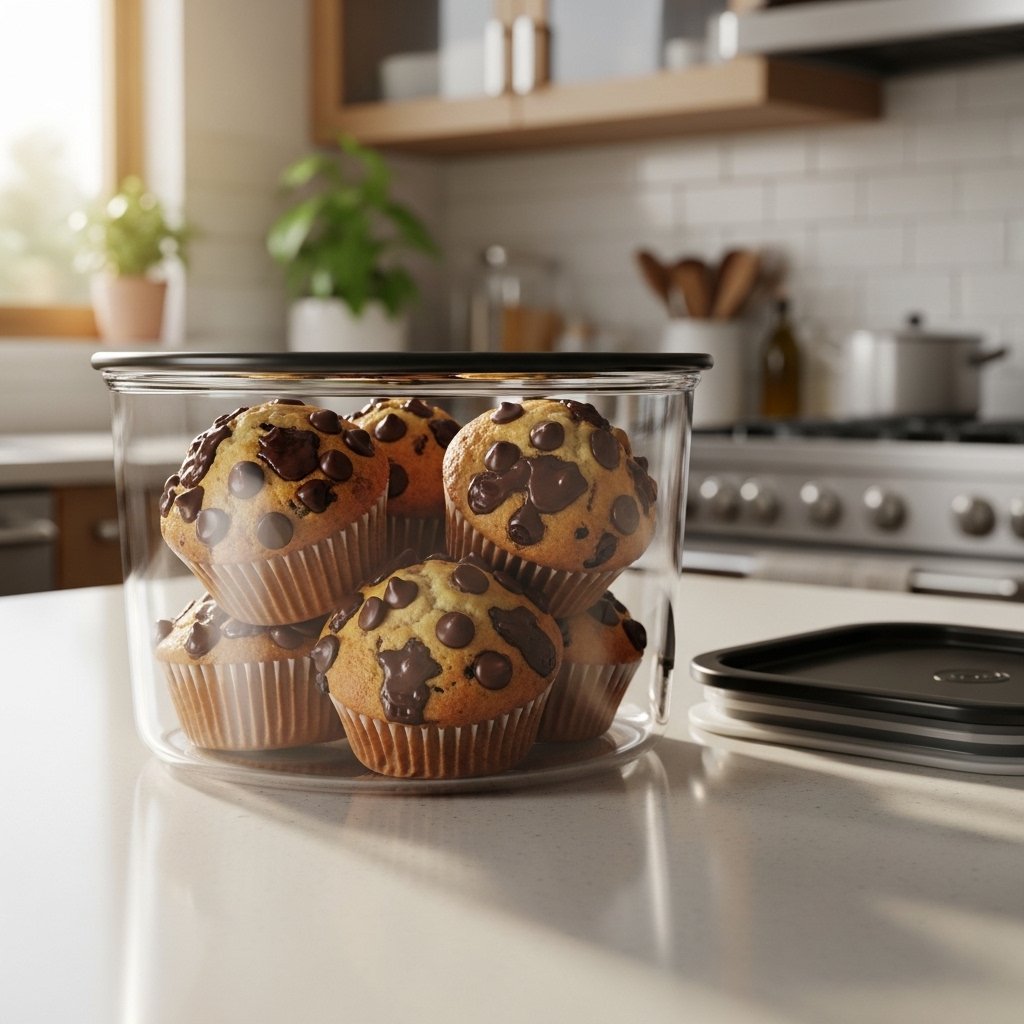
Storage & Reheating Tips
Keep your Easter M&M cookies fresh with these tips:
- Store in an airtight container for up to 5 days
- Freeze baked cookies for up to 2 months
- Reheat briefly in the microwave for a soft texture
- Freeze dough balls for quick baking later

Common Mistakes to Avoid
Avoid these common baking mistakes:
- Using melted butter instead of softened
- Overmixing the dough
- Overbaking the cookies
- Not measuring ingredients properly
Paying attention to these details ensures perfect cookies.
FAQs
Can I make Easter M&M cookies ahead of time?
Yes! The dough can be refrigerated for up to 2 days before baking.
Why are my cookies flat?
Your butter may be too warm, or the dough wasn’t chilled.
Can I freeze Easter M&M cookies?
Absolutely. Both baked cookies and dough freeze well.
Can I use regular M&Ms instead of Easter ones?
Yes, but pastel M&Ms give the cookies a festive spring look.
Final Thoughts
These Easter M&M cookies are the ultimate springtime treat—easy to make, fun to decorate, and absolutely delicious. Their soft texture and colorful appearance make them perfect for Easter celebrations, baking with kids, or simply enjoying at home.
Once you try this recipe, it’s sure to become a seasonal favorite. So grab your ingredients, preheat your oven, and enjoy baking these cheerful, irresistible cookies!