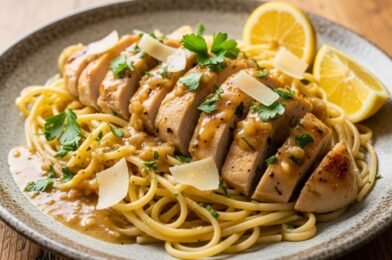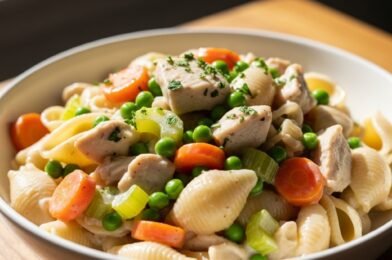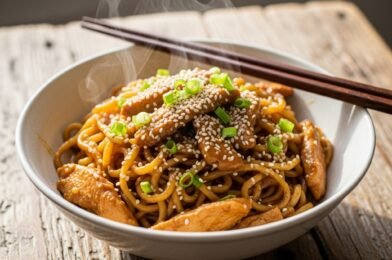
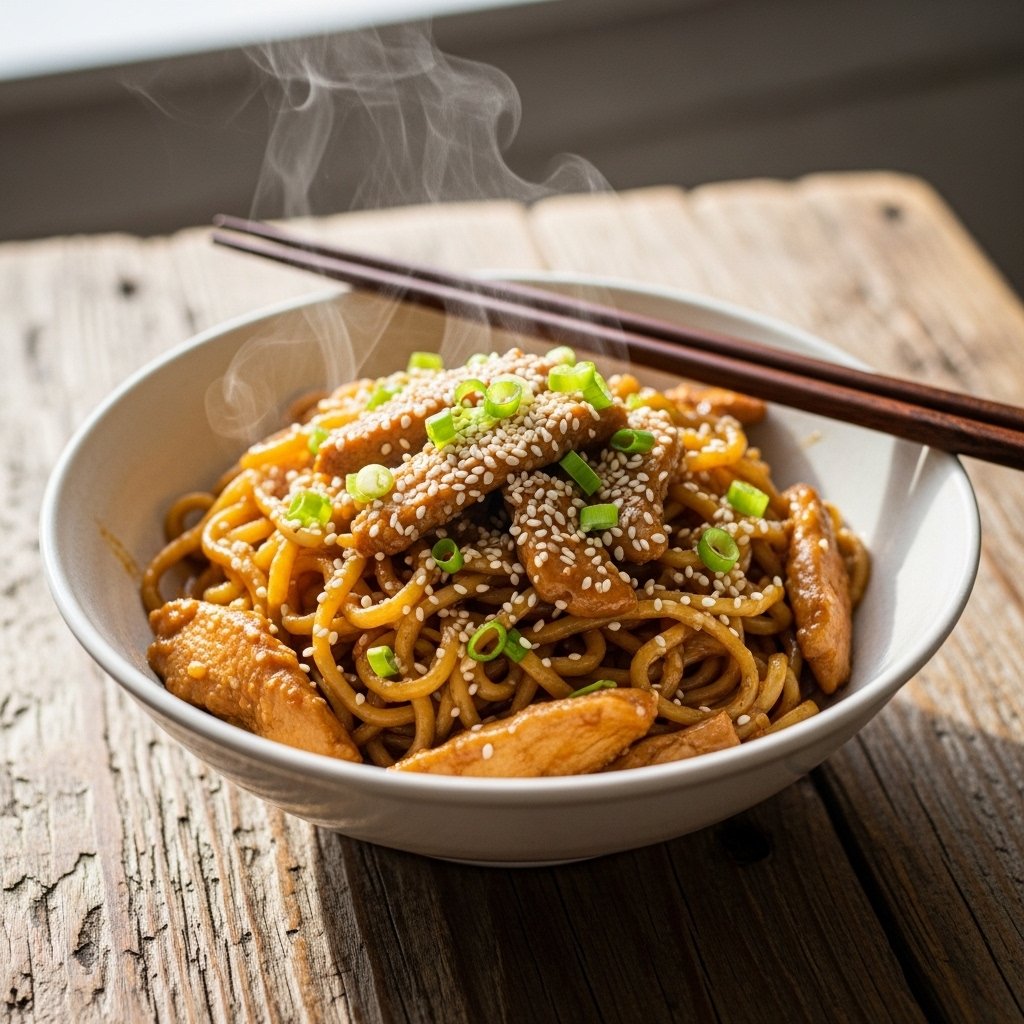
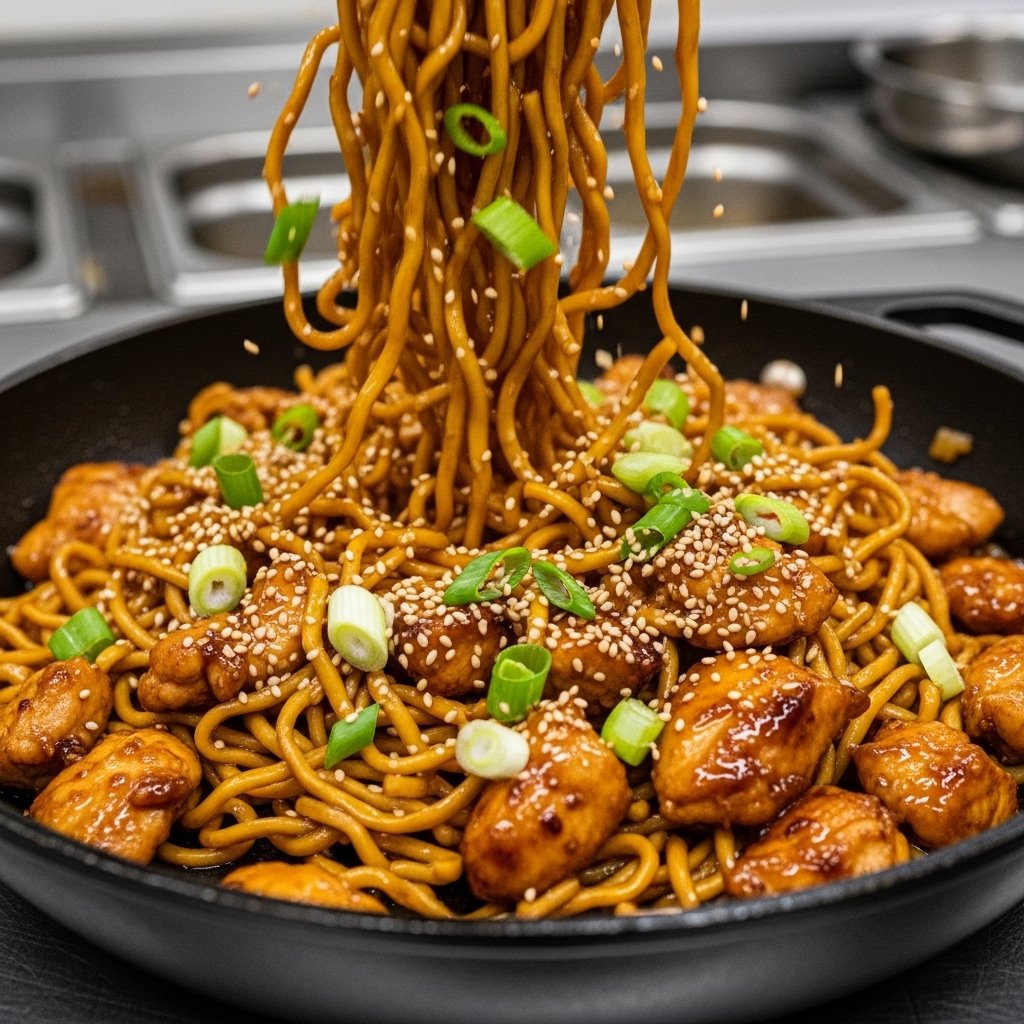
If you’re looking for a fast, satisfying dinner that tastes better than takeout, this sticky garlic chicken noodles recipe is exactly what your weeknight menu needs. It combines juicy chicken, tender noodles, and a rich sweet-savory garlic sauce that clings to every bite.
What makes these sticky garlic chicken noodles so irresistible is the balance of flavors and textures. You get savory umami from soy sauce, sweetness from honey, warmth from garlic and ginger, and perfectly cooked noodles that soak up every drop of sauce. Best of all, the entire meal comes together quickly, making it perfect for busy evenings when you still want something homemade and comforting.
Why You’ll Love This Sticky Garlic Chicken Noodles Recipe
This easy noodle dish has everything you want in a weeknight dinner.
What Makes It So Good
- Ready in under 30 minutes
- Better than takeout
- Sweet, savory, and garlicky
- Family-friendly
- Easy to customize
- Great for leftovers
This recipe is cozy, flavorful, and incredibly satisfying.
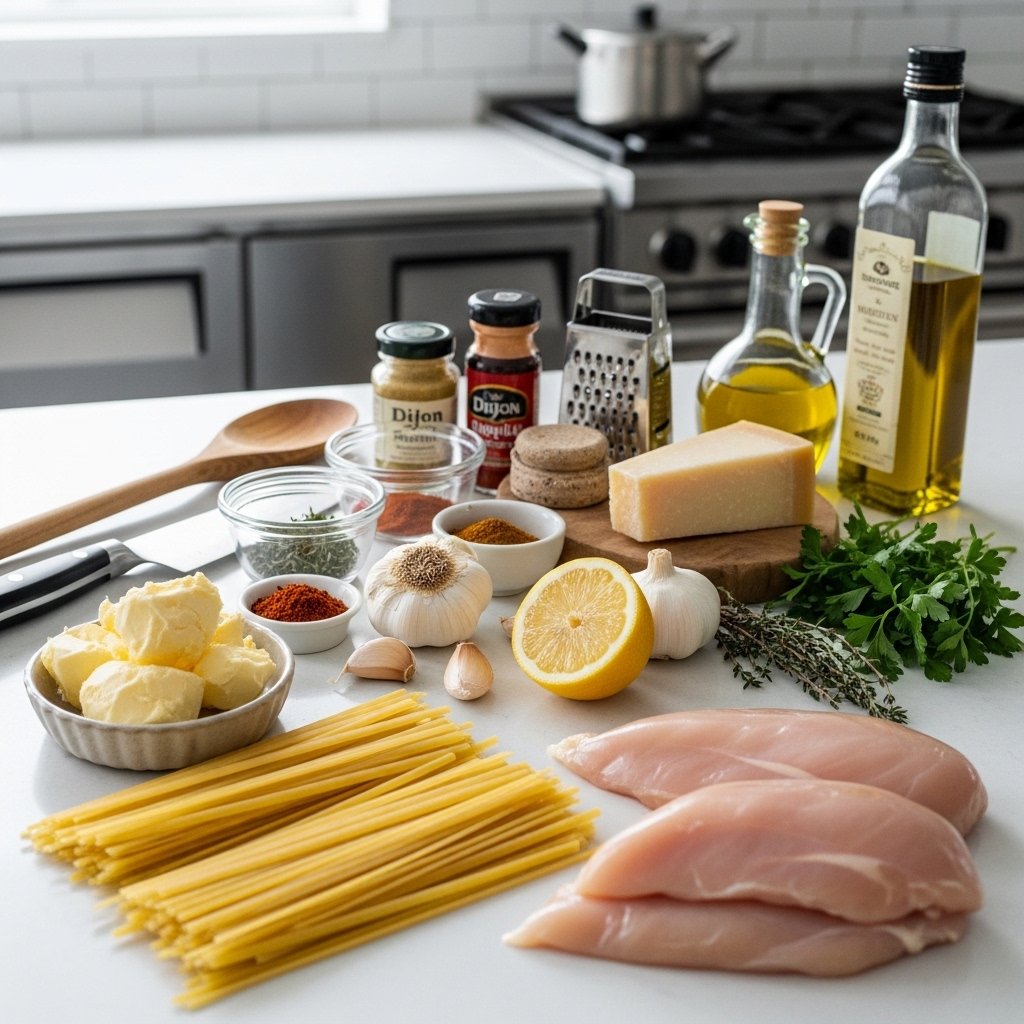
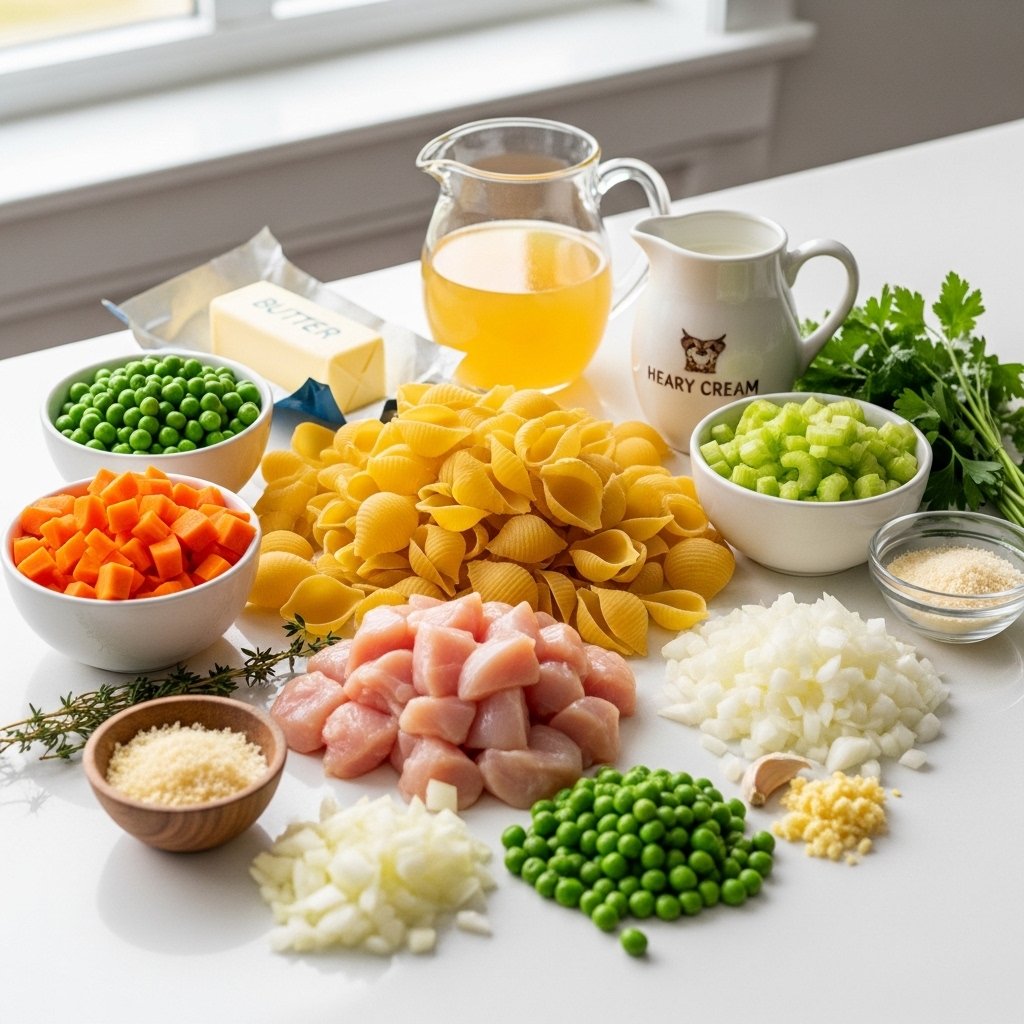
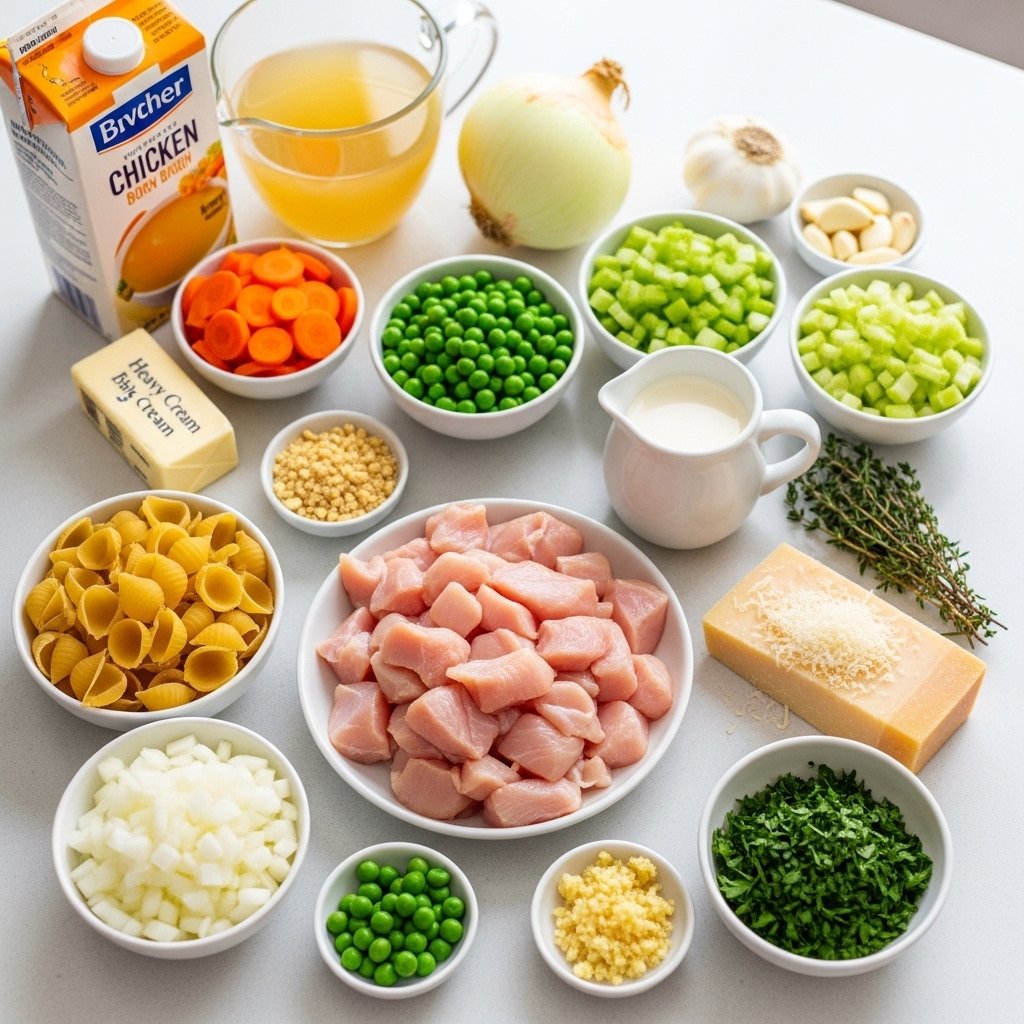
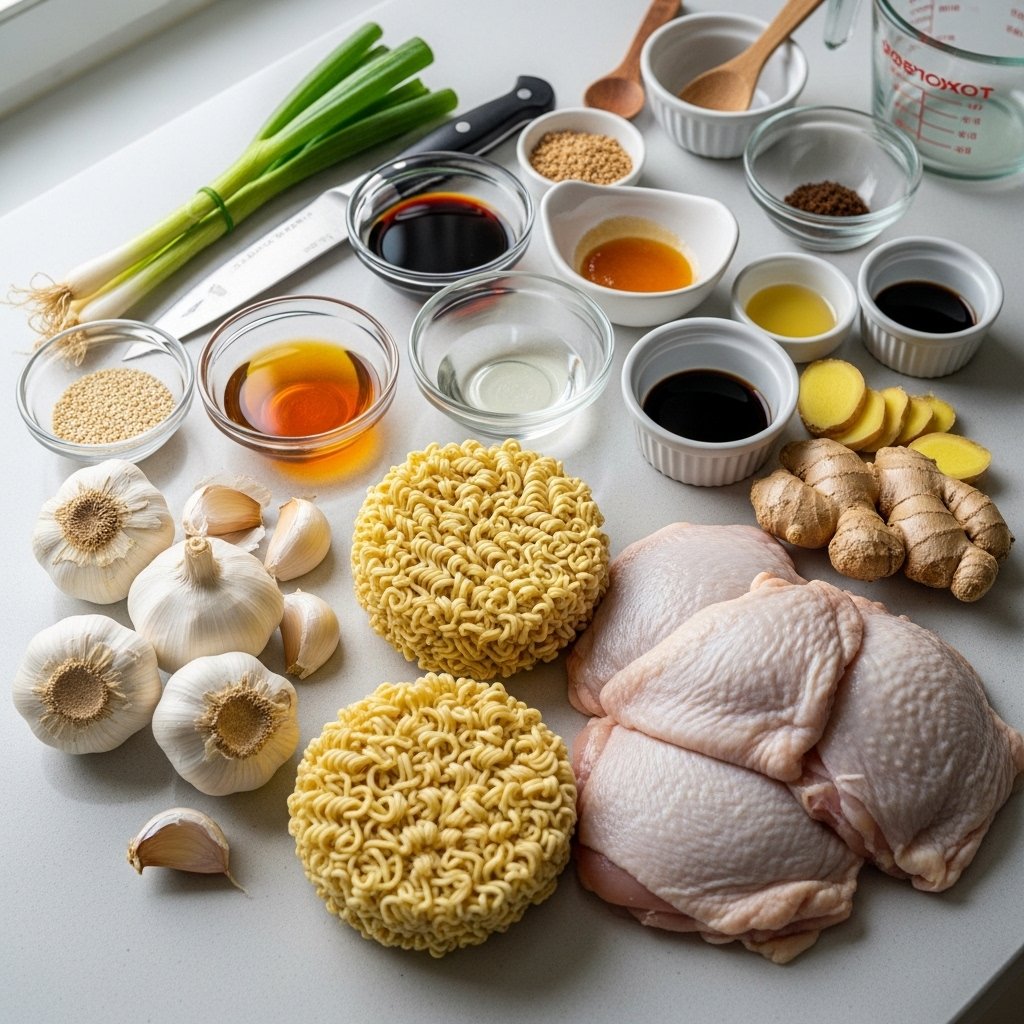
Ingredients for Sticky Garlic Chicken Noodles
To make this delicious dish, gather:
Main Ingredients
- 8 ounces noodles (lo mein, spaghetti, or rice noodles)
- 1 pound boneless skinless chicken thighs or breasts
- 1 tablespoon olive oil or sesame oil
- 4 garlic cloves, minced
- 1 teaspoon fresh ginger, grated
Sticky Garlic Sauce
- 1/4 cup soy sauce
- 2 tablespoons honey
- 1 tablespoon brown sugar
- 1 tablespoon oyster sauce
- 1 tablespoon rice vinegar
- 1 teaspoon sesame oil
- 1 teaspoon cornstarch mixed with 2 tablespoons water
For Garnish
- Green onions
- Sesame seeds
- Red pepper flakes (optional)
These ingredients create that glossy, flavorful sticky garlic sauce.
Ingredient Notes and Helpful Prep Tips
Best Noodles to Use
Great options:
- Lo mein noodles
- Udon
- Spaghetti
- Rice noodles
Choose noodles that:
- Hold sauce well
- Stay springy
Chicken Tip
Chicken thighs are ideal because:
- They stay juicy
- Cook quickly
- Add flavor
Sauce Tip
Mix sauce ahead:
- Saves time
- Prevents overcooking
This recipe moves quickly once cooking starts.
Step-by-Step Instructions
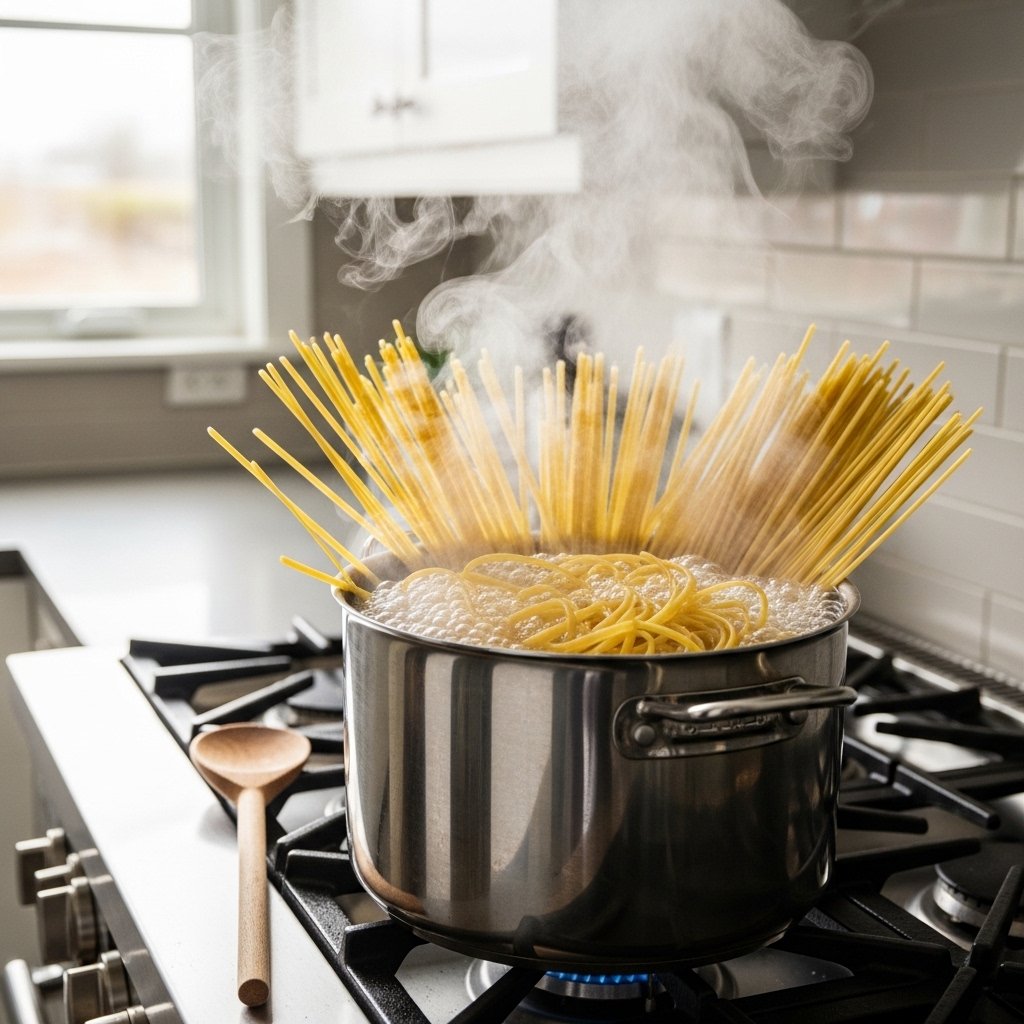
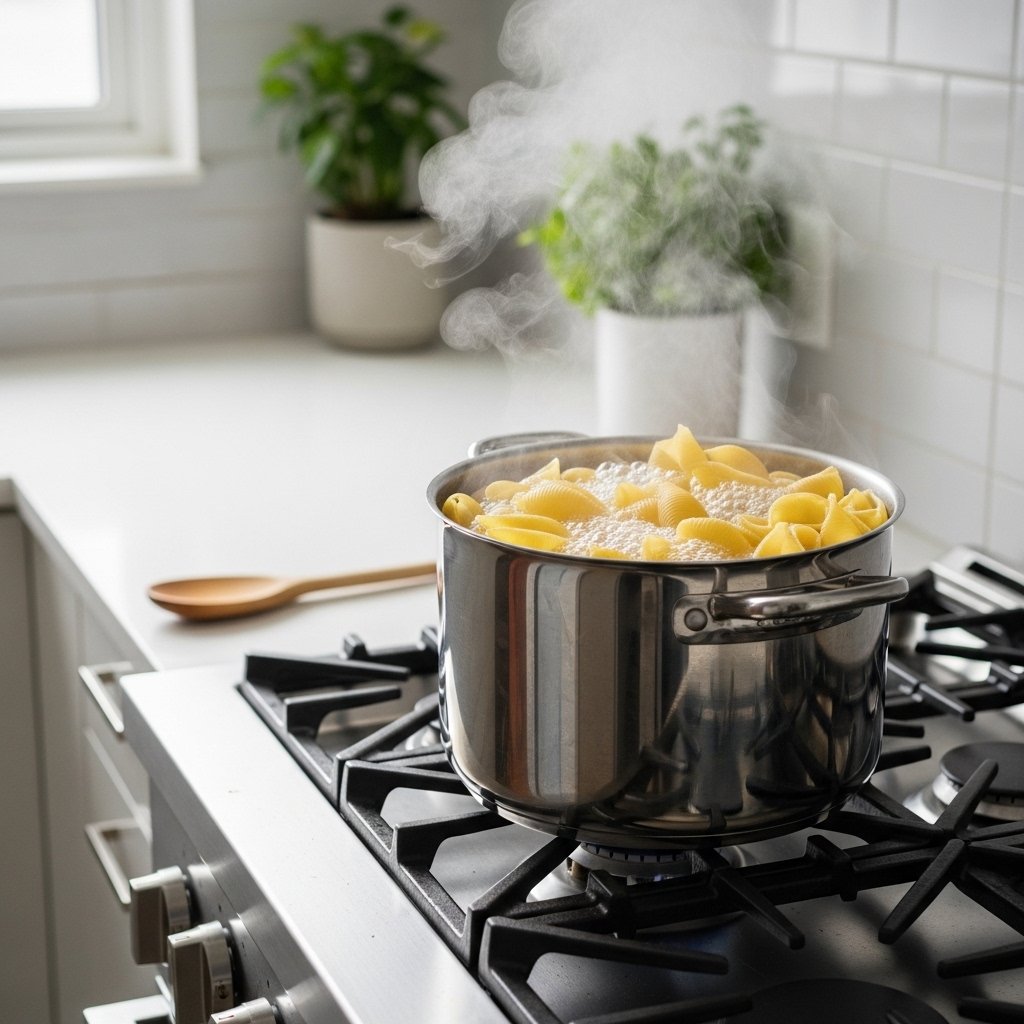
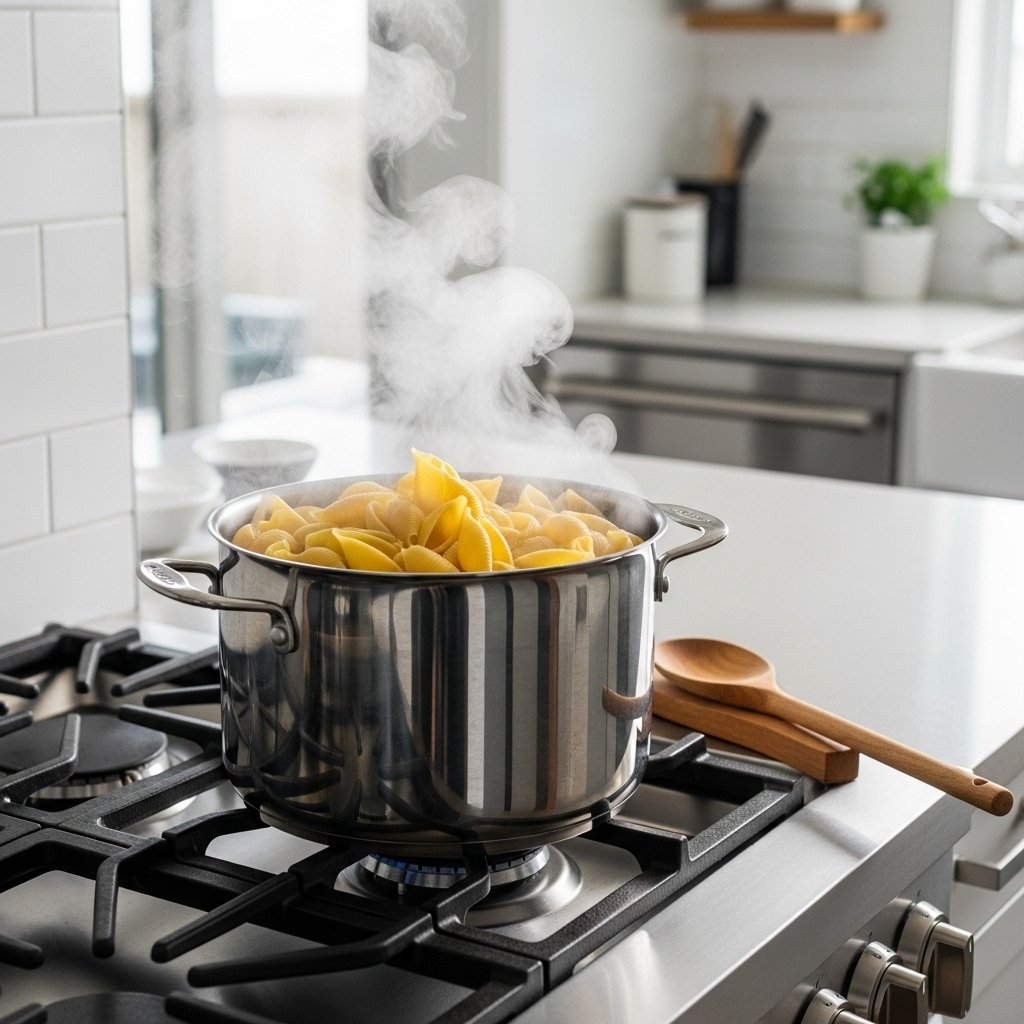
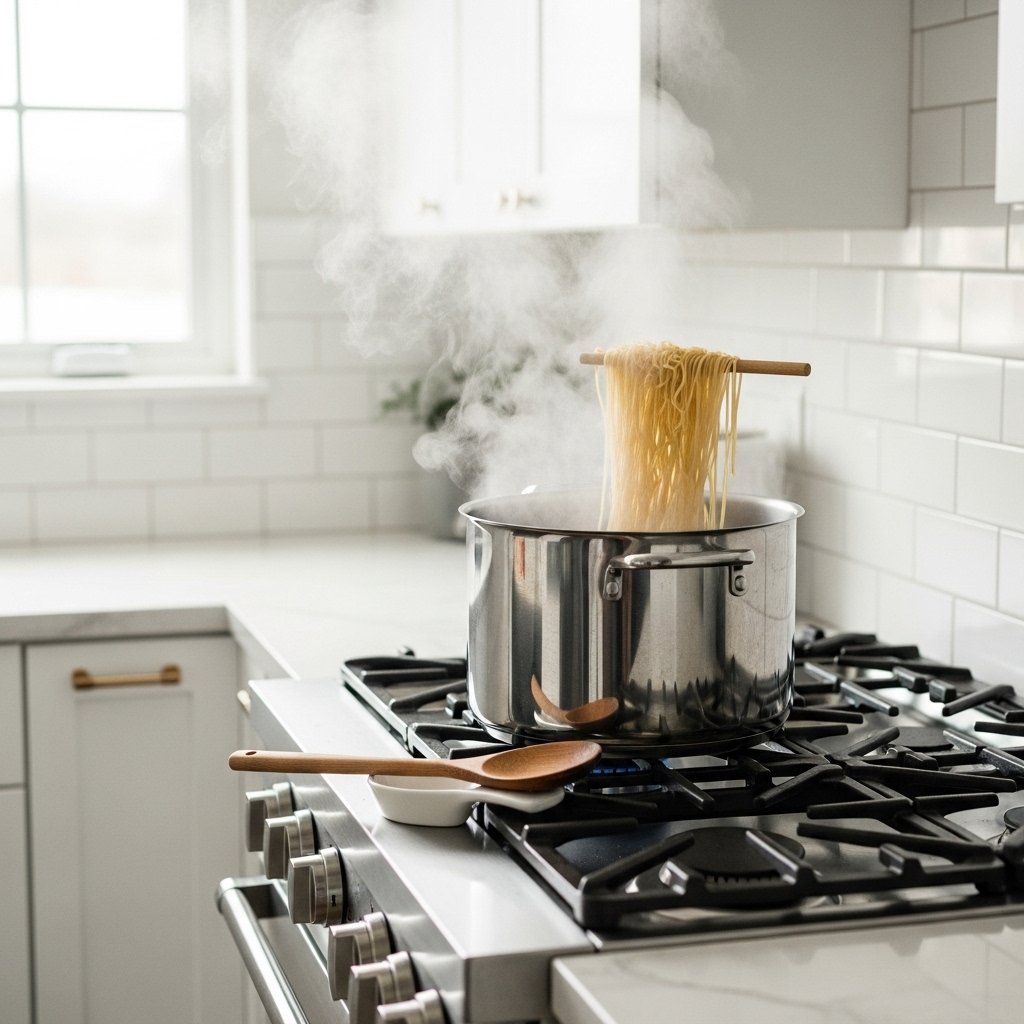
Step 1: Cook the Noodles
Bring water to a boil.
Cook noodles according to package directions until tender.
Before draining:
- Reserve a little noodle water
Drain and set aside.
This helps loosen the sauce later.
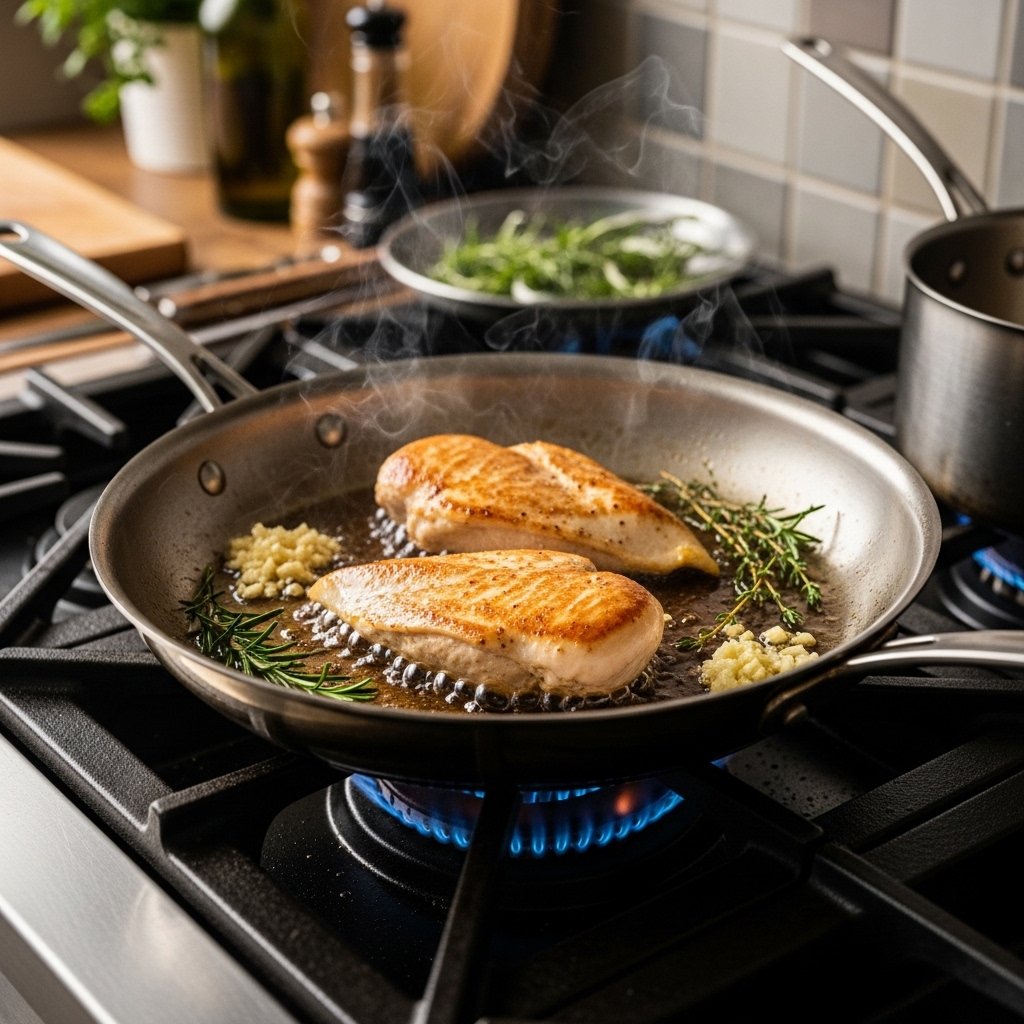
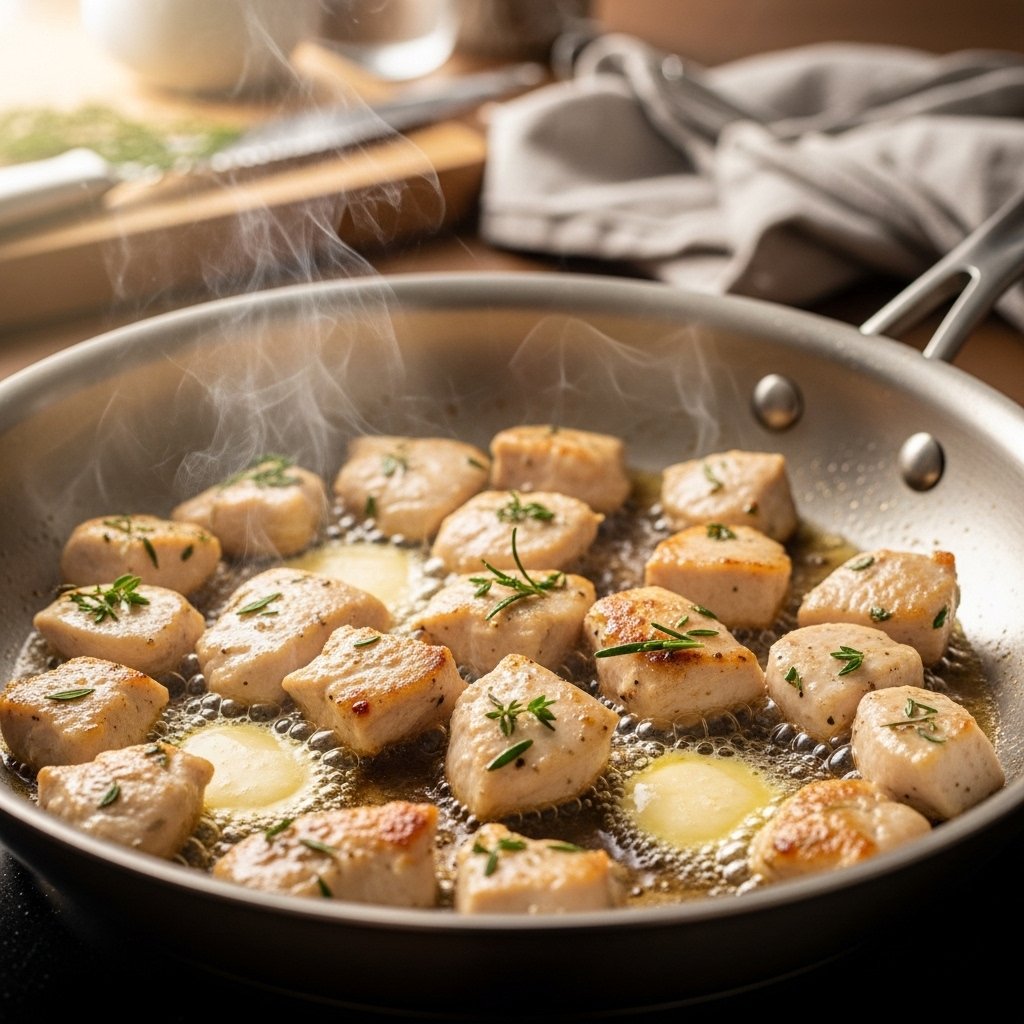
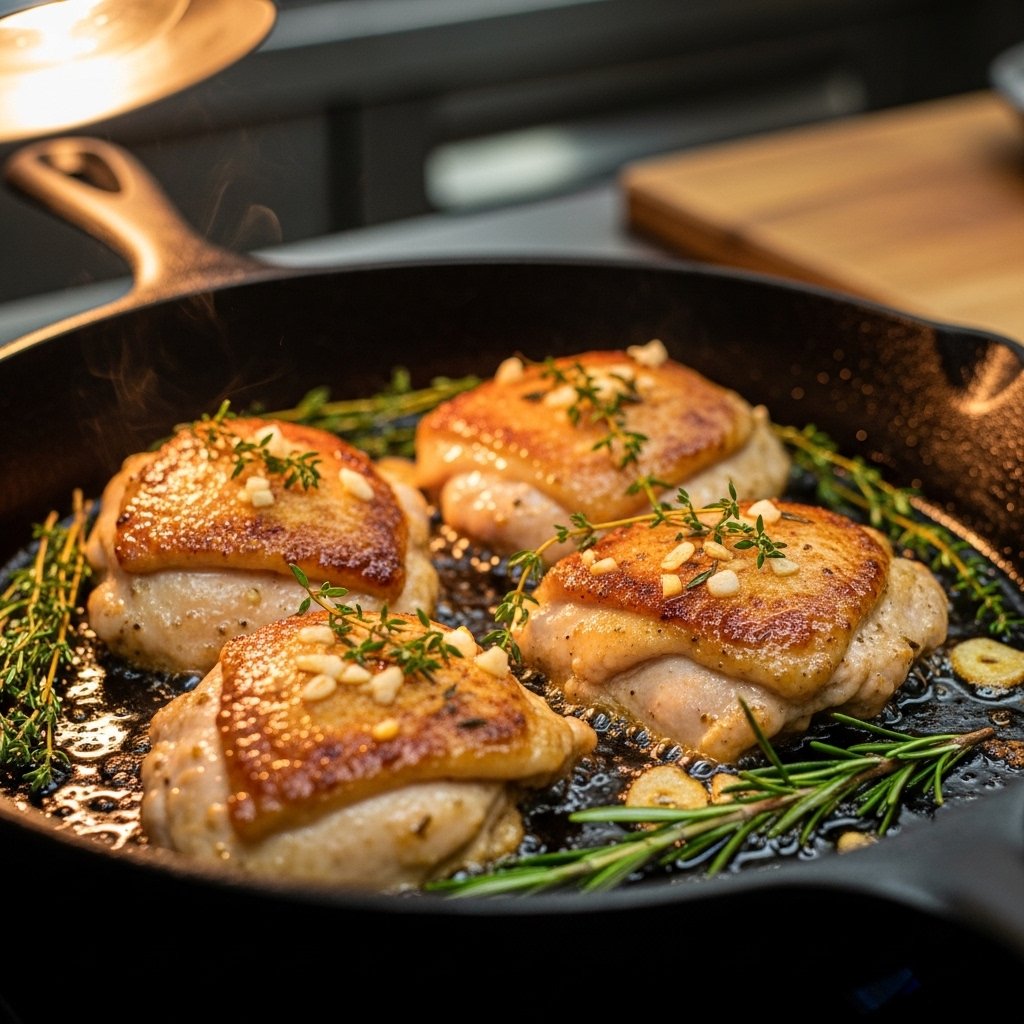
Step 2: Cook the Chicken
Slice chicken into bite-sized pieces.
Season lightly with:
- Salt
- Pepper
Heat oil in a large skillet or wok.
Cook chicken until:
- Golden brown
- Fully cooked
- Slightly caramelized
Remove and set aside.
This adds rich flavor.

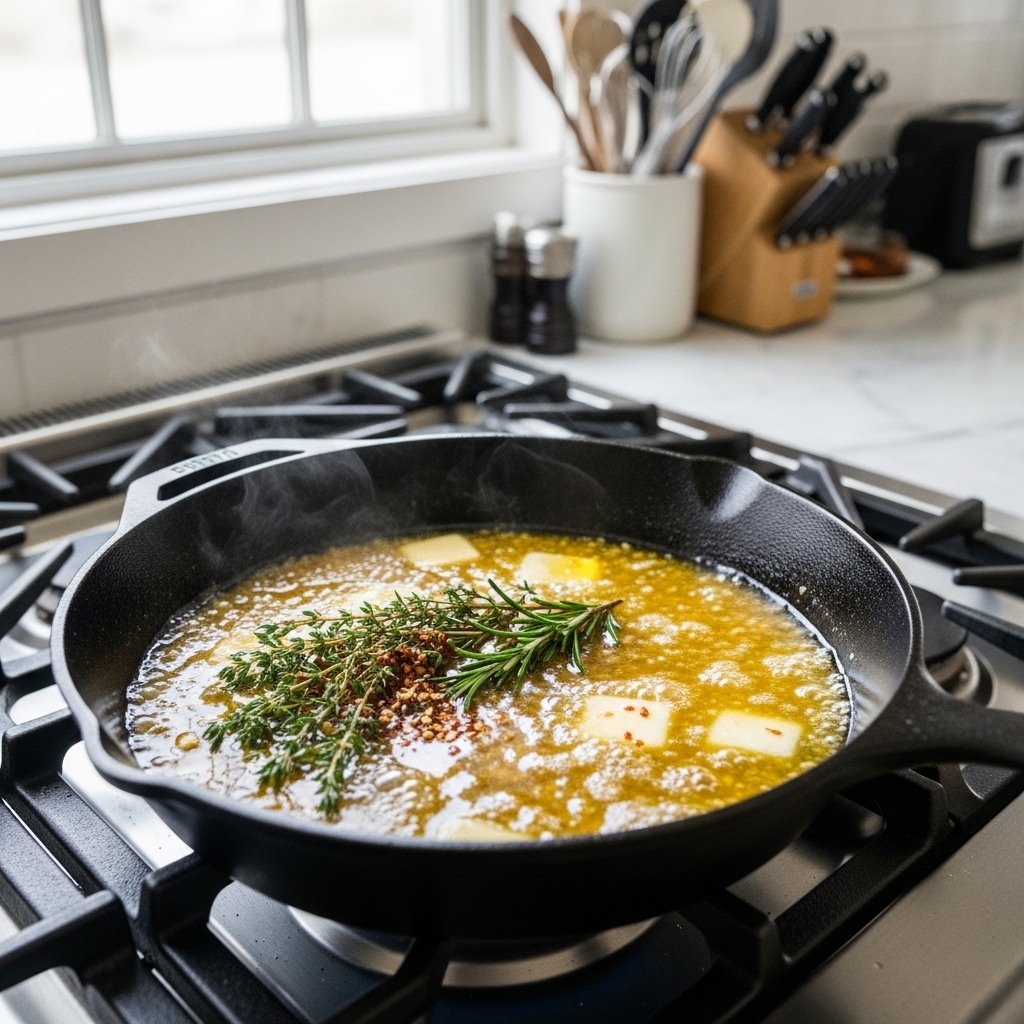
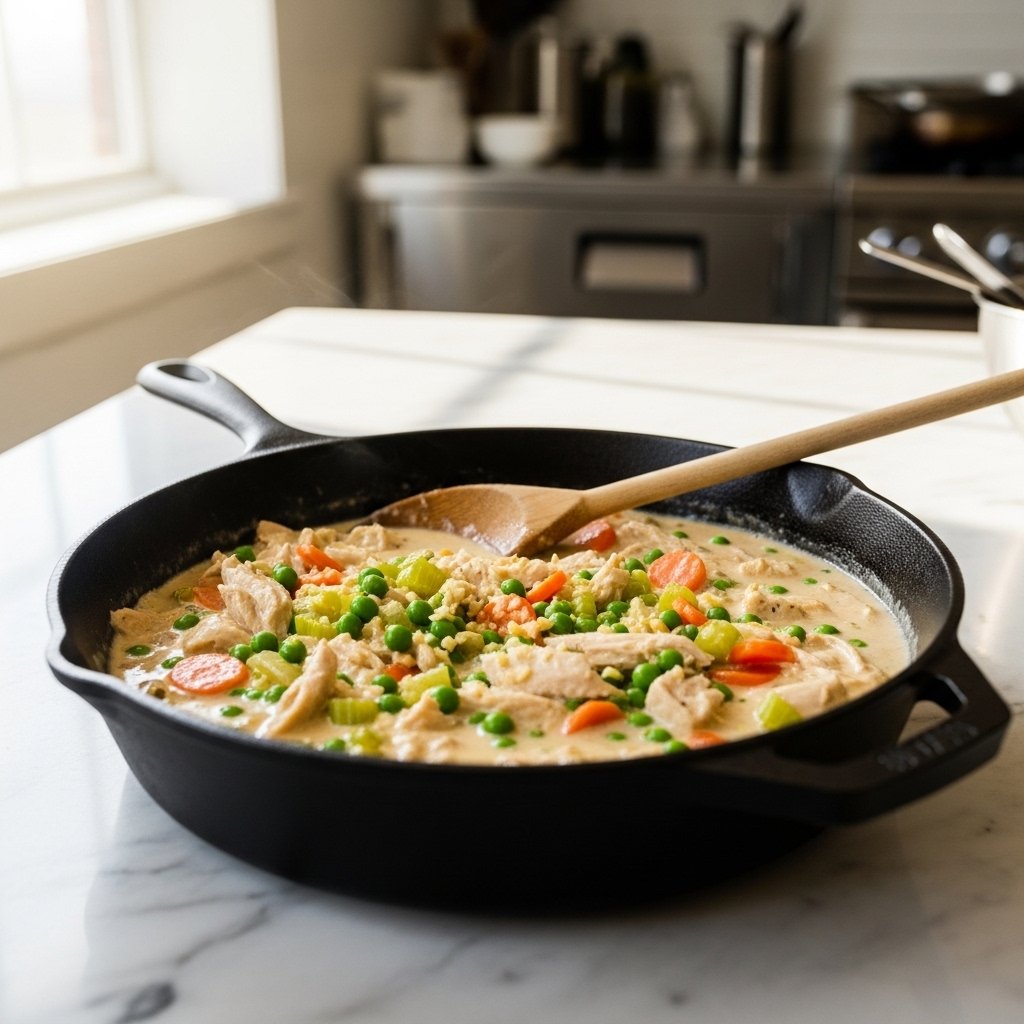
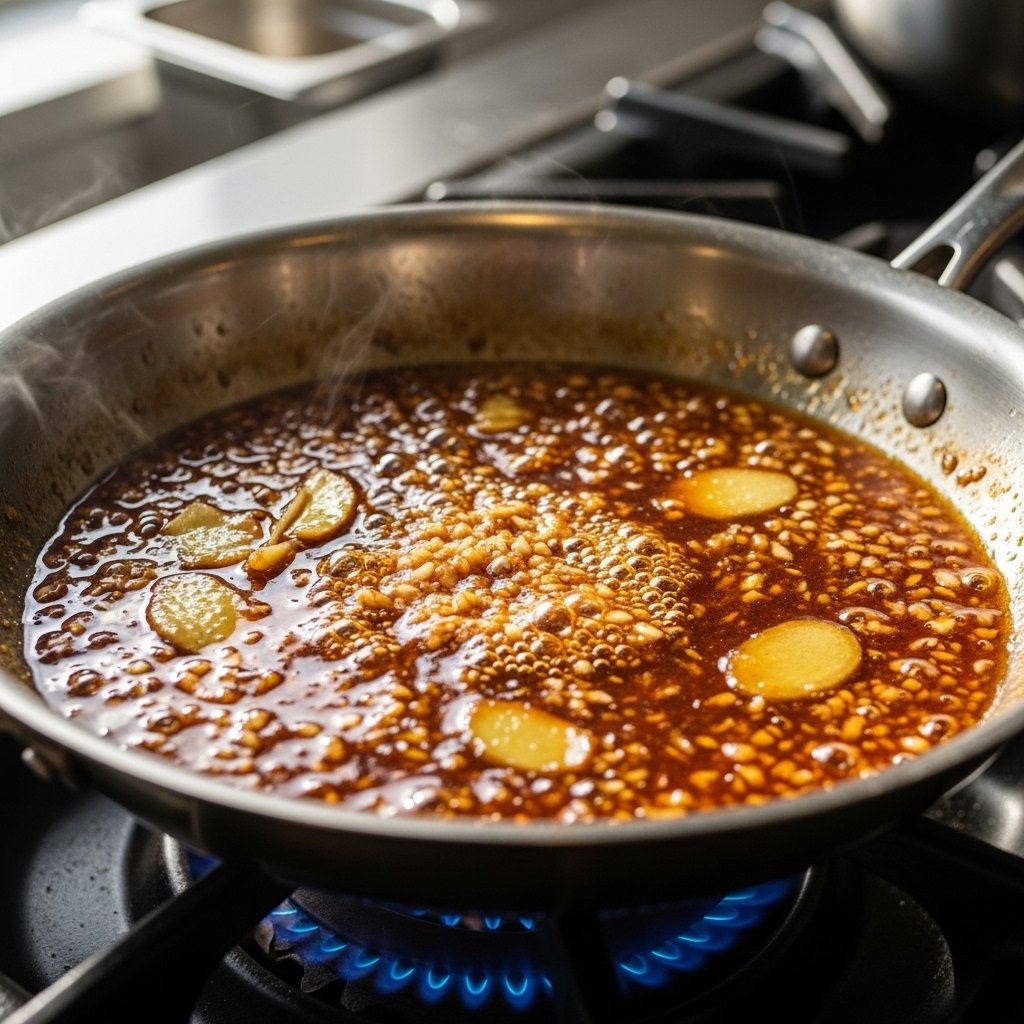
Step 3: Make the Sticky Garlic Sauce
In the same pan:
- Add garlic
- Add ginger
Cook briefly until fragrant.
Pour in:
- Soy sauce
- Honey
- Brown sugar
- Oyster sauce
- Vinegar
Simmer gently.
Add cornstarch slurry and stir.
Cook until:
- Thick
- Glossy
- Sticky
This sauce is the star of the dish.
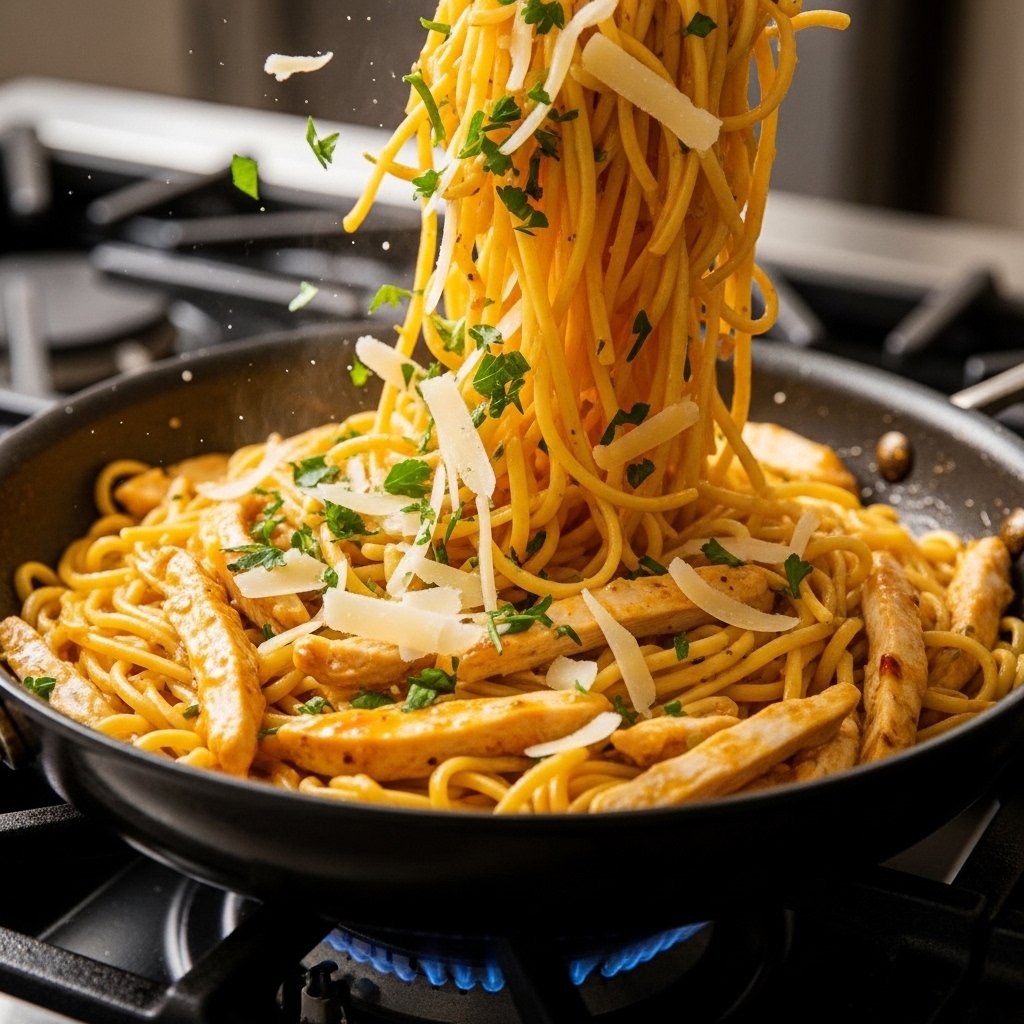
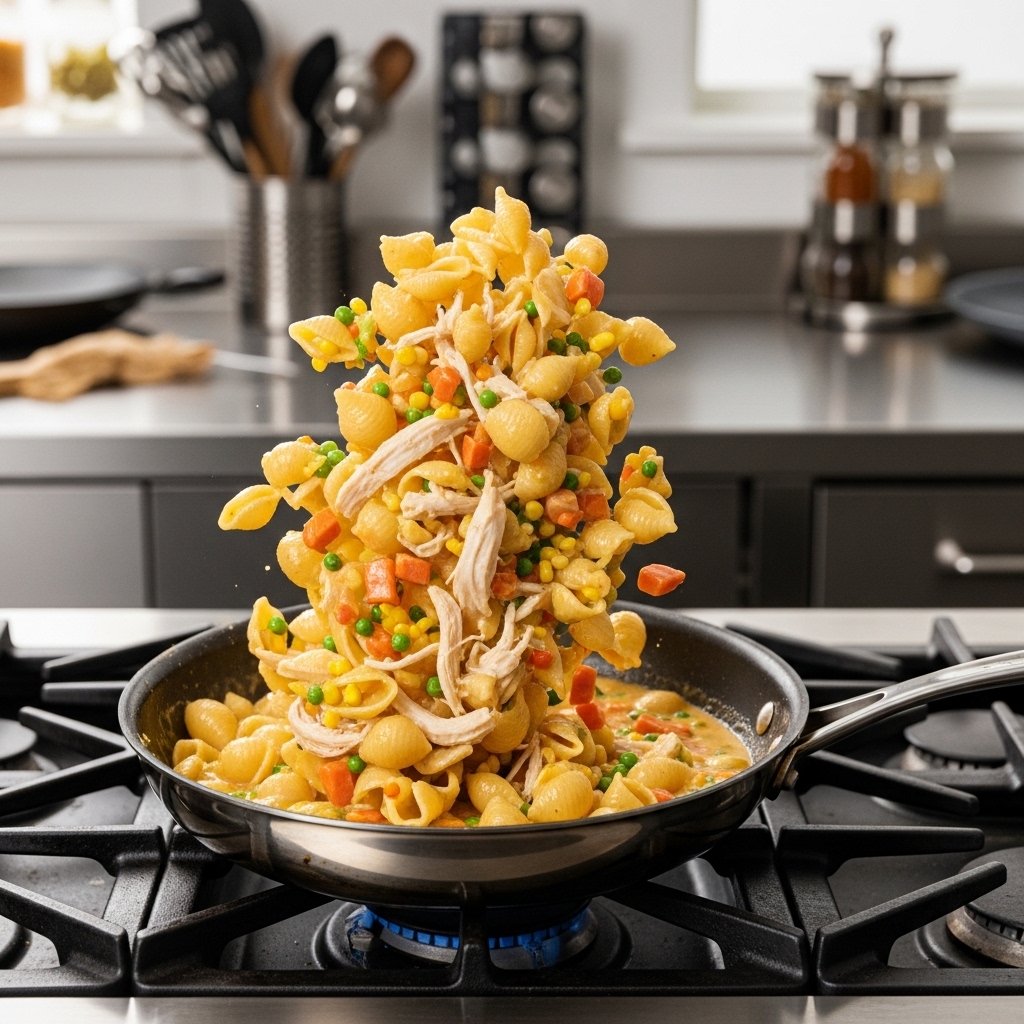
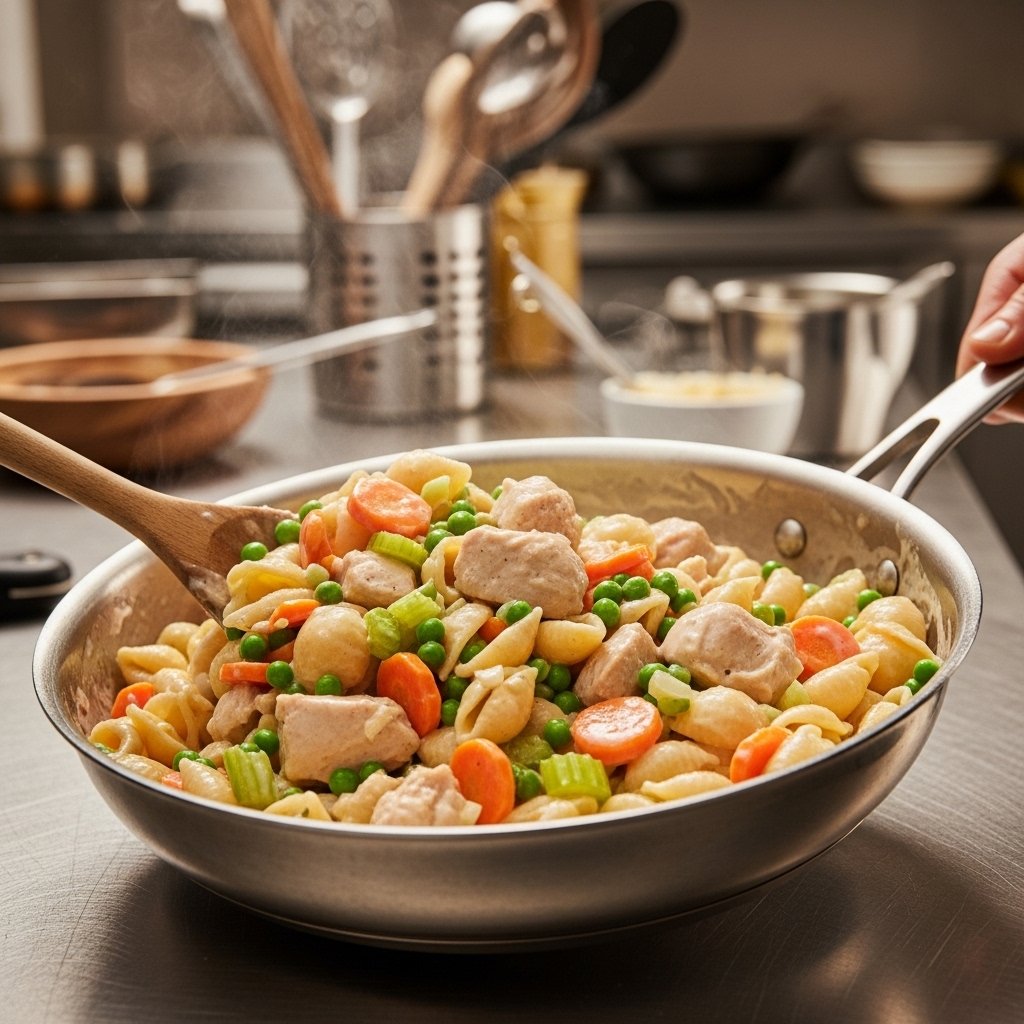
Step 4: Toss Everything Together
Return chicken to skillet.
Add cooked noodles.
Toss until:
- Evenly coated
- Glossy
- Heated through
Add splash noodle water if needed.
Top with:
- Green onions
- Sesame seeds
Serve immediately.
Tips for Perfect Sticky Garlic Chicken Noodles
For the best results:
- Don’t overcook noodles
- Prep sauce first
- Cook chicken in batches if needed
- Use fresh garlic
- Toss while hot
These details improve texture and flavor.
Variations and Customizations
This recipe is easy to adapt.
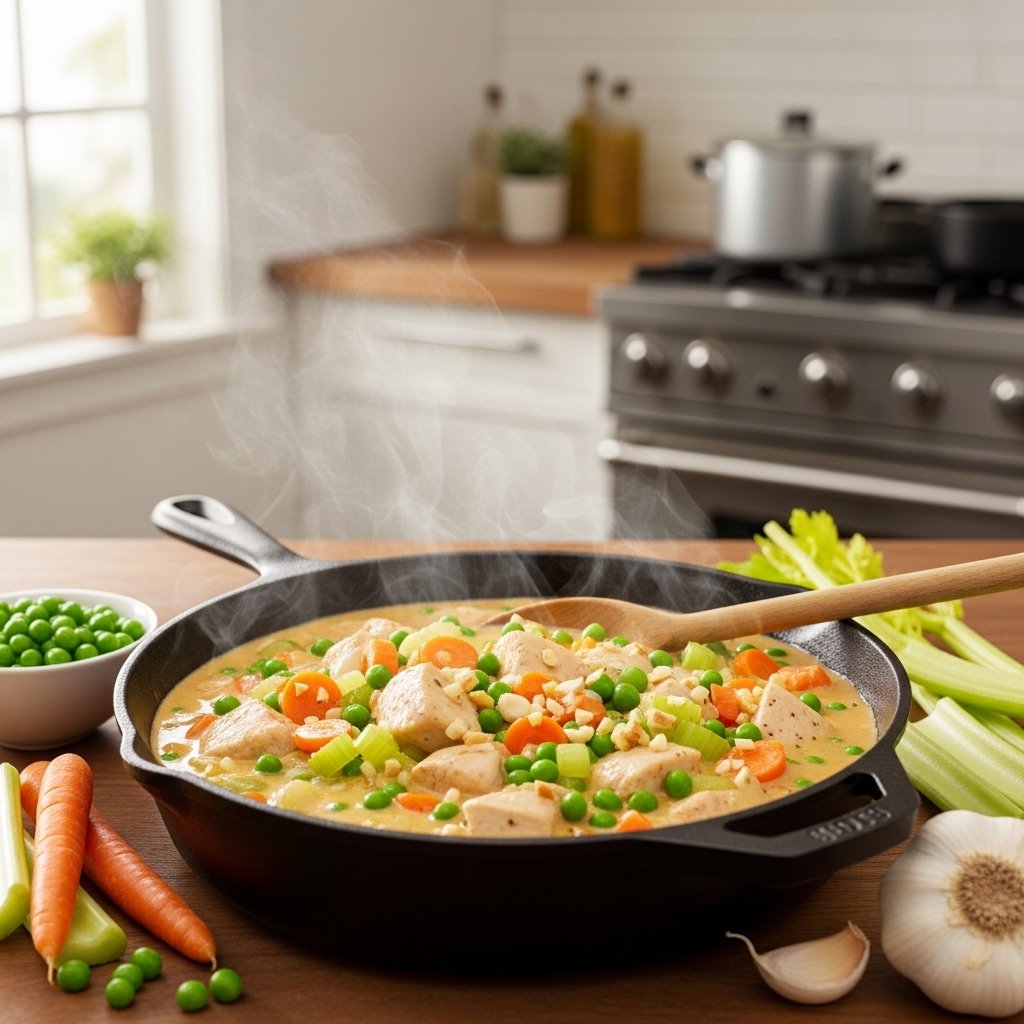
Add Vegetables
- Broccoli
- Bell peppers
- Snap peas
- Mushrooms
Protein Swaps
- Shrimp
- Tofu
- Beef
Heat Boost
- Chili garlic sauce
- Sriracha
- Red pepper flakes
This keeps the recipe fresh and exciting.
What to Serve with Sticky Garlic Chicken Noodles
This dish pairs well with:
- Steamed dumplings
- Cucumber salad
- Stir-fried vegetables
- Egg rolls
Perfect for:
- Weeknight dinners
- Casual entertaining
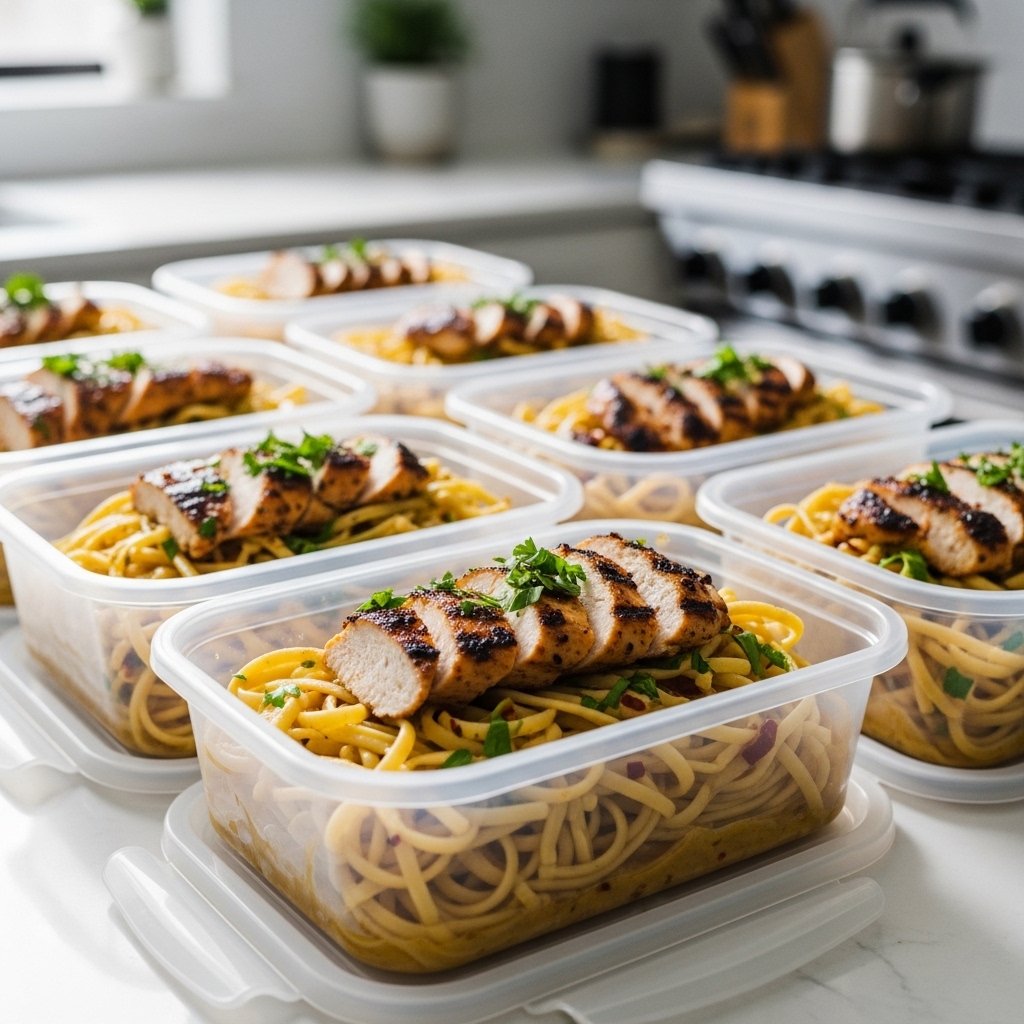
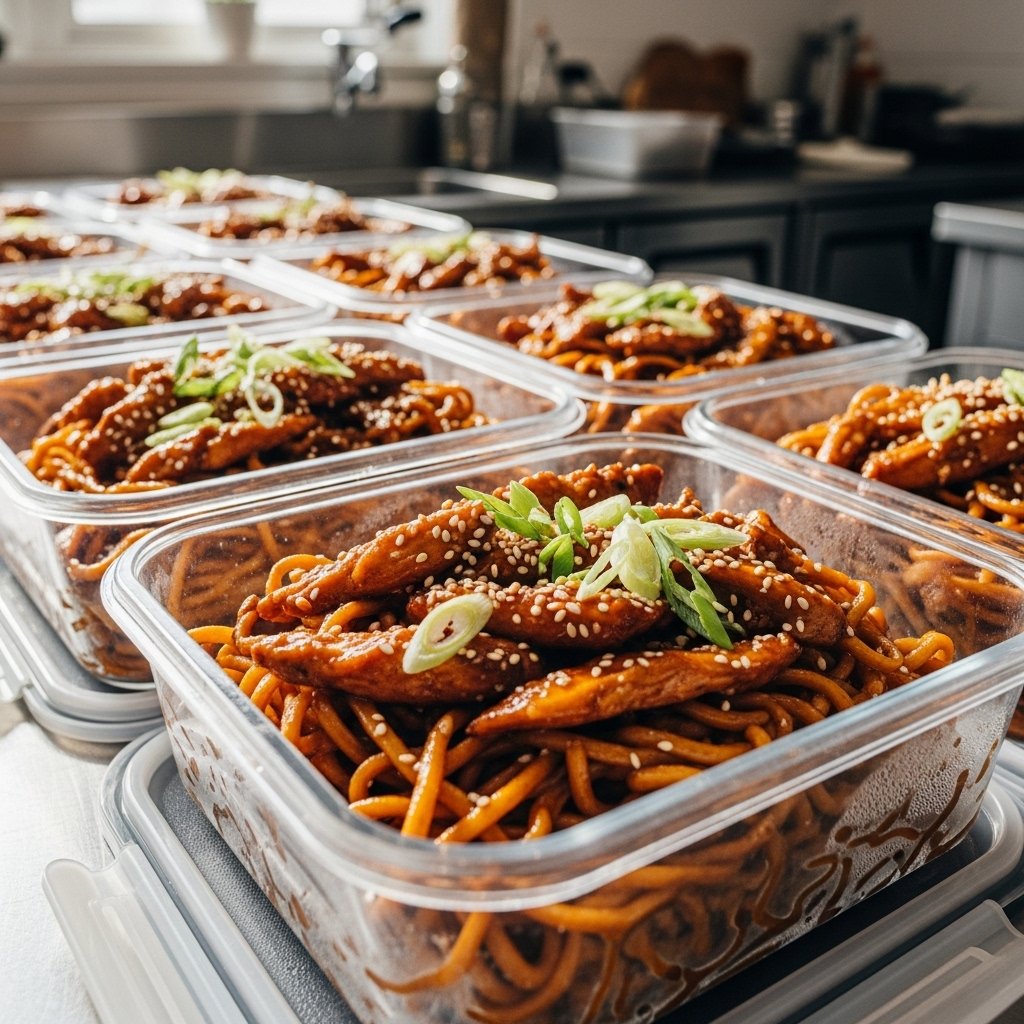
- Meal prep lunches
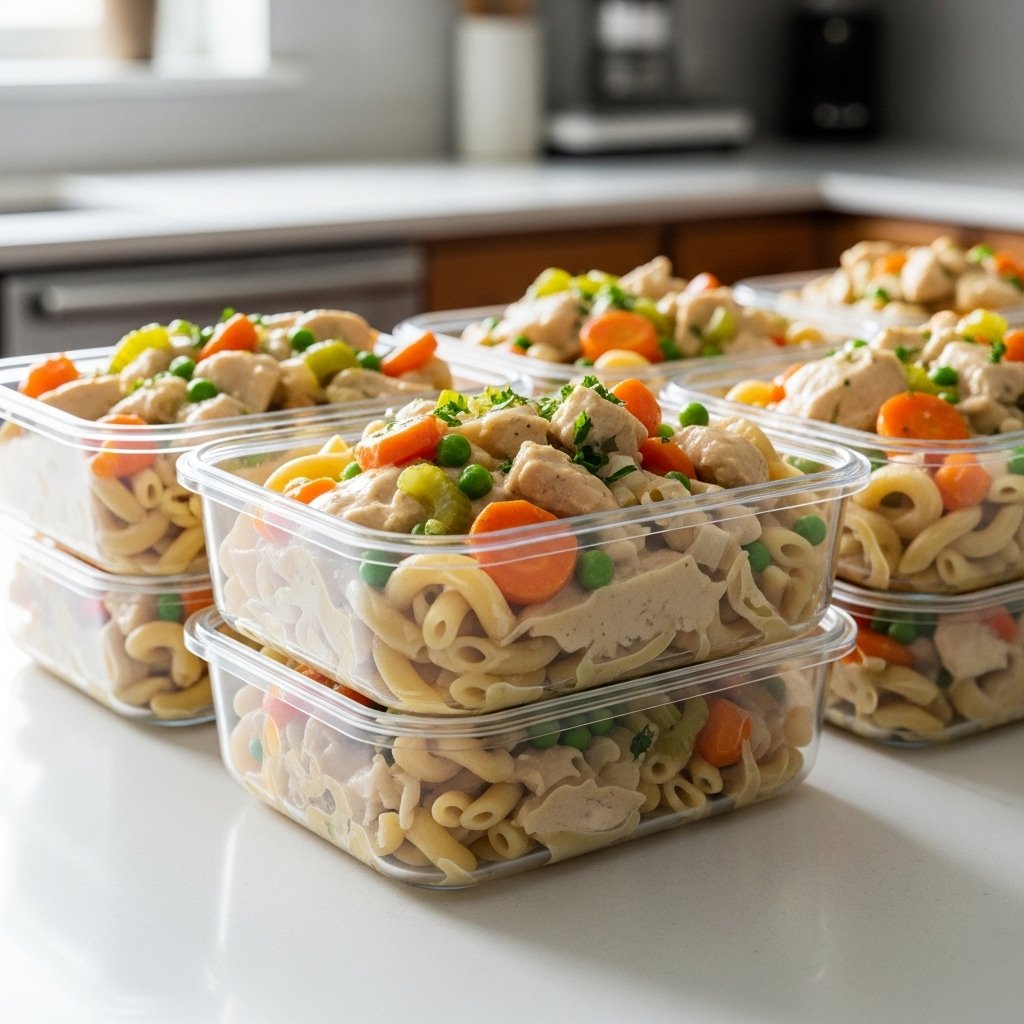
Storage and Reheating Tips
Sticky garlic chicken noodles store well.
Refrigerator
- Store up to 4 days
Reheat
- Add splash water or broth
- Reheat gently in skillet
This helps restore sauce texture.
Common Mistakes to Avoid
To make the best sticky garlic chicken noodles:
- Don’t overcook noodles
- Don’t burn garlic
- Don’t overcrowd pan
- Don’t skip sauce thickener
- Don’t let noodles sit too long
Timing is everything.
Frequently Asked Questions
Can I use spaghetti?
Yes, it works surprisingly well.
Can I make this ahead?
Yes, it reheats beautifully.
Is this spicy?
Not unless you add heat.
Can I make it gluten-free?
Yes, use gluten-free noodles and tamari.
Can I freeze it?
It’s best fresh, but leftovers keep well.
Final Thoughts
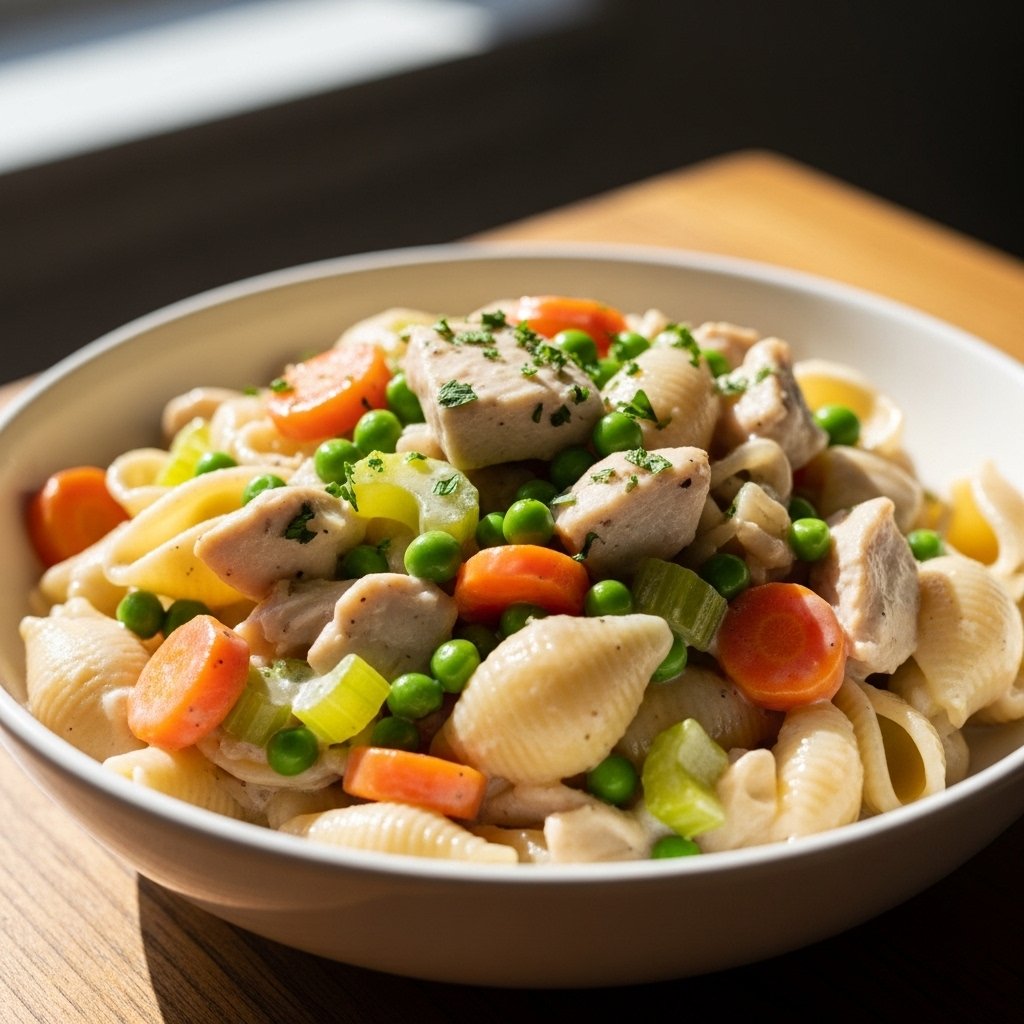
This sticky garlic chicken noodles recipe is everything a great weeknight dinner should be: easy, comforting, flavorful, and fast. The glossy garlic sauce, tender chicken, and perfectly coated noodles make every bite satisfying.
Whether you’re feeding your family, craving takeout flavors at home, or meal prepping for the week, this dish is guaranteed to become a repeat favorite. Once you make it, don’t be surprised if it earns a permanent spot in your dinner rotation.