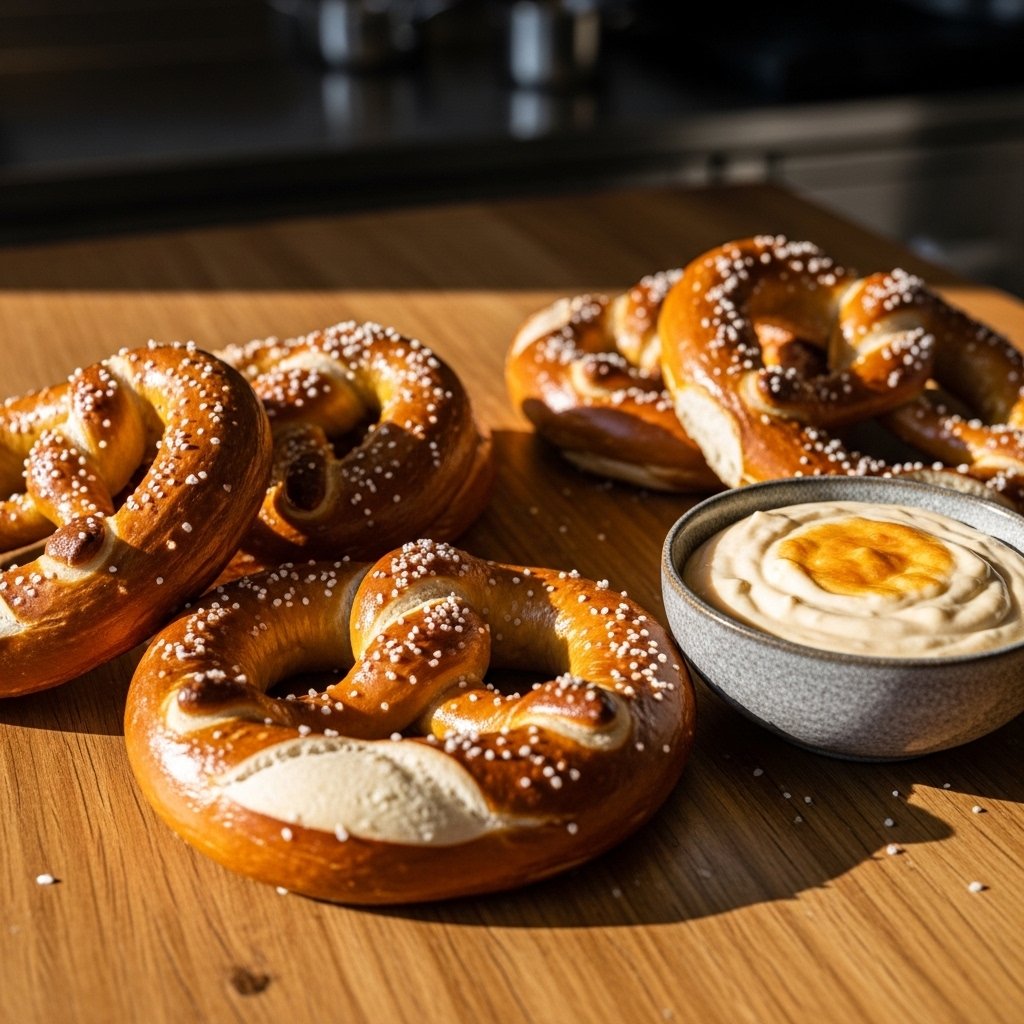
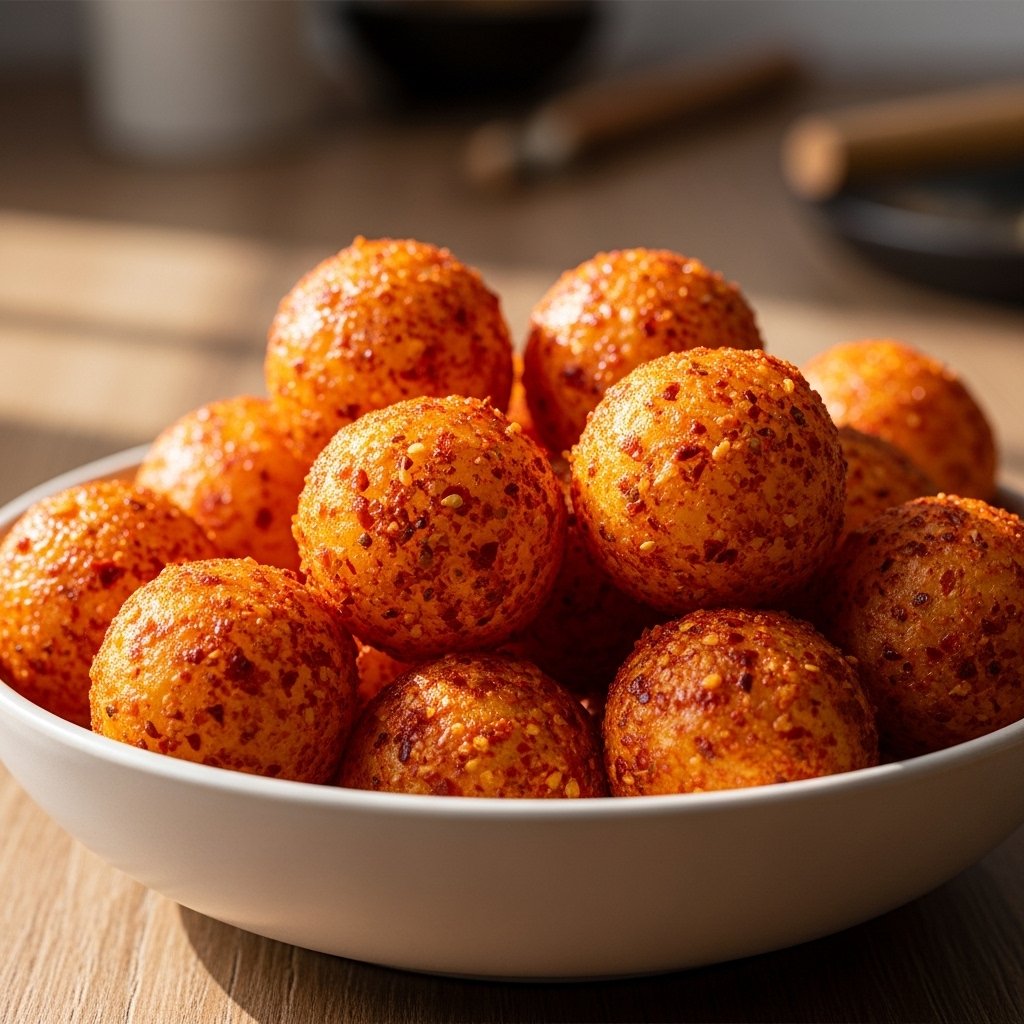
If you’ve ever wondered how to make Hot Cheetos at home, you’re in for a fun and flavorful treat. These iconic spicy snacks are known for their bold heat, cheesy coating, and addictive crunch—but making them yourself means you can control the ingredients, spice level, and freshness.
This homemade version captures everything you love about the original while adding a personal touch. Whether you’re making them for a party, movie night, or just to satisfy a craving, learning how to make Hot Cheetos is easier than you might think.
Why You’ll Love This Recipe
Making your own Hot Cheetos at home comes with plenty of benefits. Not only are they fun to make, but they’re also customizable and incredibly satisfying.
Here’s why you’ll love this recipe:
- Control the spice level
- Use simple, pantry-friendly ingredients
- Fresh and crispy texture
- No artificial additives
- Perfect for snacking or sharing
Once you learn how to make Hot Cheetos, you may never go back to store-bought.
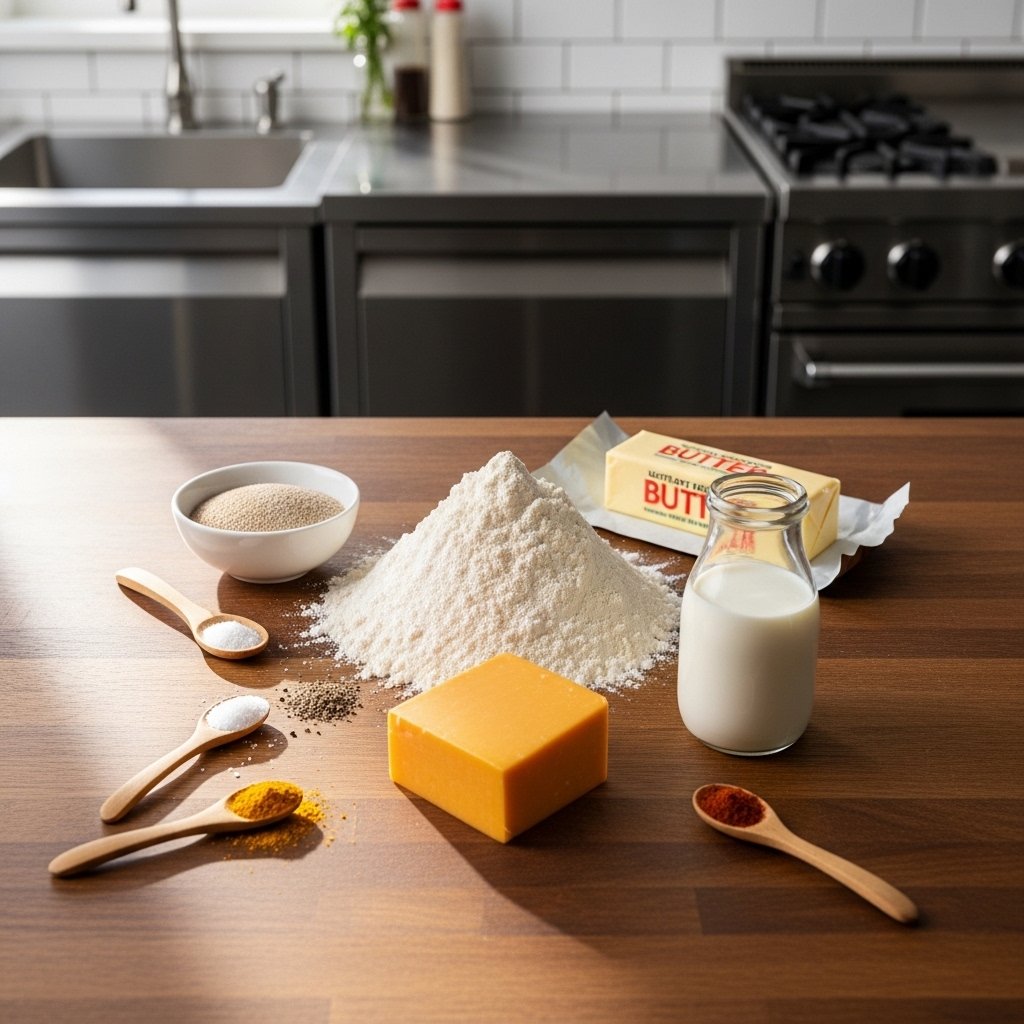
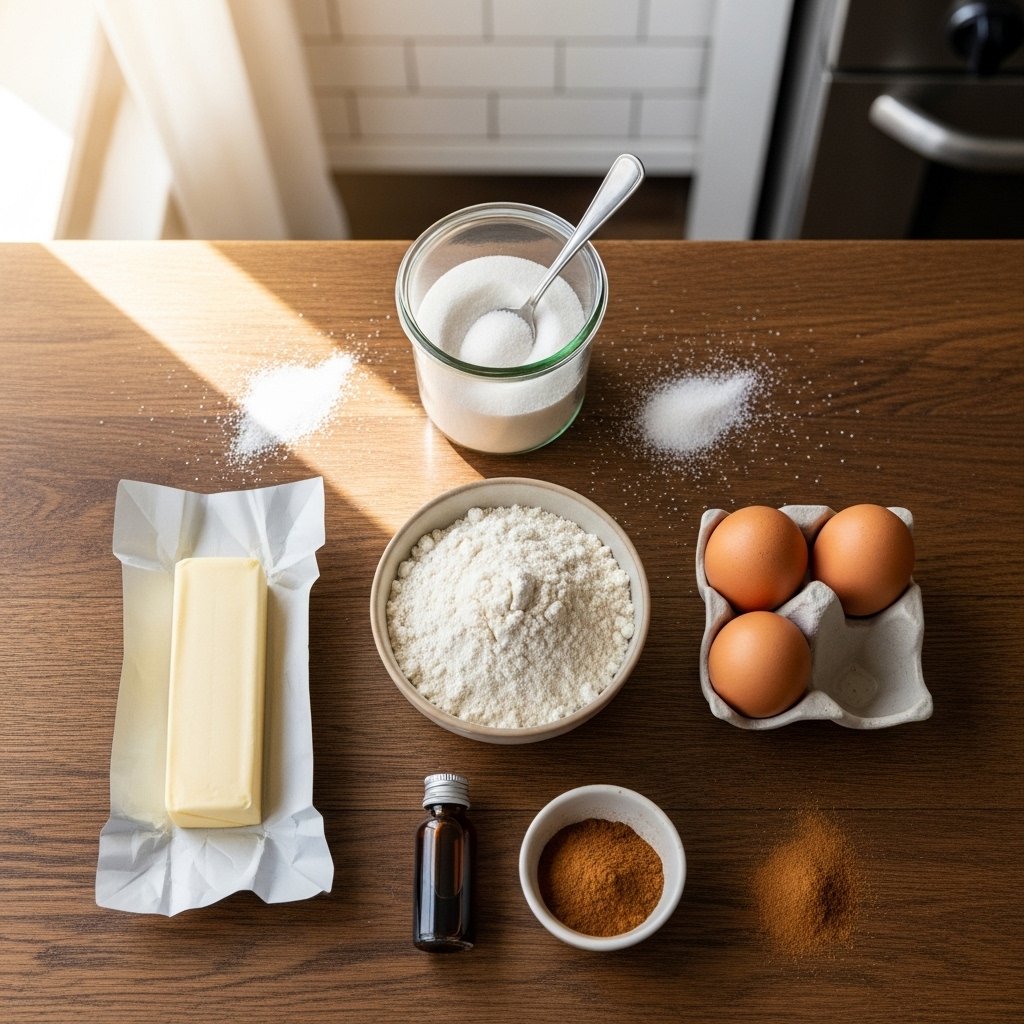
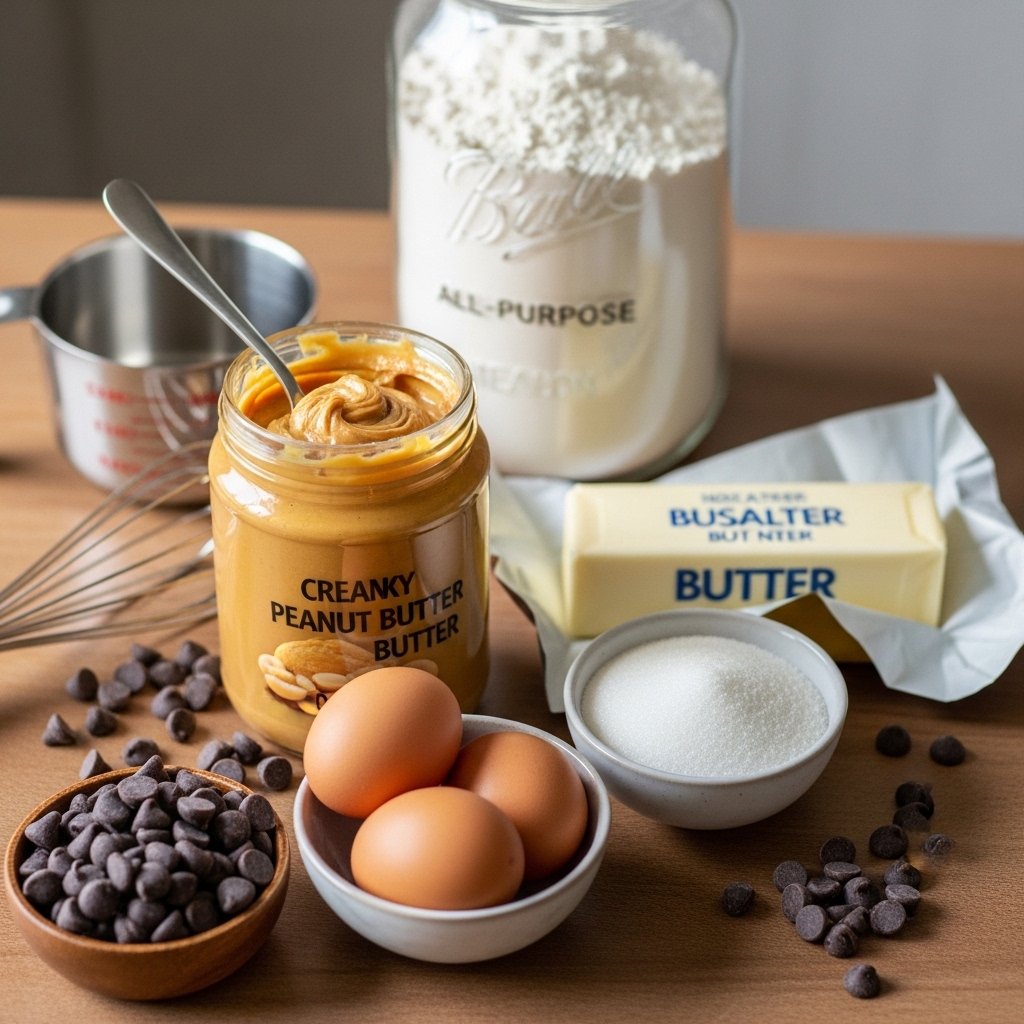
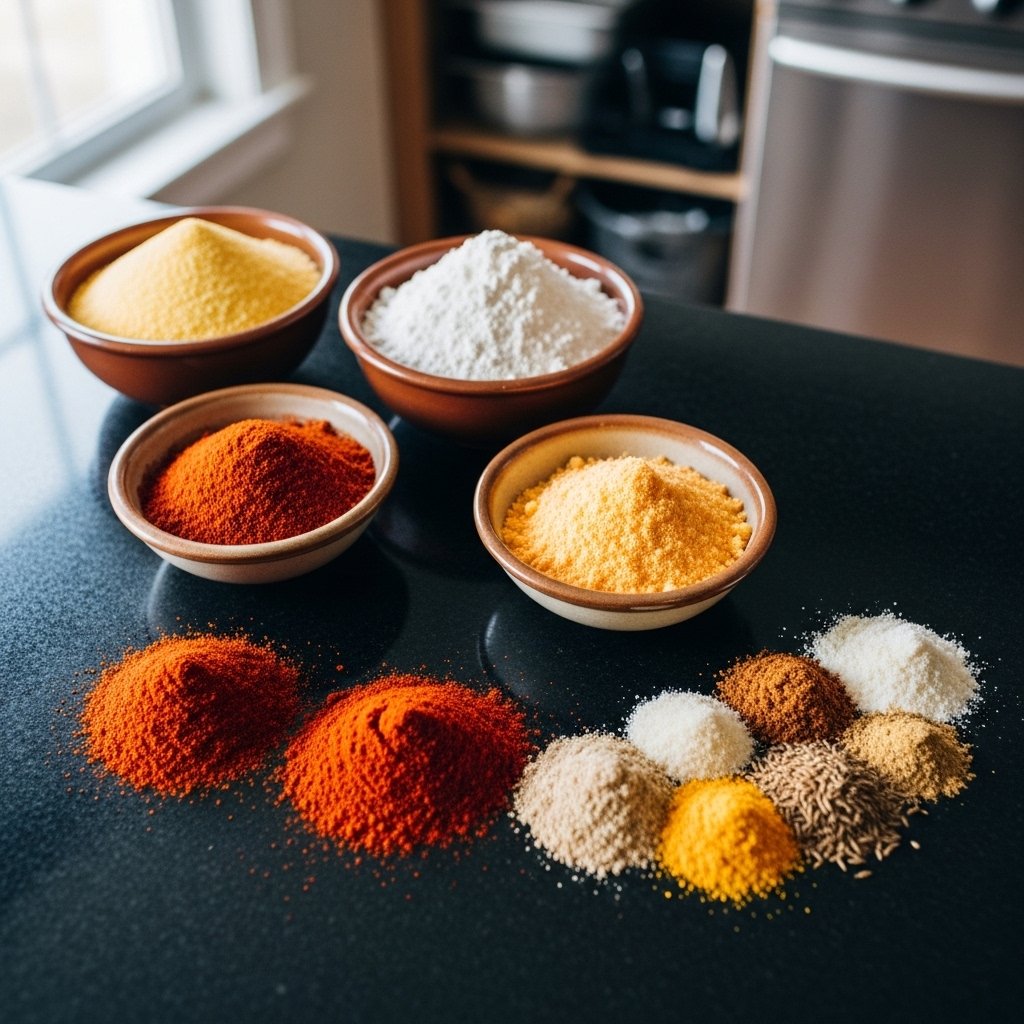
Ingredients
To make homemade Hot Cheetos, you’ll need:
For the Base:
- Cornmeal
- Flour
- Baking powder
- Salt
- Water
For the Coating:
- Cheese powder or finely grated cheese
- Chili powder
- Paprika
- Cayenne pepper
- Garlic powder
- Oil or melted butter
These ingredients come together to create that signature spicy, cheesy coating.
Ingredient Notes & Substitutions
Cheese Powder
Gives the classic flavor—can substitute with finely grated cheddar.
Spice Blend
Adjust chili and cayenne levels to control heat.
Oil
Helps the seasoning stick and enhances flavor.
Cornmeal
Creates the signature crunchy texture.
These adjustments make your homemade Hot Cheetos flexible and customizable.
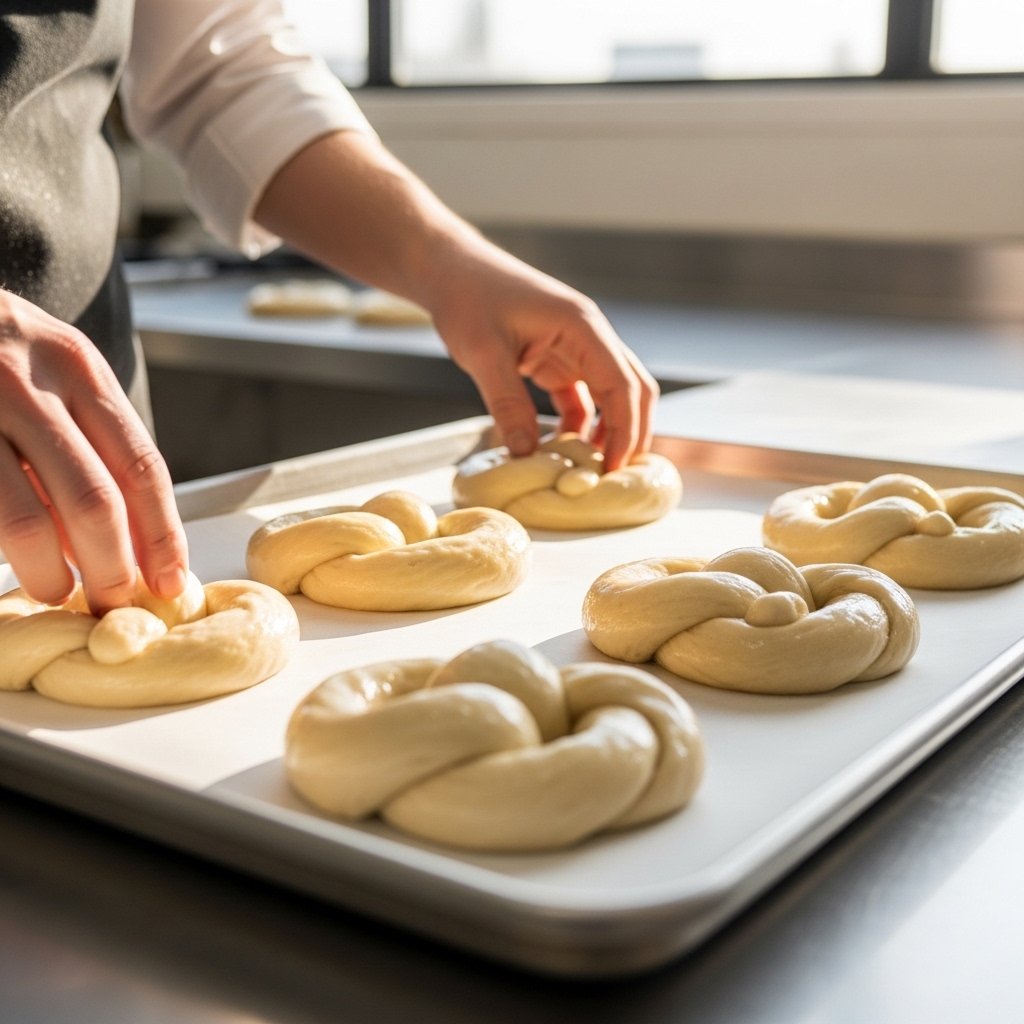
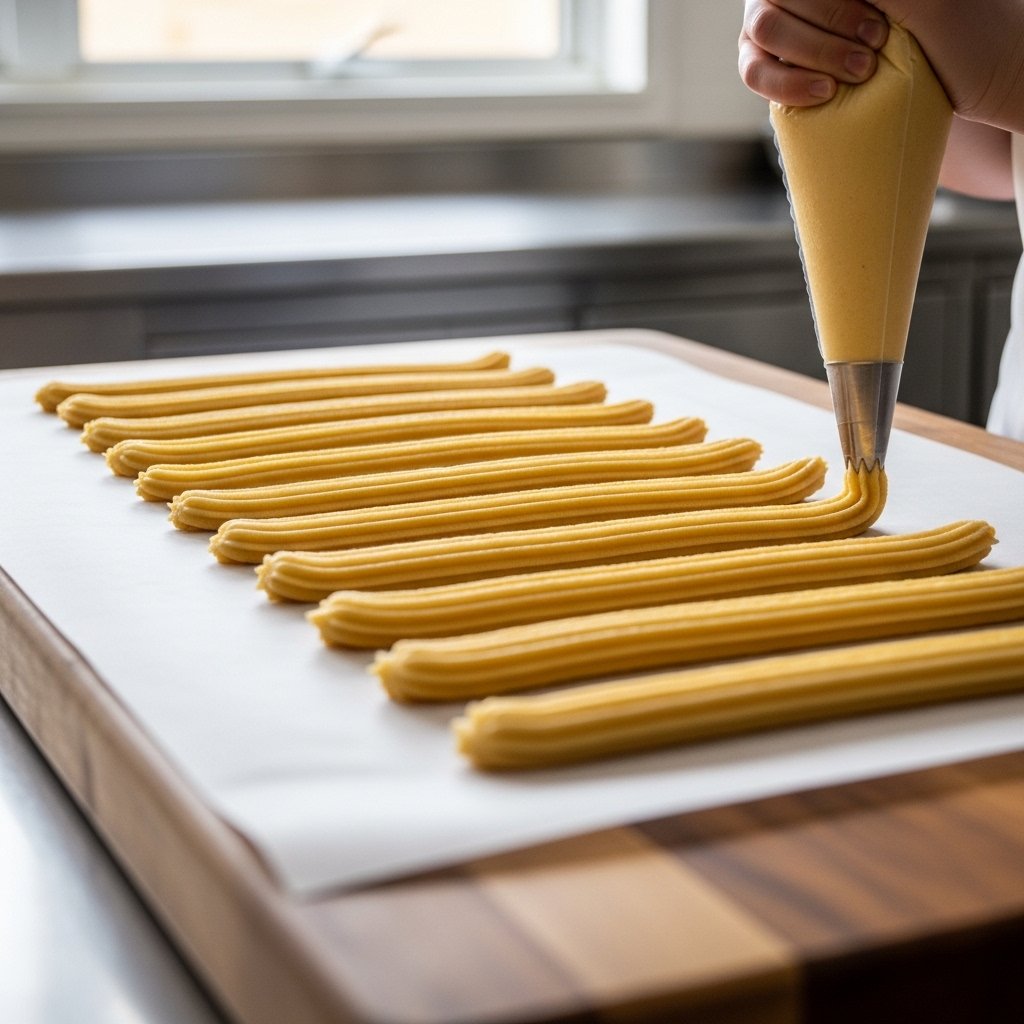
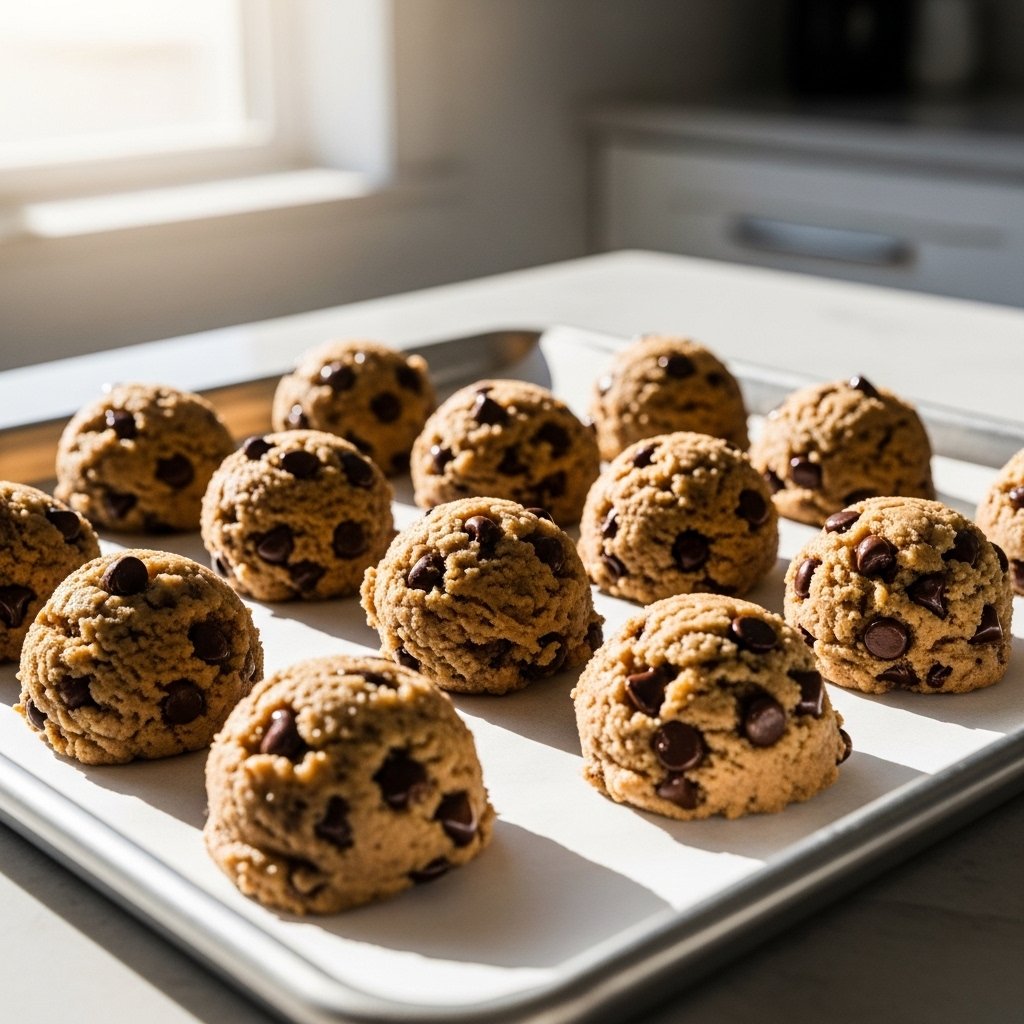
Step-by-Step Instructions
Step 1: Make the Dough
Mix cornmeal, flour, baking powder, and salt. Add water to form a dough.
Step 2: Shape the Snacks
Roll dough into small sticks or puff shapes.
Step 3: Cook Until Crispy
Bake or fry until golden and crispy.
Step 4: Prepare the Coating
Mix cheese powder, spices, and oil or butter.
Step 5: Toss and Coat
Toss warm snacks in the spicy cheese mixture until fully coated.

Tips for Perfect Results
To master how to make Hot Cheetos, keep these tips in mind:
- Coat snacks while still warm for best flavor
- Don’t overcrowd during cooking
- Use fine spices for even coating
- Adjust spice gradually to taste
These tips ensure your homemade version is just as addictive.
Variations to Try
Mild Version
Reduce cayenne for a kid-friendly snack.
Extra Spicy
Add hot sauce or more chili powder.
Baked Option
Skip frying and bake for a lighter version.
Cheesy Twist
Add extra cheese powder for bold flavor.
These variations keep your Hot Cheetos recipe exciting and versatile.
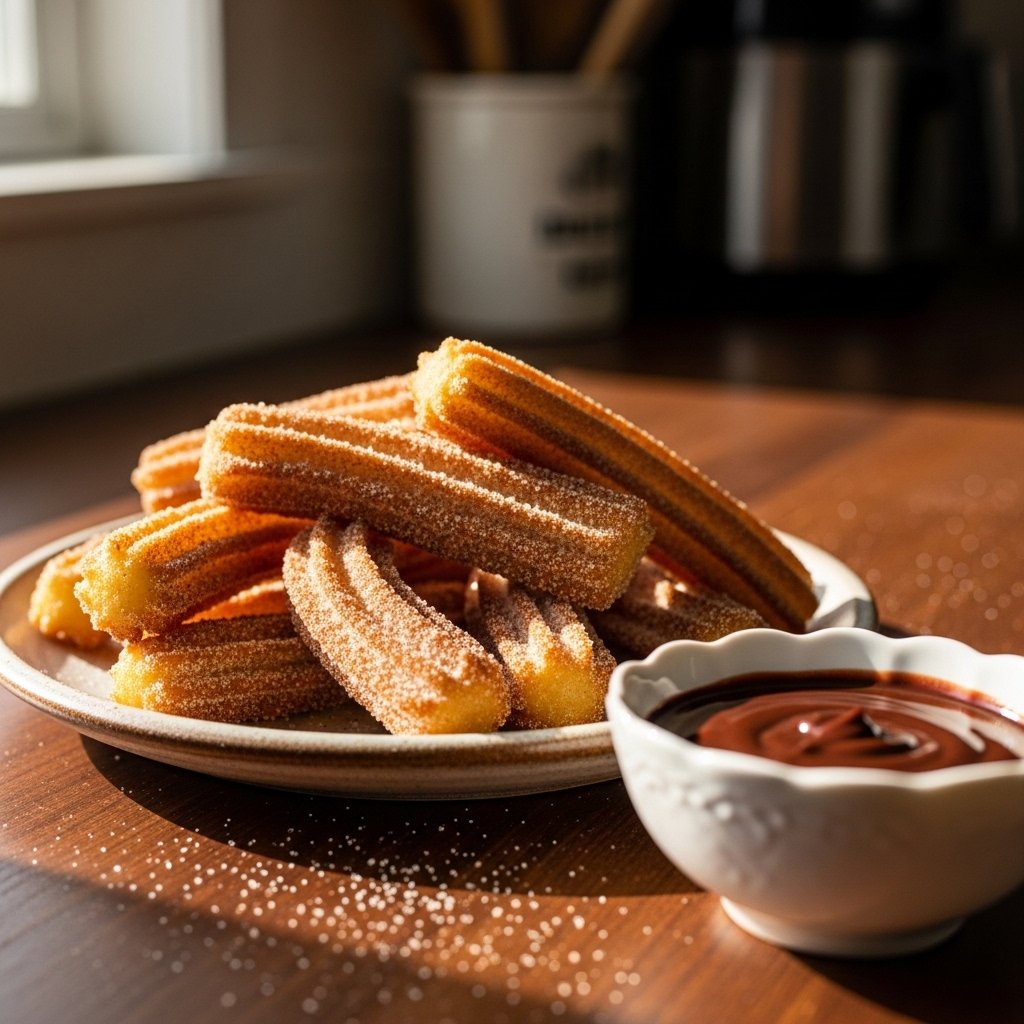
What to Serve With It
Pair your homemade Hot Cheetos with:
- Dips like ranch or cheese sauce
- Sandwiches or burgers
- Cold drinks like soda or lemonade
- Movie night snacks
They’re perfect for casual gatherings or solo snacking.
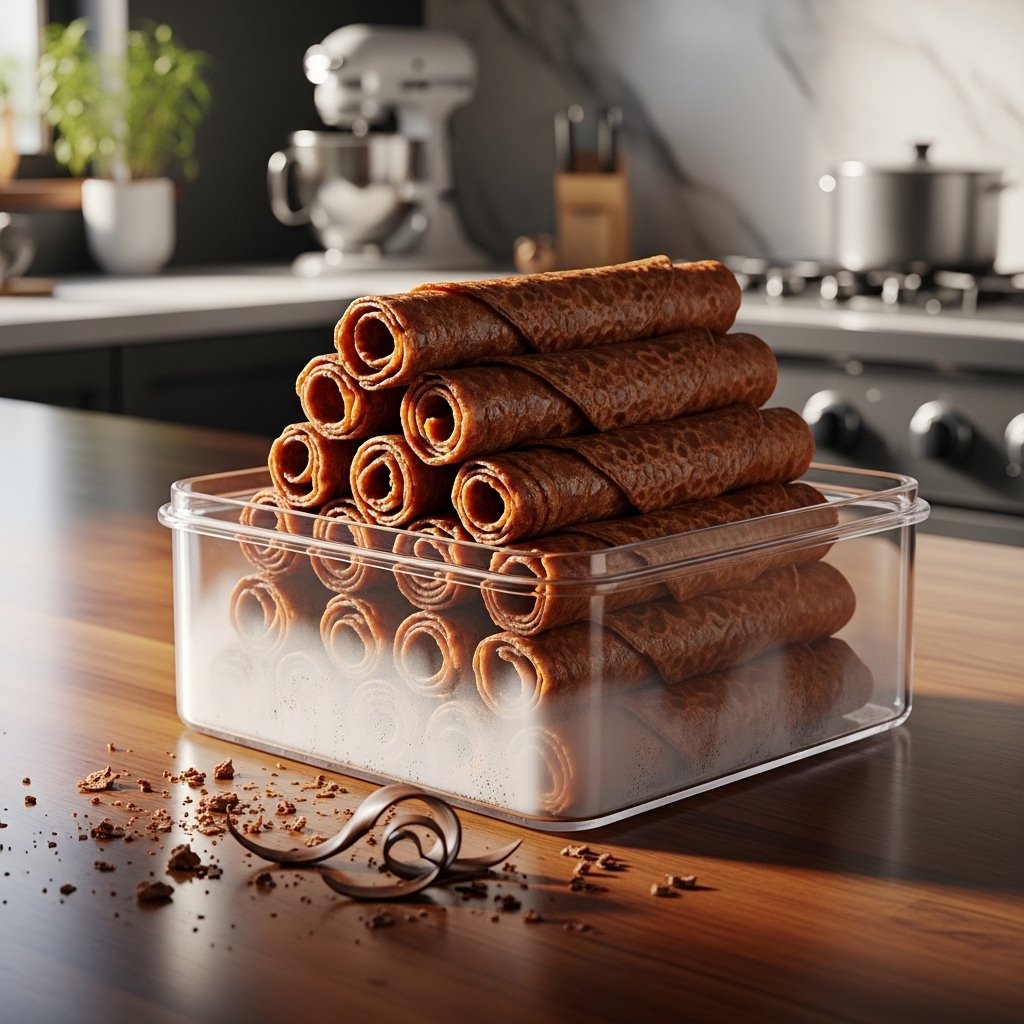
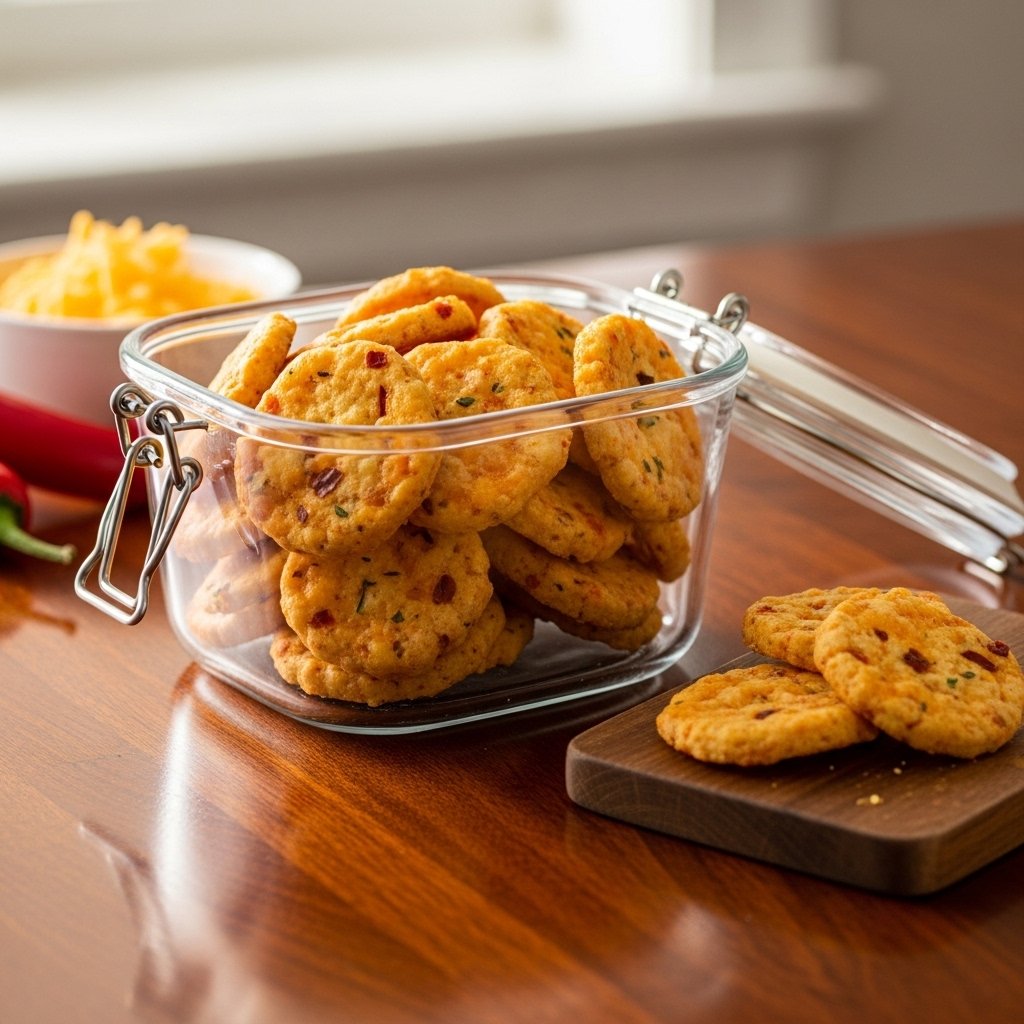
Storage & Reheating
Storage
- Store in an airtight container for up to 3 days
Reheating
- Reheat in oven for a few minutes to restore crispiness
Common Mistakes to Avoid
When learning how to make Hot Cheetos, avoid:
- Not seasoning evenly
- Overcooking or burning
- Using too much oil
- Skipping proper shaping
Avoiding these mistakes helps you get the perfect snack every time.
Frequently Asked Questions
Can I bake instead of fry?
Yes, baking is a healthier option and still yields crispy results.
How do I make them extra crunchy?
Cook slightly longer and let them cool completely.
Can I make them gluten-free?
Yes, use gluten-free flour alternatives.
What cheese works best?
Cheddar or cheese powder gives the best flavor.
Can I store them long-term?
They’re best fresh but can be stored short-term in airtight containers.
Final Thoughts
Now that you know how to make Hot Cheetos, you can enjoy this spicy, cheesy snack anytime you want—fresh, customizable, and made right in your kitchen. It’s a fun recipe that delivers bold flavor and satisfying crunch in every bite.
Whether you’re making them for a party or just indulging a craving, these homemade Hot Cheetos are guaranteed to impress!