Welcome to a world where sweetness meets creativity—these dessert dreams: explore a world of sweet magic are all about transforming simple ingredients into unforgettable treats. Whether you’re craving something rich and chocolatey, light and fruity, or creamy and indulgent, this guide brings together everything you need to satisfy your sweet tooth.
Desserts don’t have to be complicated to feel special. With the right techniques and a little inspiration, you can create treats that look stunning and taste even better—all from the comfort of your kitchen.

Why You’ll Love These Dessert Dreams
These dessert dreams: explore a world of sweet magic are designed to make dessert-making fun, approachable, and rewarding.
Here’s why you’ll fall in love:
- Easy recipes for all skill levels
- Flexible ingredients and flavors
- Perfect for everyday treats or special occasions
- Endless creative possibilities
- Beautiful presentation with minimal effort
Each dessert feels like a little piece of magic.
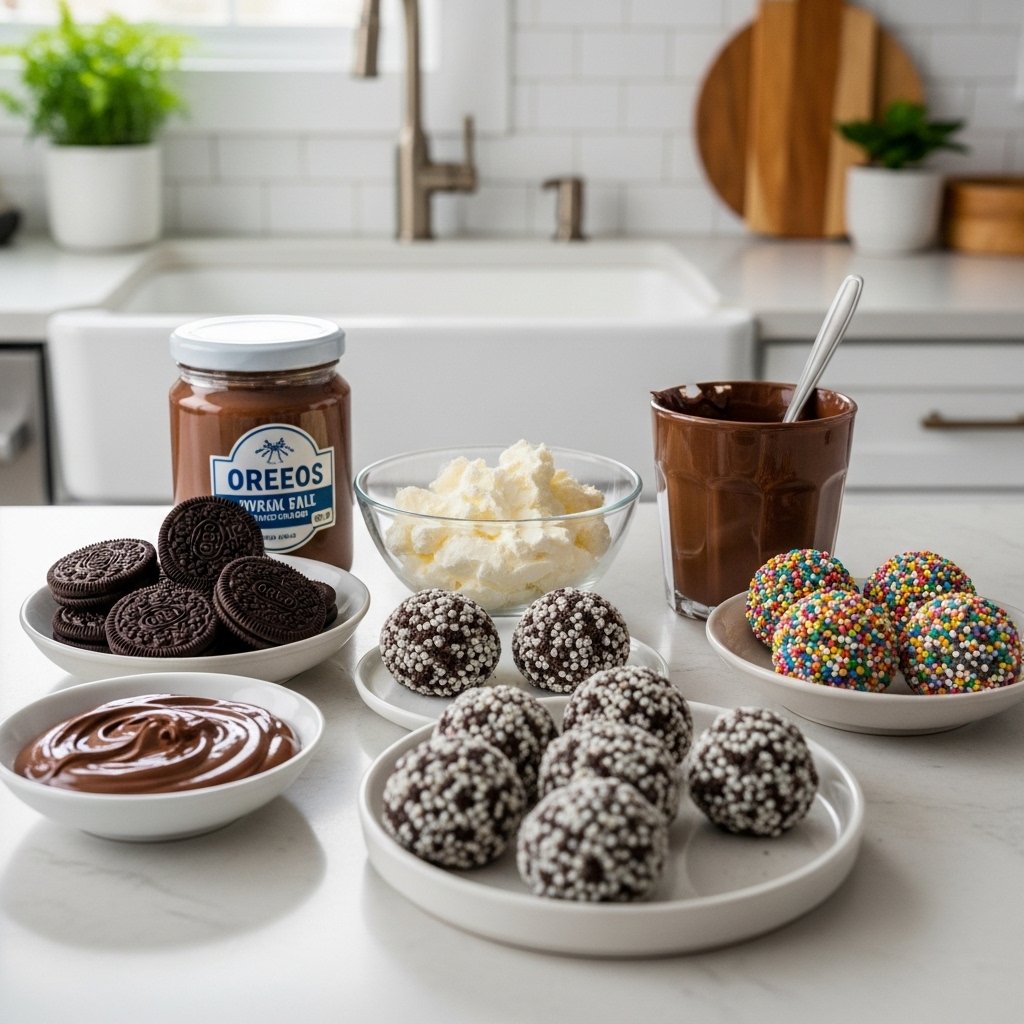
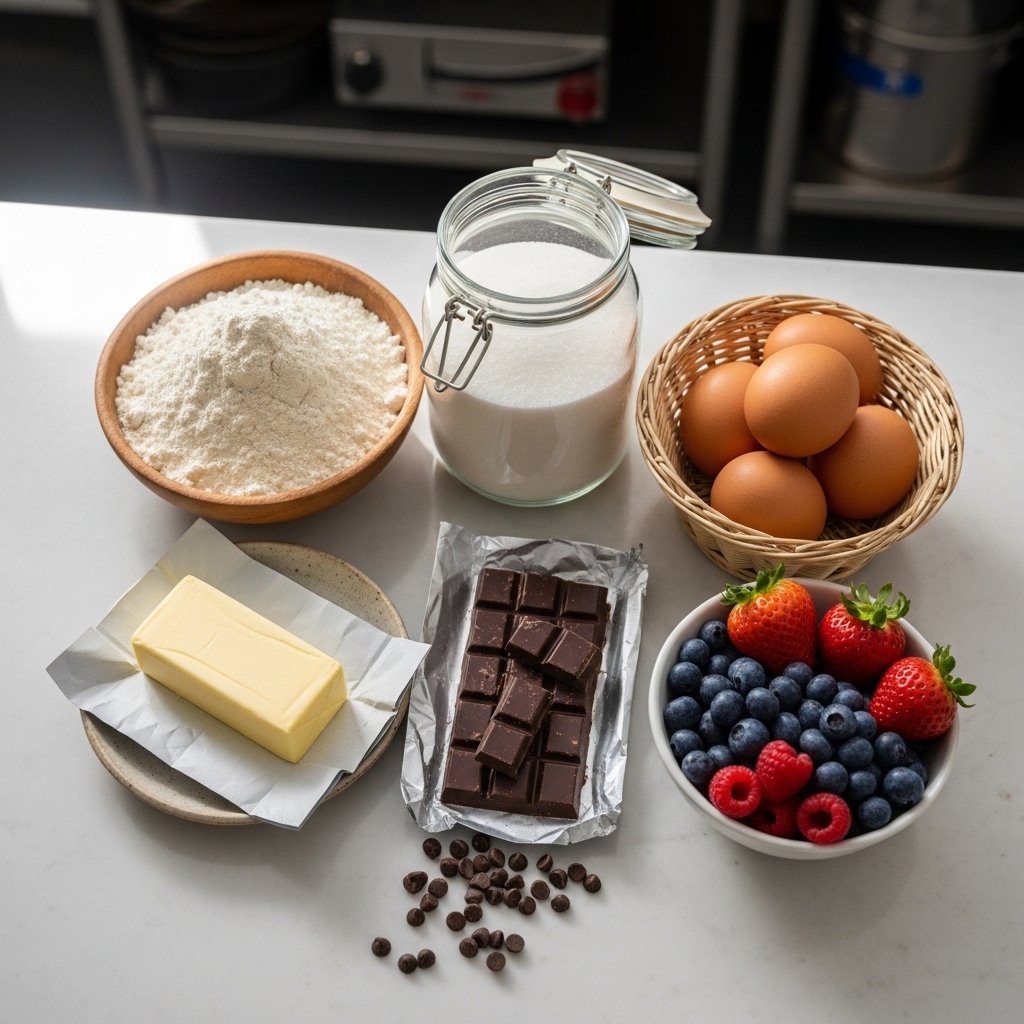
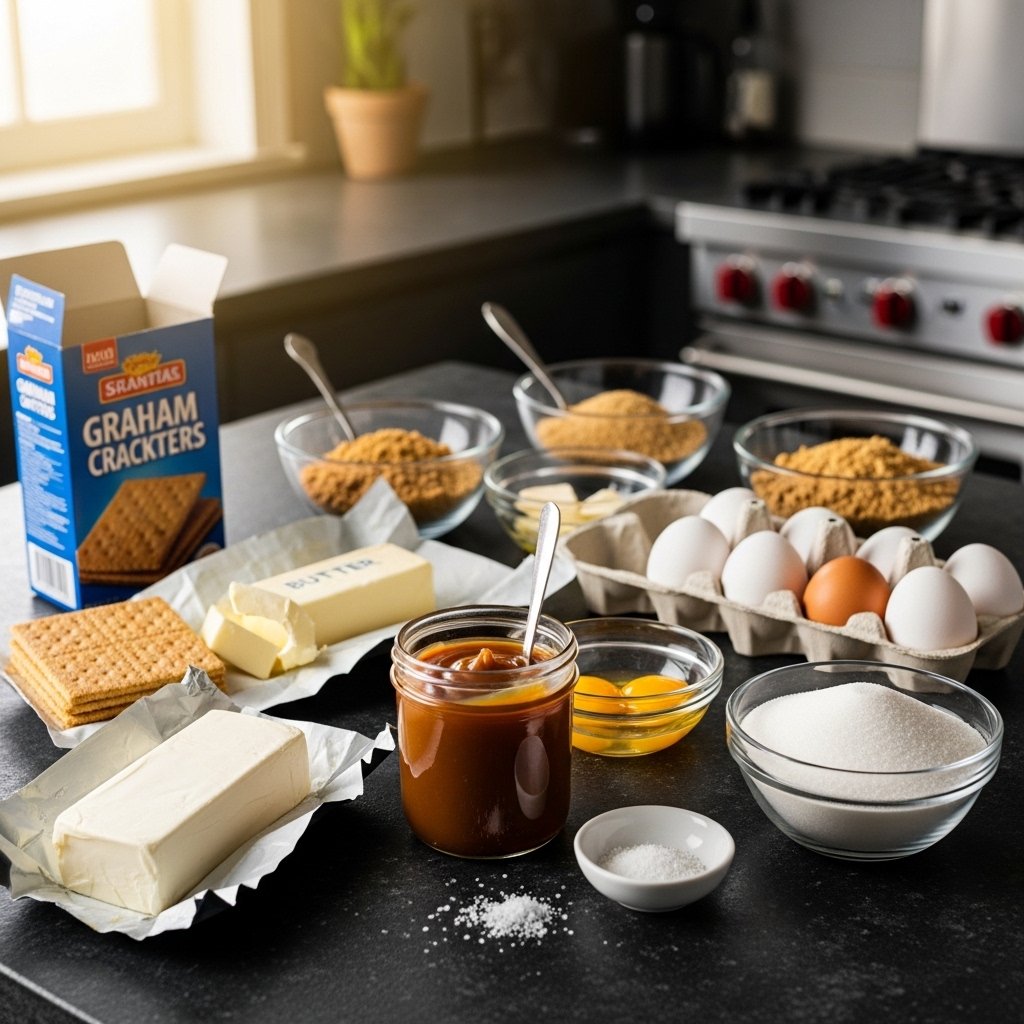
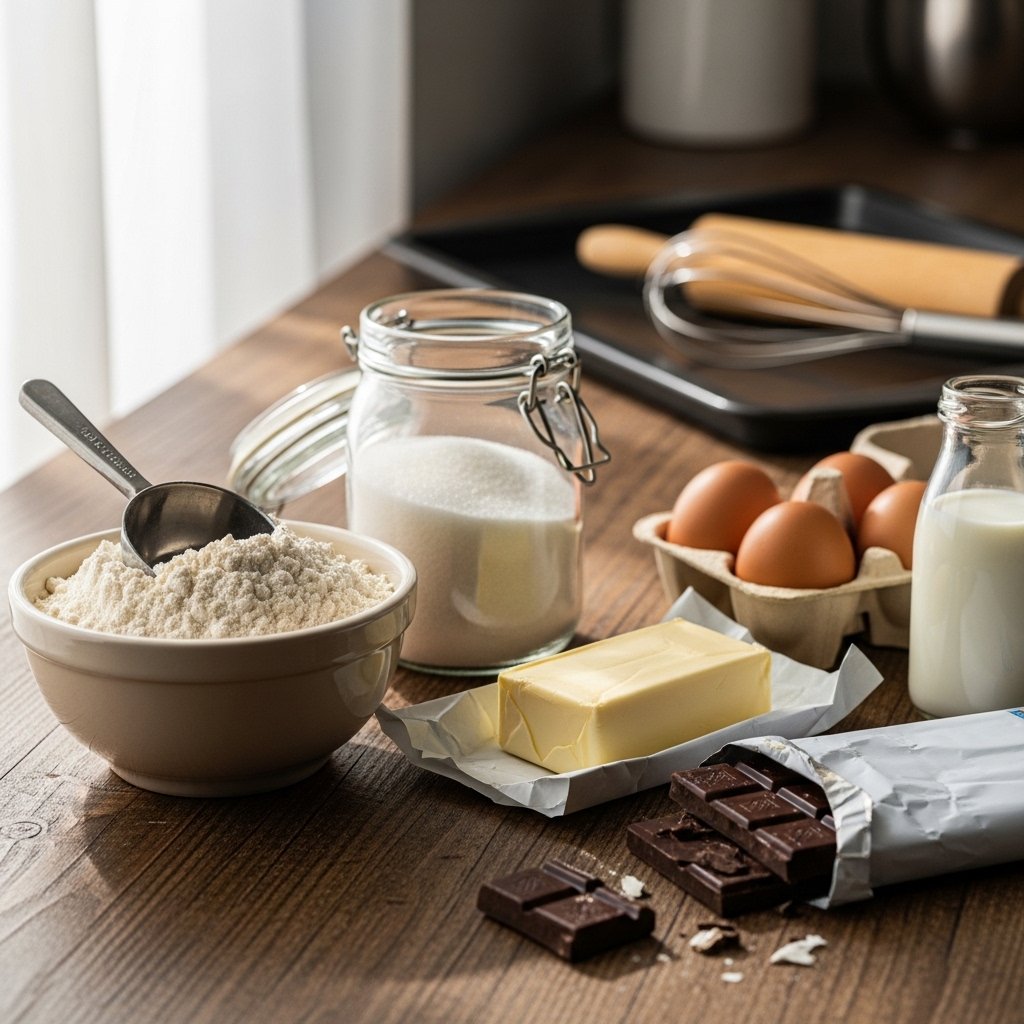
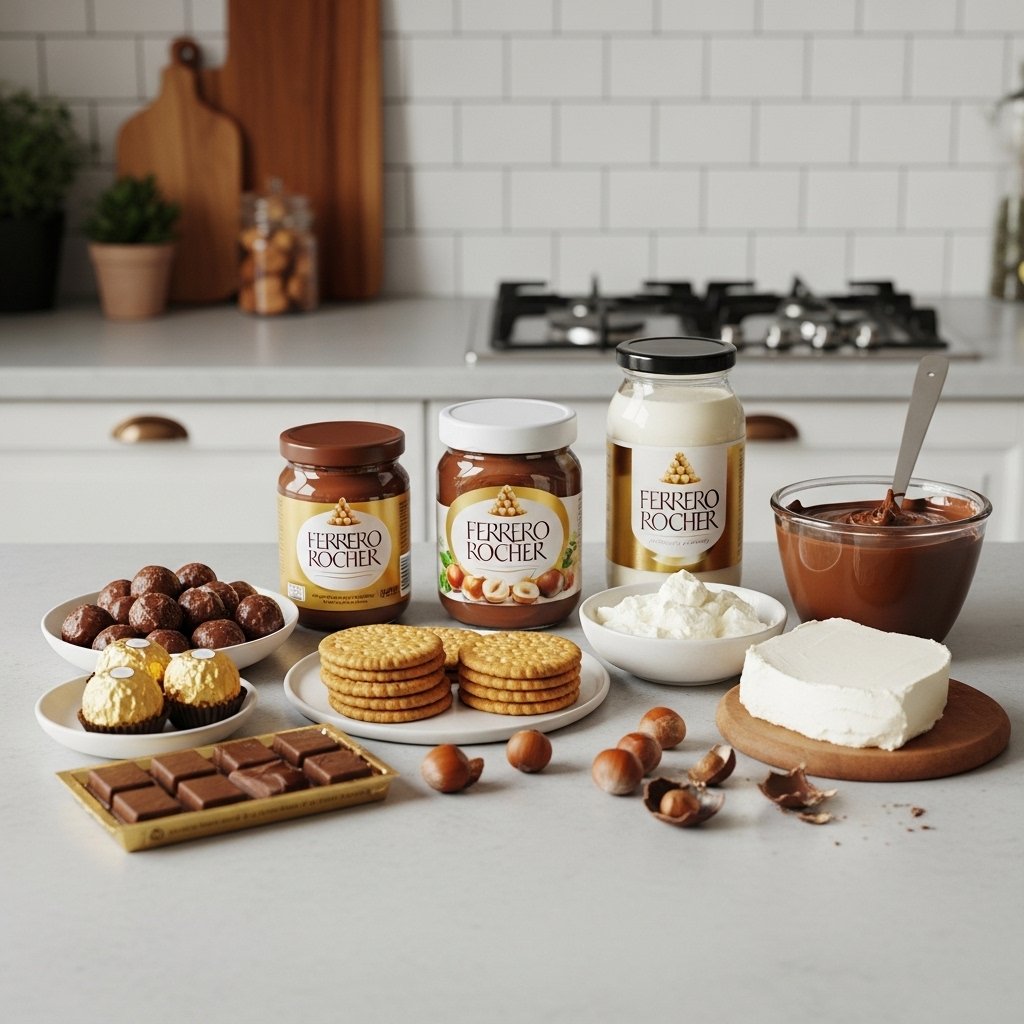
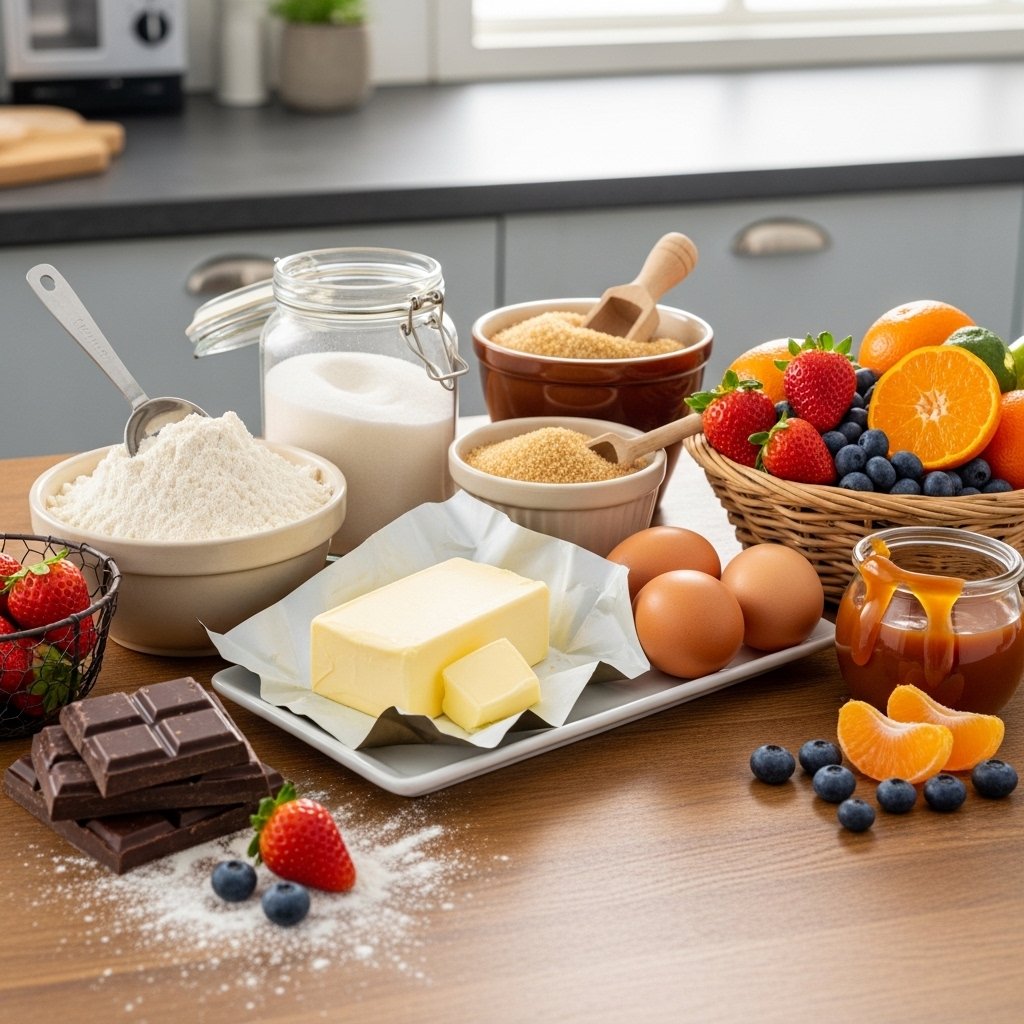
Ingredients for Sweet Success
To create these dessert dreams, you’ll need a mix of everyday ingredients:
- Flour, sugar, and baking basics
- Butter or oil for richness
- Eggs for structure
- Chocolate, caramel, or vanilla for flavor
- Fresh fruits for balance
- Cream or milk for smooth textures
These ingredients form the base for countless delicious combinations.
Ingredient Notes & Substitutions
Health-Conscious Options
- Use natural sweeteners like honey or maple syrup
- Choose whole grain flour for added nutrients
Dairy-Free Alternatives
- Substitute butter with plant-based options
- Use almond or oat milk
Flavor Enhancements
- Add vanilla extract or almond extract
- Incorporate citrus zest for brightness
These tweaks allow you to personalize your dessert dreams: explore a world of sweet magic.
Step-by-Step Instructions
Step 1: Choose Your Dessert Type
Decide between:
- Baked treats (cakes, brownies)
- No-bake desserts (parfaits, cheesecakes)
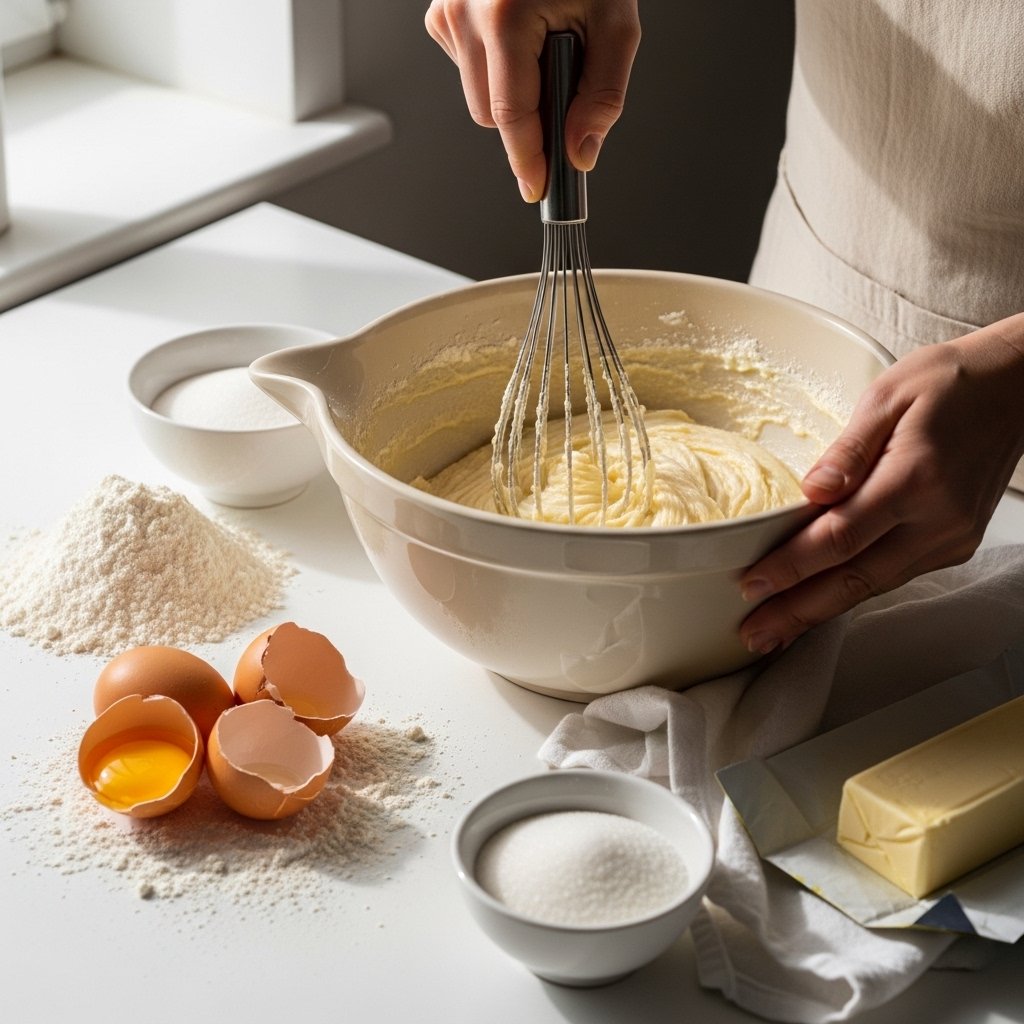
Step 2: Prepare Your Ingredients
Measure everything carefully and bring ingredients to room temperature.
Step 3: Mix and Combine
Blend ingredients until smooth and consistent.
Step 4: Bake or Chill
Cook until perfectly set or refrigerate until firm.
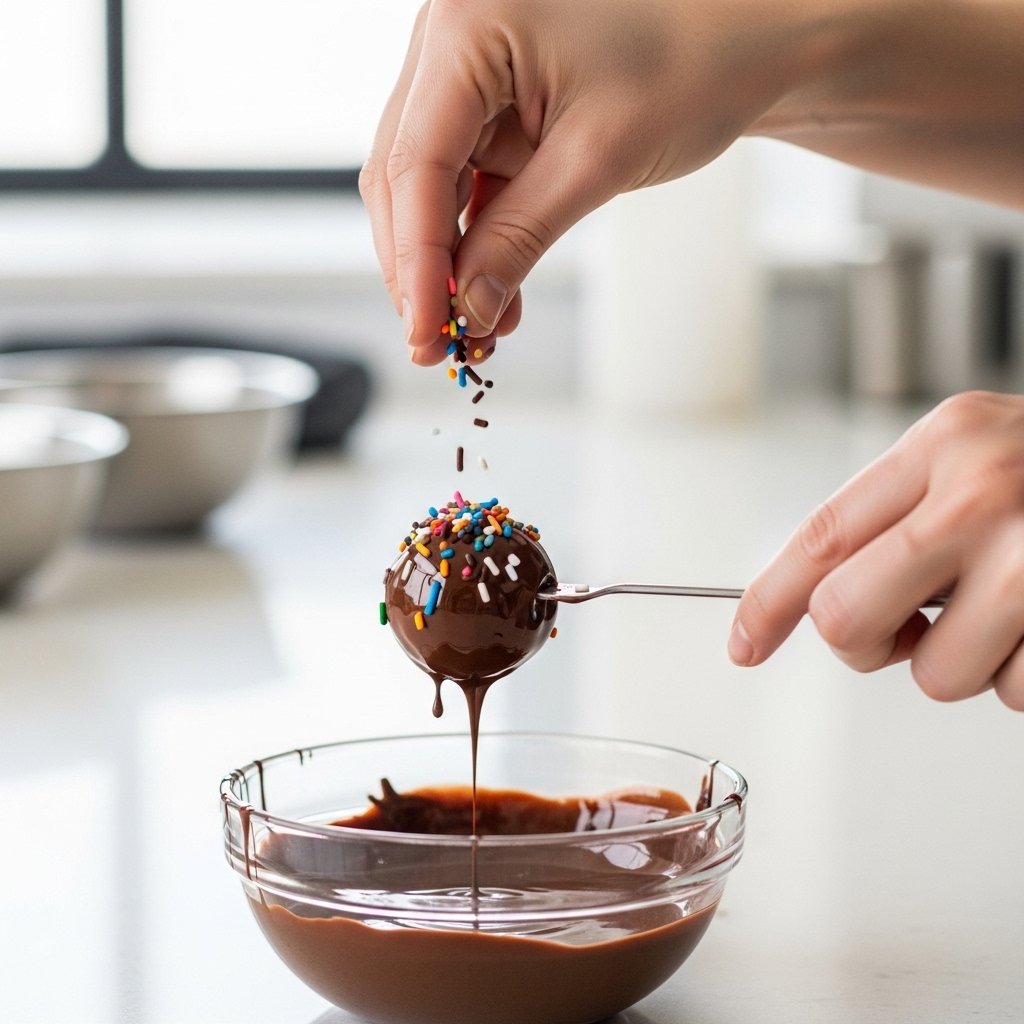
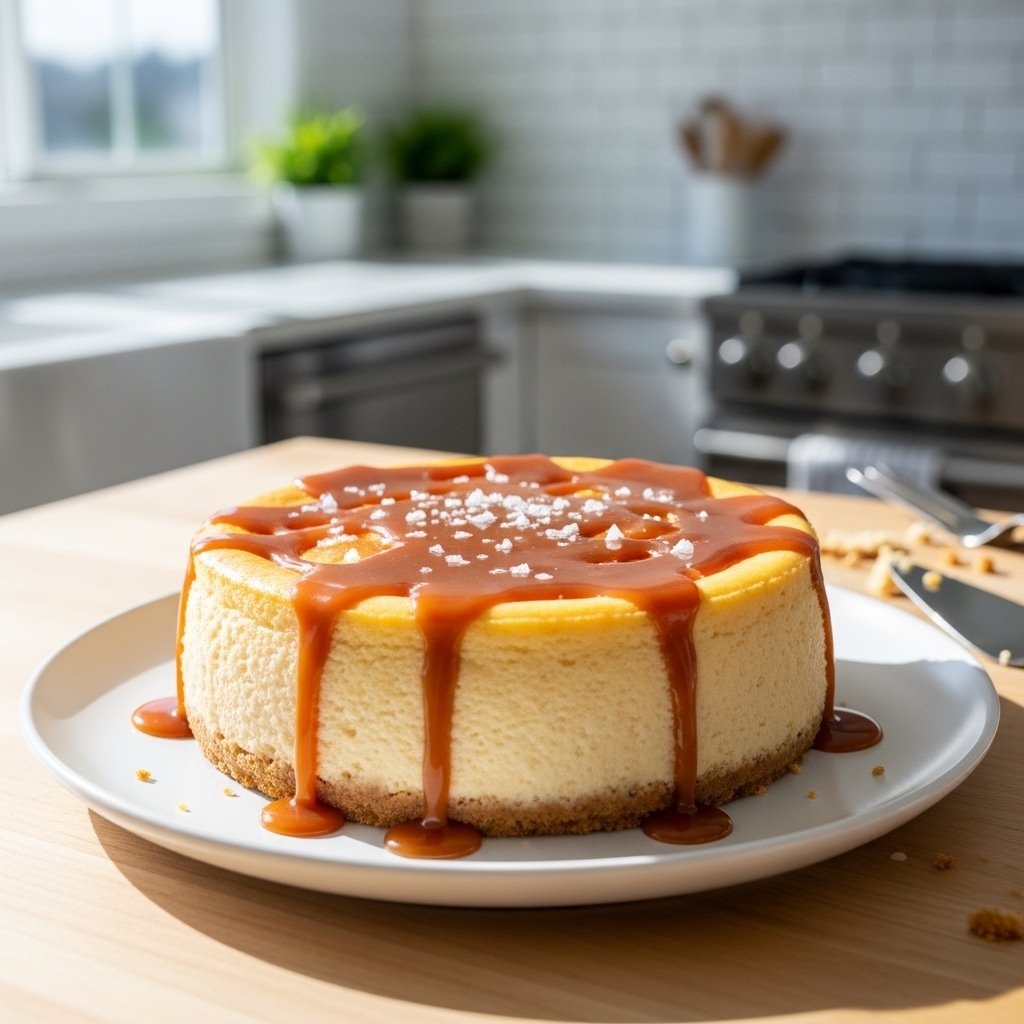
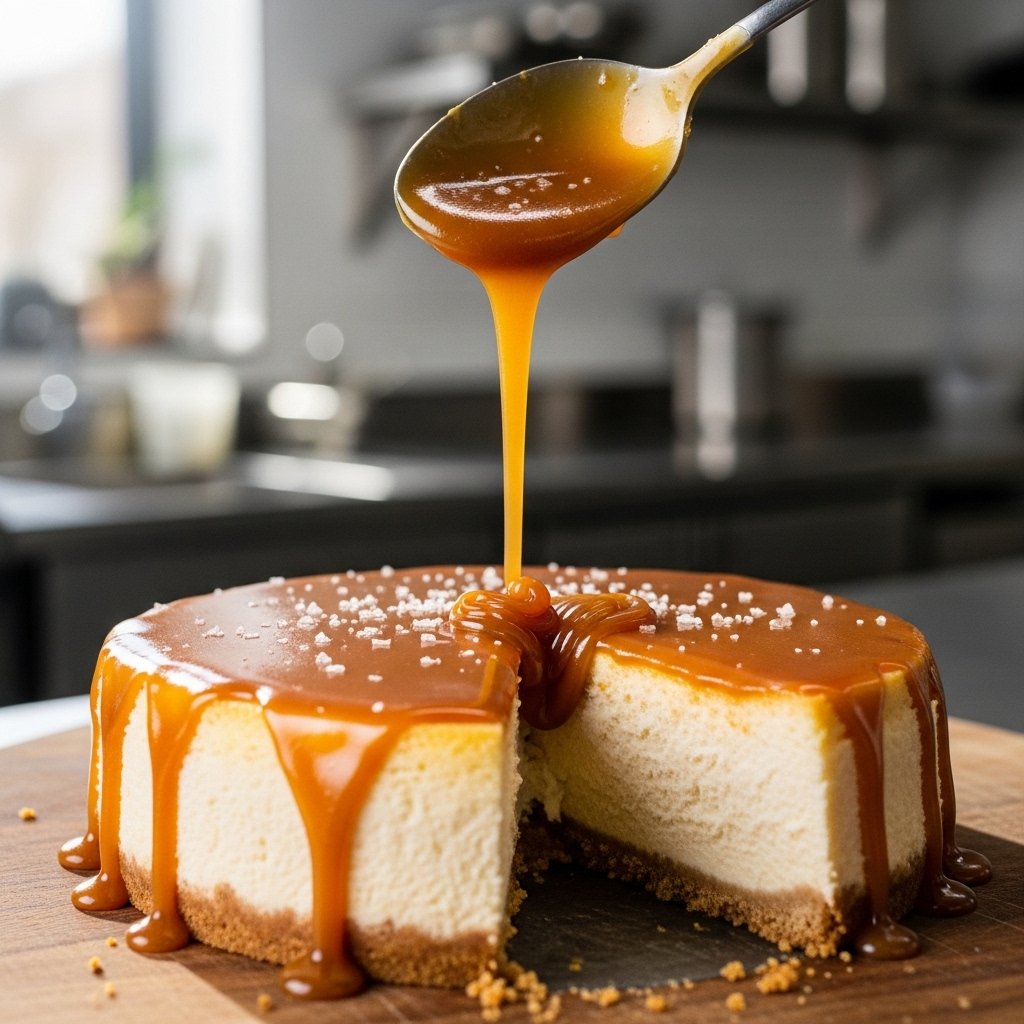
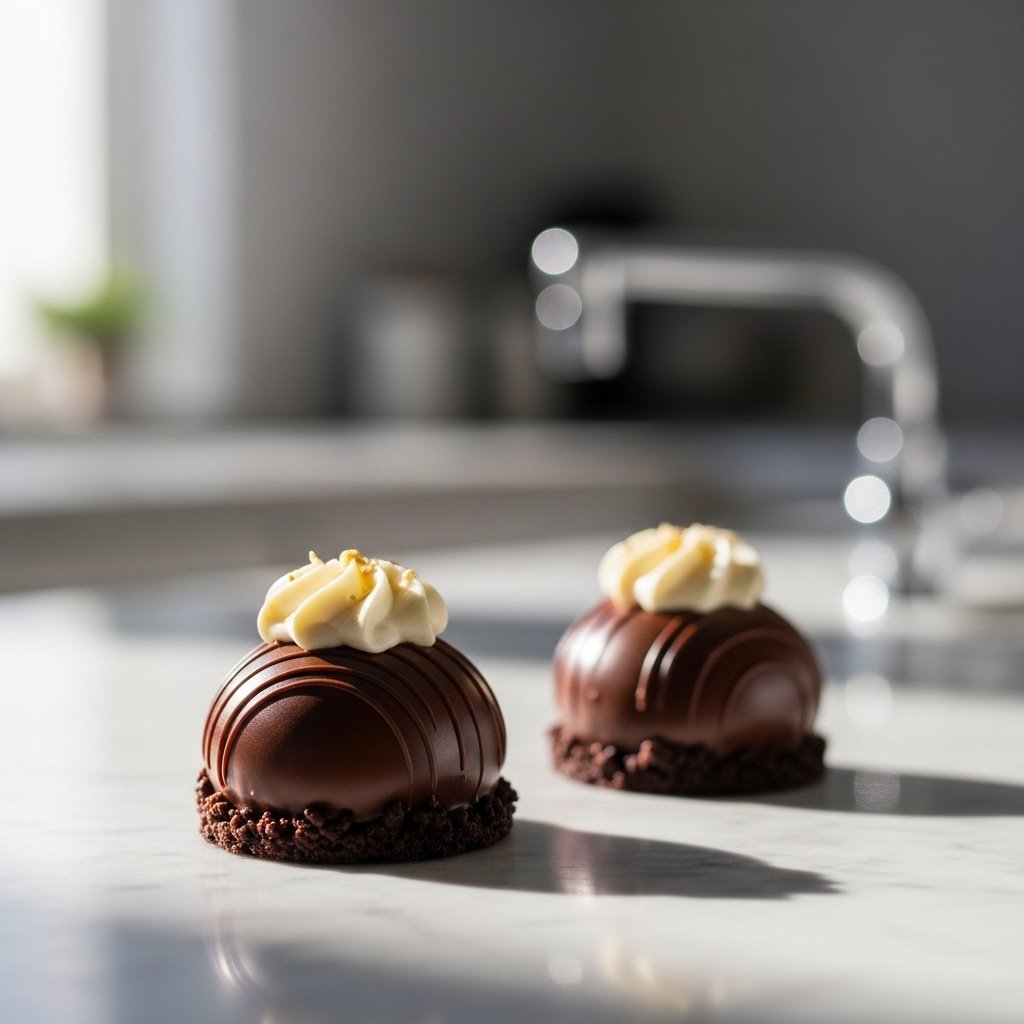
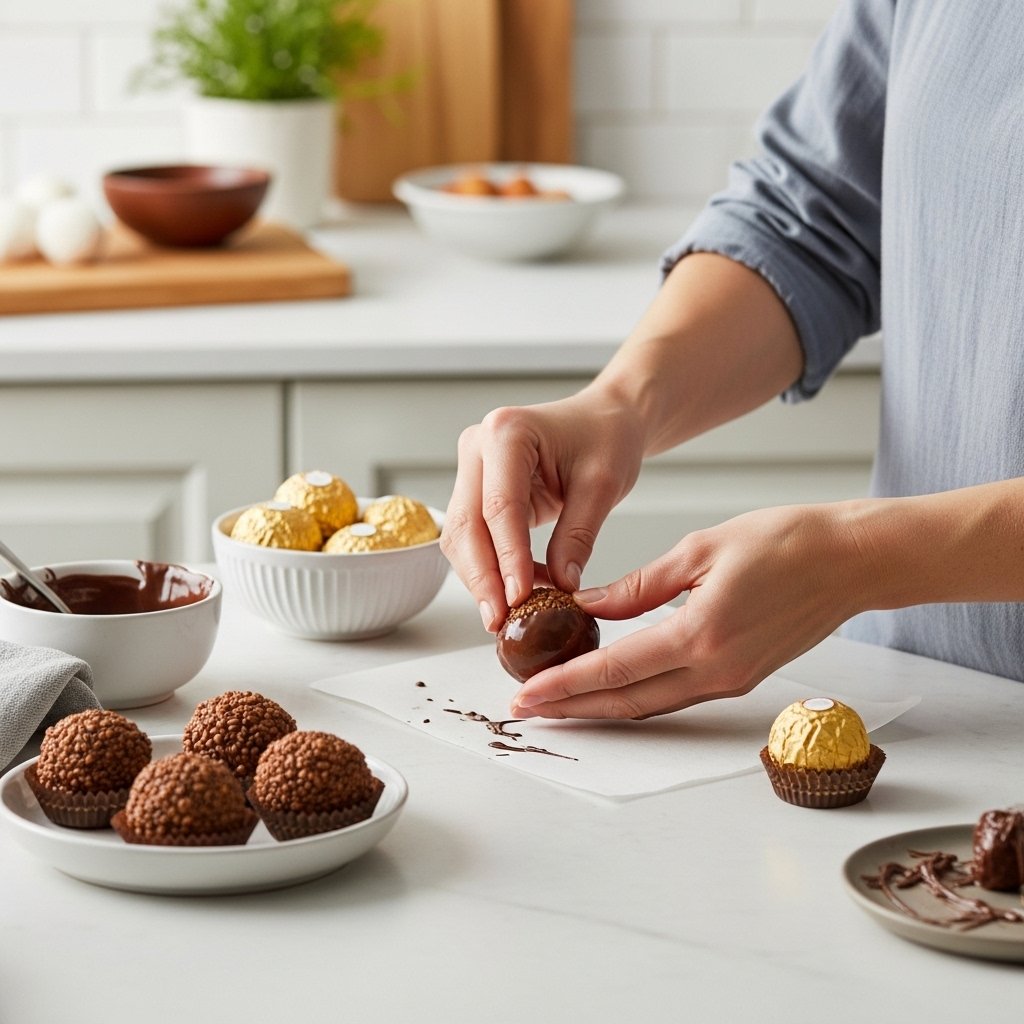
Step 5: Decorate and Serve
Finish with toppings like whipped cream, chocolate drizzle, or fruit.

Tips for Perfect Results
To master these dessert dreams, keep these tips in mind:
- Measure ingredients accurately
- Avoid overmixing
- Use quality ingredients
- Let desserts cool properly before serving
These simple practices make a big difference.
Variations to Try
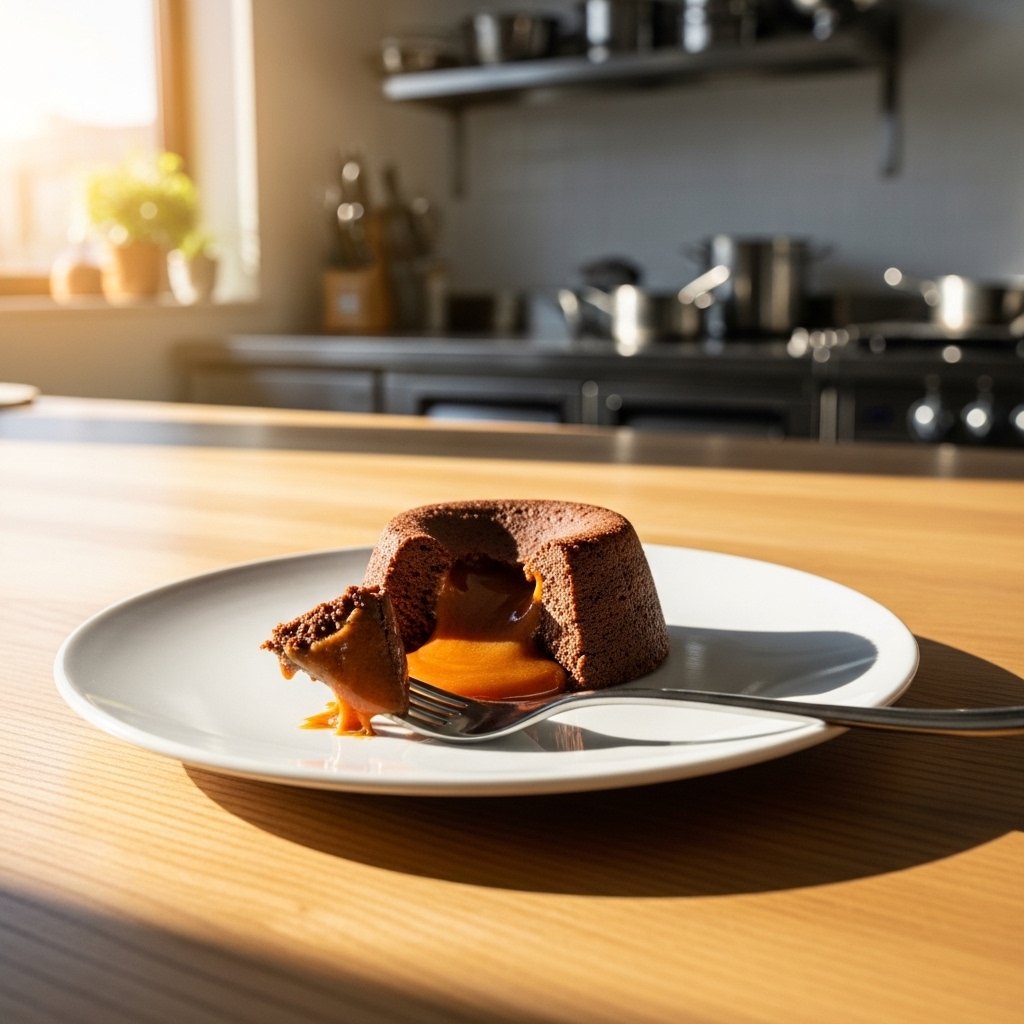
Chocolate Lovers Dream
Add rich cocoa, chocolate chips, or ganache.
Fruity Magic
Incorporate berries, peaches, or citrus flavors.
No-Bake Creations
Perfect for quick and easy desserts without an oven.
Mini Treats
Serve in small portions for parties or gatherings.
These variations keep your dessert dreams: explore a world of sweet magic exciting and versatile.
What to Serve With These Desserts
Enhance your dessert experience with:
- Coffee or espresso
- Ice cream or gelato
- Fresh fruit sides
- Light whipped cream
Pairings elevate both flavor and presentation.
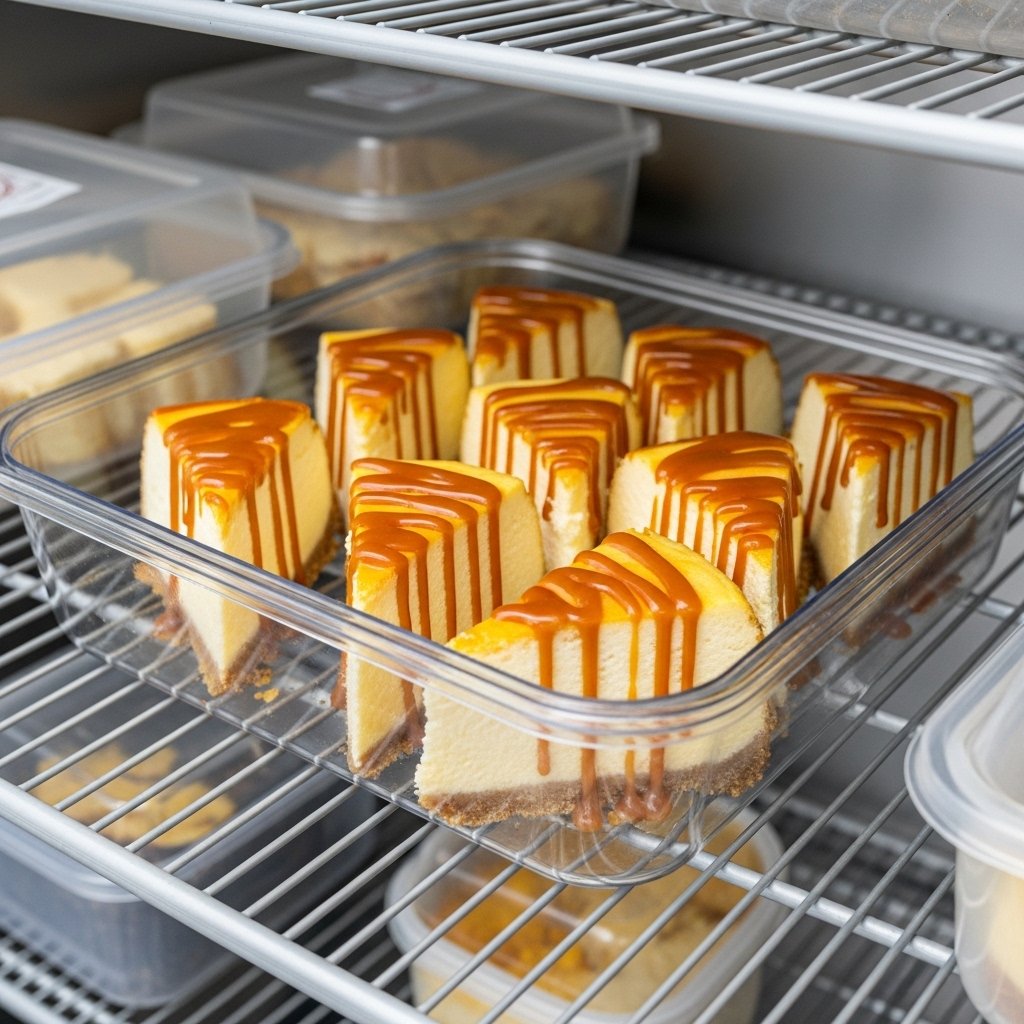
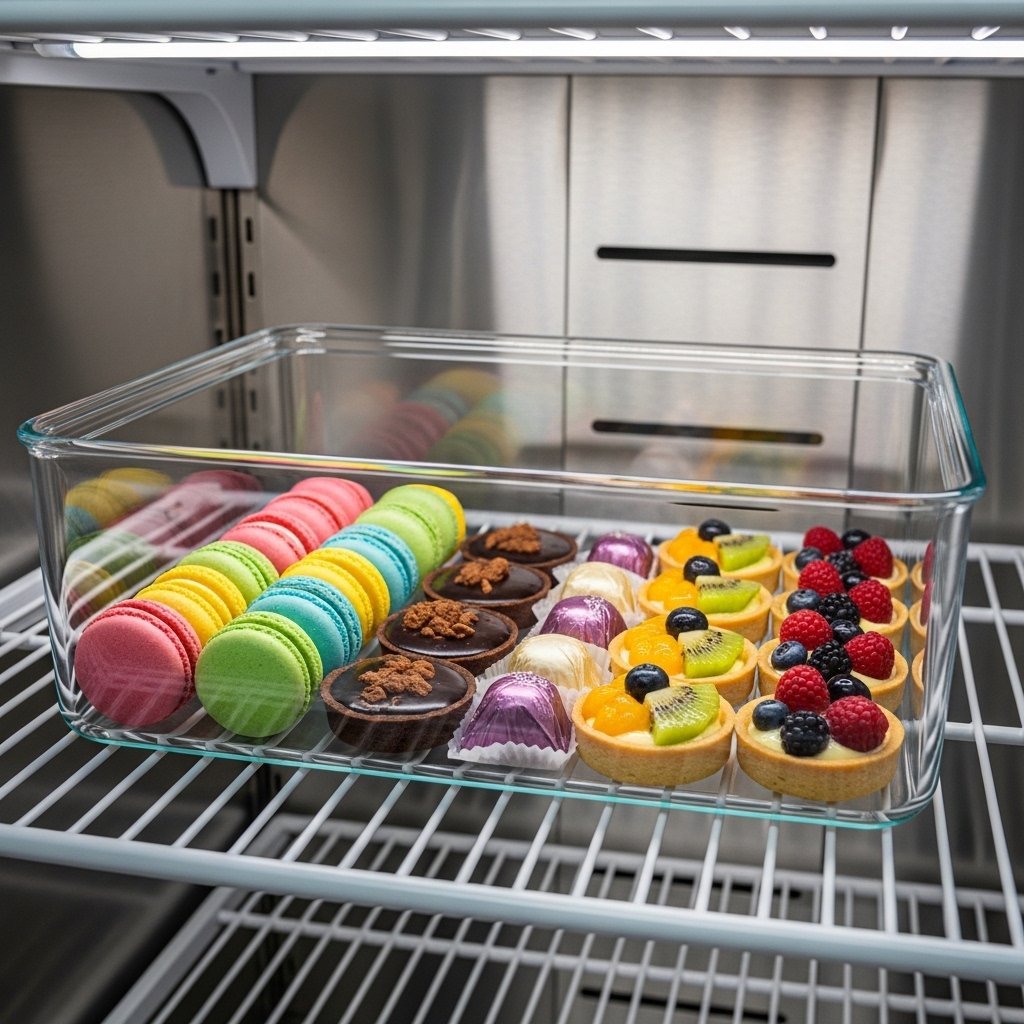
Storage & Reheating Tips
Storage
- Store desserts in airtight containers
- Refrigerate when needed
Reheating
- Warm baked desserts slightly before serving

Common Mistakes to Avoid
When making dessert dreams, avoid:
- Overbaking or underbaking
- Incorrect measurements
- Skipping cooling time
- Overcomplicating simple recipes
Keeping things simple often leads to the best results.
Frequently Asked Questions
Can I make these desserts ahead of time?
Yes, many desserts taste even better after resting for a few hours.
Are these recipes beginner-friendly?
Absolutely! They’re designed for all skill levels.
Can I freeze these desserts?
Most desserts freeze well when stored properly.
How do I reduce sweetness?
Use dark chocolate or reduce sugar slightly.
What’s the best way to decorate desserts?
Keep it simple with fruit, powdered sugar, or chocolate drizzle.
Final Thoughts
These dessert dreams: explore a world of sweet magic prove that anyone can create beautiful, delicious desserts at home. With simple ingredients, creative variations, and a little inspiration, your kitchen can become a place where sweet magic happens every day.
Whether you’re baking for a celebration or just enjoying a quiet moment, these desserts are sure to bring joy, comfort, and a touch of indulgence to every bite.