Decadent Banana Chocolate Chip Muffins: A Sweet Morning Treat!

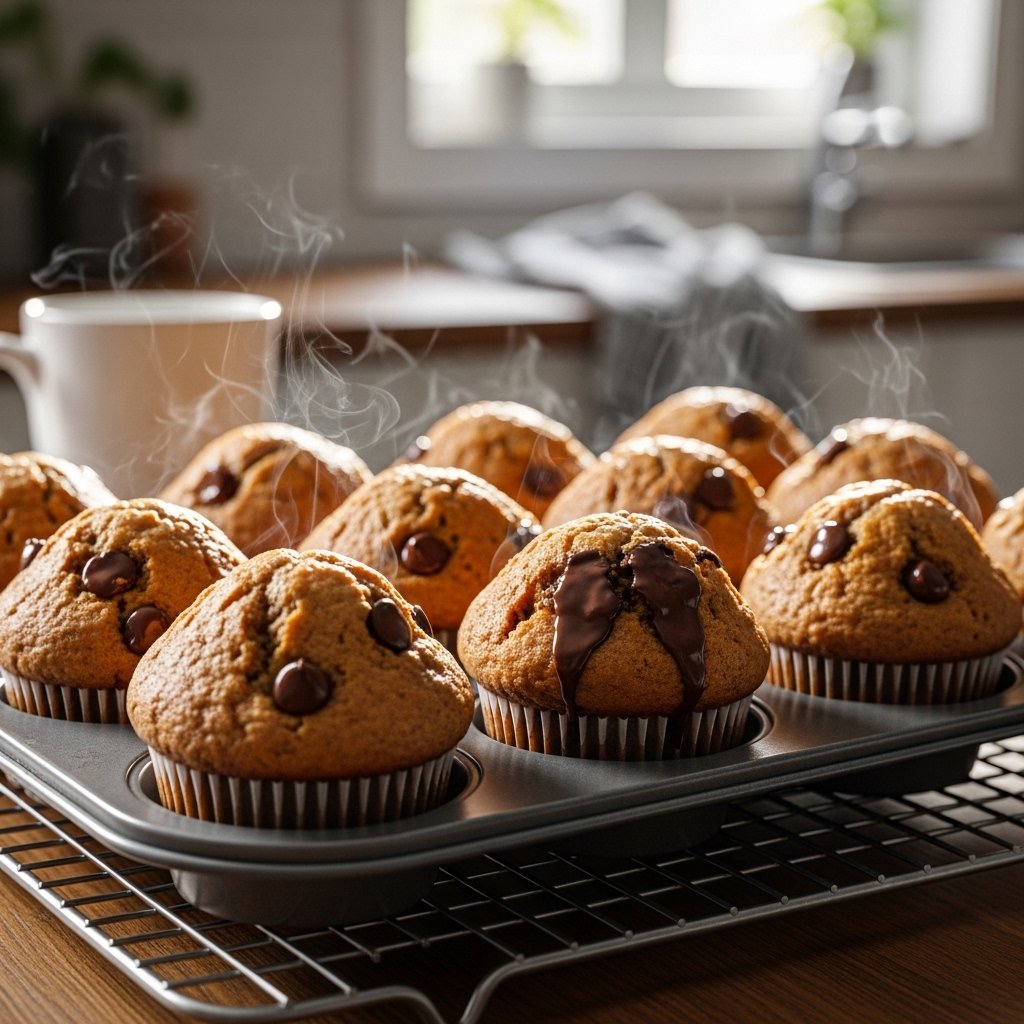
There’s something timeless and comforting about the smell of freshly baked banana chocolate chip muffins filling your kitchen. These Decadent Banana Chocolate Chip Muffins are soft, moist, and packed with sweet banana flavor, melty chocolate chips, and just the right balance of richness. Whether you need a quick breakfast, an afternoon snack, or a cozy weekend baking project, this recipe delivers bakery-style results with simple pantry staples.

What makes these muffins so special is their perfect texture. They’re tender and fluffy inside, with lightly golden tops and pockets of gooey chocolate in every bite. Plus, they’re a wonderful way to use up overripe bananas that might otherwise go to waste. This is the kind of recipe you’ll come back to again and again because it’s reliable, easy, and always delicious.

Why You’ll Love These Banana Chocolate Chip Muffins

These muffins are more than just a sweet treat—they’re practical, crowd-pleasing, and incredibly satisfying.

What Makes This Recipe a Favorite

  • Moist and fluffy texture
  • Rich banana flavor
  • Perfect amount of chocolate chips
  • Easy to make in one bowl
  • Great for breakfast or snacks
  • Freezer-friendly
  • Kid-friendly and family-approved

Unlike dry or dense muffins, this recipe creates a soft crumb that stays tender for days. The bananas naturally sweeten the batter and keep every muffin moist.

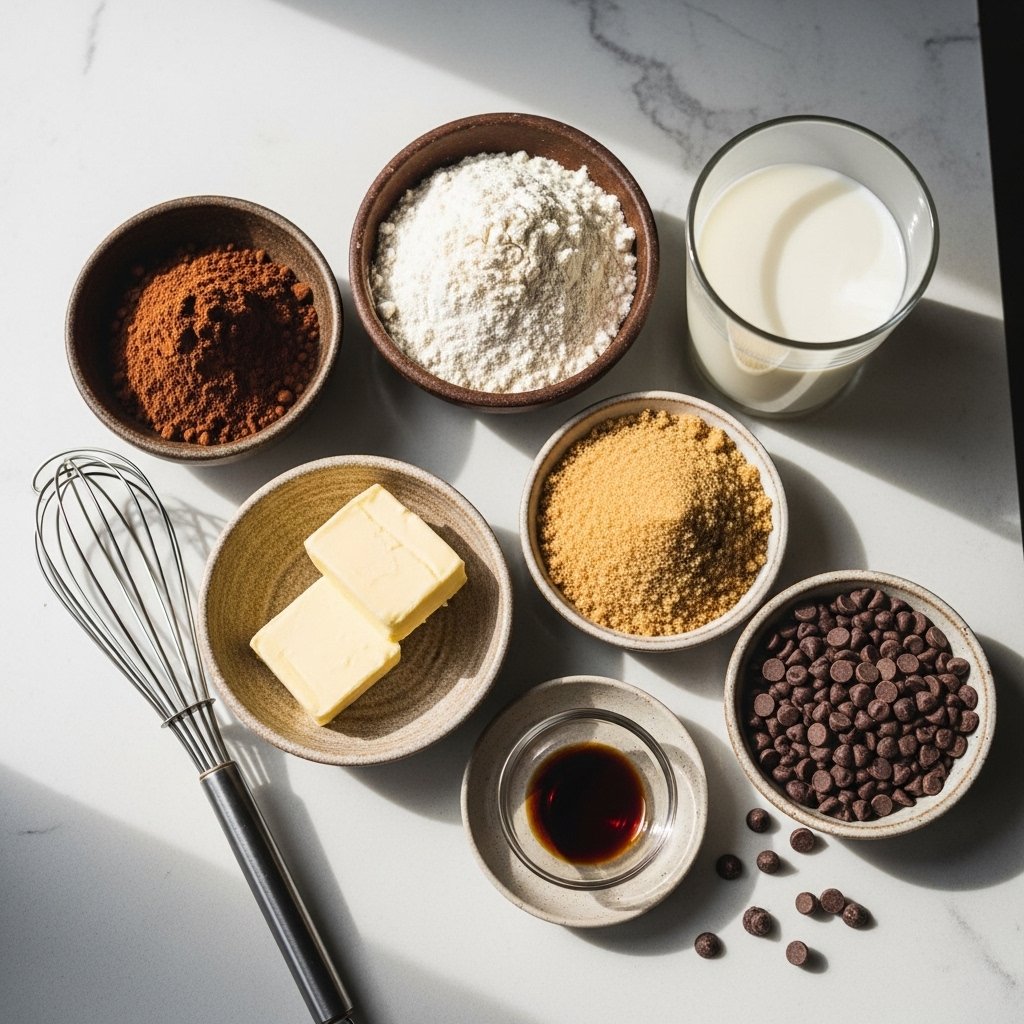
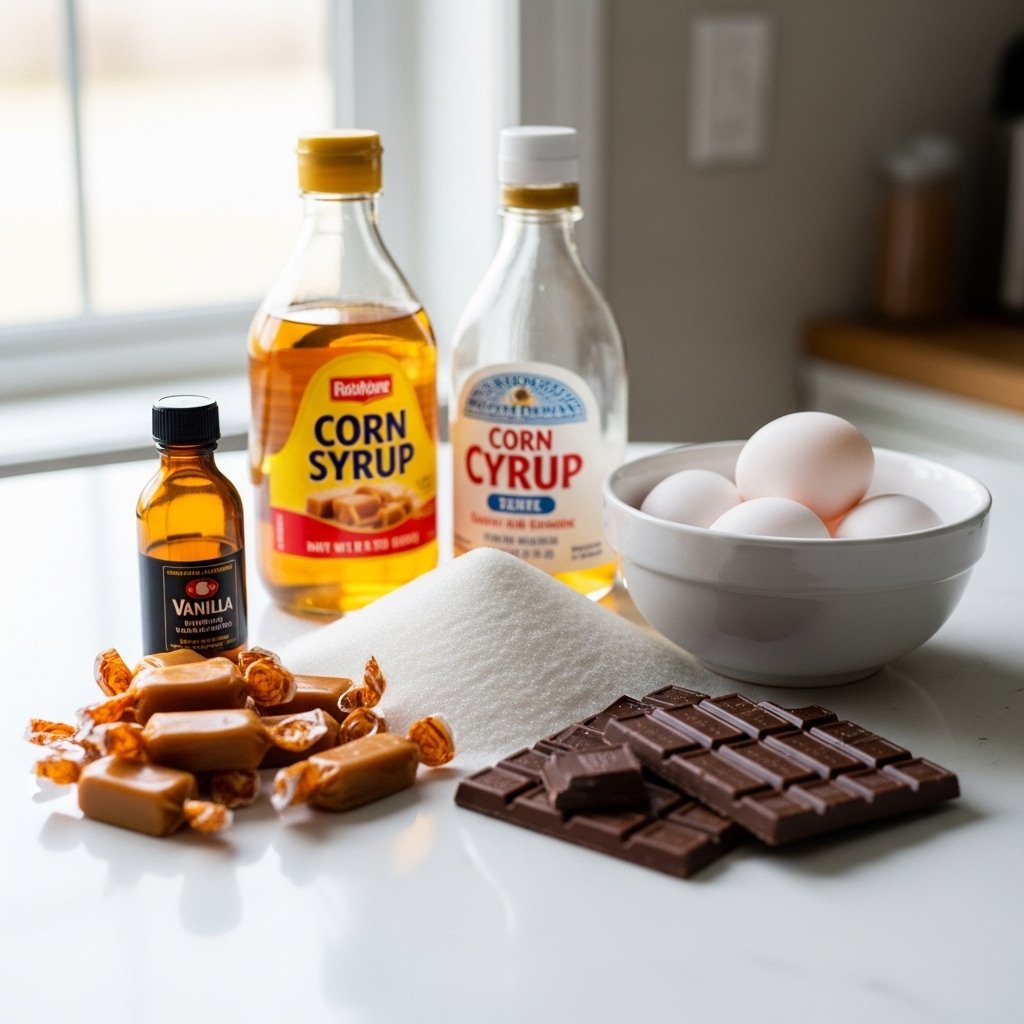
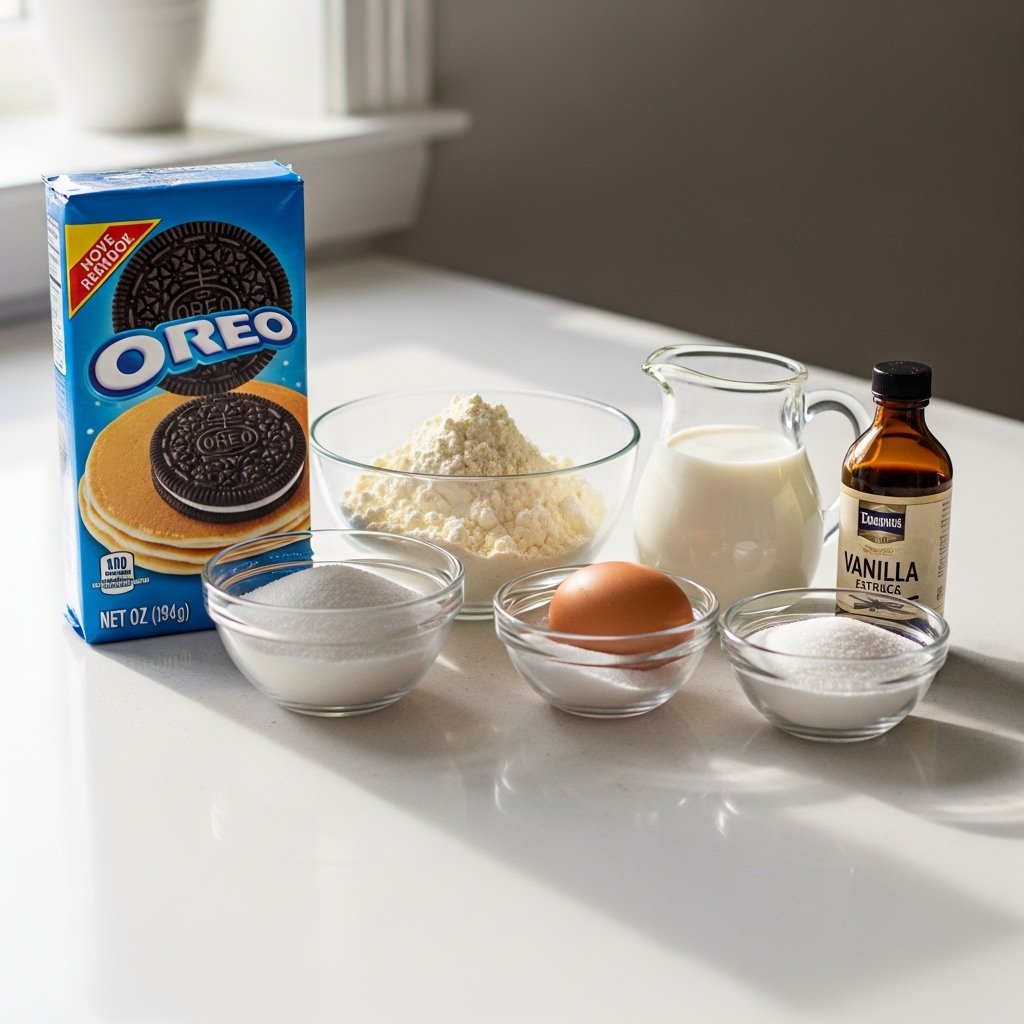
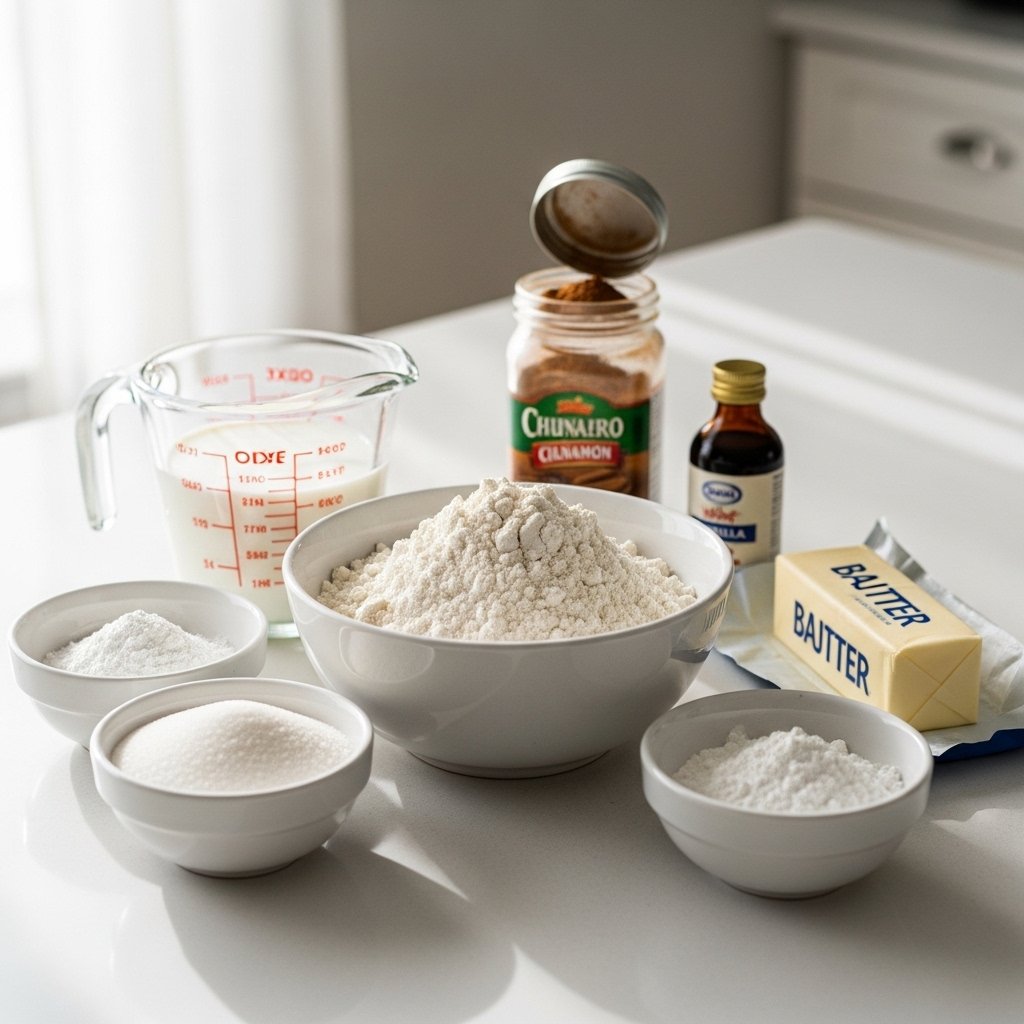
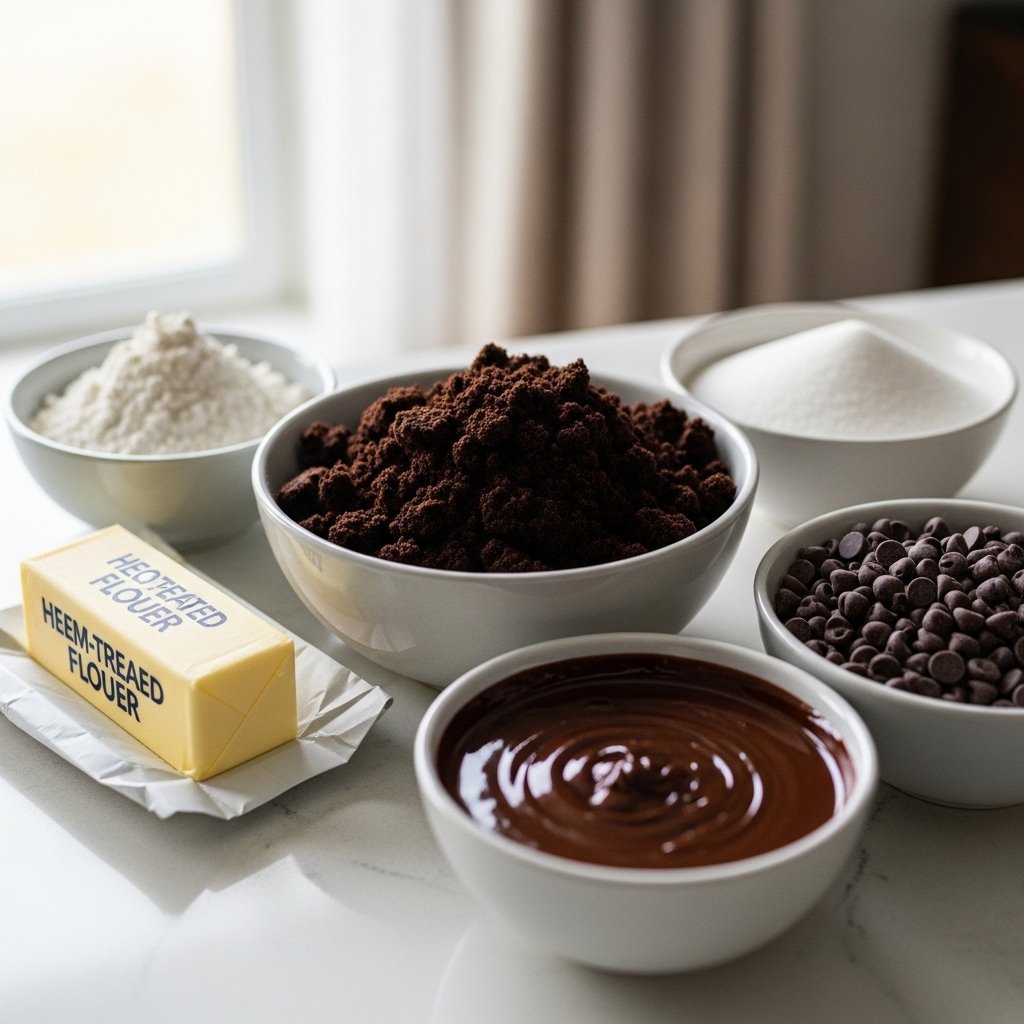
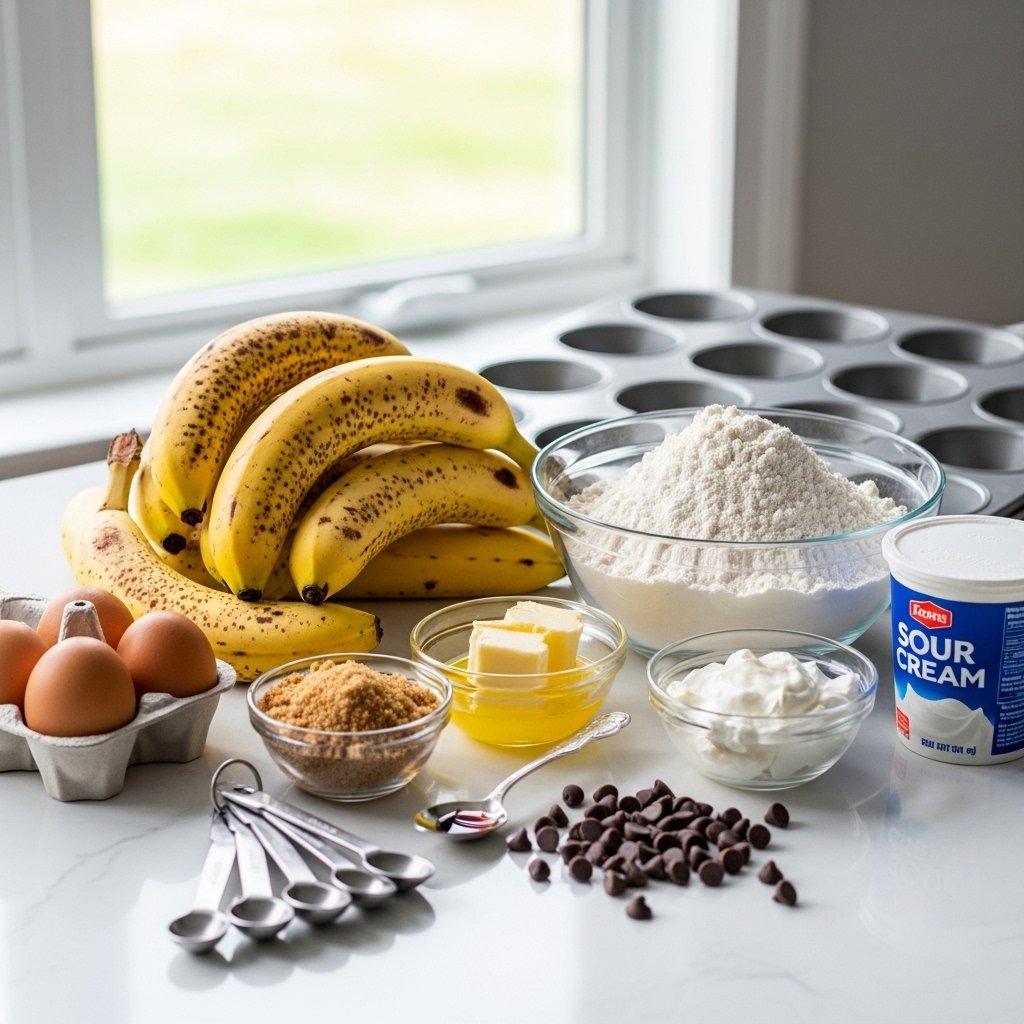
Ingredients for Banana Chocolate Chip Muffins

To make these delicious homemade muffins, you’ll need:

  • 3 very ripe bananas, mashed
  • 1/2 cup unsalted butter, melted
  • 1/2 cup brown sugar
  • 1/4 cup granulated sugar
  • 2 large eggs
  • 1 teaspoon vanilla extract
  • 1 3/4 cups all-purpose flour
  • 1 teaspoon baking soda
  • 1 teaspoon baking powder
  • 1/2 teaspoon salt
  • 1 teaspoon cinnamon (optional)
  • 1/2 cup sour cream or Greek yogurt
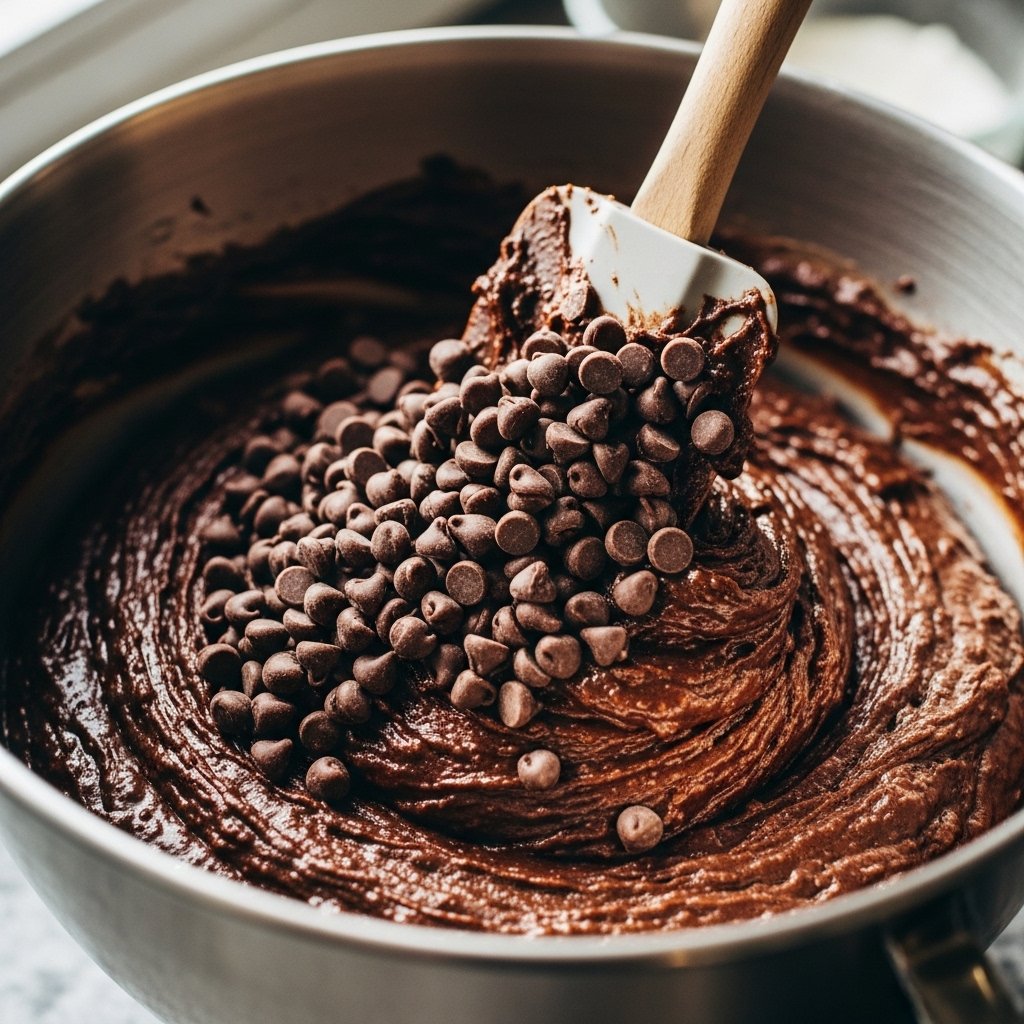
  • 1 cup semi-sweet chocolate chips
  • Extra chocolate chips for topping

The key to the best banana chocolate chip muffins is using deeply ripe bananas with lots of brown spots. They add sweetness, moisture, and bold banana flavor.

Ingredient Notes and Helpful Baking Tips

Why Overripe Bananas Matter

Overripe bananas are essential because:

  • They mash easily
  • They taste sweeter
  • They add moisture
  • They create a richer aroma

Bananas that look too soft for eating are often perfect for baking.

Best Chocolate Chips to Use

Semi-sweet chocolate chips are the classic choice because they balance the sweetness of the bananas. You can also use:

  • Dark chocolate chips
  • Milk chocolate chips
  • Mini chocolate chips
  • Chocolate chunks

For extra indulgence, use a mix of chips and chunks.

How to Make Banana Chocolate Chip Muffins

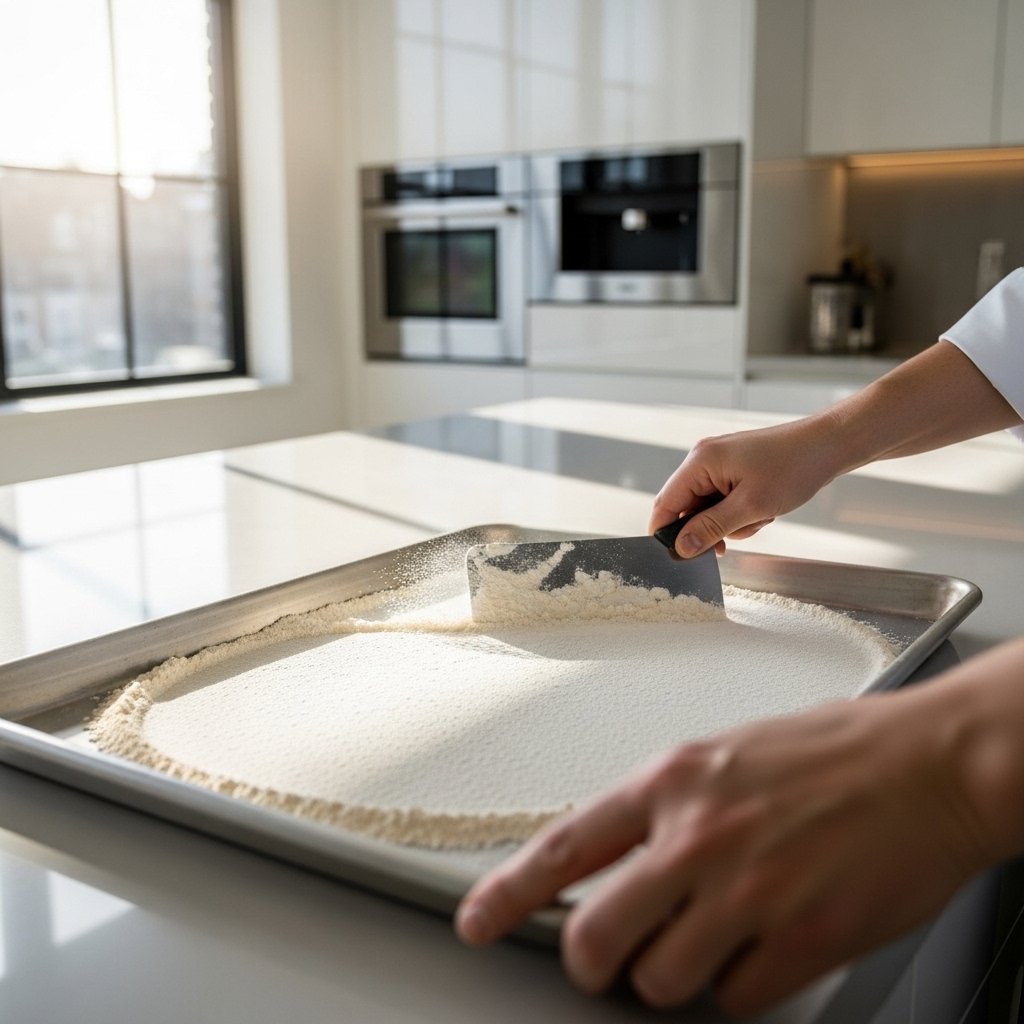
Step 1: Prep Your Oven and Muffin Pan

Preheat your oven to 375°F. Line a standard muffin tin with paper liners or lightly grease each cup.

Proper prep ensures even baking and easy cleanup.

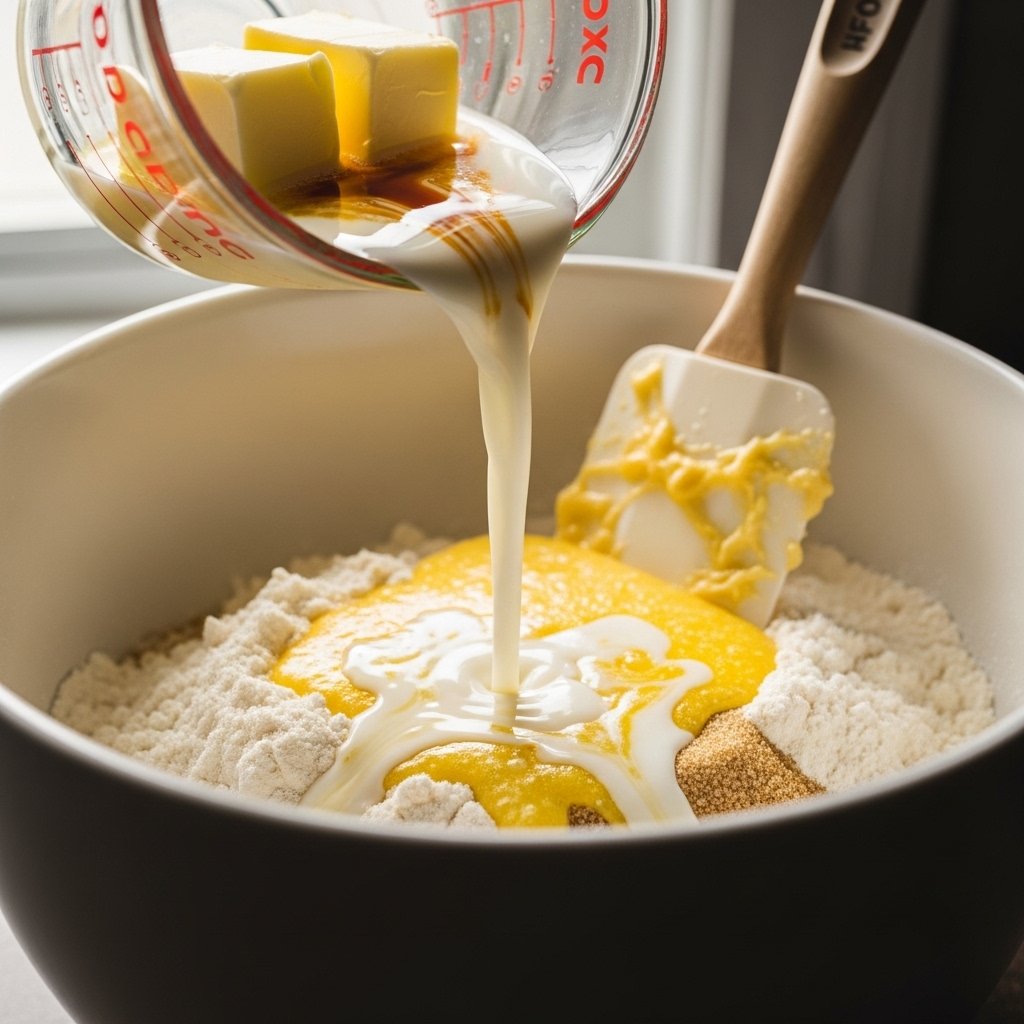
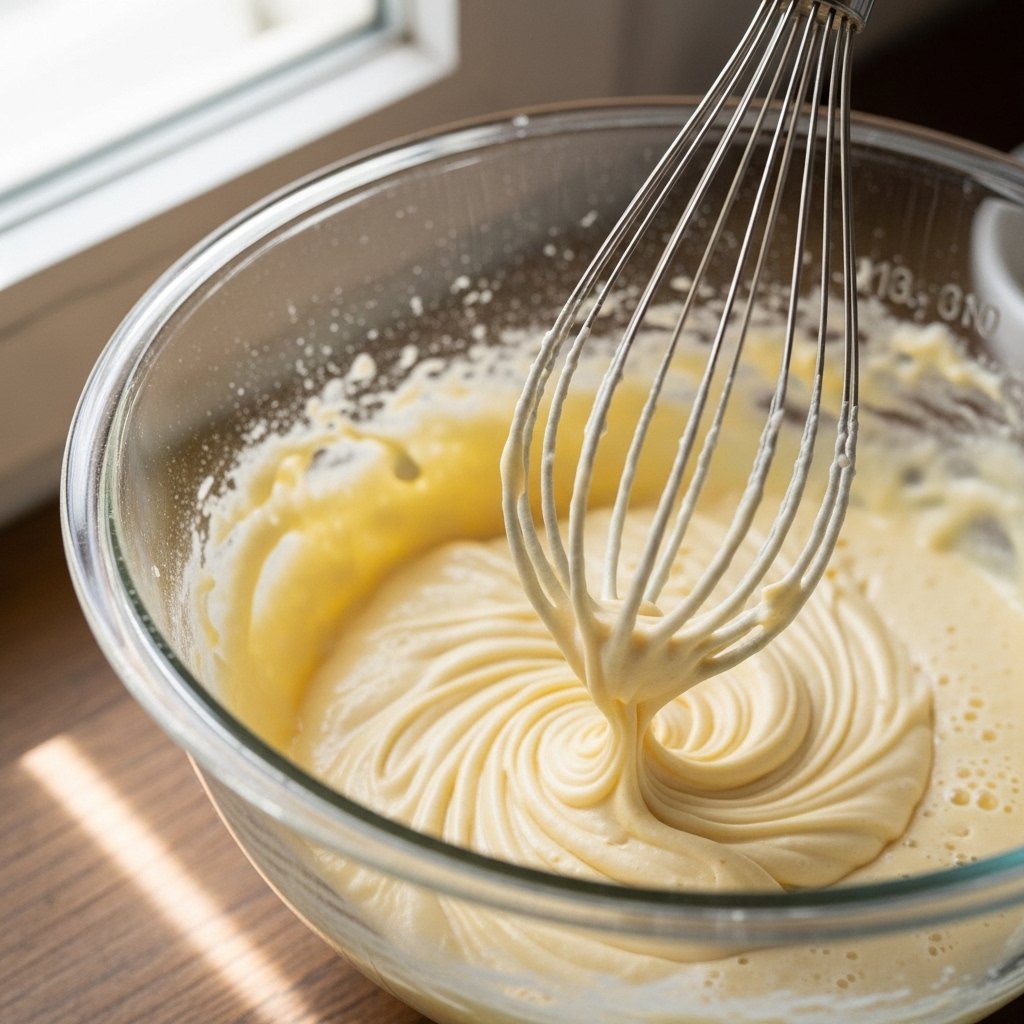
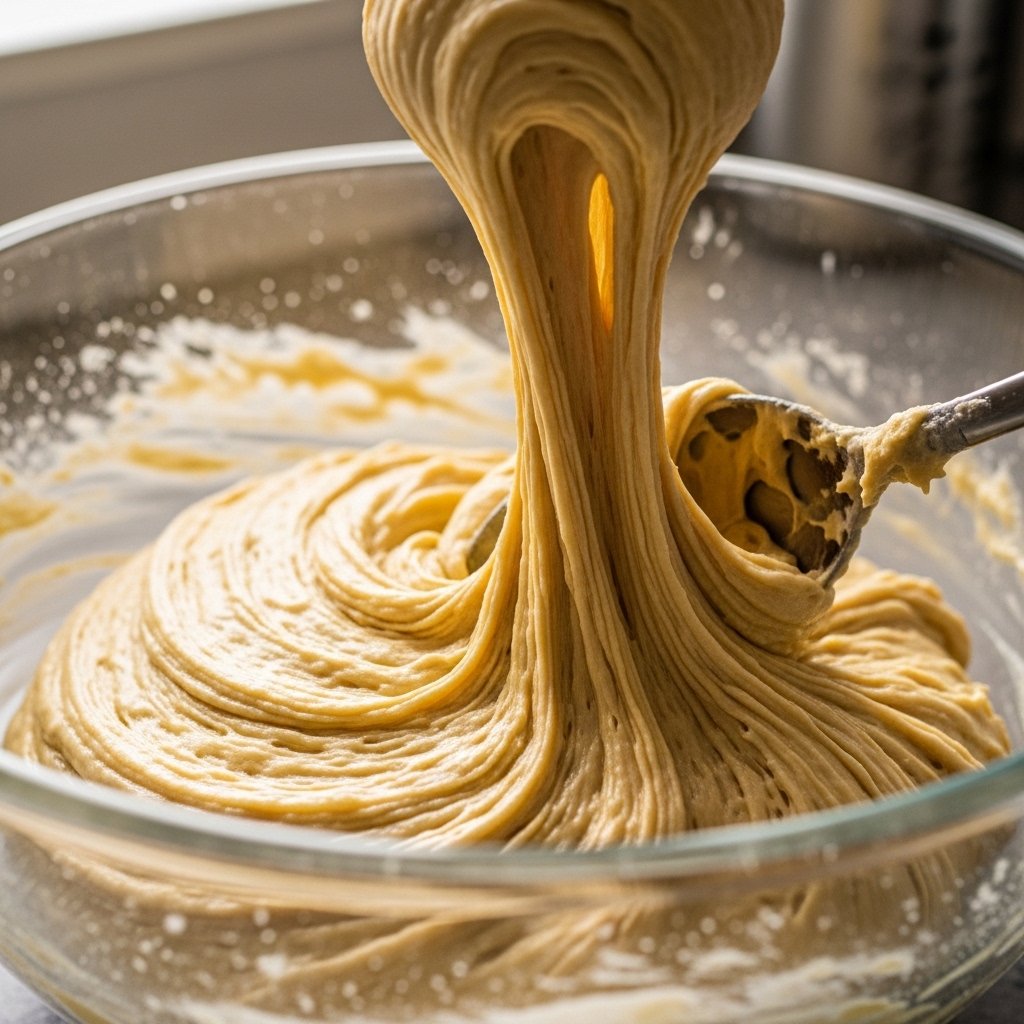
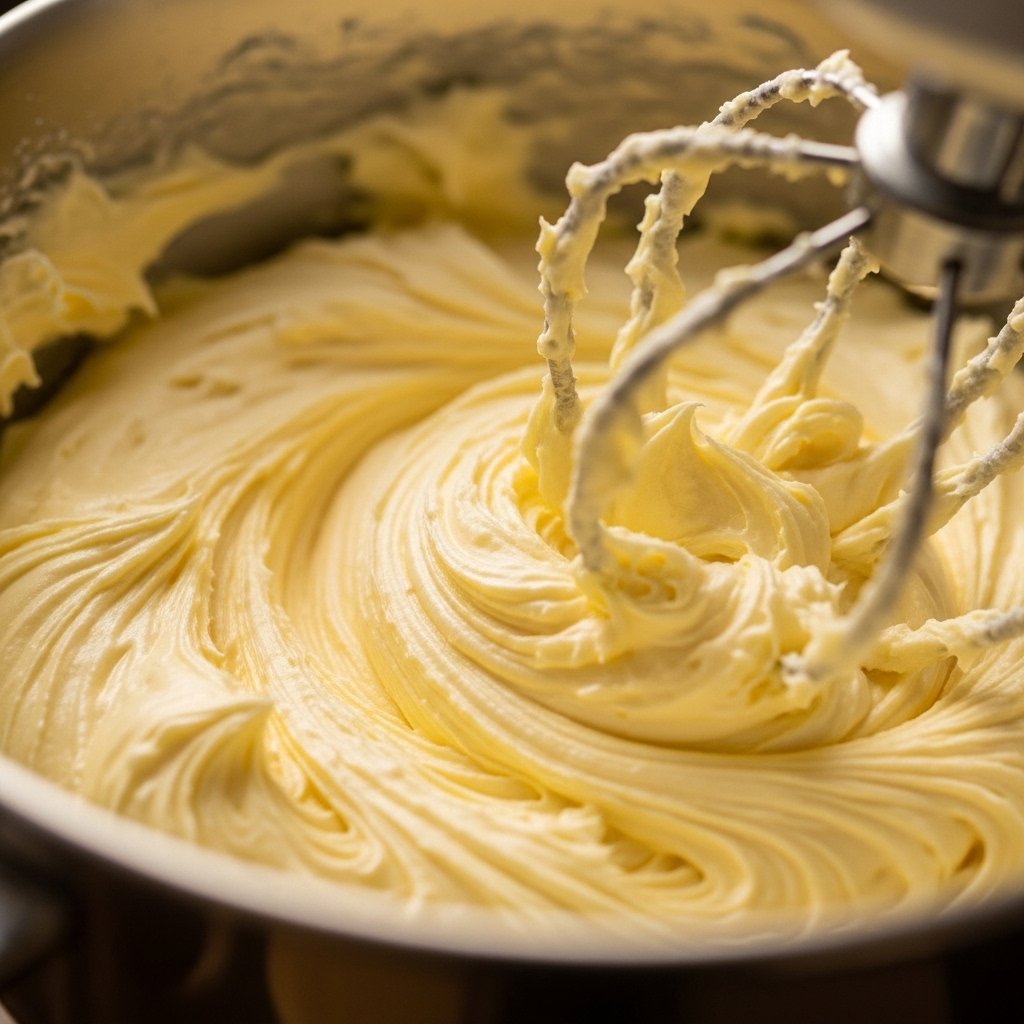
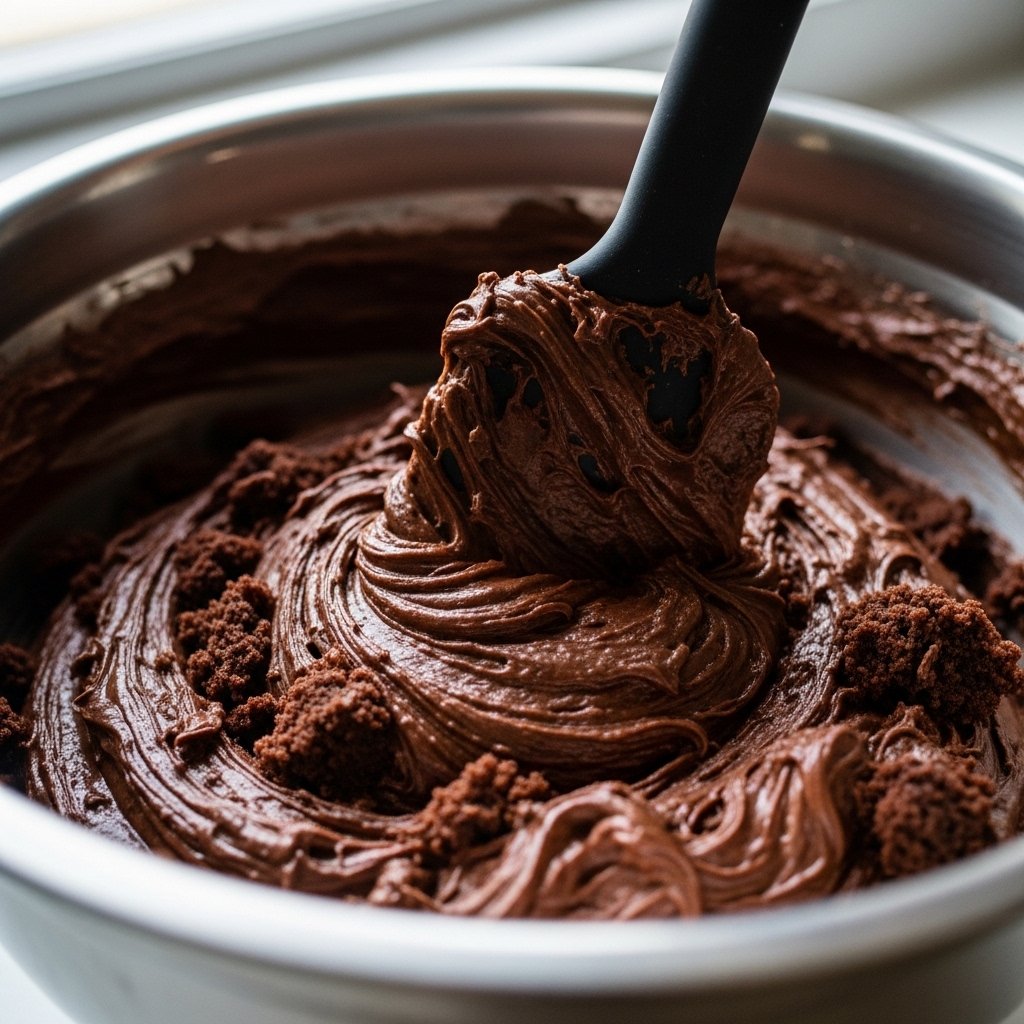
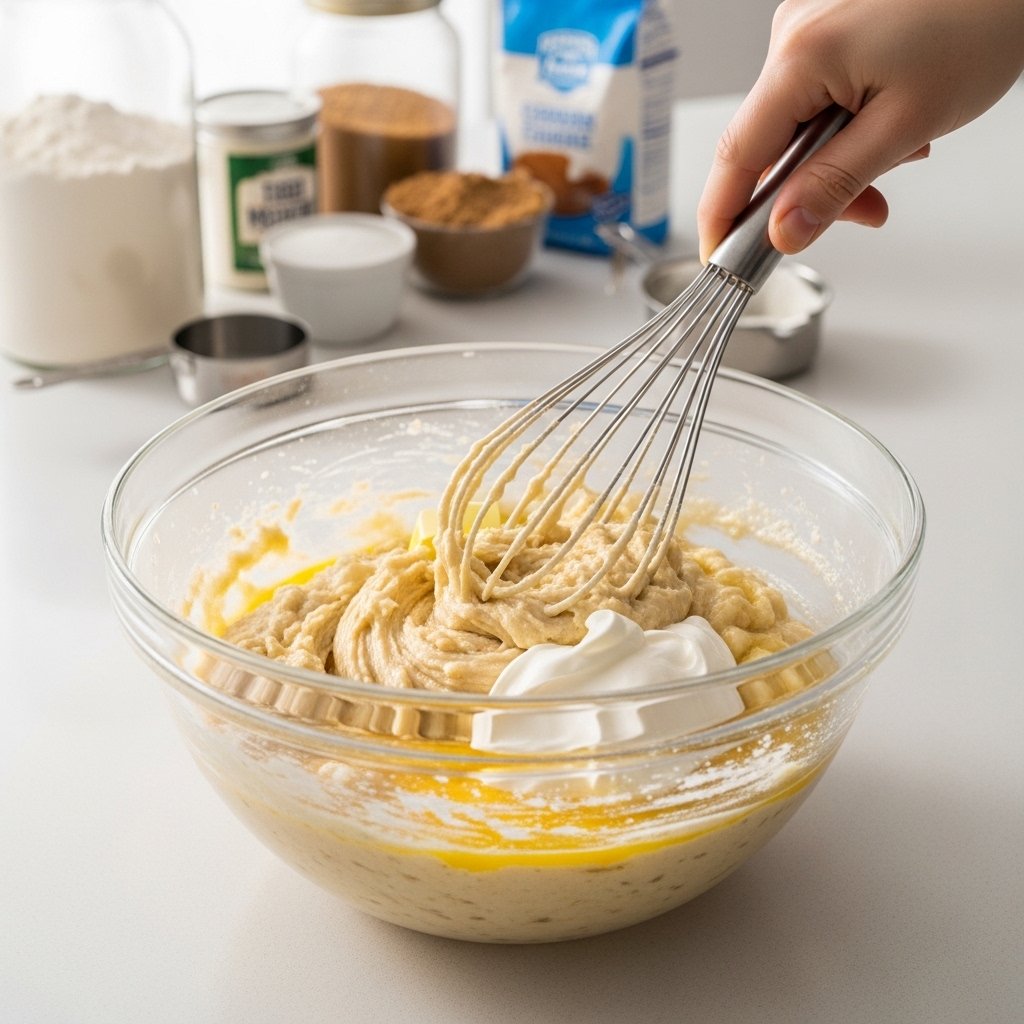
Step 2: Mix the Wet Ingredients

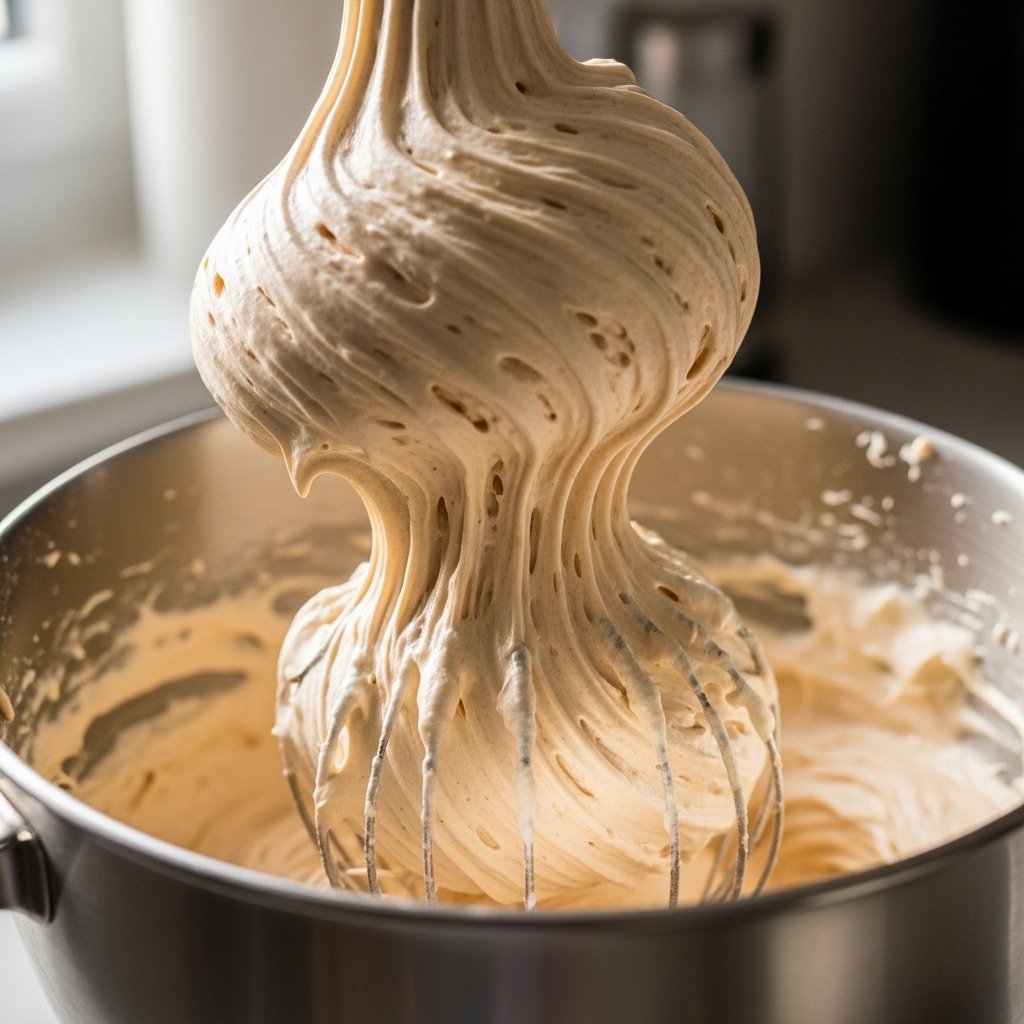
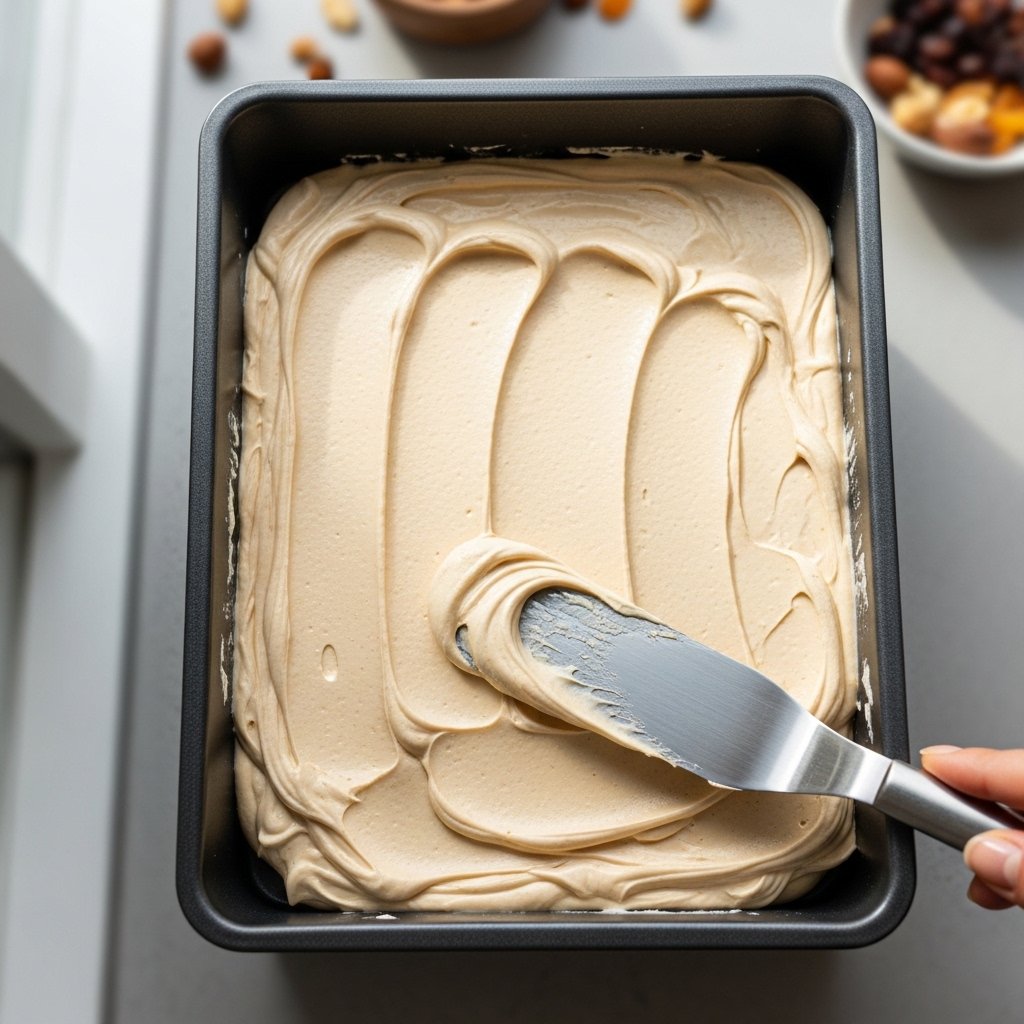
In a large mixing bowl, mash the bananas until mostly smooth. Add melted butter, brown sugar, granulated sugar, eggs, vanilla, and sour cream.

Whisk until fully combined and creamy.

The batter should smell sweet and rich already at this stage.

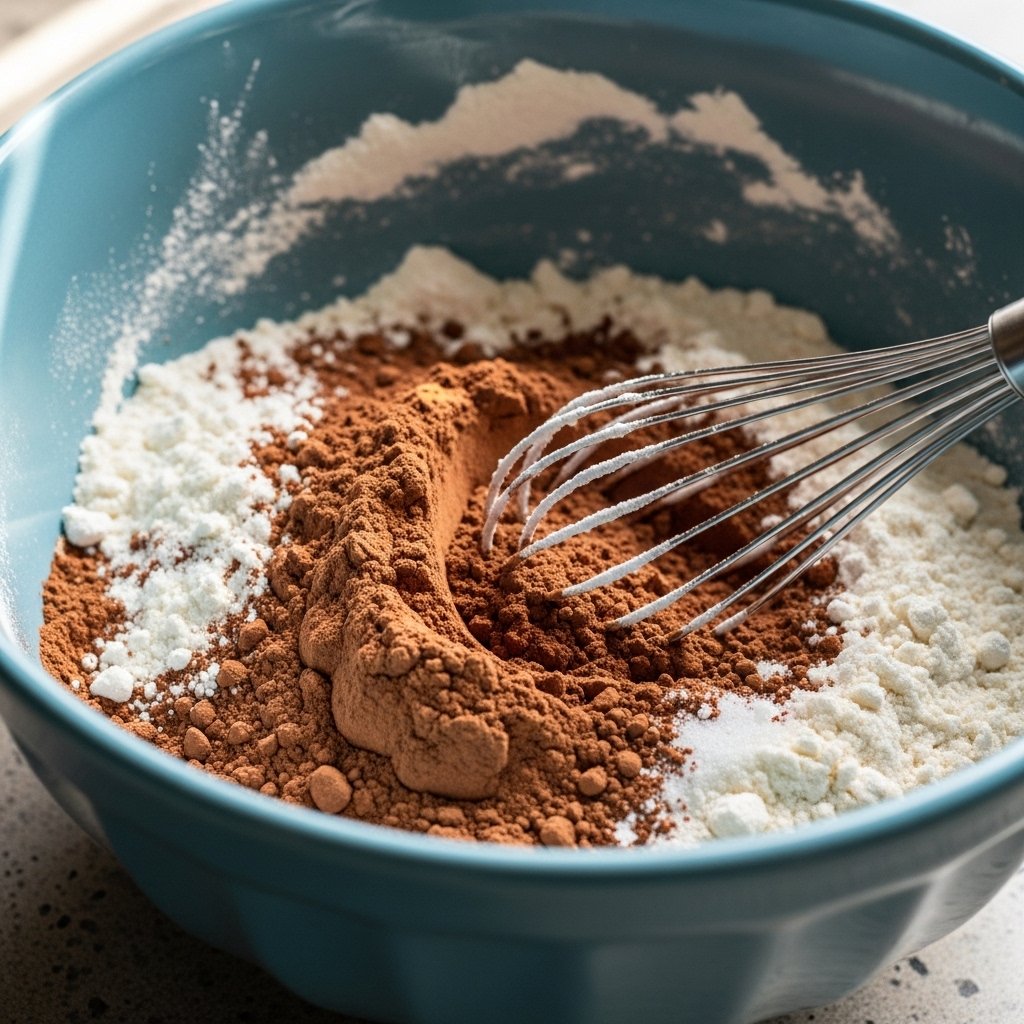
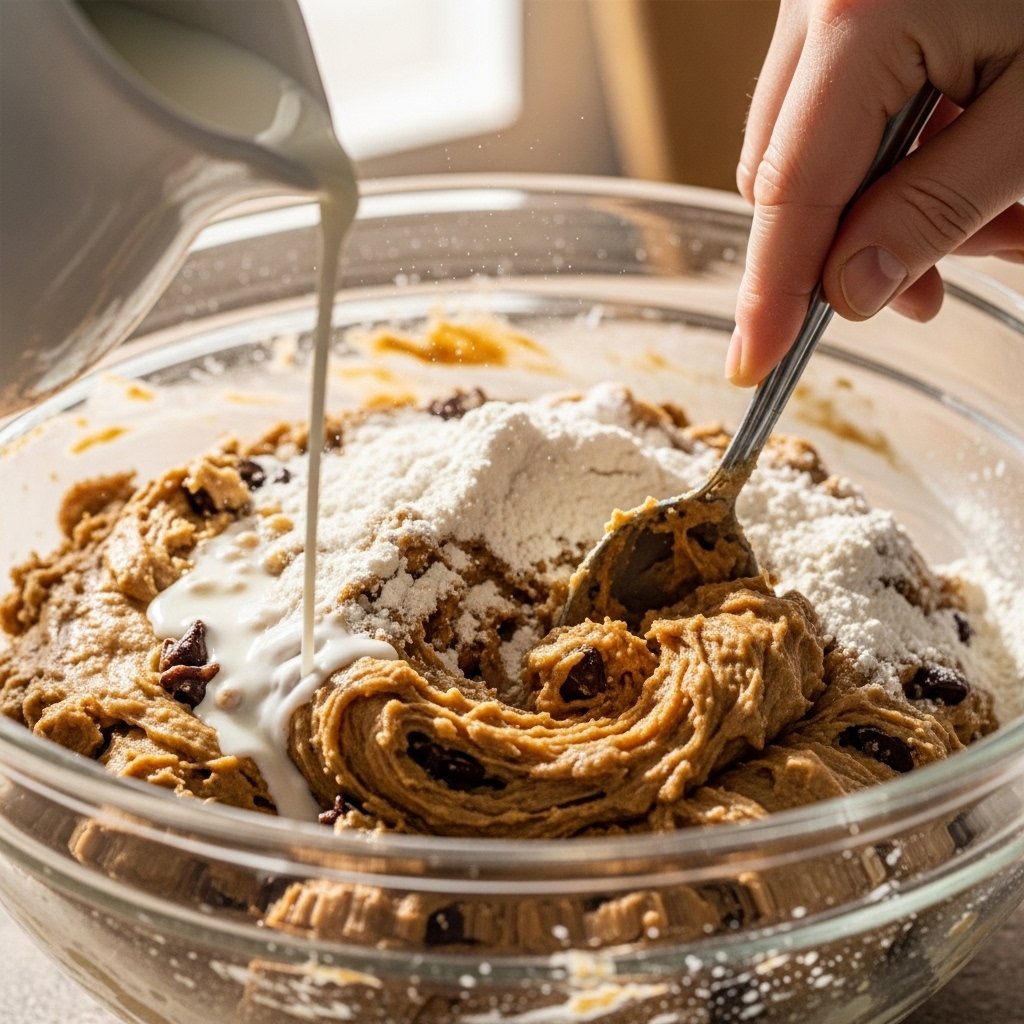
Step 3: Add Dry Ingredients

In a separate bowl, whisk together flour, baking soda, baking powder, salt, and cinnamon.

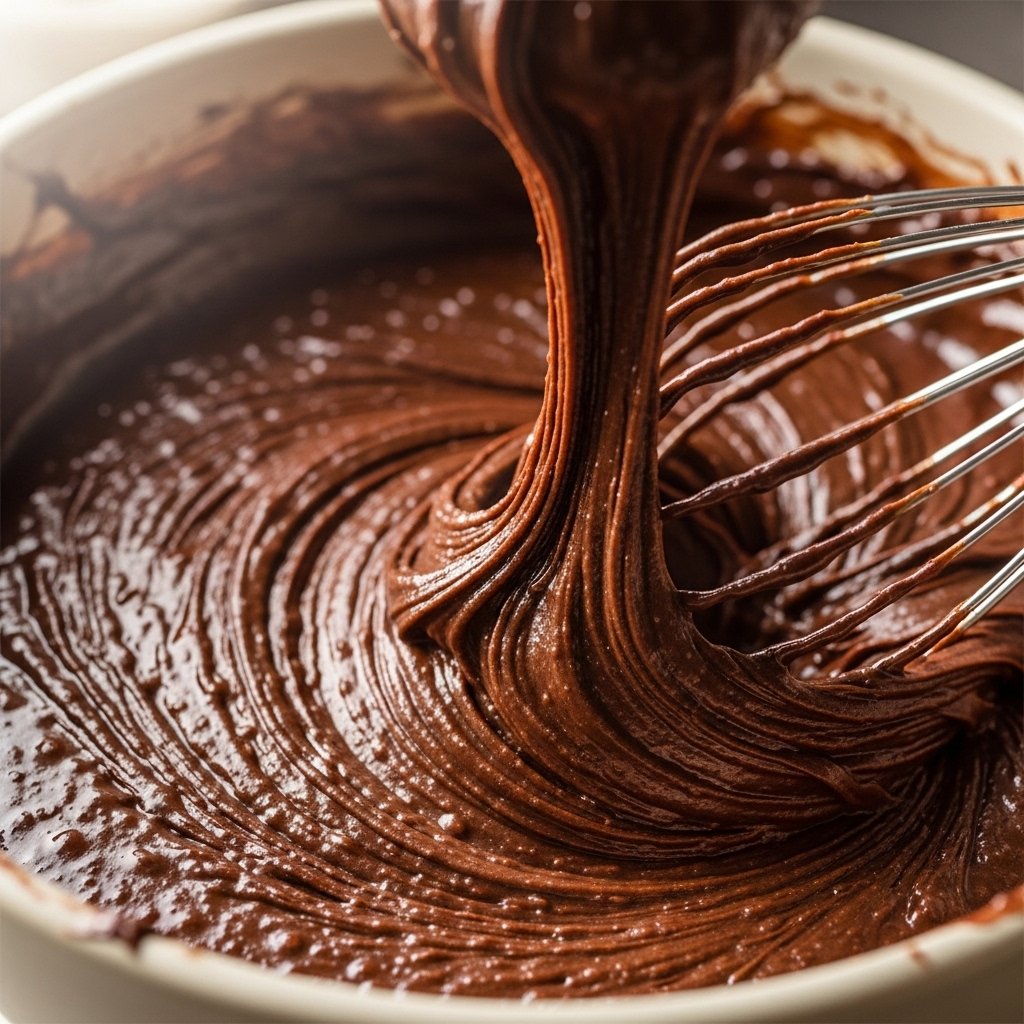
Gradually fold the dry ingredients into the wet mixture. Stir gently until just combined. Do not overmix, or the muffins may become dense.

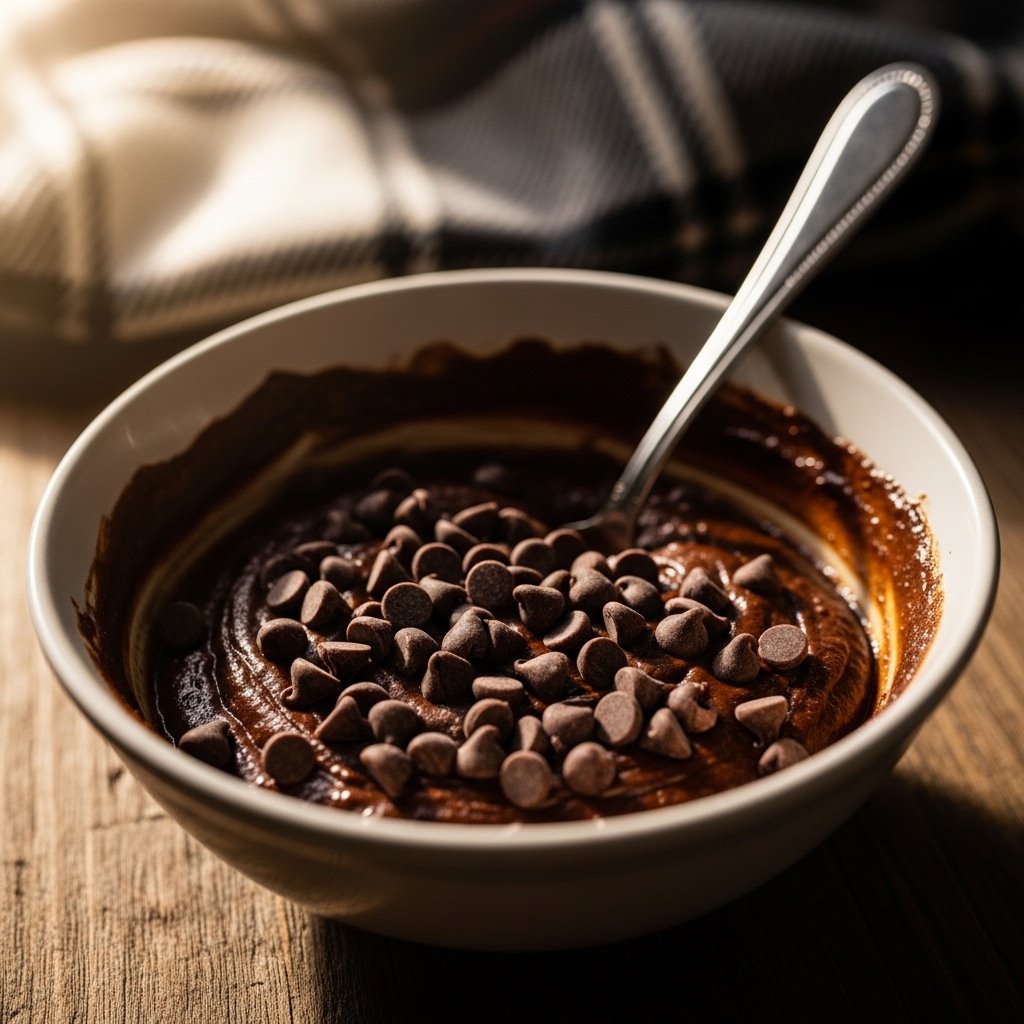
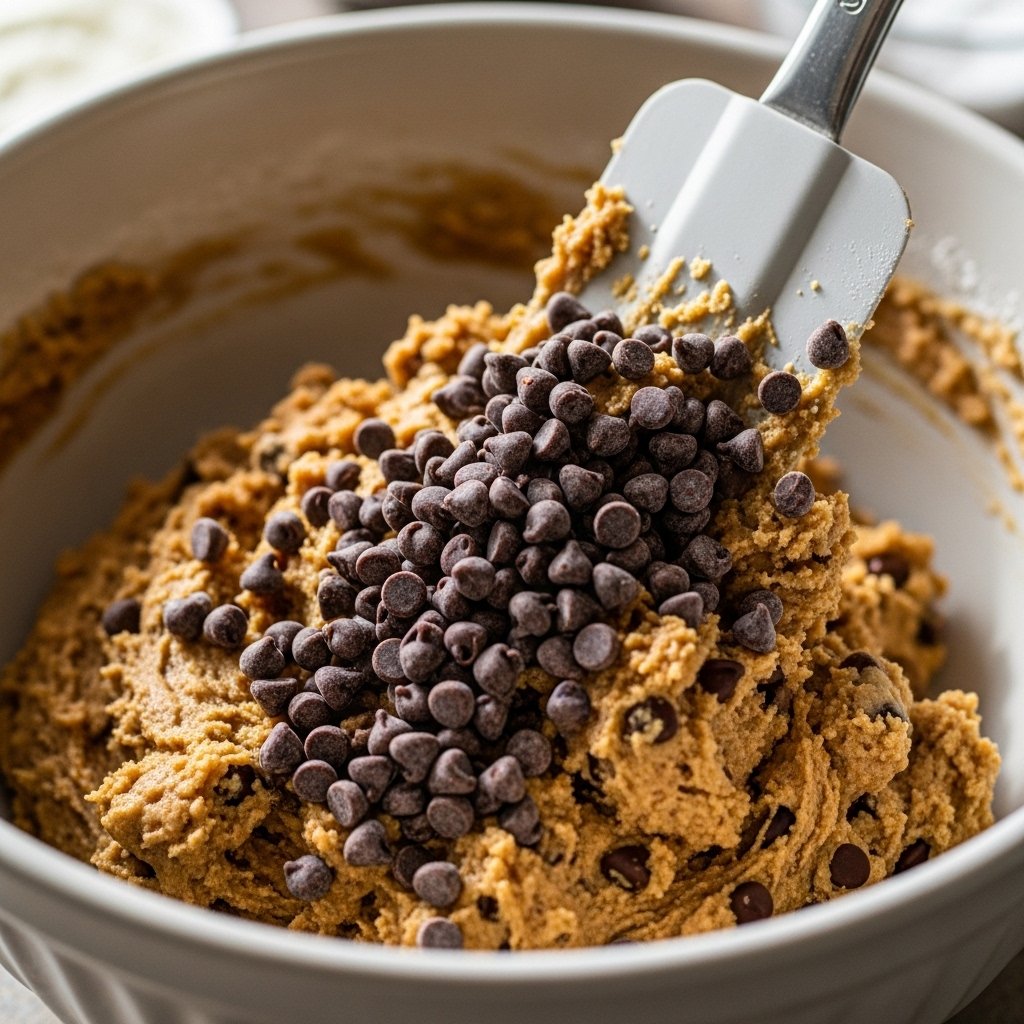
Fold in the chocolate chips last.

This gentle mixing method helps create tender, bakery-style muffins.

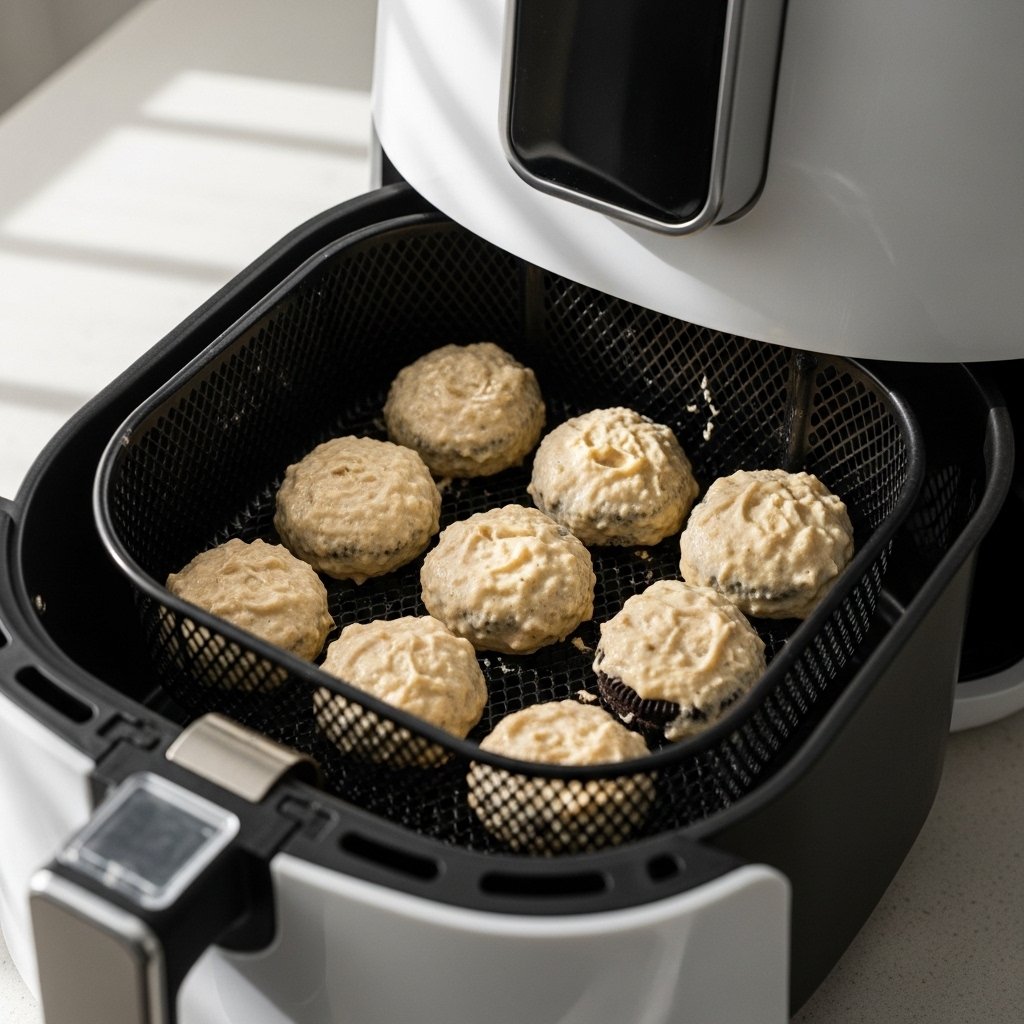
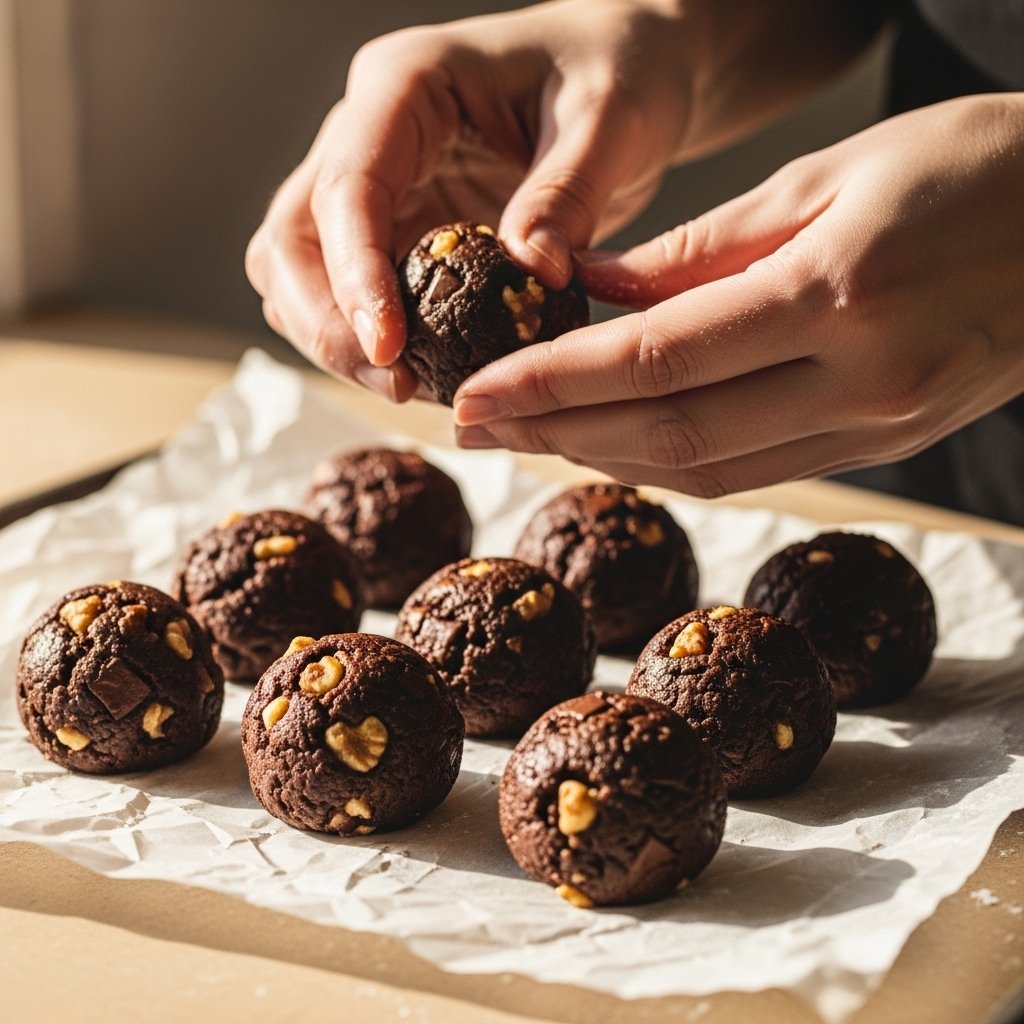
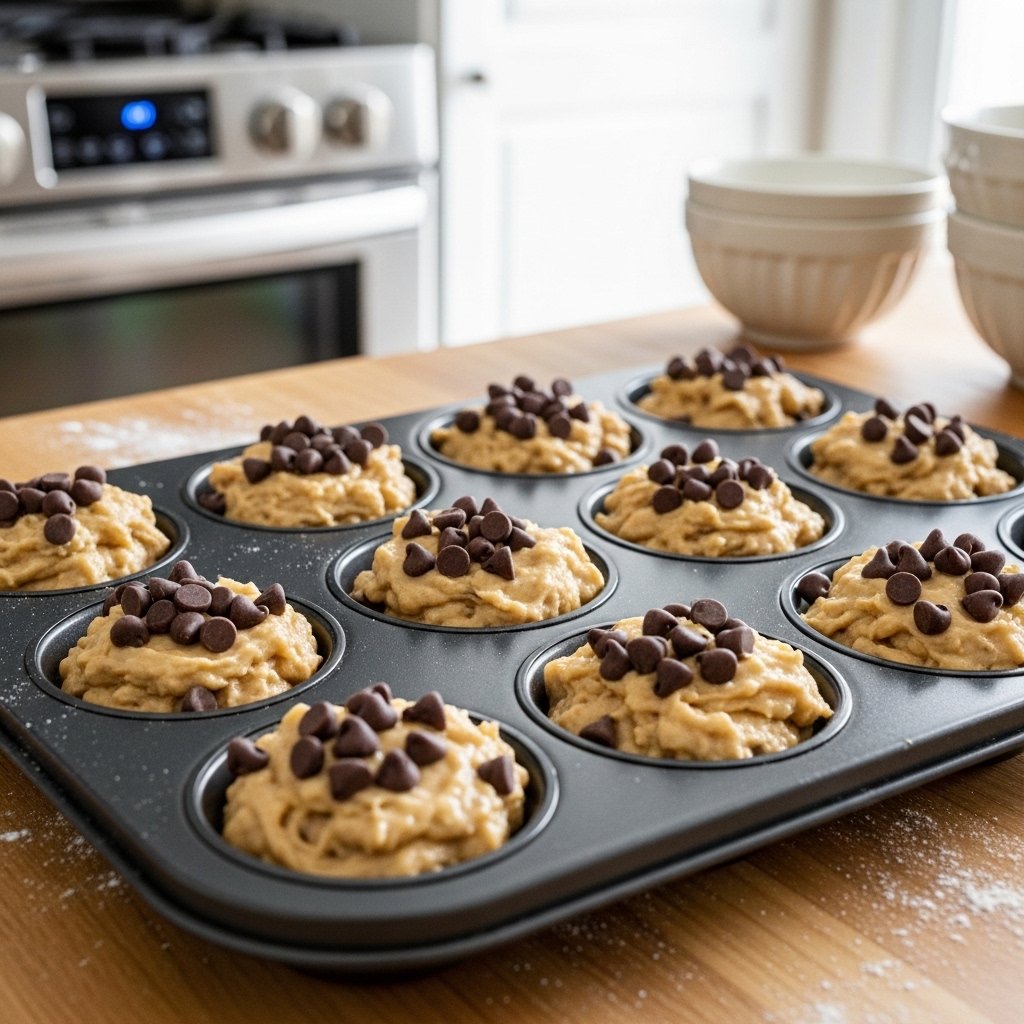
Step 4: Fill and Bake

Divide the batter evenly among the muffin cups, filling each about 3/4 full. Sprinkle extra chocolate chips on top for a bakery-style finish.

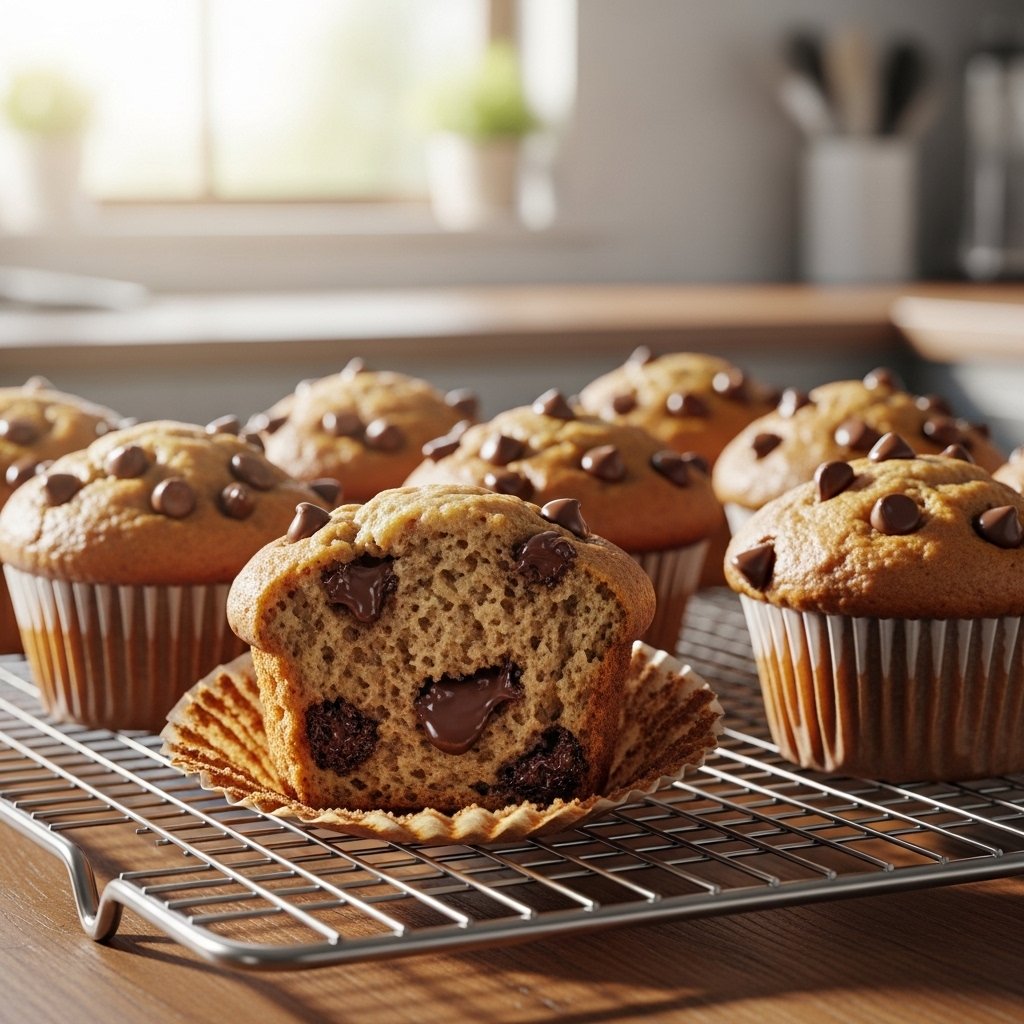
Bake for 18 to 22 minutes, or until the tops are golden and a toothpick inserted in the center comes out mostly clean.

Let the muffins cool in the pan for 5 minutes before transferring to a wire rack.

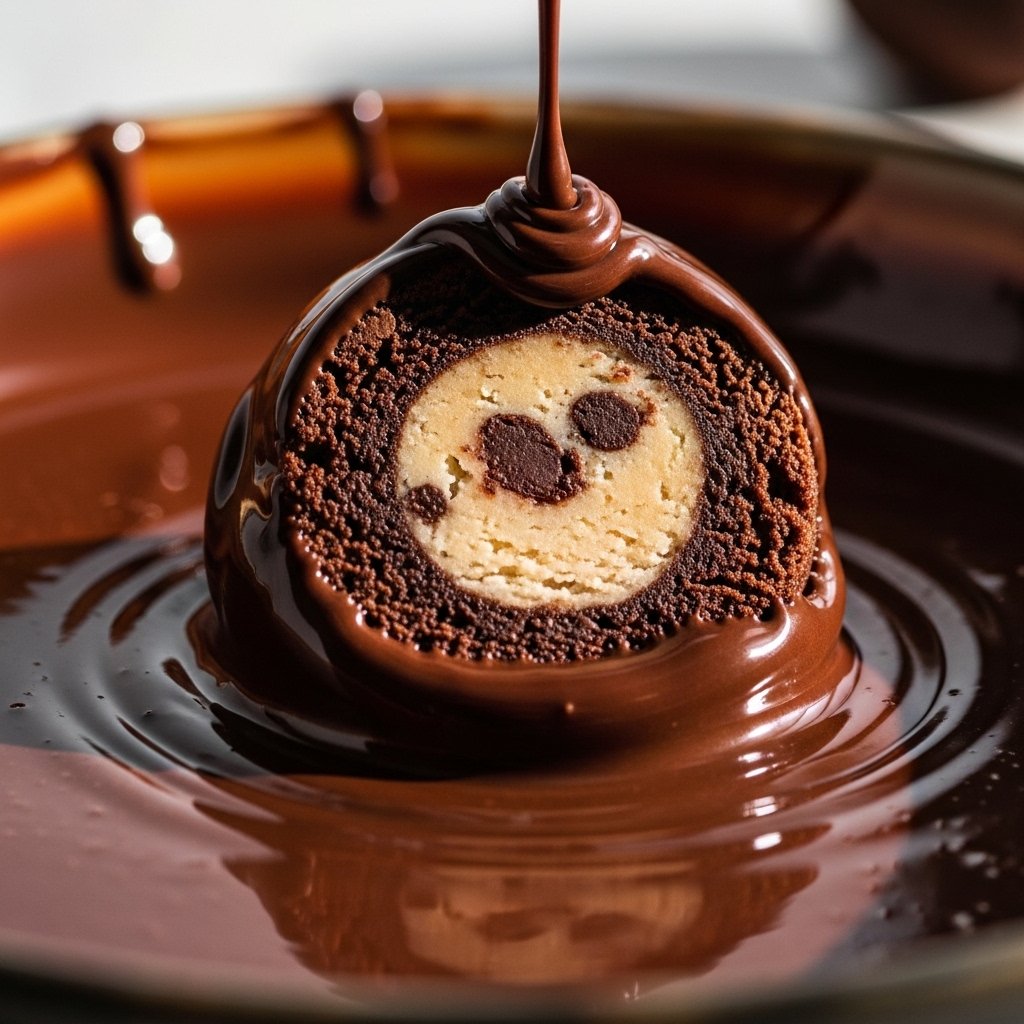
Step 5: Cool and Enjoy

Let the muffins cool slightly before serving so the crumb can set properly. The chocolate chips will still be warm and melty, creating the perfect bite.

Serve warm for the ultimate cozy experience.

Tips for Perfect Banana Chocolate Chip Muffins

To make sure your banana chocolate chip muffins turn out beautifully every time, keep these tips in mind:

  • Use room temperature eggs for smoother batter
  • Measure flour correctly using the spoon-and-level method
  • Don’t overmix the batter
  • Use ripe bananas only
  • Top with extra chocolate chips before baking
  • Let muffins cool before storing

Small baking details make a big difference in final texture.

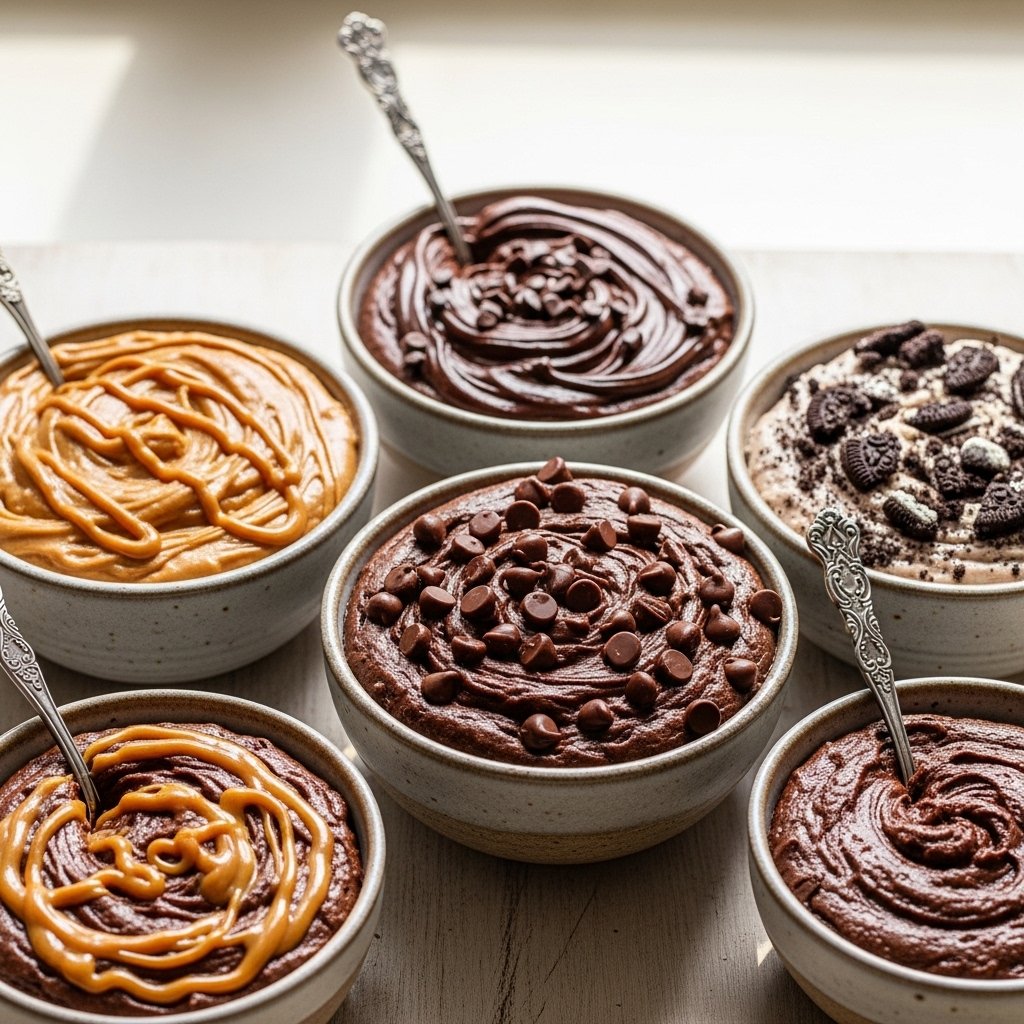
Fun Variations to Try

This banana chocolate chip muffin recipe is wonderfully flexible.

Tasty Add-Ins

  • Chopped walnuts or pecans
  • Shredded coconut
  • Peanut butter chips
  • Oats for texture

Healthier Swaps

  • Whole wheat flour for part of the flour
  • Greek yogurt instead of sour cream
  • Coconut sugar instead of white sugar

You can even make mini muffins for lunchboxes or parties.

What to Serve with Banana Chocolate Chip Muffins

These muffins are delicious on their own, but they pair well with:

  • Fresh fruit
  • Greek yogurt
  • Coffee or tea
  • Smoothies
  • Scrambled eggs for a balanced breakfast

They’re ideal for brunch spreads, school snacks, or cozy mornings at home.

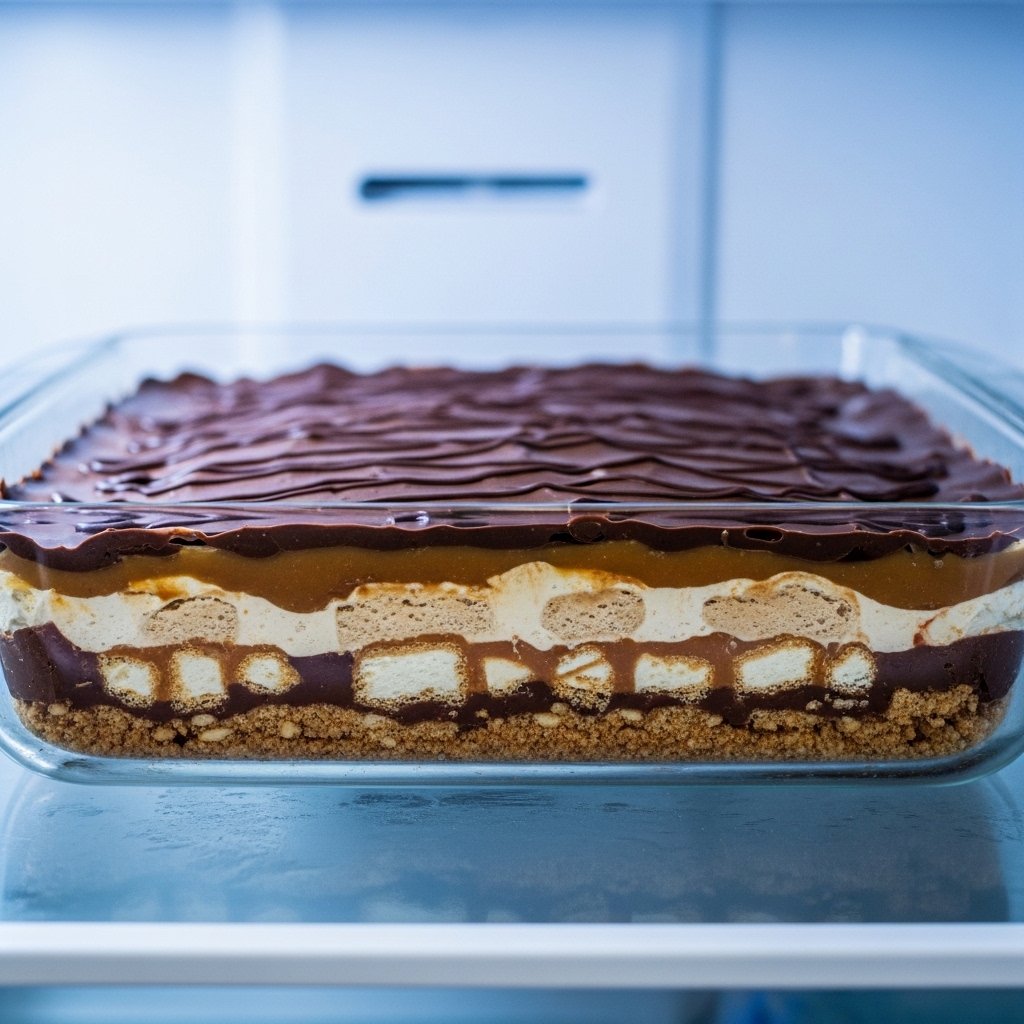
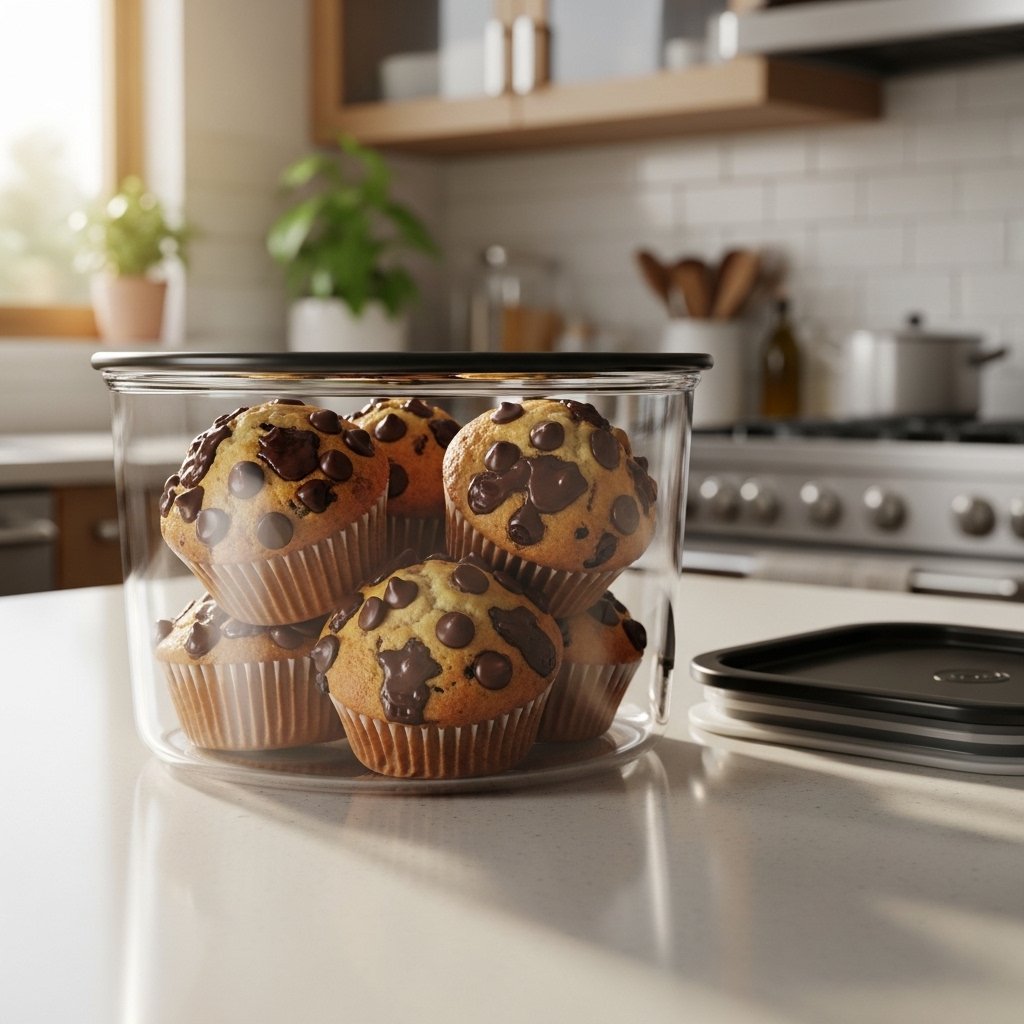
Storage and Freezing Tips

These muffins store beautifully and stay moist for days.

Room Temperature Storage

  • Store in an airtight container for up to 3 days

Refrigerator

  • Store for up to 1 week
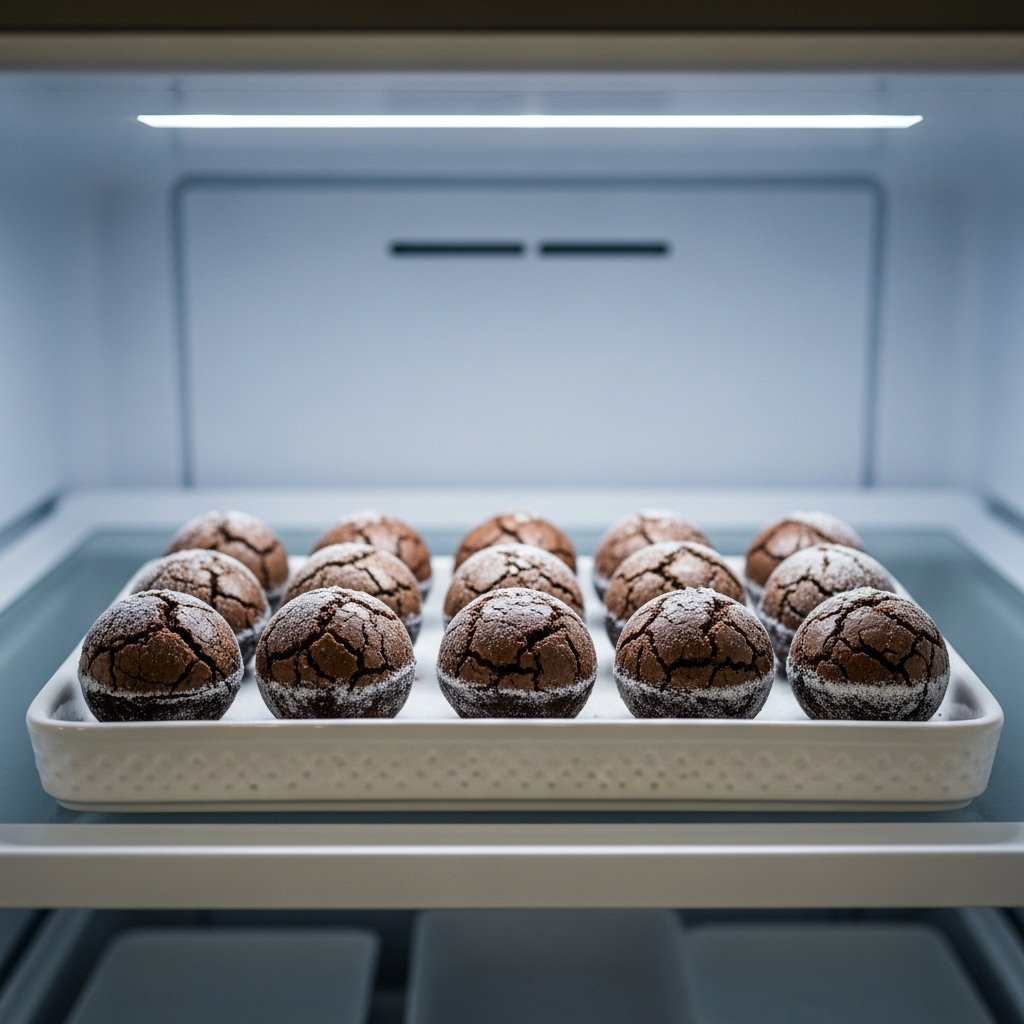
Freezer

  • Freeze in a sealed bag for up to 3 months

To reheat:

  • Microwave for 10–15 seconds
  • Warm in the oven at 300°F for a few minutes

Common Mistakes to Avoid

To get the best banana chocolate chip muffins, avoid these common baking mistakes:

  • Using underripe bananas
  • Overmixing the batter
  • Overbaking
  • Using too much flour
  • Skipping muffin liners without greasing

Paying attention to these simple details ensures soft, tender muffins every time.

Frequently Asked Questions

Can I make banana chocolate chip muffins ahead of time?

Yes. They store well and are perfect for meal prep or make-ahead breakfasts.

Can I freeze banana chocolate chip muffins?

Absolutely. Let them cool completely before freezing.

How ripe should bananas be for muffins?

Very ripe with lots of brown spots is best for sweetness and moisture.

Can I make these muffins healthier?

Yes. Reduce sugar slightly, use Greek yogurt, or swap part of the flour for whole wheat.

Why are my muffins dense?

Usually because the batter was overmixed or too much flour was added.

Final Thoughts

These Decadent Banana Chocolate Chip Muffins are everything a homemade muffin should be: moist, flavorful, easy to make, and deeply comforting. They’re the perfect way to turn simple ingredients into something special that feels like a bakery treat right from your own oven.

Whether you bake them for a busy weekday breakfast, a weekend brunch, or a sweet afternoon snack, this recipe is one you’ll want to keep in your regular rotation. Once you taste that soft banana crumb with pockets of melted chocolate, you’ll understand why these muffins are such a beloved classic.

Irresistible Chocolate Dipped Potato Chips Recipe for Sweet and Salty Snack Lovers

If you’re someone who loves the perfect balance of sweet and salty, this Irresistible Chocolate Dipped Potato Chips Recipe is about to become your new favorite snack. There’s something magical about the crunch of salty potato chips paired with smooth, rich chocolate—it’s simple, unexpected, and incredibly addictive.

This recipe has gained popularity for its effortless preparation and bold flavor contrast. Whether you’re hosting a party, craving a late-night treat, or looking for a unique dessert idea, chocolate dipped potato chips deliver every time.


Why You’ll Love This Recipe

This Chocolate Dipped Potato Chips Recipe checks all the boxes for a perfect snack.

  • Sweet and salty flavor combination
  • Ready in under 15 minutes
  • No baking required
  • Minimal ingredients
  • Perfect for gifting or entertaining

It’s proof that simple ingredients can create something truly unforgettable.


Ingredients

To make these chocolate dipped potato chips, you’ll need:

  • 2 cups ridged potato chips (for extra crunch)
  • 1 ½ cups chocolate chips (milk, dark, or semi-sweet)
  • 1 teaspoon coconut oil (optional, for smooth melting)
  • Optional toppings: sea salt, crushed nuts, sprinkles


Ingredient Notes

The beauty of this Chocolate Dipped Potato Chips Recipe lies in its simplicity, but choosing the right ingredients makes all the difference.

  • Ridged chips hold chocolate better and add texture
  • High-quality chocolate enhances flavor
  • Coconut oil creates a glossy finish
  • Toppings add visual appeal and crunch

You can also experiment with flavored chips for a fun twist.


Step-by-Step Instructions

1. Melt the Chocolate

Place chocolate chips in a microwave-safe bowl and heat in 30-second intervals, stirring until smooth.


2. Dip the Chips

Dip each potato chip halfway into the melted chocolate.


3. Arrange on Tray

Place dipped chips on parchment-lined baking sheet.


4. Add Toppings

Sprinkle sea salt, nuts, or sprinkles while chocolate is still wet.


5. Let Them Set

Allow chips to cool at room temperature or refrigerate until chocolate hardens.


Tips for Perfect Results

To get the best out of this Chocolate Dipped Potato Chips Recipe, follow these tips:

  • Use ridged chips for durability
  • Don’t overheat chocolate
  • Work quickly before chocolate sets
  • Add toppings immediately
  • Use parchment paper to prevent sticking

Variations

This recipe is incredibly versatile.

Dark Chocolate Lovers

Use bittersweet chocolate for a richer taste.

White Chocolate Version

Swap in white chocolate for a sweeter twist.

Peanut Butter Drizzle

Drizzle melted peanut butter on top.

Holiday Style

Add festive sprinkles for special occasions.


What to Serve With It

These chocolate dipped potato chips pair wonderfully with:

  • Hot coffee or espresso
  • Milkshakes
  • Ice cream
  • Fresh fruit platters

They also make a great addition to dessert boards.


Storage & Reheating

To keep your chips fresh:

  • Store in an airtight container
  • Keep at room temperature for 2–3 days
  • Refrigerate for longer storage (up to 1 week)
  • Avoid humidity to maintain crunch


Common Mistakes to Avoid

Avoid these pitfalls when making Chocolate Dipped Potato Chips:

  • Using thin or fragile chips
  • Overheating chocolate
  • Not drying chips properly
  • Adding toppings too late
  • Stacking before fully set

FAQs

1. Can I use any type of potato chips?

Yes, but ridged chips work best for structure.

2. Do I need coconut oil?

No, but it helps create smoother melted chocolate.

3. Can I make these ahead of time?

Yes, they store well for several days.

4. Can I freeze chocolate dipped chips?

Freezing is not recommended as it affects texture.


Final Thoughts

This Irresistible Chocolate Dipped Potato Chips Recipe is the perfect example of how simple ingredients can create a gourmet snack. It’s crunchy, chocolatey, and packed with that irresistible sweet and salty contrast.

Whether you’re making them for a party or just a quick treat, these chocolate dipped chips are guaranteed to impress—and disappear fast!

Blueberry Cheesecake Icebox Cake – No-Bake Summer Dessert

When the weather heats up and you want a dessert that’s cool, creamy, and effortless, this Blueberry Cheesecake Icebox Cake is exactly what you need. It combines the tangy richness of cheesecake with sweet, juicy blueberries and soft graham cracker layers—all without turning on the oven.

This no-bake dessert is perfect for summer gatherings, potlucks, or just treating yourself to something refreshing. The longer it chills, the better it gets, making it an ideal make-ahead recipe that tastes even more delicious the next day.


Why You’ll Love This Recipe

This Blueberry Cheesecake Icebox Cake is a total crowd-pleaser.

  • No baking required
  • Light, creamy, and refreshing
  • Perfect for hot summer days
  • Easy to make ahead
  • Beautiful layered presentation

It’s the kind of dessert that looks fancy but is surprisingly simple to make.


Ingredients

To make this blueberry cheesecake icebox cake, you’ll need:

  • 2 cups fresh blueberries (or blueberry pie filling)
  • 2 cups heavy whipping cream
  • 8 oz cream cheese (softened)
  • ¾ cup powdered sugar
  • 1 teaspoon vanilla extract
  • 1 package graham crackers
  • 1 tablespoon lemon juice (optional, for brightness)


Ingredient Notes

Each ingredient plays a key role in this Blueberry Cheesecake Icebox Cake.

  • Cream cheese provides tangy cheesecake flavor
  • Whipped cream adds light, airy texture
  • Blueberries bring natural sweetness and color
  • Graham crackers soften into cake-like layers
  • Lemon juice enhances freshness

Fresh blueberries give the best flavor, but canned filling works too.


Step-by-Step Instructions

1. Make Cheesecake Filling

Beat cream cheese, powdered sugar, and vanilla until smooth.


2. Whip the Cream

Whip heavy cream until stiff peaks form, then fold into cream cheese mixture.


3. Prepare Blueberries

Mix blueberries with a little sugar or lemon juice if needed.


4. Layer the Cake

Start with graham crackers, then cheesecake filling, then blueberries. Repeat layers.


5. Chill to Set

Refrigerate for at least 4–6 hours or overnight.


6. Slice and Serve

Cut into squares and serve chilled.


Tips for Perfect Results

To make the best Blueberry Cheesecake Icebox Cake, follow these tips:

  • Chill overnight for best texture
  • Use full-fat cream cheese for richness
  • Don’t overmix whipped cream
  • Layer evenly for clean slices
  • Use fresh blueberries when possible

Variations

You can easily customize this dessert.

Mixed Berry Version

Add strawberries and raspberries.

Chocolate Twist

Add chocolate chips or drizzle.

Lemon Blueberry

Add extra lemon zest for brightness.

Gluten-Free Option

Use gluten-free graham crackers.


What to Serve With It

This Blueberry Cheesecake Icebox Cake pairs perfectly with:

  • Iced coffee
  • Lemonade
  • Fresh fruit
  • Whipped cream topping
  • Mint garnish

It’s ideal for summer parties and brunch.


Storage & Reheating

For best freshness:

  • Refrigerator: Store up to 4 days
  • Keep covered tightly
  • Do not freeze (texture may change)
  • Serve chilled straight from fridge


Common Mistakes to Avoid

Avoid these issues when making Blueberry Cheesecake Icebox Cake:

  • Not chilling long enough
  • Overwhipping cream
  • Uneven layering
  • Using too much liquid in berries
  • Skipping softened cream cheese

FAQs

1. Can I make this ahead of time?

Yes, it’s best made a day in advance.

2. Can I use frozen blueberries?

Yes, but thaw and drain them first.

3. Why is my cake too soft?

It may need more chilling time.

4. Can I freeze icebox cake?

Freezing is not recommended for best texture.


Final Thoughts

This Blueberry Cheesecake Icebox Cake is the perfect no-bake dessert for warm days. It’s creamy, fruity, and incredibly easy to make while still looking impressive.

Once you try it, it’ll become your go-to summer dessert for gatherings, celebrations, and everyday indulgence.

Easy Edible Brownie Batter – Safe, Rich & Ready in Minutes

If you’ve ever licked the spoon while baking brownies, you already know how irresistible brownie batter can be. Now imagine enjoying that same rich, fudgy flavor—completely safe to eat. This Easy Edible Brownie Batter recipe is designed specifically for that purpose, with no raw eggs and heat-treated flour.

This indulgent treat is smooth, chocolatey, and ready in just minutes. Whether you’re craving a quick dessert, a dip for fruit, or a fun topping for ice cream, this edible brownie batter hits the spot every time.


Why You’ll Love This Recipe

This Easy Edible Brownie Batter is a must-try for chocolate lovers.

  • Safe to eat raw (no eggs)
  • Ready in under 10 minutes
  • Rich, fudgy, and creamy
  • Perfect for dipping or topping
  • Easily customizable

It’s like enjoying brownie batter without the wait—or the oven.


Ingredients

To make this easy edible brownie batter, you’ll need:

  • 1 cup heat-treated all-purpose flour
  • ½ cup unsweetened cocoa powder
  • ½ cup brown sugar
  • ¼ cup granulated sugar
  • ½ cup unsalted butter (melted)
  • ¼ cup milk (or plant-based milk)
  • 1 teaspoon vanilla extract
  • Pinch of salt
  • ½ cup chocolate chips (optional)


Ingredient Notes

The key to perfect Easy Edible Brownie Batter lies in safe and balanced ingredients.

  • Heat-treated flour eliminates bacteria risks
  • Cocoa powder provides deep chocolate flavor
  • Brown sugar adds moisture and richness
  • Butter gives smooth, creamy texture
  • Milk adjusts consistency

You can tweak sweetness or thickness based on your preference.


Step-by-Step Instructions

1. Heat-Treat the Flour

Microwave flour for 1–2 minutes or bake at 350°F for 5 minutes.


2. Mix Dry Ingredients

Combine flour, cocoa powder, sugars, and salt in a bowl.


3. Add Wet Ingredients

Pour in melted butter, milk, and vanilla extract.


4. Mix Until Smooth

Stir until thick, creamy batter forms.


5. Fold in Chocolate Chips

Add chocolate chips for extra texture and flavor.


6. Serve or Chill

Enjoy immediately or chill for thicker consistency.


Tips for Perfect Results

To make the best Easy Edible Brownie Batter, follow these tips:

  • Always heat-treat flour for safety
  • Use high-quality cocoa powder
  • Adjust milk for desired consistency
  • Chill for thicker texture
  • Taste and adjust sweetness

Variations

You can easily customize this brownie batter.

Peanut Butter Swirl

Add peanut butter on top and swirl.

Cookies & Cream

Mix in crushed cookies.

Protein Version

Add chocolate protein powder.

Vegan Option

Use plant-based butter and milk.


What to Serve With It

This Easy Edible Brownie Batter pairs perfectly with:

  • Fresh strawberries
  • Pretzels
  • Graham crackers
  • Vanilla ice cream
  • Waffles or pancakes

It’s also great as a dip or dessert topping.


Storage & Reheating

For best freshness:

  • Refrigerator: Store up to 5 days
  • Freezer: Up to 1 month
  • Keep in airtight container
  • No reheating required
  • Let sit at room temp before serving


Common Mistakes to Avoid

Avoid these issues when making Easy Edible Brownie Batter:

  • Skipping heat-treating flour
  • Using too much liquid
  • Overmixing batter
  • Using low-quality cocoa
  • Not adjusting sweetness

FAQs

1. Is edible brownie batter safe to eat?

Yes, because it contains no raw eggs and uses heat-treated flour.

2. Can I make it dairy-free?

Yes, use plant-based butter and milk.

3. Why is my batter too thick?

Add a little more milk gradually.

4. Can I bake this batter?

No, this recipe is designed for eating raw.


Final Thoughts

This Easy Edible Brownie Batter is the ultimate quick dessert for chocolate lovers. It’s rich, smooth, and incredibly satisfying—without needing to bake anything.

Once you try it, you’ll always want a batch ready in your fridge for those sweet cravings.

How to Make Homemade Milky Way Bars That Taste Better Than Store Bought

If you’ve ever bitten into a Milky Way bar and wished it tasted even fresher, creamier, and more indulgent, this recipe is for you. Learning how to make homemade Milky Way bars that taste better than store bought is easier than you think—and the results are absolutely next-level.

These homemade candy bars feature fluffy nougat, gooey caramel, and a smooth chocolate coating. Every bite is rich, sweet, and melt-in-your-mouth delicious. Plus, making them at home lets you control the quality of ingredients and customize the sweetness just the way you like it.


Why You’ll Love This Recipe

These homemade Milky Way bars are a total game-changer for candy lovers.

  • Tastes fresher than store-bought candy
  • Made with simple pantry ingredients
  • No preservatives or artificial flavors
  • Fun and rewarding candy-making project
  • Perfect for gifting or holidays

Once you try them, you’ll never look at packaged candy bars the same way again.


Ingredients

To make homemade Milky Way bars that taste better than store bought, you’ll need:

Nougat Layer:

  • 1 cup sugar
  • 1/3 cup corn syrup
  • 1/4 cup water
  • 2 egg whites
  • 1 teaspoon vanilla extract
  • Pinch of salt

Caramel Layer:

  • 1 cup soft caramel candies (or homemade caramel)
  • 2 tablespoons heavy cream

Chocolate Coating:

  • 2 cups milk chocolate or dark chocolate
  • 1 teaspoon coconut oil (optional for shine)


Ingredient Notes

Understanding each layer is key to mastering how to make homemade Milky Way bars that taste better than store bought.

  • Nougat gives soft airy texture
  • Caramel provides gooey chewiness
  • Chocolate creates the classic candy shell
  • Vanilla enhances sweetness and aroma
  • Corn syrup stabilizes texture

Each layer should be smooth and well-balanced.


Step-by-Step Instructions

1. Make the Nougat

Heat sugar, corn syrup, and water until syrupy, then whip into egg whites.


2. Spread Nougat Base

Pour nougat into lined pan and let it set slightly.


3. Add Caramel Layer

Melt caramel with cream and spread over nougat.


4. Chill to Set

Refrigerate until firm before cutting.


5. Cut into Bars

Slice into even bar shapes.


6. Coat in Chocolate

Dip each bar into melted chocolate.


7. Let Set

Allow chocolate to harden completely before serving.


Tips for Perfect Results

To master how to make homemade Milky Way bars that taste better than store bought, follow these tips:

  • Whip nougat until light and fluffy
  • Don’t overcook caramel
  • Chill layers before cutting
  • Use sharp knife for clean edges
  • Melt chocolate slowly for smooth coating

Variations

You can customize your candy bars easily:

Dark Chocolate Version

Use 70% dark chocolate coating.

Salted Caramel Style

Add sea salt on top of caramel layer.

Peanut Version

Add crushed peanuts into nougat.

White Chocolate Twist

Coat bars in white chocolate instead.


What to Serve With It

These homemade candy bars pair perfectly with:

  • Coffee or espresso
  • Cold milk
  • Ice cream desserts
  • Dessert platters
  • Holiday gift boxes

They’re great for sharing or gifting.


Storage & Reheating

For best freshness:

  • Refrigerator: Store up to 10 days
  • Freezer: Store up to 2 months
  • Keep in airtight container
  • Serve chilled or room temperature
  • No reheating needed


Common Mistakes to Avoid

Avoid these issues when learning how to make homemade Milky Way bars that taste better than store bought:

  • Overheating sugar syrup
  • Not whipping nougat enough
  • Caramel too runny
  • Uneven layering
  • Cutting before fully chilled

FAQs

1. Are homemade Milky Way bars hard to make?

No, they just require patience and layering.

2. Can I skip corn syrup?

It helps texture but can be substituted with honey.

3. Why is my nougat dense?

It wasn’t whipped long enough.

4. Can I freeze them?

Yes, they freeze very well.


Final Thoughts

Learning how to make homemade Milky Way bars that taste better than store bought is a fun and rewarding kitchen project. The combination of fluffy nougat, rich caramel, and smooth chocolate creates a candy bar that feels gourmet and homemade at the same time.

Once you try them, you’ll understand why homemade always wins.

Peanut Butter Eggs – Easy Homemade Easter Candy Recipe

If you love Reese’s peanut butter eggs, you are going to absolutely fall in love with this homemade Peanut Butter Eggs recipe. These rich, creamy, chocolate-covered treats are a classic Easter candy—but even better when made fresh in your own kitchen.

With a smooth peanut butter filling and a crisp chocolate shell, these homemade peanut butter eggs are surprisingly easy to prepare and require just a handful of simple ingredients. They’re perfect for Easter baskets, holiday dessert trays, or anytime you need a sweet peanut butter fix.


Why You’ll Love This Recipe

These Peanut Butter Eggs are a must-make for peanut butter lovers.

  • Tastes just like Reese’s (but fresher!)
  • Only a few simple ingredients
  • No baking required
  • Perfect for Easter gifting
  • Freezer-friendly and easy to store

They’re rich, sweet, and completely addictive.


Ingredients

To make these homemade Peanut Butter Eggs, you’ll need:

  • 1 cup creamy peanut butter
  • 2 tablespoons unsalted butter (softened)
  • 1 teaspoon vanilla extract
  • 1 ½ cups powdered sugar
  • Pinch of salt
  • 1 ½ cups chocolate chips (milk or dark)
  • 1 teaspoon coconut oil (optional, for smooth coating)


Ingredient Notes

The magic of Peanut Butter Eggs is all in the texture.

  • Creamy peanut butter creates smooth filling
  • Powdered sugar helps firm up the dough
  • Butter adds richness and softness
  • Chocolate coating gives the classic candy shell
  • Vanilla enhances flavor depth

Use high-quality chocolate for the best taste and shine.


Step-by-Step Instructions

1. Make the Peanut Butter Filling

Mix peanut butter, butter, vanilla, salt, and powdered sugar until thick dough forms.


2. Shape the Eggs

Scoop dough and shape into egg forms using your hands.


3. Chill the Eggs

Freeze or refrigerate for 20–30 minutes until firm.


4. Melt the Chocolate

Melt chocolate chips with coconut oil until smooth.


5. Dip the Eggs

Coat each peanut butter egg in melted chocolate.


6. Set and Harden

Place on parchment paper and let chocolate harden completely.


Tips for Perfect Results

To make the best Peanut Butter Eggs, follow these tips:

  • Chill dough before dipping for clean coating
  • Use fork or dipping tool for smooth finish
  • Don’t skip coconut oil in chocolate (for shine)
  • Work quickly when dipping
  • Keep eggs evenly sized for best presentation

Variations

You can easily customize your peanut butter eggs:

Crunchy Version

Add crushed peanuts inside filling.

Dark Chocolate Eggs

Use 70% dark chocolate coating.

White Chocolate Drizzle

Drizzle white chocolate on top.

Healthy Version

Use natural peanut butter and reduce sugar.


What to Serve With It

These Peanut Butter Eggs pair perfectly with:

  • Milk or chocolate milk
  • Coffee or latte
  • Ice cream desserts
  • Easter candy boards
  • Fruit platters

They’re great for holiday gatherings.


Storage & Reheating

For best freshness:

  • Refrigerator: Store up to 2 weeks
  • Freezer: Store up to 3 months
  • Keep in airtight container
  • No reheating needed
  • Best served chilled or room temperature


Common Mistakes to Avoid

Avoid these issues when making Peanut Butter Eggs:

  • Filling too soft (not enough powdered sugar)
  • Skipping chilling step
  • Chocolate too hot when dipping
  • Uneven egg shapes
  • Not sealing coating properly

FAQs

1. Can I use crunchy peanut butter?

Yes, but texture will be less smooth.

2. Why is my filling too sticky?

Add more powdered sugar gradually.

3. Can I make them ahead of time?

Yes, they store very well in fridge or freezer.

4. Can I use almond butter instead?

Yes, almond butter works as a substitute.


Final Thoughts

These homemade Peanut Butter Eggs are the perfect balance of creamy, sweet, and chocolatey goodness. They’re easy, fun, and taste even better than store-bought candy.

Once you try them, they’ll become a must-make Easter tradition every year.

Crispy Air Fryer Fried Oreos Recipe in Under 15 Minutes

If you’ve ever been to a county fair, you probably know the magic of fried Oreos—crispy on the outside, warm and melty on the inside, and absolutely irresistible. Now imagine getting that same indulgent treat at home in just under 15 minutes without deep frying.

This Crispy Air Fryer Fried Oreos Recipe in Under 15 Minutes delivers all the flavor of the classic fair dessert with way less oil and mess. It’s quick, fun, and perfect for satisfying sudden sweet cravings or impressing guests with minimal effort.


Why You’ll Love This Recipe

These air fryer fried Oreos are a total game-changer for dessert lovers.

  • Ready in under 15 minutes
  • No deep frying required
  • Crispy outside, creamy inside
  • Made with just a few ingredients
  • Perfect for parties, kids, and late-night cravings

They bring carnival vibes straight to your kitchen.


Ingredients

To make this Crispy Air Fryer Fried Oreos Recipe, you’ll need:

  • 1 package Oreo cookies
  • 1 cup pancake mix
  • ½ cup milk
  • 1 egg
  • 1 tablespoon sugar
  • 1 teaspoon vanilla extract
  • Powdered sugar (for dusting)
  • Cooking spray or oil spray


Ingredient Notes

The success of air fryer fried Oreos in under 15 minutes depends on a light, fluffy batter.

  • Pancake mix creates airy coating
  • Milk keeps batter smooth
  • Egg helps binding and crispiness
  • Vanilla adds sweet aroma
  • Powdered sugar gives classic fair-style finish

Keep batter slightly thick so it coats evenly.


Step-by-Step Instructions

1. Prepare the Batter

Mix pancake mix, milk, egg, sugar, and vanilla until smooth.


2. Preheat Air Fryer

Set air fryer to 350°F (175°C) for even cooking.


3. Dip Oreos

Coat each Oreo fully in batter.


4. Arrange in Air Fryer

Place battered Oreos in a single layer with space between them.


5. Air Fry Until Golden

Cook for 6–8 minutes until puffed and golden.


6. Dust and Serve

Sprinkle with powdered sugar and serve warm.


Tips for Perfect Results

To make the best Crispy Air Fryer Fried Oreos Recipe in Under 15 Minutes, follow these tips:

  • Don’t overmix batter
  • Keep batter thick for better coating
  • Spray lightly with oil for crispiness
  • Flip halfway for even browning
  • Serve immediately for best texture

Variations

You can easily customize your fried Oreos.

Chocolate Lover Version

Add cocoa powder to batter.

Stuffed Oreo Upgrade

Use double-stuffed Oreos.

Birthday Cake Style

Add sprinkles to batter.

Peanut Butter Dip

Serve with peanut butter sauce.


What to Serve With It

These air fryer fried Oreos pair perfectly with:

  • Vanilla ice cream
  • Chocolate sauce
  • Whipped cream
  • Milkshakes
  • Hot coffee

They’re ideal for parties or dessert nights.


Storage & Reheating

For best results:

  • Best eaten fresh
  • Refrigerate: up to 2 days
  • Reheat: air fry 2–3 minutes
  • Avoid microwaving (makes them soggy)


Common Mistakes to Avoid

Avoid these errors when making Air Fryer Fried Oreos:

  • Batter too thin (won’t stick)
  • Overcrowding air fryer
  • Overcooking (they dry out)
  • Not preheating air fryer
  • Serving cold instead of warm

FAQs

1. Can I make fried Oreos without pancake mix?

Yes, you can use homemade batter.

2. Why are my Oreos leaking?

Batter may be too thin or Oreos overcooked.

3. Can I use different cookies?

Yes, but Oreos give best results.

4. Are air fryer fried Oreos healthier?

Yes, they use less oil than deep frying.


Final Thoughts

This Crispy Air Fryer Fried Oreos Recipe in Under 15 Minutes is the perfect way to enjoy a classic fair dessert at home—fast, easy, and incredibly delicious.

Once you try them, they’ll become your go-to sweet treat for parties, cravings, and fun family nights.

Air Fryer Churro Bites – Healthy, Quick Snack Recipe

If you love warm, cinnamon-sugar desserts but want something lighter and easier, these Air Fryer Churro Bites – Healthy, Quick Snack are going to be your new favorite treat. They deliver all the classic churro flavor—crispy outside, soft inside, and coated in sweet cinnamon sugar—without deep frying.

Made in the air fryer, these churro bites are quick, simple, and surprisingly light compared to traditional churros. They’re perfect for after-school snacks, weekend treats, or even a healthier dessert option when cravings hit.


Why You’ll Love This Recipe

These Air Fryer Churro Bites – Healthy, Quick Snack are a total game-changer.

  • Quick and easy in under 15 minutes
  • No deep frying needed
  • Light, crispy, and sweet
  • Perfect for kids and adults
  • Made with simple pantry ingredients

They bring bakery-style flavor right to your kitchen without the extra oil.


Ingredients

To make these air fryer churro bites, you’ll need:

  • 1 cup all-purpose flour
  • 1 tablespoon sugar
  • 1 teaspoon baking powder
  • ½ cup water or milk
  • 1 tablespoon melted butter or coconut oil
  • 1 teaspoon vanilla extract
  • Pinch of salt

Cinnamon Sugar Coating:

  • ¼ cup sugar
  • 1 teaspoon cinnamon
  • 1–2 tablespoons melted butter


Ingredient Notes

The success of Air Fryer Churro Bites – Healthy, Quick Snack depends on simple but balanced ingredients.

  • Flour gives structure and chew
  • Baking powder helps them puff up
  • Vanilla adds sweet aroma
  • Cinnamon sugar creates classic churro flavor
  • Butter helps coating stick perfectly

You can adjust sweetness based on your preference.


Step-by-Step Instructions

1. Make the Dough

Mix flour, sugar, baking powder, salt, milk, butter, and vanilla until smooth dough forms.


2. Shape the Bites

Roll dough into small bite-sized pieces.


3. Air Fry the Churros

Place bites in air fryer at 350°F (175°C) for 8–10 minutes until golden.


4. Prepare Cinnamon Sugar

Mix sugar and cinnamon in a bowl while bites cook.


5. Coat the Churro Bites

Brush with melted butter and roll in cinnamon sugar.


6. Serve Warm

Enjoy immediately while soft and warm.


Tips for Perfect Results

To make the best Air Fryer Churro Bites – Healthy, Quick Snack, follow these tips:

  • Don’t overcrowd air fryer basket
  • Brush with butter immediately after cooking
  • Serve warm for best texture
  • Keep dough evenly sized for even cooking
  • Adjust cinnamon sugar to taste

Variations

You can easily customize this recipe.

Chocolate Dip Version

Serve with melted chocolate or Nutella.

Stuffed Churro Bites

Add a small chocolate chip inside each bite.

Sugar-Free Option

Use monk fruit or stevia sweetener.

Pumpkin Spice Version

Add pumpkin spice to cinnamon sugar mix.


What to Serve With It

These churro bites pair perfectly with:

  • Hot chocolate
  • Coffee or latte
  • Vanilla ice cream
  • Chocolate sauce
  • Fruit dips

They’re great for parties or cozy nights in.


Storage & Reheating

For best freshness:

  • Room temperature: 1–2 days in airtight container
  • Reheat: Air fry 2–3 minutes to crisp up
  • Freeze: Up to 1 month
  • Avoid refrigeration (can make them soggy)


Common Mistakes to Avoid

Avoid these mistakes when making Air Fryer Churro Bites – Healthy, Quick Snack:

  • Overcooking (they dry out quickly)
  • Skipping butter coating
  • Uneven dough sizing
  • Not serving fresh and warm
  • Overcrowding air fryer basket

FAQs

1. Are air fryer churro bites healthy?

Yes, they use less oil than traditional fried churros.

2. Can I make them gluten-free?

Yes, use a gluten-free flour blend.

3. Why are my churro bites dry?

They may have been overcooked or used too much flour.

4. Can I freeze churro bites?

Yes, freeze after cooking and reheat in air fryer.


Final Thoughts

These Air Fryer Churro Bites – Healthy, Quick Snack are the perfect combination of crispy, sweet, and comforting. They’re fast, easy, and give you all the churro flavor without deep frying.

Once you try them, they’ll become a go-to snack for family nights, parties, and sweet cravings.

Air Fryer Nutella Bombs – Quick & Delicious Dessert Recipe

If you’re a chocolate lover, these Air Fryer Nutella Bombs – Quick & Delicious are about to become your new favorite dessert. Imagine a warm, golden, crispy shell on the outside and a rich, gooey Nutella center that melts in your mouth with every bite.

The best part? They come together in minutes using simple ingredients and your air fryer—no deep frying, no complicated steps, just pure chocolate bliss. Whether you’re making a quick snack, a party dessert, or a late-night treat, these Nutella bombs deliver every single time.


Why You’ll Love This Recipe

These Air Fryer Nutella Bombs are the ultimate quick dessert for busy days.

  • Ready in under 15 minutes
  • Crispy outside, gooey inside
  • Made with simple pantry ingredients
  • No deep frying needed
  • Perfect for kids and adults

They’re bite-sized, fun, and dangerously addictive.


Ingredients

To make these Air Fryer Nutella Bombs, you’ll need:

  • 1 can refrigerated biscuit dough (or pizza dough)
  • ½ cup Nutella (or chocolate hazelnut spread)
  • 1 tablespoon melted butter
  • 2 tablespoons sugar
  • 1 teaspoon cinnamon (optional)
  • Pinch of salt
  • Optional: powdered sugar for topping


Ingredient Notes

The success of Air Fryer Nutella Bombs – Quick & Delicious depends on simple but smart choices.

  • Biscuit dough gives a soft, fluffy texture
  • Nutella provides rich chocolate hazelnut filling
  • Butter helps create a golden crispy finish
  • Cinnamon adds warmth and depth
  • Sugar adds a sweet crunchy coating

You can also use homemade dough if preferred.


Step-by-Step Instructions

1. Prepare the Dough

Separate biscuit dough into individual pieces and flatten each one.


2. Add Nutella Filling

Place a spoonful of Nutella in the center of each dough circle.


3. Seal the Bombs

Carefully pinch dough edges to seal into tight balls.


4. Coat the Bombs

Brush with melted butter and roll in cinnamon sugar.


5. Air Fry Until Golden

Place in air fryer at 350°F (175°C) for 6–8 minutes.


6. Serve Warm

Let cool slightly, then dust with powdered sugar and serve.


Tips for Perfect Results

To make the best Air Fryer Nutella Bombs – Quick & Delicious, follow these tips:

  • Don’t overfill with Nutella or they may leak
  • Seal dough tightly to avoid bursting
  • Preheat air fryer for even cooking
  • Brush generously with butter for crispiness
  • Serve warm for best gooey texture

Variations

You can easily customize these Nutella bombs.

Peanut Butter Version

Swap Nutella with peanut butter.

Chocolate Chip Bombs

Add mini chocolate chips inside.

Strawberry Nutella

Add a small strawberry slice inside.

Oreo Version

Mix crushed Oreos into filling.


What to Serve With It

These Nutella bombs pair perfectly with:

  • Vanilla ice cream
  • Hot chocolate
  • Coffee or latte
  • Fresh berries
  • Dessert dipping sauces

They’re perfect for parties or cozy nights in.


Storage & Reheating

For best results:

  • Room temperature: Best eaten fresh
  • Refrigerator: Store up to 3 days
  • Reheat: Air fry 2–3 minutes to restore crispiness
  • Freezer: Freeze unbaked bombs for later


Common Mistakes to Avoid

Avoid these mistakes when making Air Fryer Nutella Bombs:

  • Overfilling with Nutella
  • Not sealing dough properly
  • Skipping butter coating
  • Overcooking in air fryer
  • Serving cold instead of warm

FAQs

1. Can I use homemade dough?

Yes, pizza dough or homemade biscuit dough works well.

2. Why did my Nutella leak out?

You may have overfilled or not sealed tightly.

3. Can I bake instead of air fry?

Yes, bake at 375°F for about 10–12 minutes.

4. Are they best served hot or cold?

They are best served warm for gooey centers.


Final Thoughts

These Air Fryer Nutella Bombs – Quick & Delicious are the perfect combination of crispy, soft, and chocolatey goodness. They’re fast, fun, and incredibly satisfying with every bite.

Once you try them, they’ll quickly become your go-to dessert for any occasion—because who can resist warm Nutella-filled perfection?

Irresistible No-Bake Cookie Dough Brownie Bombs Recipe

If you’re a fan of rich chocolate desserts and edible cookie dough, this Irresistible No-Bake Cookie Dough Brownie Bombs Recipe is about to blow your mind. These bite-sized treats combine fudgy brownie crumbles with soft cookie dough centers, all coated in a silky chocolate shell.

They’re decadent, fun to make, and don’t require an oven at all. Perfect for parties, holidays, or when you just want a next-level sweet treat without the hassle of baking.


Why You’ll Love This Recipe

These no-bake cookie dough brownie bombs are pure dessert magic.

  • No baking required
  • Rich chocolate and cookie dough combo
  • Perfect bite-sized treats
  • Great for parties and gifting
  • Freezer-friendly and easy to store

Every bite feels like a chocolate explosion of flavor and texture.


Ingredients

To make this Irresistible No-Bake Cookie Dough Brownie Bombs Recipe, you’ll need:

For the Cookie Dough:

  • 1 cup all-purpose flour (heat-treated)
  • ½ cup unsalted butter (softened)
  • ½ cup brown sugar
  • 2 tablespoons white sugar
  • 1 teaspoon vanilla extract
  • 2–3 tablespoons milk
  • ½ cup mini chocolate chips
  • Pinch of salt

For the Brownie Base:

  • 1 cup brownie crumbs (store-bought or homemade)
  • 2 tablespoons chocolate frosting or ganache

For Coating:

  • 1 ½ cups melted chocolate
  • 1 teaspoon coconut oil (optional)


Ingredient Notes

The key to this Irresistible No-Bake Cookie Dough Brownie Bombs Recipe is balance and texture.

  • Heat-treated flour ensures safety
  • Brown sugar adds deep caramel flavor
  • Brownie crumbs give fudgy richness
  • Chocolate coating adds snap and shine
  • Mini chips distribute chocolate in every bite

Use high-quality chocolate for the best coating results.


Step-by-Step Instructions

1. Prepare Cookie Dough

Cream butter and sugars, then mix in vanilla and salt.


2. Add Dry Ingredients

Mix in heat-treated flour and milk until dough forms.


3. Fold in Chocolate Chips

Stir mini chocolate chips evenly into cookie dough.


4. Prepare Brownie Mixture

Mix brownie crumbs with frosting until sticky and moldable.


5. Assemble Bombs

Flatten brownie mixture, add cookie dough inside, and roll into balls.


6. Chill the Balls

Freeze for 20–30 minutes until firm.


7. Coat in Chocolate

Dip chilled bombs into melted chocolate until fully coated.


8. Set and Serve

Let chocolate harden, then serve or store.


Tips for Perfect Results

To make the best Irresistible No-Bake Cookie Dough Brownie Bombs Recipe, follow these tips:

  • Chill before dipping to prevent melting
  • Use small cookie dough portions for even coating
  • Melt chocolate slowly for smooth texture
  • Don’t overfill brownie shells
  • Use parchment paper to avoid sticking

Variations

You can easily customize this recipe.

Peanut Butter Version

Add peanut butter to cookie dough for extra richness.

Double Chocolate Bombs

Add cocoa powder to cookie dough mixture.

Crunchy Version

Add crushed cookies or nuts.

Holiday Style

Decorate with sprinkles or colored drizzle.


What to Serve With It

These brownie bombs pair perfectly with:

  • Cold milk
  • Coffee or espresso
  • Vanilla ice cream
  • Hot chocolate
  • Party dessert platters

They’re ideal for celebrations and dessert tables.


Storage & Reheating

For best results:

  • Refrigerator: Store up to 7 days
  • Freezer: Store up to 2 months
  • Keep in airtight container
  • Serve chilled or slightly softened
  • No reheating required


Common Mistakes to Avoid

Avoid these errors when making Irresistible No-Bake Cookie Dough Brownie Bombs Recipe:

  • Not chilling before coating
  • Using too much frosting in brownie base
  • Skipping heat-treating flour
  • Overmixing dough
  • Using low-quality chocolate

FAQs

1. Are brownie bombs safe to eat?

Yes, as long as flour is heat-treated properly.

2. Can I freeze them?

Yes, they freeze very well for up to 2 months.

3. Can I use boxed brownie mix?

Yes, just bake or prepare and crumble it.

4. Why is my coating cracking?

Chocolate may be too hot or bombs too cold.


Final Thoughts

This Irresistible No-Bake Cookie Dough Brownie Bombs Recipe is the ultimate indulgent dessert. It’s rich, fun, and perfect for chocolate lovers who want something easy yet impressive.

Once you try them, they’ll quickly become a go-to treat for parties, gifts, and sweet cravings.