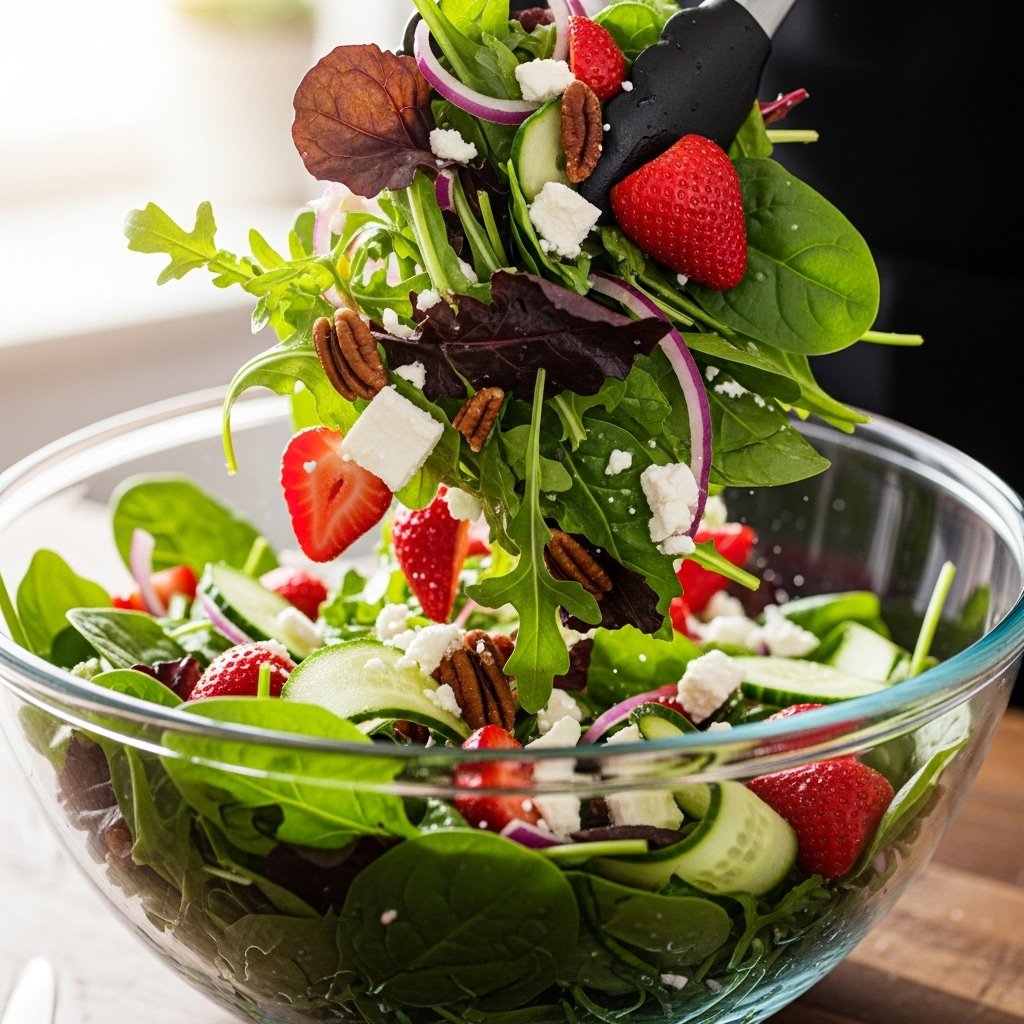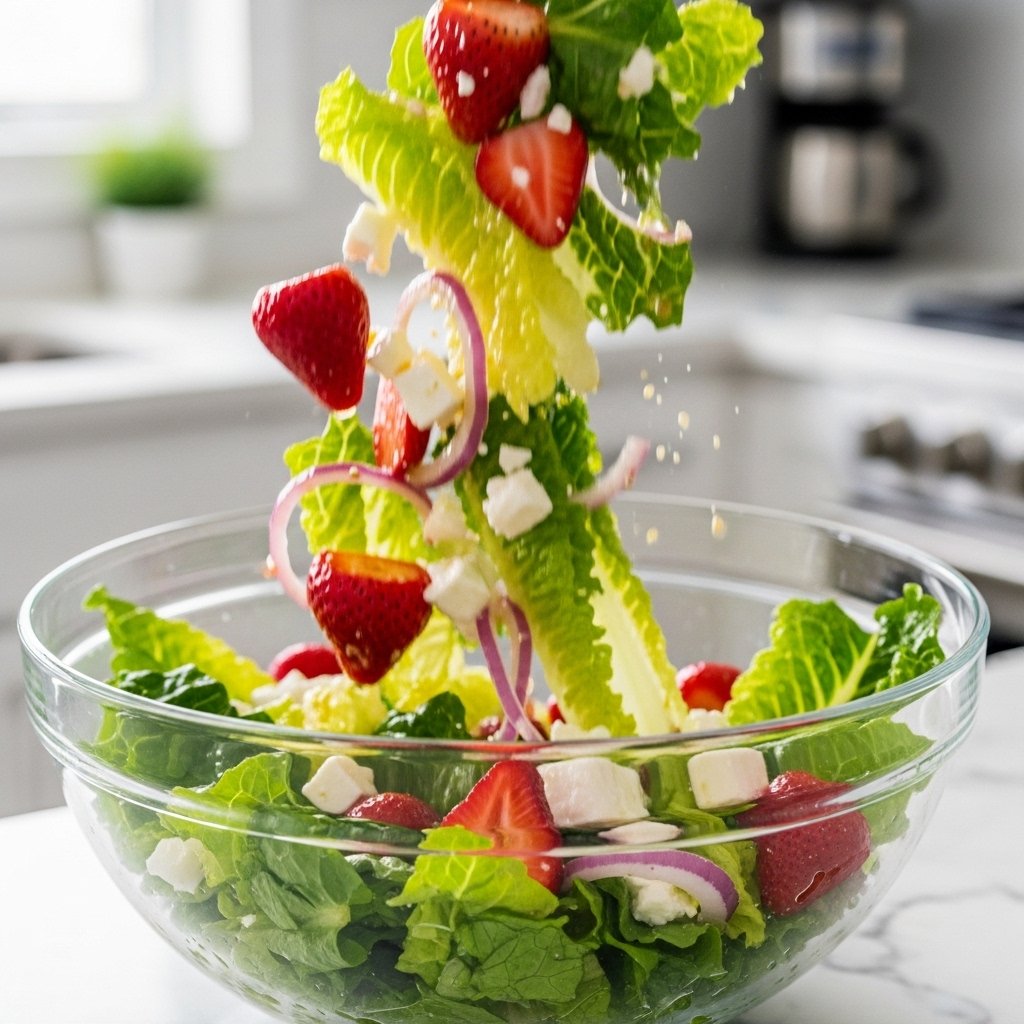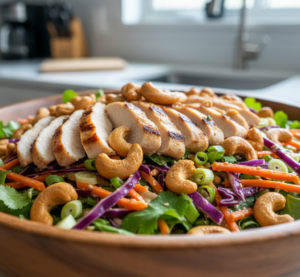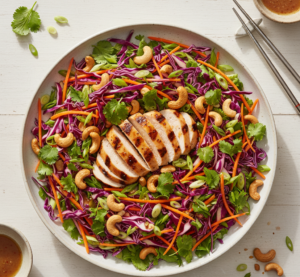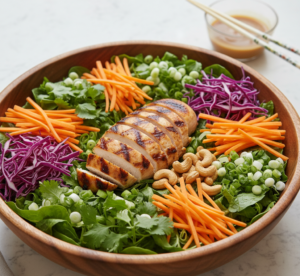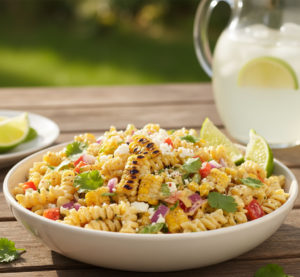
If you’re looking for a fresh, filling, and flavor-packed meal, this Healthy BBQ Chicken Chopped Salad Recipe is going to become your new favorite. It combines smoky BBQ chicken with crisp vegetables, crunchy toppings, and a light, tangy dressing for the perfect balanced bite.
This salad is high in protein, loaded with nutrients, and easy enough for busy weekdays. Whether you’re meal prepping or making a quick lunch, it delivers big flavor without the guilt.
Why You’ll Love This Healthy BBQ Chicken Chopped Salad Recipe
This BBQ chicken salad is a total game-changer because:
- High-protein and satisfying
- Fresh, crunchy, and flavorful
- Easy to prepare in under 30 minutes
- Great for meal prep lunches
- Customizable with your favorite toppings
It’s a healthy meal that actually tastes exciting.
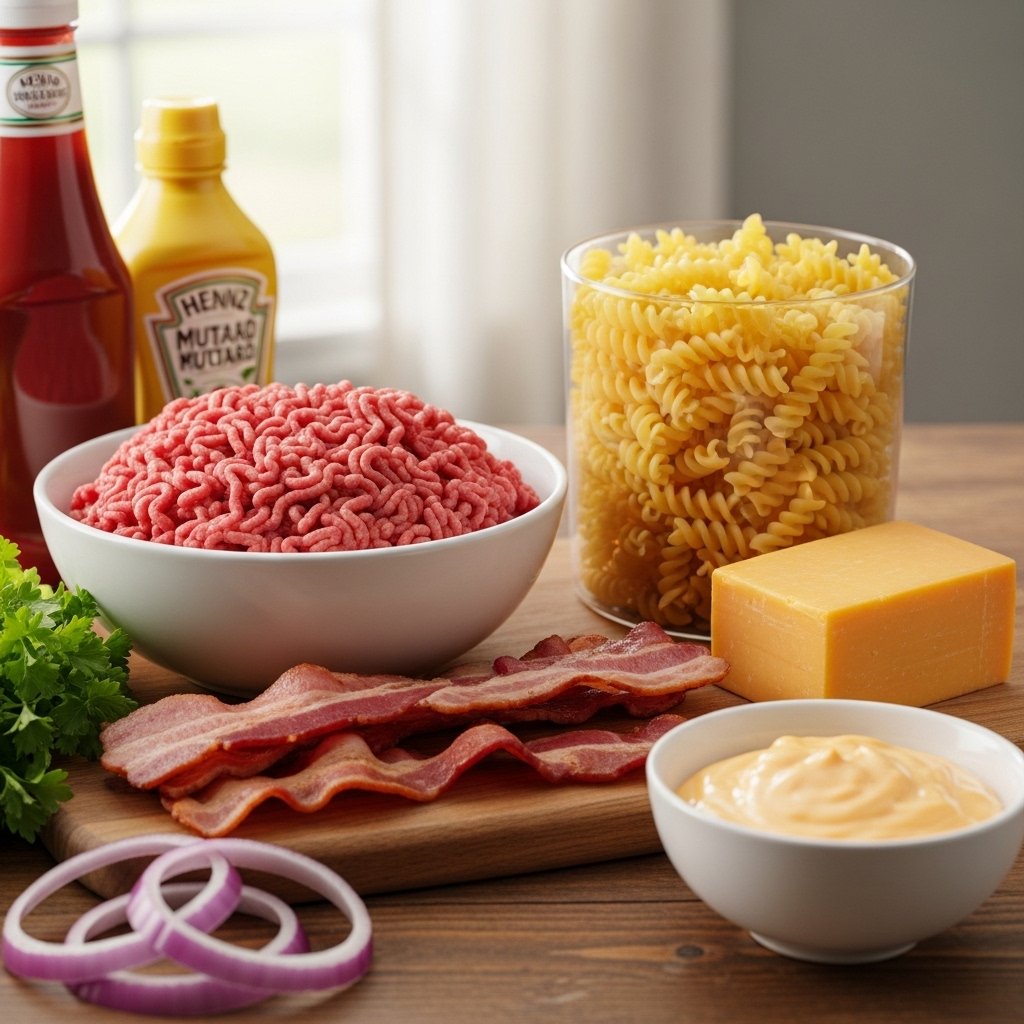
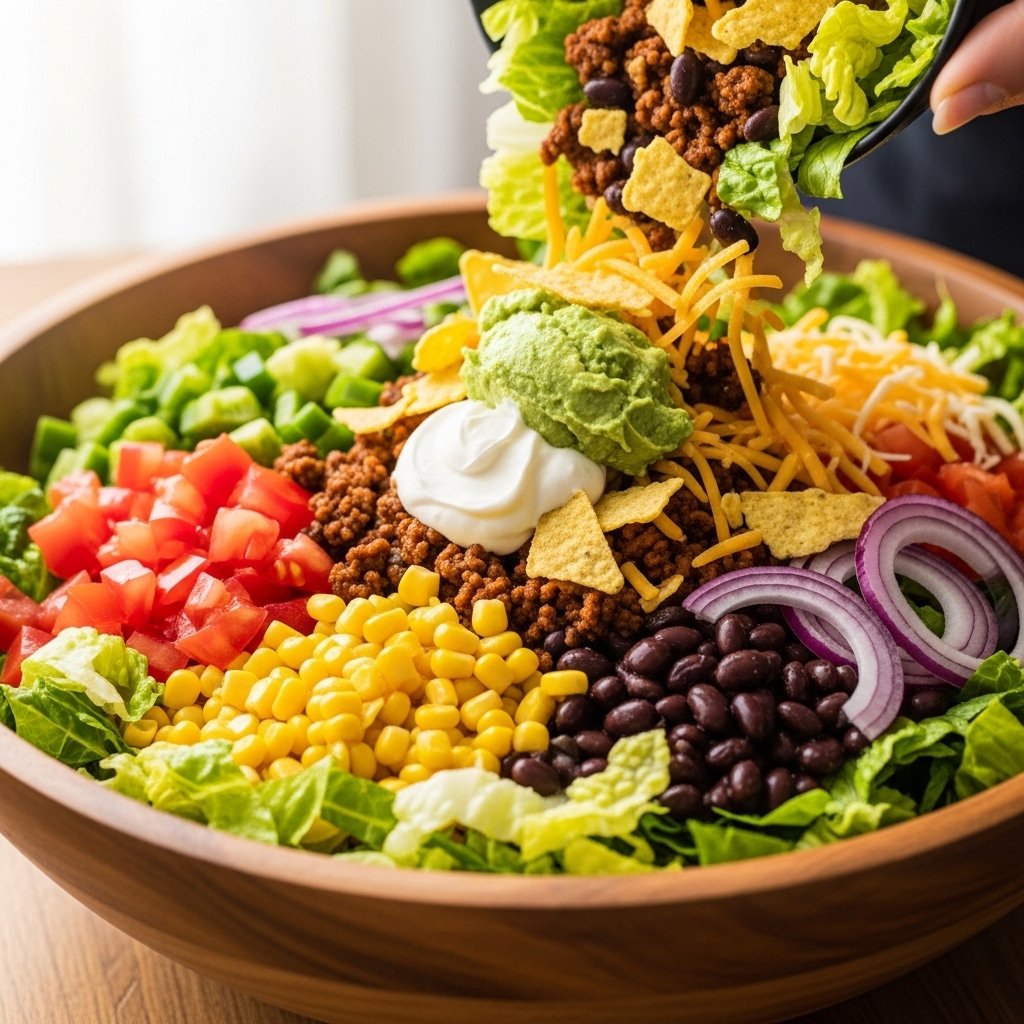
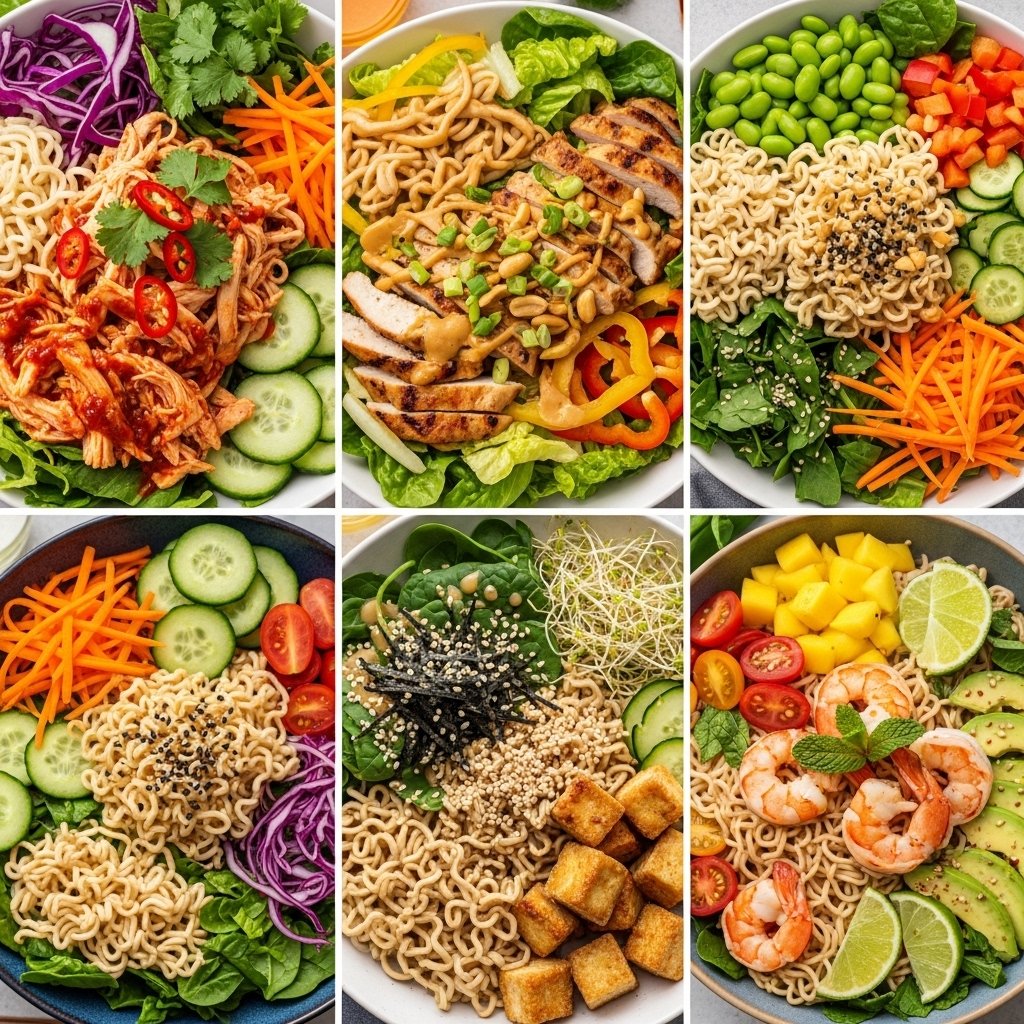
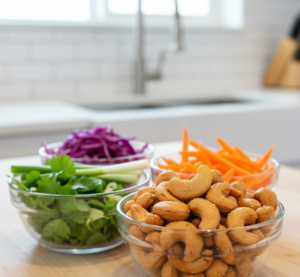
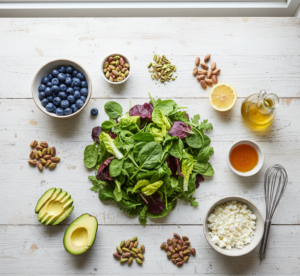
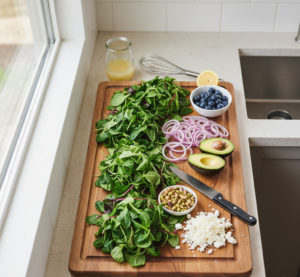
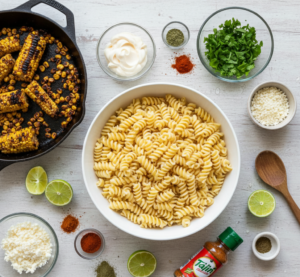
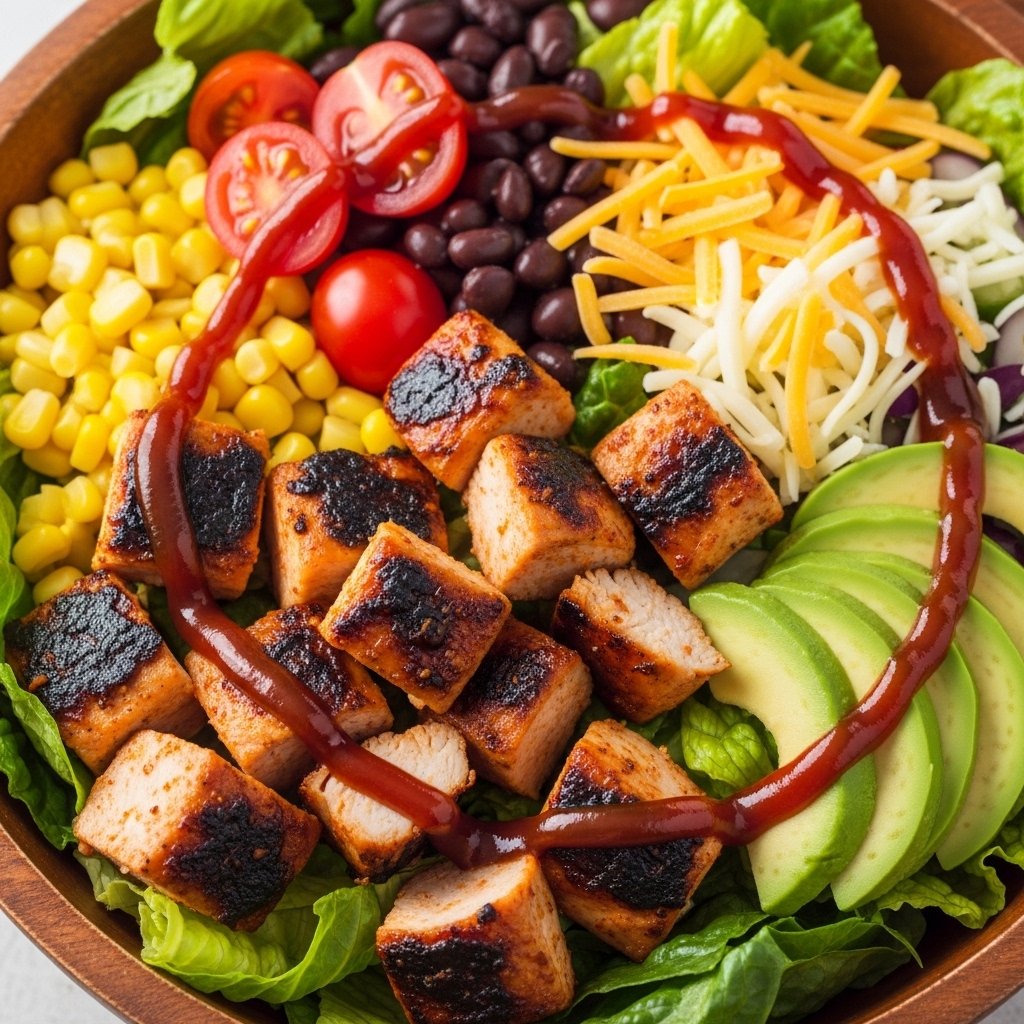
Ingredients
To make this Healthy BBQ Chicken Chopped Salad, you’ll need:
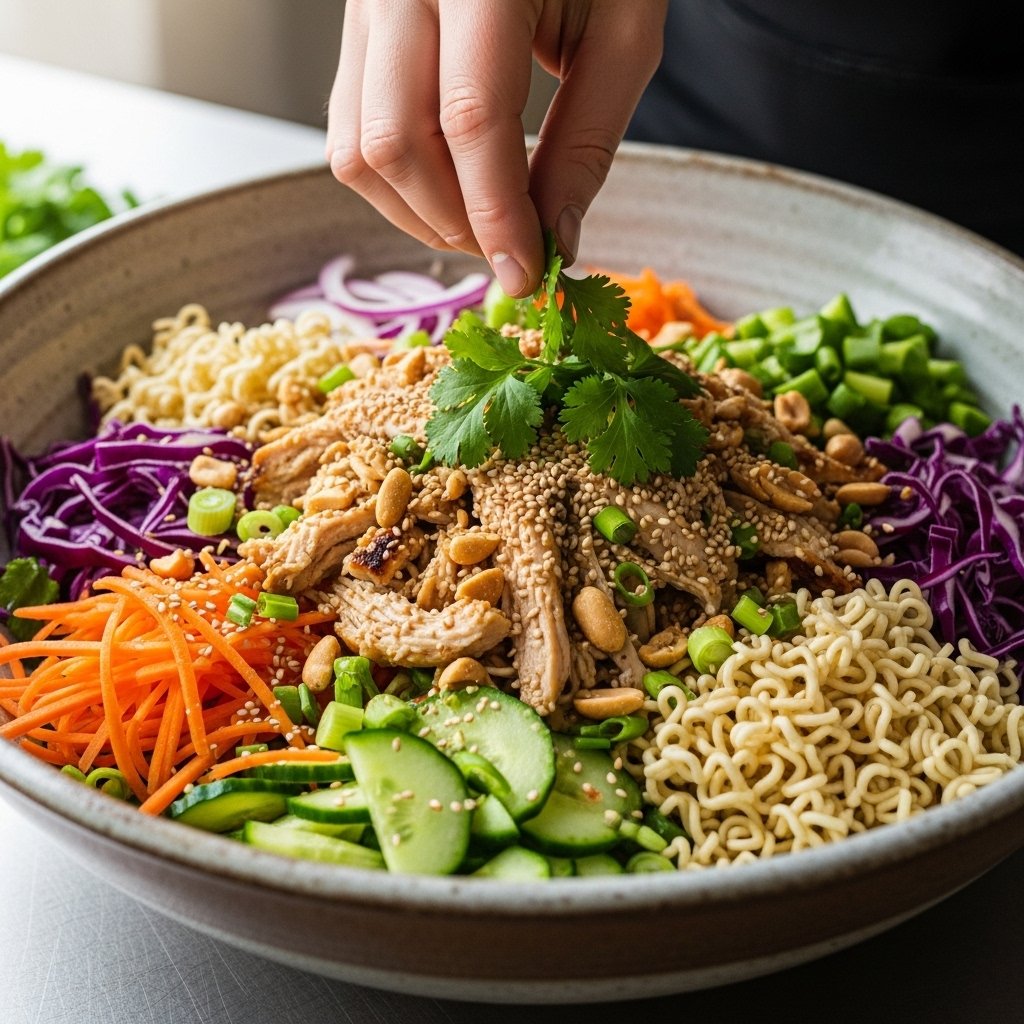
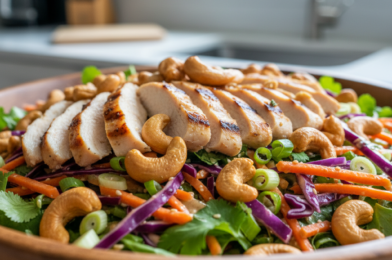
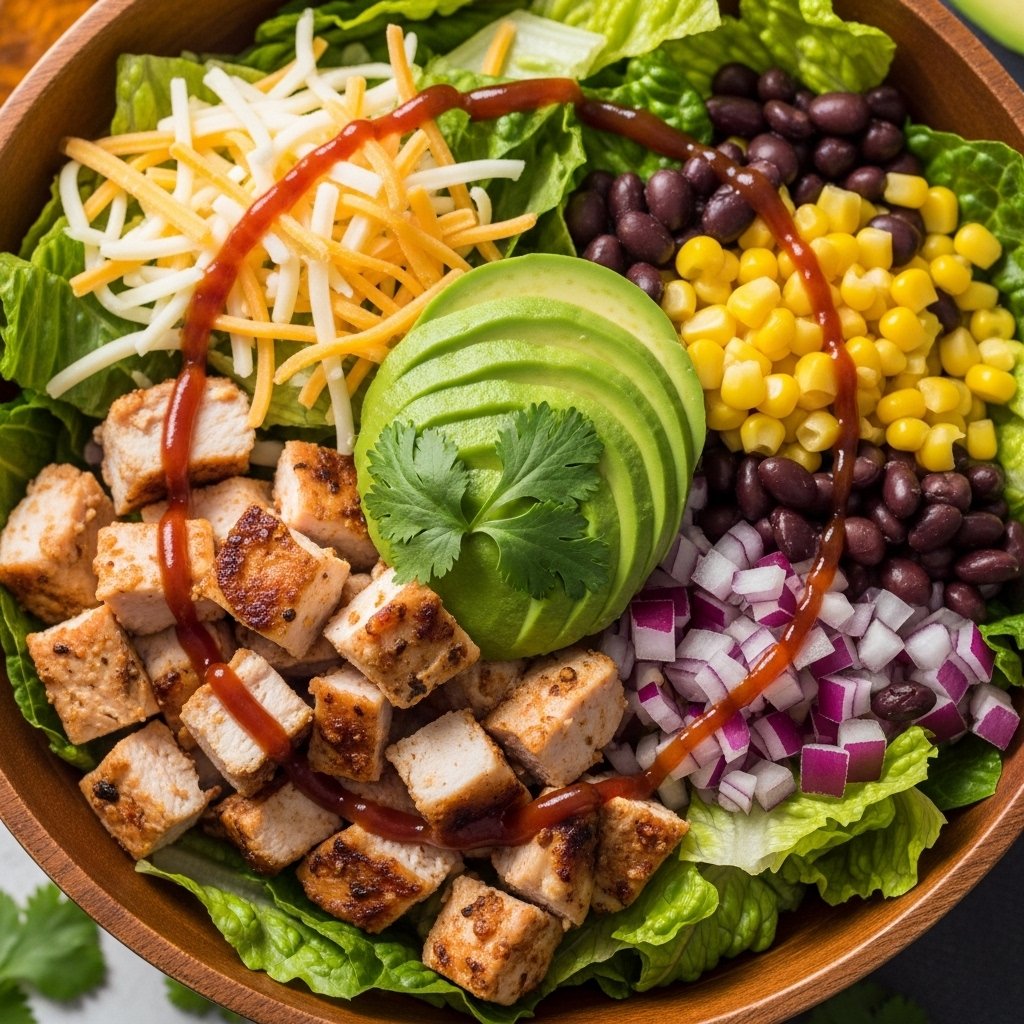
- 2 grilled chicken breasts (sliced)
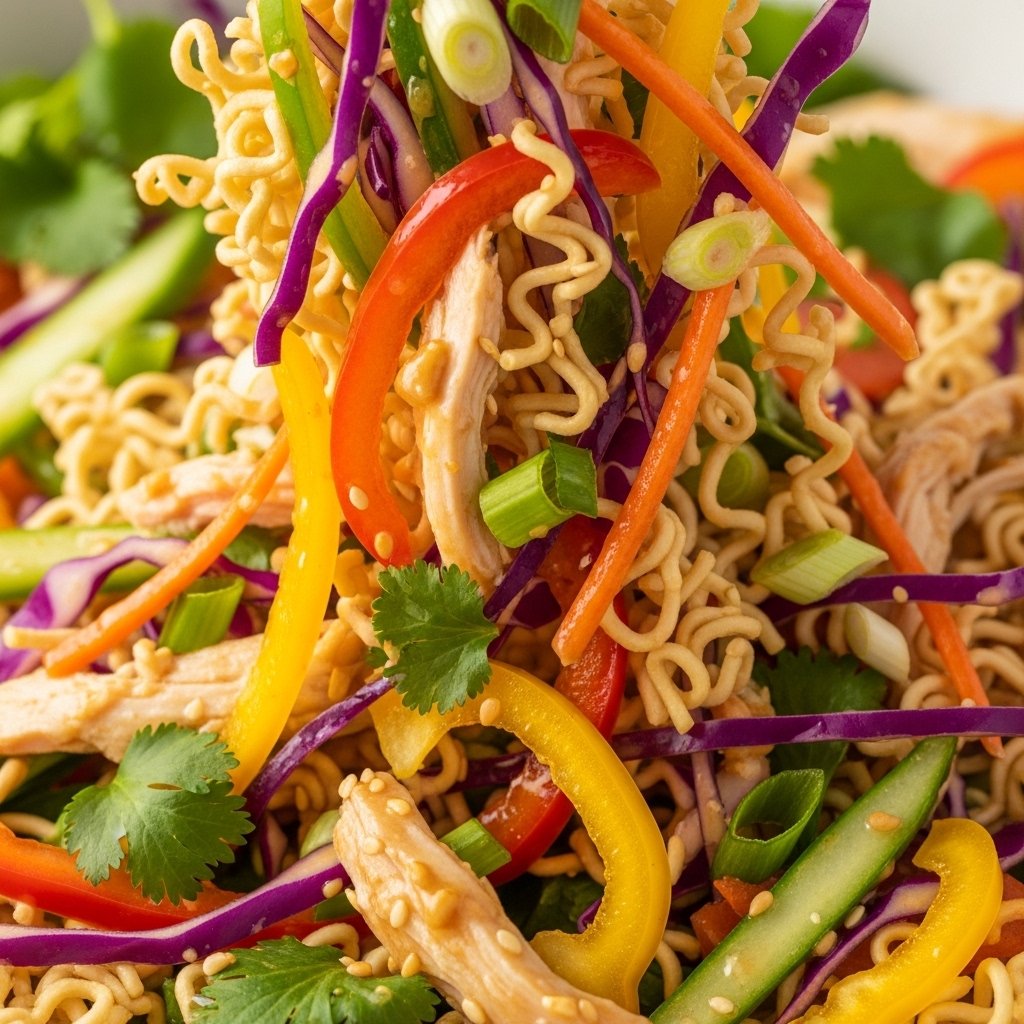
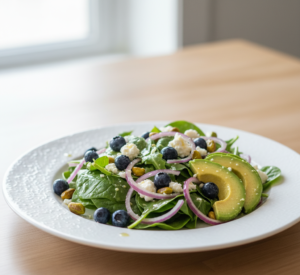
- 4 cups chopped romaine lettuce
- 1 cup cherry tomatoes (halved)
- 1 cup corn (grilled or canned)
- ½ cup black beans (optional)
- ½ cup shredded cheddar cheese
- ¼ cup red onion (thinly sliced)
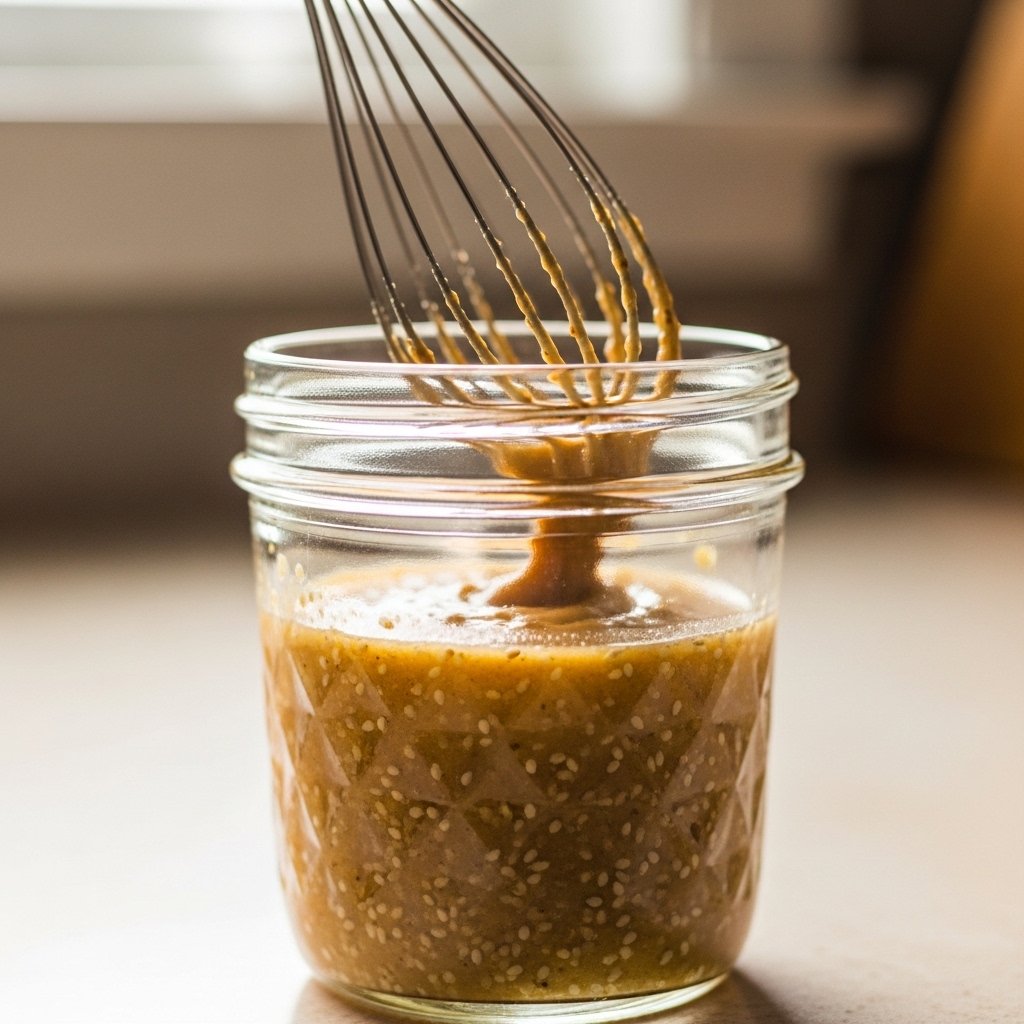
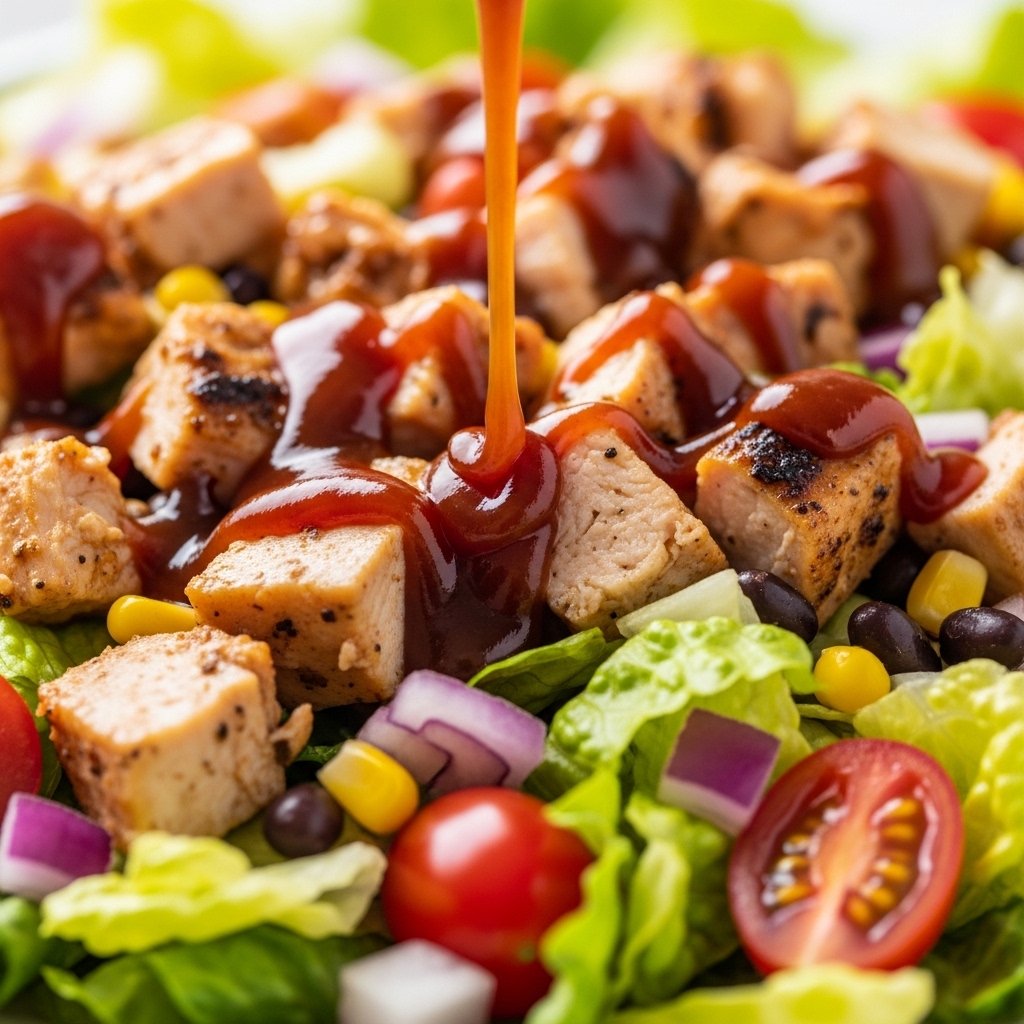
- ½ cup BBQ sauce
- 1 avocado (sliced)
- Salt and pepper to taste
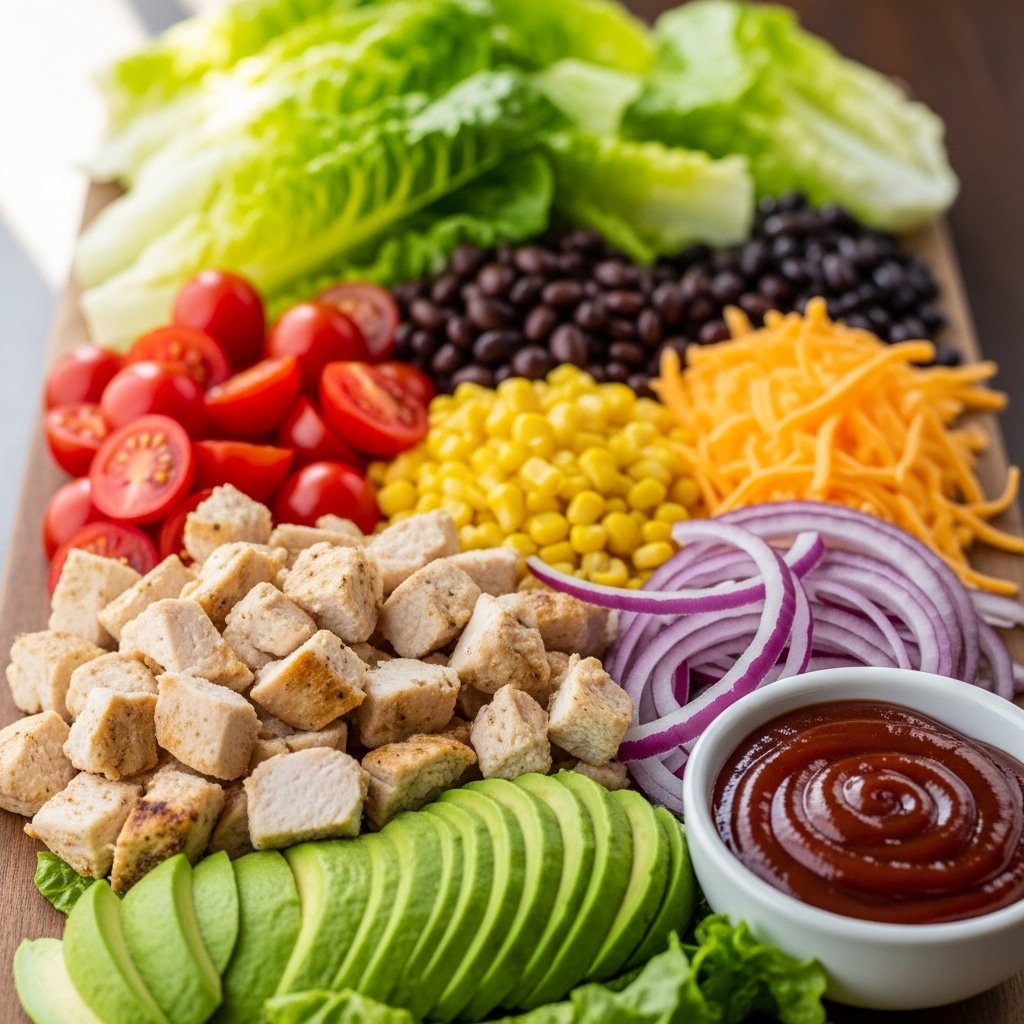
Ingredient Notes
Each ingredient plays an important role in this BBQ chicken chopped salad:
- Chicken: Grilled chicken adds lean protein and smoky flavor
- BBQ sauce: Choose a low-sugar version for healthier option
- Lettuce: Romaine keeps it crisp and crunchy
- Corn & beans: Add sweetness and texture
- Avocado: Provides healthy fats and creaminess
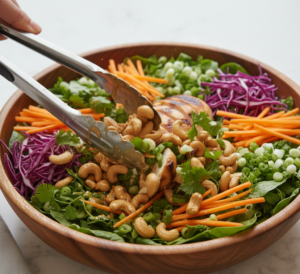
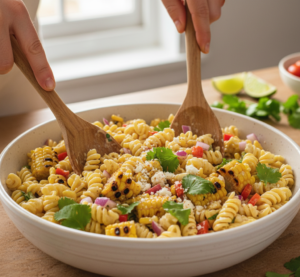
Step-by-Step Instructions
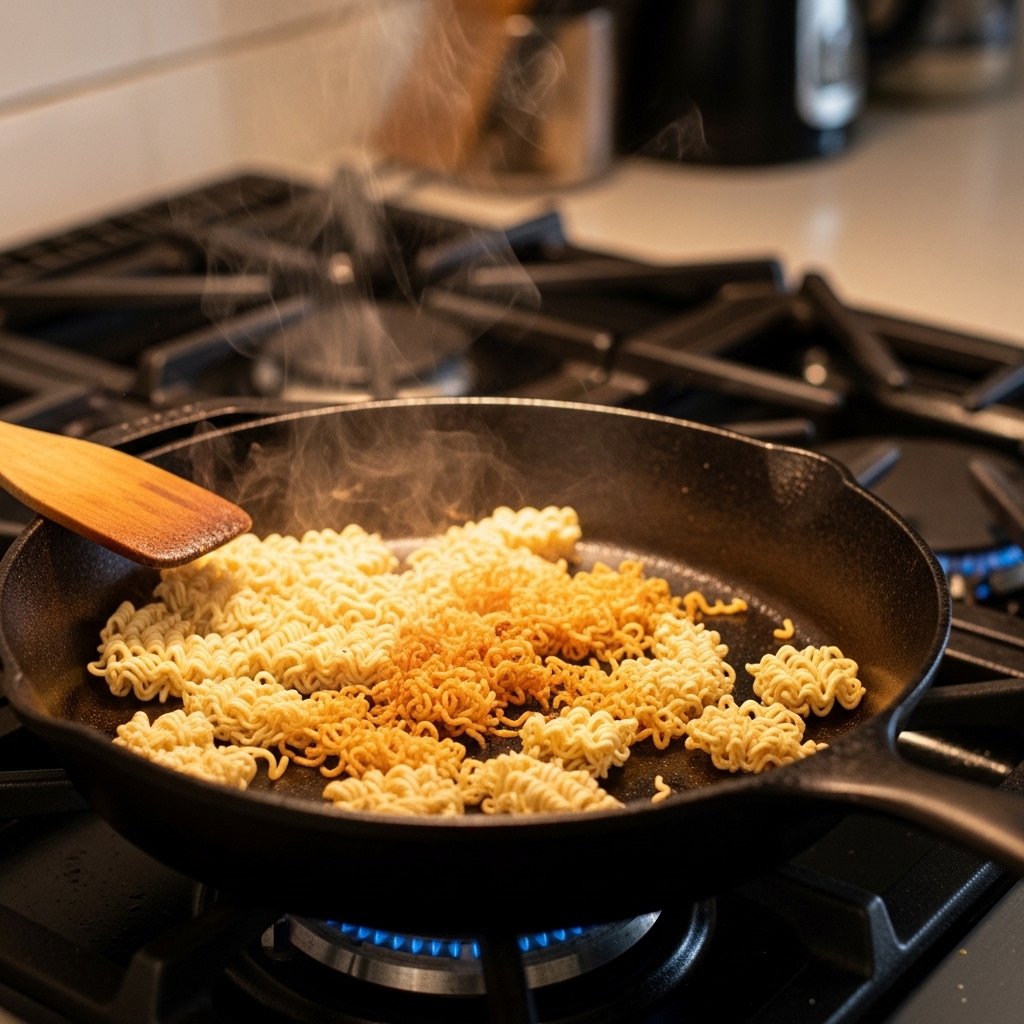
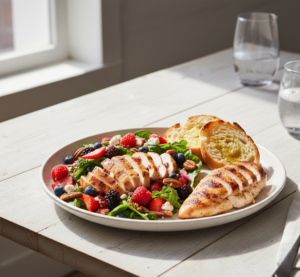
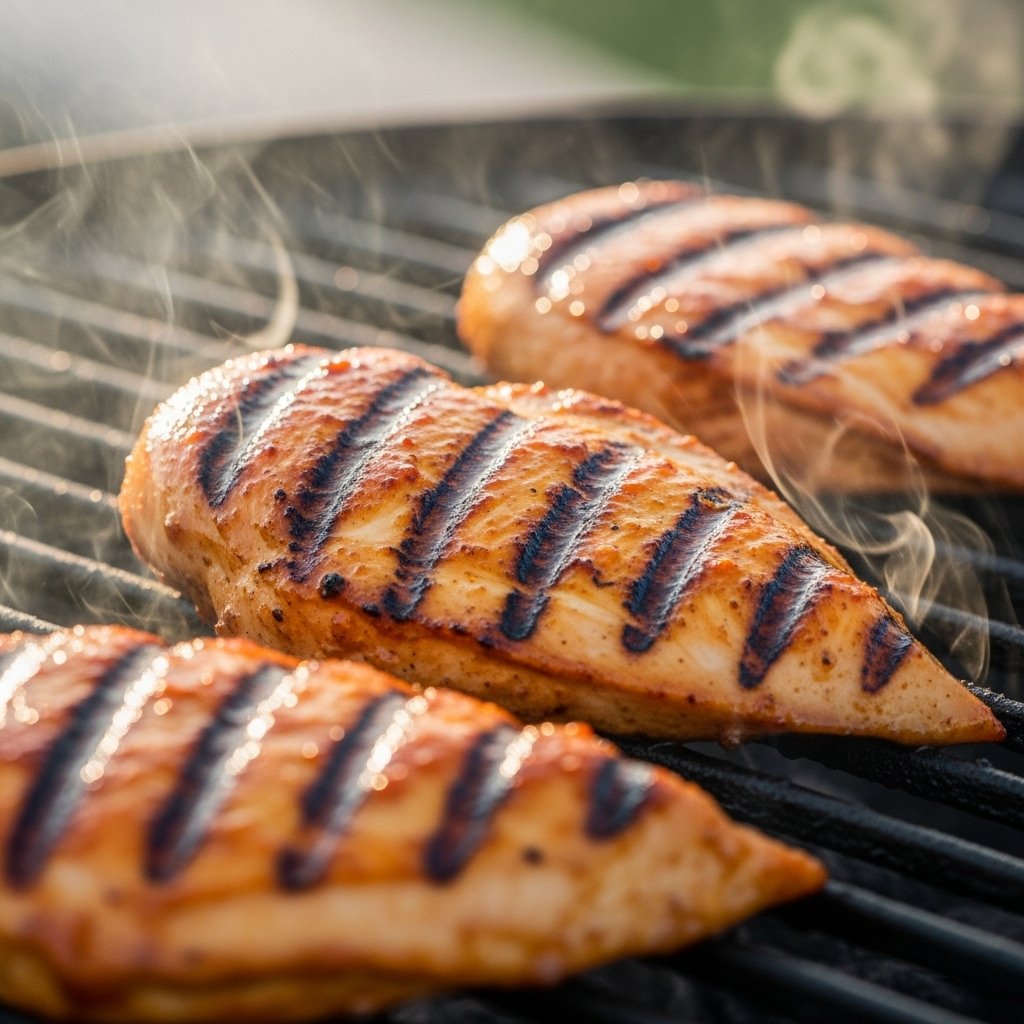
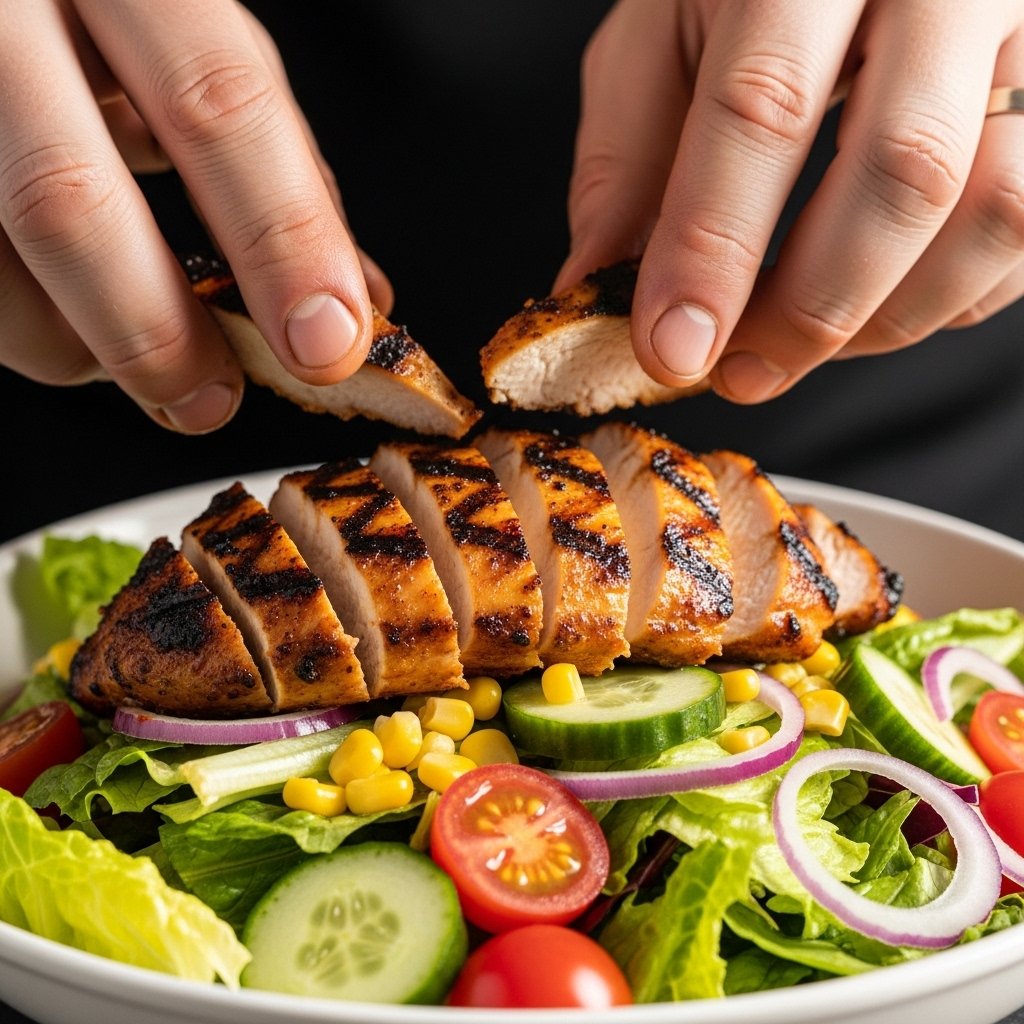
1. Grill the Chicken
Cook chicken breasts with salt, pepper, and a bit of BBQ sauce.
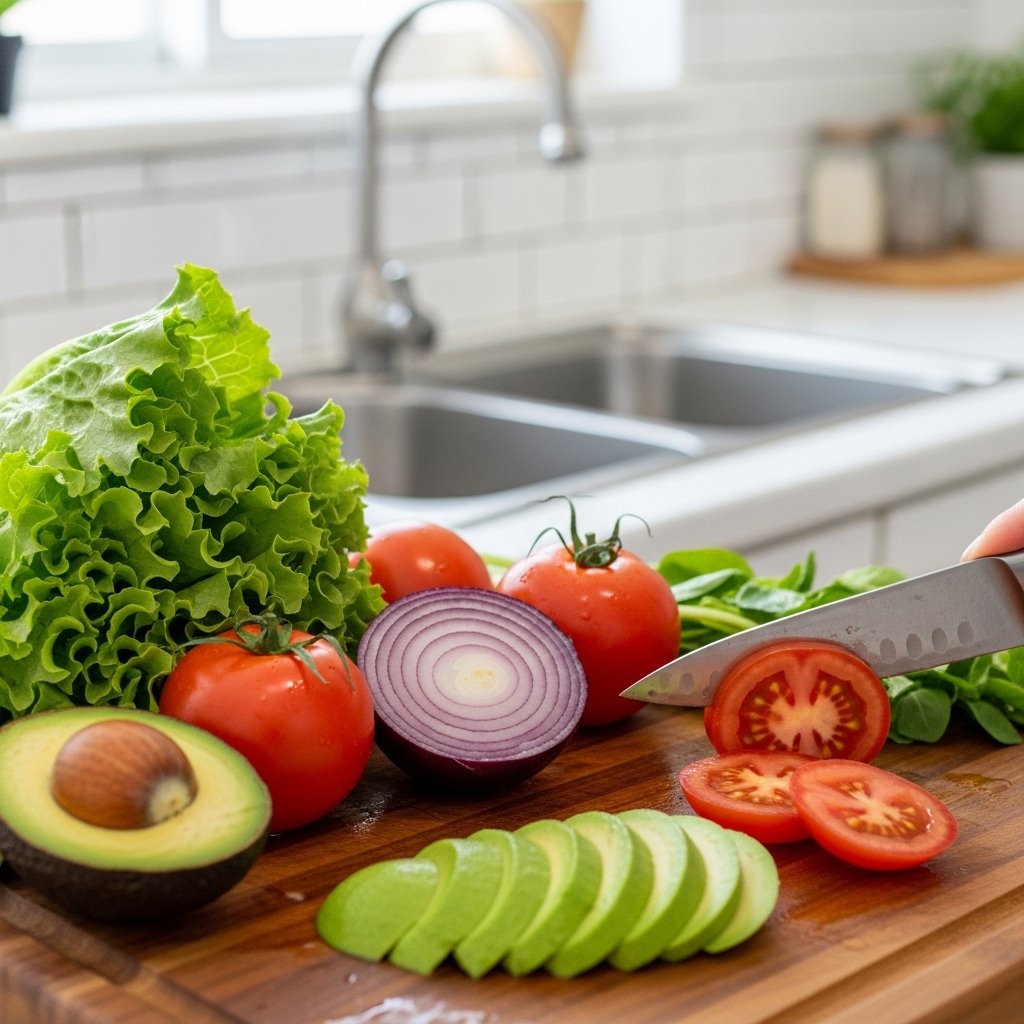
2. Chop the Vegetables
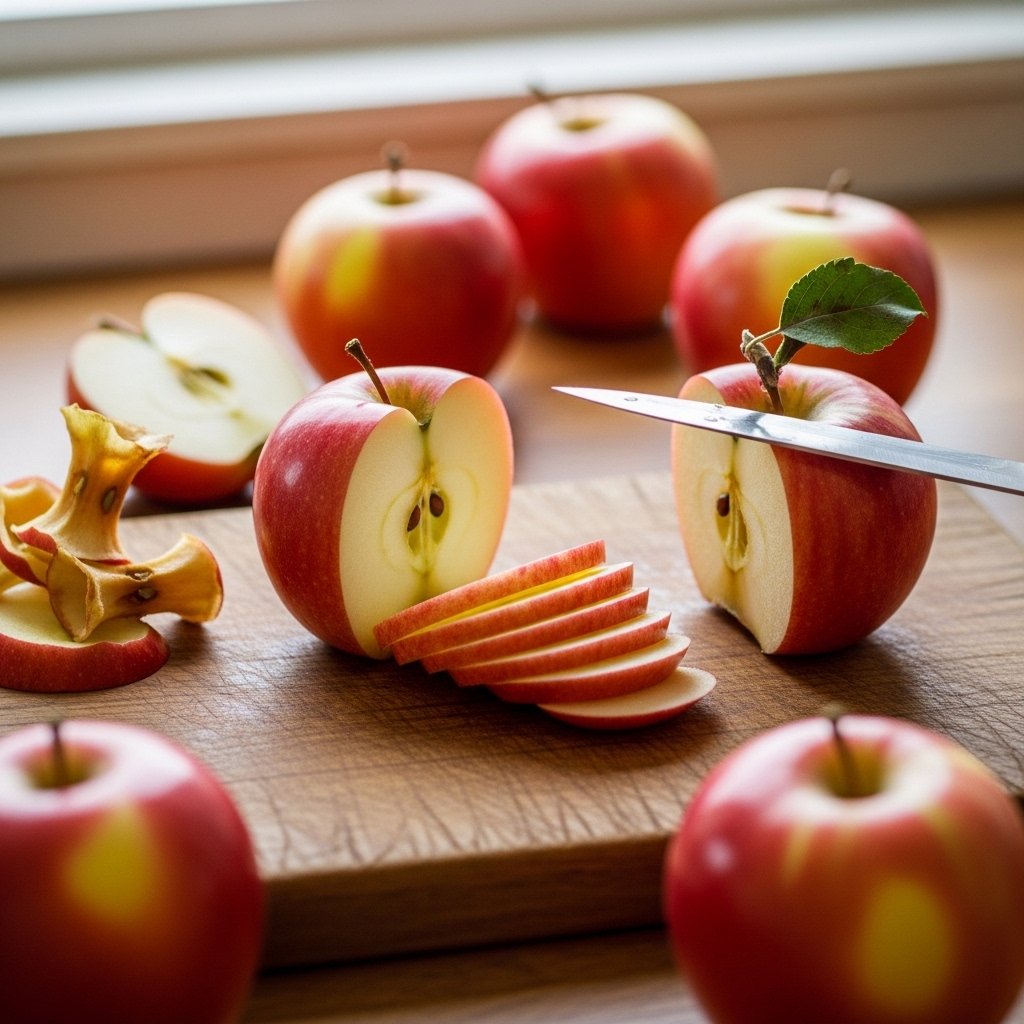
Cut lettuce, tomatoes, onions, and avocado into bite-sized pieces.
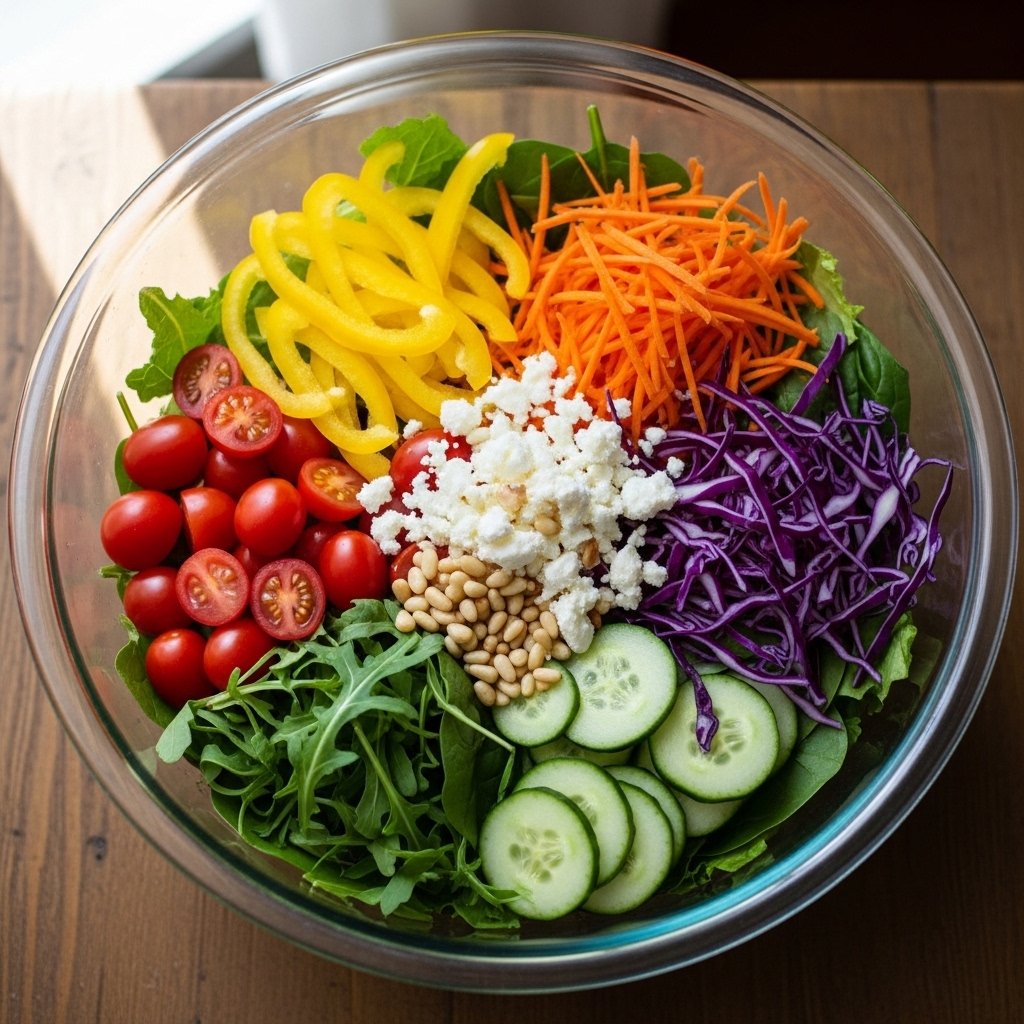
3. Prepare Salad Base
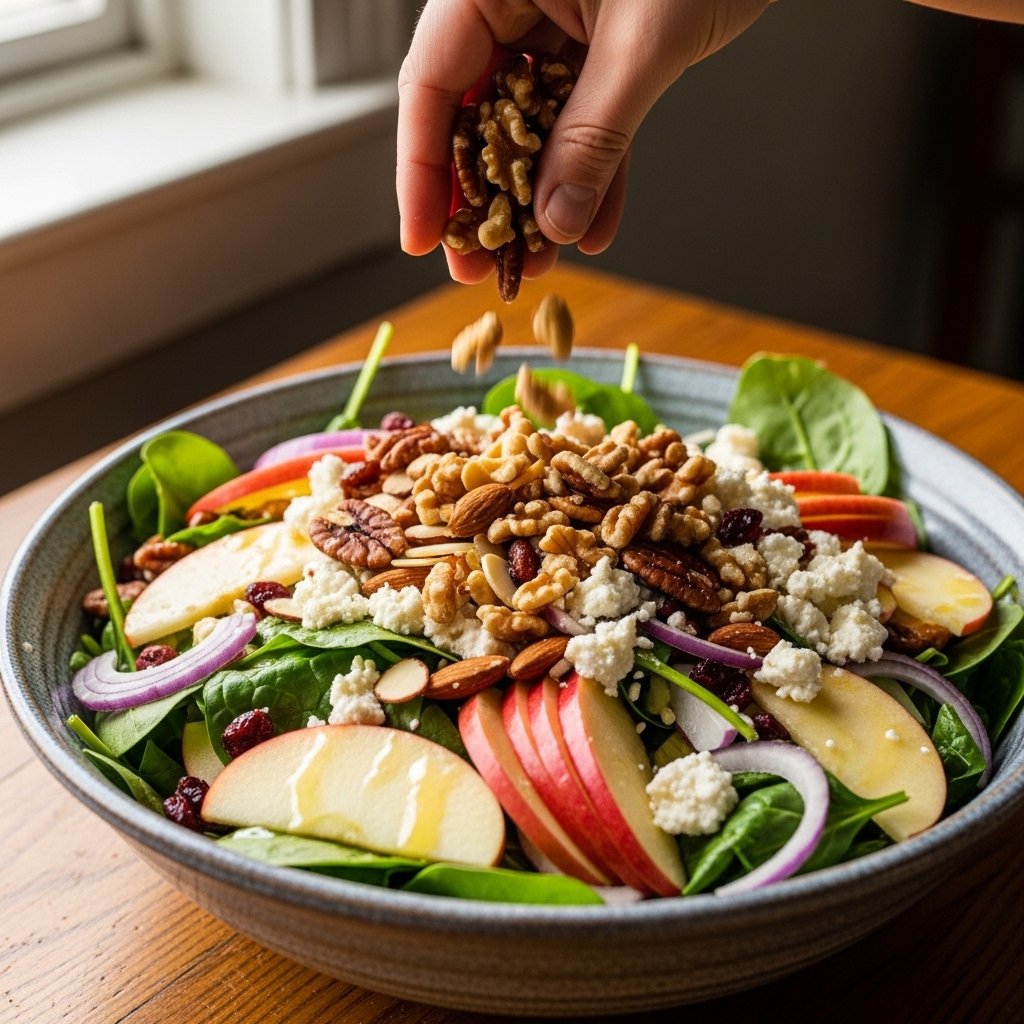
Add lettuce, tomatoes, corn, beans, and onions into a large bowl.
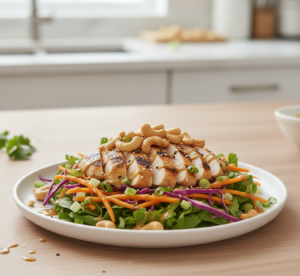
4. Add Chicken
Slice grilled chicken and place on top of salad.
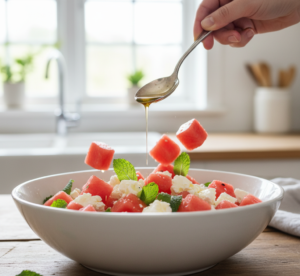
5. Add BBQ Sauce
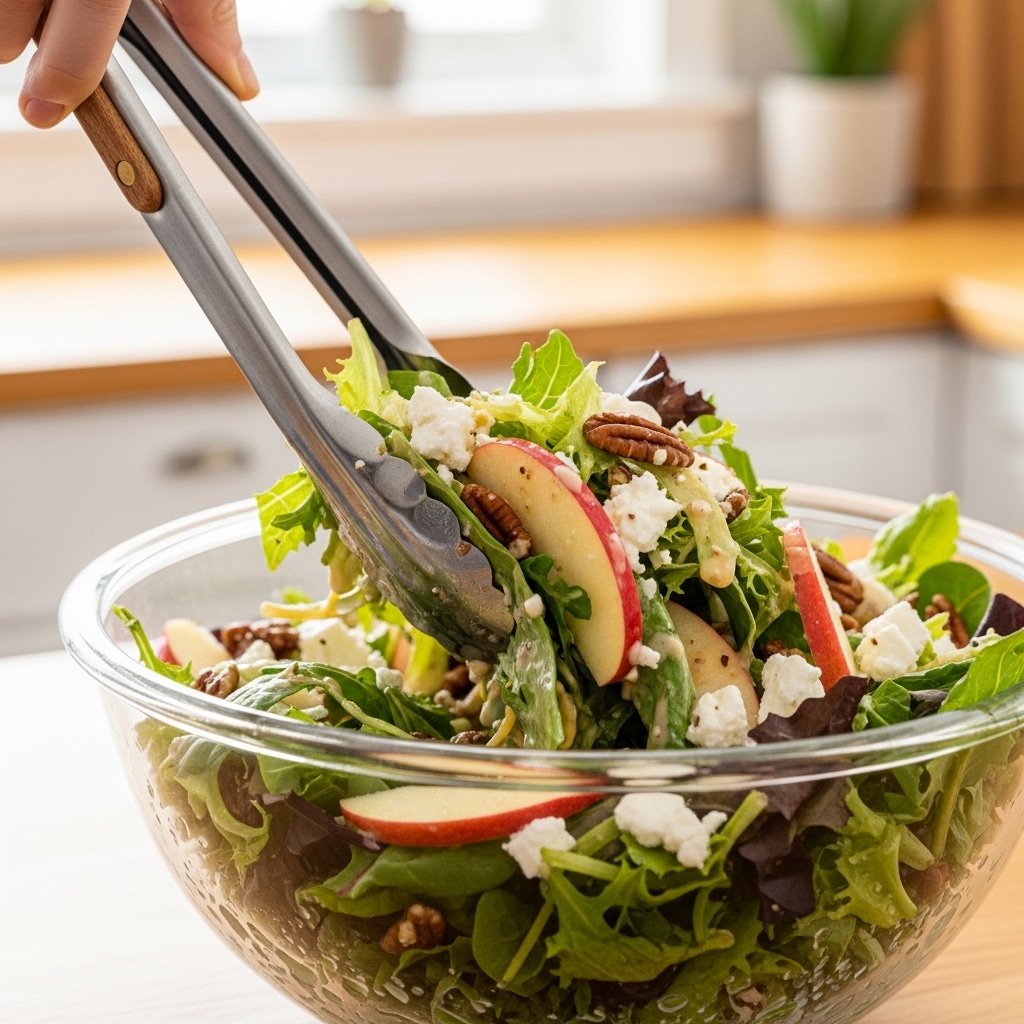
Drizzle BBQ sauce over salad and toss lightly.

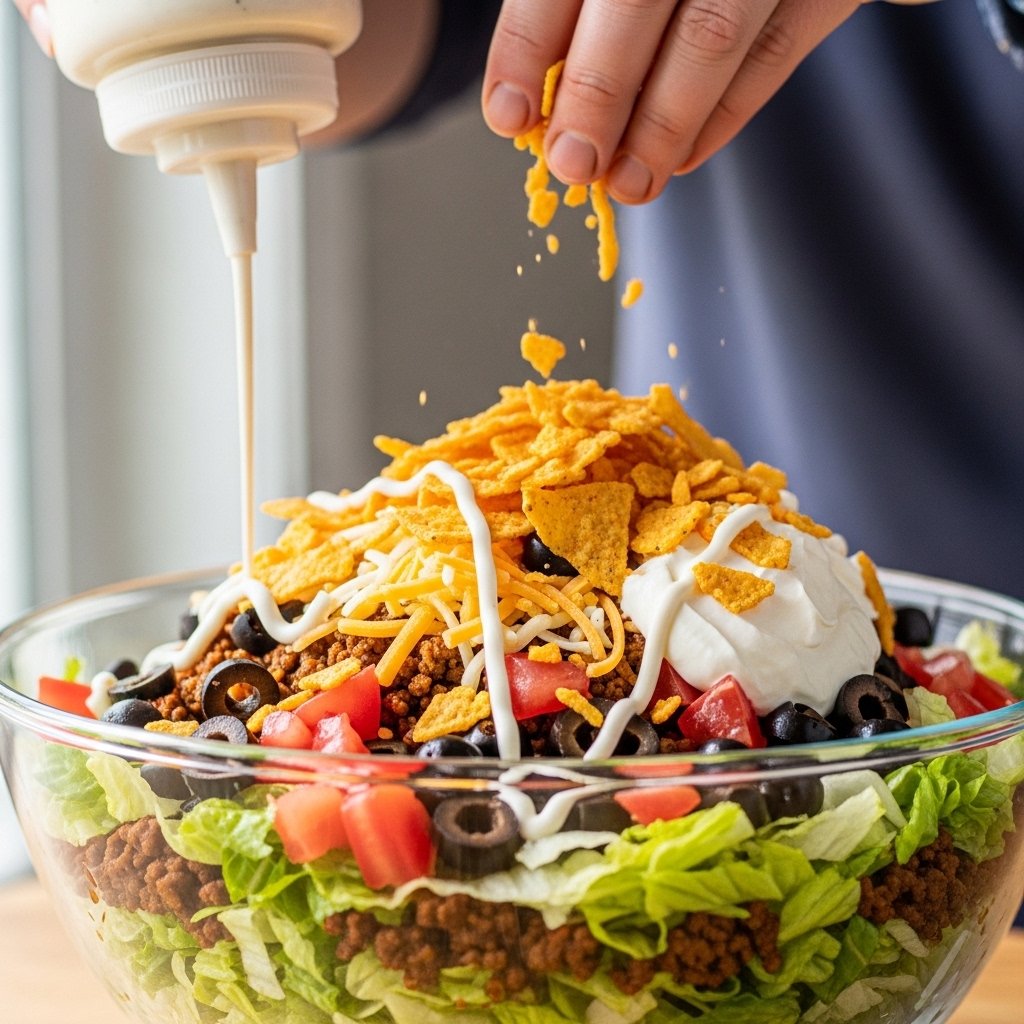
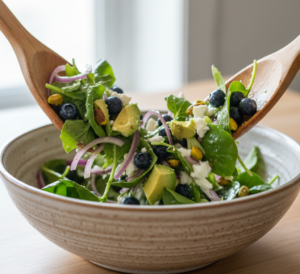
6. Finish and Serve
Top with cheese and avocado slices, then serve fresh.
Tips for Perfect Results
To make the best healthy BBQ chicken chopped salad, follow these tips:
- Grill chicken for best smoky flavor
- Chop ingredients evenly for perfect bites
- Use fresh BBQ sauce for better taste
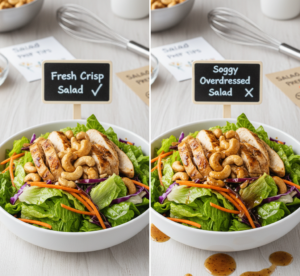
- Don’t overdress the salad
- Serve immediately for maximum crunch
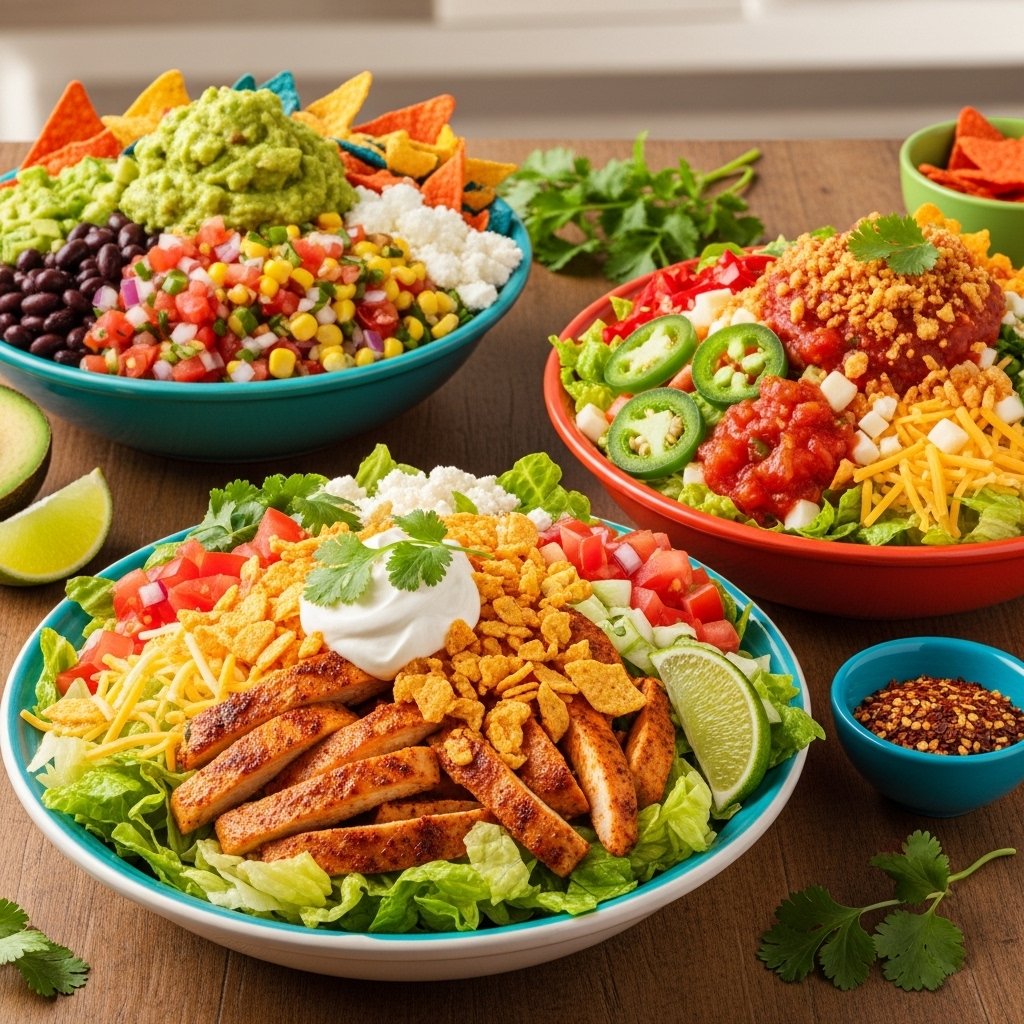
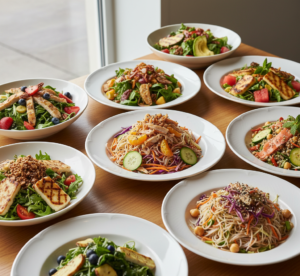
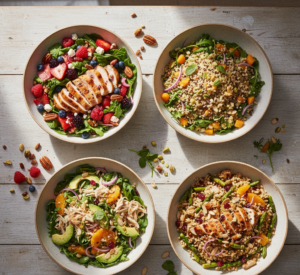
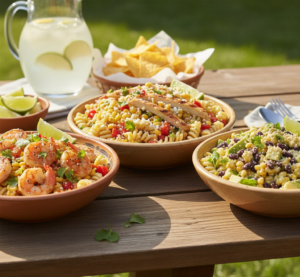
Variations
Try these delicious versions:
Spicy BBQ Salad
Add jalapeños or spicy BBQ sauce.
Keto Version
Skip corn and beans, add extra avocado.
Tex-Mex Style
Add tortilla strips and salsa.
Extra Protein
Add boiled eggs or extra chicken.
What to Serve With It
This BBQ chicken salad pairs well with:
- Garlic bread
- Fresh fruit
- Sweet potato fries
- Iced tea or lemonade
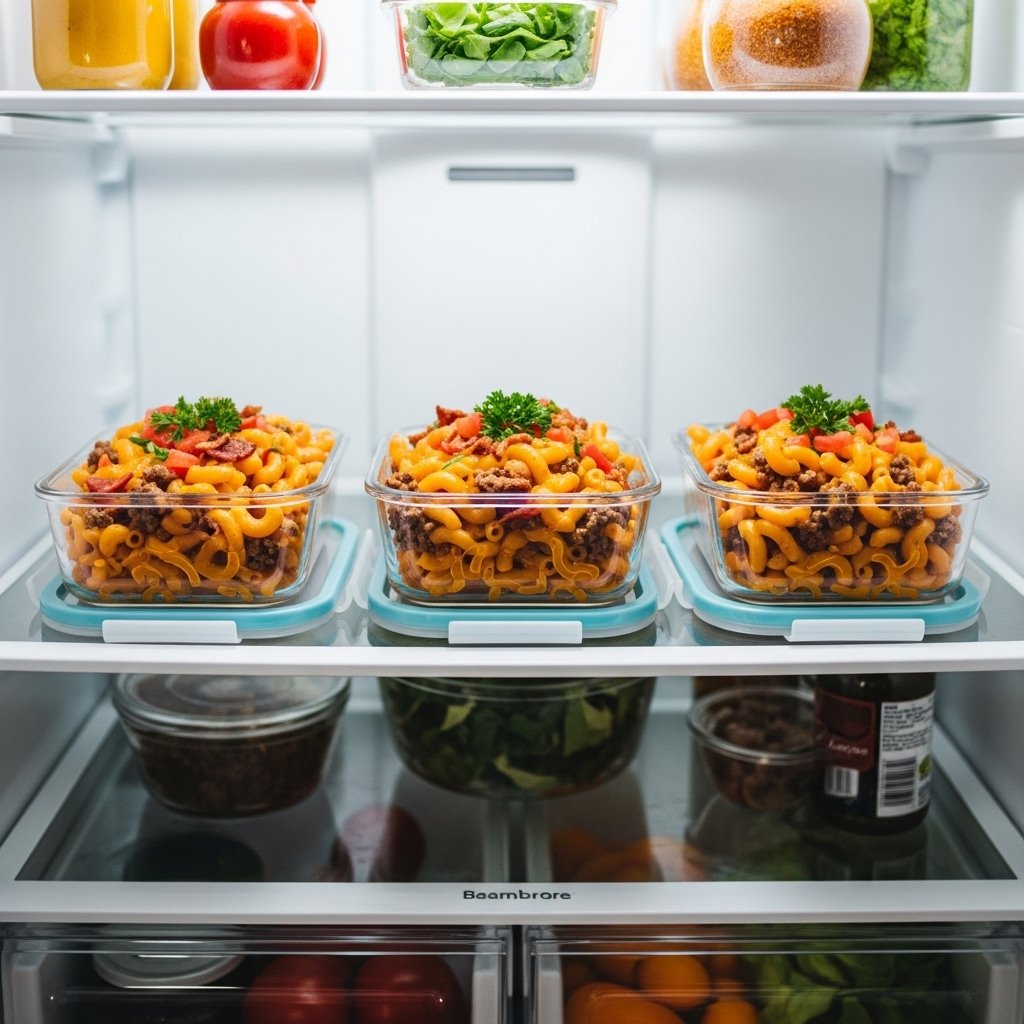
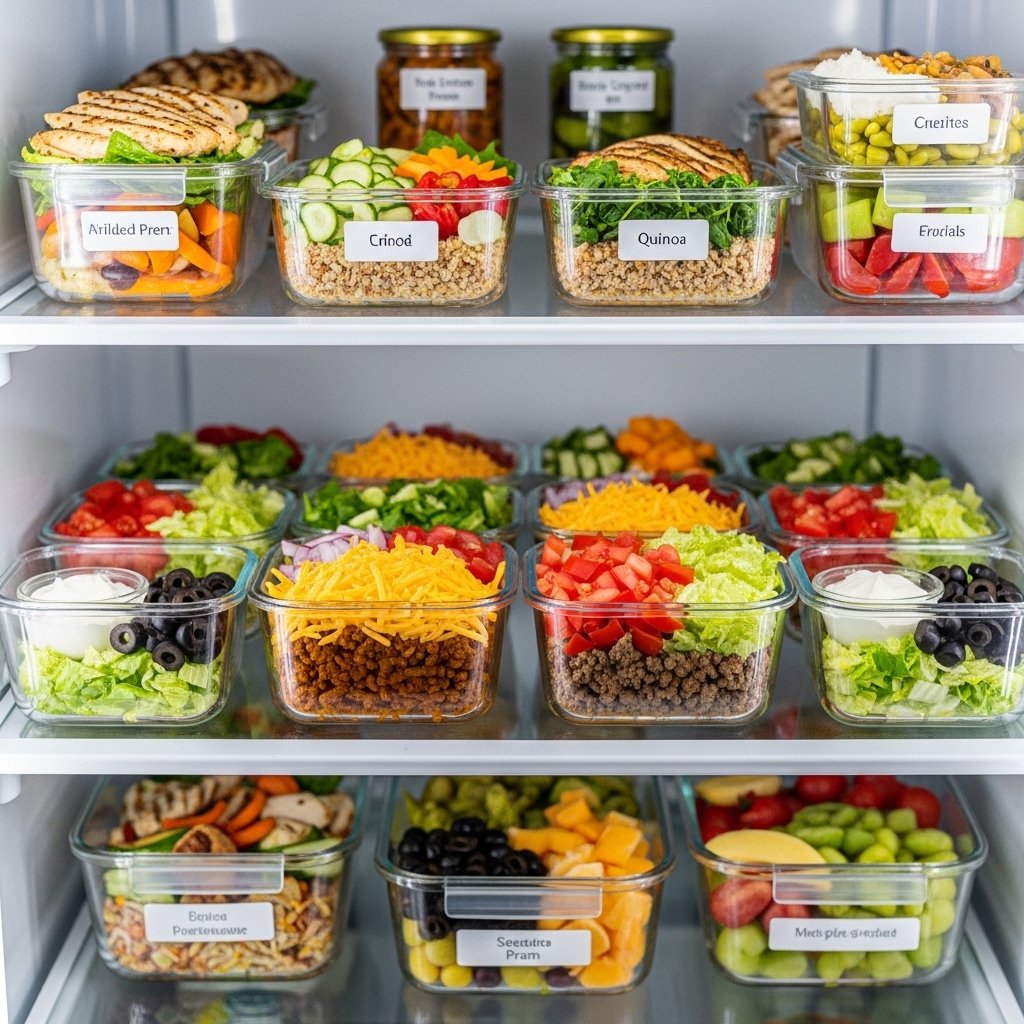
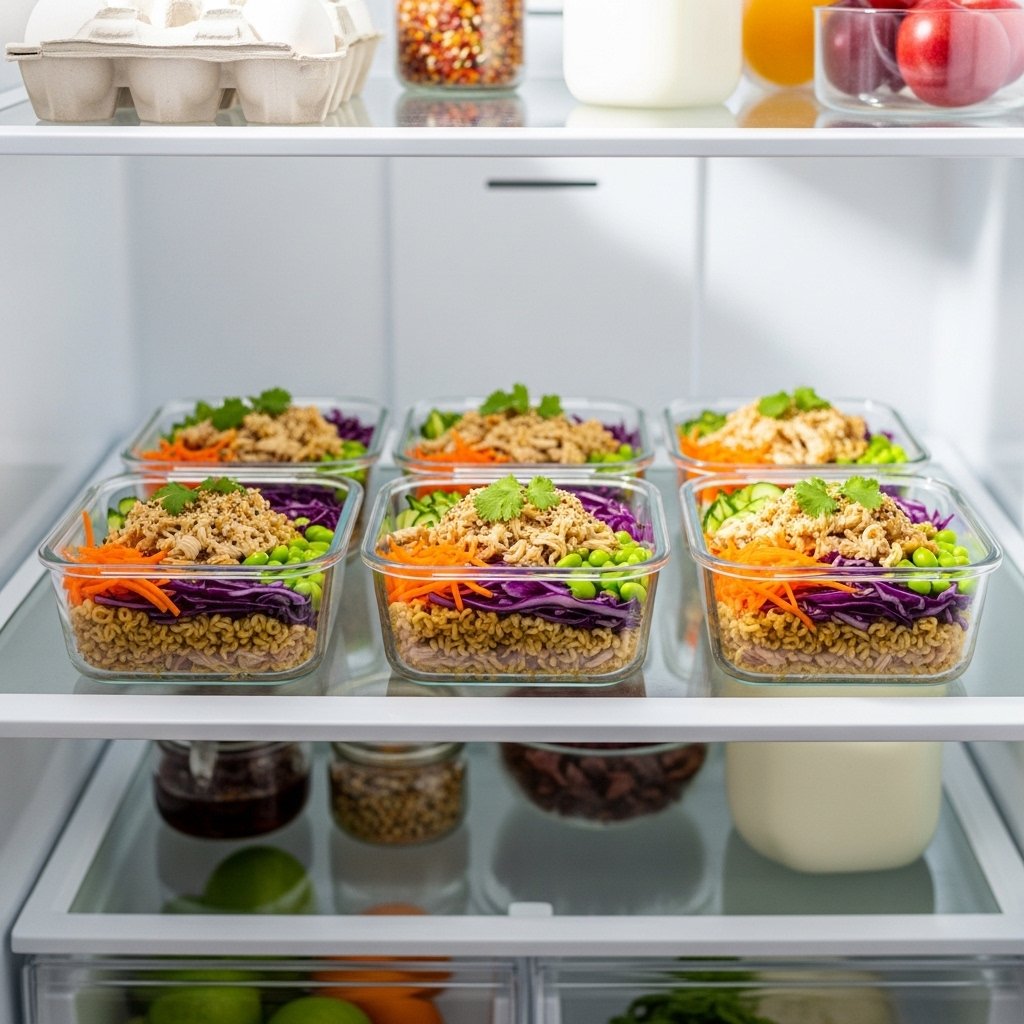
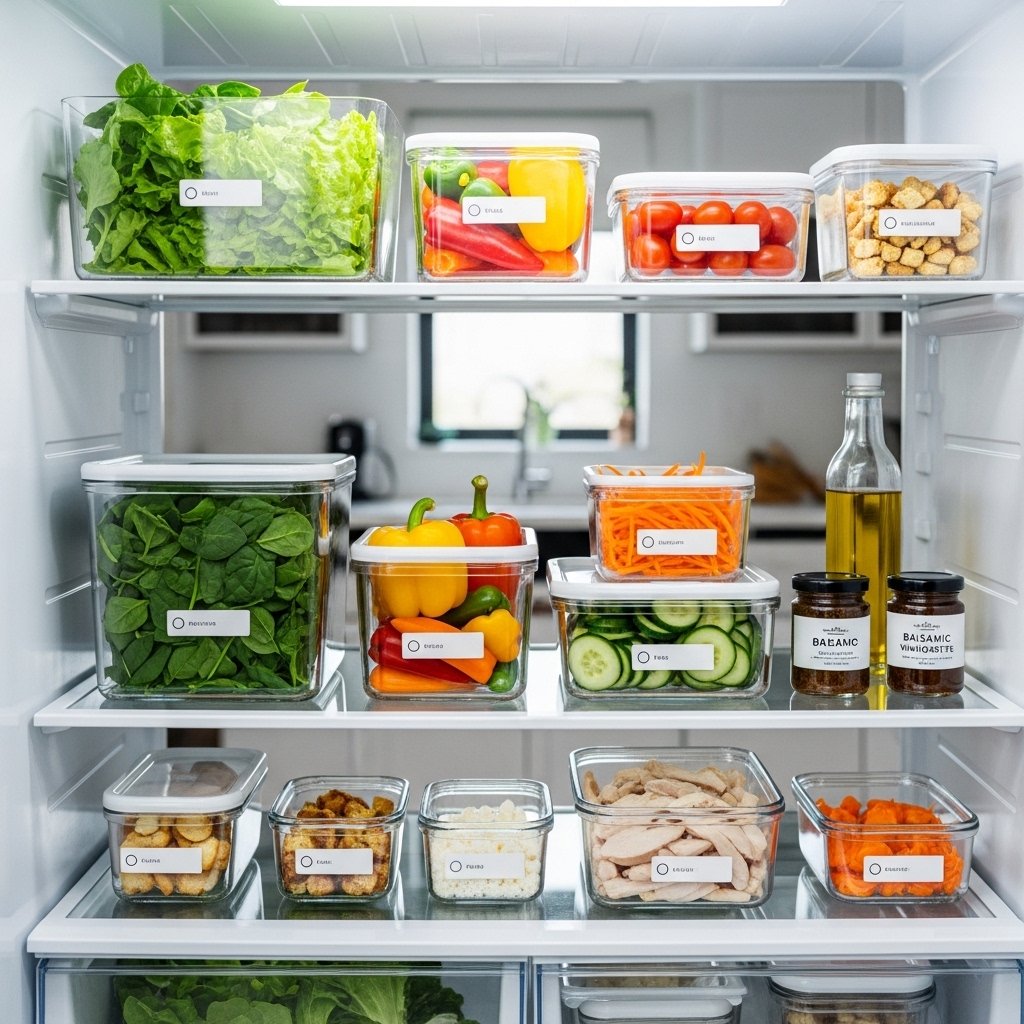
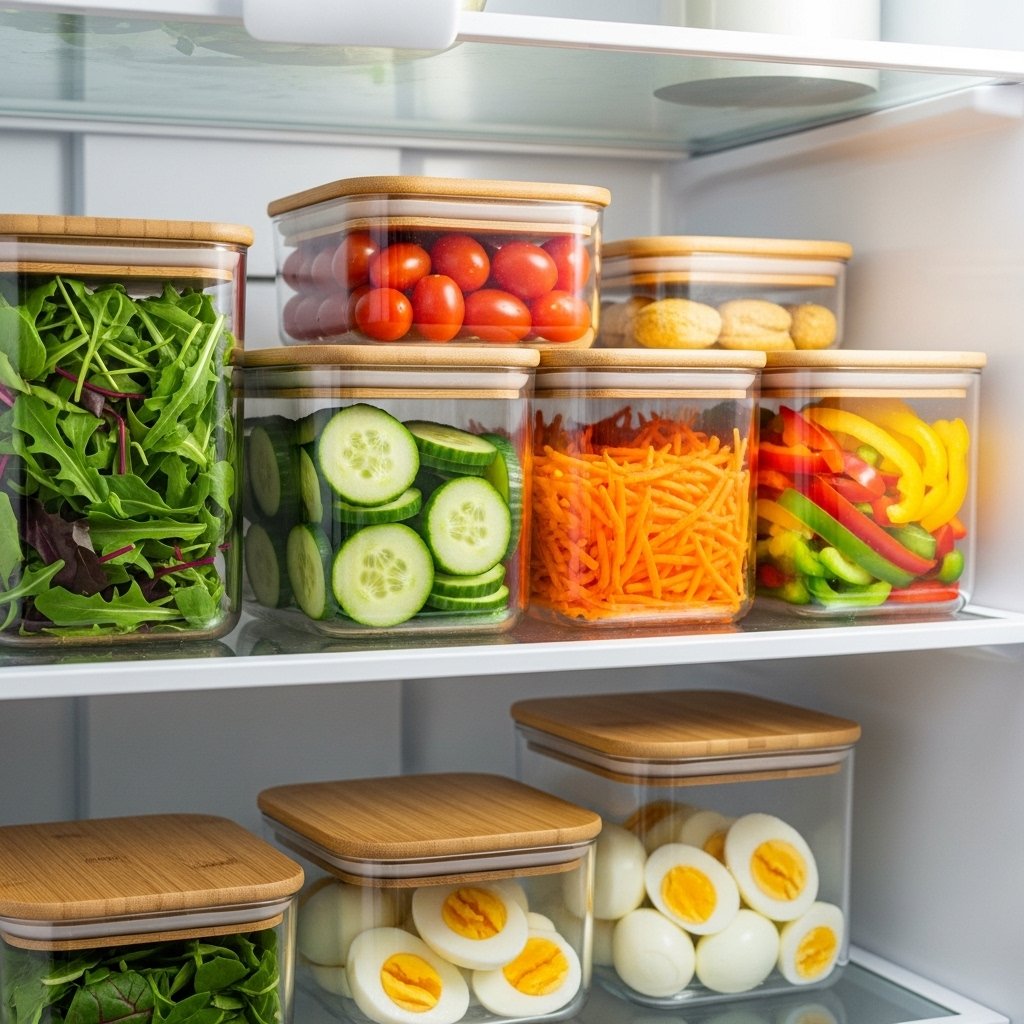
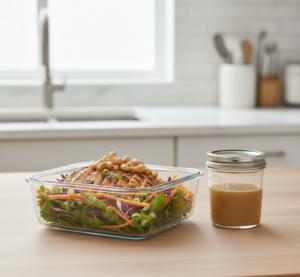
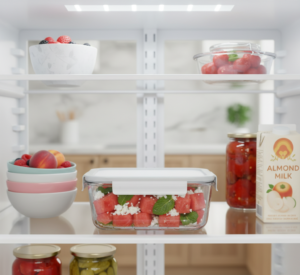
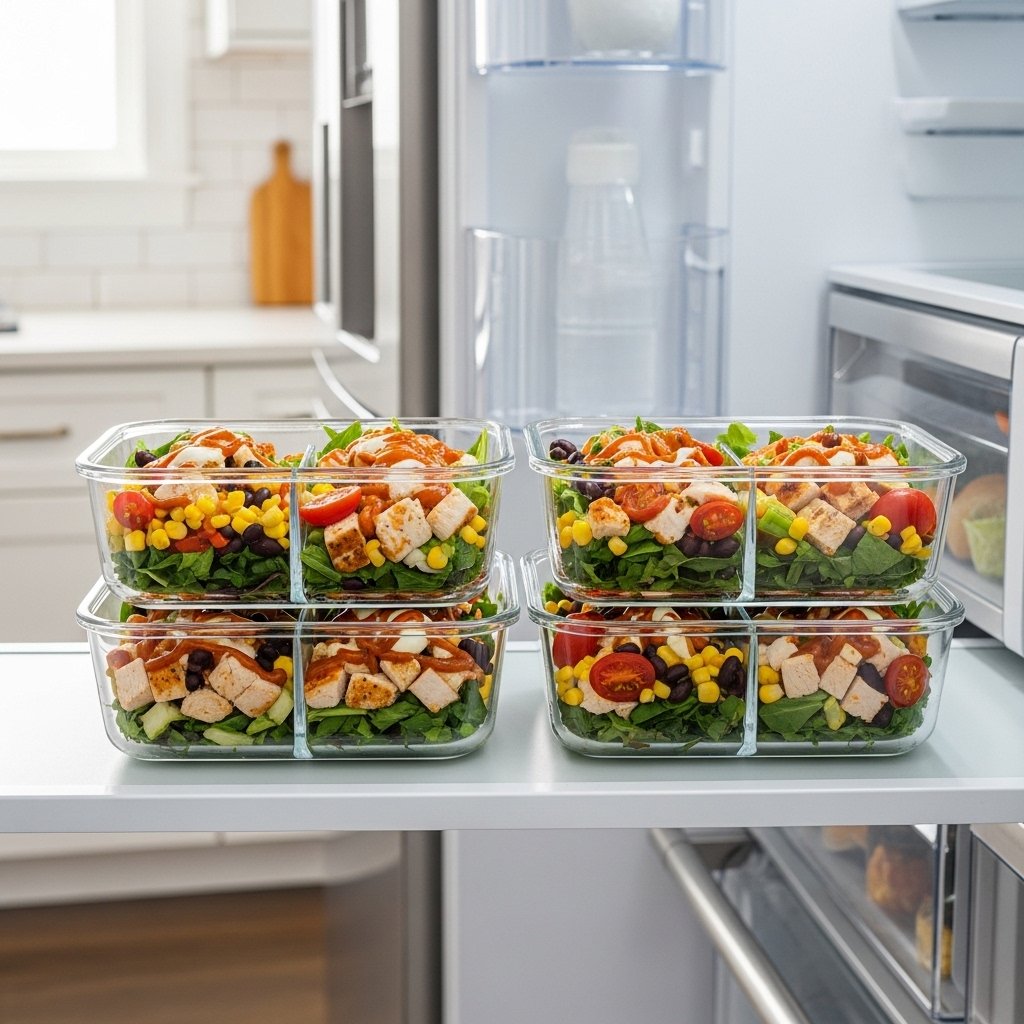
Storage & Reheating
- Store chicken and salad separately for best freshness
- Refrigerate up to 3 days
- Do not freeze (vegetables lose texture)
- Add BBQ sauce just before serving
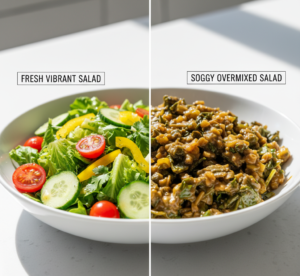
Common Mistakes to Avoid
- Overdressing salad (makes it soggy)
- Using cold, unseasoned chicken
- Cutting vegetables too large
- Mixing everything too early
FAQs
1. Is BBQ chicken salad healthy?
Yes, it’s high in protein and full of fresh vegetables.
2. Can I use store-bought grilled chicken?
Yes, it works great for quick prep.
3. What BBQ sauce is best?
Low-sugar or smoky BBQ sauce is ideal.
4. Can I meal prep this salad?
Yes, just store ingredients separately.
Final Thoughts
This Healthy BBQ Chicken Chopped Salad Recipe is the perfect balance of fresh, smoky, and satisfying. It’s quick, customizable, and ideal for healthy eating without sacrificing flavor.
Once you try it, it will easily become a regular in your weekly meal rotation.