There’s something incredibly satisfying about making homemade pasta from scratch. The simple combination of flour, eggs, and a little patience transforms into silky, tender noodles that taste far better than anything store-bought. Once you try fresh pasta, it’s hard to go back—the texture is softer, richer, and more flavorful in every bite.
This guide will walk you step-by-step through making authentic homemade pasta in your own kitchen, even if you’ve never done it before. You don’t need fancy equipment or professional training—just a rolling pin, a clean surface, and a little time.
Why You’ll Love This Recipe
This homemade pasta recipe is a game-changer for anyone who loves Italian-style cooking.
- Simple ingredients you already have at home
- Fresh, tender texture that beats store-bought pasta
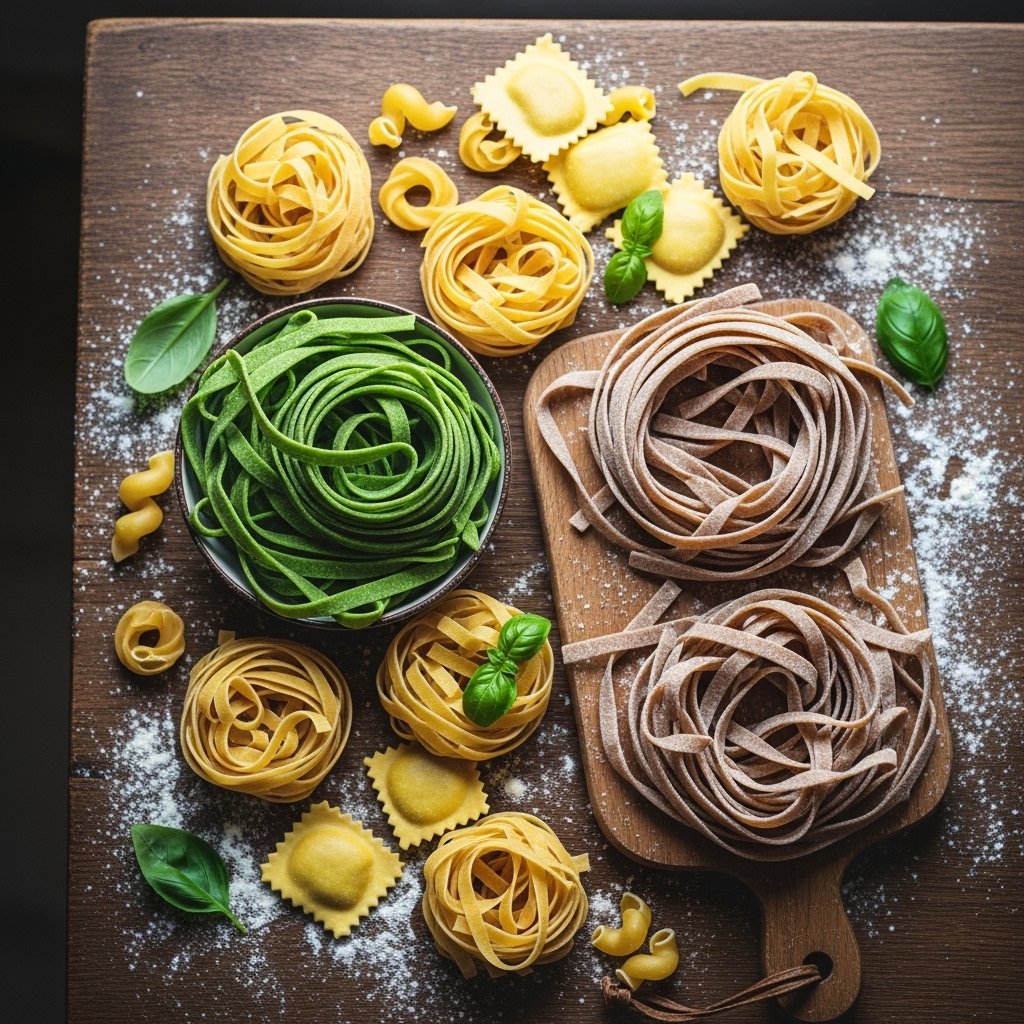
- Customizable shapes: fettuccine, tagliatelle, ravioli, and more
- Perfect for both simple and gourmet sauces
- A fun and rewarding kitchen experience
Once you master it, you’ll want to make it again and again.
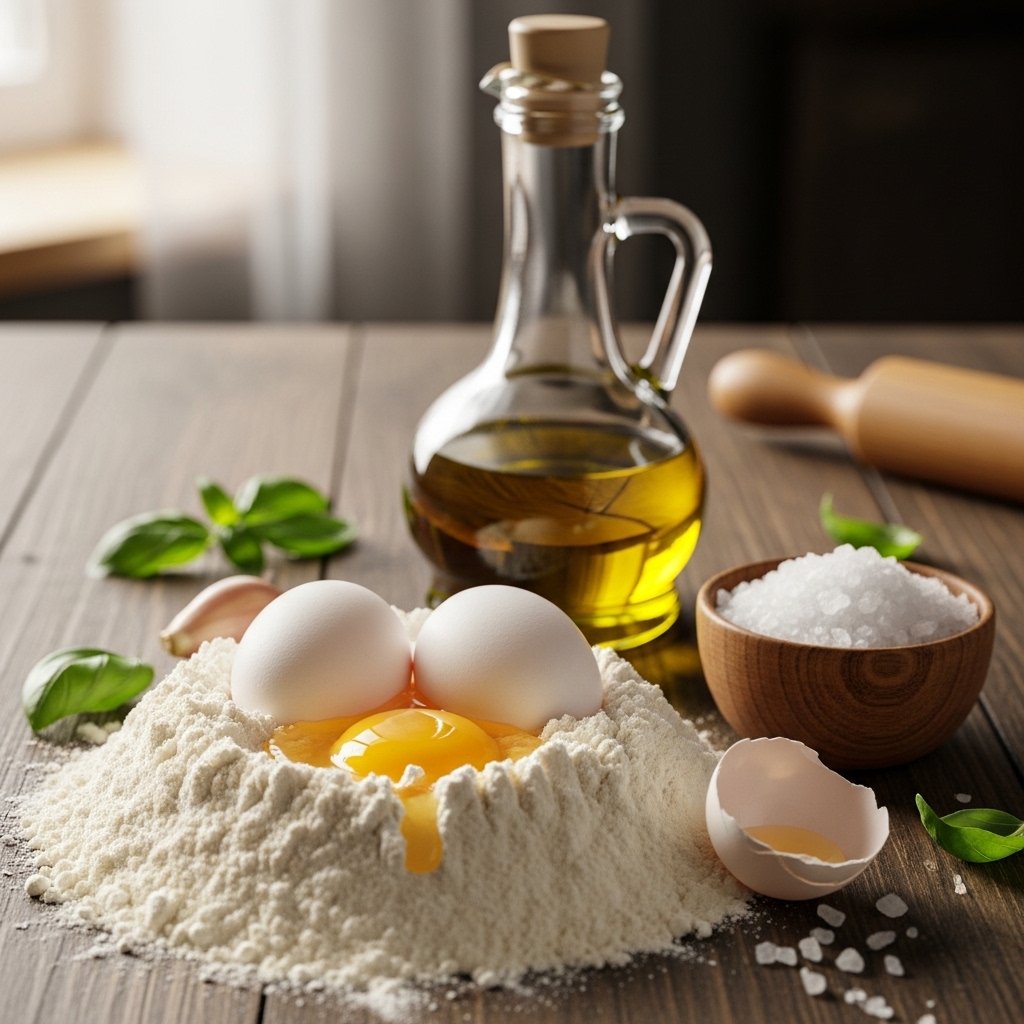
Ingredients
To make classic homemade pasta, you only need a few basic ingredients:
- 2 cups all-purpose flour (or “00” flour for authentic texture)
- 3 large eggs
- ½ teaspoon salt
- 1 tablespoon olive oil (optional, for softness)
- Extra flour for dusting
Ingredient Notes
The beauty of homemade pasta lies in its simplicity, but quality matters.
- Flour: “00” flour creates silky, restaurant-style pasta, but all-purpose flour works perfectly for beginners.
- Eggs: Use fresh, large eggs for rich color and structure.
- Olive oil: Optional but helps create a smoother dough.
- Salt: Enhances flavor but should be used sparingly in the dough.
If your dough feels too dry, add a few drops of water. If it’s too sticky, add a bit more flour.
Step-by-Step Instructions
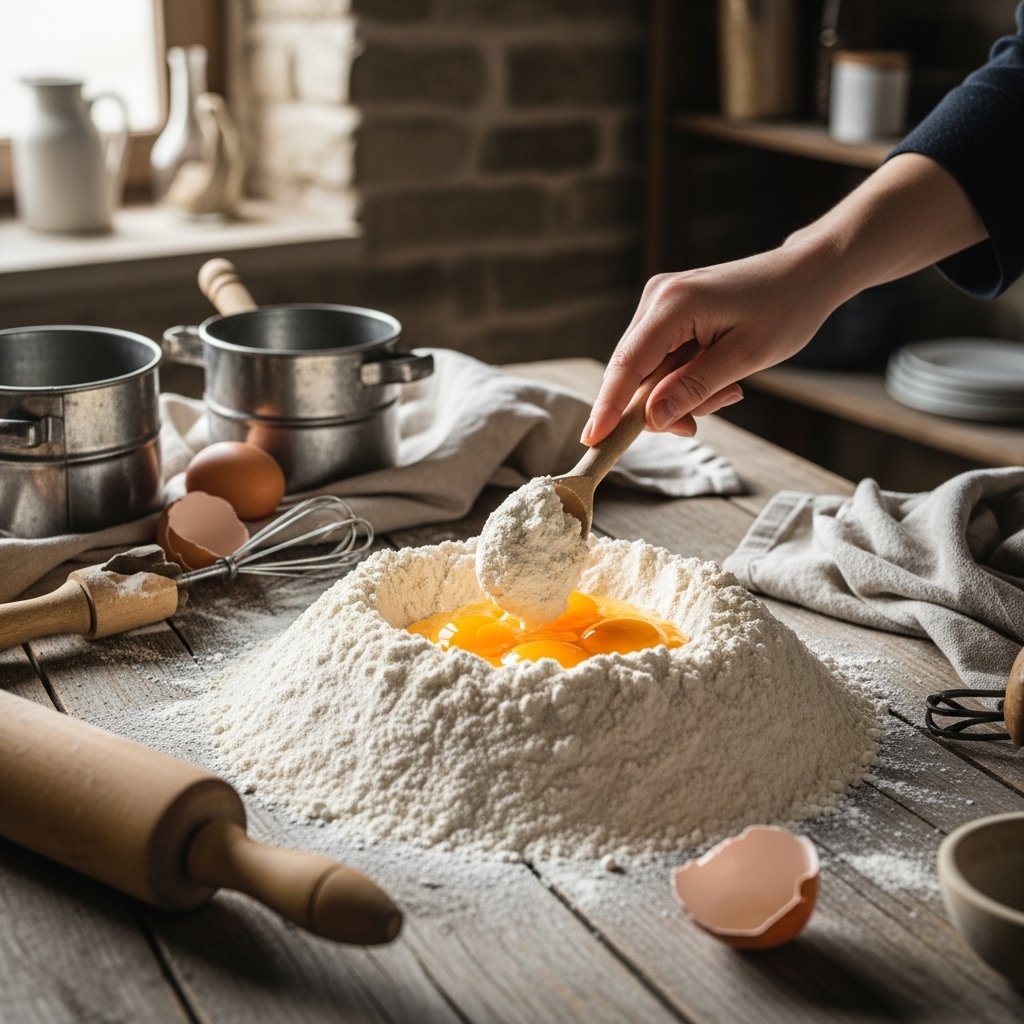
1. Make the Dough
On a clean surface, pile your flour and make a well in the center. Crack the eggs into the center and add salt. Slowly whisk with a fork, pulling in flour from the edges until a dough forms.
2. Knead the Dough
Knead the dough for 8–10 minutes until smooth and elastic. This step develops gluten, giving your homemade pasta its signature chew.
3. Rest the Dough
Wrap the dough in plastic wrap and let it rest for at least 30 minutes. This relaxes the gluten and makes rolling easier.

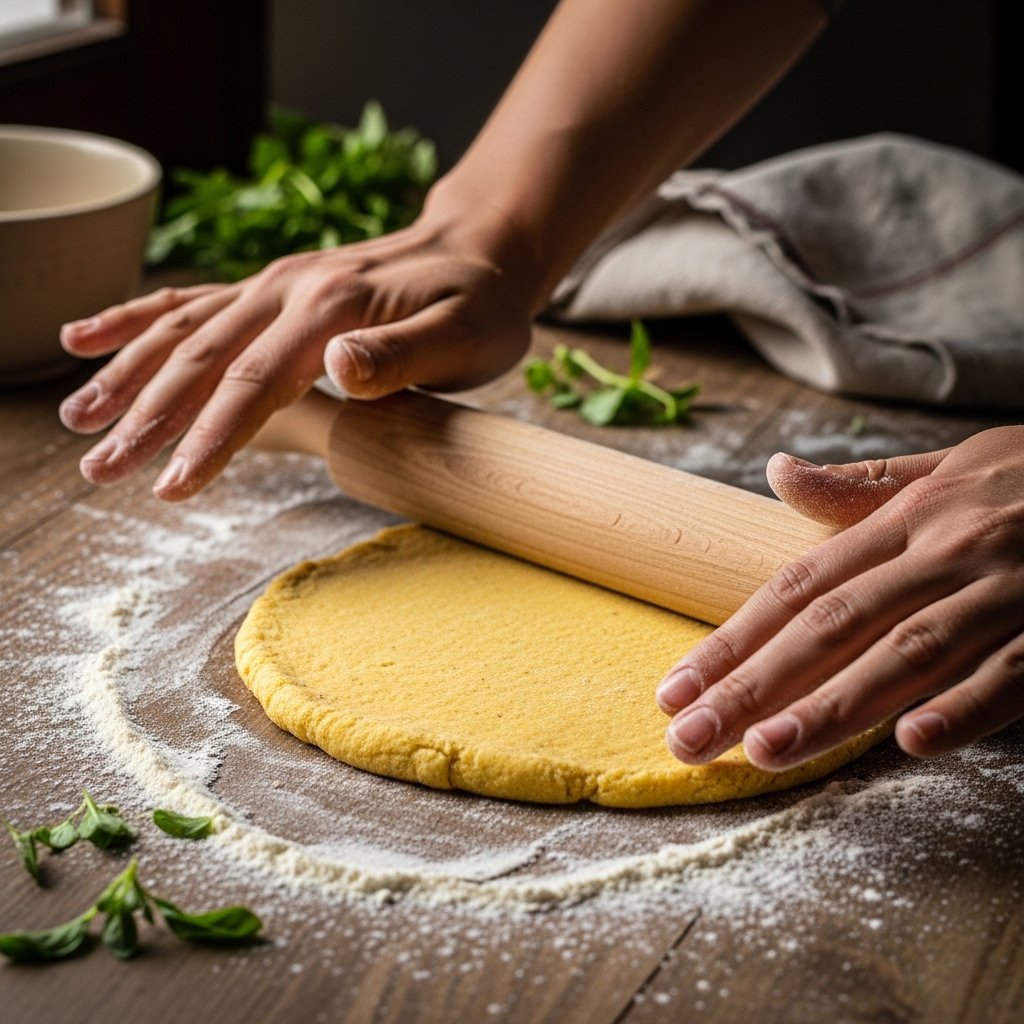
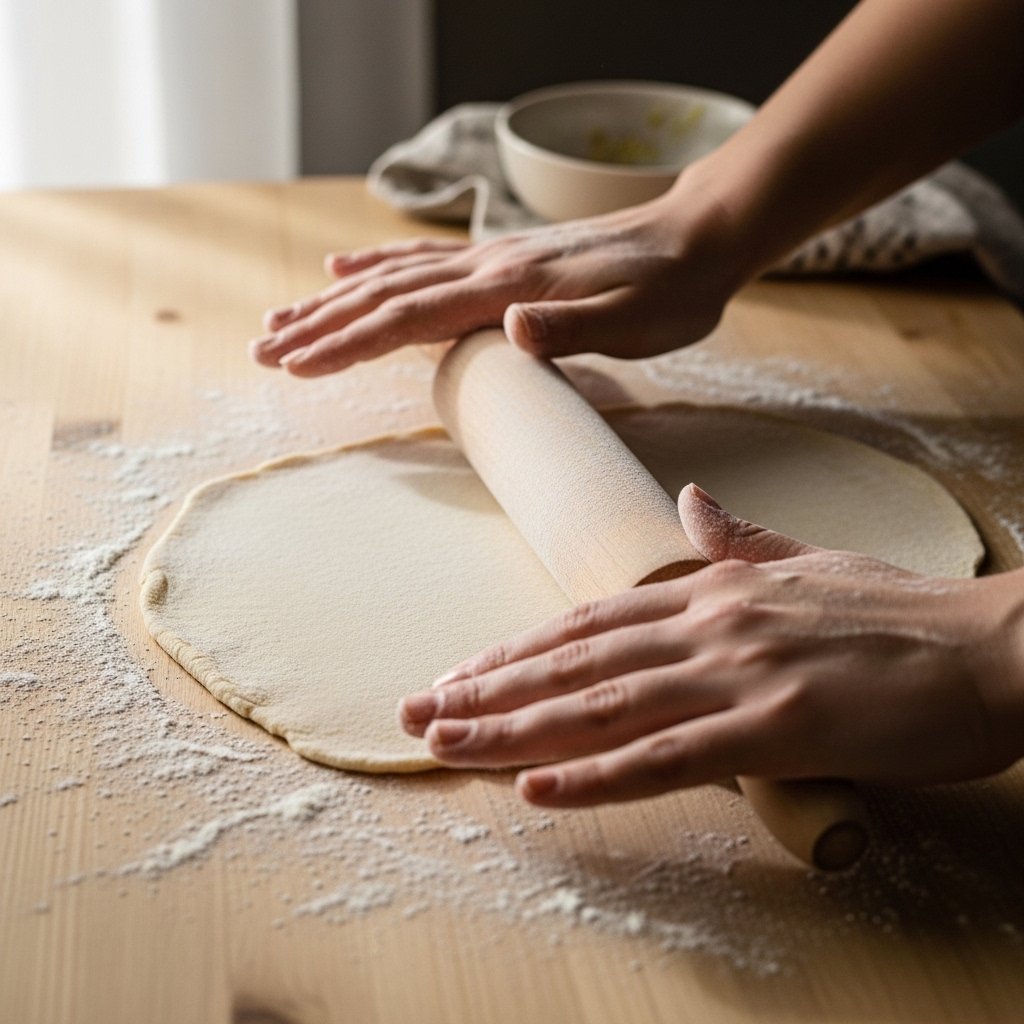
4. Roll the Dough
Divide the dough into smaller portions. Roll each piece thin using a rolling pin or pasta machine. Dust lightly with flour to prevent sticking.
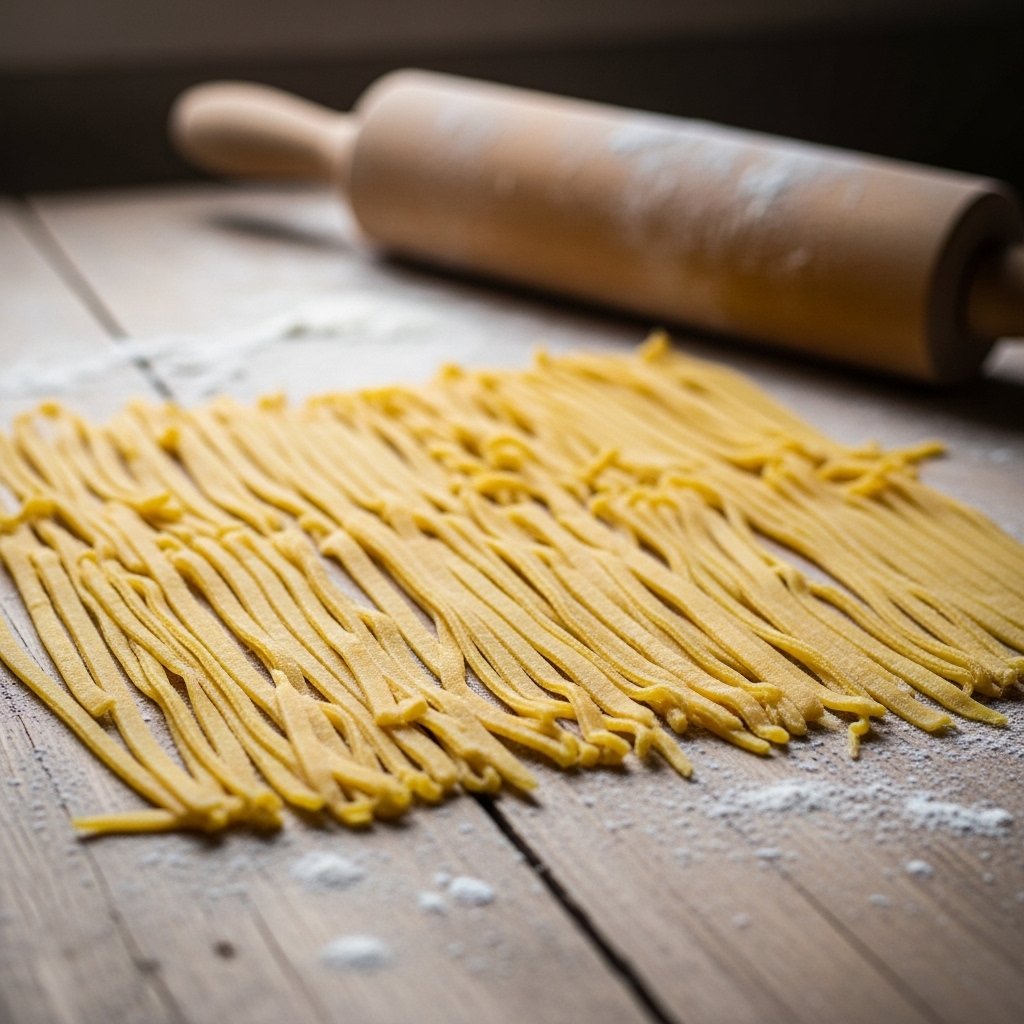
5. Shape the Pasta
Cut into your preferred shape—fettuccine, tagliatelle, or even lasagna sheets. Let the pasta dry slightly before cooking.
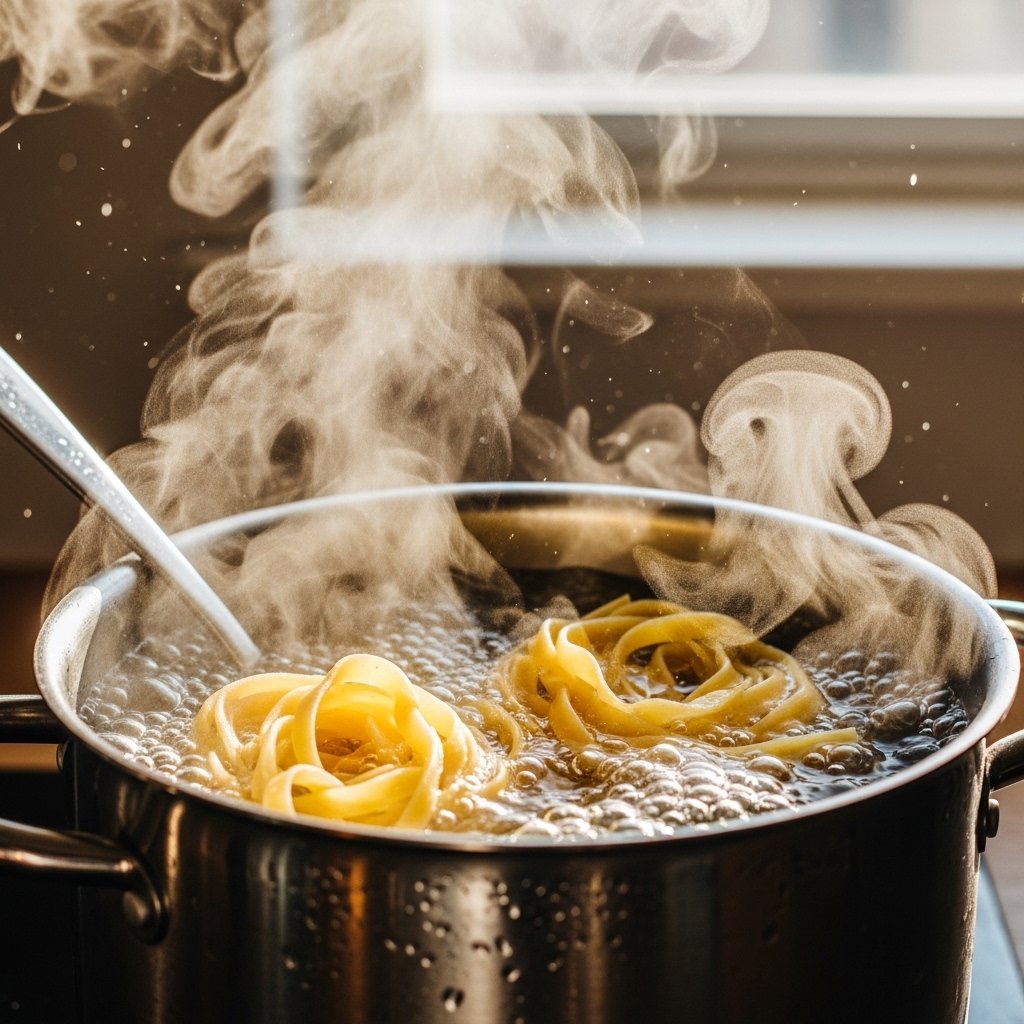
6. Cook the Pasta
Boil salted water and cook fresh pasta for 2–4 minutes until tender. Fresh pasta cooks much faster than dried pasta.
Tips for Perfect Results
To master homemade pasta, follow these expert tips:
- Knead until dough is smooth and elastic
- Let dough rest—don’t skip this step
- Roll dough evenly for consistent cooking
- Use plenty of flour to prevent sticking
- Cook immediately or dry properly for storage
Variations
One of the best things about homemade pasta is how versatile it is.
Spinach Pasta
Blend spinach into the dough for a vibrant green color and added nutrients.
Whole Wheat Pasta
Replace half the flour with whole wheat flour for a healthier option.
Herb-Infused Pasta
Add chopped basil, parsley, or oregano to the dough.
Gluten-Free Version
Use a gluten-free flour blend designed for baking and pasta.
What to Serve With It
Fresh homemade pasta pairs beautifully with a variety of sauces:
- Classic marinara sauce
- Creamy Alfredo sauce
- Garlic butter and Parmesan
- Pesto sauce
- Slow-cooked Bolognese
It also works great in soups or baked pasta dishes.
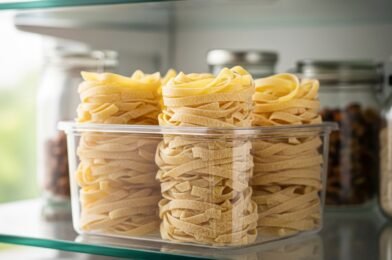
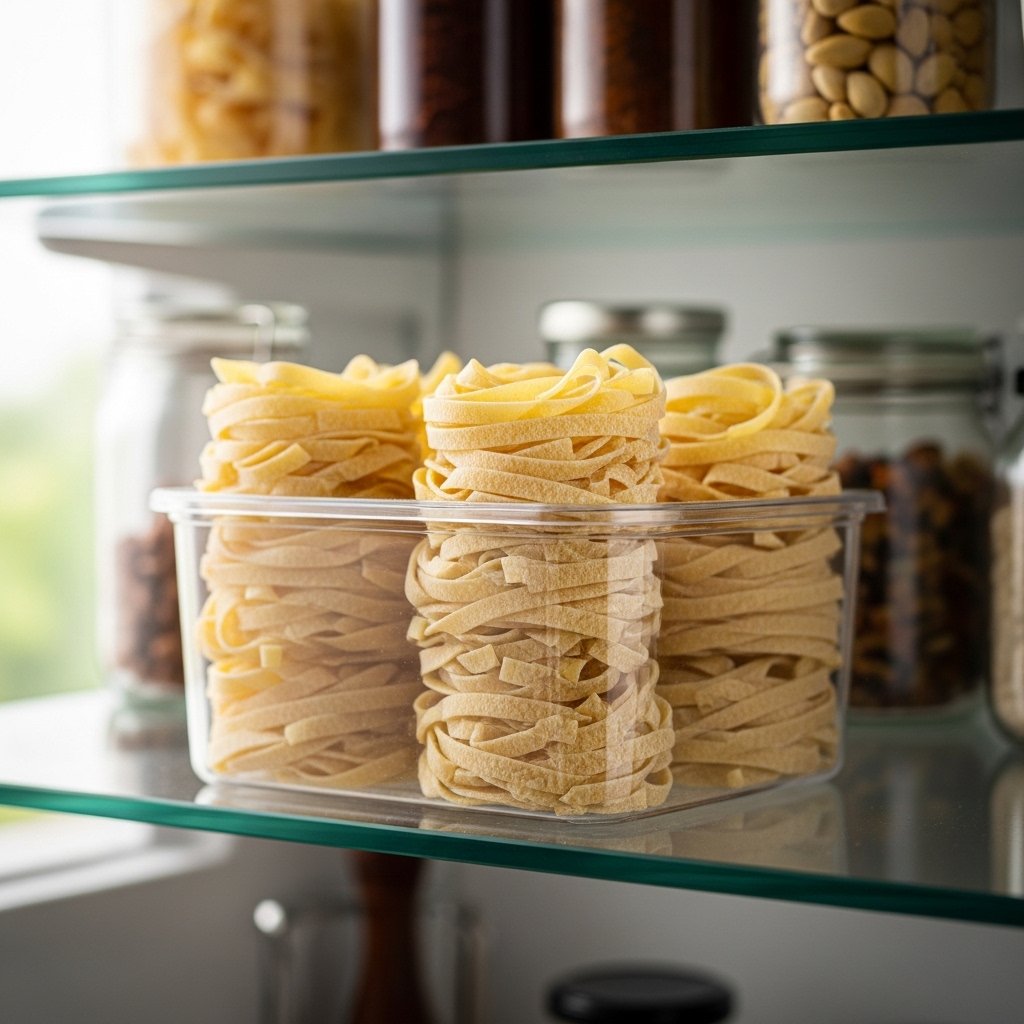
Storage & Reheating
If you want to prepare homemade pasta ahead of time:
- Refrigerator: Store fresh pasta for up to 2 days
- Freezer: Freeze for up to 2 months (dust with flour first)
- Drying: Let pasta air-dry and store in airtight containers
- Reheating: Cook directly from refrigerated or frozen state
Common Mistakes to Avoid
Avoid these common errors when making homemade pasta:
- Not kneading dough long enough
- Skipping resting time
- Rolling dough too thick or uneven
- Overcooking fresh pasta
- Using too little flour while shaping
FAQs
1. Is homemade pasta worth the effort?
Yes! The texture and flavor are far superior to store-bought pasta.
2. Do I need a pasta machine?
No, a rolling pin works just fine for beginners.
3. How long does fresh pasta take to cook?
Usually just 2–4 minutes in boiling water.
4. Can I make pasta dough ahead of time?
Yes, you can refrigerate it for up to 24 hours.
Final Thoughts
Making homemade pasta is one of the most rewarding kitchen skills you can learn. With just a few simple ingredients, you can create fresh, tender noodles that elevate any meal into something special.
Whether you’re cooking for family, friends, or just yourself, this recipe brings authentic Italian flavor right into your home kitchen. Once you try it, homemade pasta will become a regular tradition you’ll look forward to every time.