If you’re searching for a satisfying, flavor-packed meal that’s both comforting and easy to prepare, this Irresistibly Loaded Steak Potato: A Quick & Delicious Dinner Idea! is exactly what you need. It combines tender, juicy steak with a perfectly baked potato loaded with creamy, cheesy, and savory toppings.
This dish delivers everything you love in one bite—rich protein, fluffy potato, and indulgent toppings—all coming together in a way that feels both rustic and gourmet. Whether you’re cooking for yourself, your family, or guests, this loaded steak potato is guaranteed to impress.
Best of all, this Irresistibly Loaded Steak Potato recipe is quick enough for weeknights yet special enough for weekend dinners.

Why You’ll Love This Recipe
There are so many reasons to love this Irresistibly Loaded Steak Potato: A Quick & Delicious Dinner Idea!:
- Hearty and filling meal
- Perfect balance of protein and carbs
- Easy to customize with toppings
- Quick enough for busy nights
- Restaurant-quality flavors at home
This recipe is all about comfort food done right.

Ingredients
To make this Irresistibly Loaded Steak Potato, you’ll need:
For the Potatoes:
- 2 large russet potatoes
- 1 tablespoon olive oil
- Salt
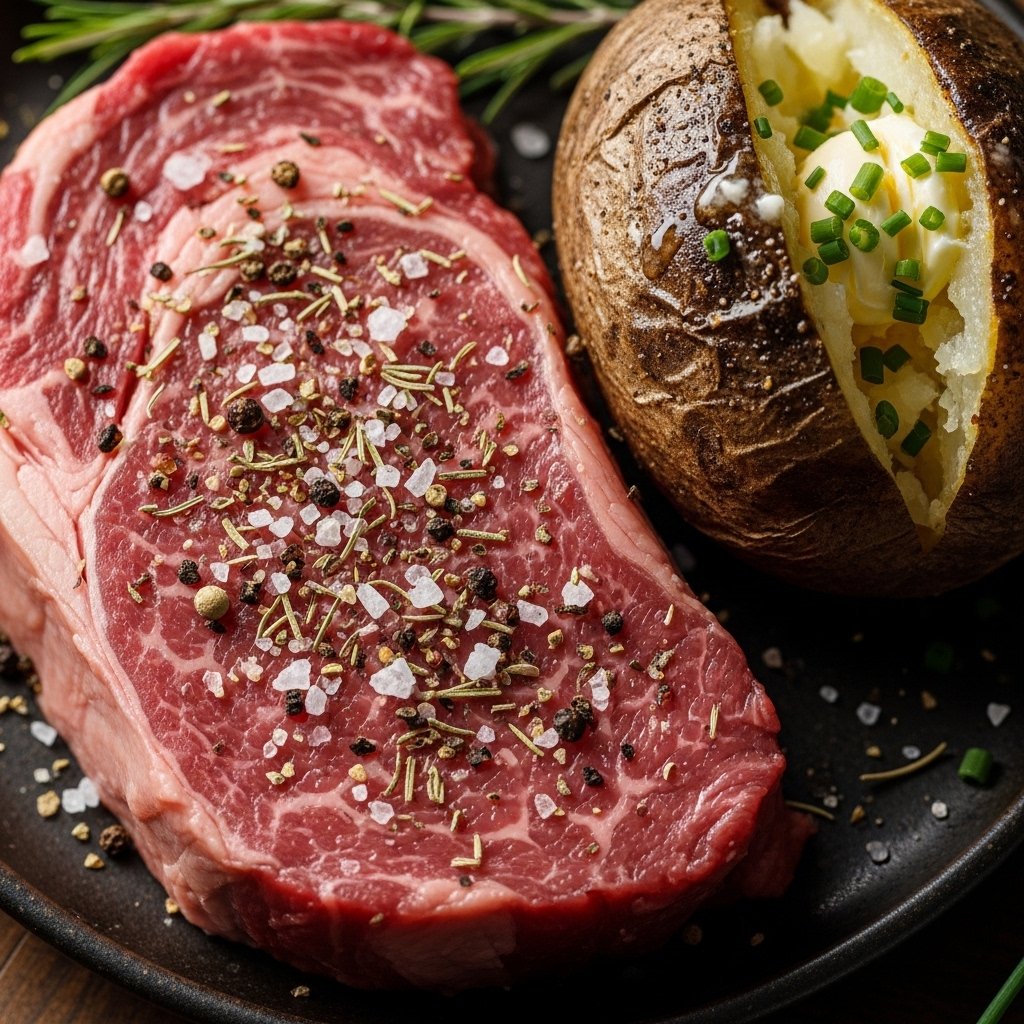
For the Steak:
- 1 lb steak (sirloin or ribeye)
- 1 tablespoon butter
- 2 cloves garlic (minced)
- Salt and pepper
Toppings:
- 1/2 cup shredded cheddar cheese
- 1/4 cup sour cream
- 2 tablespoons chopped green onions
- Optional: crispy bacon bits
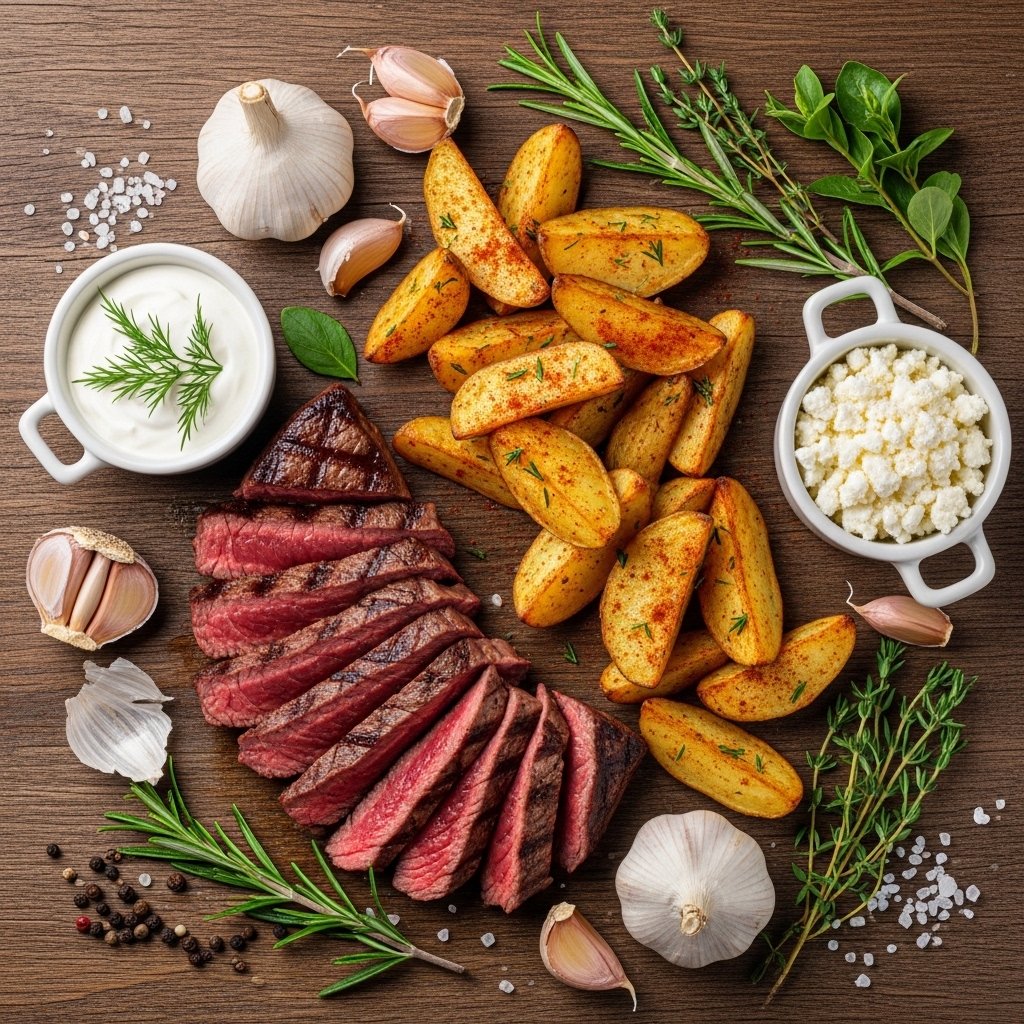
Ingredient Notes
The quality of ingredients plays a big role in this Irresistibly Loaded Steak Potato: A Quick & Delicious Dinner Idea!
Russet potatoes are ideal because they bake up fluffy inside with crispy skin. For the steak, choose a well-marbled cut like ribeye for maximum flavor or sirloin for a leaner option.
Fresh toppings like green onions and real cheddar cheese enhance both flavor and presentation, making this dish truly irresistible.
Step-by-Step Instructions
Step 1: Bake the Potatoes
Preheat oven to 400°F. Rub potatoes with oil and salt, then bake for 45–60 minutes until tender.

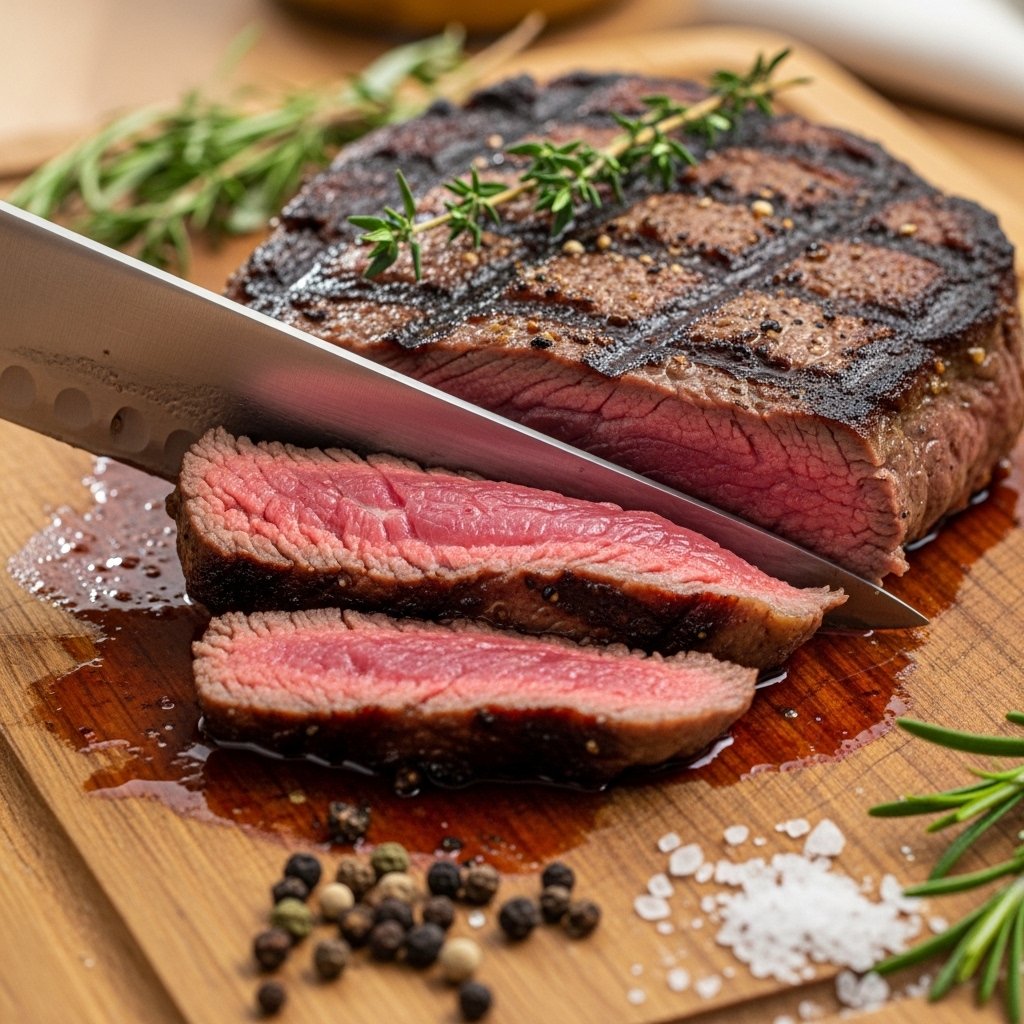
Step 2: Cook the Steak
Season steak with salt and pepper. Sear in a hot pan with butter and garlic until desired doneness.
Step 3: Rest and Slice
Let steak rest for 5 minutes, then slice into strips.
Step 4: Prepare the Potato
Slice open baked potato and fluff the inside with a fork.
Step 5: Add Toppings
Top with cheese, steak slices, sour cream, and green onions.

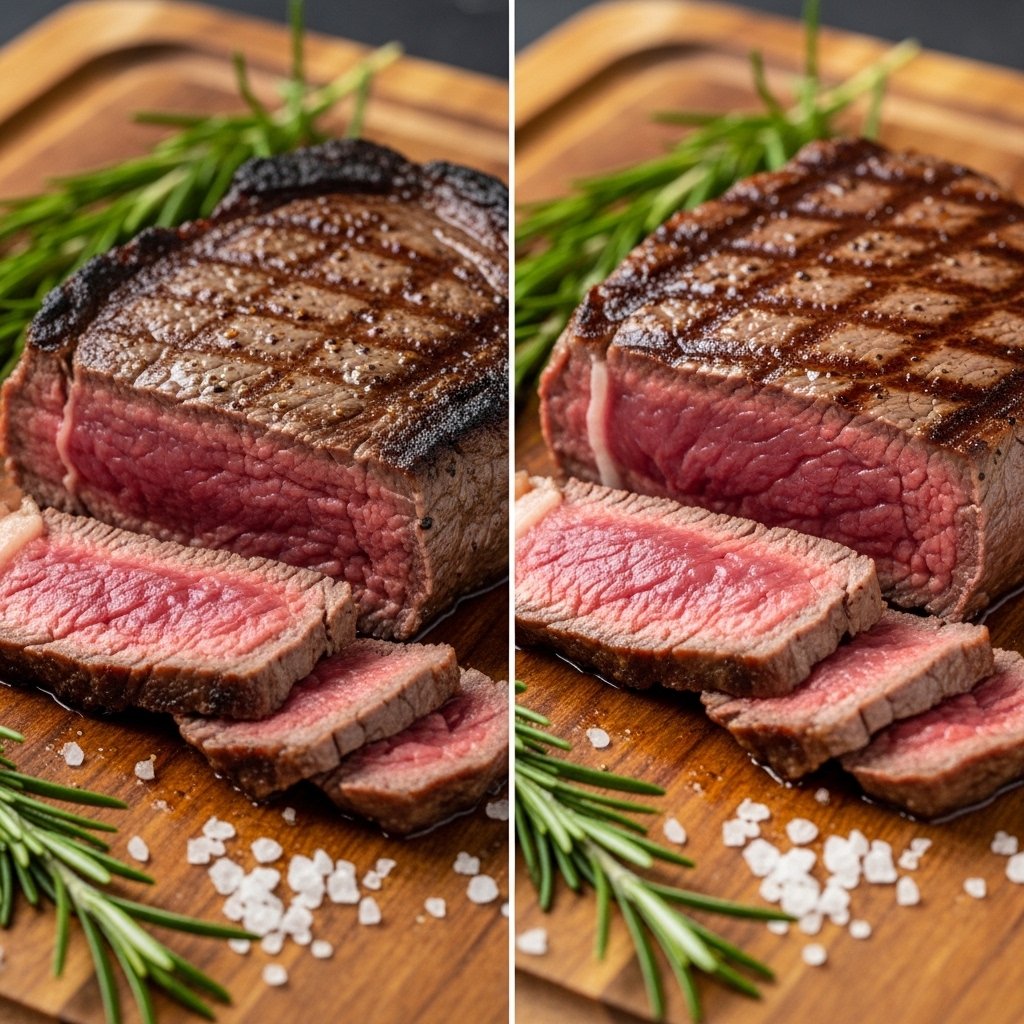
Tips for Perfect Results
To get the best Irresistibly Loaded Steak Potato: A Quick & Delicious Dinner Idea!, follow these tips:
- Let steak rest before slicing for juicy results
- Bake potatoes until fully tender inside
- Use freshly shredded cheese for better melting
- Add toppings while potato is hot
- Season each layer for maximum flavor
These tips ensure every bite is perfect.

Variations
This Irresistibly Loaded Steak Potato is highly customizable:
- Add sautéed mushrooms or onions
- Use blue cheese for bold flavor
- Add spicy jalapeños
- Swap steak for grilled chicken
- Make it vegetarian with roasted veggies
Each variation brings a unique twist to this classic dish.

What to Serve With It
Pair your Irresistibly Loaded Steak Potato: A Quick & Delicious Dinner Idea! with:
- Fresh garden salad
- Steamed vegetables
- Garlic bread
- Iced tea or lemonade
- Light soup
These sides balance the richness of the dish.

Storage & Reheating
To store your Irresistibly Loaded Steak Potato:
- Store components separately if possible
- Refrigerate up to 3 days
- Reheat potato in oven for best texture
- Warm steak gently to avoid drying out
Proper storage keeps flavors fresh.

Common Mistakes
Avoid these mistakes when making Irresistibly Loaded Steak Potato: A Quick & Delicious Dinner Idea!:
- Overcooking the steak
- Underbaking the potato
- Using cold toppings
- Not seasoning properly
- Skipping resting time for steak
Avoiding these ensures a perfect meal.
FAQs
1. Can I use a microwave for the potato?
Yes, but oven baking gives better texture.
2. What steak cut is best?
Ribeye for flavor, sirloin for lean option.
3. Can I make this ahead?
Prepare components separately and assemble fresh.
4. Can I add other toppings?
Absolutely—customize to your taste.
Final Thoughts
This Irresistibly Loaded Steak Potato: A Quick & Delicious Dinner Idea! is everything you want in a meal—hearty, flavorful, and easy to prepare. It’s the perfect combination of juicy steak and fluffy baked potato topped with all your favorite fixings.
Whether you’re making a quick dinner or treating yourself to something special, this recipe delivers comfort and satisfaction in every bite. Try it once, and it’s sure to become a regular in your meal rotation!


 .
.