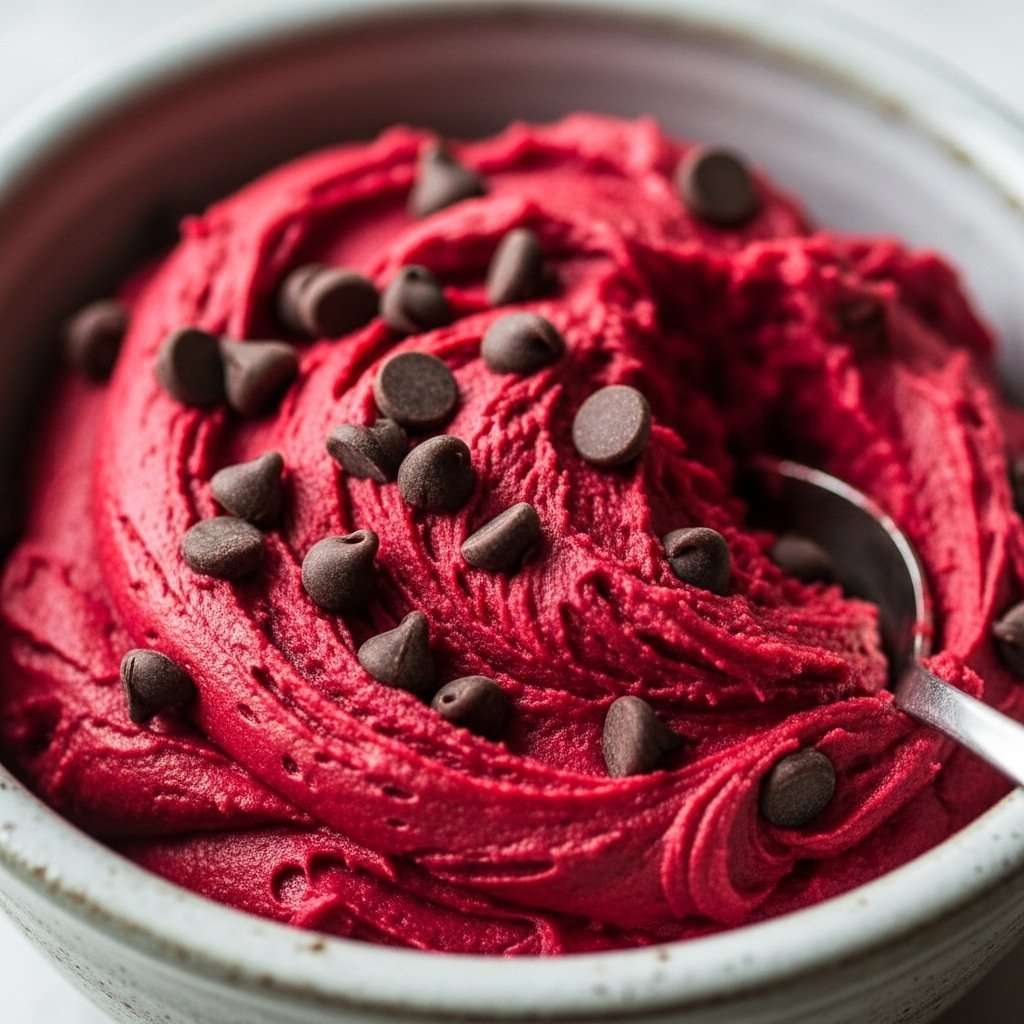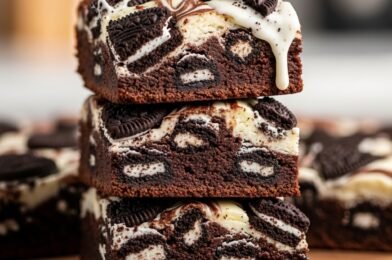
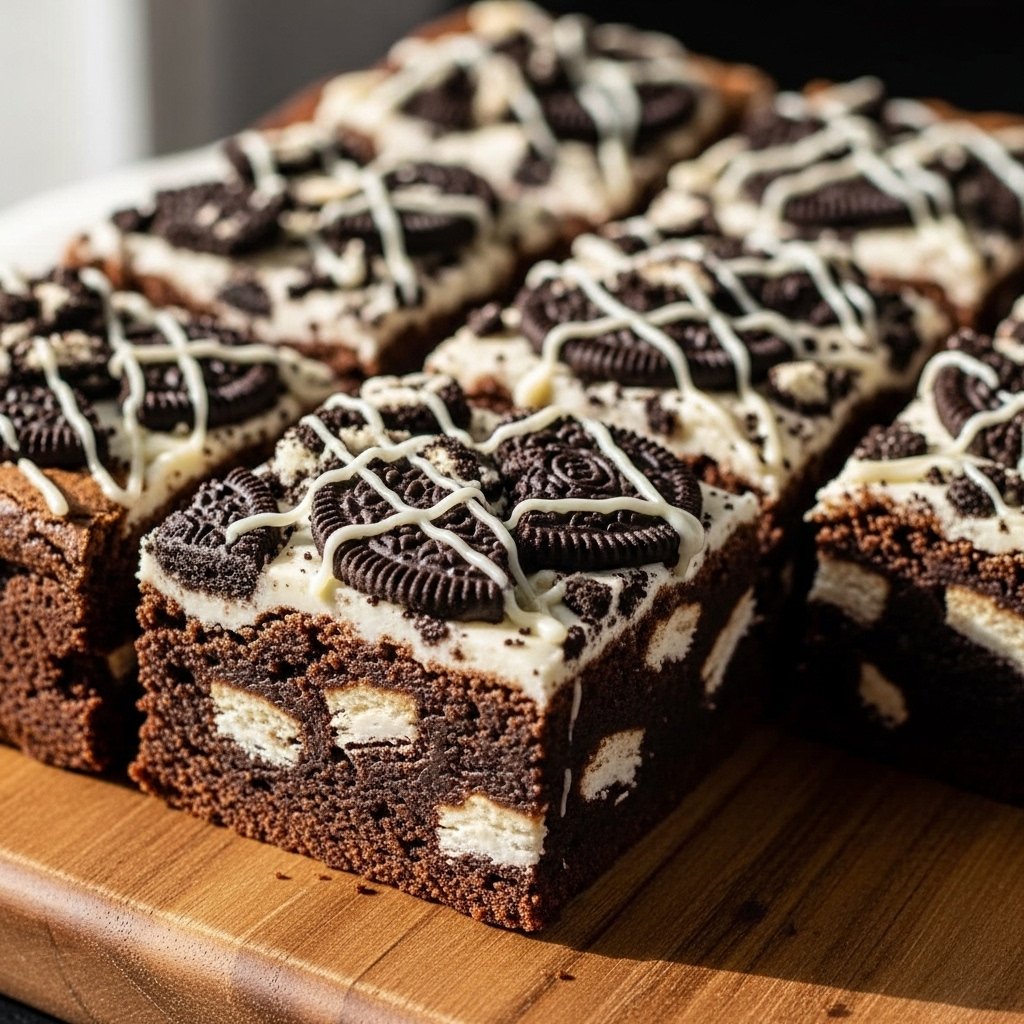
If you’re a fan of rich chocolate desserts with a fun twist, this Tasty Cookies & Cream Brownies Delight is about to become your new obsession. Imagine fudgy, decadent brownies layered with creamy cookies and crunchy chocolate sandwich cookies—it’s the ultimate indulgence.
This recipe combines the deep, chocolatey goodness of brownies with the nostalgic flavor of cookies and cream. Each bite delivers a perfect balance of soft, gooey texture and crunchy cookie pieces, making it an unforgettable treat.
Whether you’re baking for a party, a special occasion, or just satisfying a sweet craving, this Tasty Cookies & Cream Brownies Delight is guaranteed to impress.

Why You’ll Love This Tasty Cookies & Cream Brownies Delight
There are so many reasons to fall in love with this Tasty Cookies & Cream Brownies Delight:
- Rich, fudgy brownie texture
- Loaded with cookies and cream flavor
- Easy to make at home
- Perfect for sharing or gifting
- Crowd-pleasing dessert
It’s a dessert that combines two favorites into one irresistible bite.
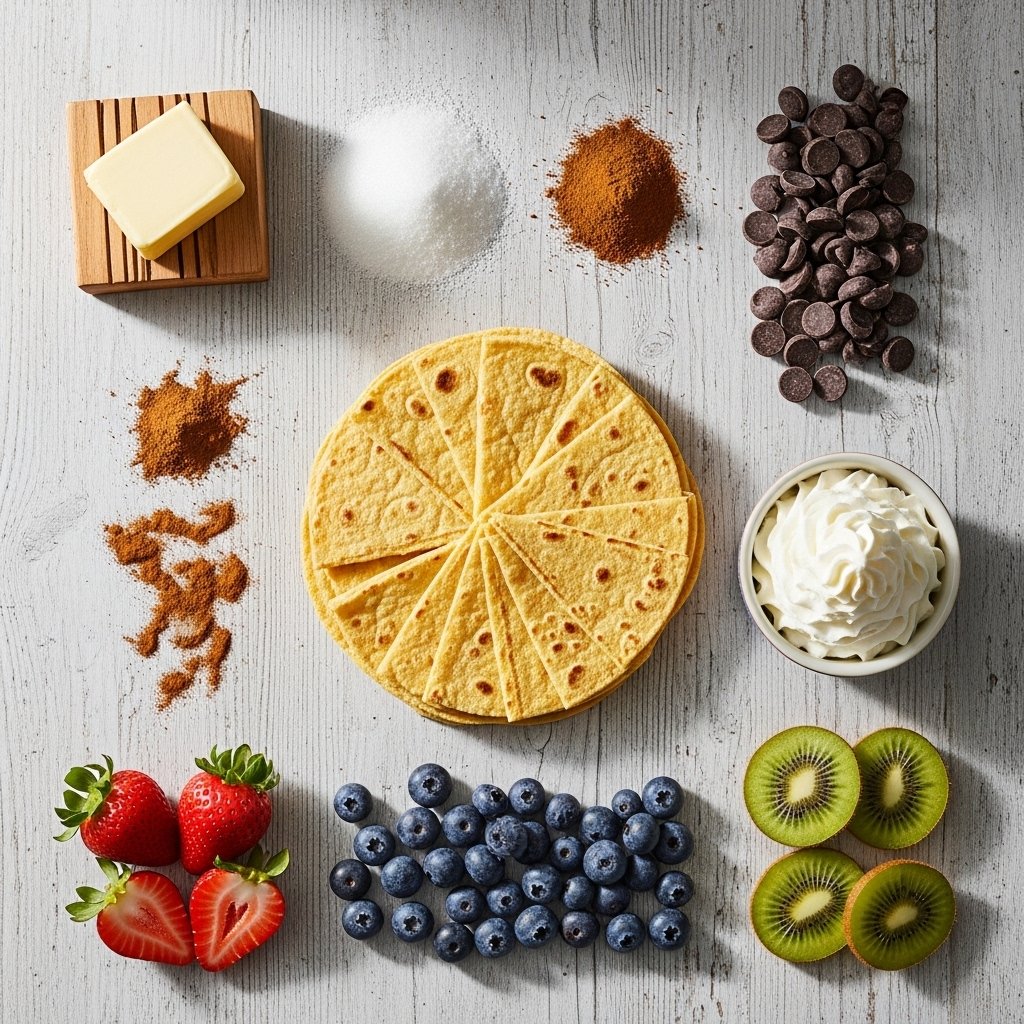
Ingredients
To make this delicious Tasty Cookies & Cream Brownies Delight, you’ll need:
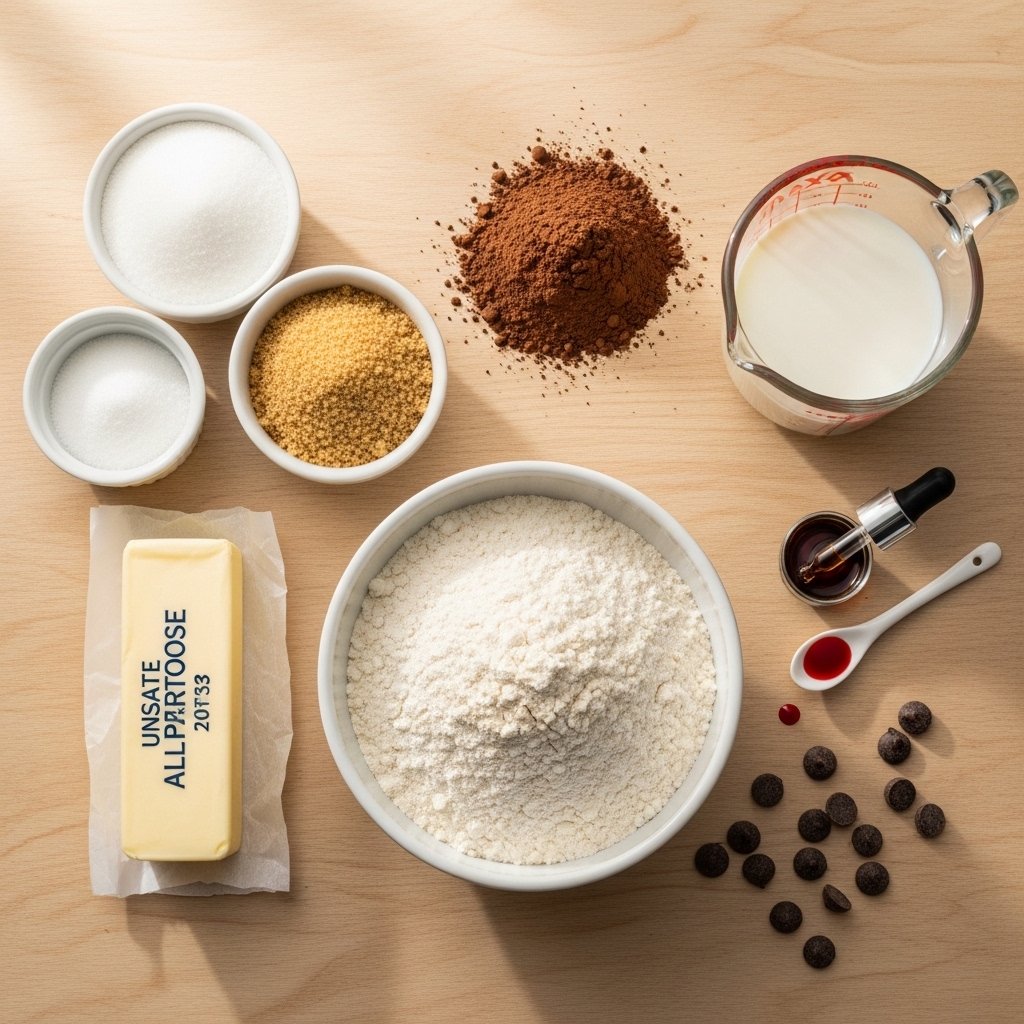
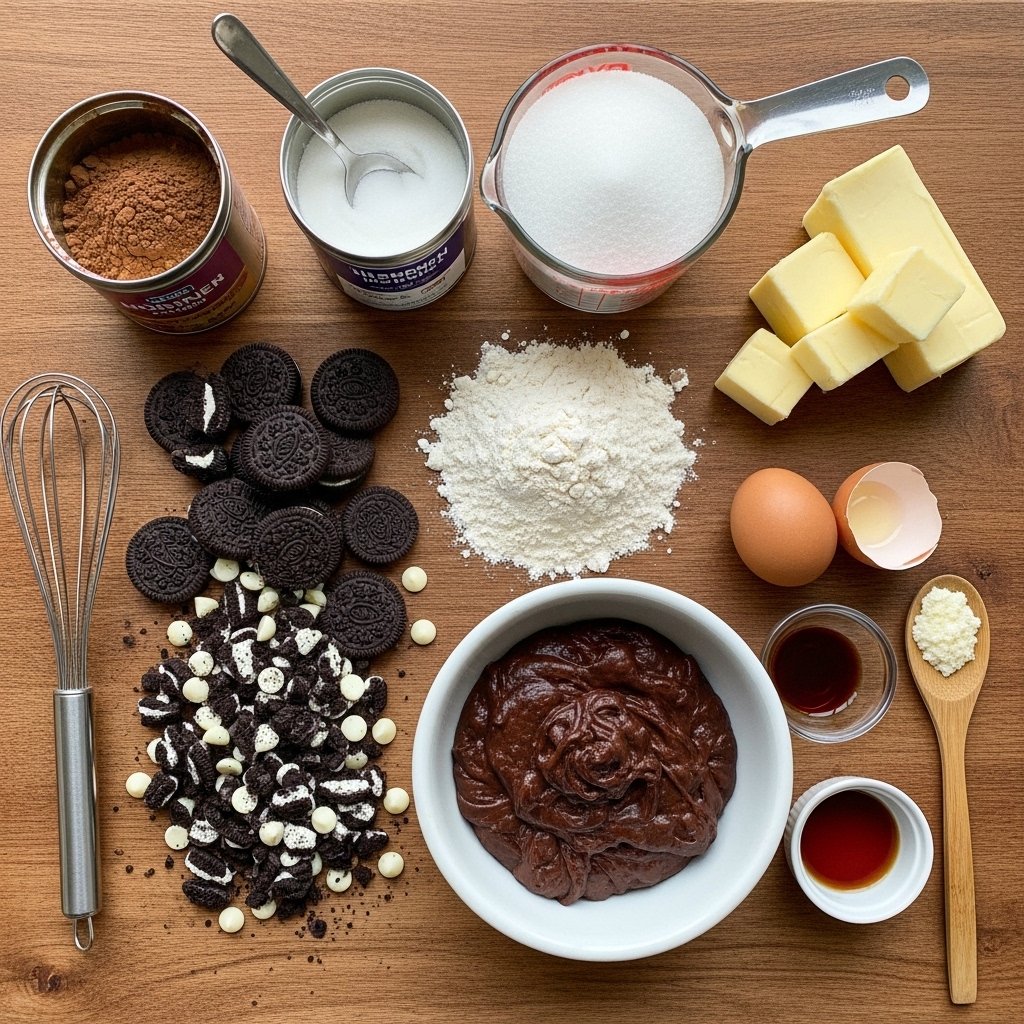
For the Brownies:
- 1/2 cup unsalted butter
- 1 cup granulated sugar
- 2 large eggs
- 1 teaspoon vanilla extract
- 1/3 cup cocoa powder
- 1/2 cup all-purpose flour
- 1/4 teaspoon salt
For the Cookies & Cream Layer:
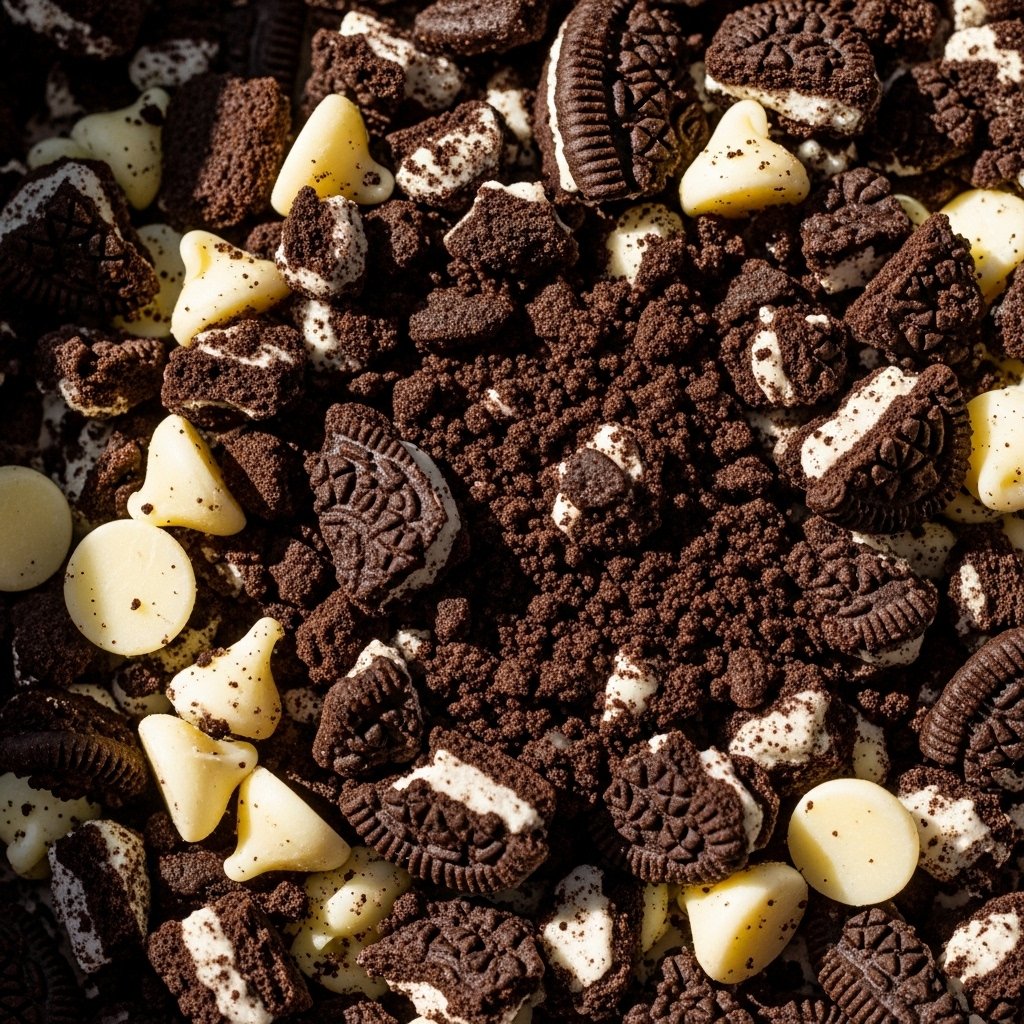
- 12 chocolate sandwich cookies (crushed)
- 1/2 cup white chocolate chips
Ingredient Notes
The magic behind this Tasty Cookies & Cream Brownies Delight lies in the combination of textures and flavors.
Using high-quality cocoa powder ensures a rich chocolate base, while crushed sandwich cookies add crunch and creaminess. White chocolate chips bring sweetness and contrast, making every bite more exciting.
For best results, don’t overmix the batter—this helps keep the brownies soft and fudgy.
Step-by-Step Instructions
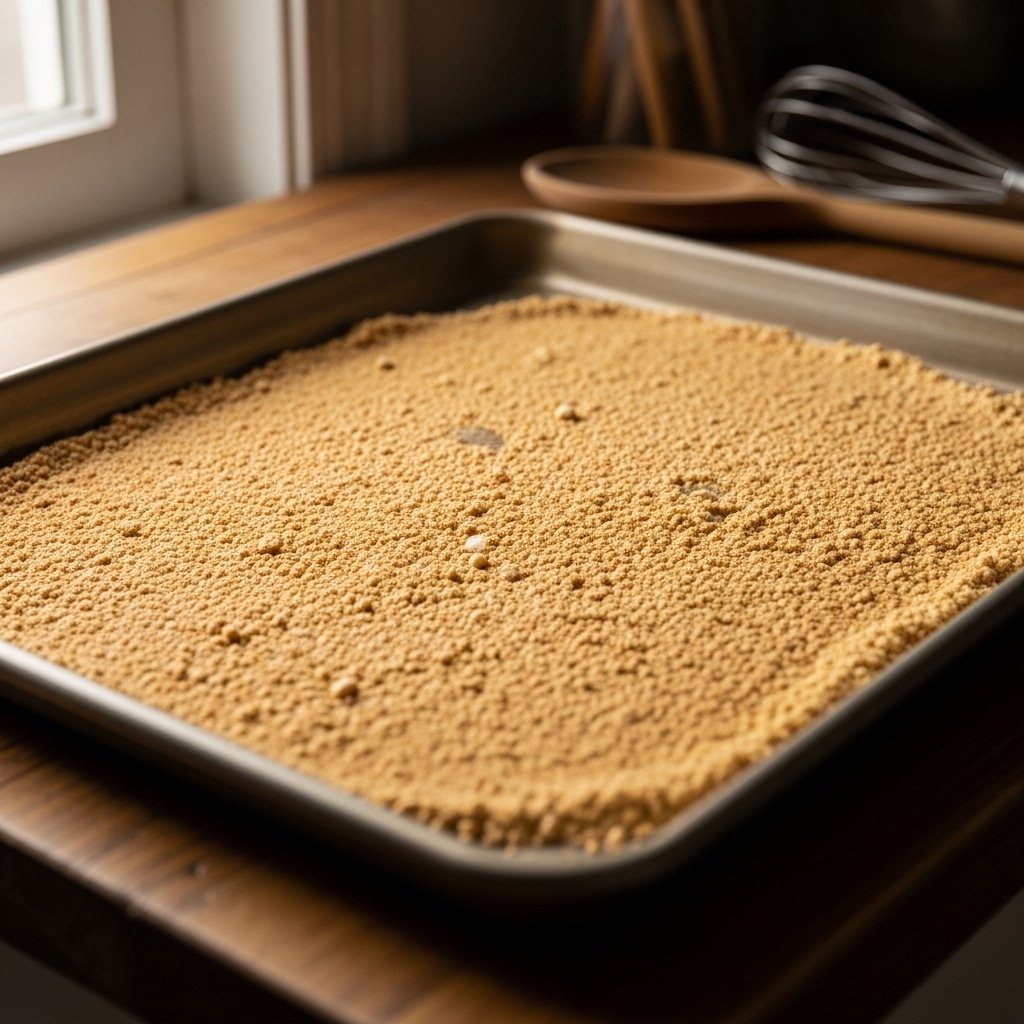
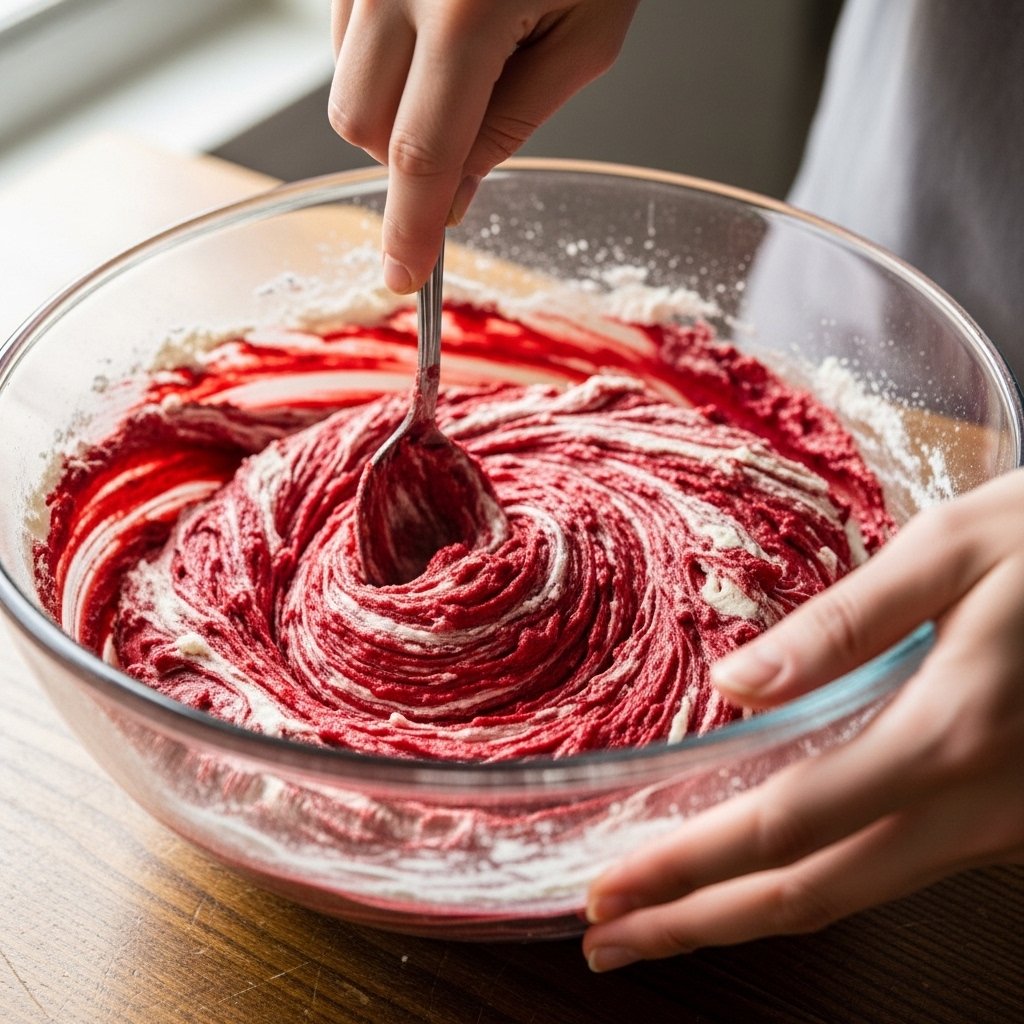
Step 1: Prepare the Batter
Melt butter and mix with sugar, eggs, and vanilla until smooth.
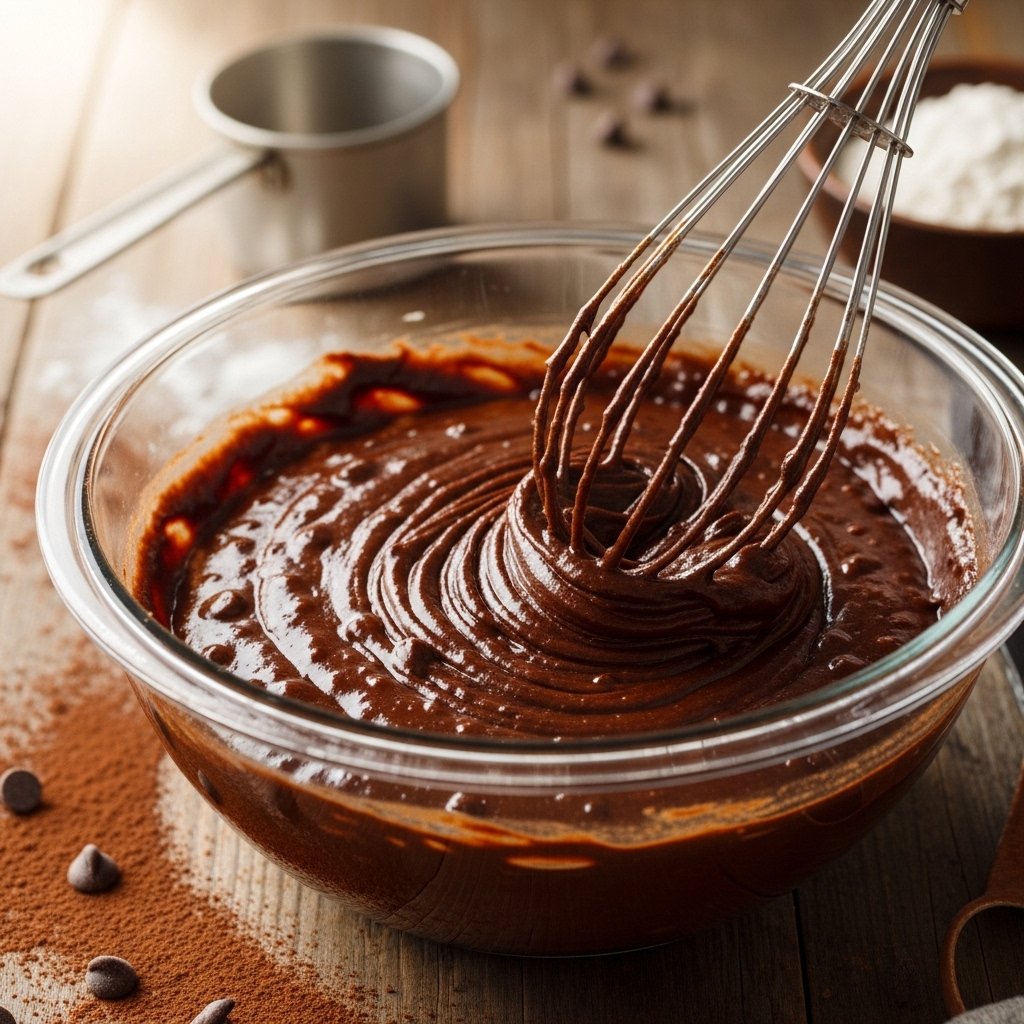
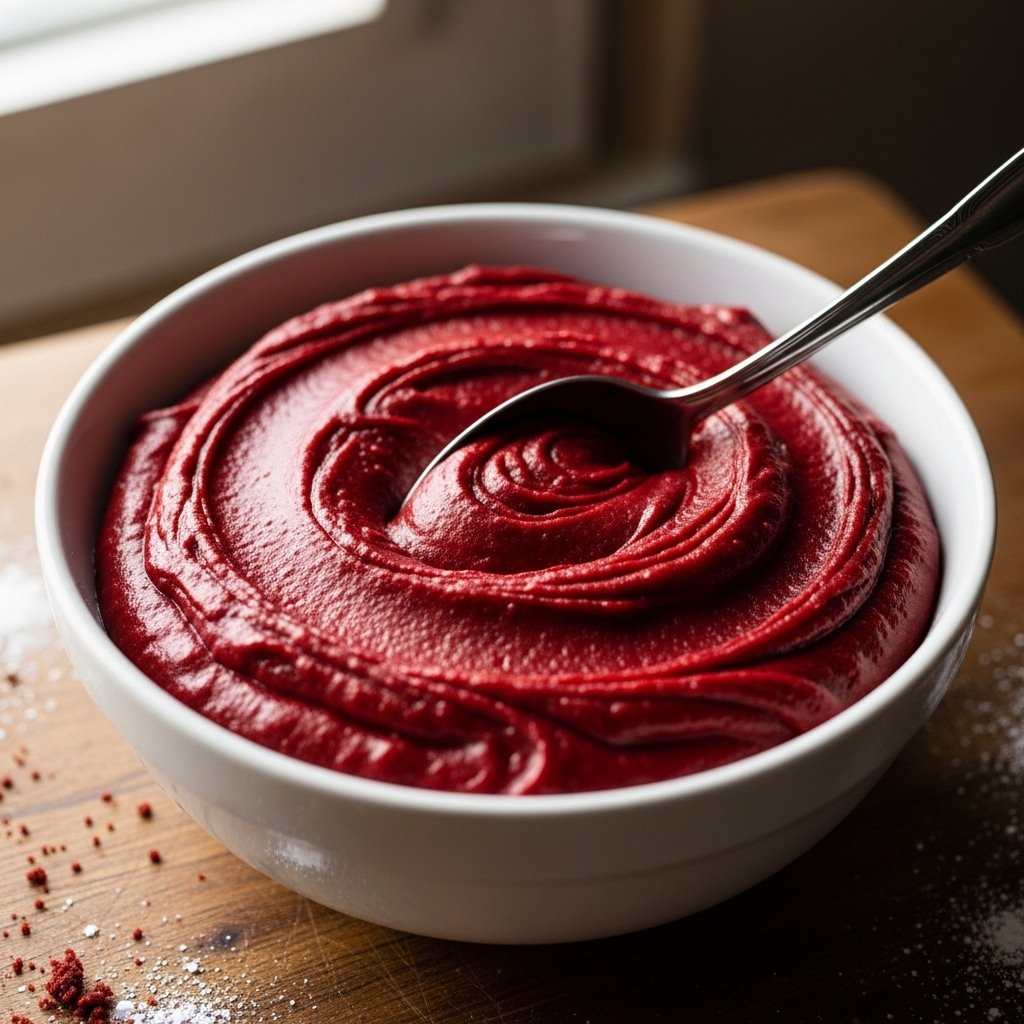
Step 2: Add Dry Ingredients
Stir in cocoa powder, flour, and salt until combined.
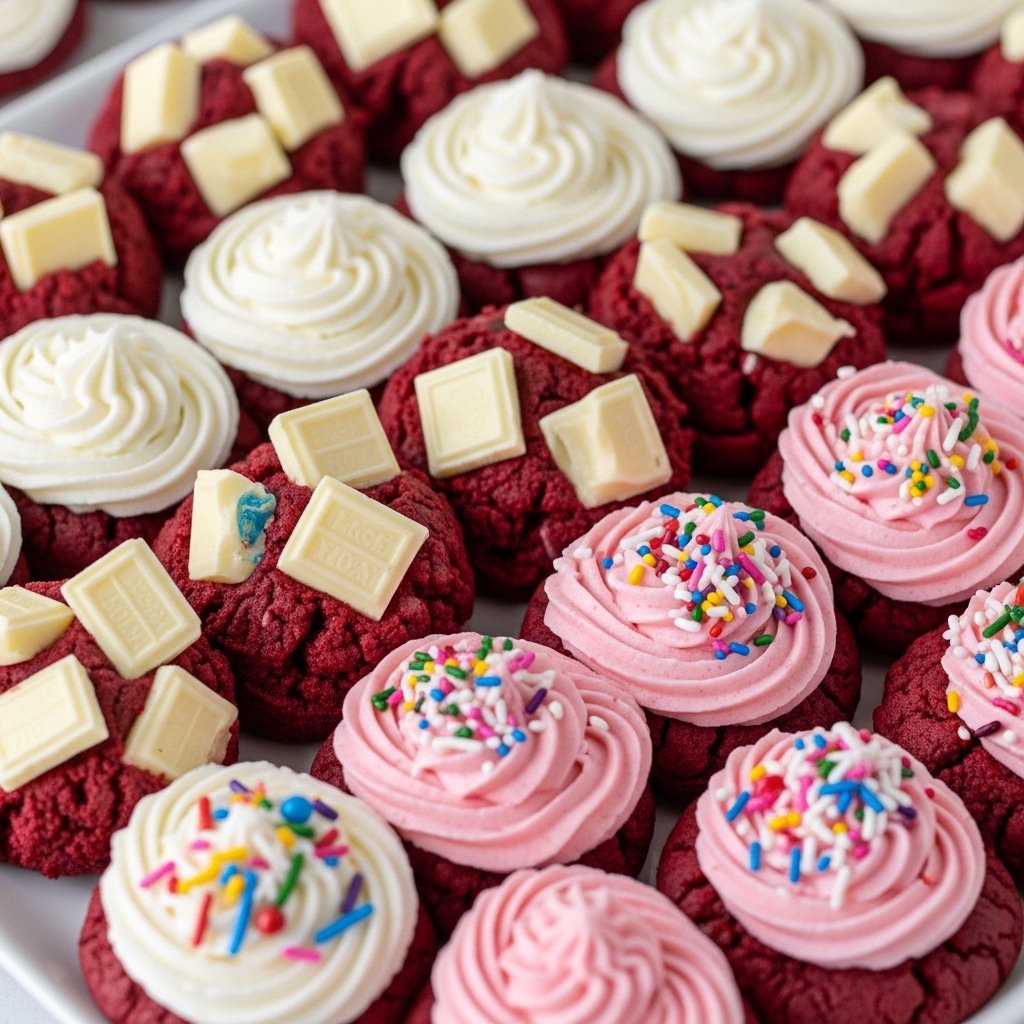
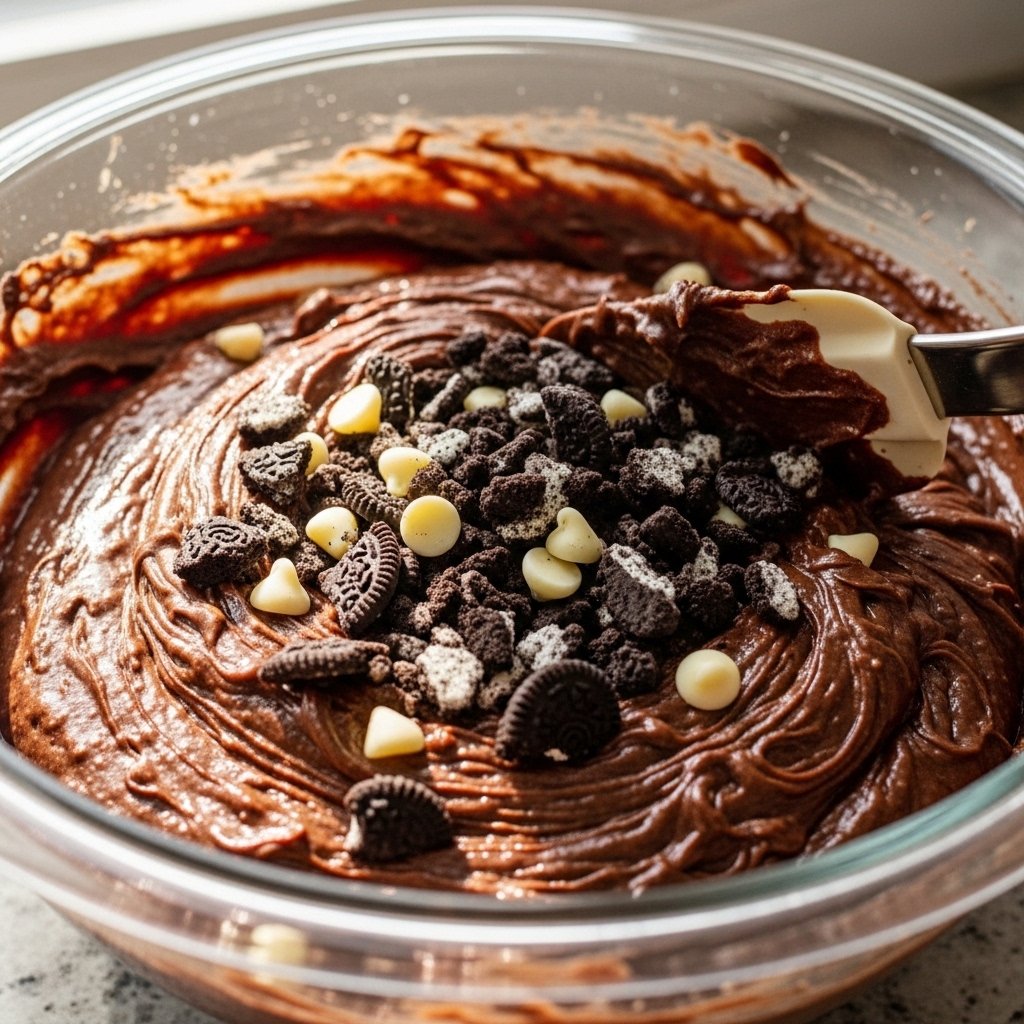
Step 3: Add Cookies & Cream
Fold in crushed cookies and white chocolate chips.
Step 4: Bake
Pour batter into a lined pan and bake at 350°F for 25–30 minutes.
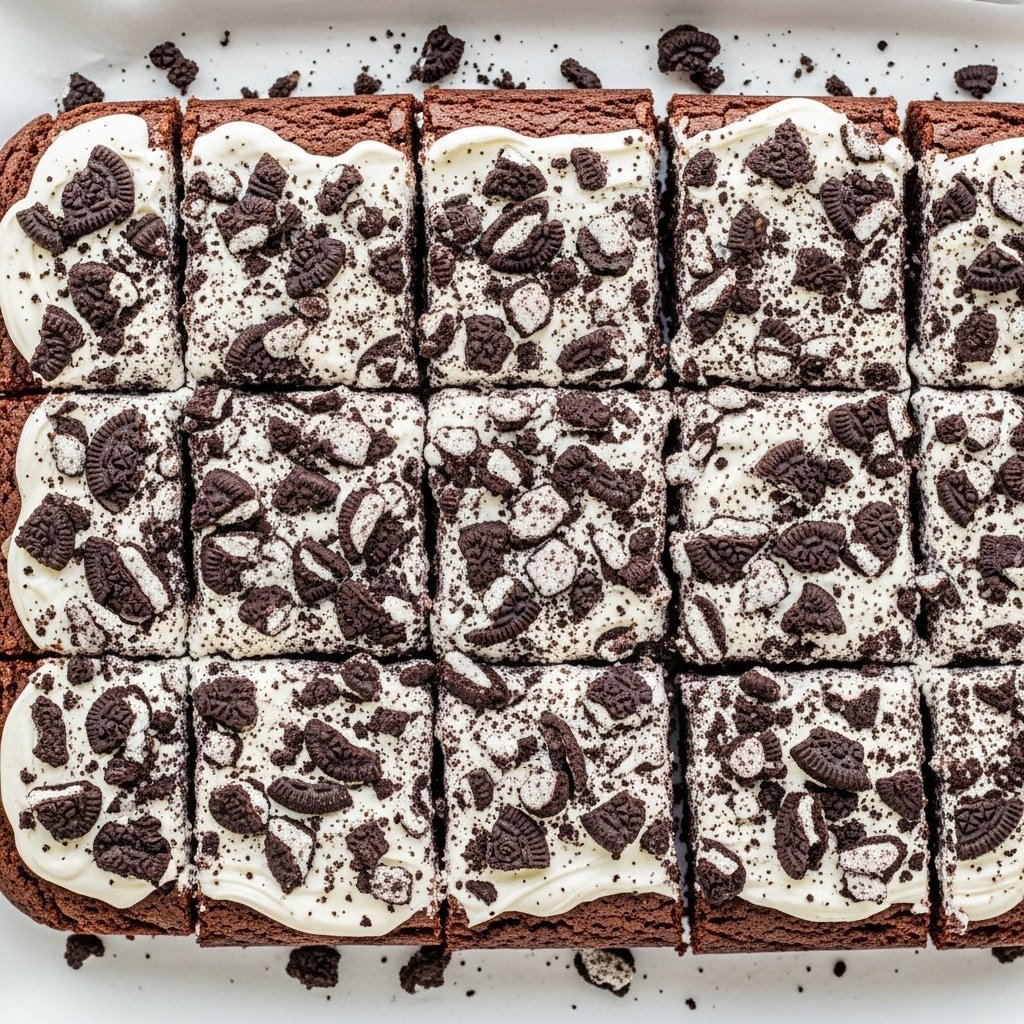
Step 5: Cool and Slice
Let brownies cool completely before slicing into squares.
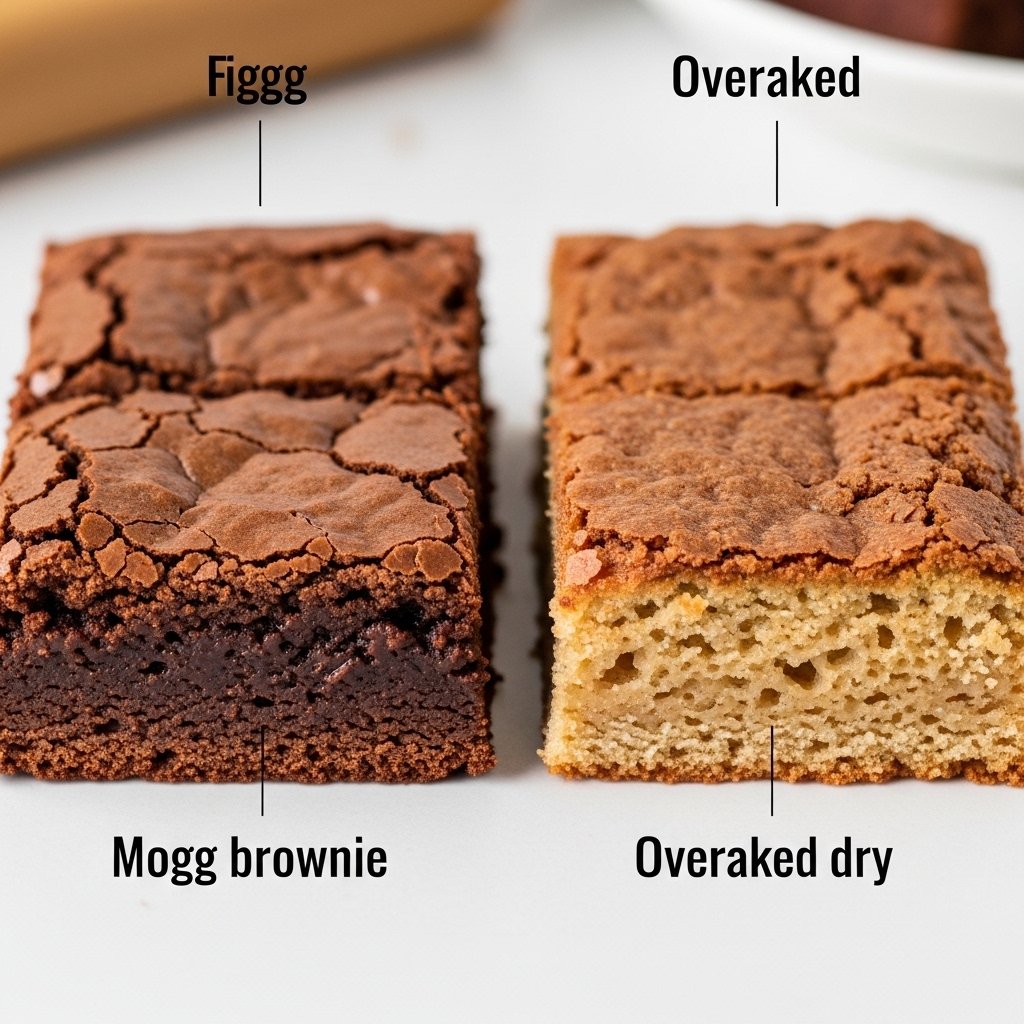
Tips for Perfect Results
To make the best Tasty Cookies & Cream Brownies Delight, follow these tips:
- Don’t overbake—keep them fudgy
- Use parchment paper for easy removal
- Let brownies cool before slicing
- Use quality chocolate ingredients
- Mix gently to avoid dense texture
These tips ensure perfectly soft and rich brownies every time.
Variations
This Tasty Cookies & Cream Brownies Delight is easy to customize:
- Add cream cheese swirl
- Use dark chocolate chips
- Add caramel drizzle
- Make it extra crunchy with more cookies
- Add a layer of frosting
Each variation adds a unique twist to the classic recipe.

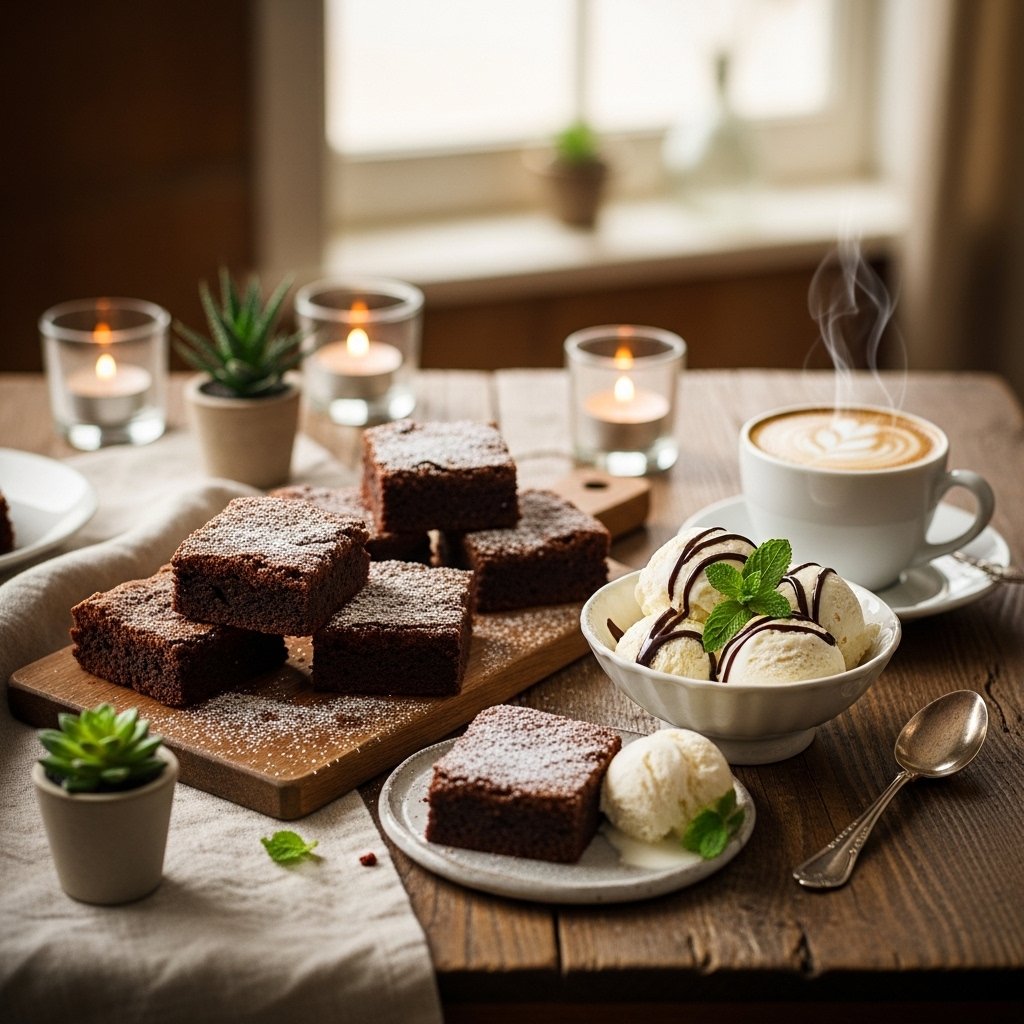
What to Serve With It
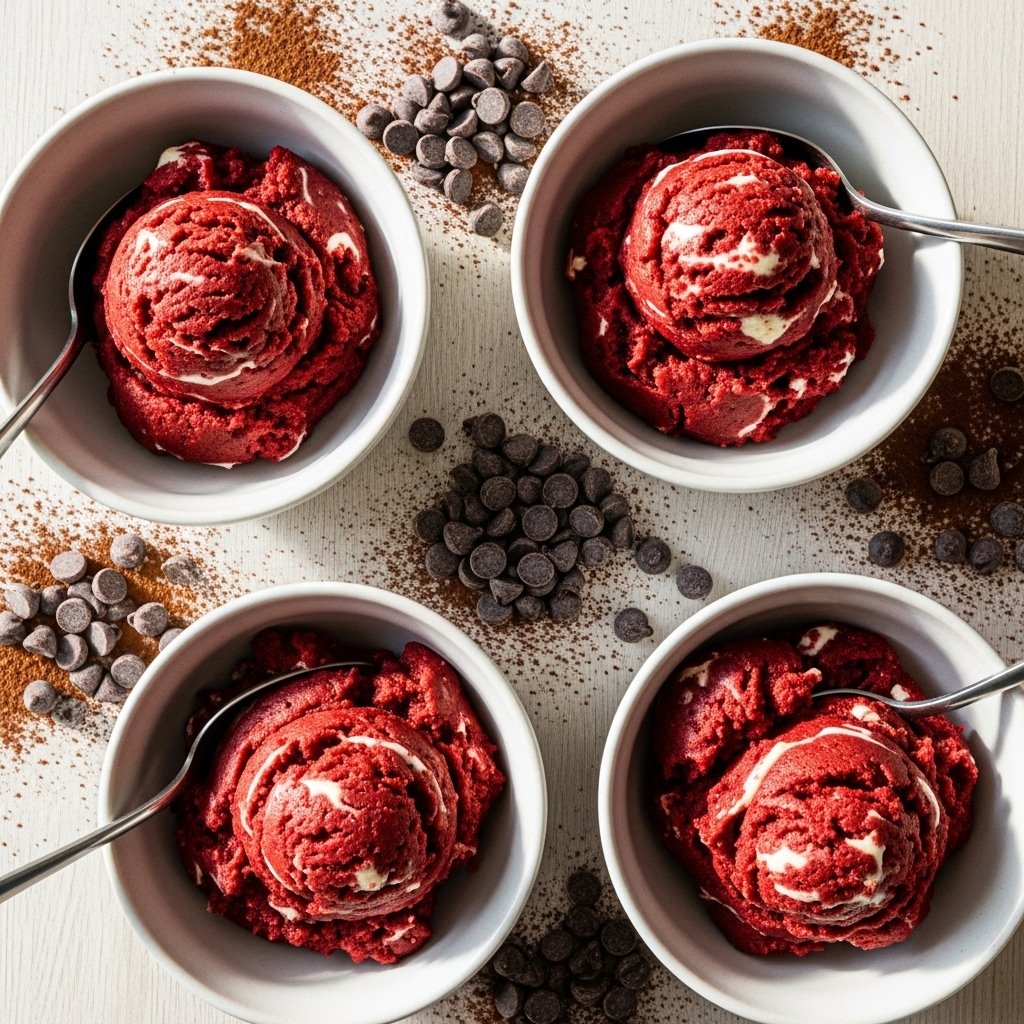
Pair your Tasty Cookies & Cream Brownies Delight with:
- Vanilla ice cream
- Whipped cream
- Milk or coffee
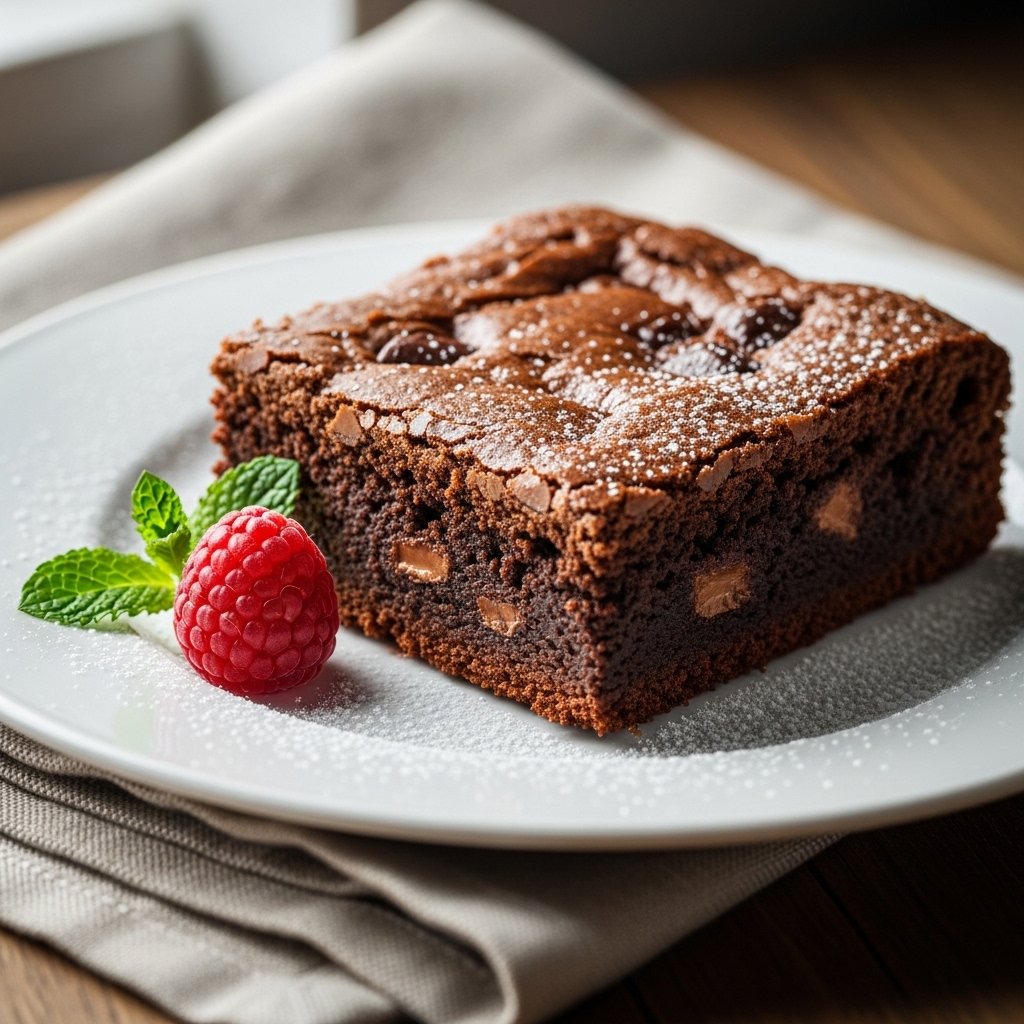
- Fresh berries
These pairings elevate your dessert experience.
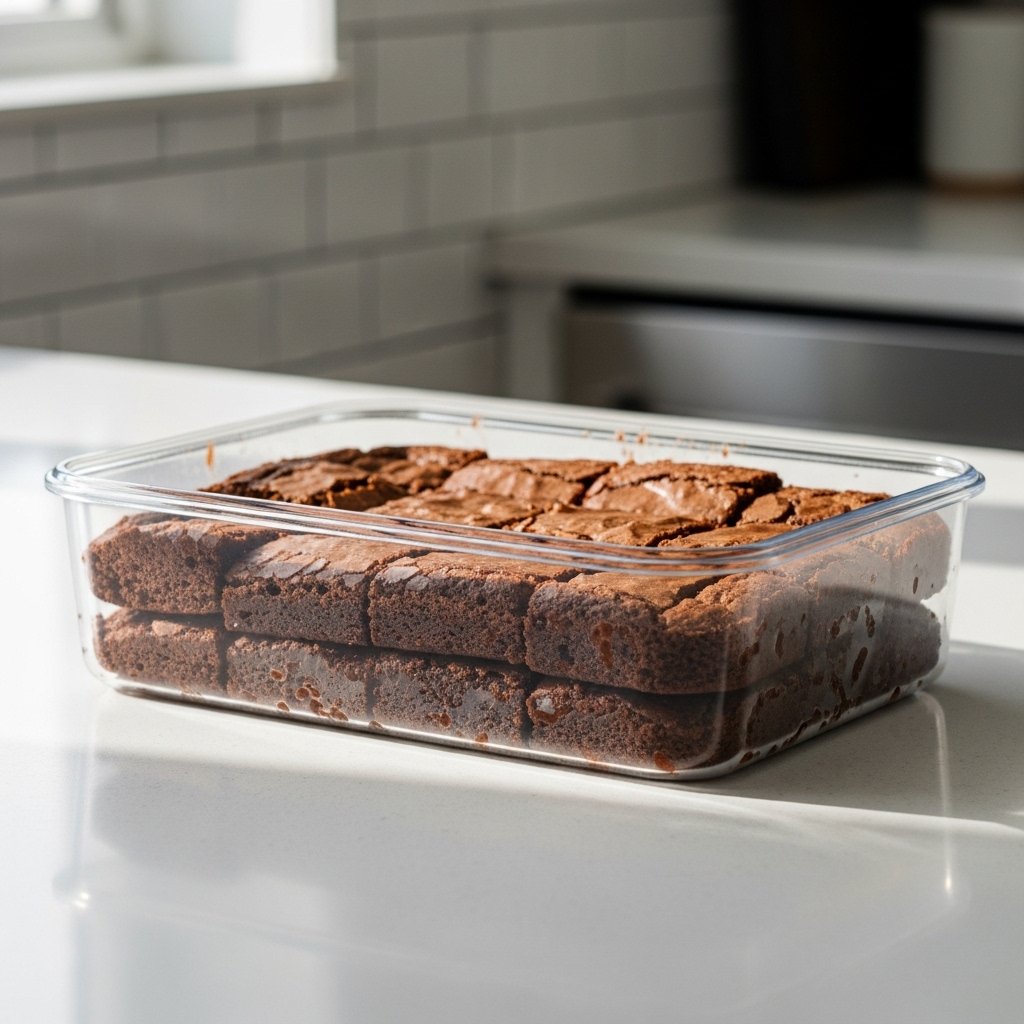
Storage & Reheating
To store your Tasty Cookies & Cream Brownies Delight:
- Keep in airtight container for up to 4 days
- Refrigerate for longer freshness
- Freeze for up to 2 months
- Warm slightly before serving if desired
This keeps your brownies fresh and delicious.
Common Mistakes
Avoid these mistakes when making Tasty Cookies & Cream Brownies Delight:
- Overbaking the brownies
- Overmixing the batter
- Using low-quality chocolate
- Cutting before cooling
- Adding too many mix-ins
Avoiding these ensures perfect results every time.
FAQs
1. Can I use boxed brownie mix?
Yes, just add cookies and cream ingredients to enhance it.
2. How do I keep brownies fudgy?
Don’t overbake and avoid overmixing.
3. Can I freeze these brownies?
Yes, they freeze well for up to 2 months.
4. What cookies work best?
Chocolate sandwich cookies are ideal for classic flavor.
Final Thoughts
This Tasty Cookies & Cream Brownies Delight is the perfect dessert for anyone who loves rich chocolate and creamy cookie flavors. It’s easy to make, incredibly satisfying, and guaranteed to impress.
Whether you’re baking for a celebration or just treating yourself, these brownies deliver indulgence in every bite. Try them once, and they’ll quickly become a favorite in your dessert rotation!