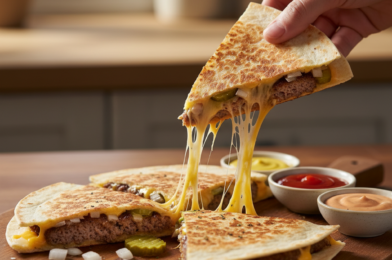
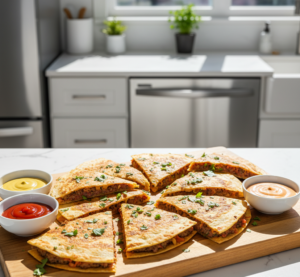
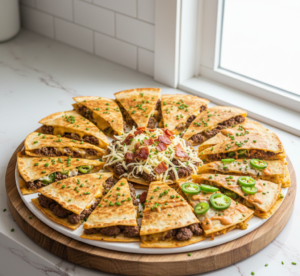
If you’ve ever struggled to choose between a juicy burger and a cheesy quesadilla, this recipe is about to change your life. These Smashburger Quesadillas combine the best of both worlds—crispy, golden tortillas packed with flavorful smashed beef patties, gooey melted cheese, and all your favorite burger toppings.
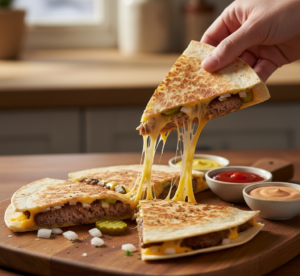
This recipe is trending for a reason. It delivers bold, satisfying flavors with minimal effort, making it perfect for busy weeknights, weekend indulgence, or even game-day gatherings. The crispy exterior, juicy interior, and melty cheese create a bite that’s nothing short of addictive.
Whether you’re cooking for family or just treating yourself, these Smashburger Quesadillas – The Ultimate Comfort Food will hit every craving in the best way possible.
Why You’ll Love Smashburger Quesadillas
There are so many reasons why Smashburger Quesadillas are quickly becoming a must-try comfort food:
- Combines burgers and quesadillas in one dish
- Crispy outside, juicy and cheesy inside
- Quick and easy—ready in under 30 minutes
- Perfect for lunch, dinner, or parties
- Fully customizable with your favorite toppings
It’s comfort food at its finest—simple, indulgent, and incredibly satisfying.
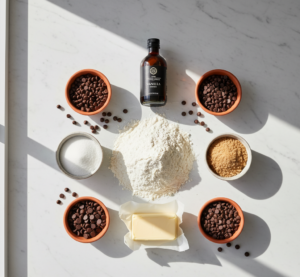
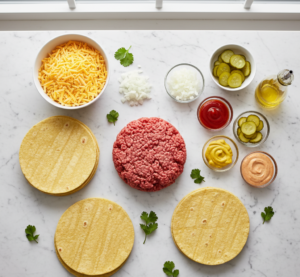
Ingredients
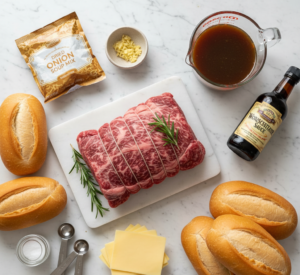
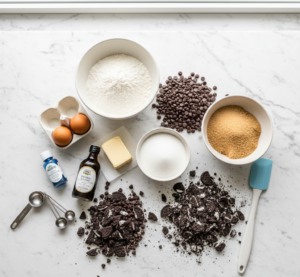
To make the best Smashburger Quesadillas, you’ll need:
- 1 lb ground beef (80/20 for best flavor)
- 4 large flour tortillas
- 1 1/2 cups shredded cheddar cheese
- 1/2 cup shredded mozzarella cheese
- 1 small onion, finely diced
- 1/4 cup pickles, chopped
- 2 tablespoons butter
- Salt and pepper to taste
Optional Burger Sauce:
- 1/4 cup mayonnaise
- 2 tablespoons ketchup
- 1 tablespoon mustard
- 1 teaspoon pickle juice
Ingredient Notes
For truly delicious Smashburger Quesadillas, ingredient quality matters.
Using ground beef with a bit of fat (like 80/20) ensures juicy, flavorful patties. A mix of cheddar and mozzarella gives you both bold flavor and that irresistible cheese pull. Fresh onions and pickles add crunch and brightness, balancing the richness of the beef and cheese.
If you want a classic burger flavor, don’t skip the optional burger sauce—it ties everything together beautifully.
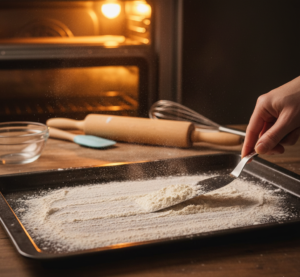
Step-by-Step Instructions
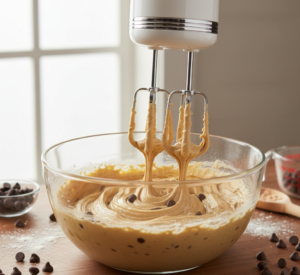
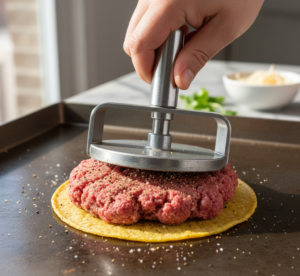
Step 1: Prepare the Beef
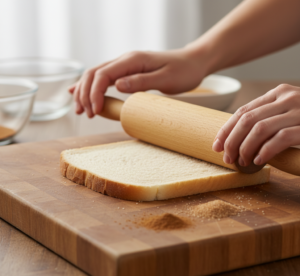
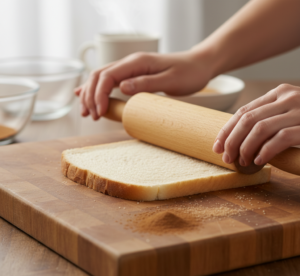
Season ground beef with salt and pepper. Divide into portions and press thinly onto one side of each tortilla.
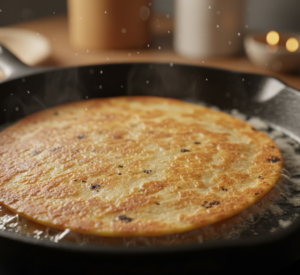
Step 2: Cook the Smash Side
Place the tortilla beef-side down onto a hot skillet. Press firmly to create a smashburger effect and cook until browned.

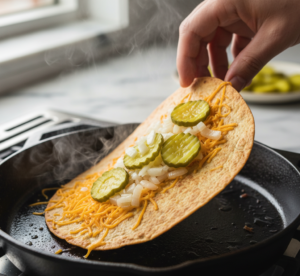
Step 3: Flip and Add Cheese
Flip the tortilla, then add shredded cheese, onions, and pickles on top of the cooked beef.
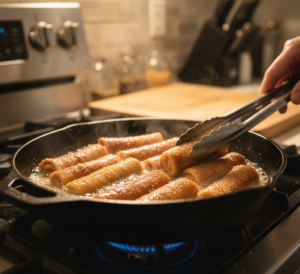
Step 4: Fold and Crisp
Fold the tortilla in half and cook until both sides are golden and crispy.
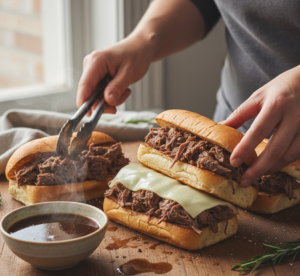
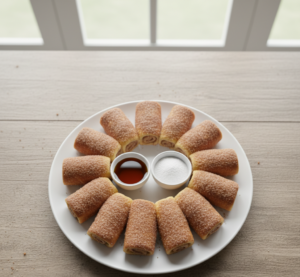
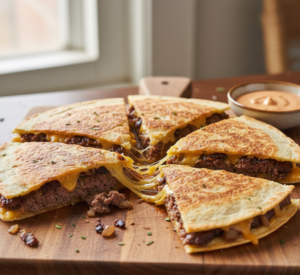
Step 5: Slice and Serve
Remove from heat, slice into wedges, and serve with burger sauce or your favorite dips.

Tips for Perfect Smashburger Quesadillas
To make your Smashburger Quesadillas – The Ultimate Comfort Food truly perfect:
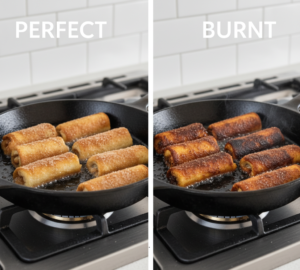
- Use a hot skillet for a proper sear
- Press the beef thin for faster cooking
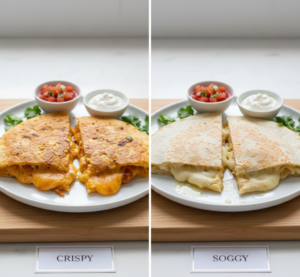
- Don’t overload with toppings to prevent sogginess
- Use butter for extra crispiness
- Let rest briefly before slicing
These tips ensure crispy, juicy, and flavorful results every time.
Variations
One of the best parts about Smashburger Quesadillas is how customizable they are:
- Add bacon for a smoky flavor
- Use pepper jack cheese for spice
- Add jalapeños for heat
- Try BBQ sauce instead of burger sauce
- Use ground turkey for a lighter version
You can easily tailor this recipe to match your cravings.
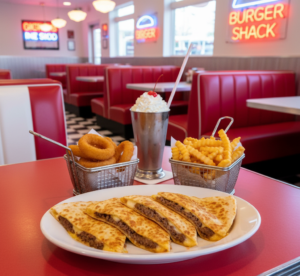
What to Serve With It
These Smashburger Quesadillas pair perfectly with:
- French fries or sweet potato fries
- Coleslaw
- Onion rings
- Pickles
- Milkshakes or soda
They’re ideal for casual meals, parties, or game-day spreads.
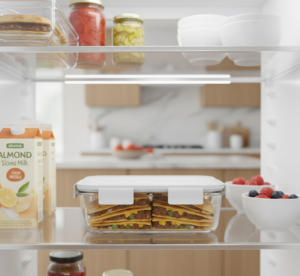
Storage & Reheating
If you have leftovers of your Smashburger Quesadillas, here’s how to store them:
- Store in airtight container in fridge for up to 3 days
- Reheat in skillet for best crispiness
- Avoid microwave if possible (can make soggy)
- Freeze for up to 1 month
Reheating properly helps maintain that crispy texture.
Common Mistakes to Avoid
Avoid these common mistakes when making Smashburger Quesadillas:
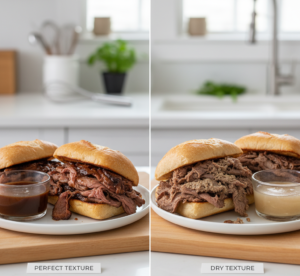
- Using lean beef (results in dry texture)
- Overloading toppings
- Cooking on low heat (no crispiness)
- Not pressing beef thin enough
- Skipping resting time
Fixing these ensures perfect texture and flavor every time.
FAQs
1. Can I make Smashburger Quesadillas ahead of time?
Yes, but they’re best enjoyed fresh for maximum crispiness.
2. What’s the best cheese to use?
Cheddar and mozzarella are ideal for flavor and melt.
3. Can I make them in an air fryer?
Yes, cook at 375°F for about 6–8 minutes, flipping halfway.
4. Can I use corn tortillas?
Flour tortillas work best, but corn tortillas can be used for a different texture.
Conclusion
These Smashburger Quesadillas – The Ultimate Comfort Food are everything you want in a meal—crispy, cheesy, juicy, and incredibly satisfying. They bring together two classic favorites into one irresistible dish that’s quick, easy, and packed with flavor.
Whether you’re cooking for yourself, your family, or a group of friends, this recipe delivers bold taste with minimal effort. Once you try these Smashburger Quesadillas, they’ll quickly become a regular in your comfort food rotation.