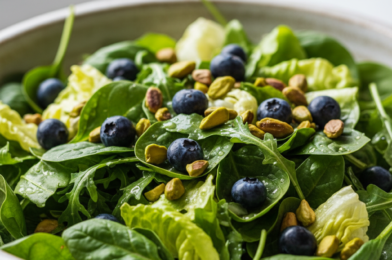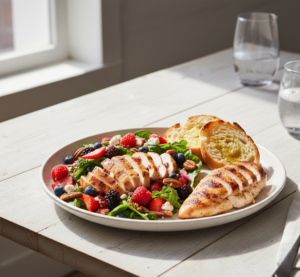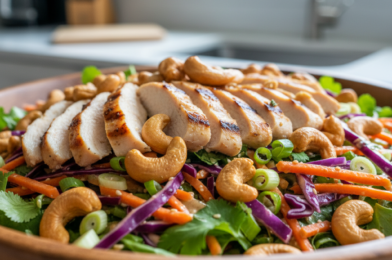
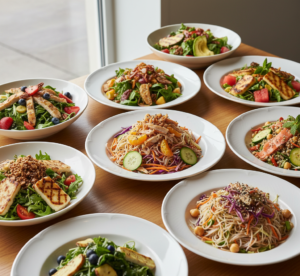
If you’re craving something fresh, satisfying, and packed with texture, this Chicken Cashew Crunch Salad: A Fresh and Nutty Delight is exactly what you need. It’s the perfect combination of tender chicken, crisp vegetables, and crunchy cashews—all tossed in a flavorful, slightly sweet dressing.
This salad is not only delicious but also incredibly versatile. It works as a light lunch, a hearty dinner, or even a crowd-pleasing dish for gatherings. With its balance of protein, crunch, and vibrant flavors, it’s a recipe you’ll find yourself making again and again.
Once you try this Chicken Cashew Crunch Salad, it will quickly become one of your go-to healthy recipes.
Why You’ll Love This Chicken Cashew Crunch Salad
There are so many reasons why this Chicken Cashew Crunch Salad: A Fresh and Nutty Delight stands out:
- Packed with protein and nutrients
- Crunchy, fresh, and satisfying texture
- Quick and easy to prepare
- Perfect for meal prep
- Balanced sweet and savory flavors
This salad delivers both flavor and nutrition in every bite.
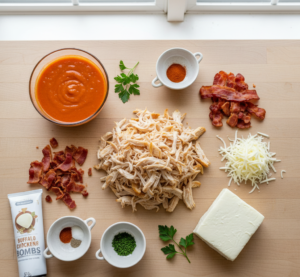
Ingredients
To make this delicious Chicken Cashew Crunch Salad, you’ll need:
For the Salad:
- 2 cups cooked chicken breast (sliced or shredded)
- 4 cups mixed greens or shredded cabbage
- 1/2 cup roasted cashews
- 1 cup shredded carrots
- 1/2 cup sliced cucumbers
- 1/4 cup green onions
- 1/2 cup red bell pepper (sliced)
For the Dressing:
- 3 tablespoons olive oil
- 2 tablespoons soy sauce
- 1 tablespoon honey
- 1 tablespoon rice vinegar
- 1 teaspoon sesame oil
- 1 clove garlic (minced)
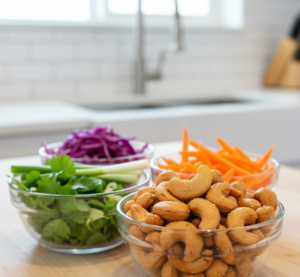
Ingredient Notes
The secret to an amazing Chicken Cashew Crunch Salad lies in fresh, high-quality ingredients.
Roasted cashews bring that signature crunch and nutty richness. Grilled or rotisserie chicken adds savory depth while keeping the recipe convenient. Fresh vegetables like cabbage, carrots, and peppers provide crisp texture and vibrant color.
For the dressing, a combination of soy sauce, honey, and sesame oil creates a delicious balance of salty, sweet, and umami flavors.
Step-by-Step Instructions
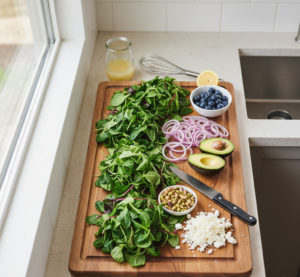
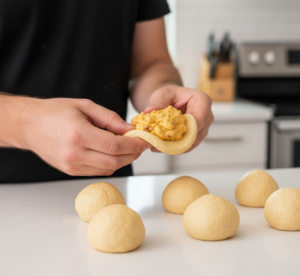
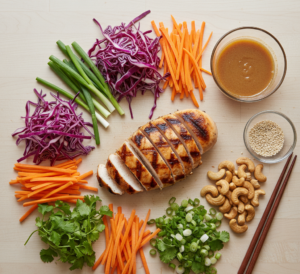
Step 1: Prepare the Ingredients
Wash and chop all vegetables, and cook or shred the chicken if not already prepared.

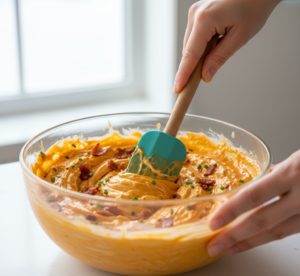
Step 2: Make the Dressing
Whisk together olive oil, soy sauce, honey, rice vinegar, sesame oil, and garlic until well combined.
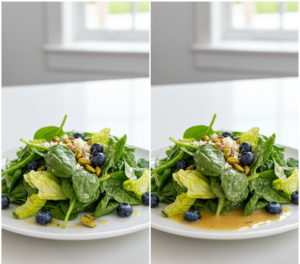
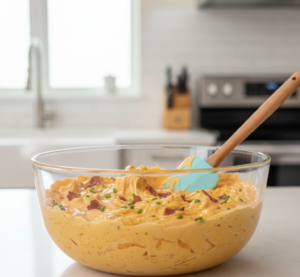
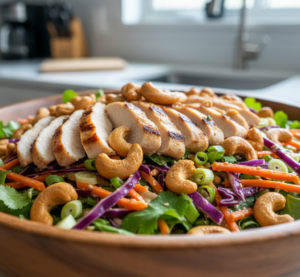
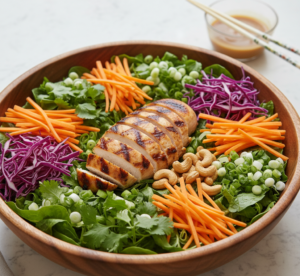
Step 3: Assemble the Salad
In a large bowl, combine chicken, greens, vegetables, and cashews.
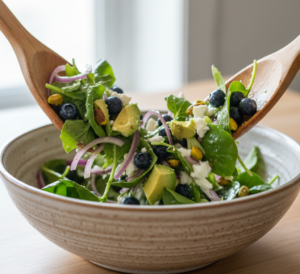
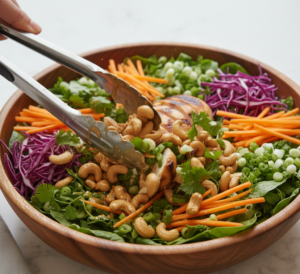
Step 4: Toss and Serve
Pour dressing over the salad and toss gently until everything is evenly coated.
Tips for Perfect Results
To make the best Chicken Cashew Crunch Salad, keep these tips in mind:
- Use fresh, crisp vegetables
- Add dressing just before serving
- Toast cashews for extra flavor
- Slice chicken thinly for better texture
- Balance dressing to taste
These tips help you achieve the perfect crunch and flavor balance.
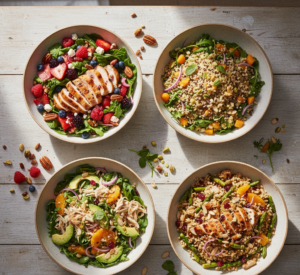
Variations
This Chicken Cashew Crunch Salad: A Fresh and Nutty Delight is easy to customize:
- Add mandarin oranges for sweetness
- Use peanuts or almonds instead of cashews
- Add noodles for a heartier dish
- Swap chicken for shrimp or tofu
- Add spicy chili flakes for heat
Each variation adds a unique twist while keeping the core flavors intact.
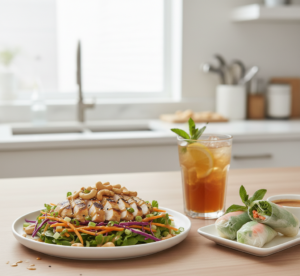
What to Serve With It
Pair your Chicken Cashew Crunch Salad with:
- Spring rolls
- Light soups
- Grilled dishes
- Iced tea or lemonade
- Rice or noodles
It’s a versatile dish that fits many meals.
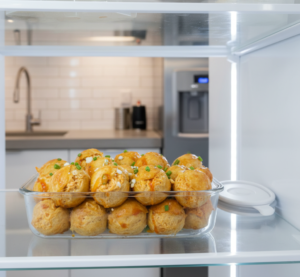
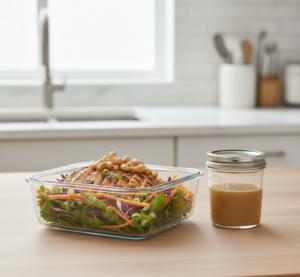
Storage & Reheating
To store your Chicken Cashew Crunch Salad:
- Store undressed salad in airtight container for up to 3 days
- Keep dressing separate until ready to serve
- Refrigerate leftovers promptly
- Not suitable for reheating
Freshness is key for the best texture and flavor.
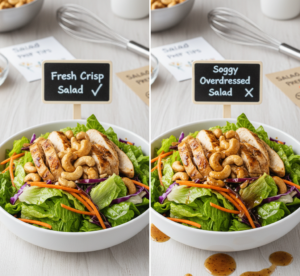
Common Mistakes
Avoid these mistakes when making Chicken Cashew Crunch Salad:
- Adding dressing too early
- Using soggy vegetables
- Skipping seasoning
- Overmixing the salad
- Using unbalanced dressing
Avoiding these ensures a crisp and flavorful salad.
FAQs
1. Can I make this salad ahead of time?
Yes, just keep the dressing separate until serving.
2. Can I use store-bought dressing?
Yes, but homemade dressing tastes fresher and more flavorful.
3. Is this salad healthy?
Absolutely! It’s packed with protein, healthy fats, and fresh vegetables.
4. Can I make it vegetarian?
Yes, simply replace chicken with tofu or chickpeas.
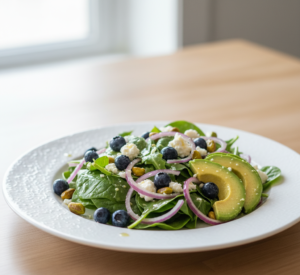
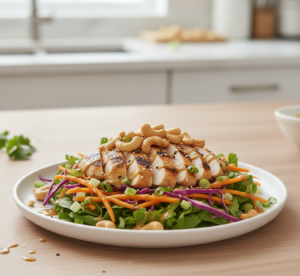
Final Thoughts
This Chicken Cashew Crunch Salad: A Fresh and Nutty Delight is everything you want in a salad—fresh, crunchy, flavorful, and satisfying. It’s easy to make, endlessly customizable, and perfect for any occasion.
Whether you’re looking for a quick lunch, a healthy dinner, or a dish to impress guests, this salad delivers every time. Try it once, and it’s sure to become a staple in your recipe collection!