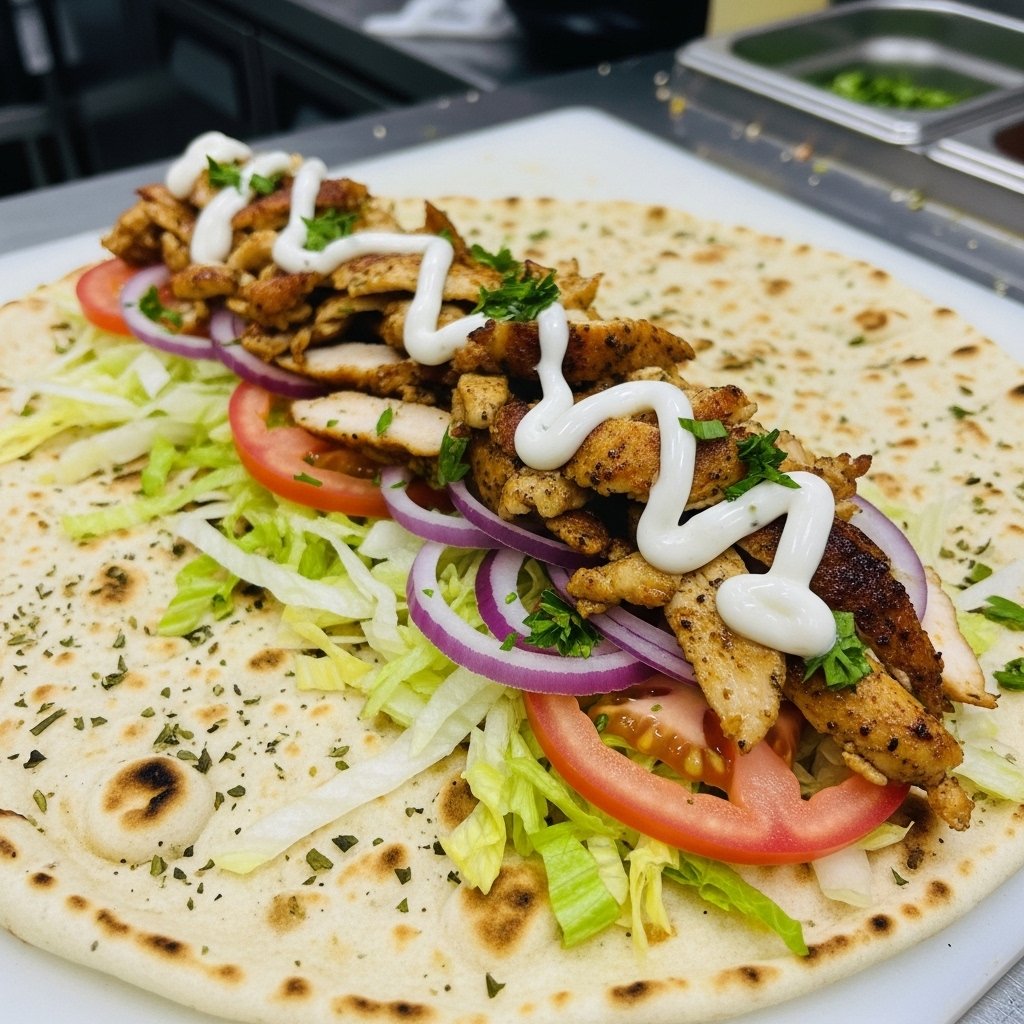
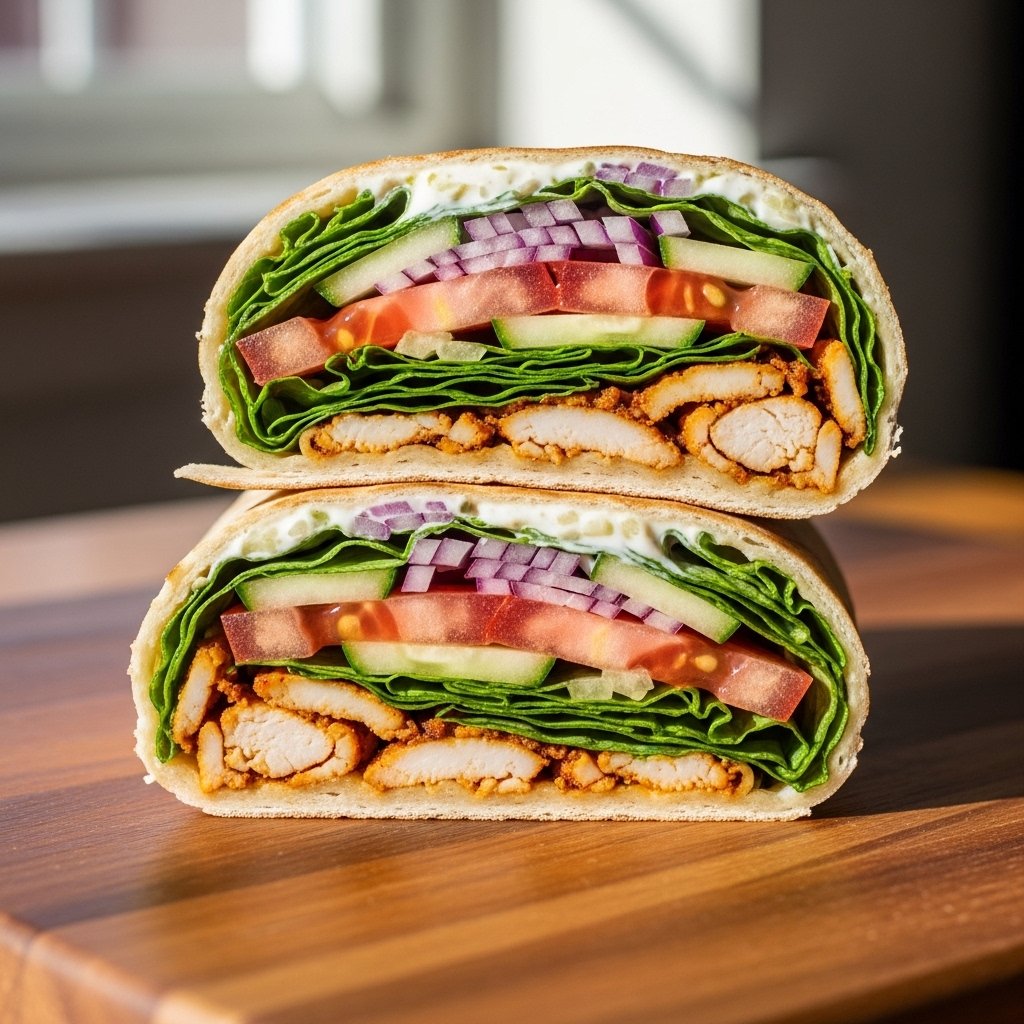
If you’re searching for a satisfying meal that feels cozy, nourishing, and incredibly delicious, these easy healthy sticky chicken bowls deserve a spot in your weekly rotation. Packed with tender chicken, fluffy rice, crisp vegetables, and a glossy homemade sticky sauce, this recipe delivers big flavor with simple ingredients.
Despite the confusing title floating around online, let’s be clear: this is not a dessert recipe. These sticky chicken bowls are a wholesome dinner that also happen to look beautiful enough for casual entertaining or holiday gatherings. They’re easy to customize, family-friendly, and perfect when you want something balanced without sacrificing comfort.

Why You’ll Love These Sticky Chicken Bowls
These bowls check all the boxes for a great meal.
What Makes This Recipe So Good
- Sweet and savory flavor
- Packed with protein
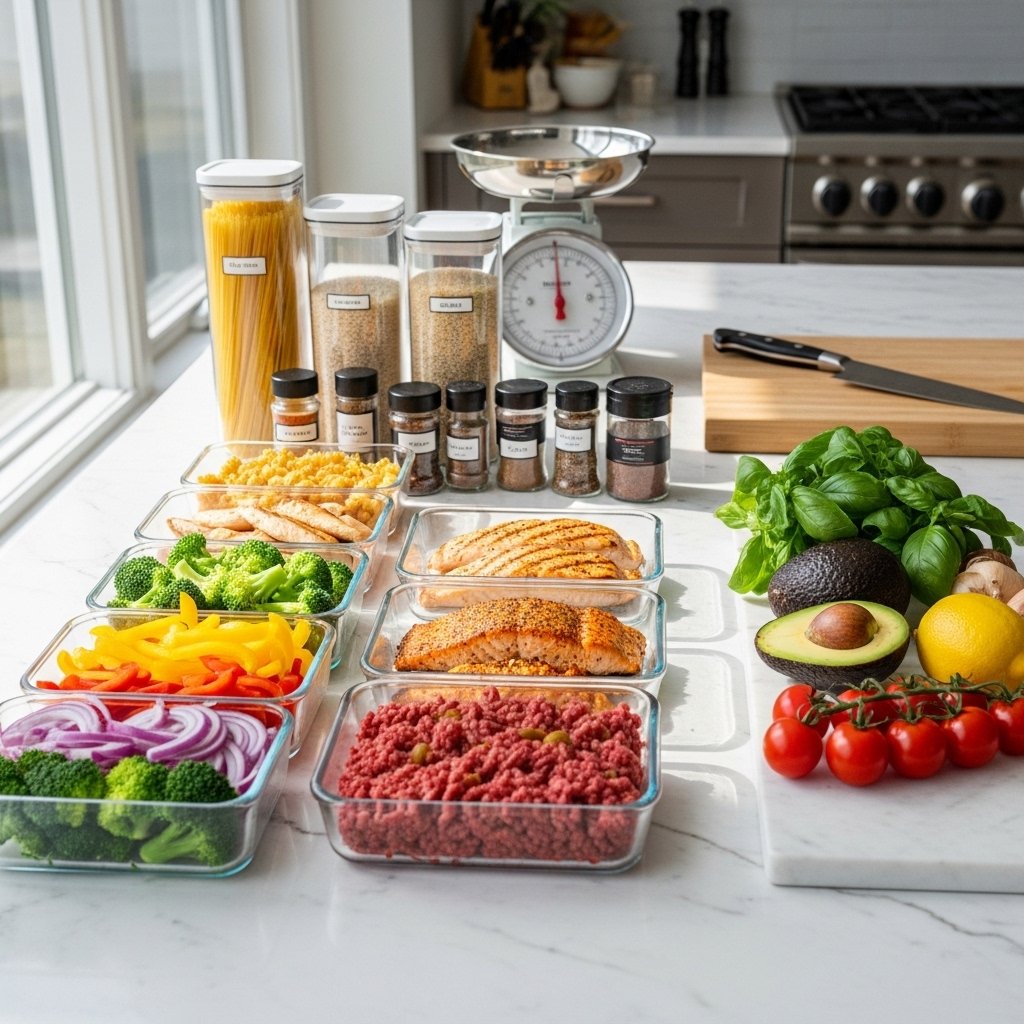
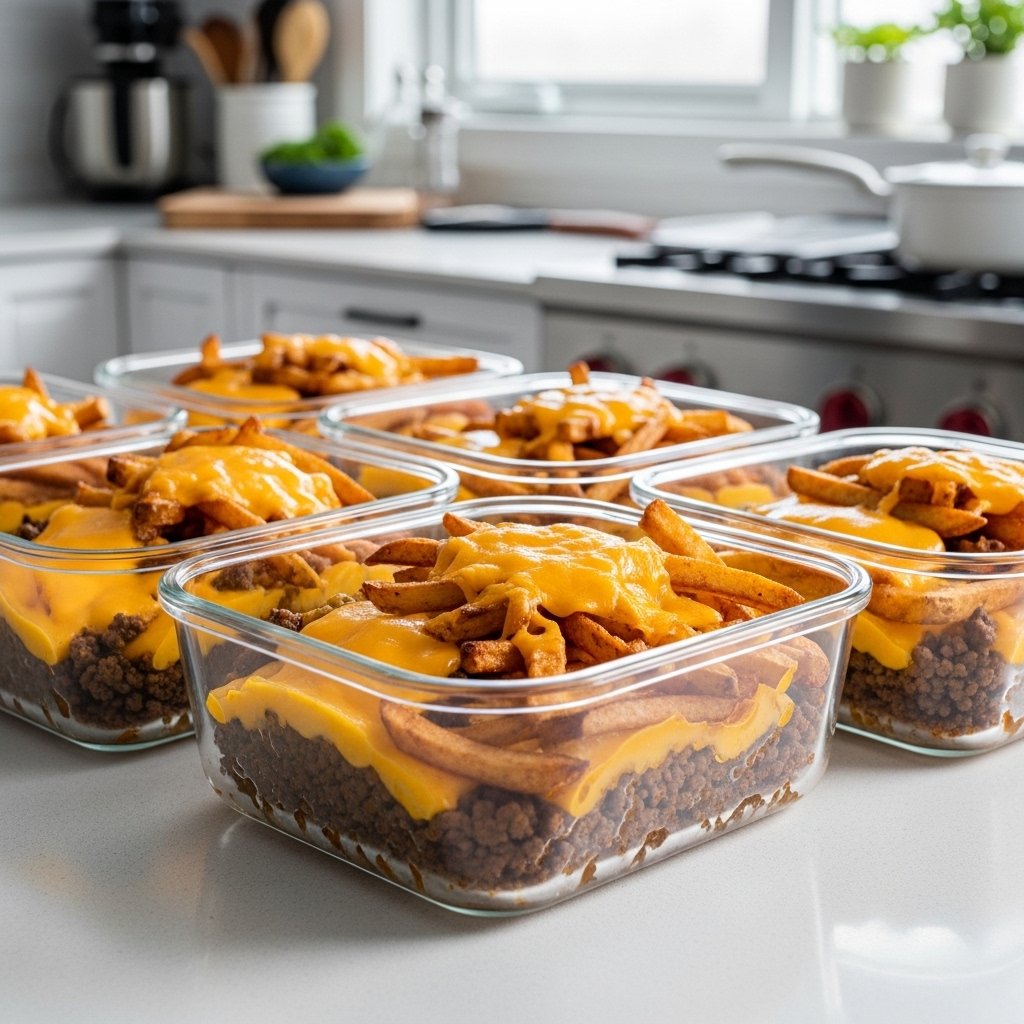
- Great for meal prep
- Family-friendly
- Easy to customize
- Ready in about 35 minutes
This easy healthy sticky chicken bowls recipe is ideal for busy nights when you still want something homemade and satisfying.
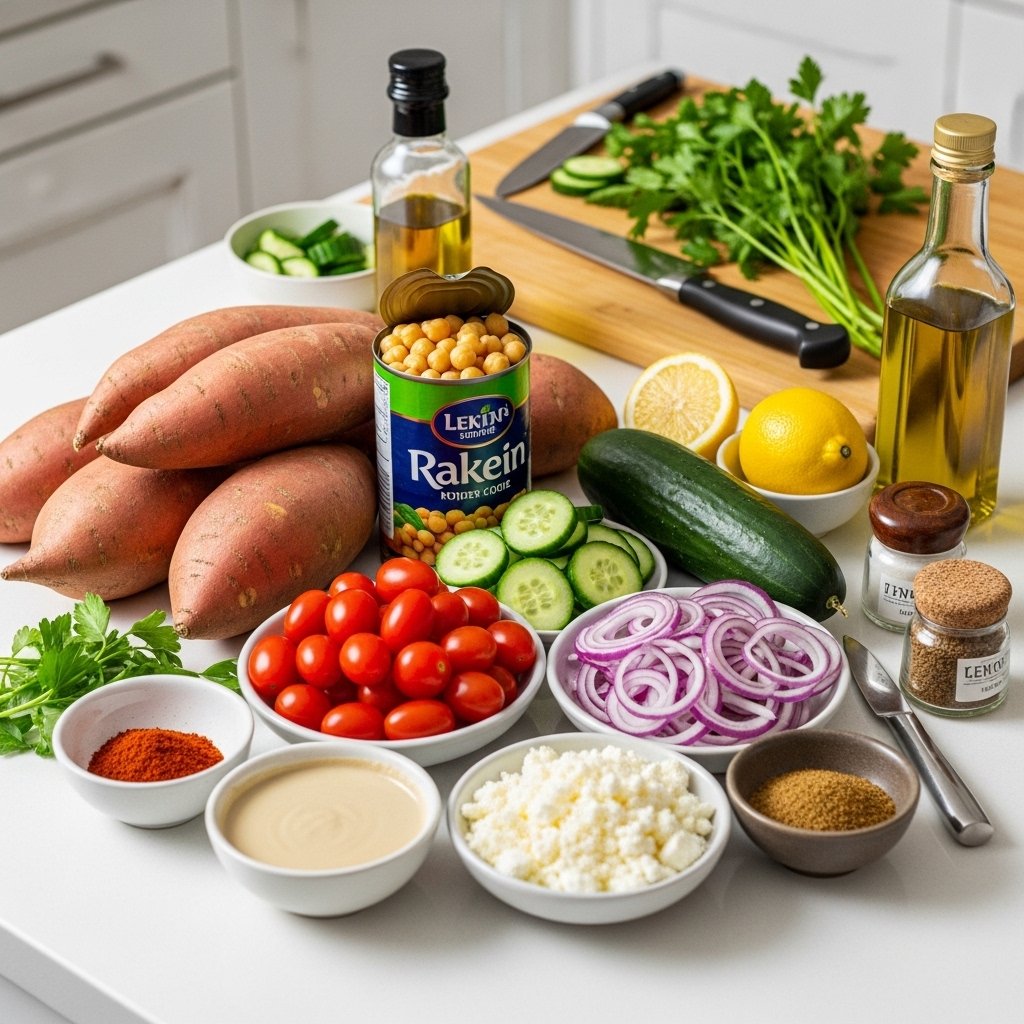
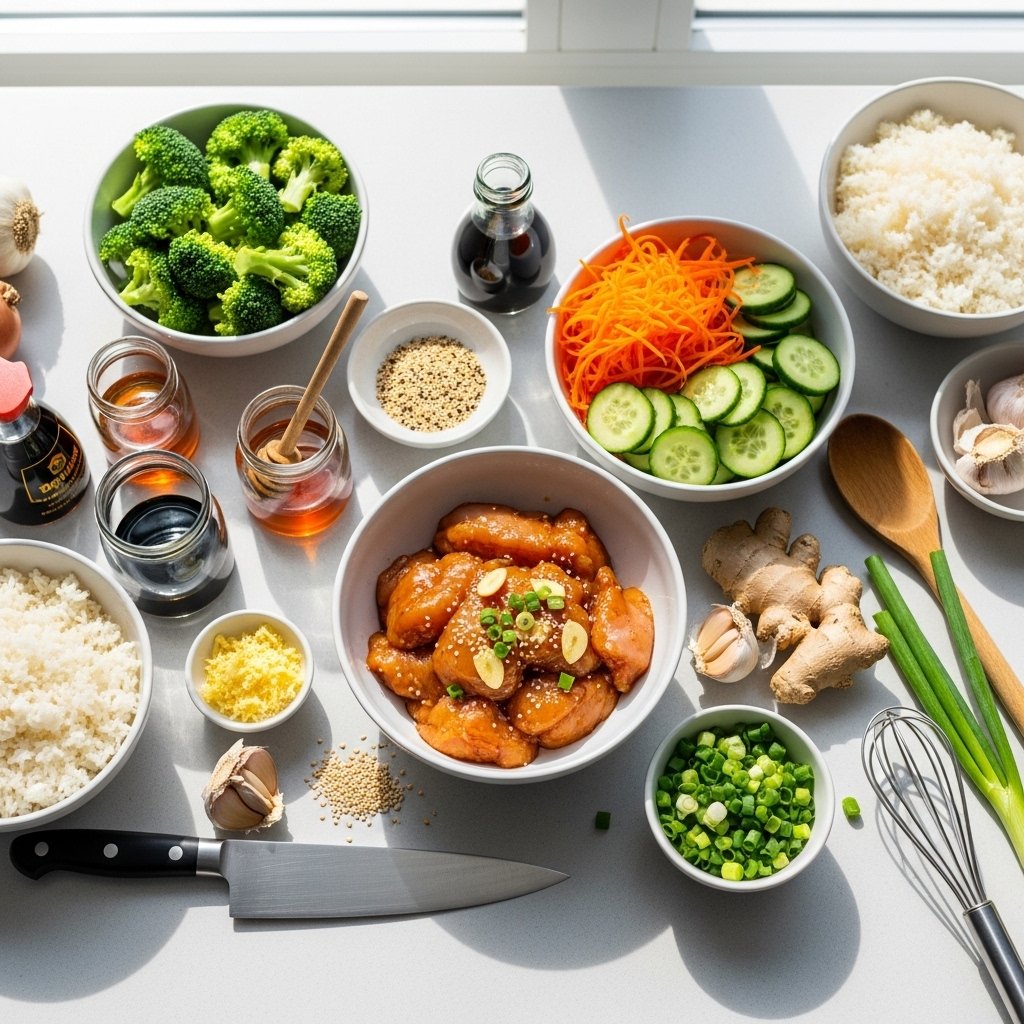
Ingredients You’ll Need
To make these sticky chicken bowls, gather:
For the Chicken
- 1 1/2 pounds boneless skinless chicken thighs or breasts
- 1 tablespoon olive oil
- Salt and pepper
- 1 tablespoon cornstarch (optional for crispiness)
For the Sticky Sauce
- 1/4 cup low-sodium soy sauce
- 2 tablespoons honey
- 2 tablespoons maple syrup or brown sugar
- 2 garlic cloves, minced
- 1 tablespoon rice vinegar
- 1 teaspoon sesame oil
- 1 teaspoon fresh grated ginger
- 1 teaspoon cornstarch mixed with water
Bowl Ingredients
- 2 cups cooked rice or quinoa
- 2 cups broccoli florets
- 1 cup shredded carrots
- 1 cucumber, sliced
- Green onions
- Sesame seeds
These ingredients create the perfect balance of sweet, salty, fresh, and savory.
Ingredient Notes and Helpful Tips
Best Chicken to Use
Chicken thighs:
- Juicier
- More forgiving
Chicken breasts:
- Leaner
Sauce Tip
The sticky sauce works because it balances:
- Sweetness
- Umami
- Acidity
Vegetable Tip
Use crisp vegetables for contrast.
Good options:
- Edamame
- Bell peppers
- Snap peas
Step-by-Step Instructions
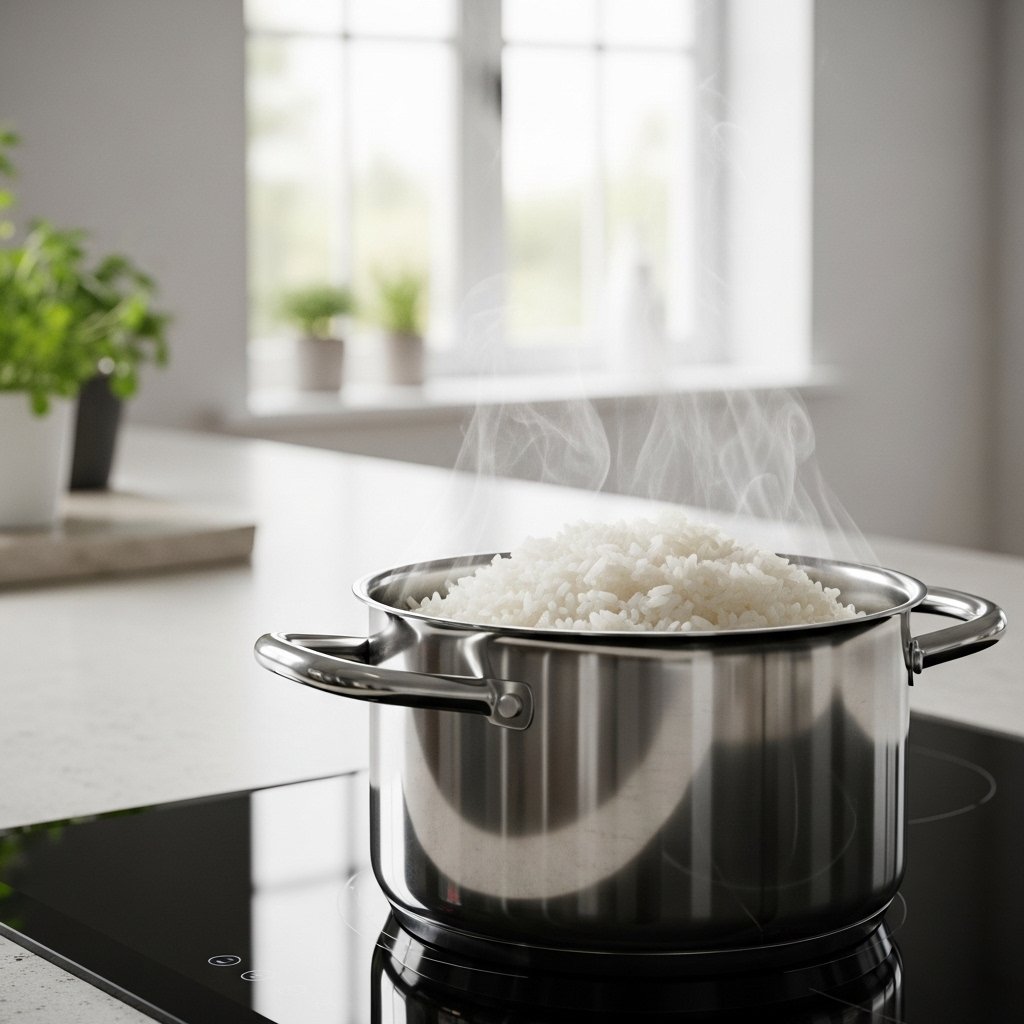
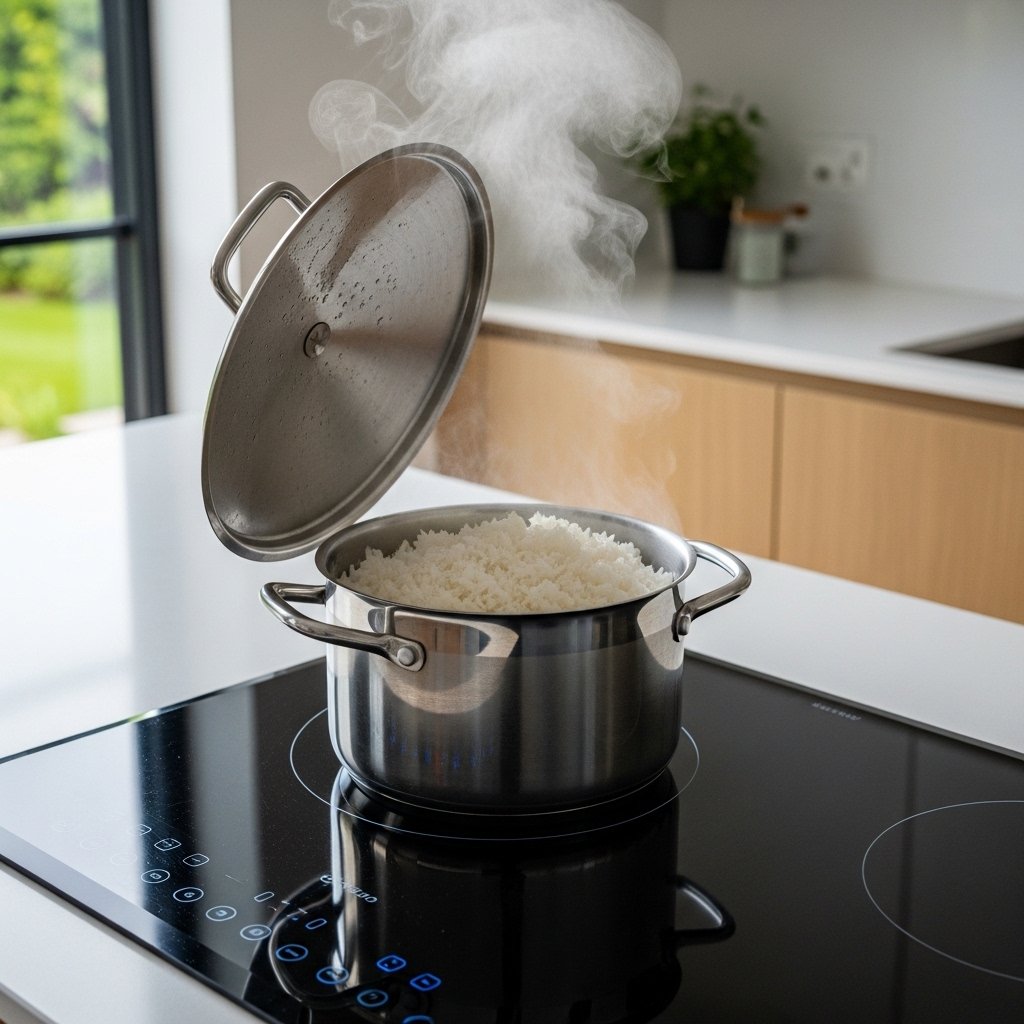
Step 1: Cook the Rice
Prepare rice or quinoa.
Fluff and set aside.
This gives the bowls a hearty base.
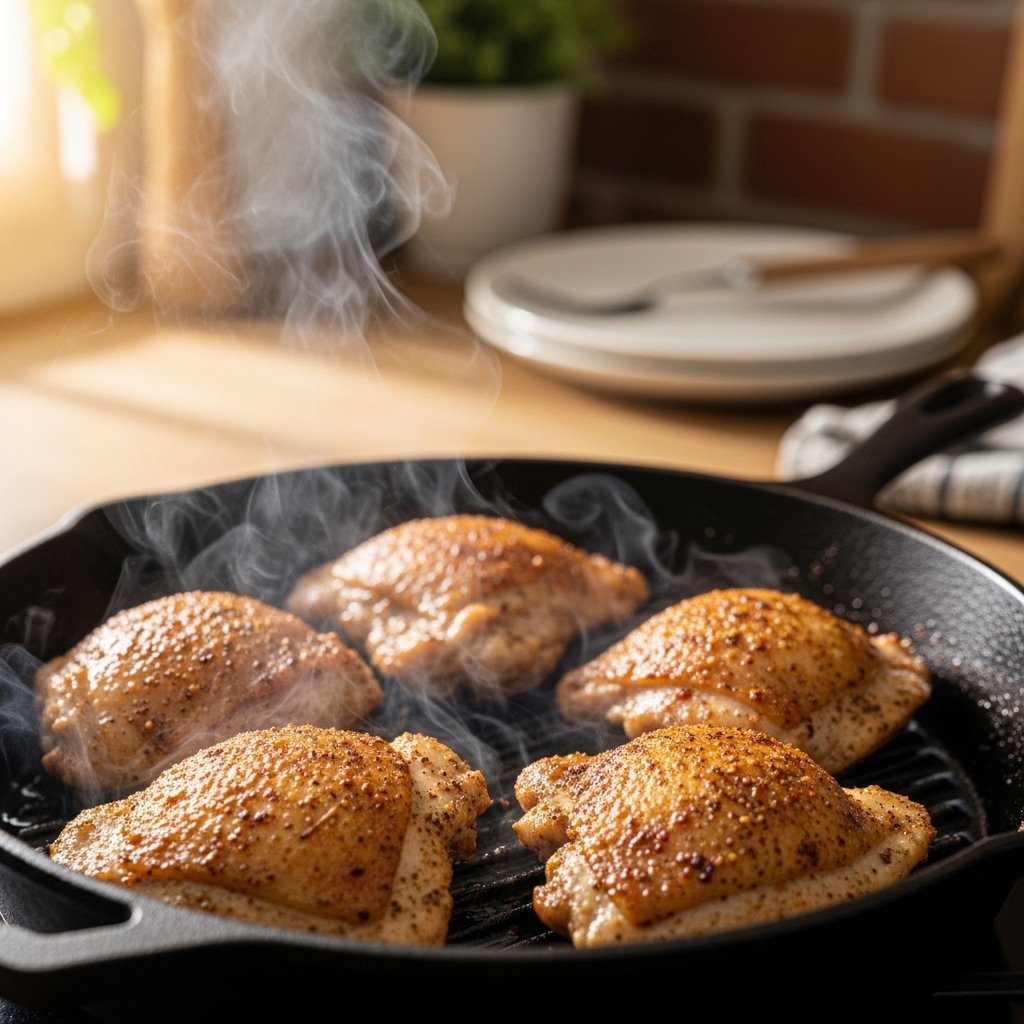
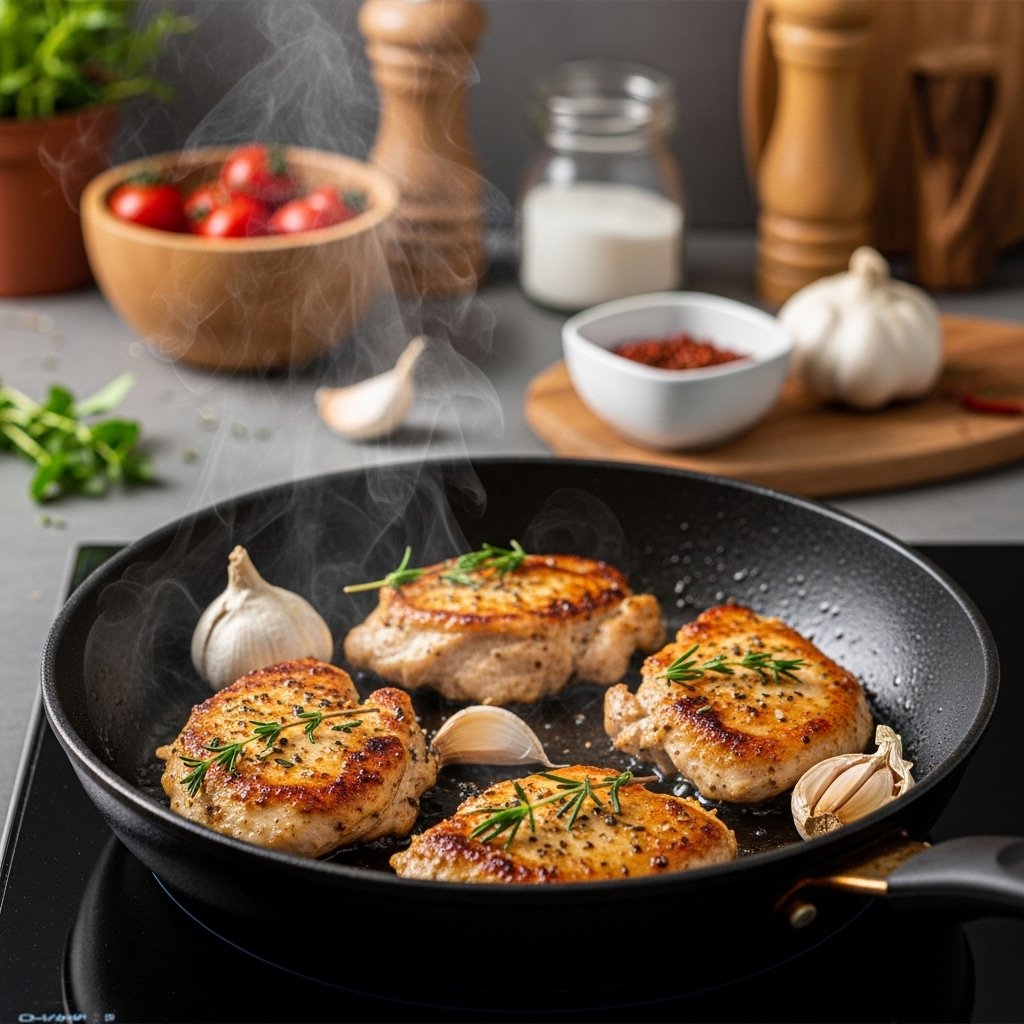
Step 2: Cook the Chicken
Cut chicken into bite-sized pieces.
Season lightly.
Cook in skillet with olive oil:
- 6–8 minutes
Until golden.
This builds flavor and texture.

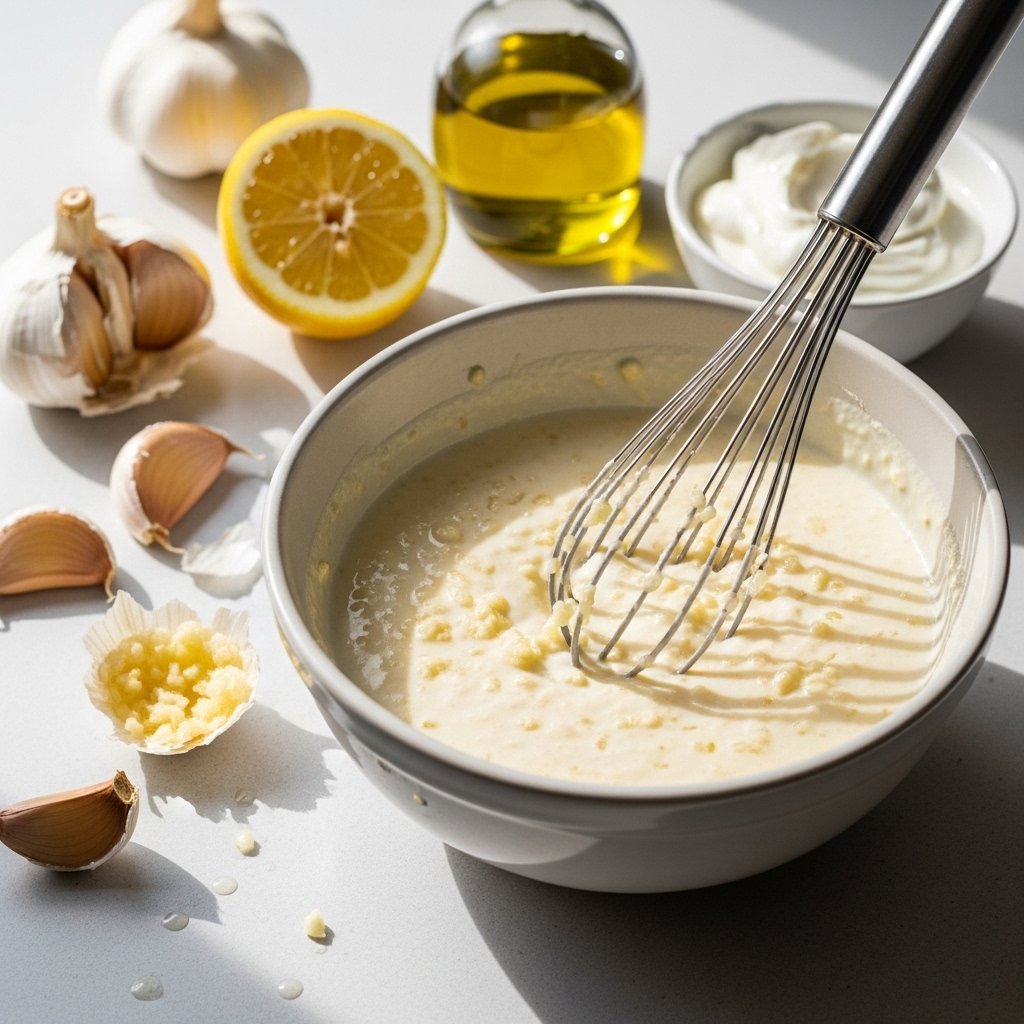
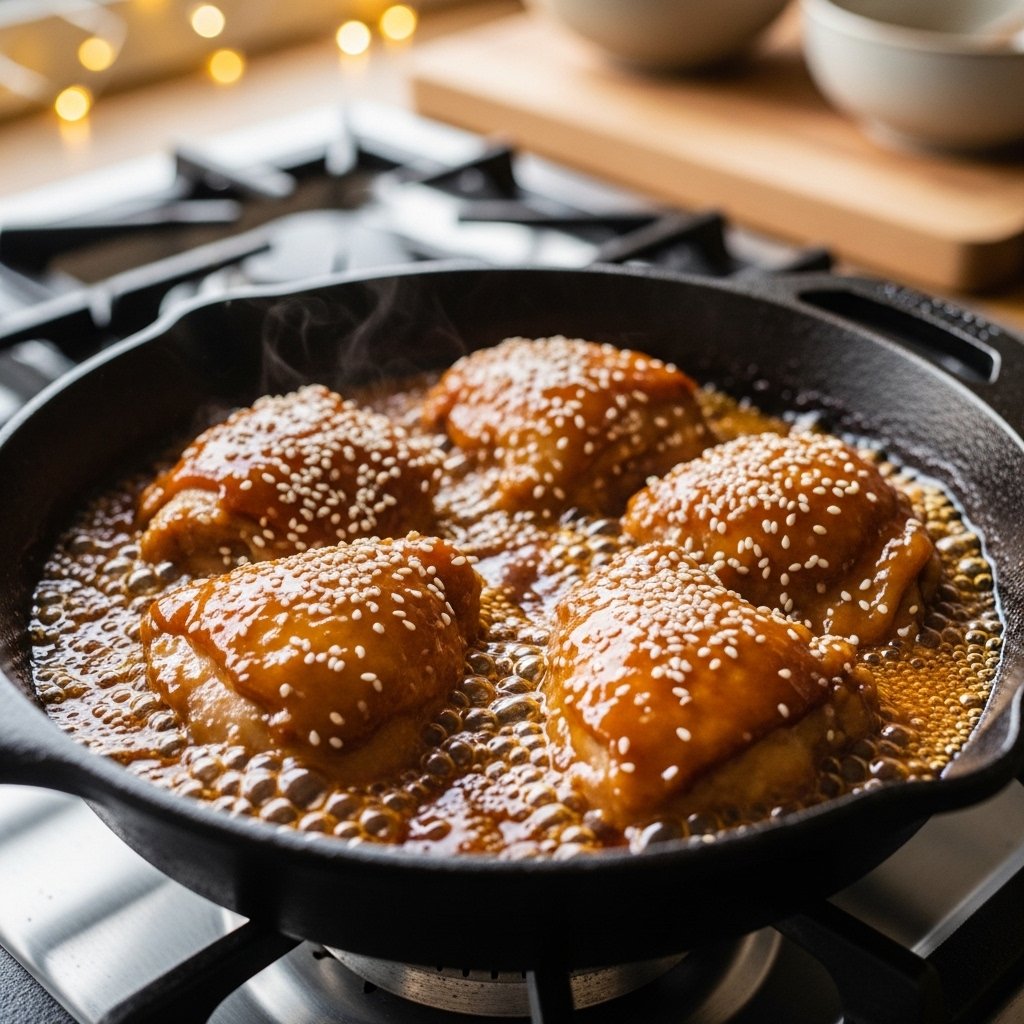
Step 3: Make the Sticky Sauce
Whisk together:
- Soy sauce
- Honey
- Maple syrup
- Garlic
- Ginger
- Vinegar
- Sesame oil
Pour into skillet.
Simmer until thickened.
Coat chicken well.
This creates glossy irresistible sauce.
Step 4: Prep Vegetables
Steam broccoli lightly.
Slice:
- Cucumbers
- Green onions
Shred carrots.
Fresh toppings keep bowls balanced.
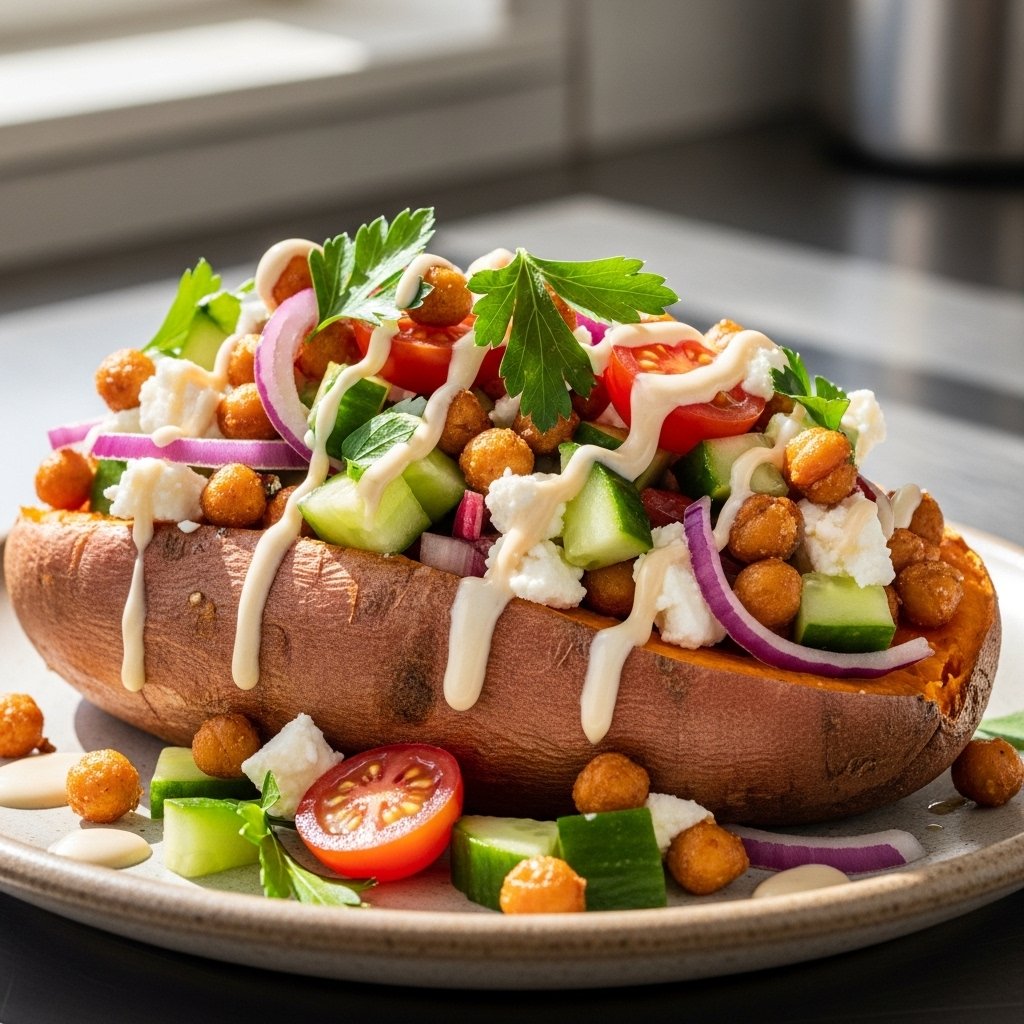
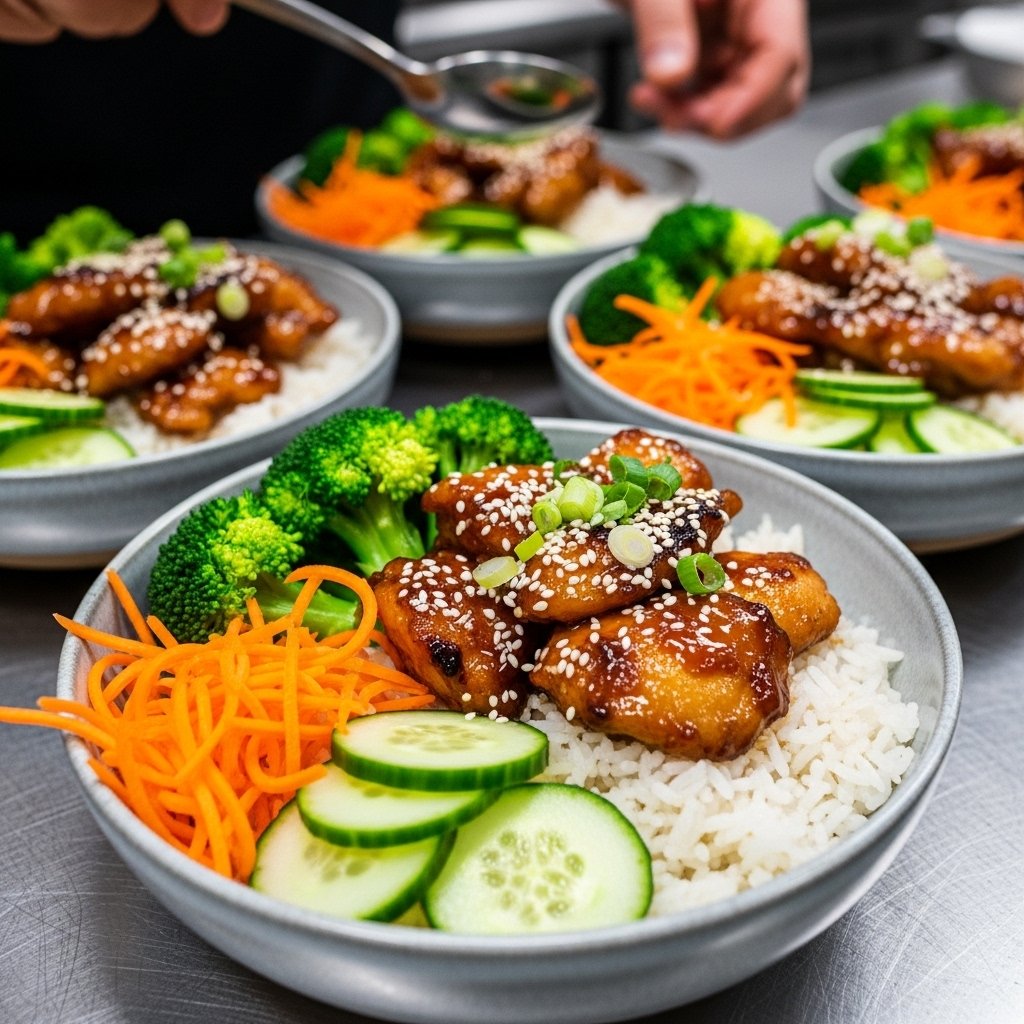
Step 5: Assemble the Bowls
Add:
- Rice
- Sticky chicken
- Broccoli
- Carrots
- Cucumber
Top with:
- Sesame seeds
- Green onions
Serve warm.
Every bite is satisfying and fresh.
Tips for Perfect Sticky Chicken Bowls
For the best results:
- Don’t overcrowd the pan
- Let sauce thicken fully
- Use fresh garlic and ginger
- Add veggies just before serving
- Taste sauce before finishing
These details make the bowls taste better than takeout.
Variations and Easy Swaps
This easy healthy sticky chicken bowls recipe is very flexible.
Tasty Additions
- Avocado
- Edamame
- Pickled onions
Lower-Carb Option
- Cauliflower rice
Spicy Version
- Add sriracha
- Chili flakes
Protein Swaps
- Shrimp
- Tofu
- Salmon
This keeps the recipe exciting every time.
What to Serve With Sticky Chicken Bowls
These bowls are filling alone, but pair nicely with:
- Miso soup
- Asian cucumber salad
- Spring rolls
- Fruit salad
Perfect for:
- Weeknight dinners
- Meal prep lunches
- Casual entertaining
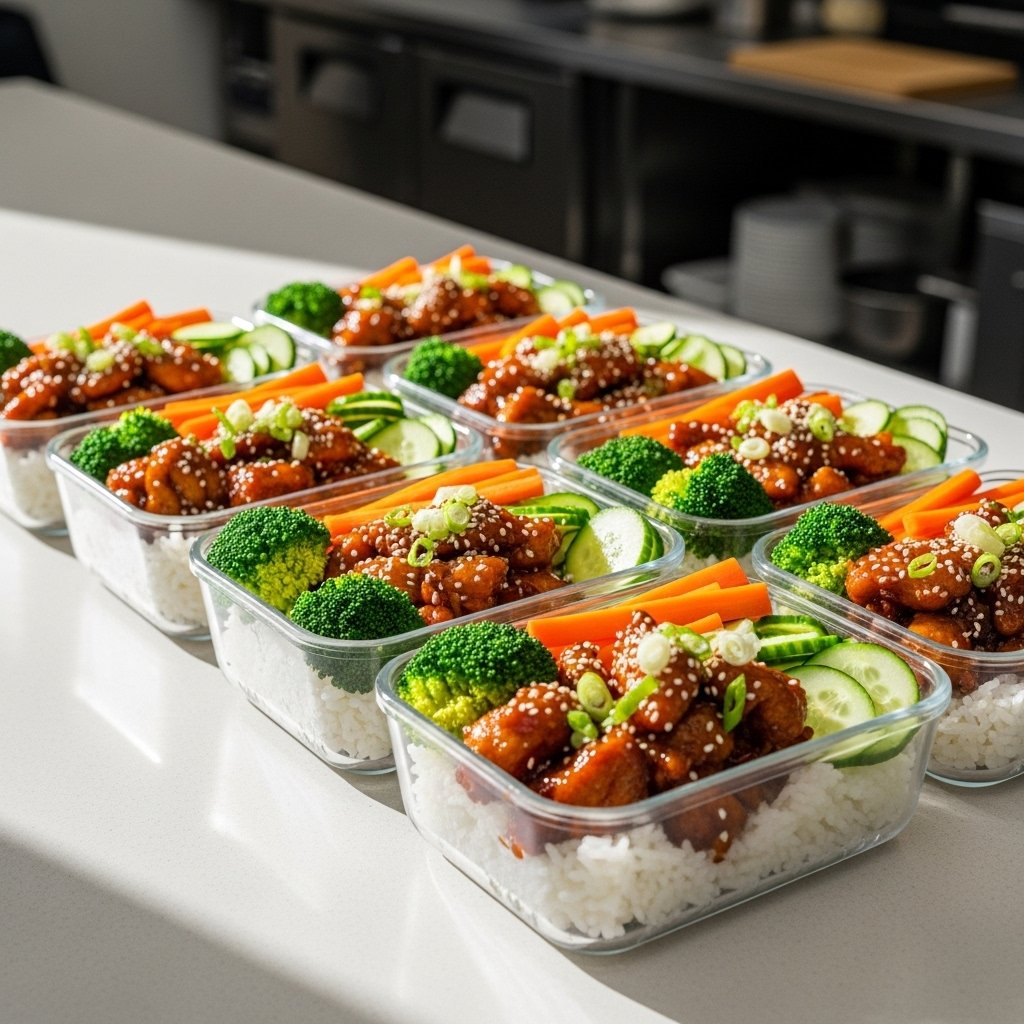
Storage and Reheating Tips
Sticky chicken bowls store beautifully.
Refrigerate
- Up to 4 days
Store:
- Chicken separately
- Rice separately
- Fresh toppings separately
Reheat
- Microwave or skillet
Add fresh vegetables after reheating.
Common Mistakes to Avoid
To make the best sticky chicken bowls:
- Don’t overcook chicken
- Don’t make sauce too salty
- Don’t skip fresh toppings
- Don’t oversteam vegetables
Balance is key.
Frequently Asked Questions
Can I make these ahead?
Yes, they’re excellent for meal prep.
Can I use frozen vegetables?
Absolutely.
Can I make this gluten-free?
Yes, use tamari.
Is this kid-friendly?
Very much so.
Can I bake the chicken instead?
Yes, that works well.
Final Thoughts
These easy healthy sticky chicken bowls are the kind of meal that makes healthy eating feel effortless and exciting. The sticky sweet-savory chicken, fluffy rice, and fresh vegetables create a bowl that’s comforting without feeling heavy.
Whether you need a reliable weeknight dinner, a simple meal prep recipe, or something colorful to serve guests, this recipe delivers every time. Once you try it, it may become one of your favorite easy dinner ideas.