When you want something sweet but don’t have the time—or energy—to bake, 5 Minute Dessert Recipes are the ultimate solution. These quick treats are designed to satisfy your cravings instantly using simple ingredients you probably already have in your kitchen.
From creamy yogurt parfaits to chocolate mug cakes and fruity no-bake bites, these desserts are perfect for busy days, unexpected guests, or late-night cravings. No oven, no stress, just fast and delicious results.
Why You’ll Love These 5 Minute Dessert Recipes
These 5 Minute Dessert Recipes are perfect for anyone who loves quick, effortless sweets.
- Ready in just minutes
- No baking required for most recipes
- Uses simple pantry ingredients
- Perfect for kids and adults
- Endless customization options
They prove that dessert doesn’t have to be complicated to be amazing.
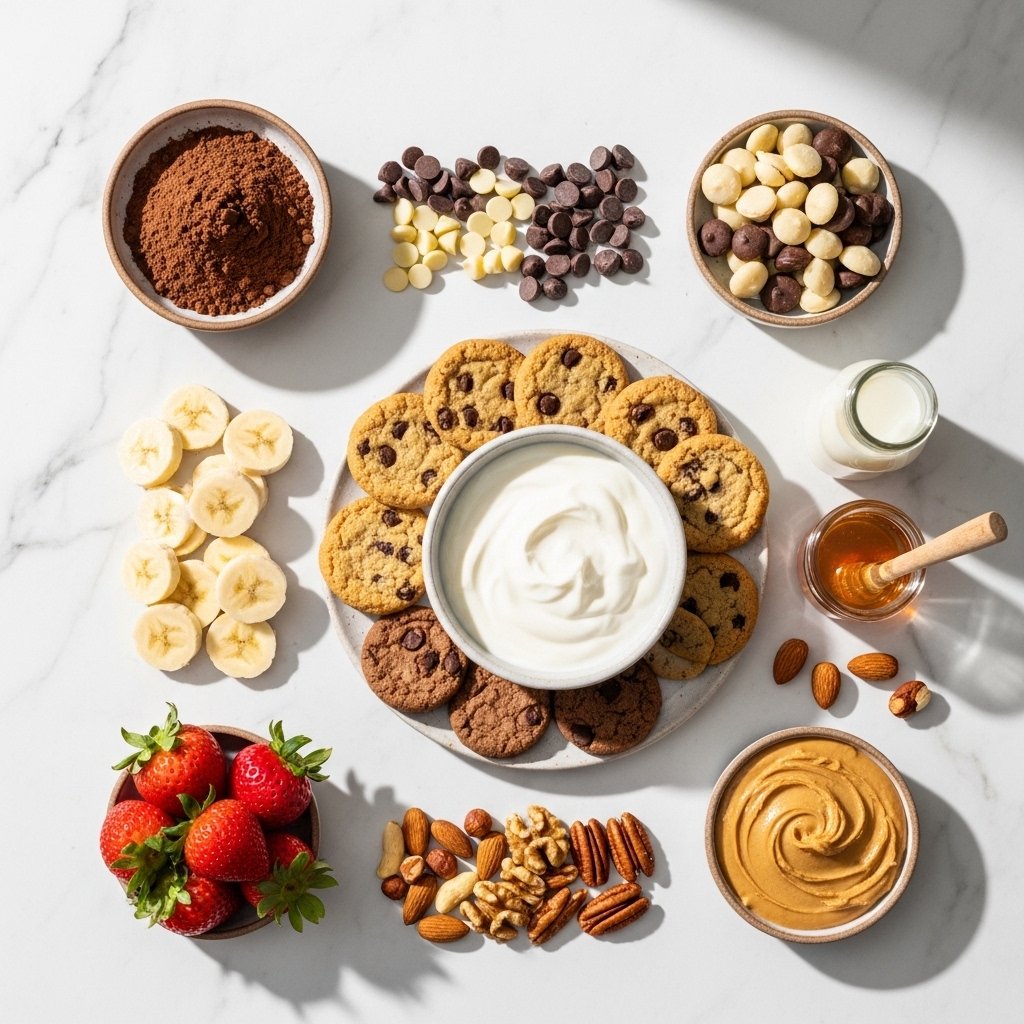
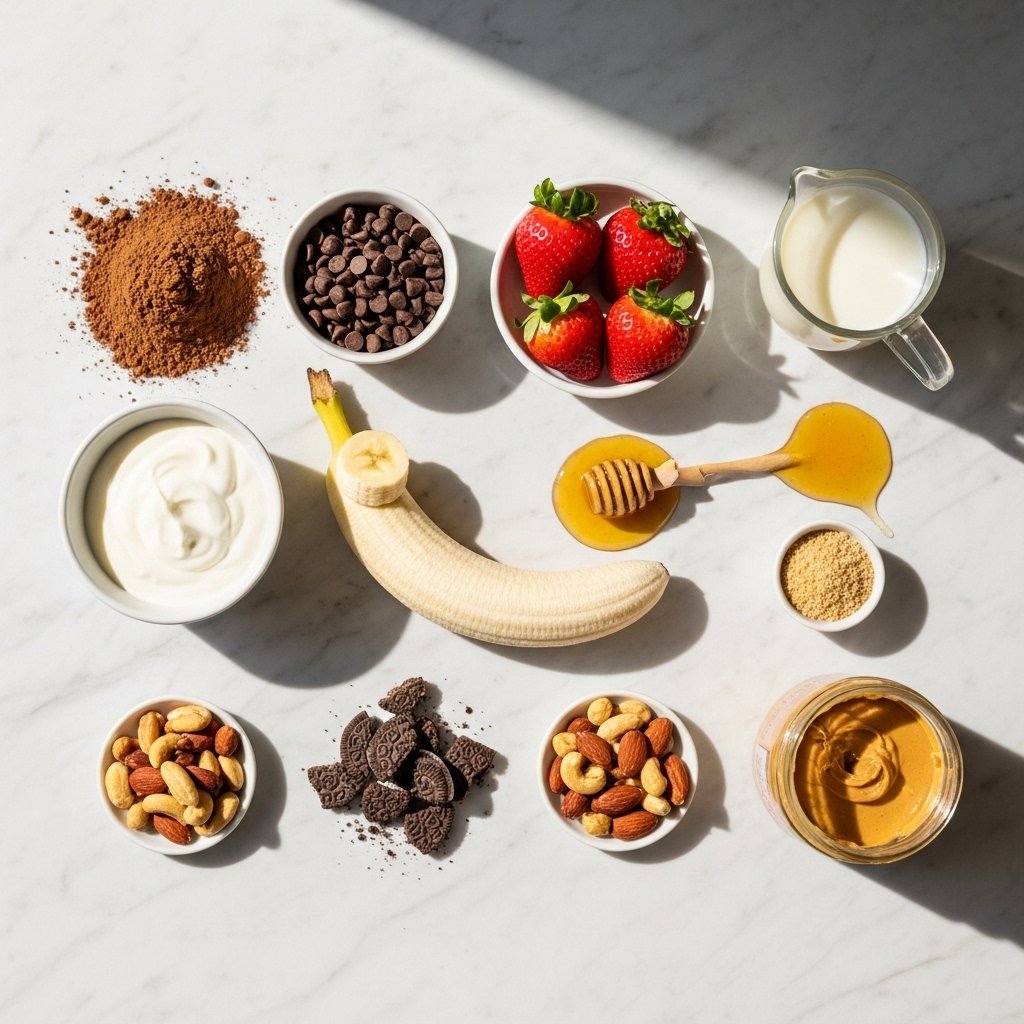
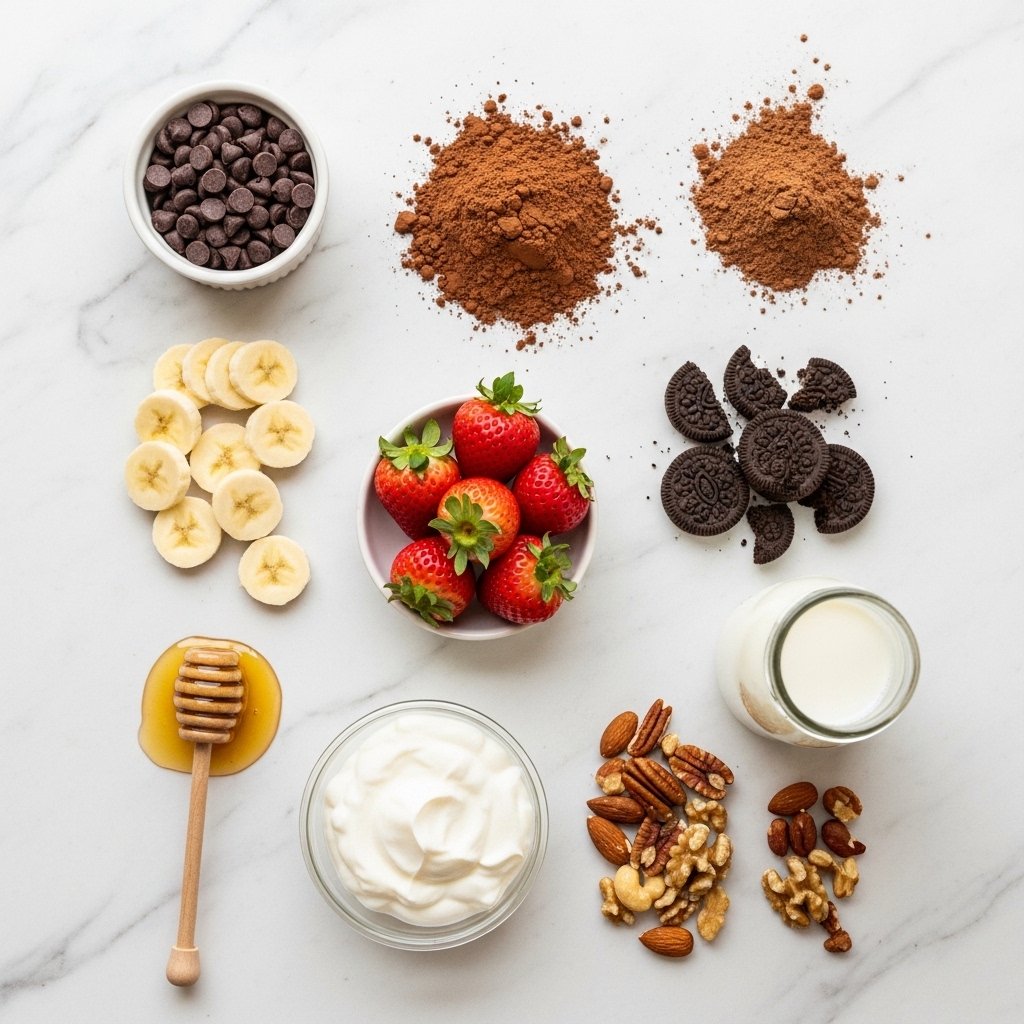
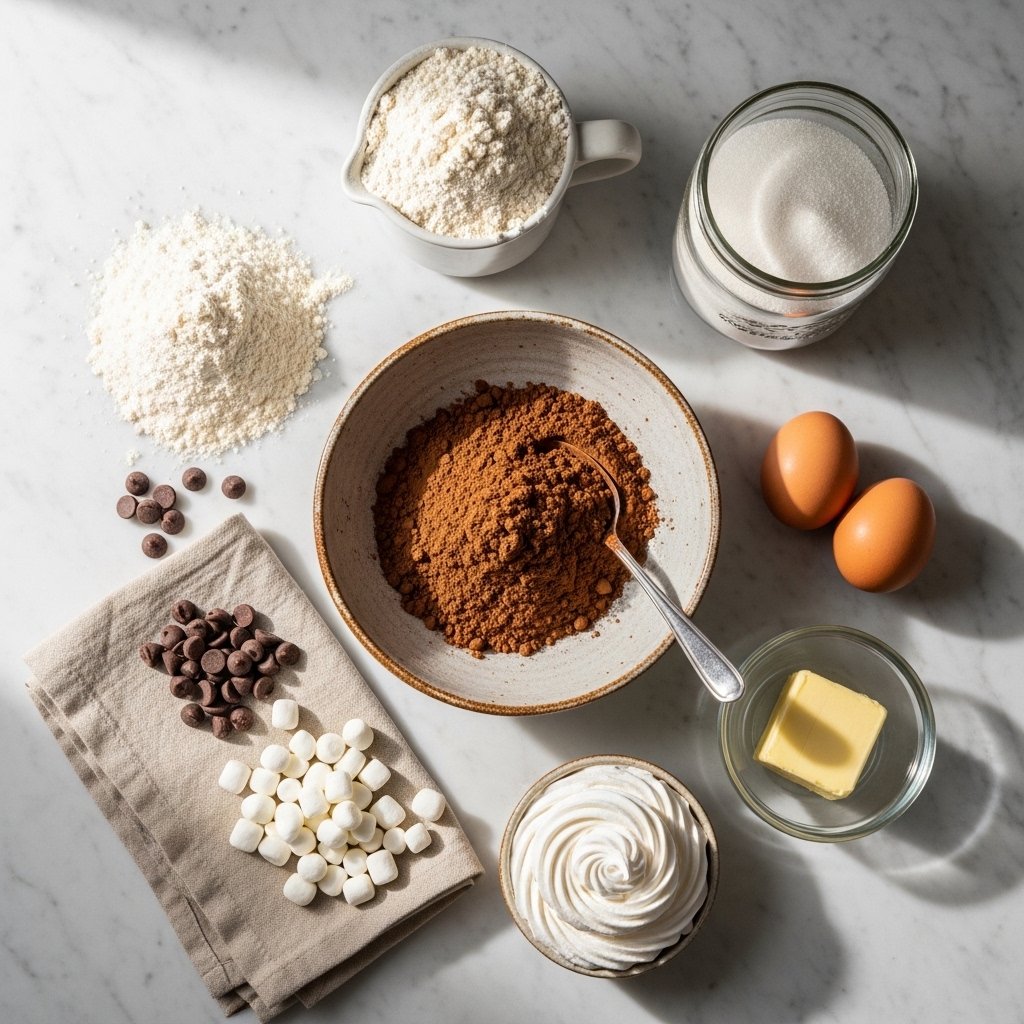
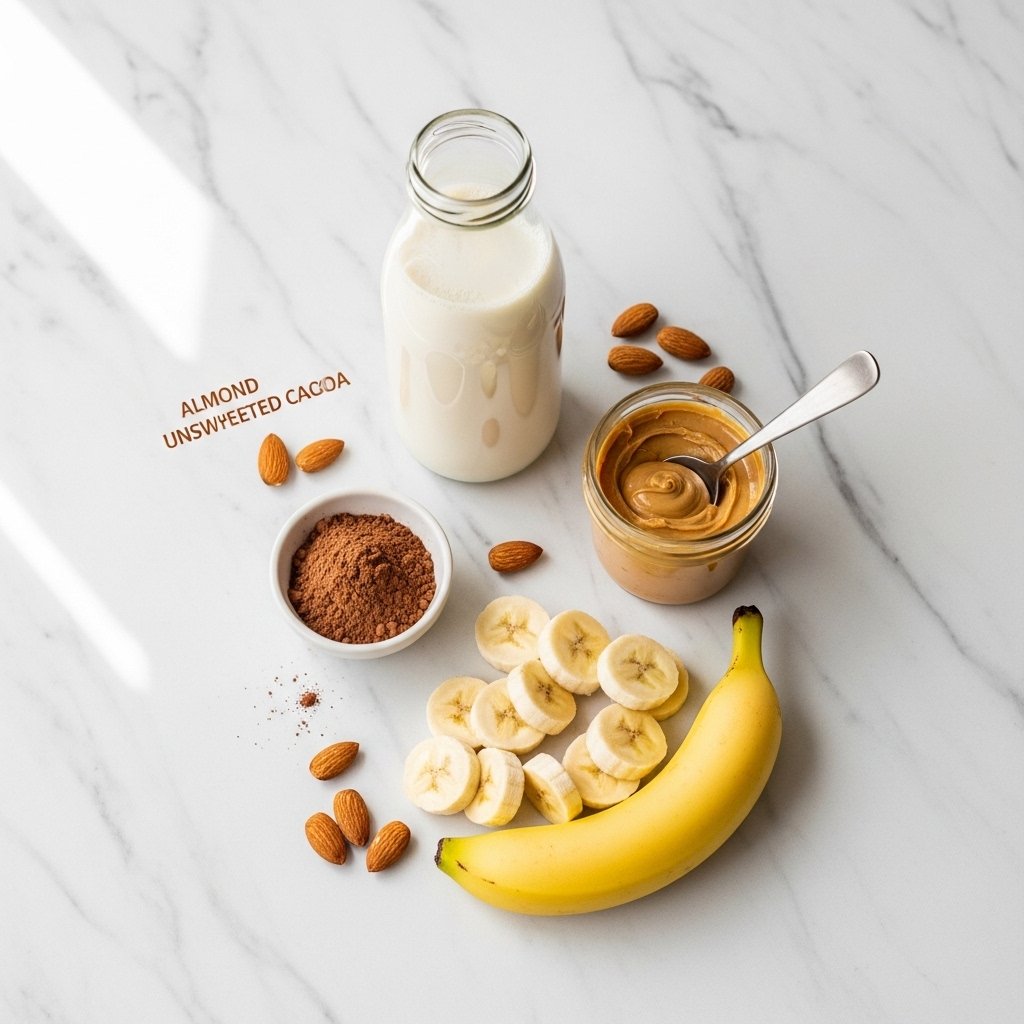
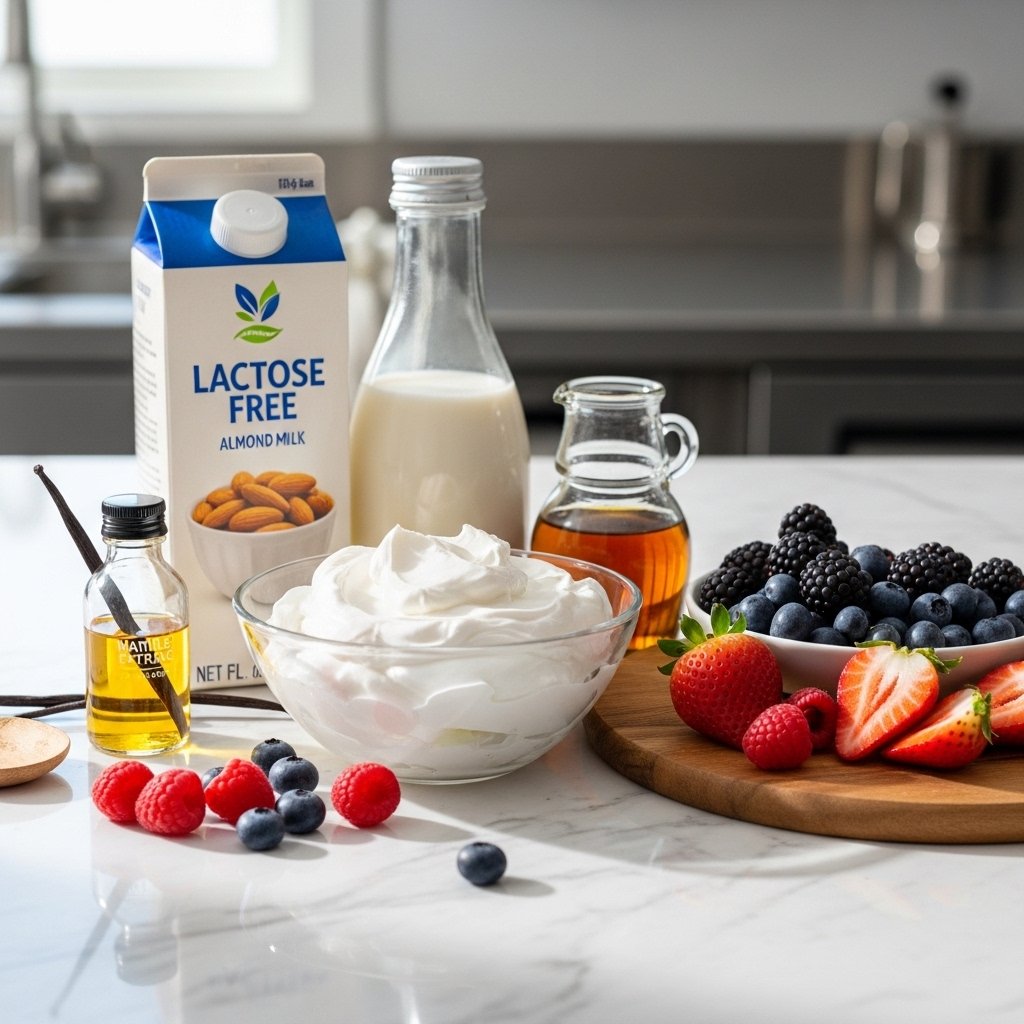
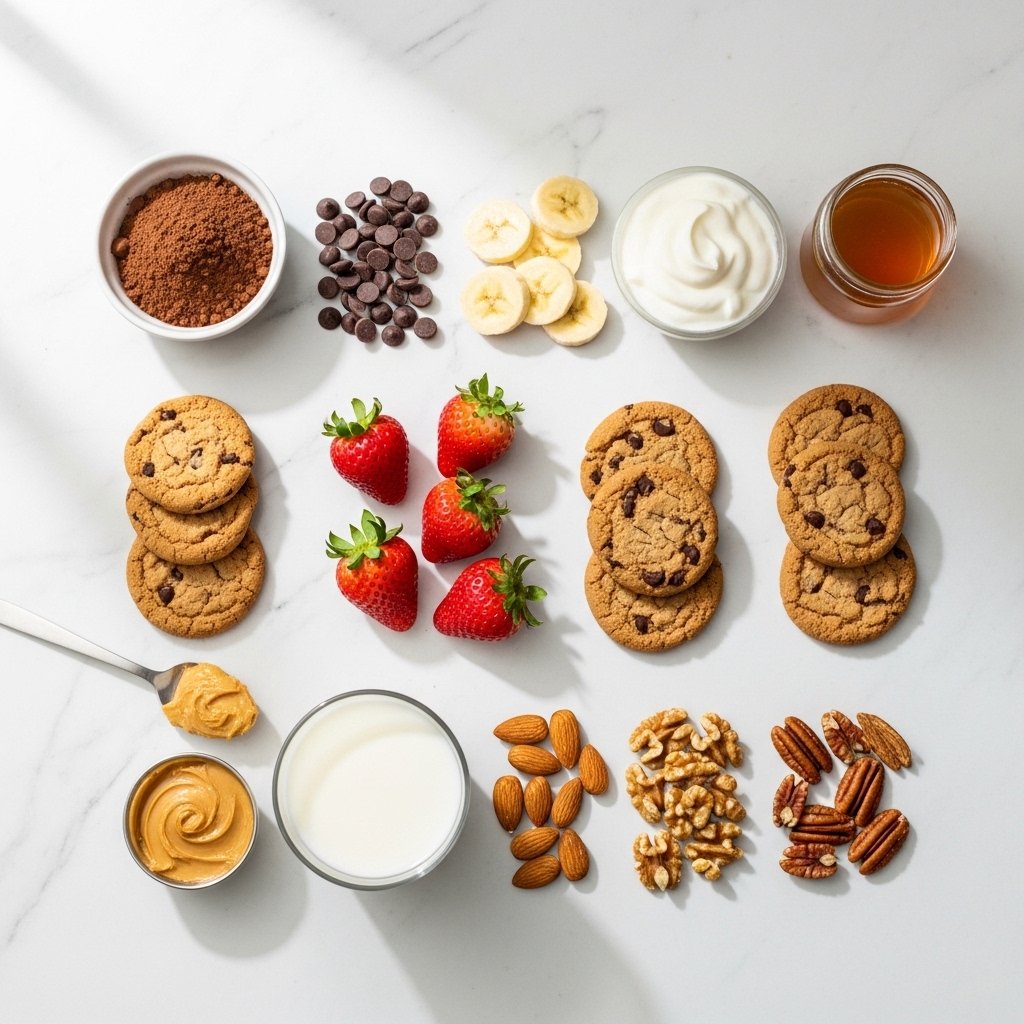
Ingredients You’ll Commonly Use
Most 5 Minute Dessert Recipes rely on everyday kitchen staples:
Basic Ingredients:
- Chocolate chips or cocoa powder
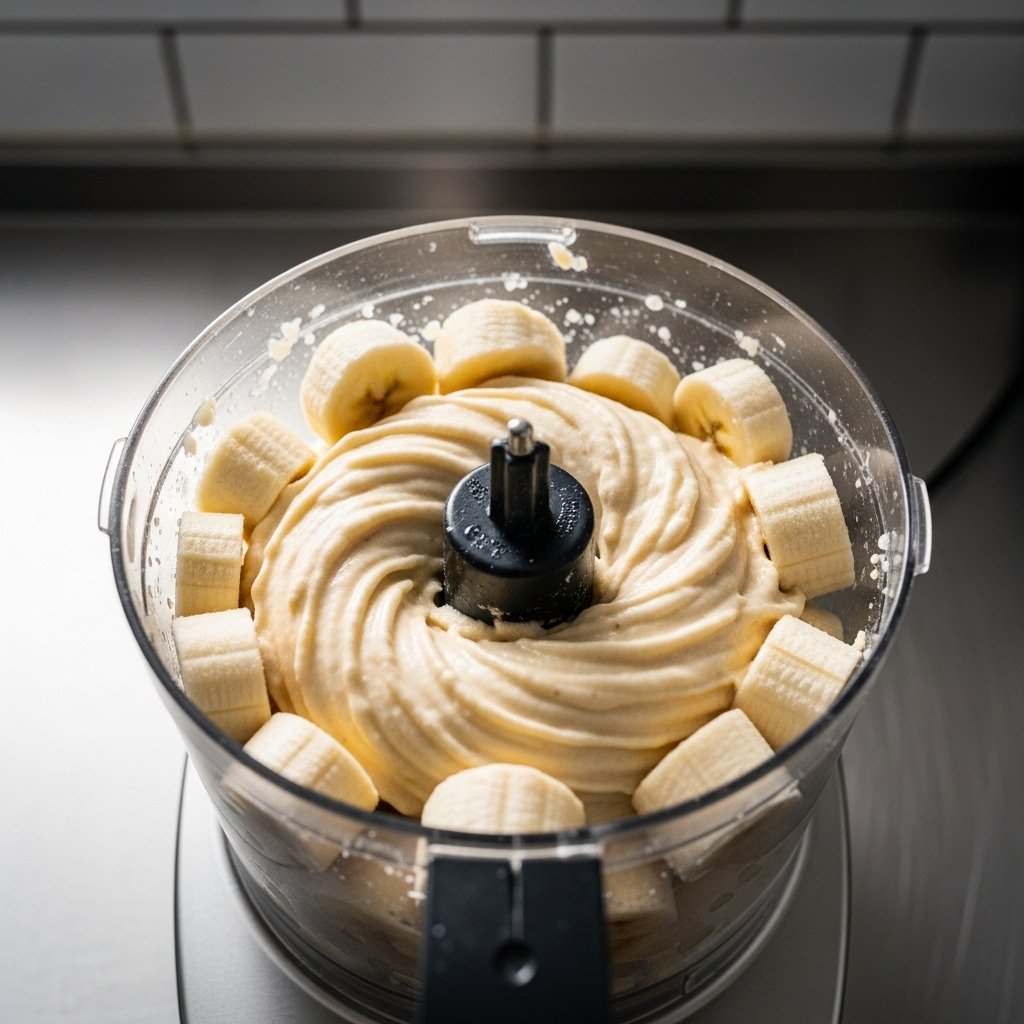
- Fresh fruits (bananas, strawberries, berries)
- Yogurt or whipped cream
- Cookies or biscuits
- Milk or cream
- Honey, sugar, or maple syrup
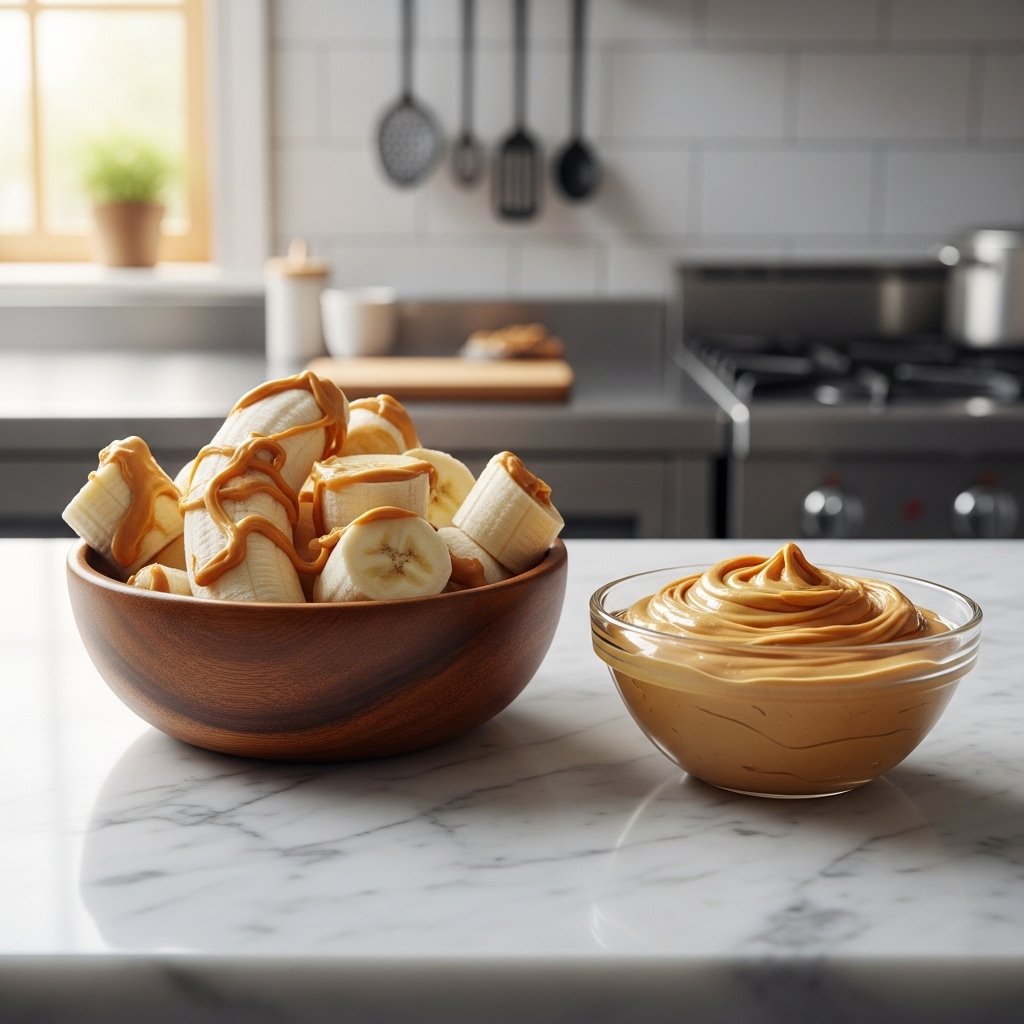
- Peanut butter or chocolate spread
Optional Add-ons:
- Granola
- Nuts
- Coconut flakes
- Sprinkles
- Caramel or chocolate syrup
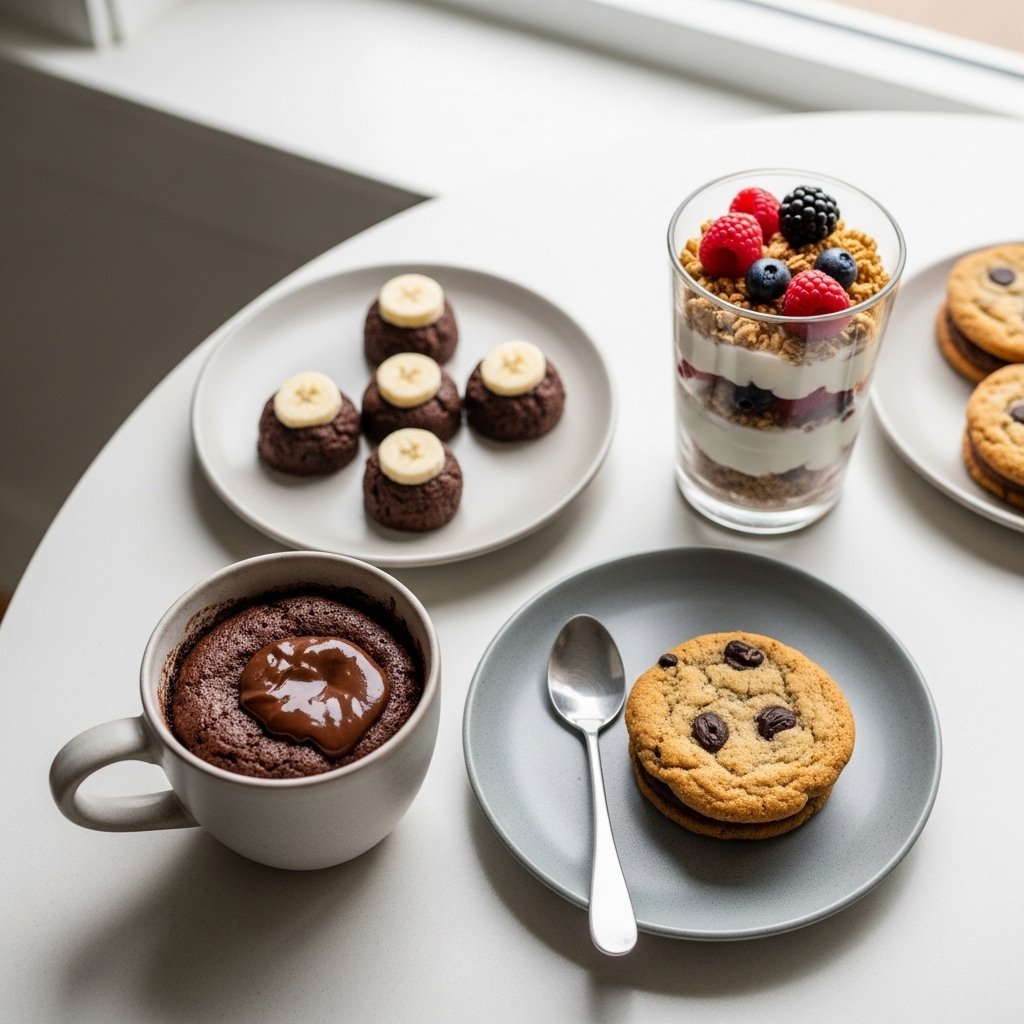
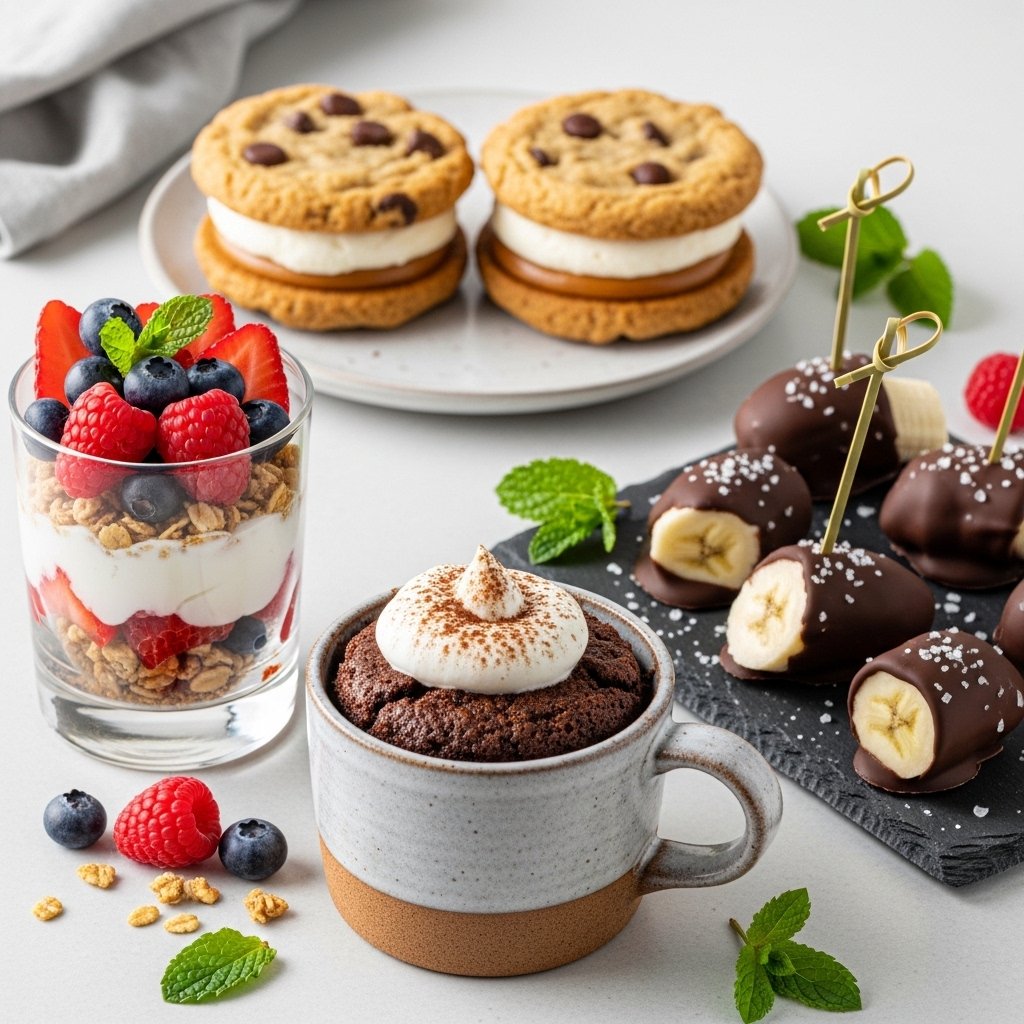
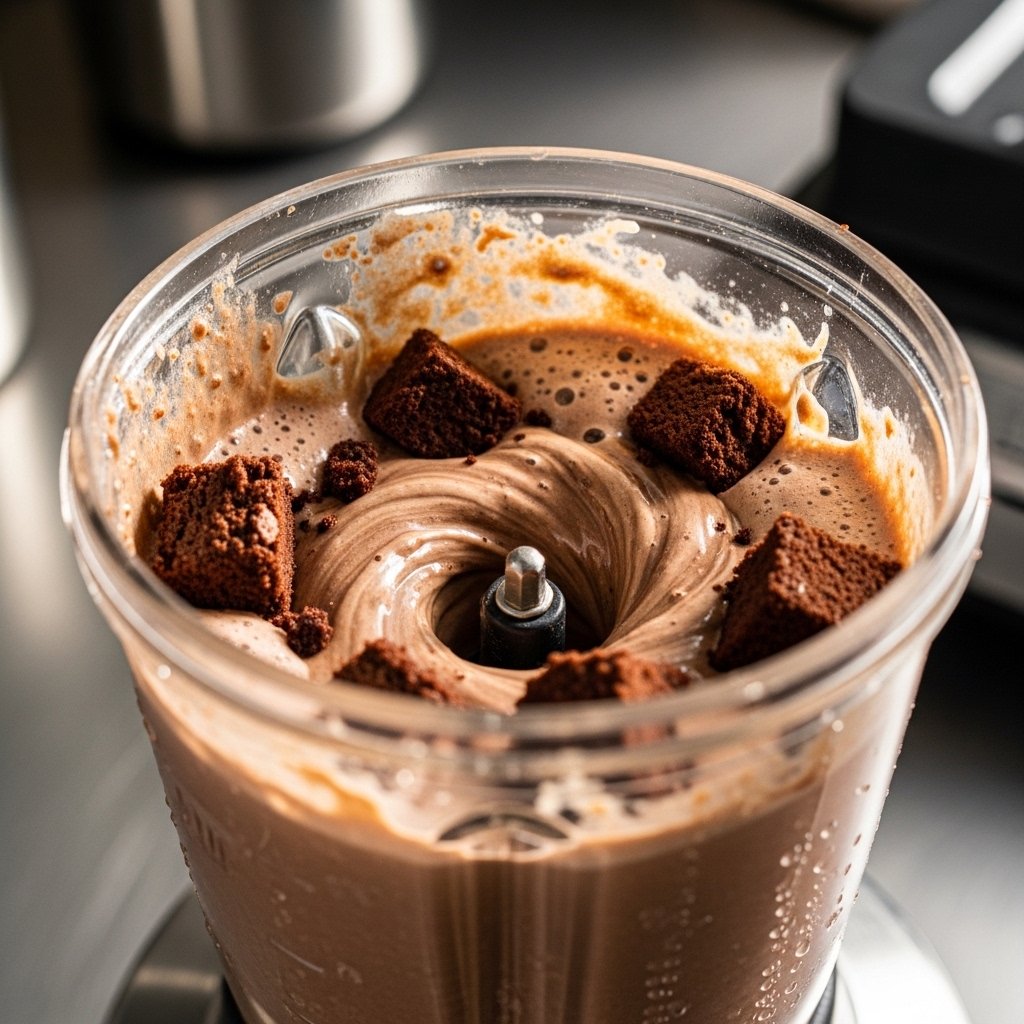
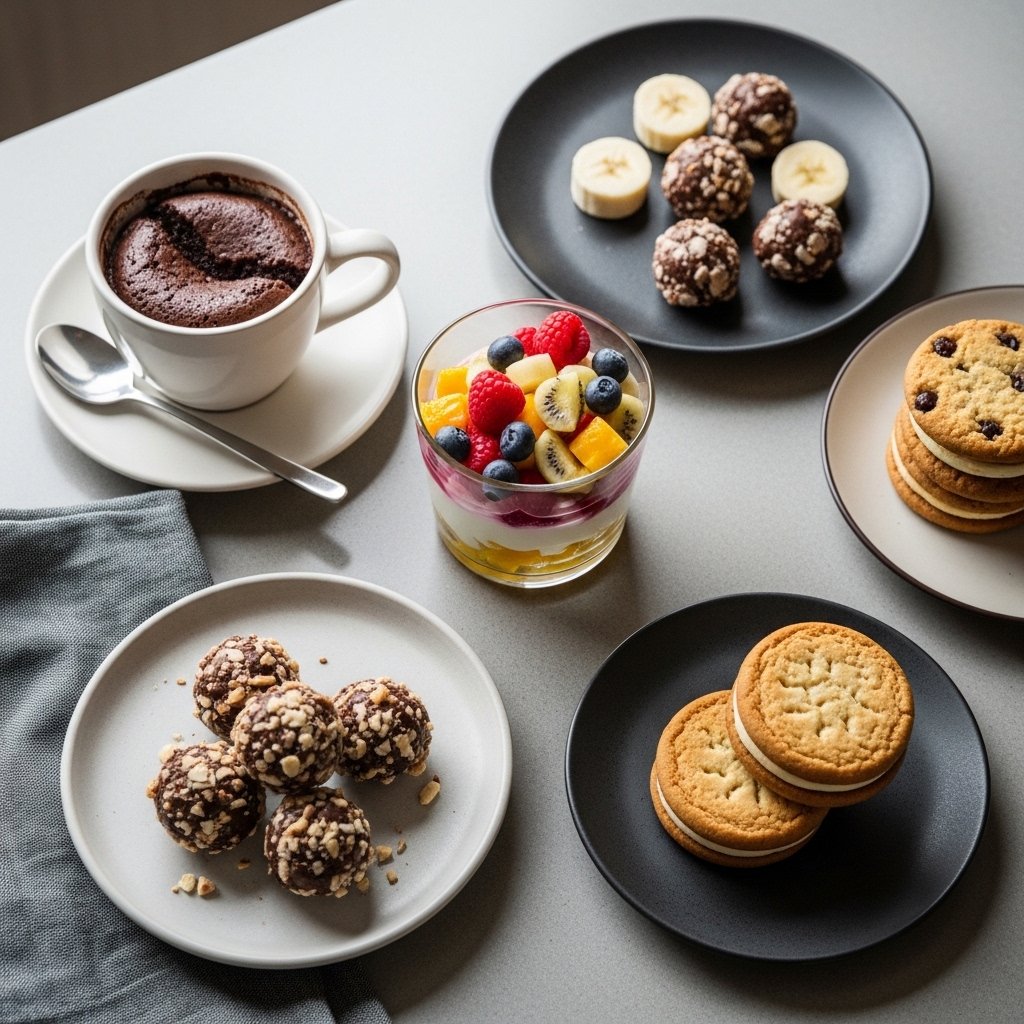
Easy 5 Minute Dessert Ideas
Here are some of the fastest 5 Minute Dessert Recipes you can make:
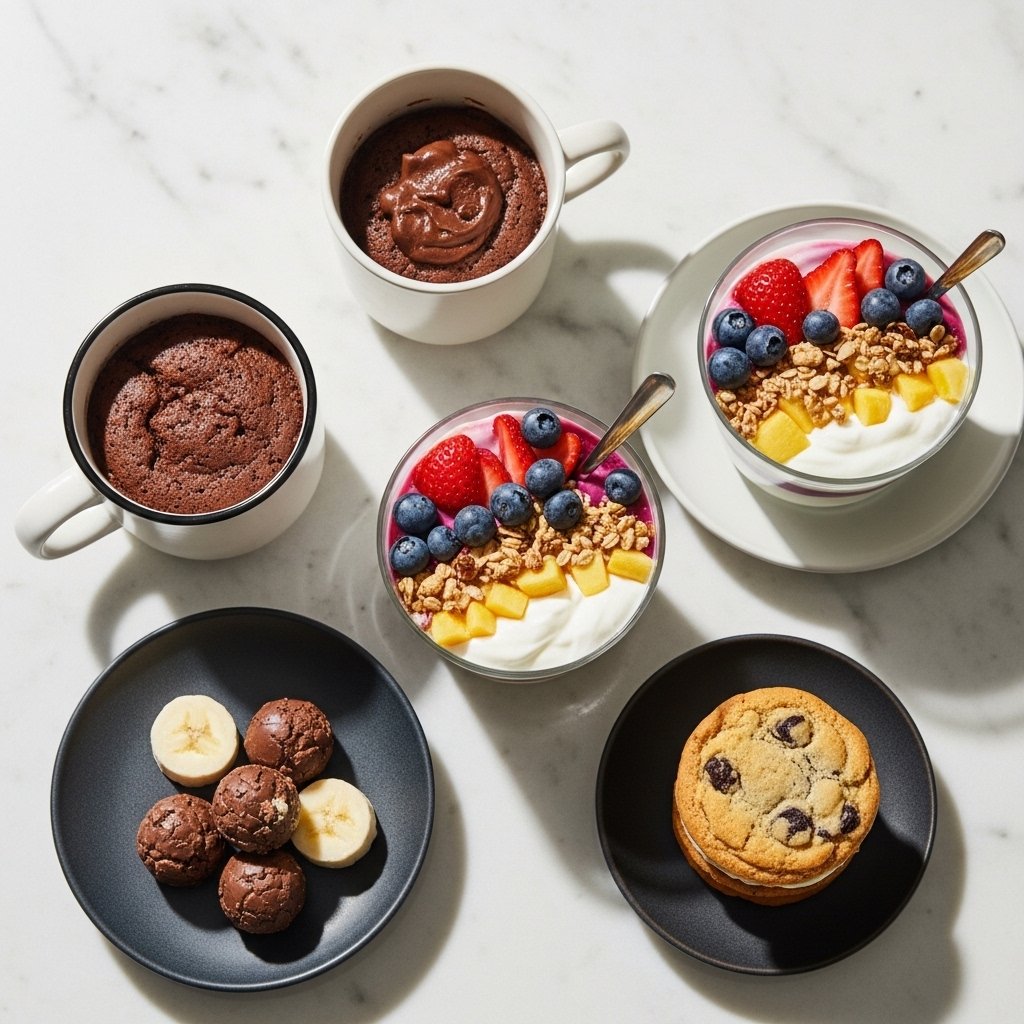
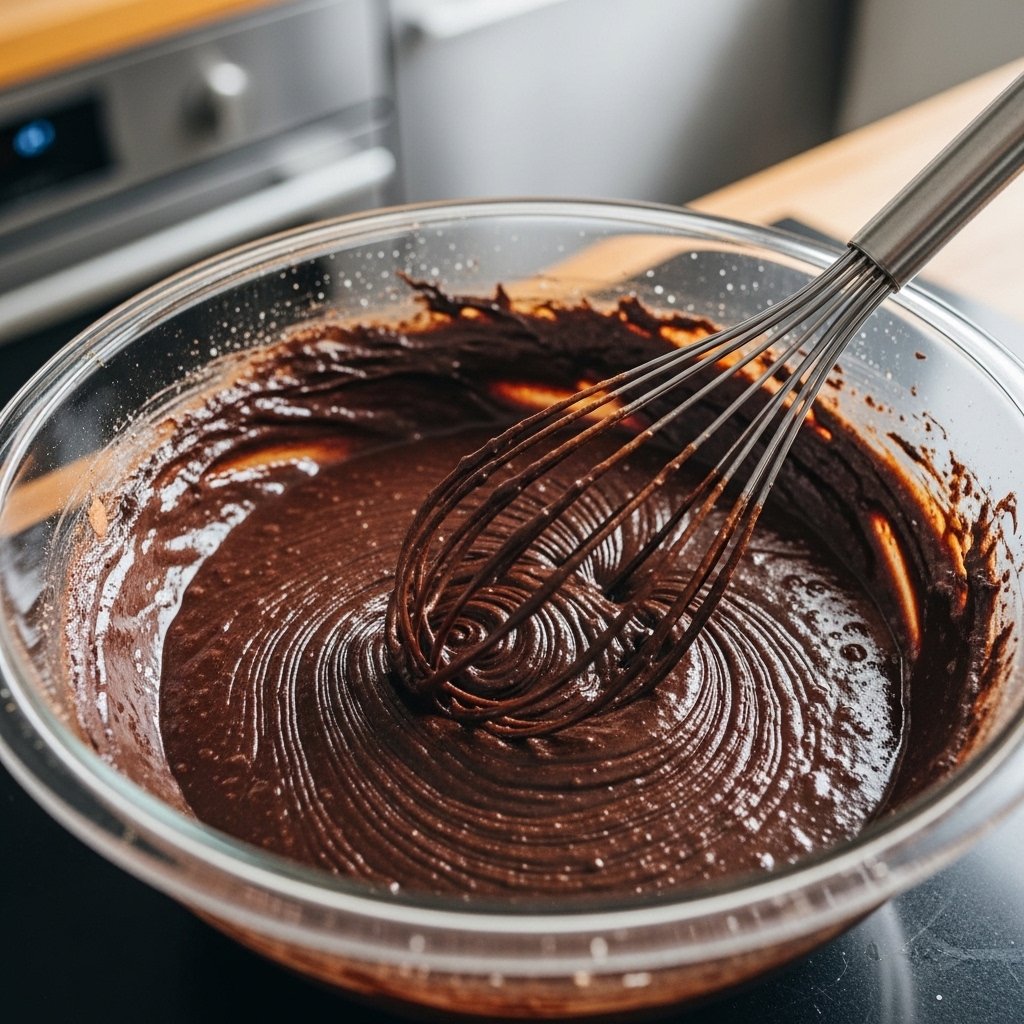
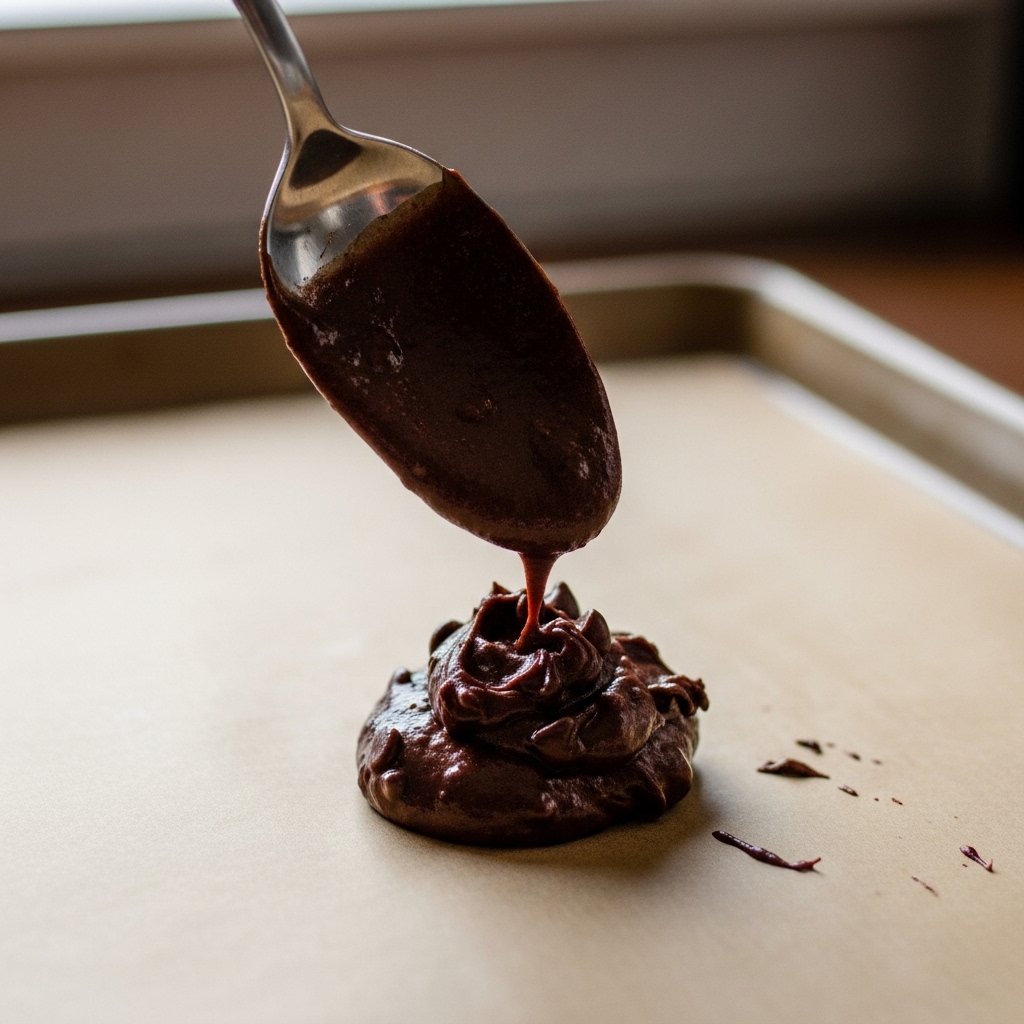
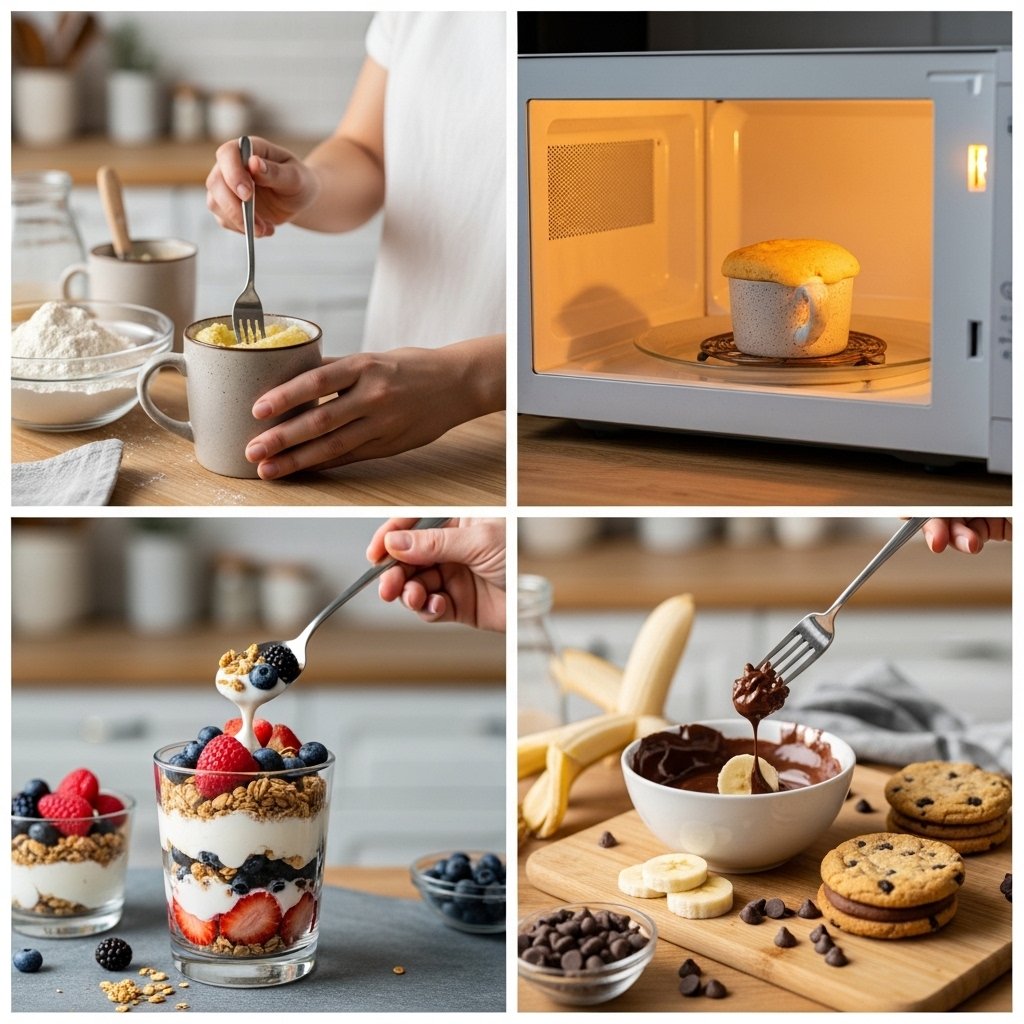
Chocolate Mug Cake
A soft, fluffy chocolate cake made in the microwave in minutes.
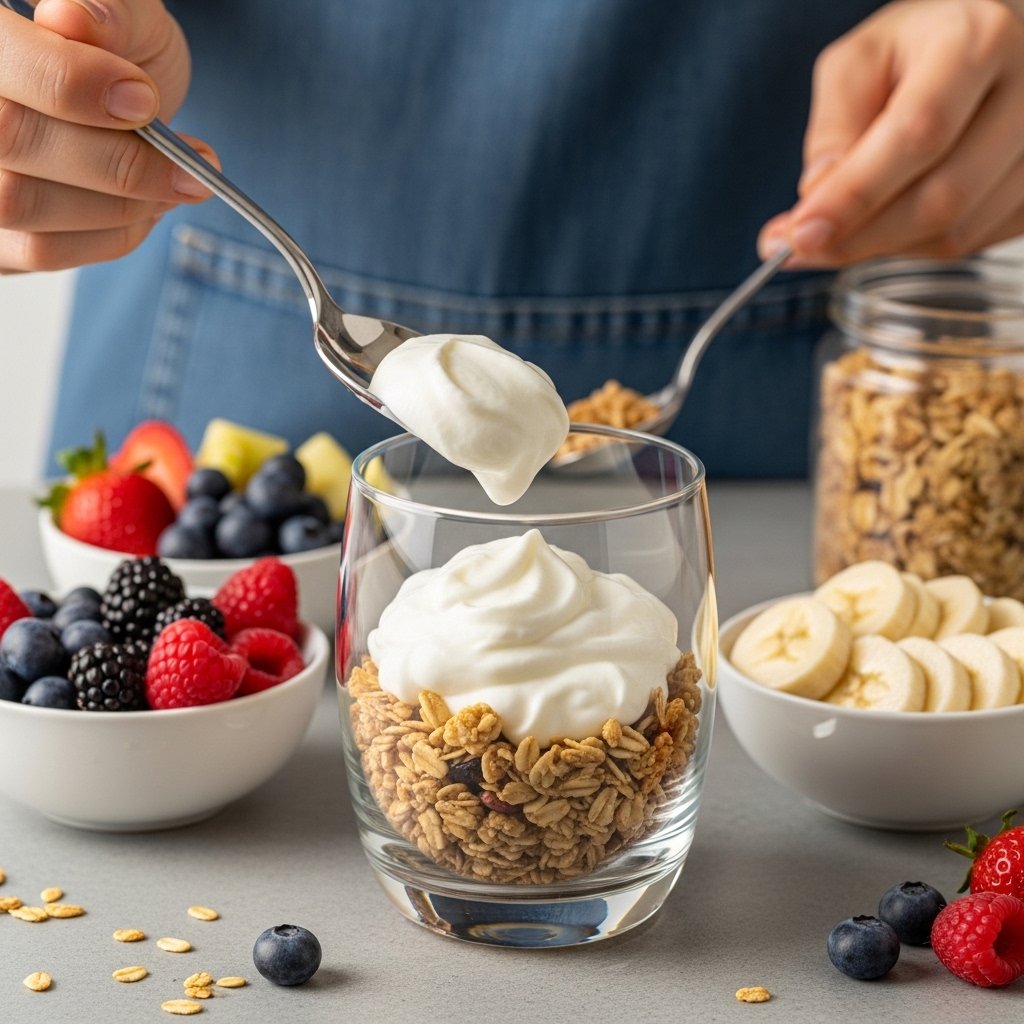
Yogurt Fruit Parfait
Layers of yogurt, granola, and fresh fruit for a refreshing dessert.
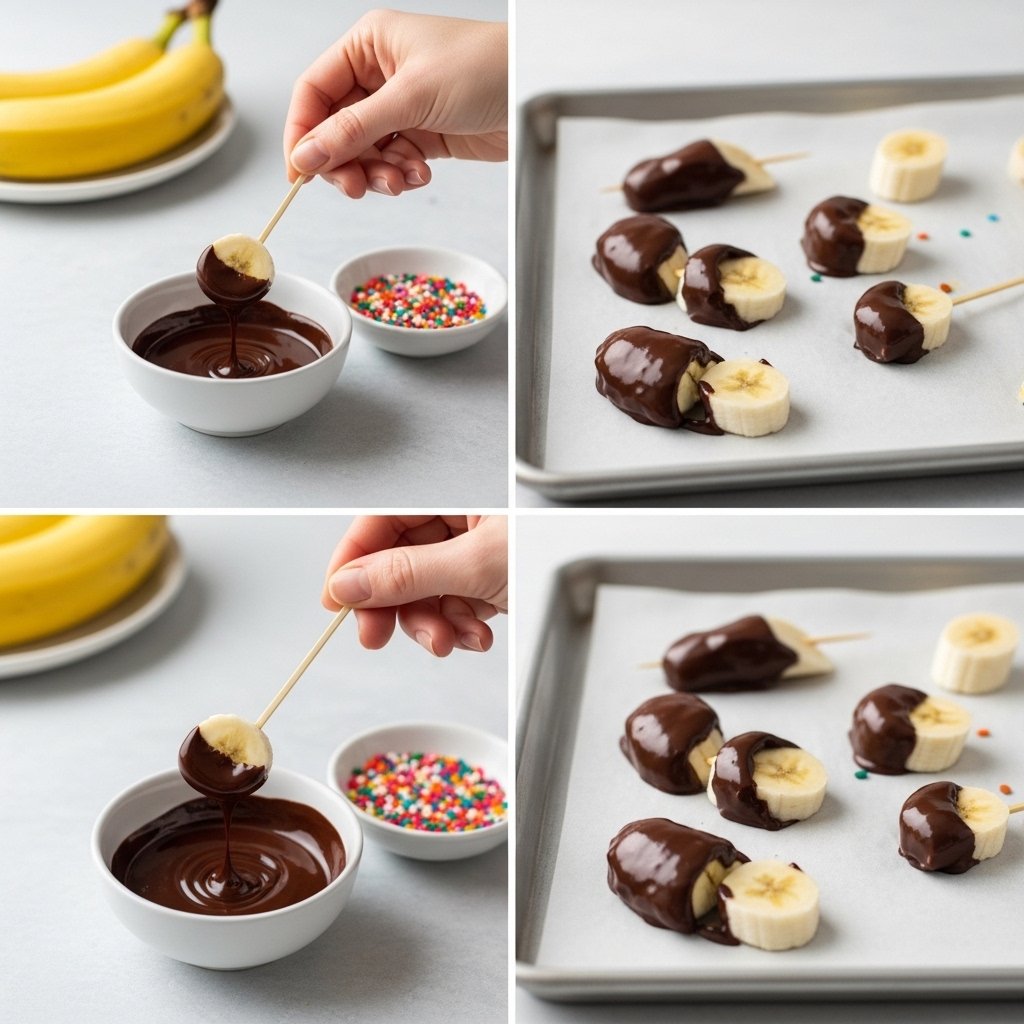
Banana Chocolate Bites
Frozen banana slices dipped in melted chocolate for a sweet treat.
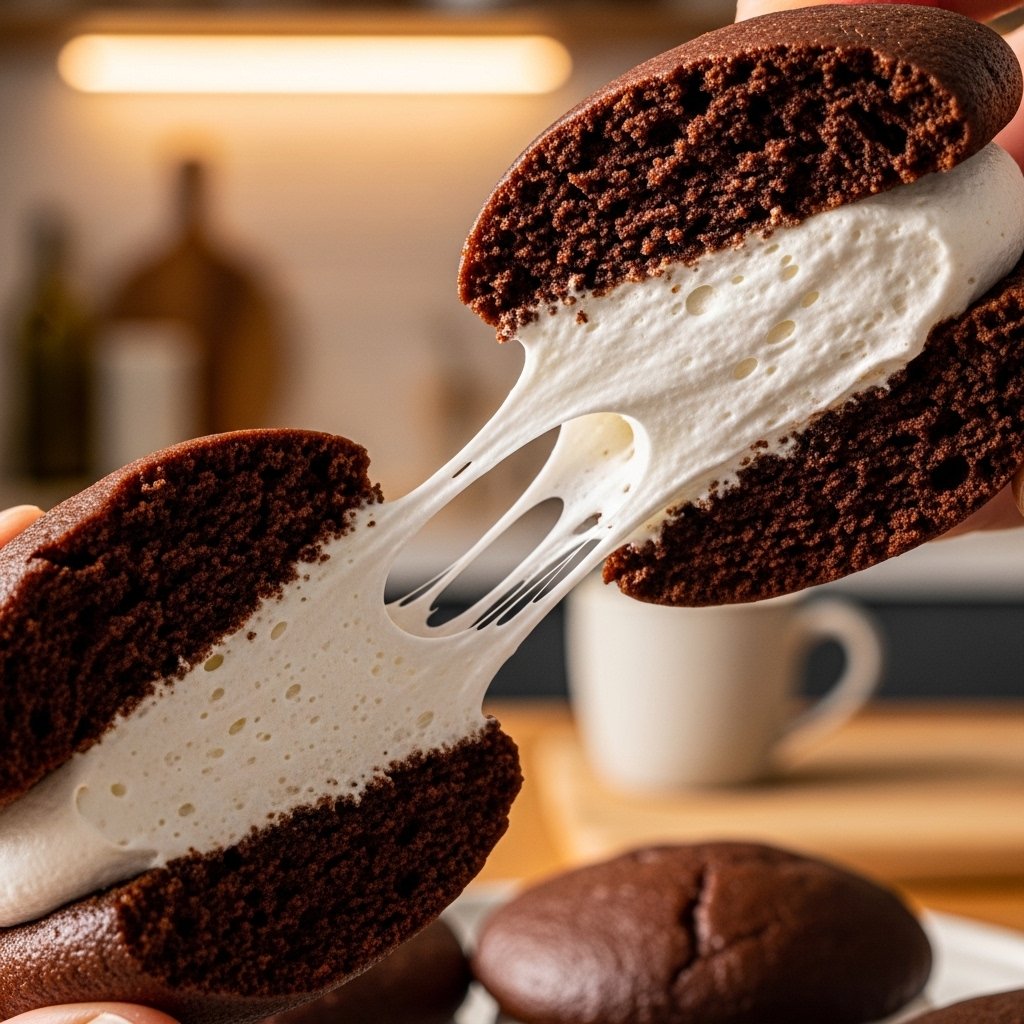
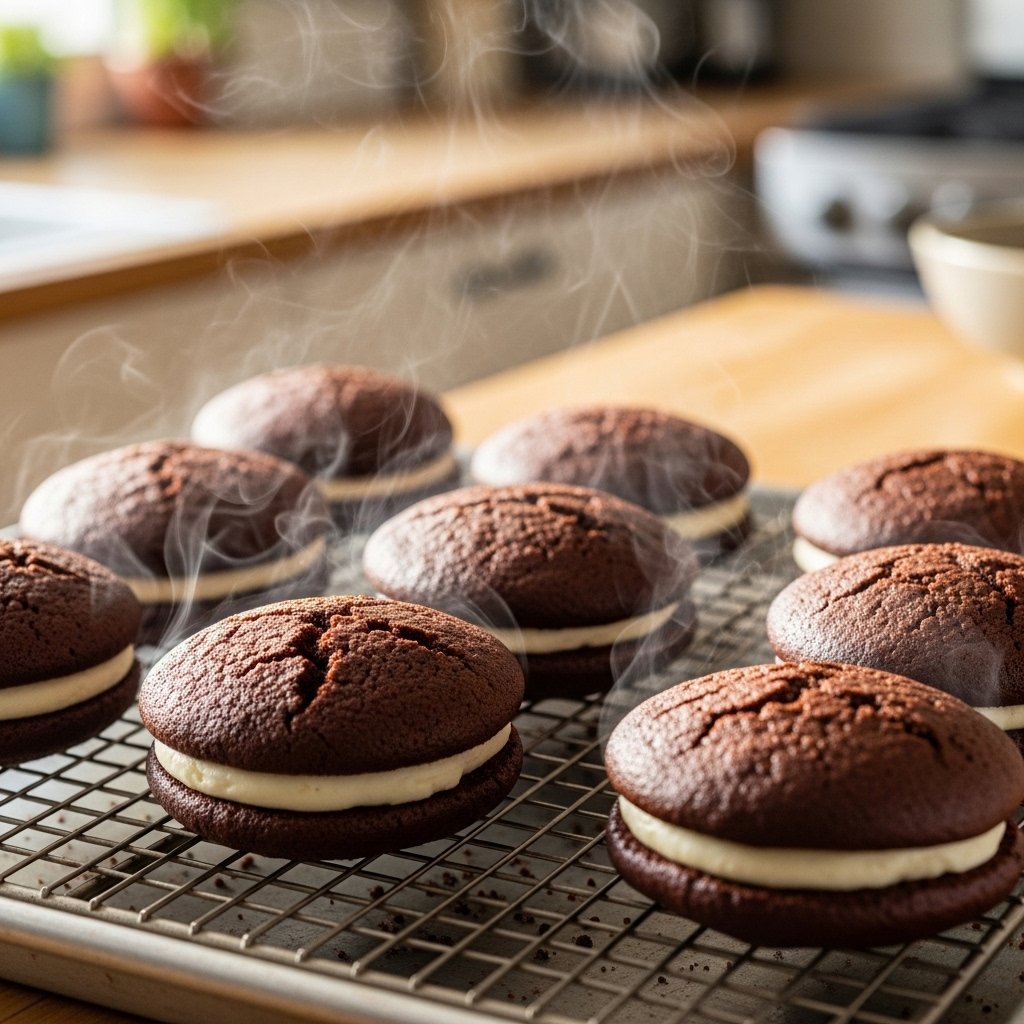
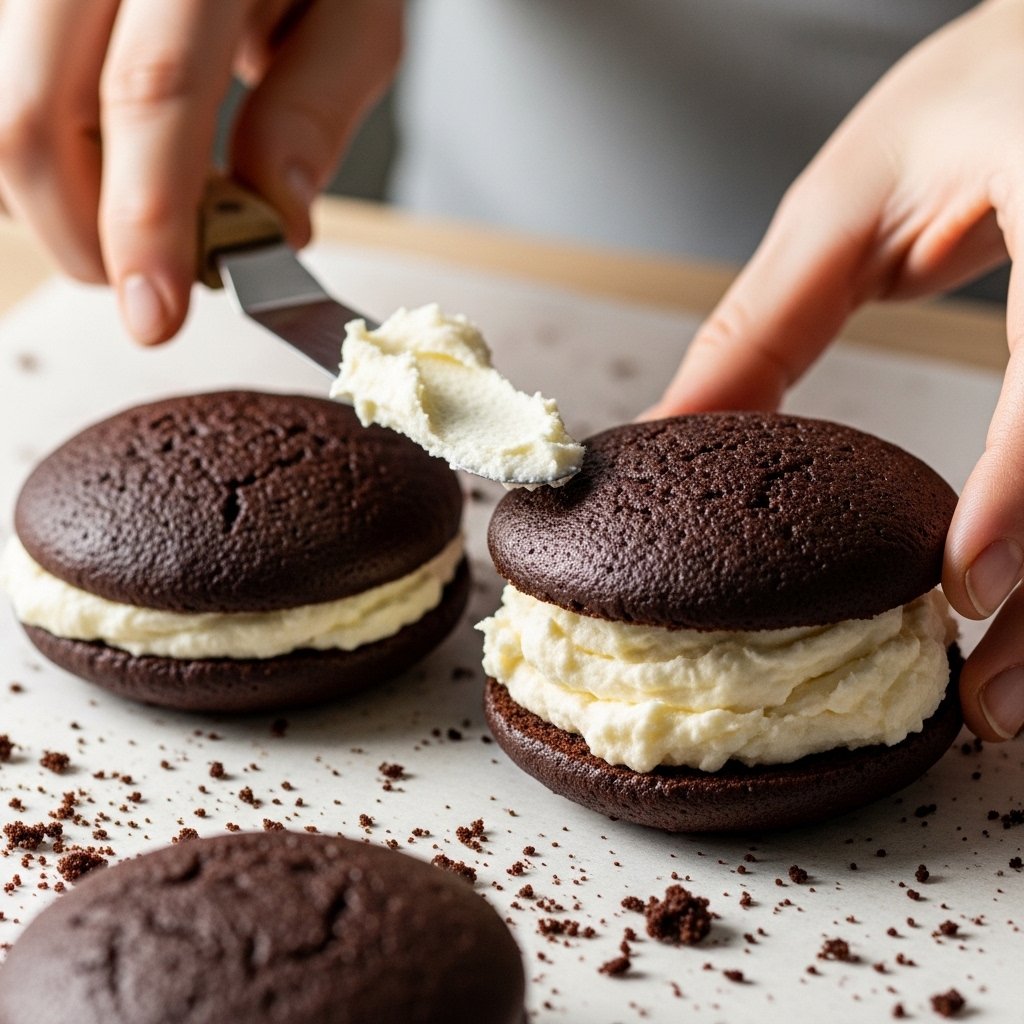
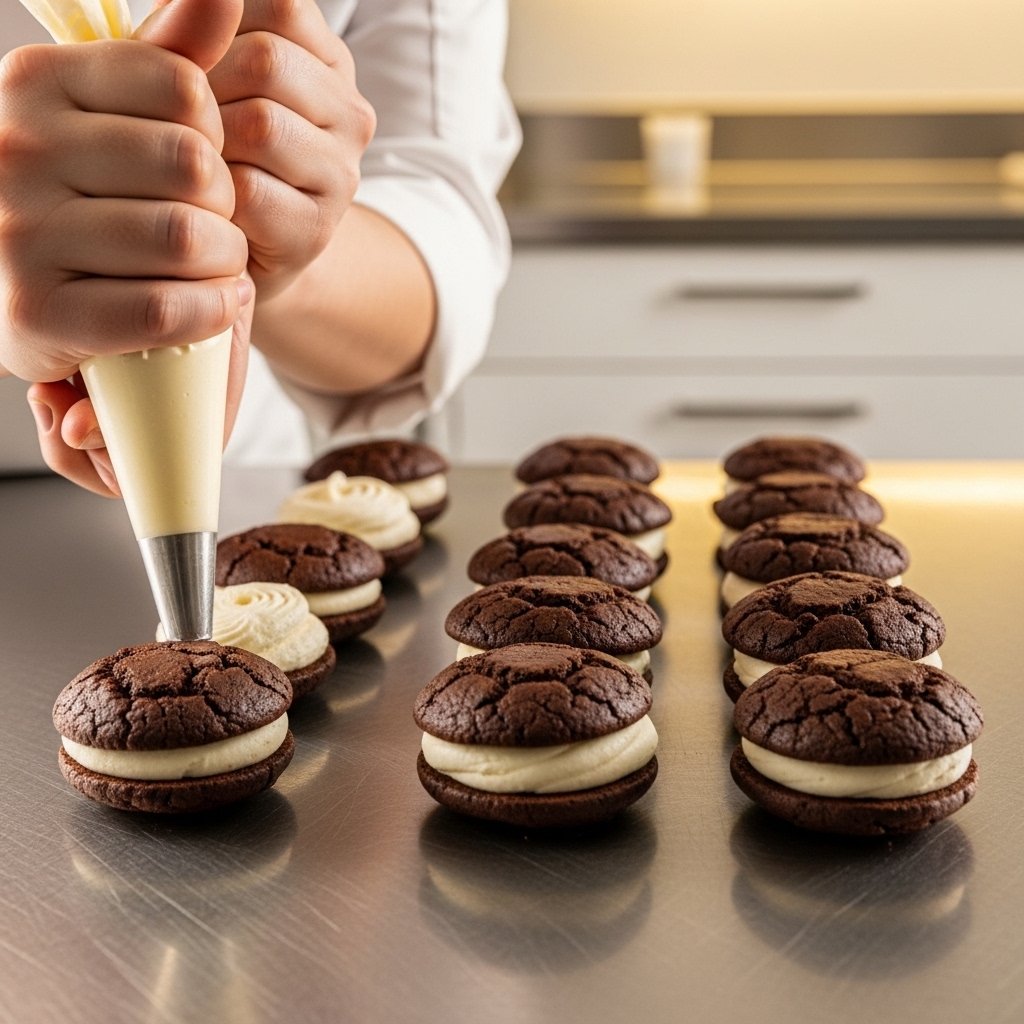
Cookie Sandwiches
Cookies filled with peanut butter or chocolate spread.
These desserts are quick, satisfying, and always crowd-pleasers.
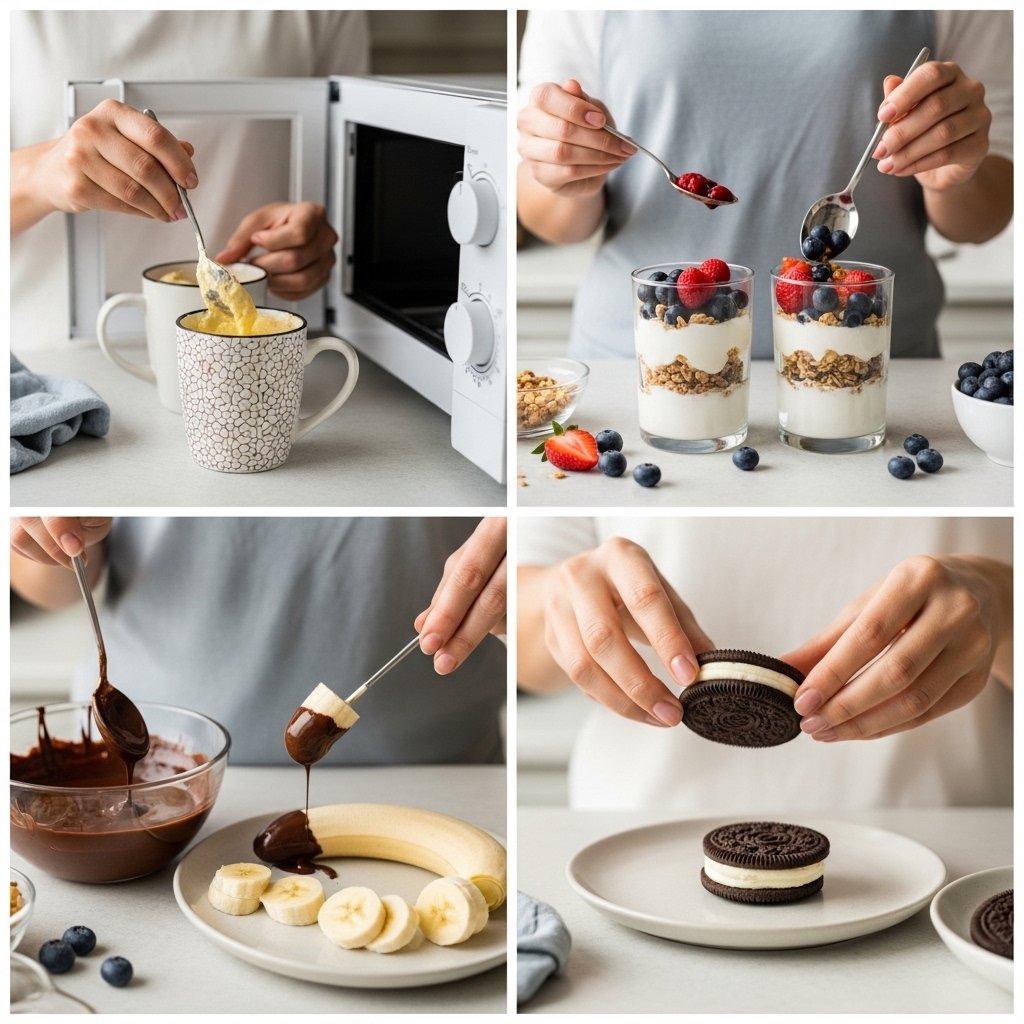
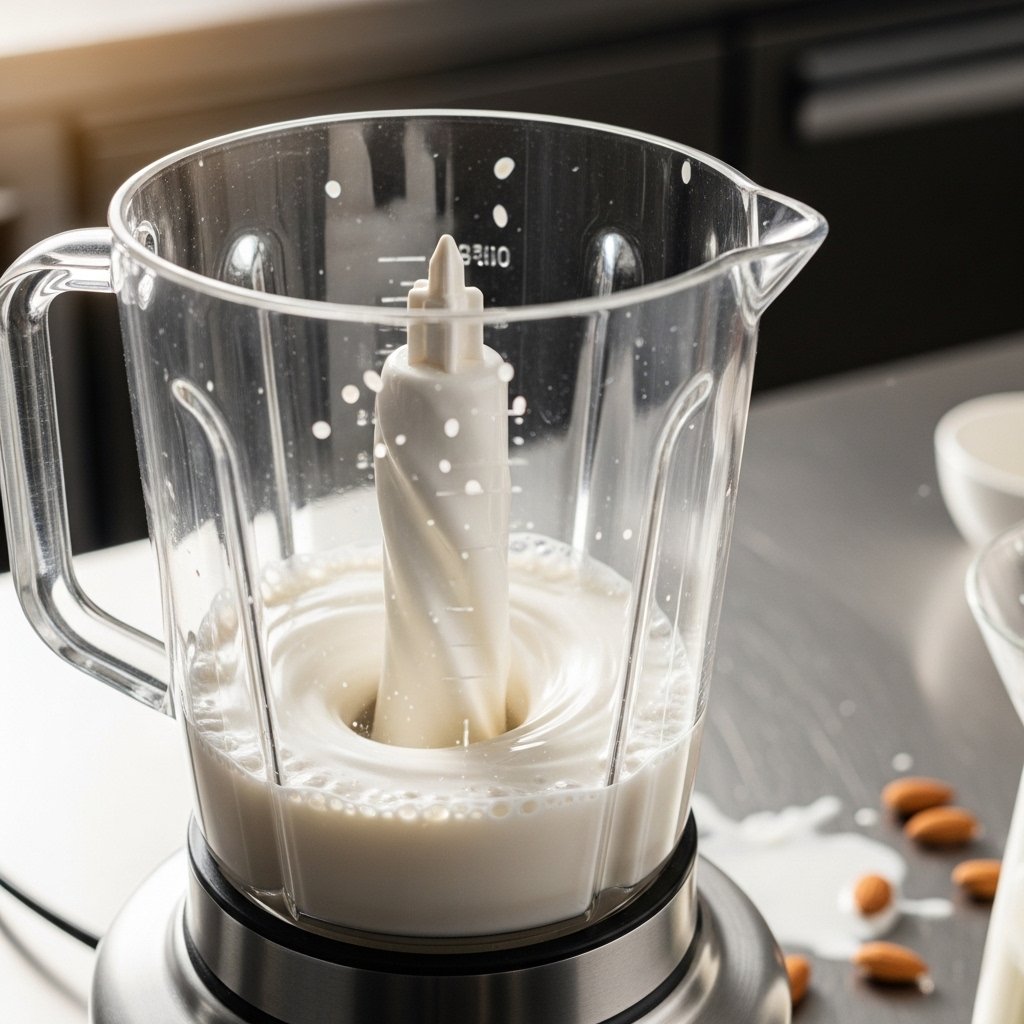
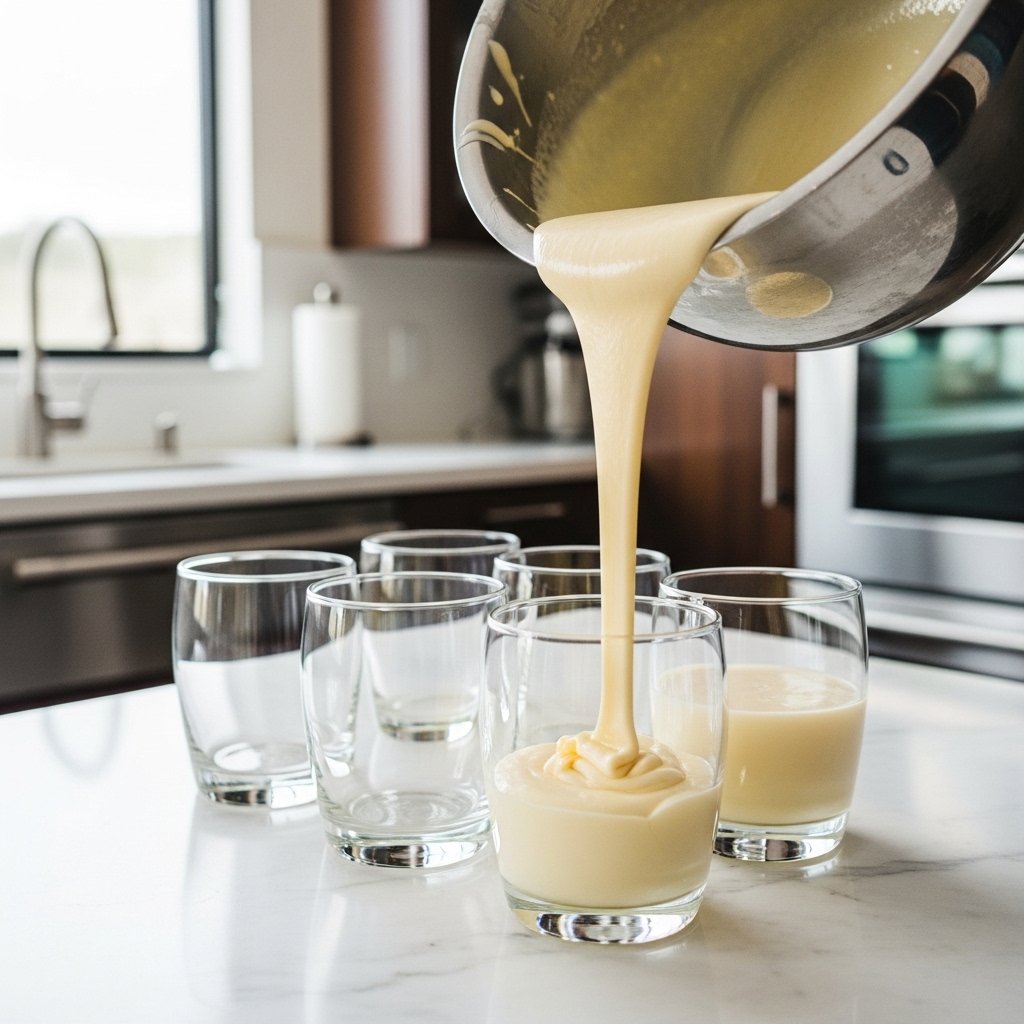
How to Make 5 Minute Desserts
Most 5 Minute Dessert Recipes follow a simple process:
- Pick a base (fruit, cookies, yogurt)
- Add sweetness (chocolate, honey, or syrup)
- Mix or layer ingredients
- Serve immediately or chill briefly
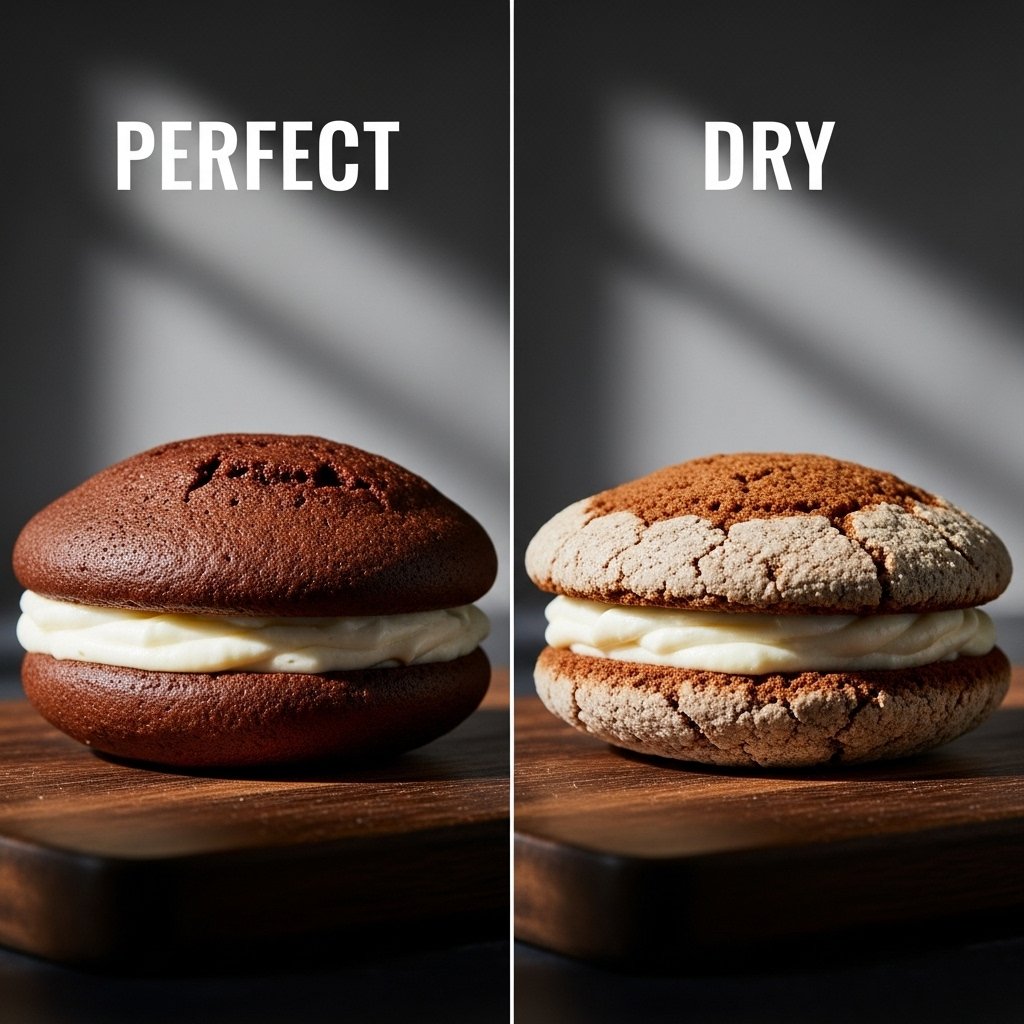
Tips for Perfect Results
To get the best out of 5 Minute Dessert Recipes, keep these tips in mind:
- Prep ingredients ahead of time
- Use microwave-safe containers
- Don’t overmix mug cake batter
- Balance sweetness with fresh fruit
- Keep toppings ready for quick assembly
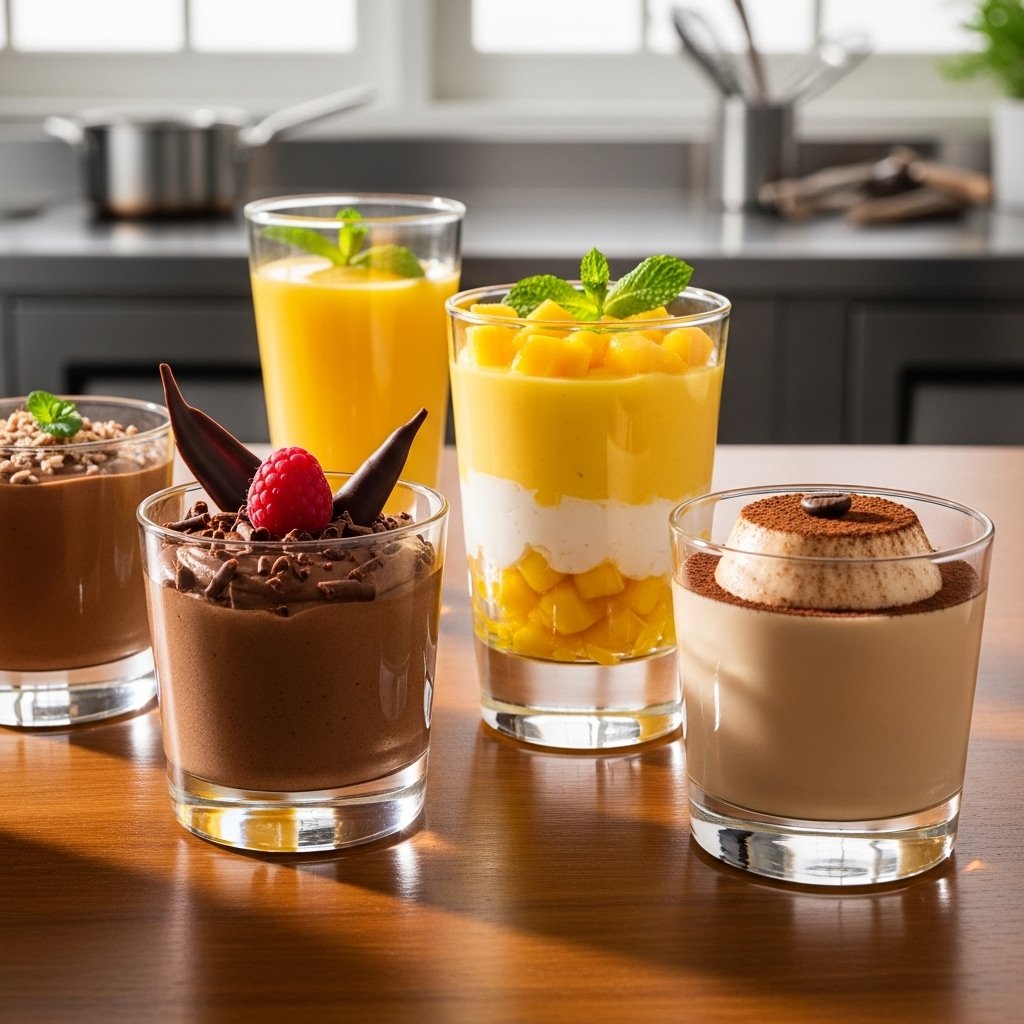
Variations You Can Try
These 5 Minute Dessert Recipes are super flexible:
Healthy Version
Use Greek yogurt, honey, and fresh fruit.
Chocolate Lover’s Version
Add extra cocoa and melted chocolate.
Vegan Version
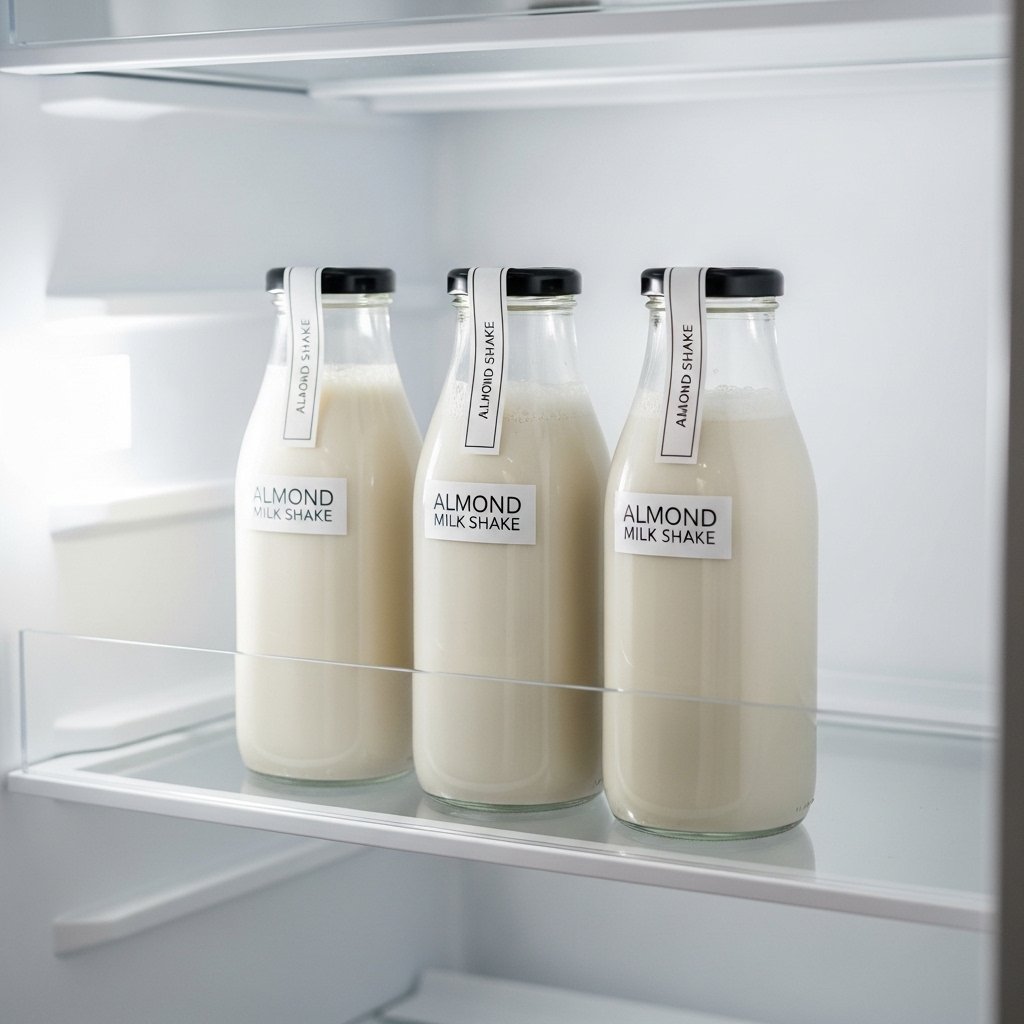
Use plant-based milk and dairy-free chocolate.
Kid-Friendly Version
Add sprinkles, candies, and colorful toppings.

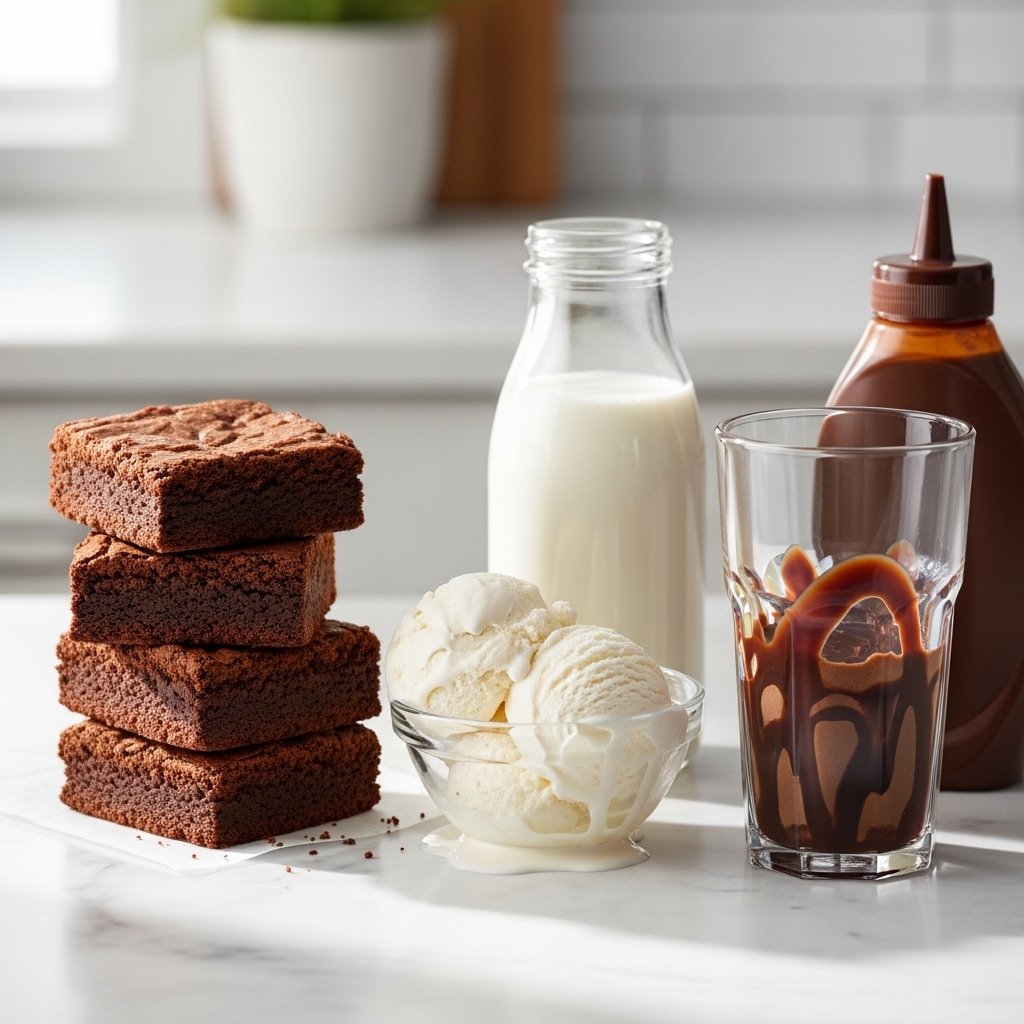
What to Serve With These Desserts
These 5 Minute Dessert Recipes pair perfectly with:
- Coffee or espresso
- Milkshakes
- Fresh juice
- Tea or hot chocolate
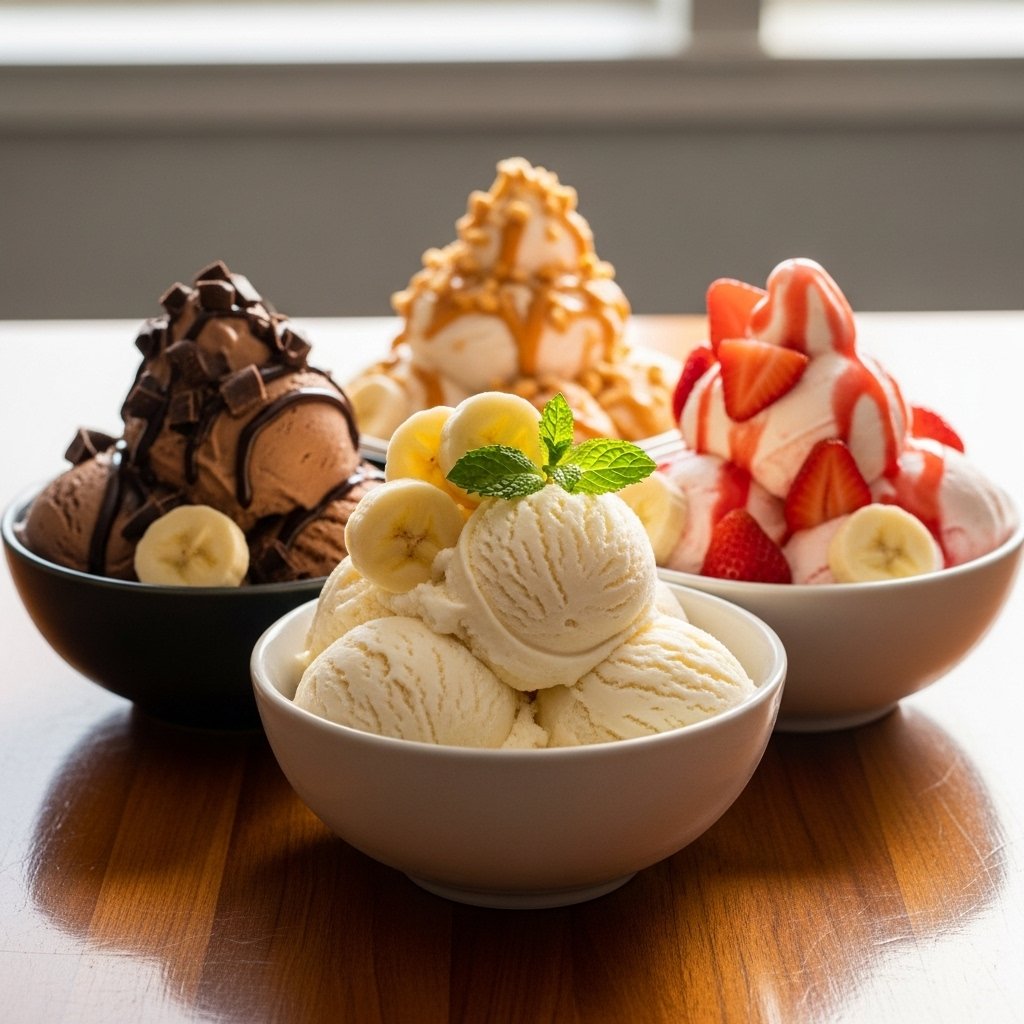
- Ice cream
Great for any time of day or occasion.
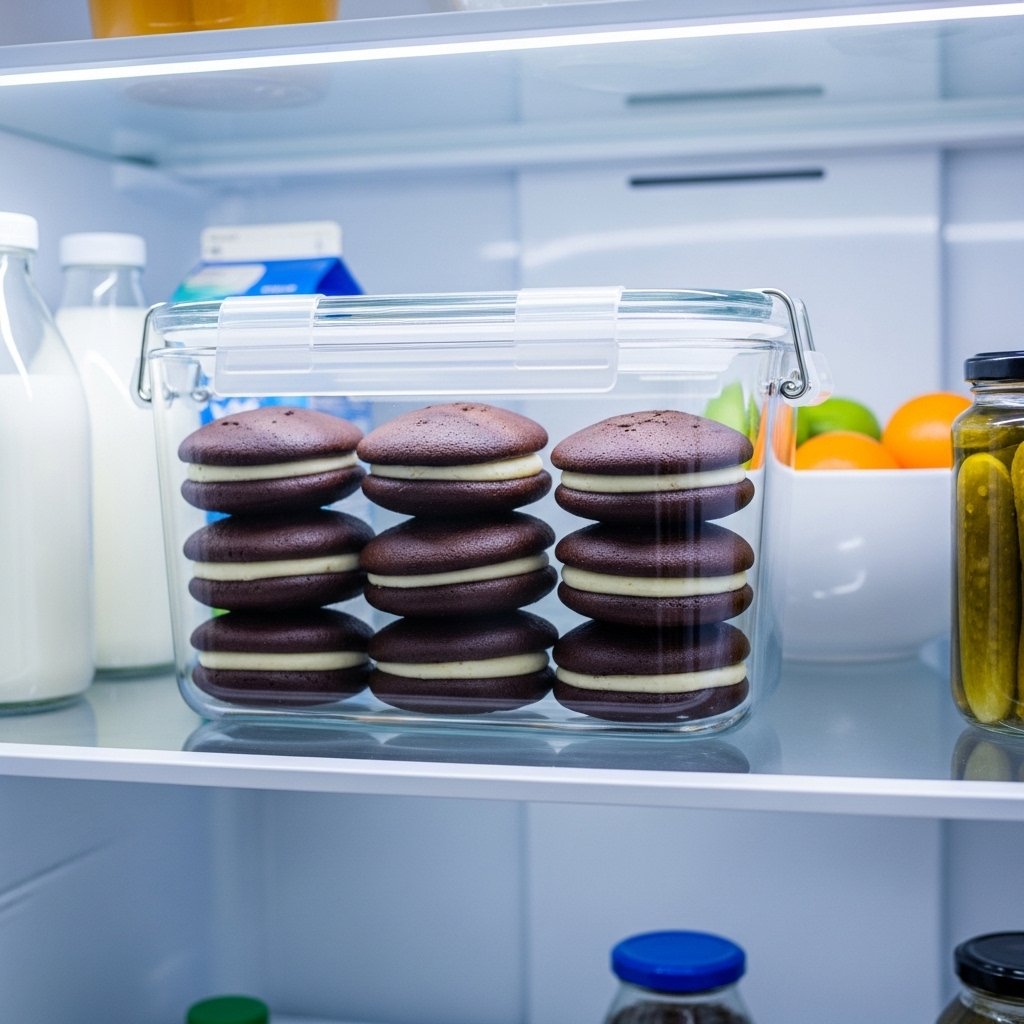
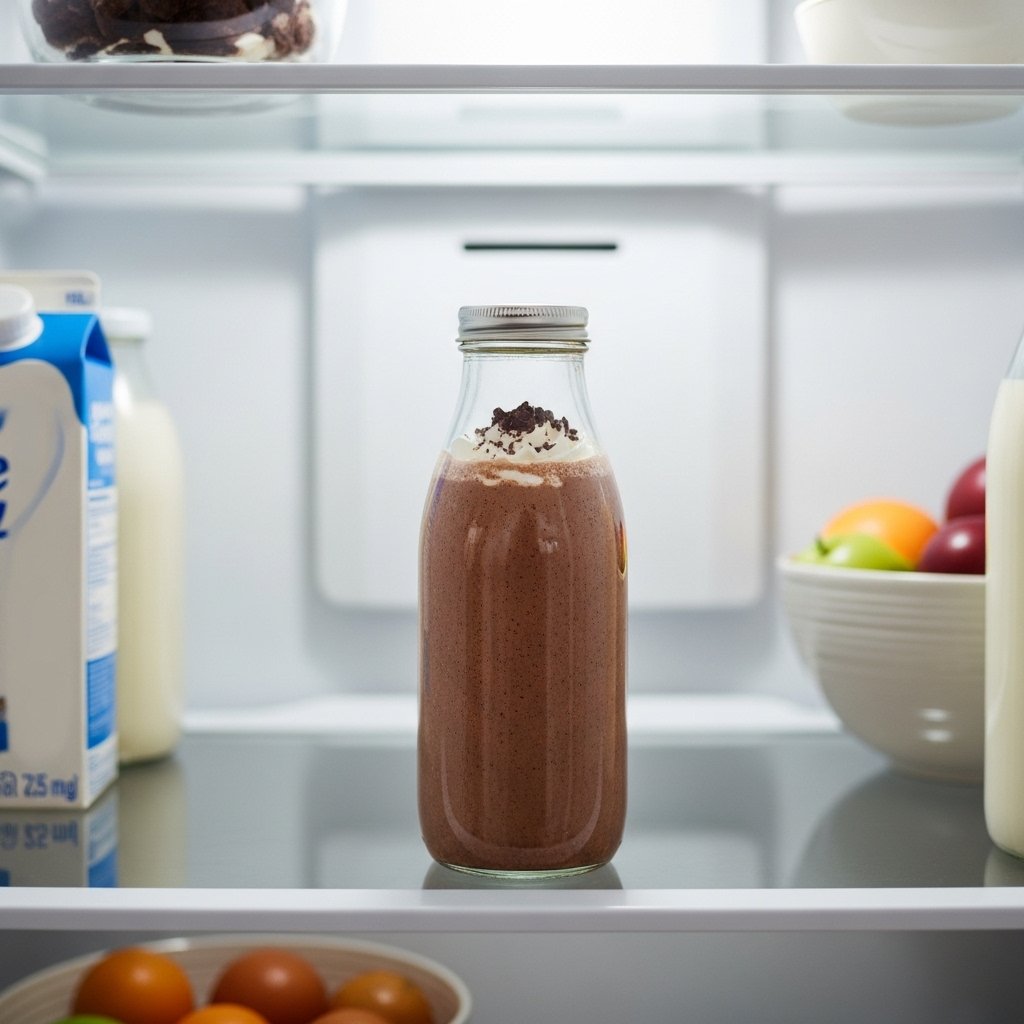
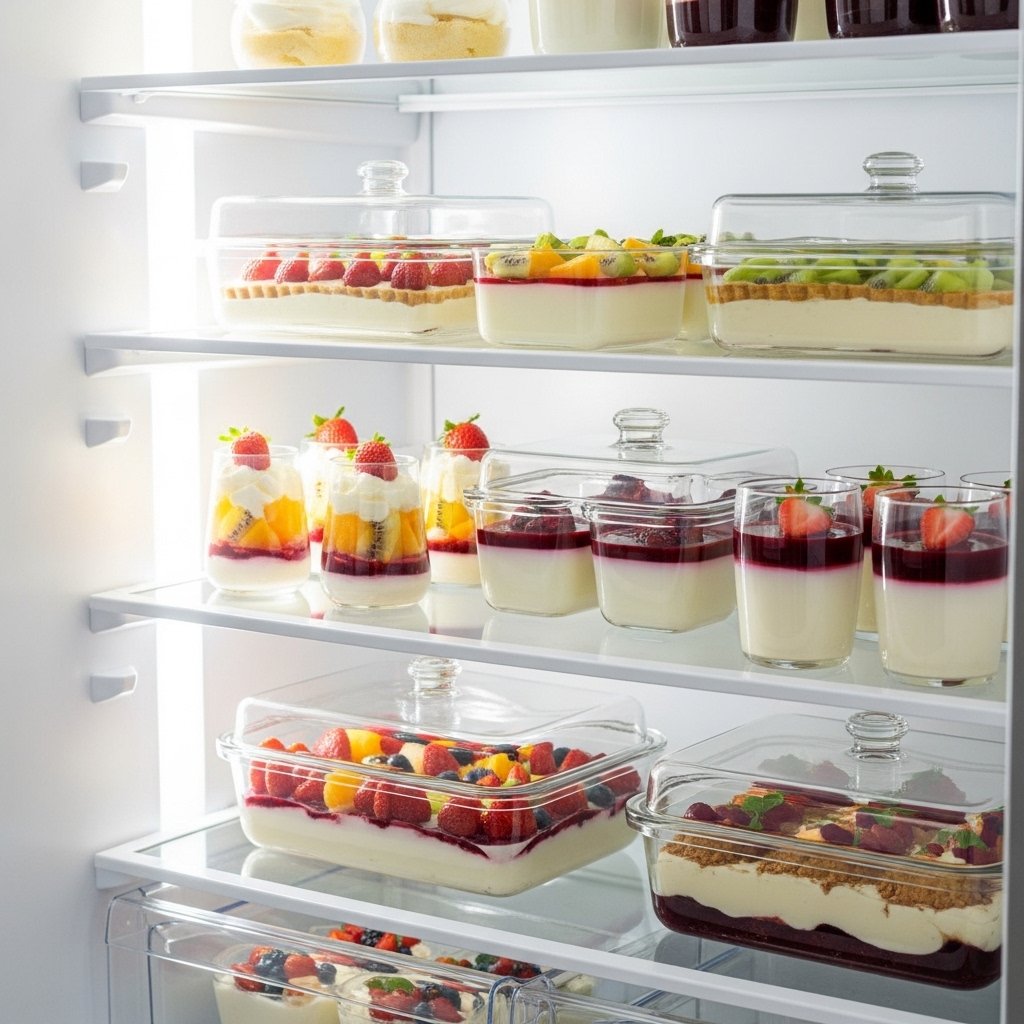
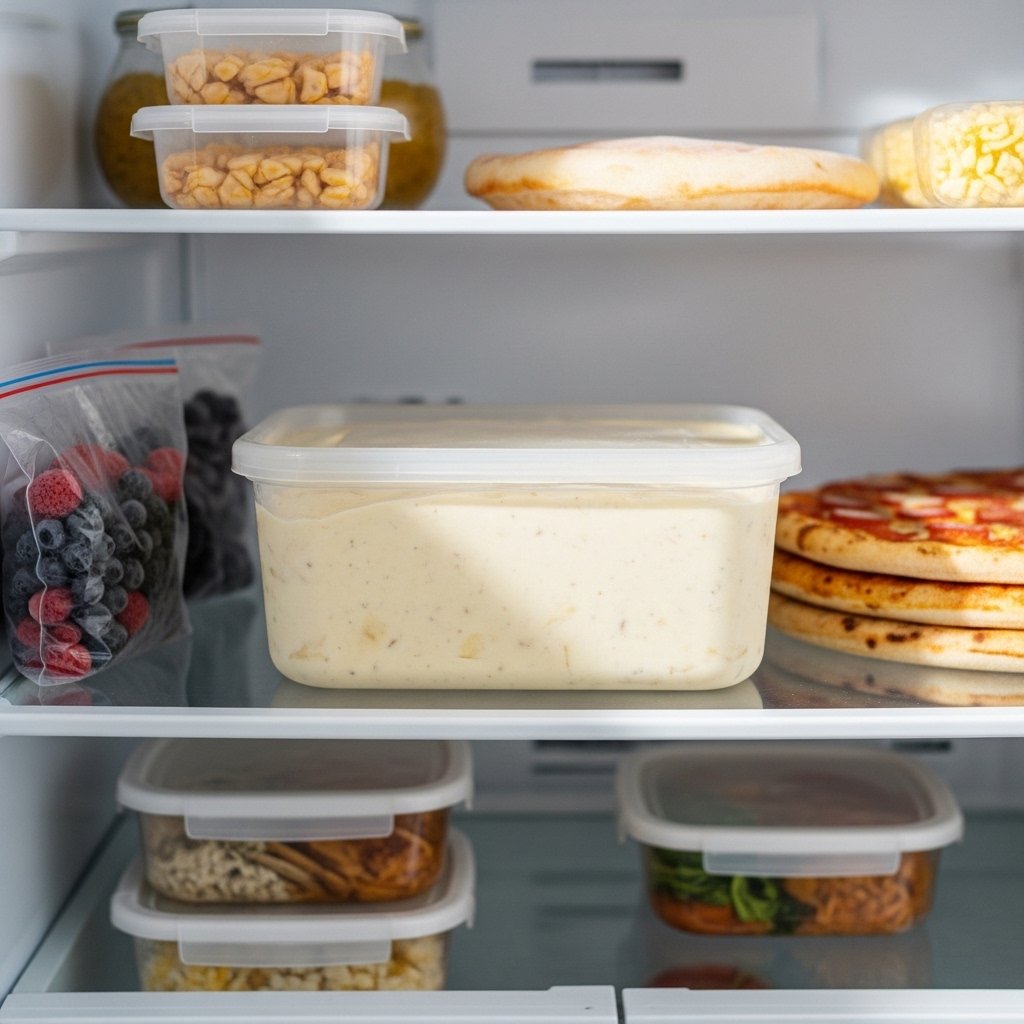
Storage Tips
- Mug cakes are best eaten immediately
- Yogurt parfaits can be stored in the fridge for a few hours
- Banana desserts should be frozen if not eaten quickly
- Prepping ingredients saves even more time
Common Mistakes to Avoid
- Overcooking mug cakes
- Using watery or overripe fruit
- Skipping texture (always add crunch or creaminess)
- Not measuring ingredients properly
- Forgetting toppings for flavor balance
FAQs
Can desserts really be made in 5 minutes?
Yes, these recipes are designed for ultra-fast preparation.
Are these desserts healthy?
Some can be healthy depending on ingredients used.
Do I need baking skills?
No, these are beginner-friendly recipes.
Can kids make them?
Yes, with simple supervision for microwave use.
Final Thoughts
These 5 Minute Dessert Recipes are proof that you don’t need hours in the kitchen to enjoy something sweet and satisfying. They’re fast, flexible, and perfect for any craving or occasion.
Once you try them, you’ll always have a quick dessert solution ready in your back pocket 🍓⚡