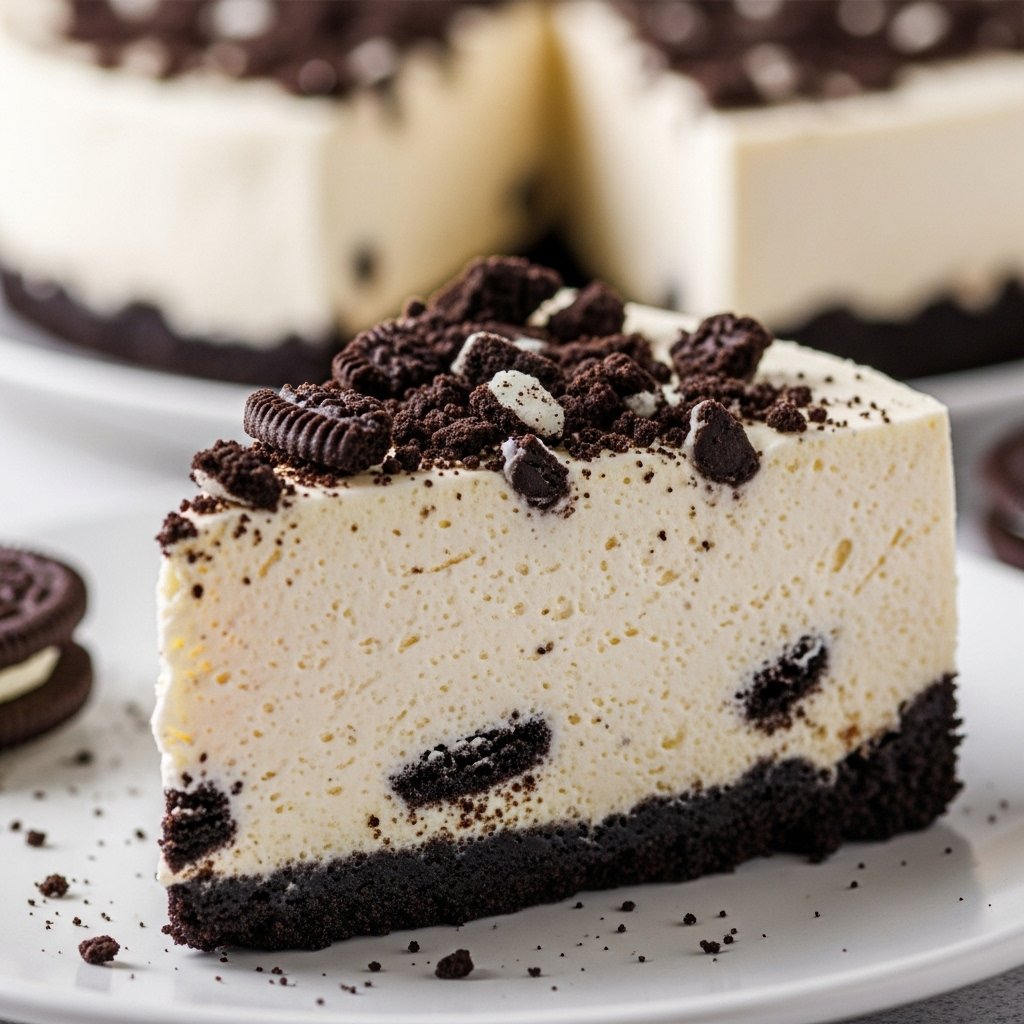
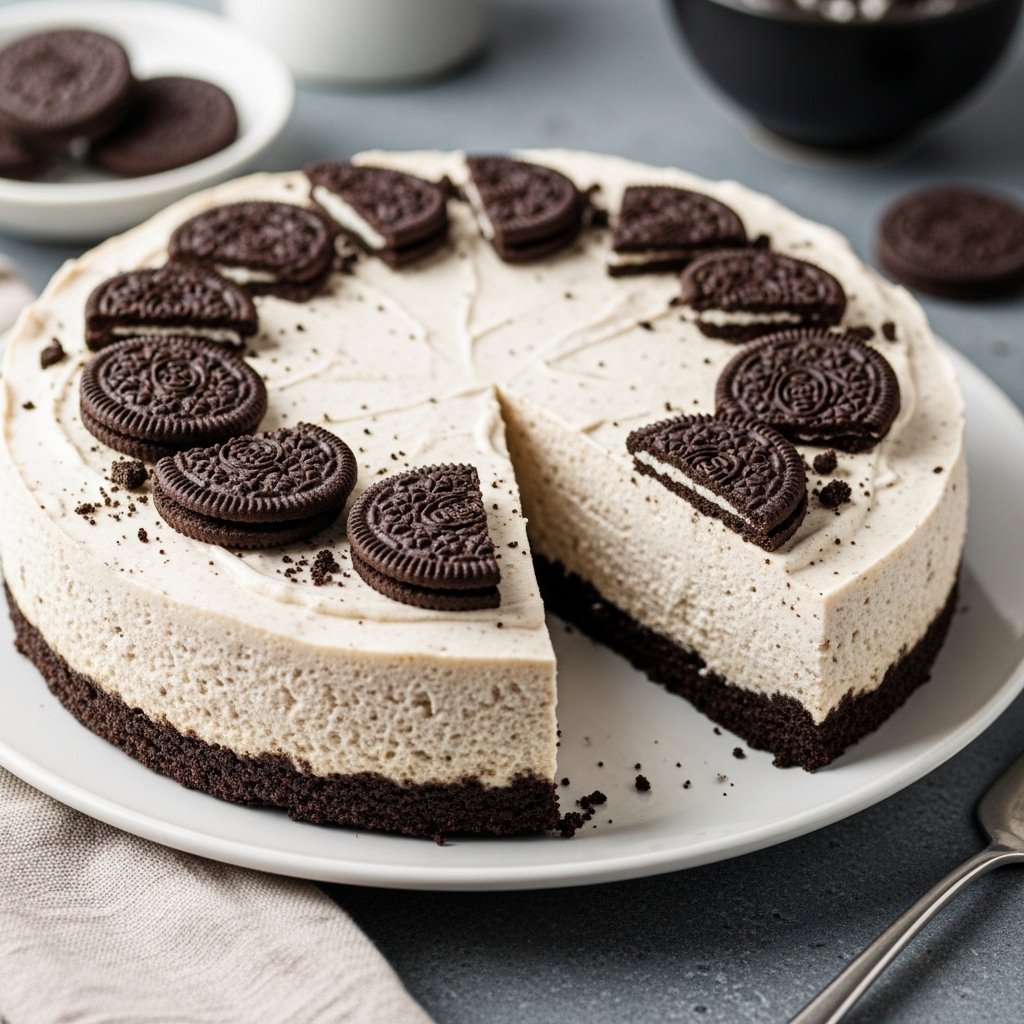
If you’re a fan of creamy desserts that require zero oven time, this No-Bake Oreo Cheesecake is going to be your new favorite treat. It’s rich, silky, and packed with chunks of chocolate Oreo cookies in every bite.
Unlike traditional baked cheesecakes, this version is incredibly simple and beginner-friendly. There’s no water bath, no cracking, and no stress—just a smooth, luscious dessert that sets perfectly in the fridge.
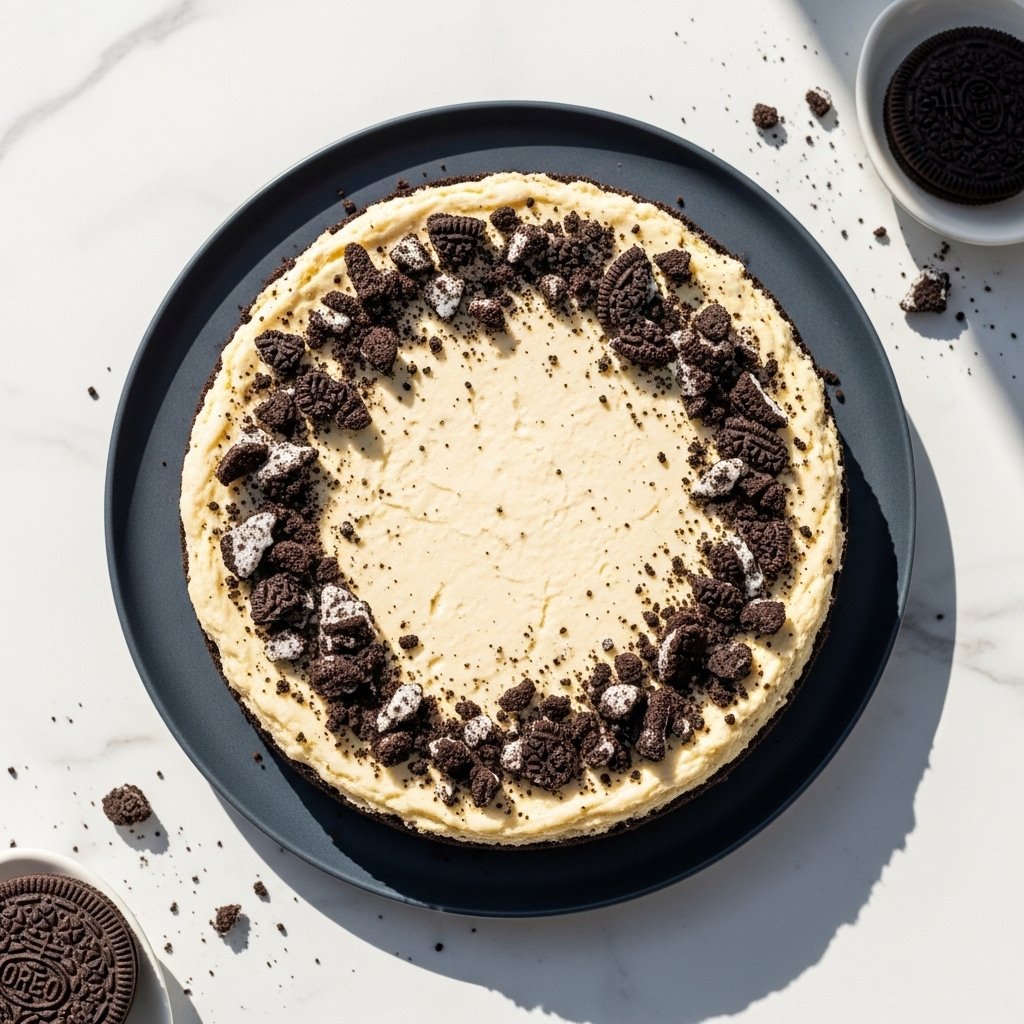
This No-Bake Oreo Cheesecake is perfect for birthdays, holidays, potlucks, or whenever you need a quick yet impressive dessert that everyone will love.

Why You’ll Love This No-Bake Oreo Cheesecake
There are so many reasons to adore this No-Bake Oreo Cheesecake:
- No oven required
- Ultra creamy and rich texture
- Packed with Oreo cookie chunks
- Easy beginner-friendly recipe
- Perfect make-ahead dessert
It’s the ultimate dessert for Oreo lovers everywhere.
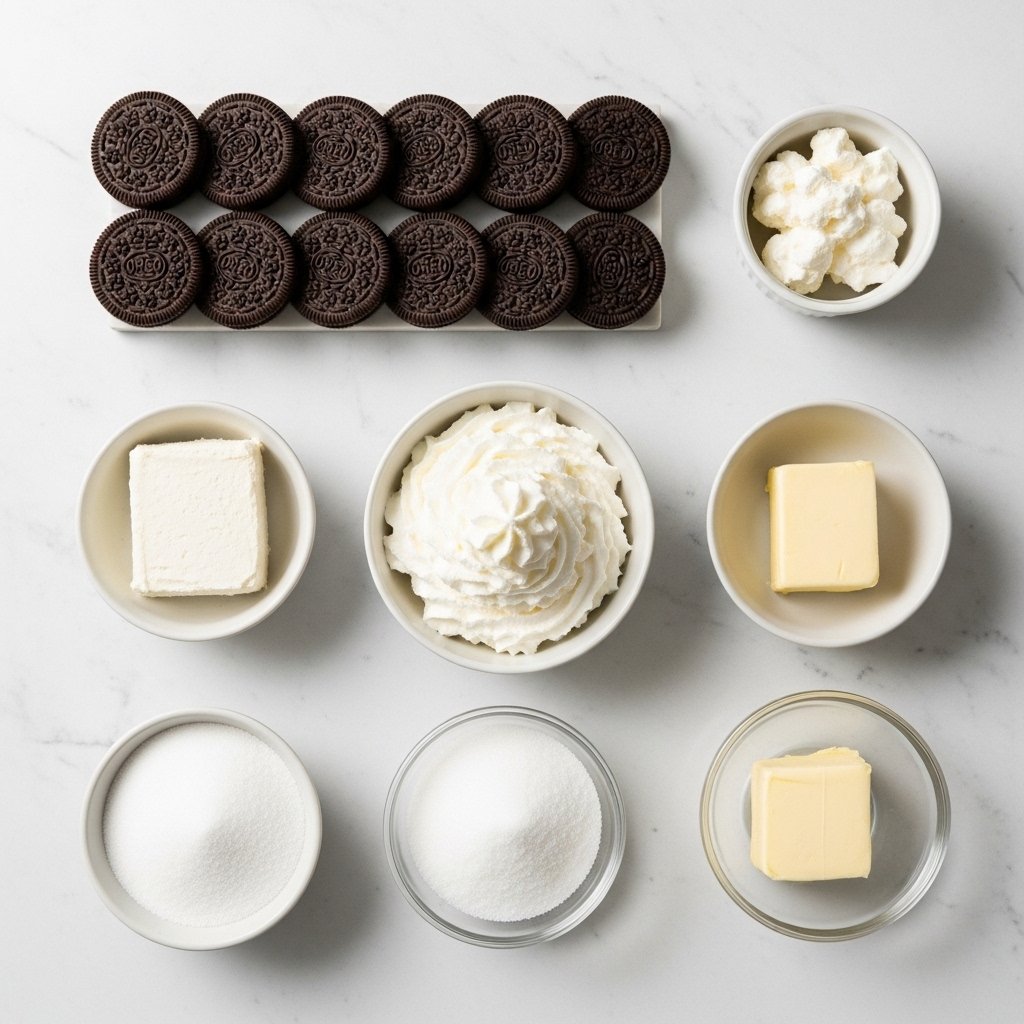
Ingredients
To make this No-Bake Oreo Cheesecake, you’ll need:
For the Crust:
- 24 Oreo cookies (crushed)
- 5 tablespoons melted butter
For the Cheesecake Filling:
- 16 oz cream cheese (softened)
- 1 cup heavy whipping cream
- 3/4 cup powdered sugar
- 10–12 Oreo cookies (chopped)
- 1 teaspoon vanilla extract
For Topping (optional):
- Whipped cream
- Crushed Oreos
- Chocolate drizzle
Ingredient Notes
The success of this No-Bake Oreo Cheesecake depends on using quality ingredients and proper texture balance.
Cream cheese should be fully softened for a smooth filling. Heavy cream adds fluffiness and lightness, making the cheesecake airy instead of dense.
Oreo cookies provide both the crust and mix-ins, giving the dessert its signature cookies-and-cream flavor.
Step-by-Step Instructions
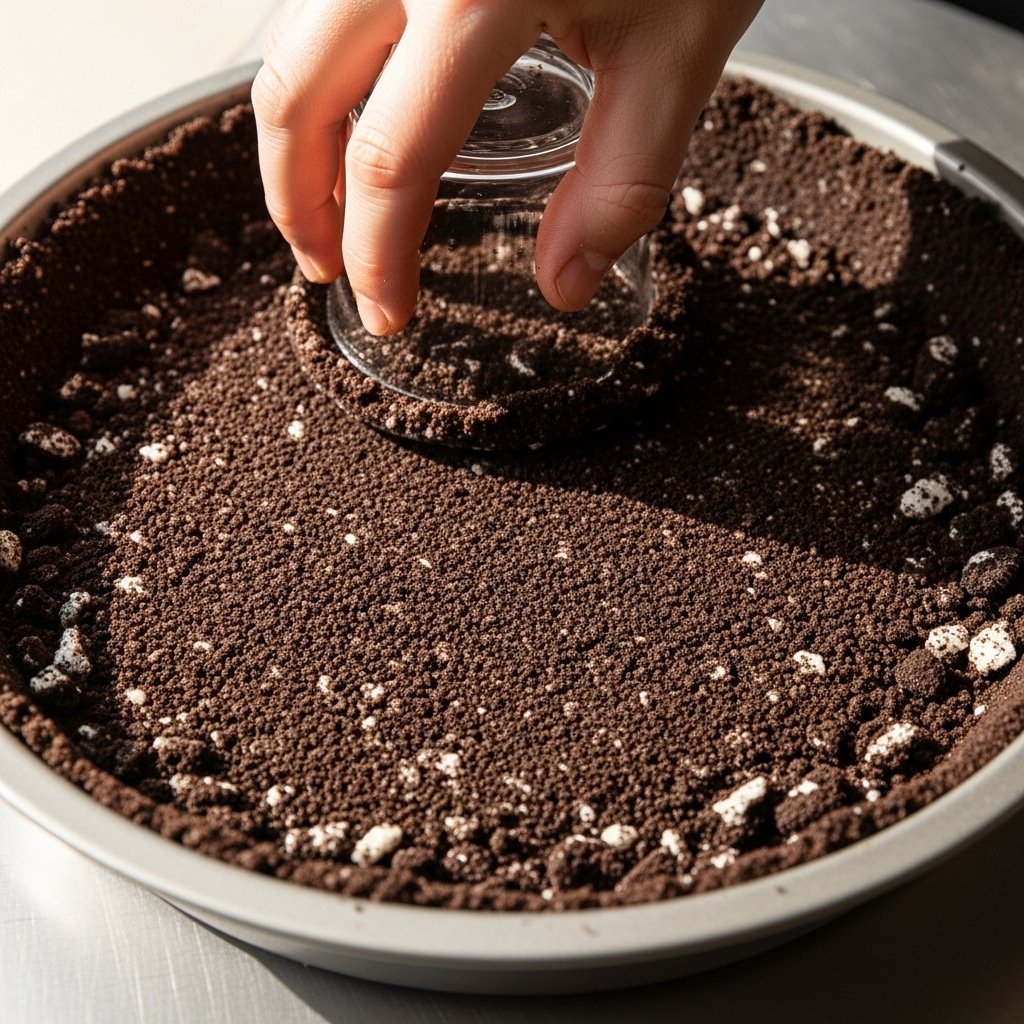
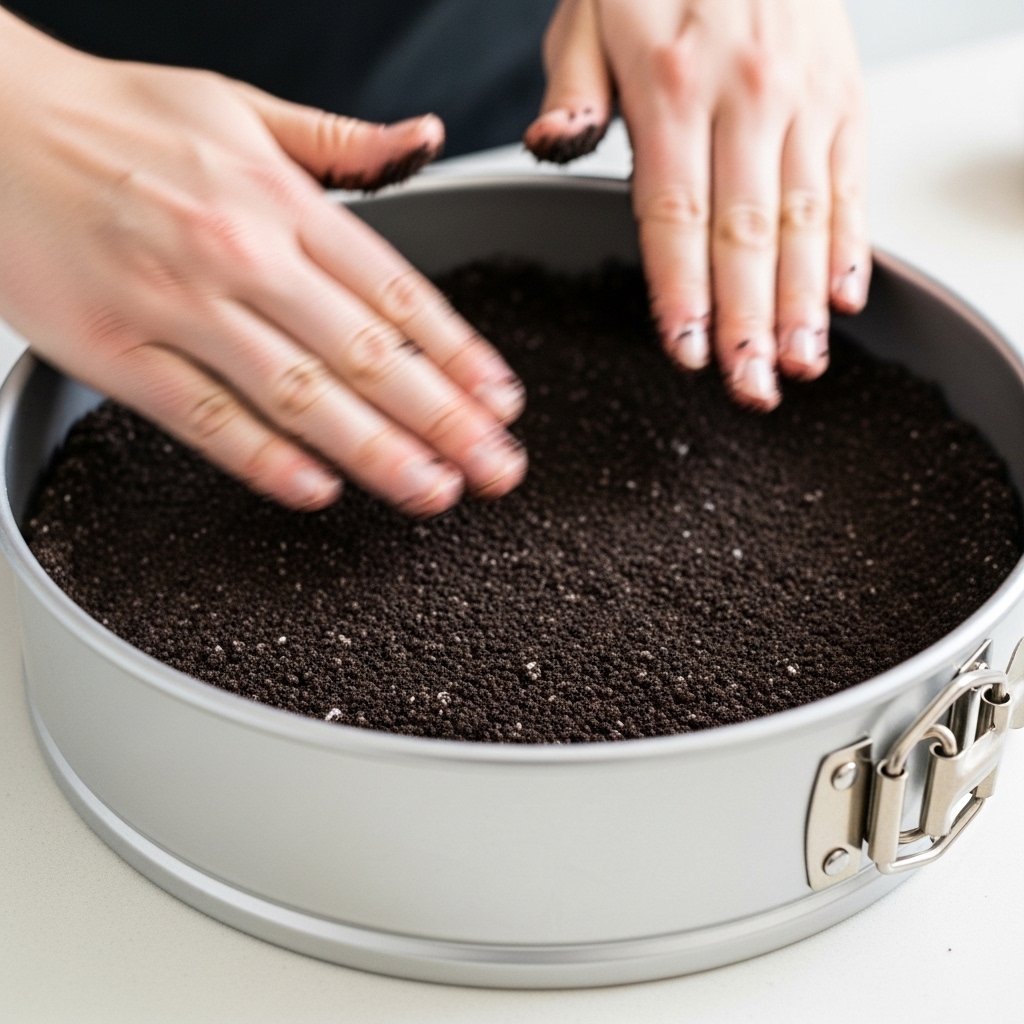
Step 1: Make the Crust
Mix crushed Oreos with melted butter and press firmly into a springform pan.
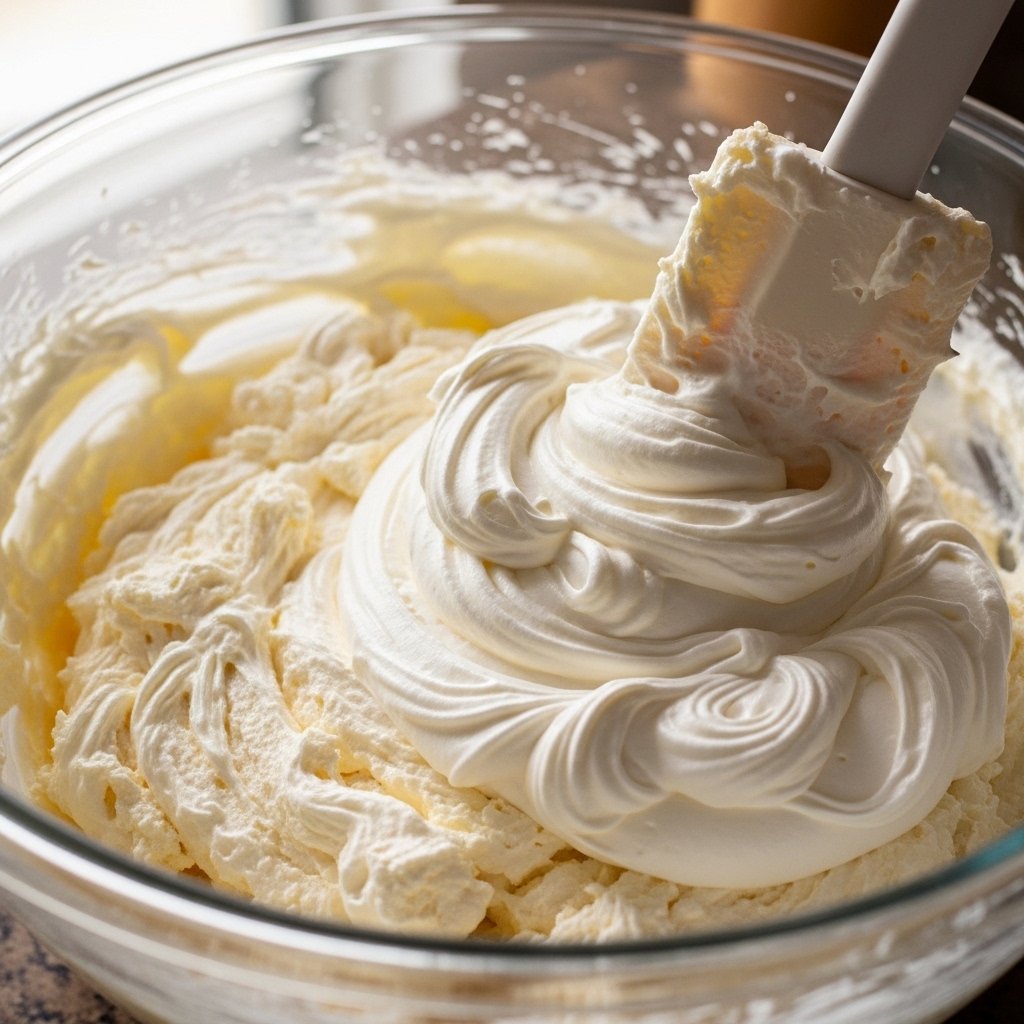
Step 2: Whip Cream
Beat heavy cream until stiff peaks form.
Step 3: Prepare Cheesecake Filling
Mix cream cheese, powdered sugar, and vanilla until smooth, then fold in whipped cream.
Step 4: Add Oreos
Fold in chopped Oreo cookies evenly.
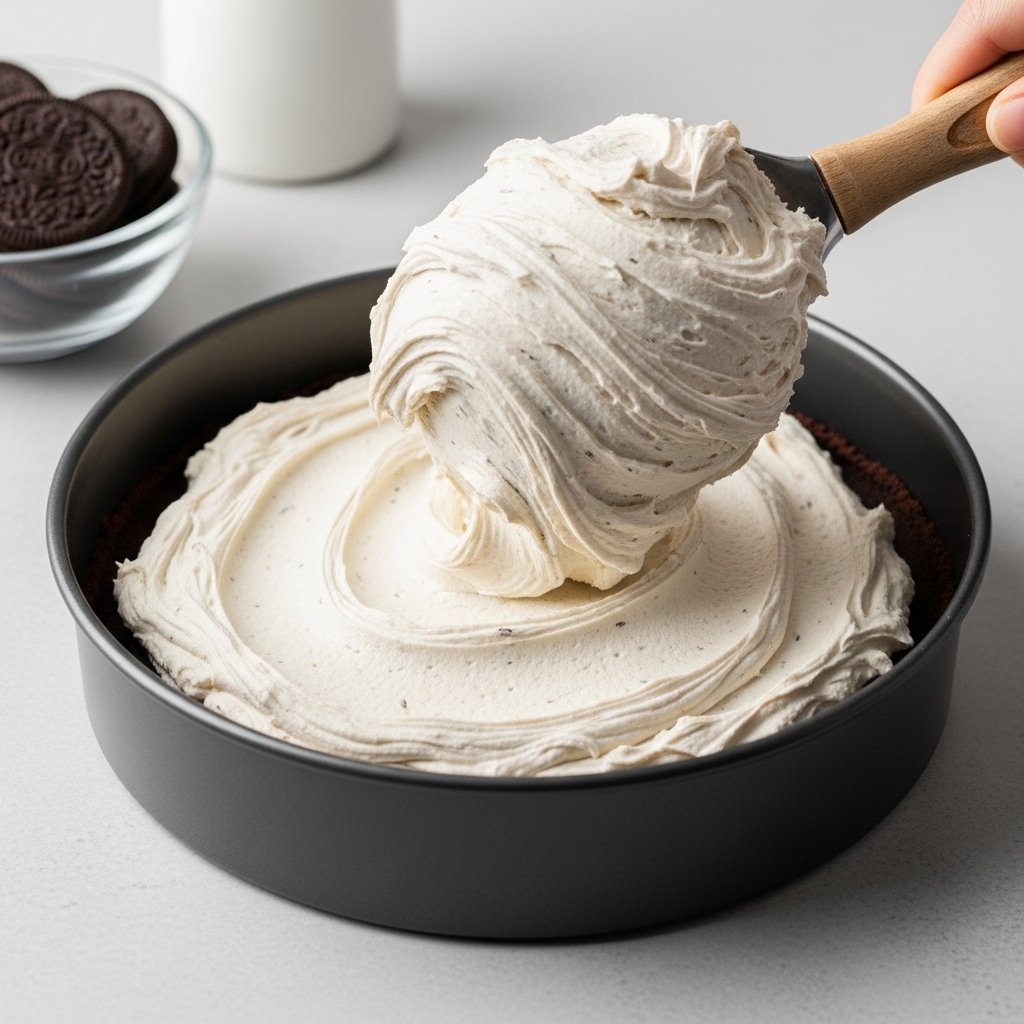
Step 5: Assemble
Pour filling over crust and smooth the top.
Step 6: Chill
Refrigerate for at least 4–6 hours or overnight.
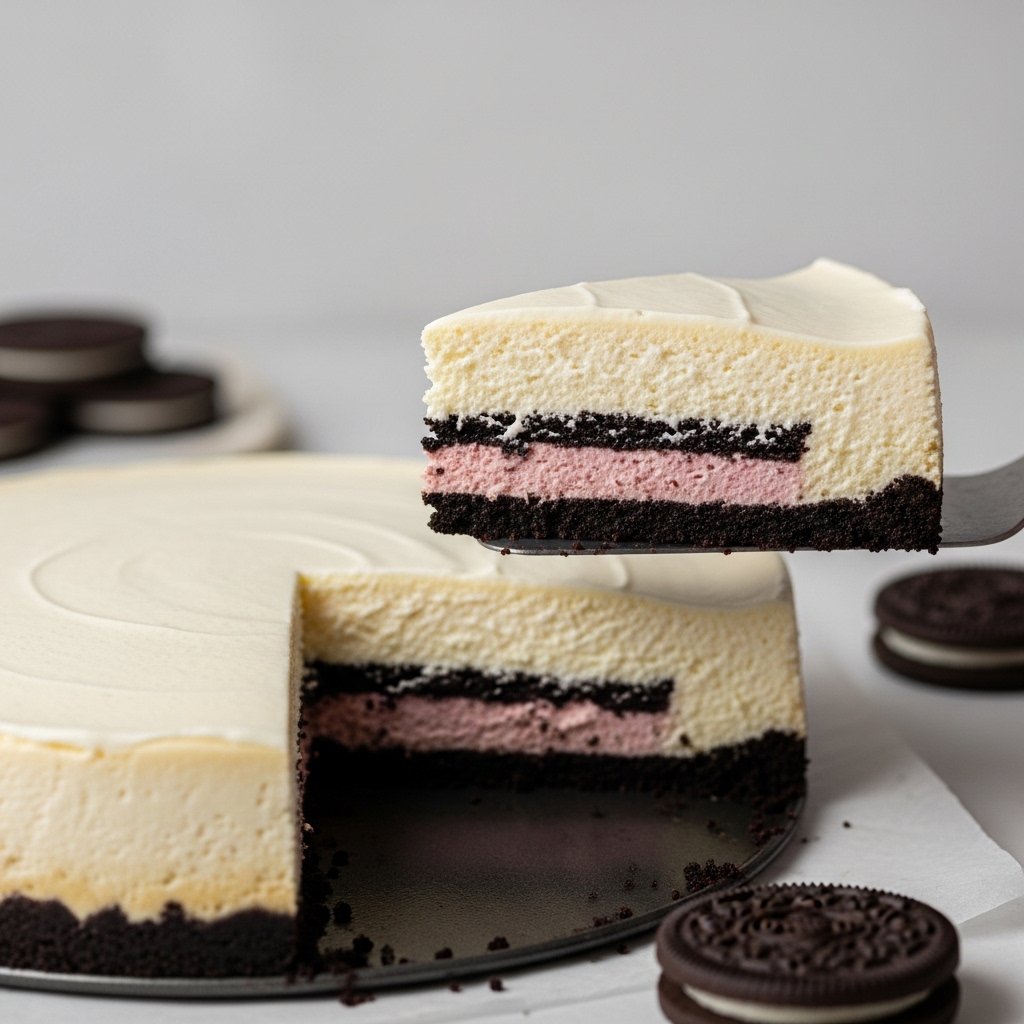
Step 7: Serve
Top with whipped cream and crushed Oreos before serving.
Tips for Perfect Results
To make the best No-Bake Oreo Cheesecake, follow these tips:
- Use softened cream cheese for smooth texture
- Whip cream to stiff peaks for structure
- Chill overnight for best firmness
- Crush Oreos finely for crust stability
- Fold gently to keep filling airy
These tips guarantee a perfect cheesecake every time.
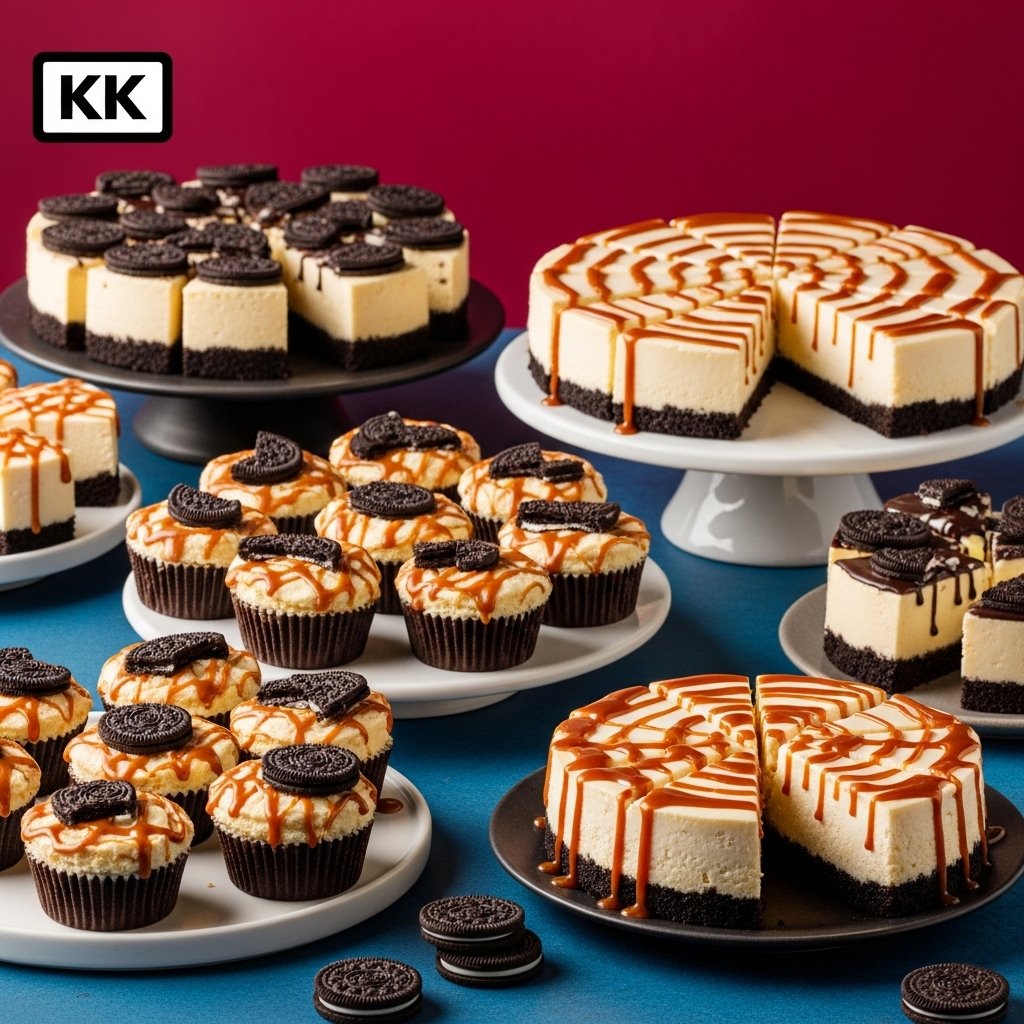
Variations
This No-Bake Oreo Cheesecake is easy to customize:
- Use Golden Oreos for vanilla version
- Add peanut butter swirl
- Mix in chocolate chips
- Top with caramel drizzle
- Make mini cheesecake cups
Each variation brings a new flavor experience.
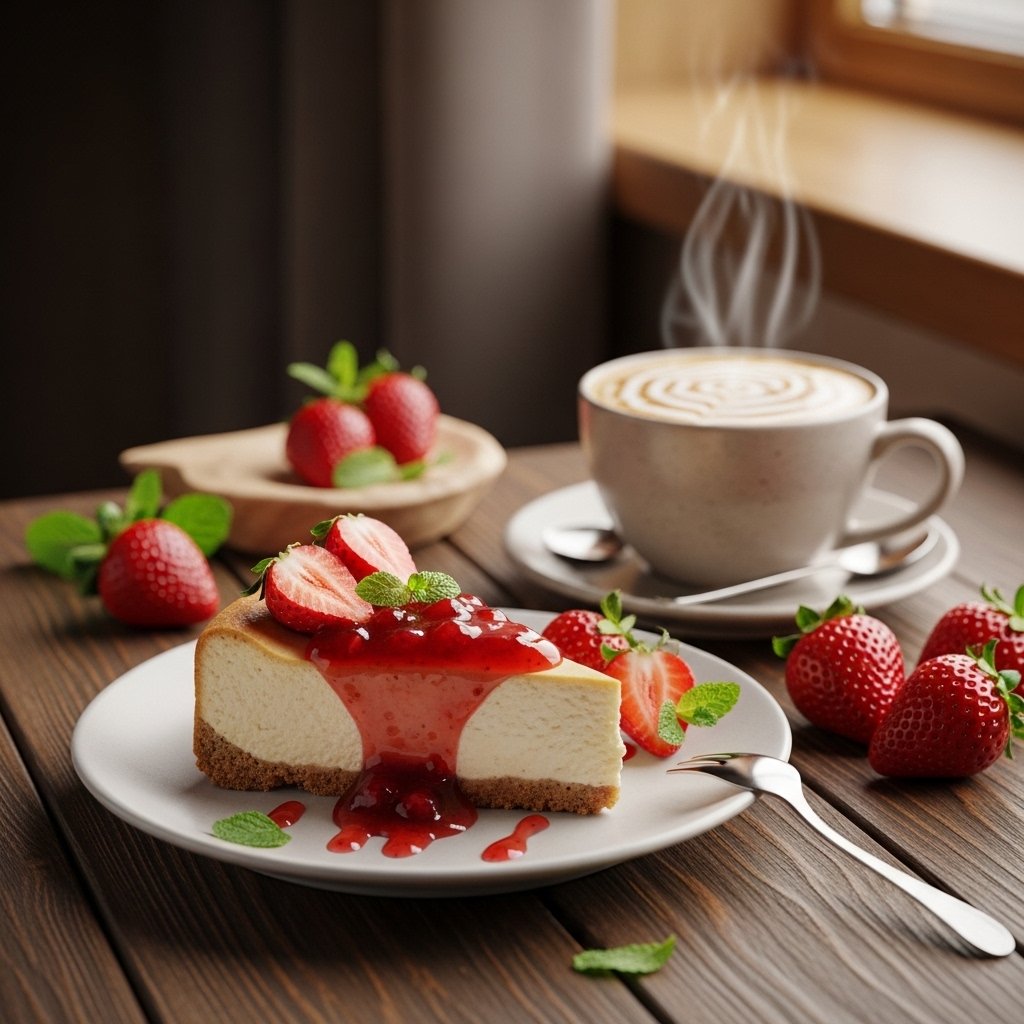
What to Serve With It
Pair your No-Bake Oreo Cheesecake with:
- Hot coffee
- Cold milk
- Chocolate sauce
- Fresh strawberries
- Vanilla ice cream
These pairings enhance the creamy richness.
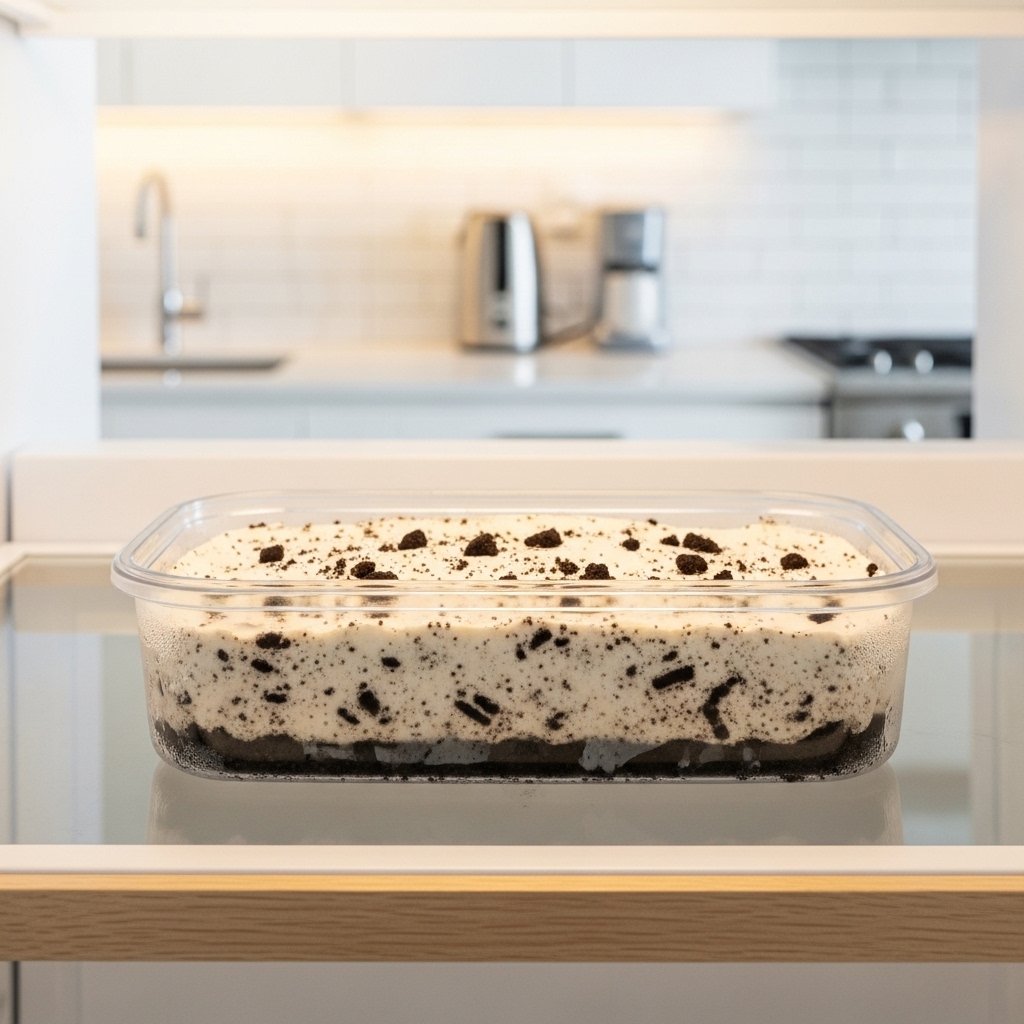
Storage & Reheating
To store your No-Bake Oreo Cheesecake:
- Keep refrigerated for up to 5 days
- Cover tightly to prevent drying
- Freeze for up to 2 months
- Thaw in fridge before serving
No reheating is needed—just serve chilled.
Common Mistakes
Avoid these mistakes when making No-Bake Oreo Cheesecake:
- Not chilling long enough
- Overmixing filling
- Using cold cream cheese
- Skipping whipped cream step
- Crust too loose or crumbly
Avoiding these ensures perfect cheesecake texture.
FAQs
1. Can I make this without heavy cream?
Yes, but texture will be less fluffy.
2. Can I use store-bought whipped topping?
Yes, it’s a quick substitute.
3. How long does it need to set?
At least 4–6 hours, overnight is best.
4. Can I freeze Oreo cheesecake?
Yes, it freezes very well.
Final Thoughts
This No-Bake Oreo Cheesecake is the perfect combination of simplicity and indulgence. Creamy, rich, and packed with Oreo cookies, it’s a dessert that always impresses without requiring any baking skills.
Whether you’re making it for a celebration or a simple sweet craving, this recipe delivers every time. Once you try it, it will become a go-to dessert in your kitchen!