If you’re searching for the ultimate indulgent treat, this decadent red velvet Oreo cookies recipe – thick and easy baking dessert is exactly what you need. These cookies combine the rich, cocoa-kissed flavor of red velvet with the irresistible crunch of Oreo cookies, creating a bakery-style dessert that’s both eye-catching and incredibly satisfying.
Soft in the center, slightly crisp on the edges, and loaded with chunks of Oreos, these cookies are perfect for holidays, celebrations, or anytime you want a truly special homemade dessert. The vibrant red color makes them just as stunning as they are delicious.

Why You’ll Love These Red Velvet Oreo Cookies
This decadent red velvet Oreo cookies recipe – thick and easy baking dessert stands out for so many reasons:
- Thick, bakery-style cookies with soft centers
- Loaded with crunchy Oreo pieces
- Rich red velvet flavor with a hint of cocoa
- Easy to make with simple ingredients
- Perfect for gifting or special occasions
They’re the kind of cookies that instantly impress anyone who takes a bite.
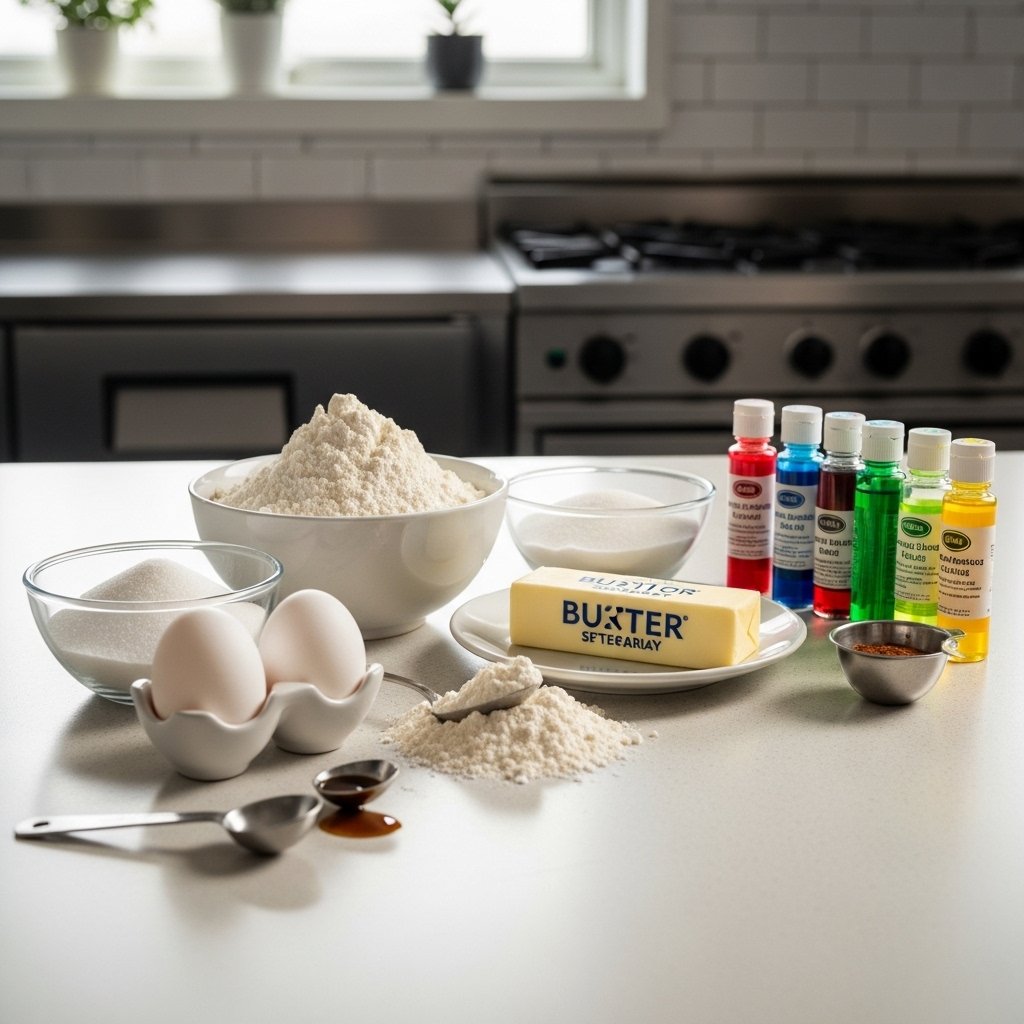
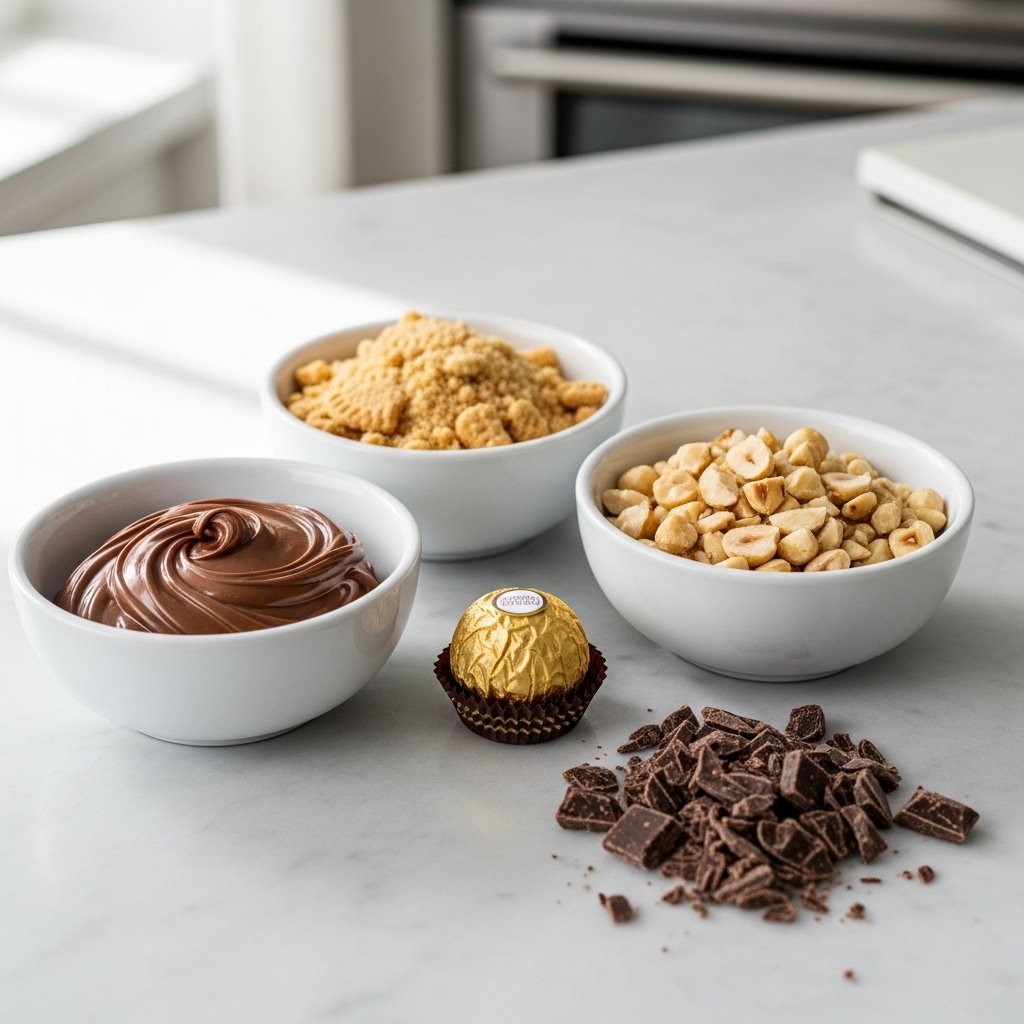
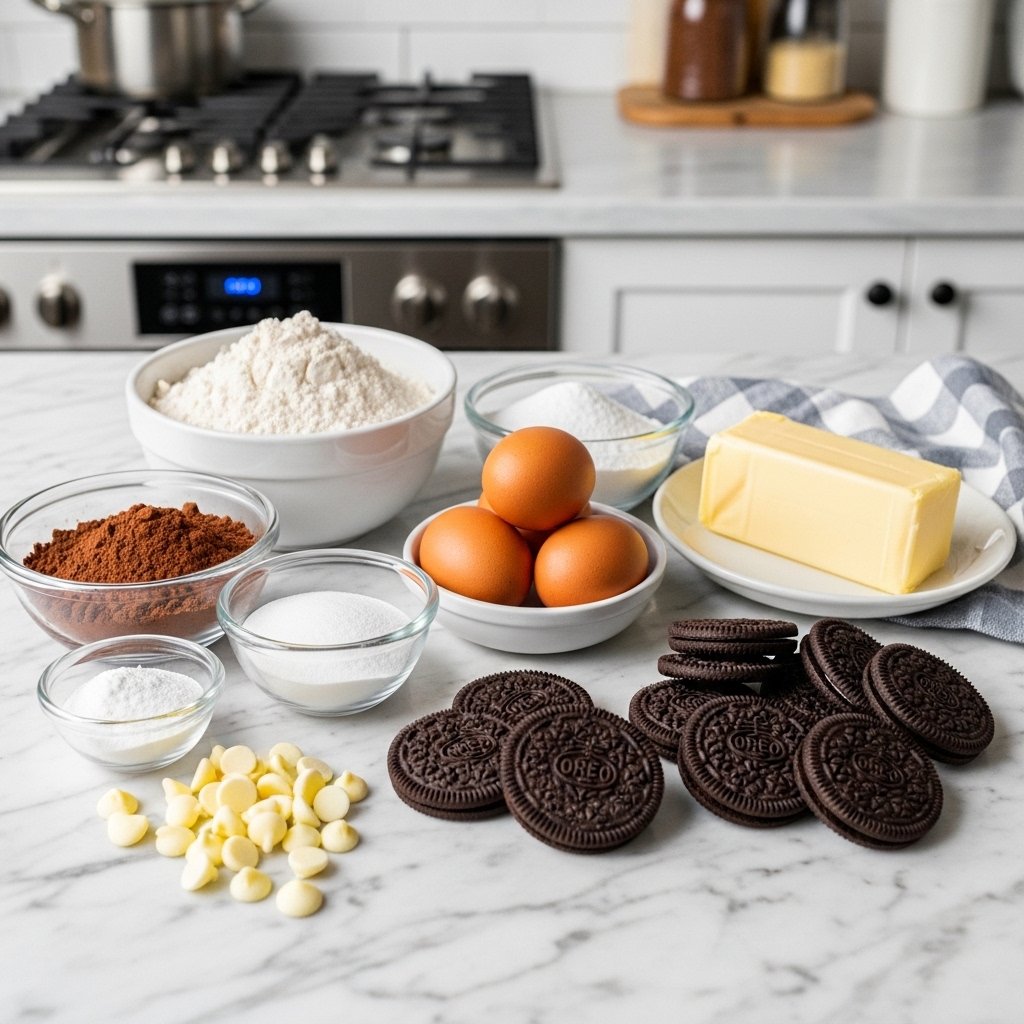
Ingredients You’ll Need
To make this decadent red velvet Oreo cookies recipe – thick and easy baking dessert, gather:
- All-purpose flour
- Cocoa powder
- Baking soda
- Salt
- Butter (softened)
- Brown sugar and granulated sugar
- Egg
- Vanilla extract
- Red food coloring
- Oreo cookies (roughly chopped)
- White chocolate chips (optional)
Ingredient Notes
The magic of this decadent red velvet Oreo cookies recipe – thick and easy baking dessert lies in the balance of ingredients. Cocoa powder gives that subtle chocolate flavor, while red food coloring creates the signature vibrant look.
Using high-quality Oreos makes a difference—cut them into chunks rather than crushing them to keep that satisfying crunch in every bite.
Step-by-Step Instructions
1. Mix Dry Ingredients
Whisk together flour, cocoa powder, baking soda, and salt.
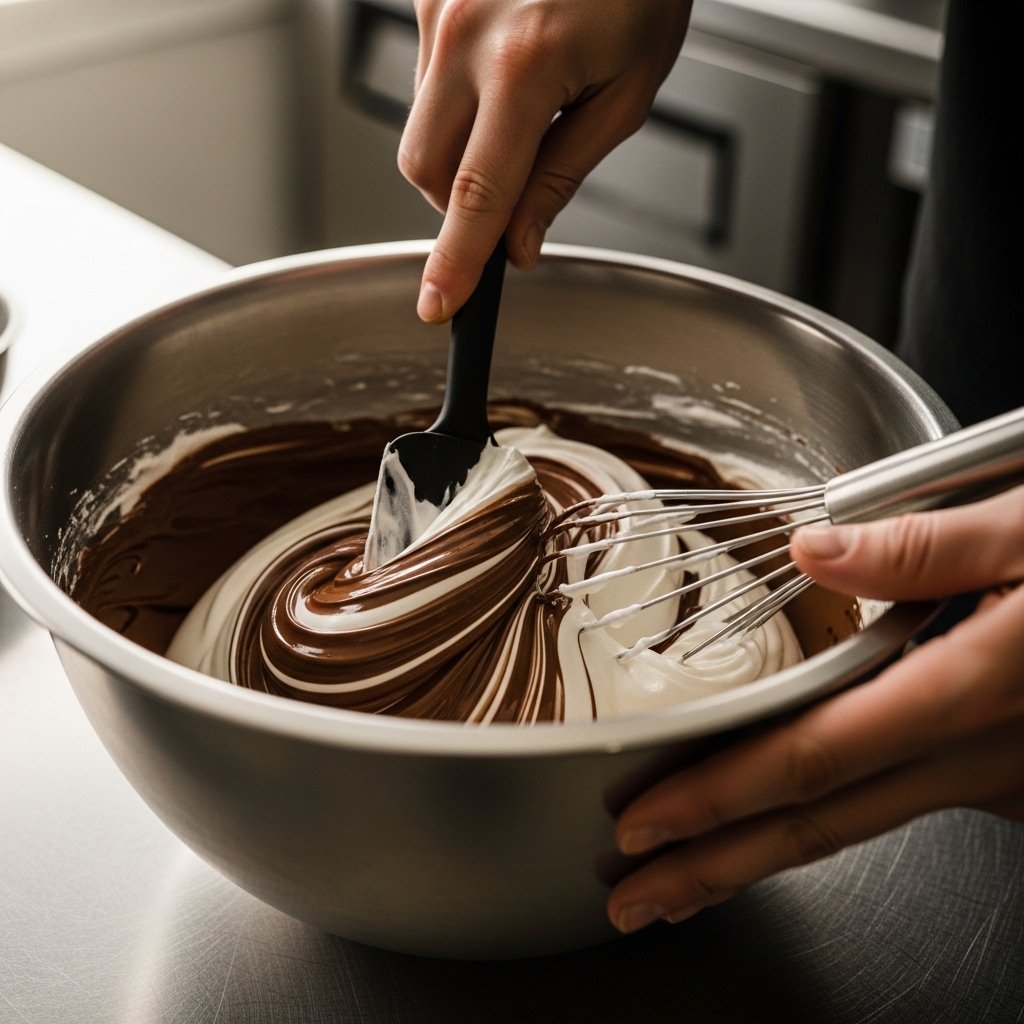
2. Cream Butter and Sugar
Beat butter with both sugars until light and fluffy.
3. Add Wet Ingredients
Mix in egg, vanilla, and red food coloring.
4. Combine
Gradually add dry ingredients to form a soft dough.
5. Fold in Oreos
Gently mix in Oreo chunks and optional white chocolate chips.
6. Shape Dough
Scoop large dough balls for thick cookies.
7. Bake
Bake at 350°F (175°C) for 10–12 minutes.

Tips for Perfect Cookies
To nail this decadent red velvet Oreo cookies recipe – thick and easy baking dessert, keep these tips in mind:
- Don’t overmix the dough
- Chill dough for thicker cookies
- Use large scoops for bakery-style size
- Slightly underbake for a soft center
These simple tricks make a huge difference in texture and flavor.
Variations and Customizations
Customize your decadent red velvet Oreo cookies recipe – thick and easy baking dessert:
- Add cream cheese chips for a classic red velvet twist
- Use golden Oreos for a different flavor
- Stuff cookies with whole Oreos for extra indulgence
- Add sprinkles for festive occasions

What to Serve With These Cookies
Pair your decadent red velvet Oreo cookies recipe – thick and easy baking dessert with:
- Cold milk
- Hot coffee or latte
- Vanilla ice cream
- Dessert platters
These pairings enhance the richness and make the experience even better.
Storage & Reheating Tips
To store your decadent red velvet Oreo cookies recipe – thick and easy baking dessert:
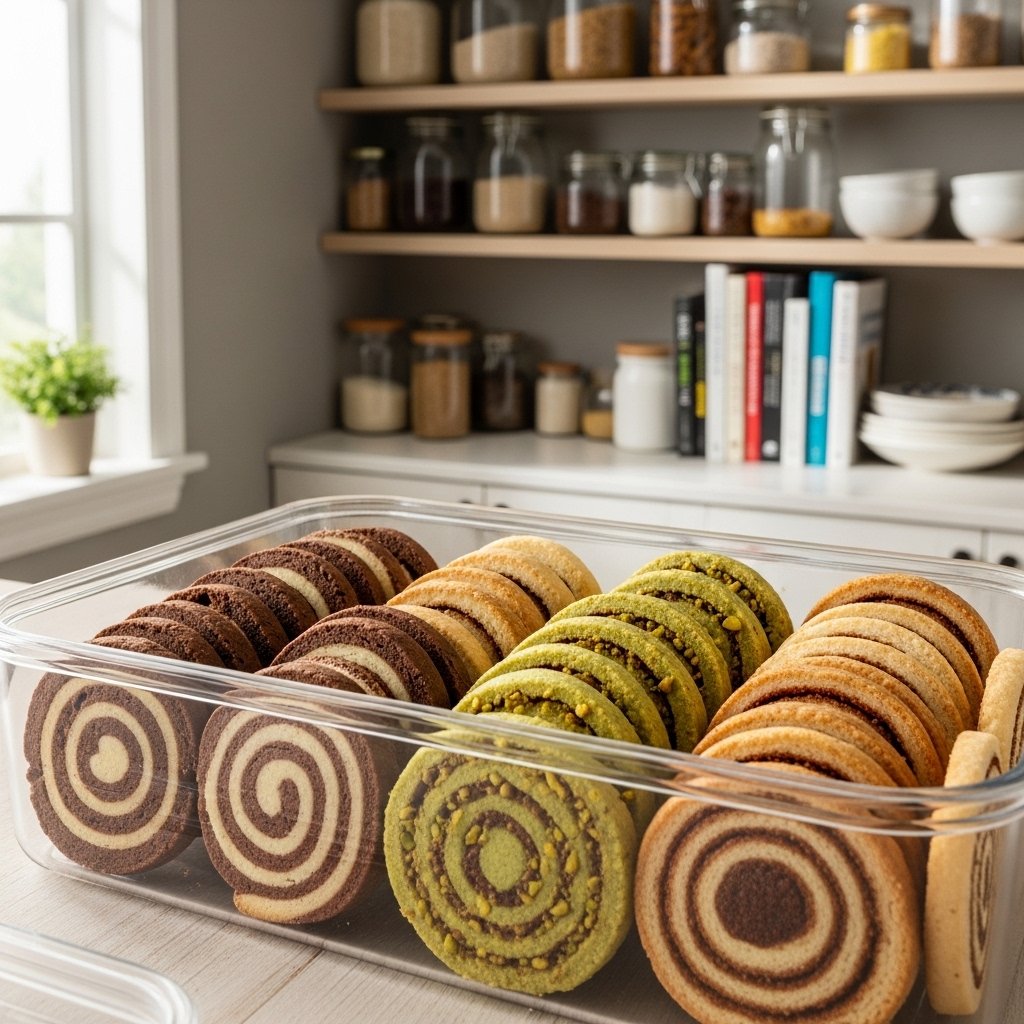
- Keep in an airtight container for up to 5 days
- Freeze dough balls for future baking
- Warm cookies slightly before serving for gooey centers

Common Mistakes to Avoid
When making this decadent red velvet Oreo cookies recipe – thick and easy baking dessert, avoid:
- Overbaking (leads to dry cookies)
- Using too much flour
- Skipping chilling time
- Crushing Oreos too finely
Avoiding these ensures perfect cookies every time.
FAQs
Can I make the dough ahead of time?
Yes! Refrigerate for up to 2 days or freeze for later use.
Why are my cookies flat?
The dough may be too warm—try chilling it before baking.
Can I use gel food coloring?
Absolutely! It gives a more vibrant color with less liquid.
Can I freeze baked cookies?
Yes, store them in an airtight container and thaw before serving.
Final Thoughts
This decadent red velvet Oreo cookies recipe – thick and easy baking dessert is everything you want in a cookie—rich, soft, thick, and loaded with irresistible flavor. It’s a dessert that looks stunning, tastes amazing, and is surprisingly easy to make.
Whether you’re baking for a party, a holiday, or just because, these cookies are guaranteed to be a hit. Try them once, and they’ll quickly become a favorite in your dessert lineup!