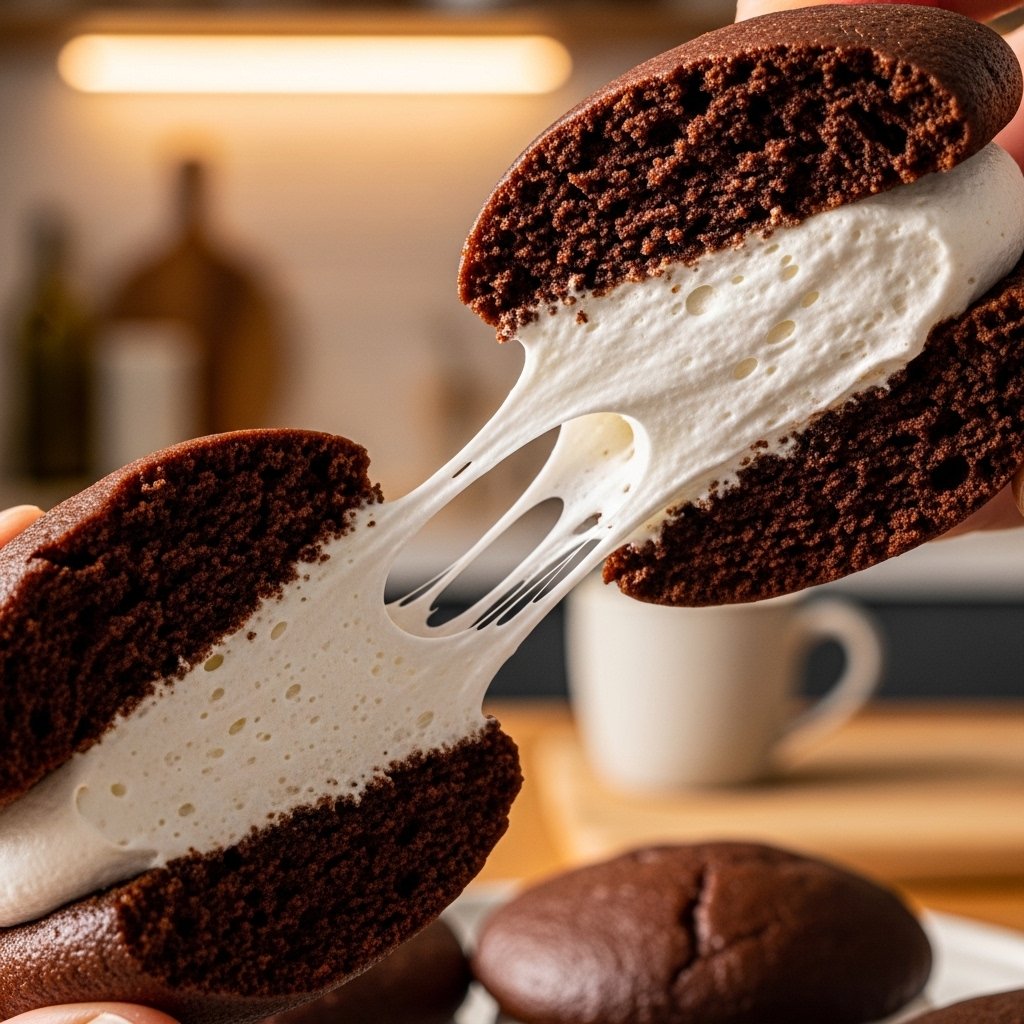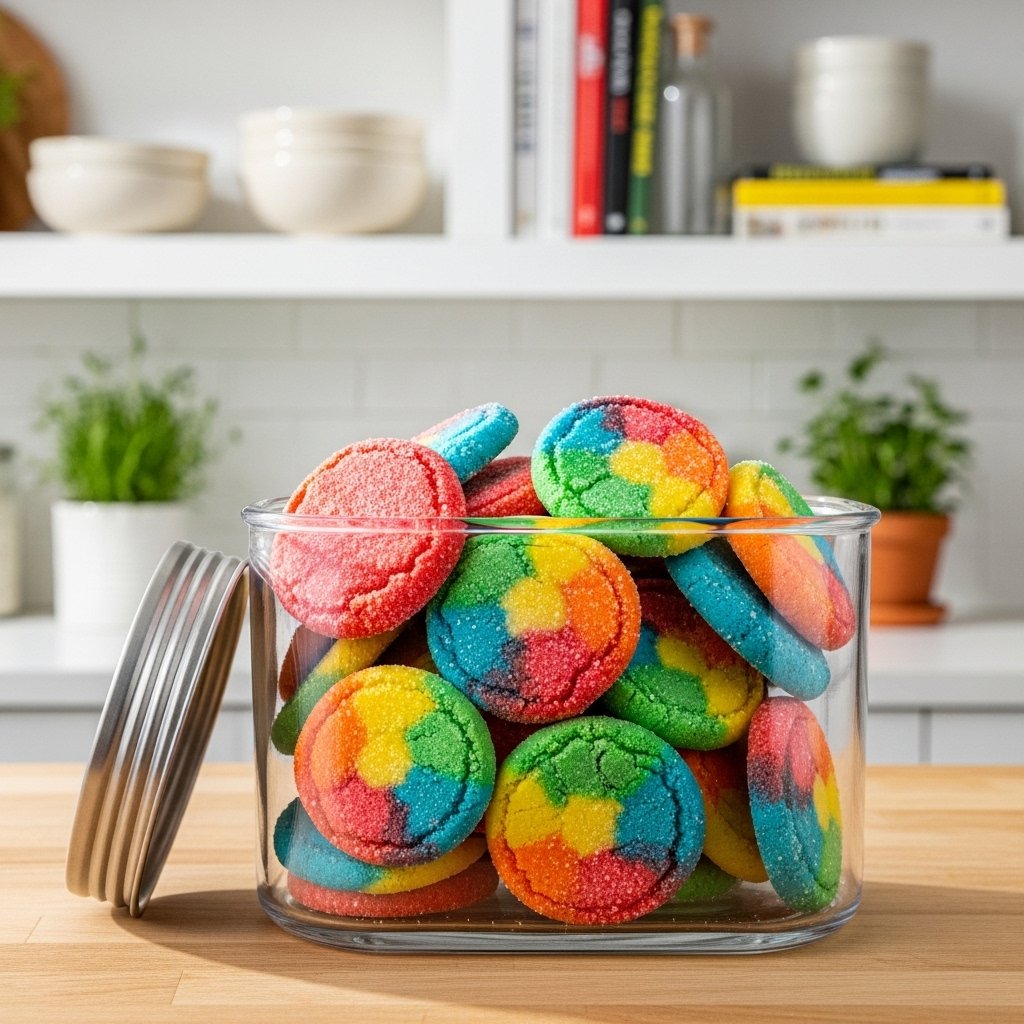
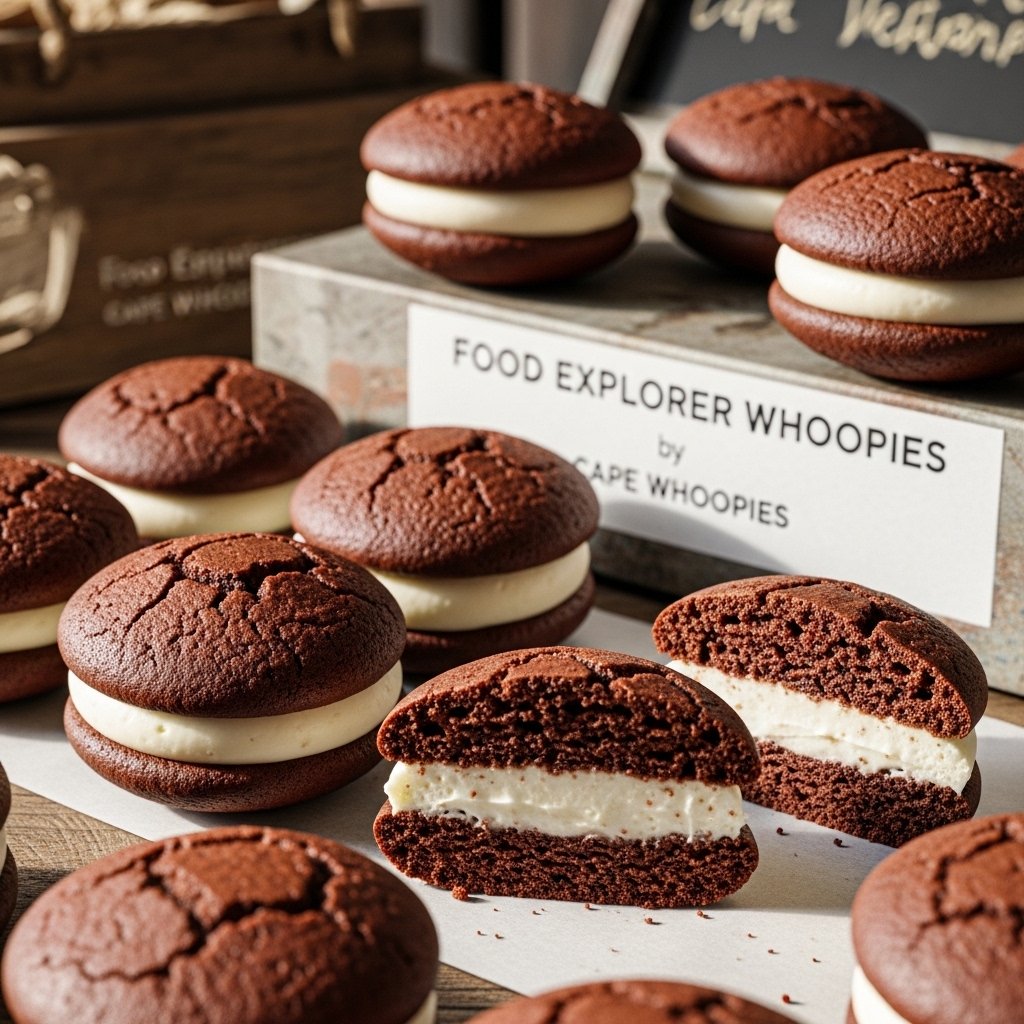
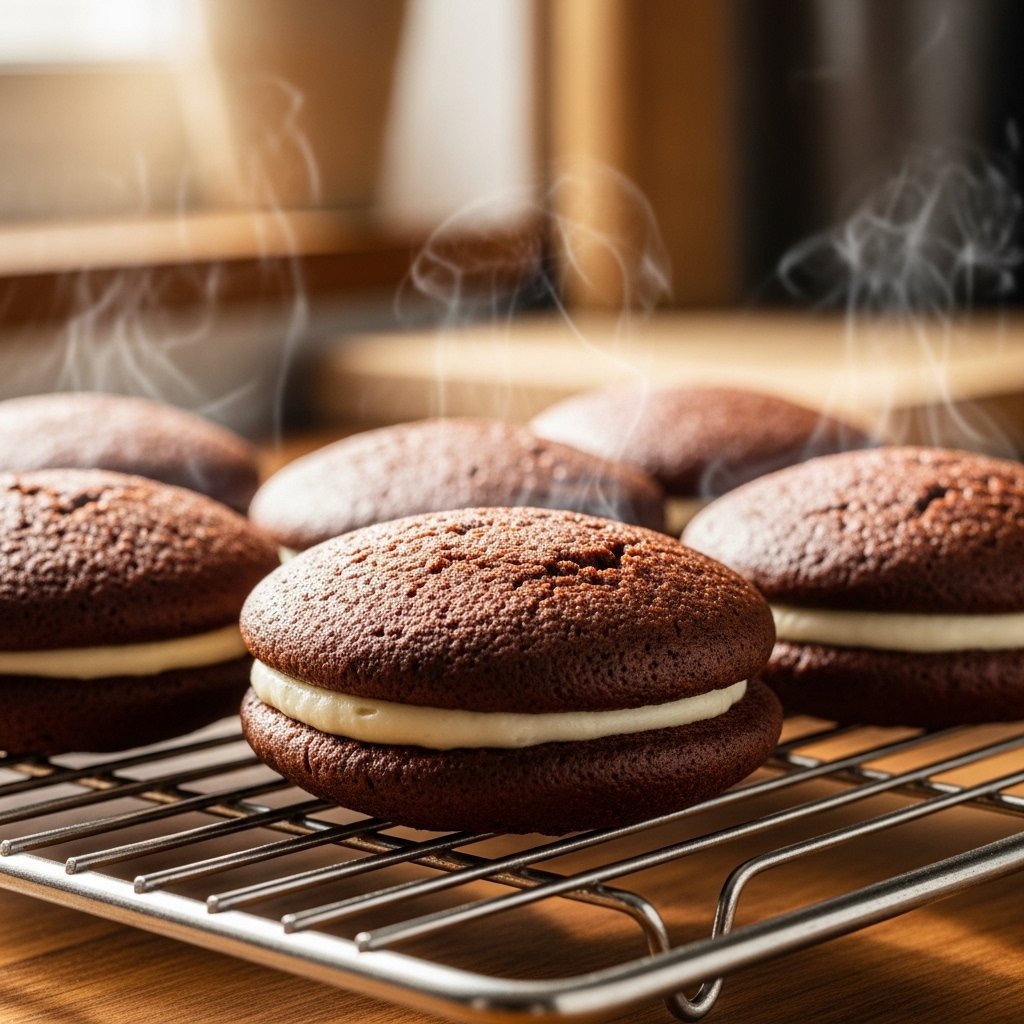
If you’re a fan of nostalgic American desserts with a gourmet twist, then The Food Explorer Whoopies by Cape Whoopies | Goldbelly are going to completely win you over. These soft, cake-like sandwich cookies filled with creamy frosting are a modern upgrade to the classic whoopie pie tradition, delivering bakery-quality flavor in every bite.
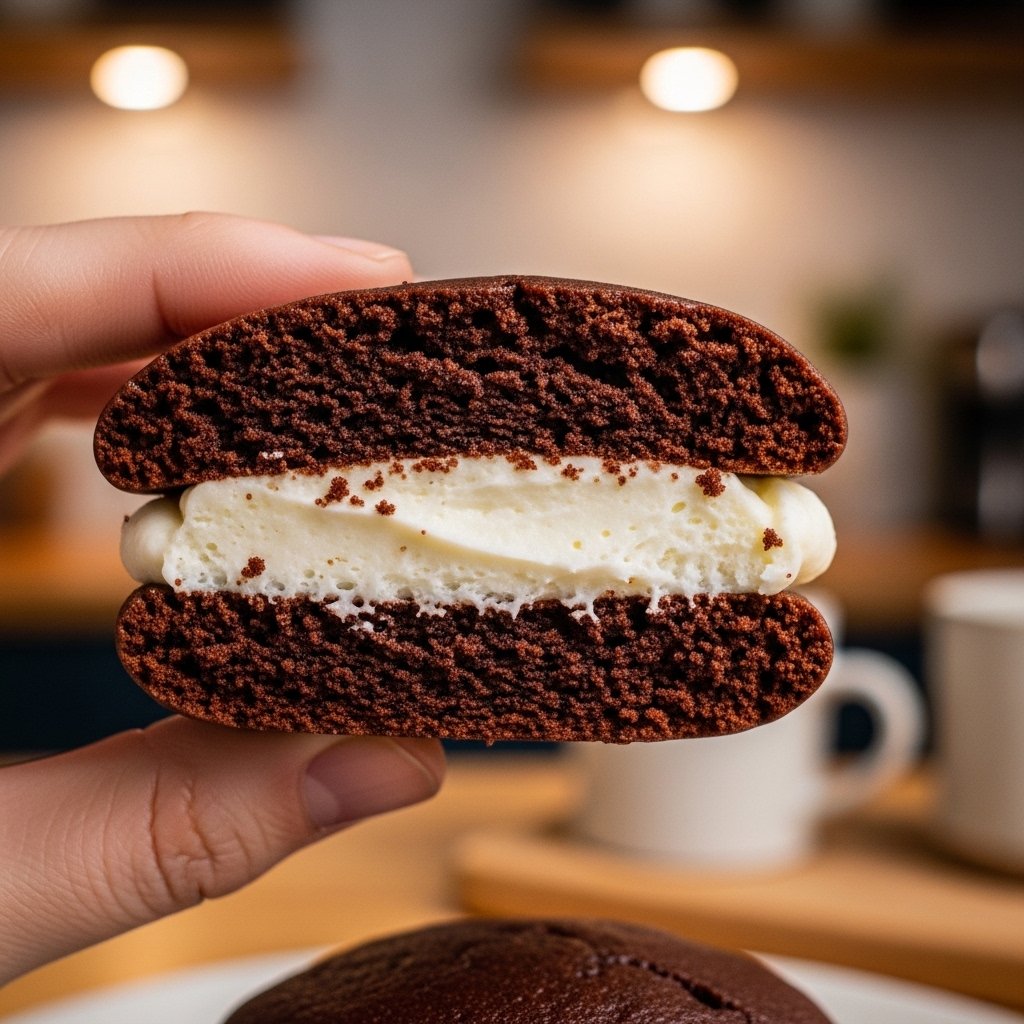
What makes The Food Explorer Whoopies by Cape Whoopies | Goldbelly so special is the balance of texture and taste. You get a soft, pillowy chocolate cake exterior paired with a rich, fluffy filling that melts on your tongue. It’s the kind of dessert that feels both comforting and elevated at the same time.
Whether you’re discovering them through Goldbelly or recreating a homemade version inspired by Cape Whoopies, this guide will walk you through everything you need to know about these iconic treats.
Why You’ll Love The Food Explorer Whoopies by Cape Whoopies | Goldbelly
These Food Explorer Whoopies by Cape Whoopies | Goldbelly are more than just cookies—they’re an experience. Each bite combines soft chocolate cake layers with silky filling that creates a melt-in-your-mouth sensation.
They’re perfect for gifting, special occasions, or simply treating yourself to something indulgent. Plus, their artisan quality makes them stand out from ordinary store-bought desserts.
What Are The Food Explorer Whoopies by Cape Whoopies?
The Food Explorer Whoopies by Cape Whoopies | Goldbelly are gourmet-style whoopie pies crafted with premium ingredients and bold flavor combinations. Traditionally inspired by New England baking, they take the classic whoopie pie and elevate it with richer textures and artisan fillings.
These desserts are typically soft chocolate cake sandwiches filled with vanilla cream, buttercream, or seasonal flavors depending on the collection.

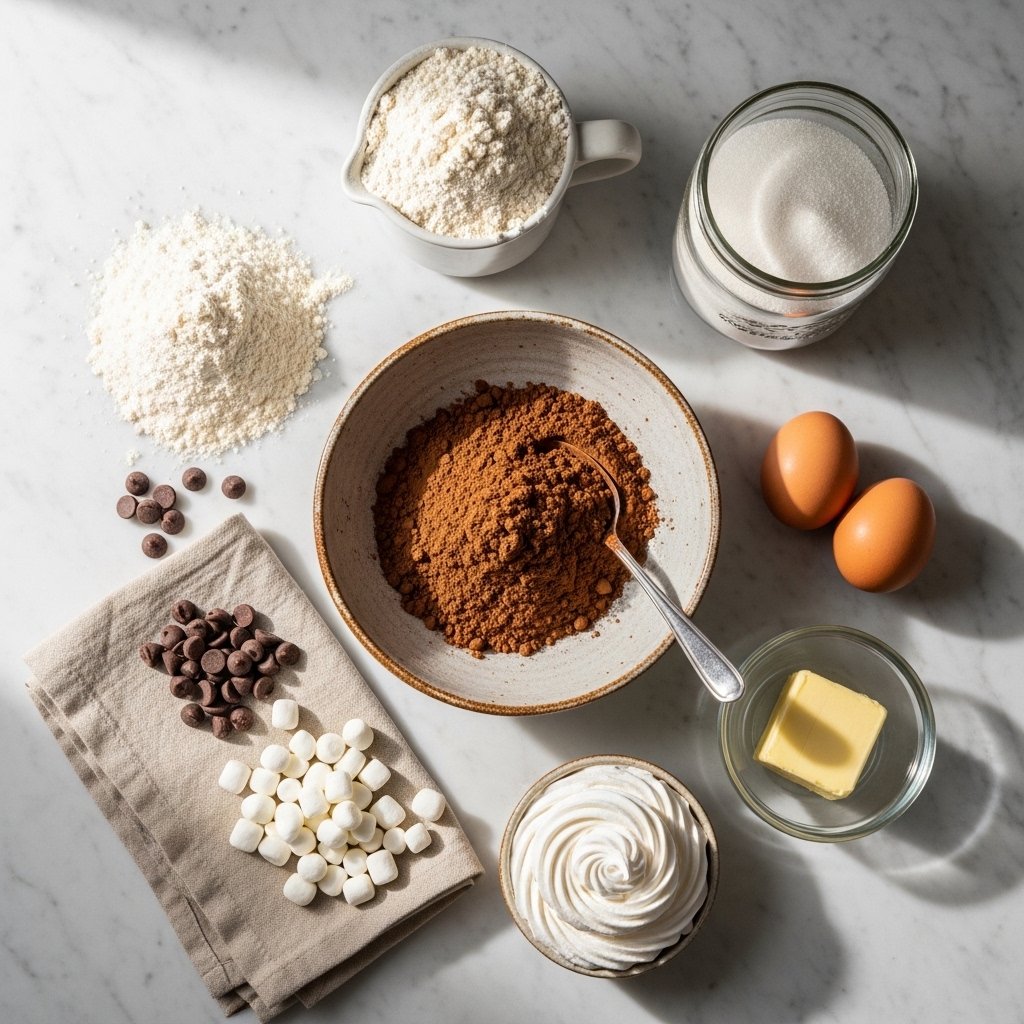
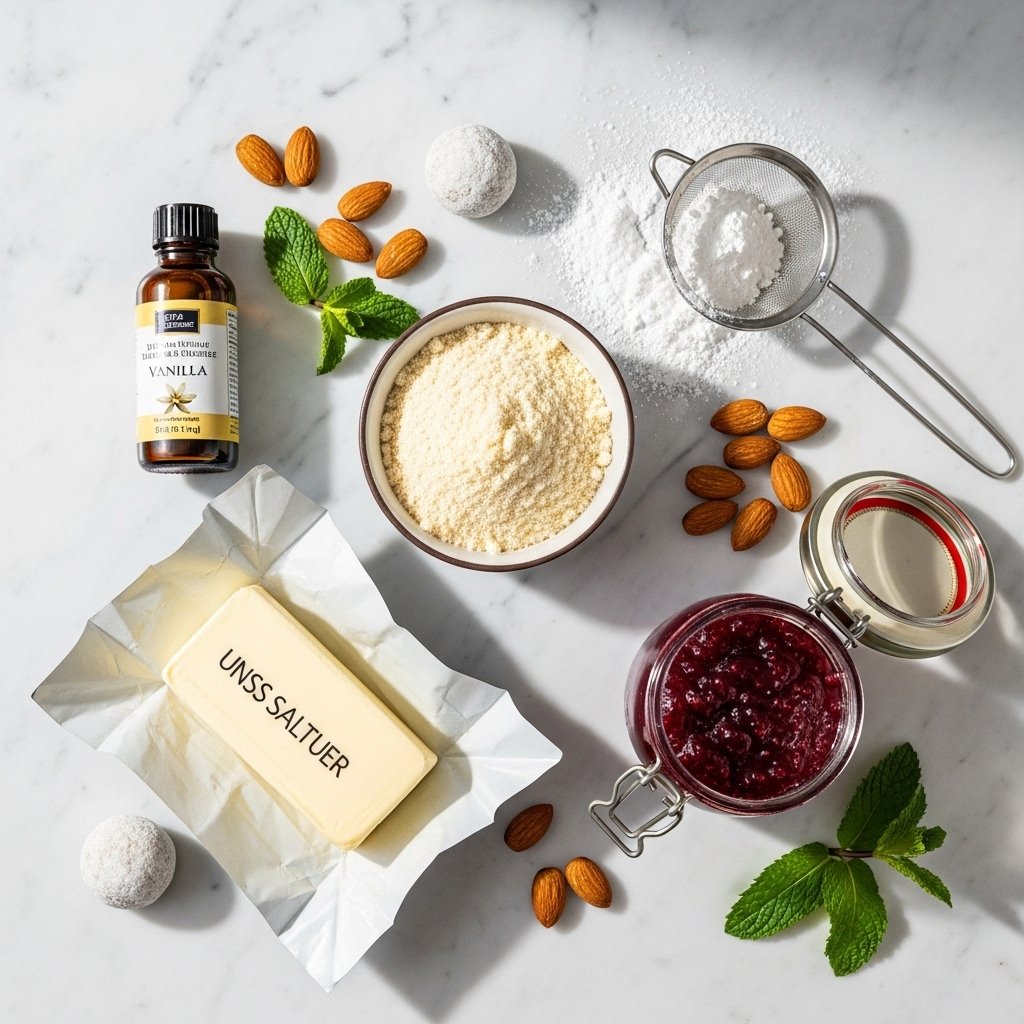
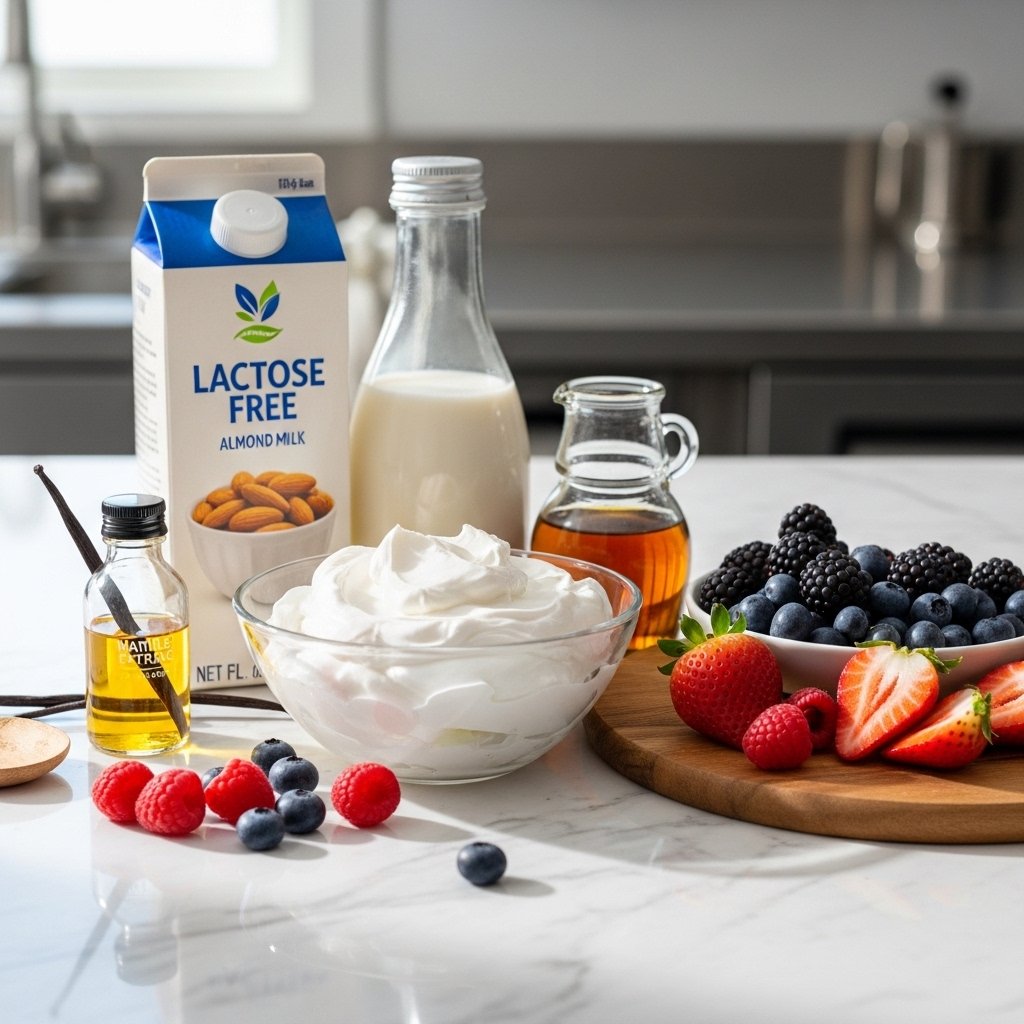
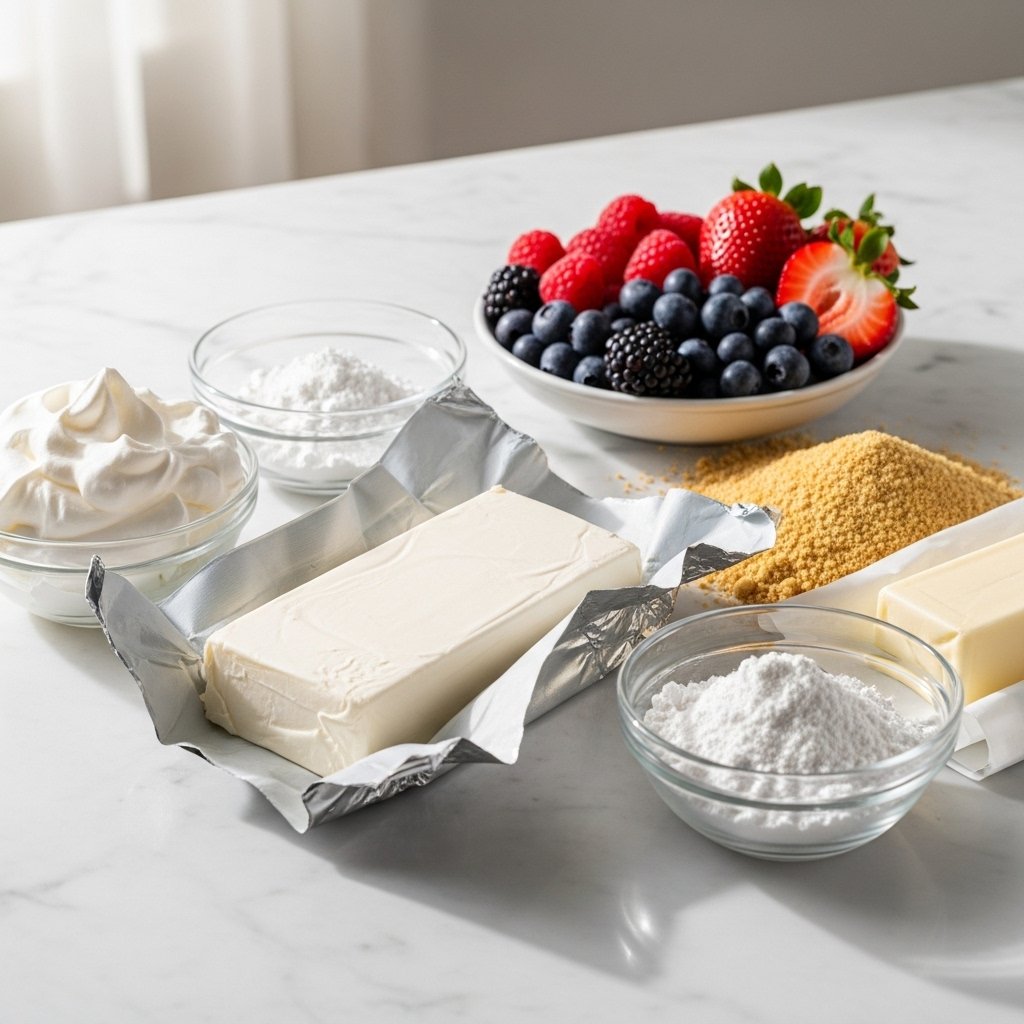
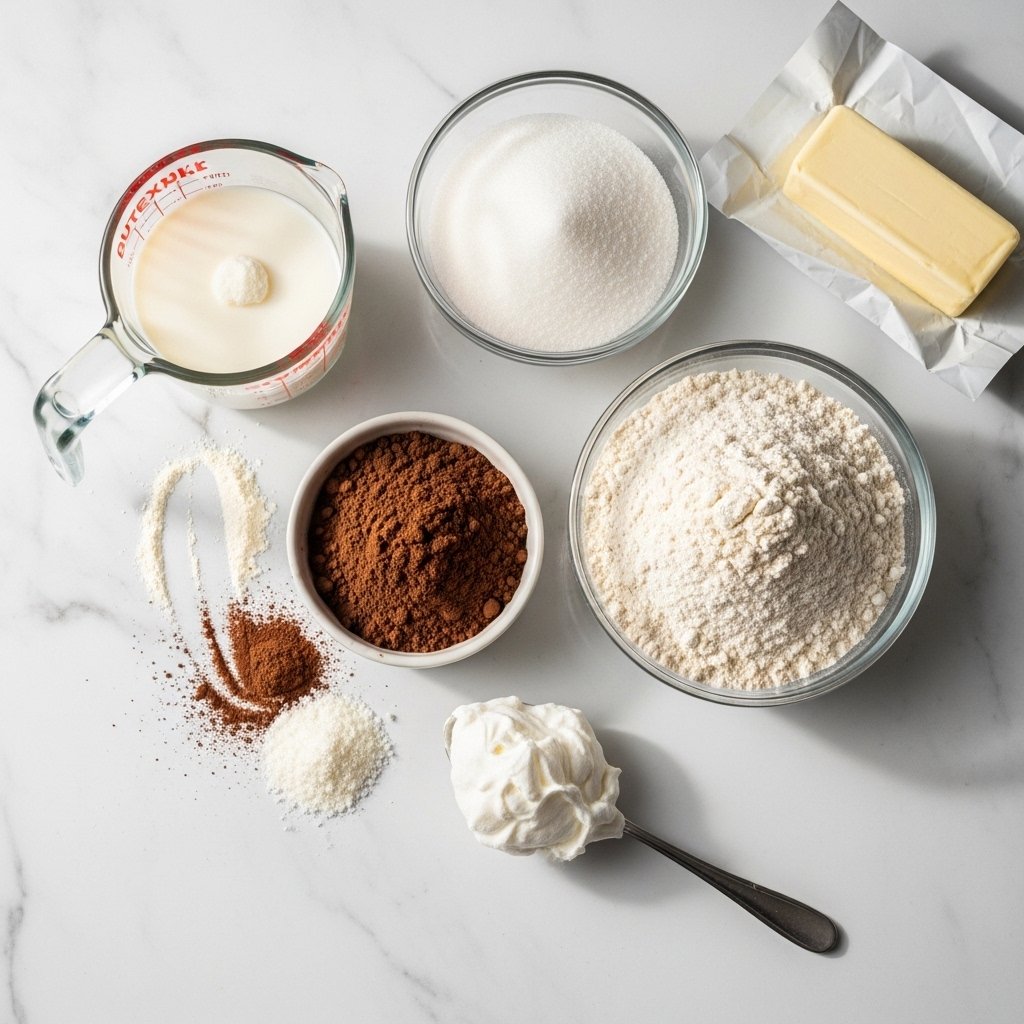
Ingredients for Food Explorer Whoopies by Cape Whoopies Style Recipe
To recreate a version inspired by The Food Explorer Whoopies by Cape Whoopies | Goldbelly, you’ll need:
For the cakes:
- 2 cups all-purpose flour
- ½ cup cocoa powder
- 1 tsp baking soda
- ½ tsp salt
- 1 cup sugar
- ½ cup vegetable oil
- 1 egg
- 1 cup buttermilk
- 1 tsp vanilla extract
For the filling:
- ½ cup butter (softened)
- 1 cup powdered sugar
- 1 cup marshmallow fluff
- 1 tsp vanilla extract
Ingredient Notes for Best Results
To truly capture the magic of The Food Explorer Whoopies by Cape Whoopies | Goldbelly, ingredient quality matters. Use Dutch-processed cocoa for a deeper chocolate flavor and real butter for a richer filling.
Buttermilk is essential—it keeps the cakes moist and tender while adding a subtle tang that balances sweetness.
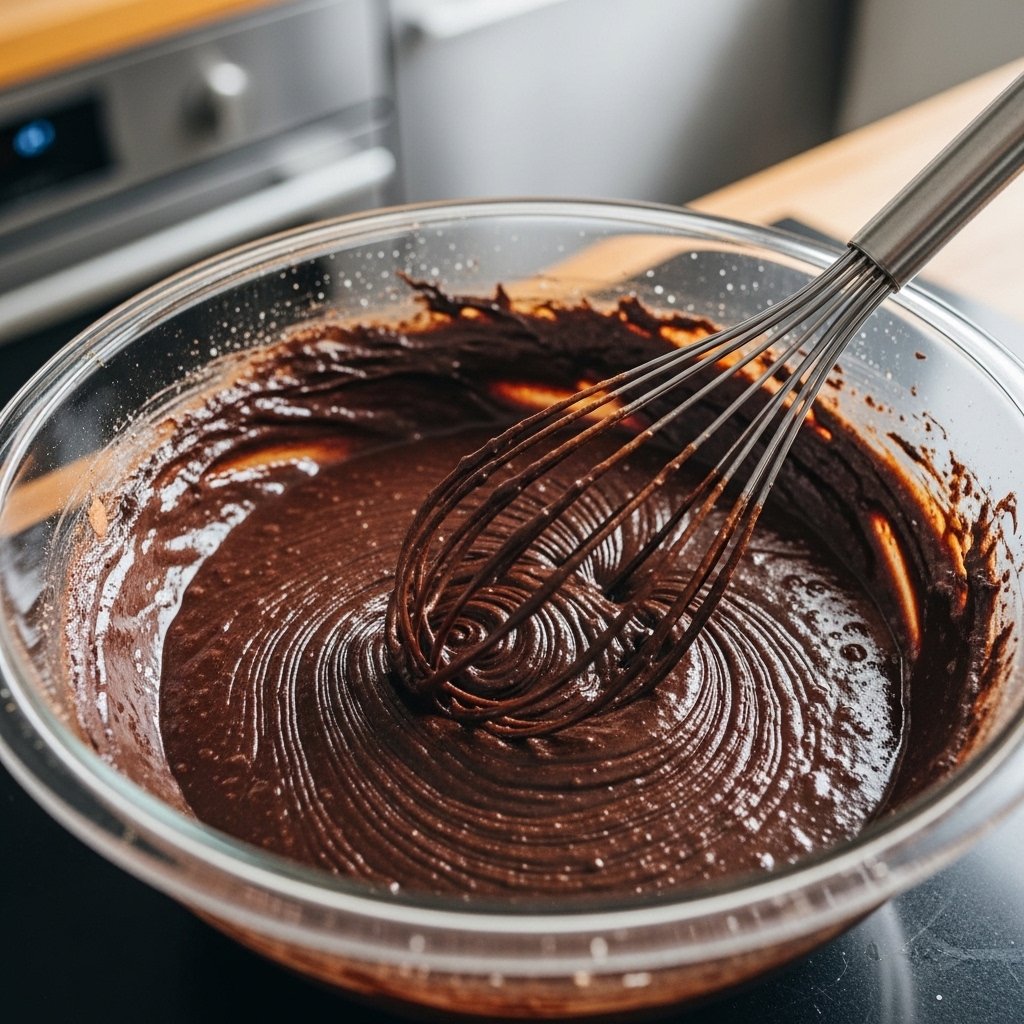
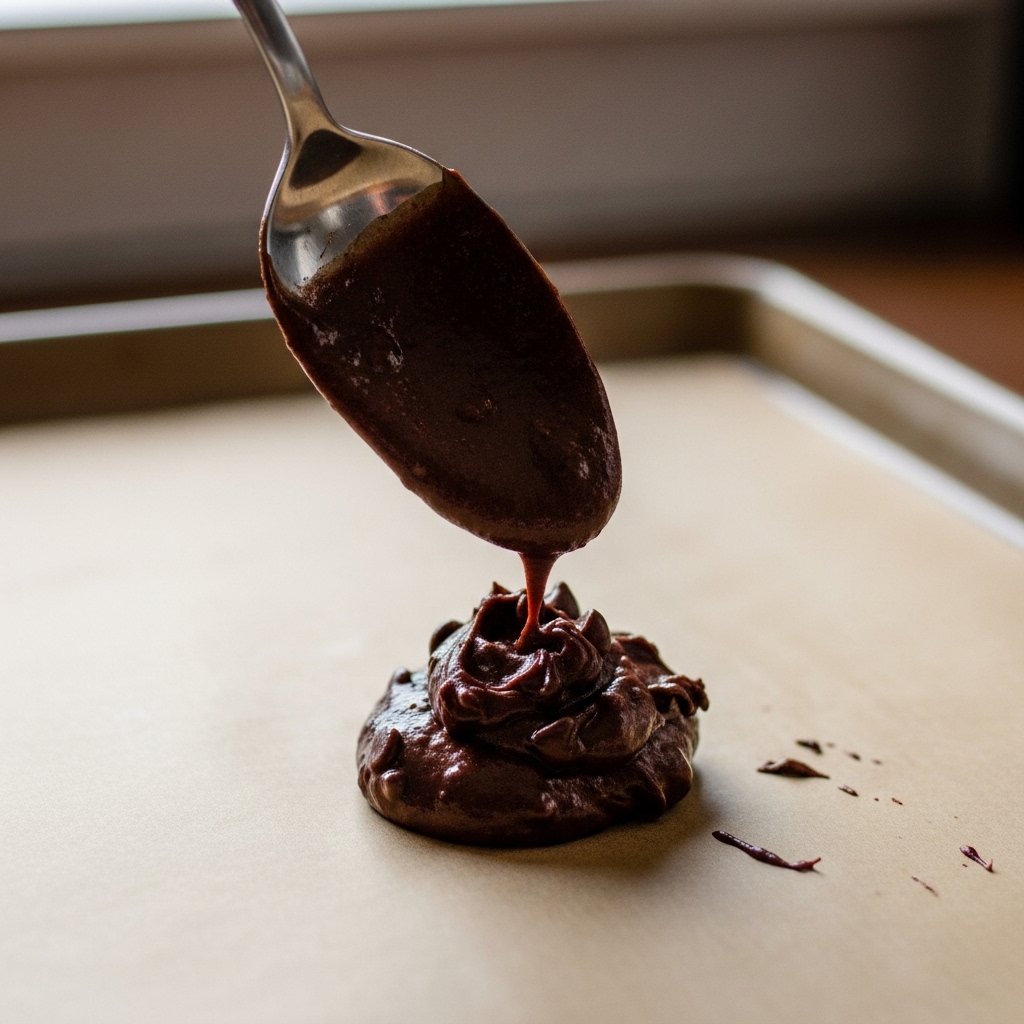
Step-by-Step Instructions for Food Explorer Whoopies Style
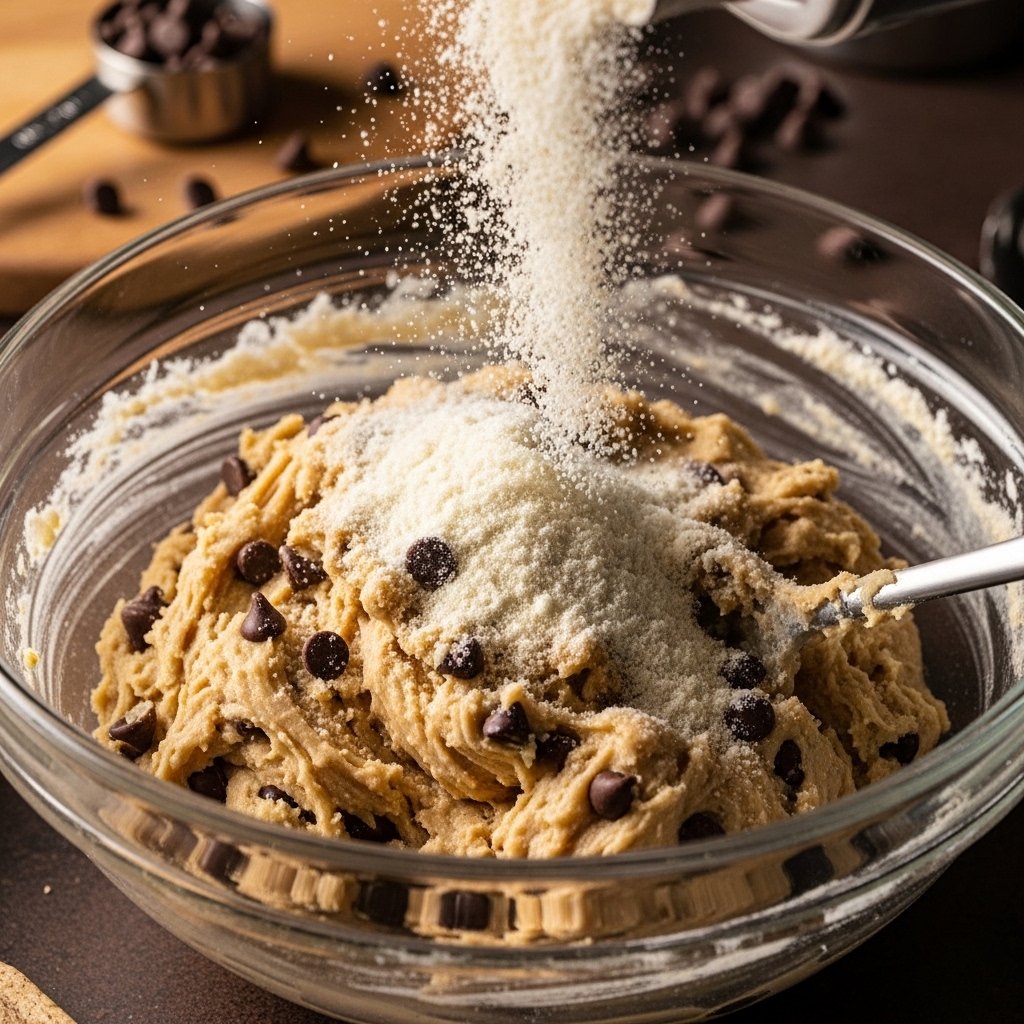
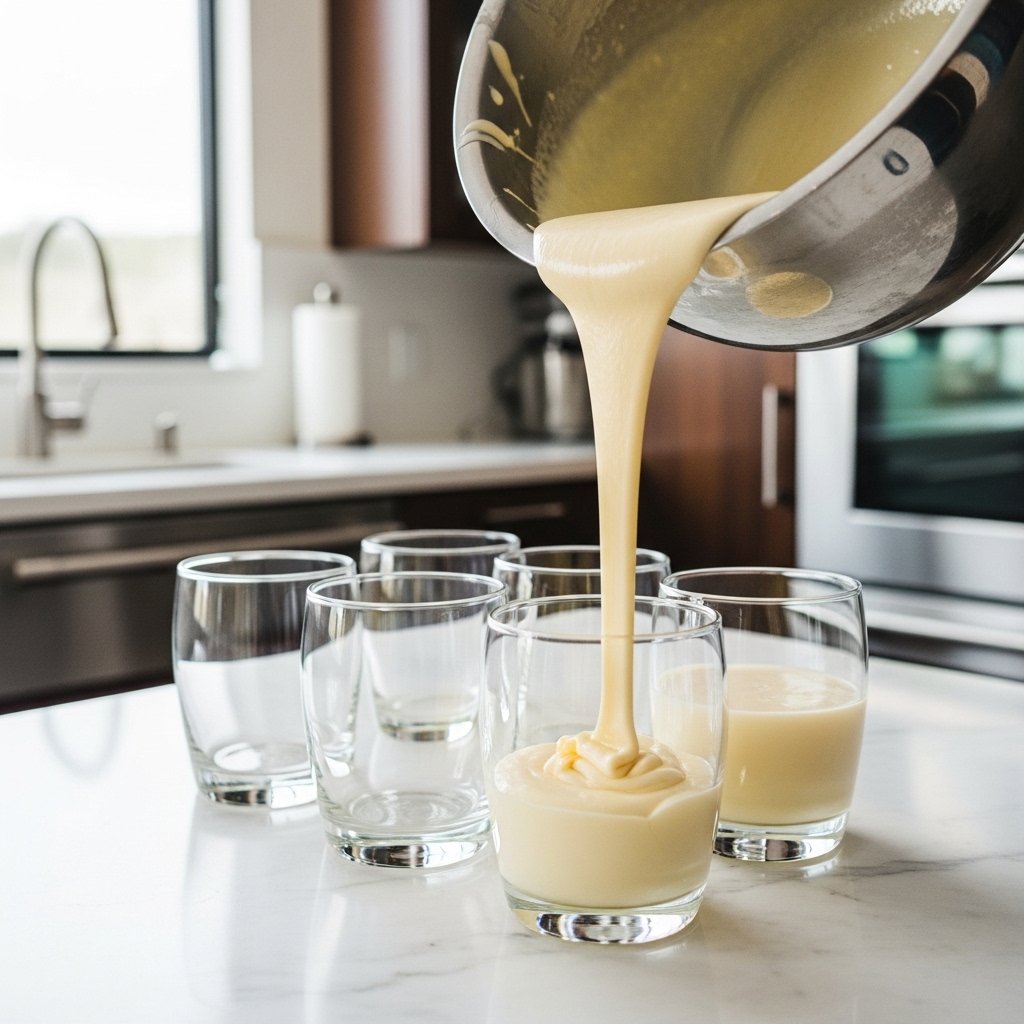
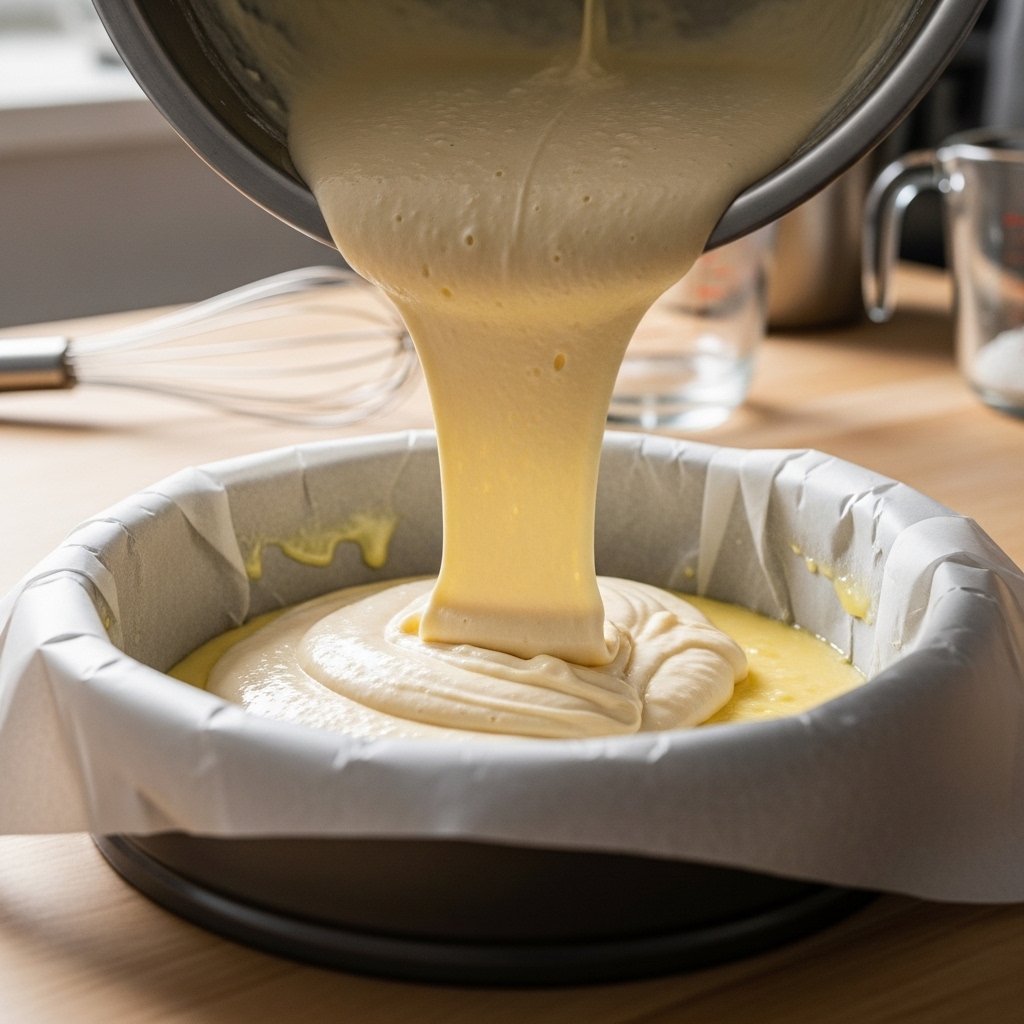
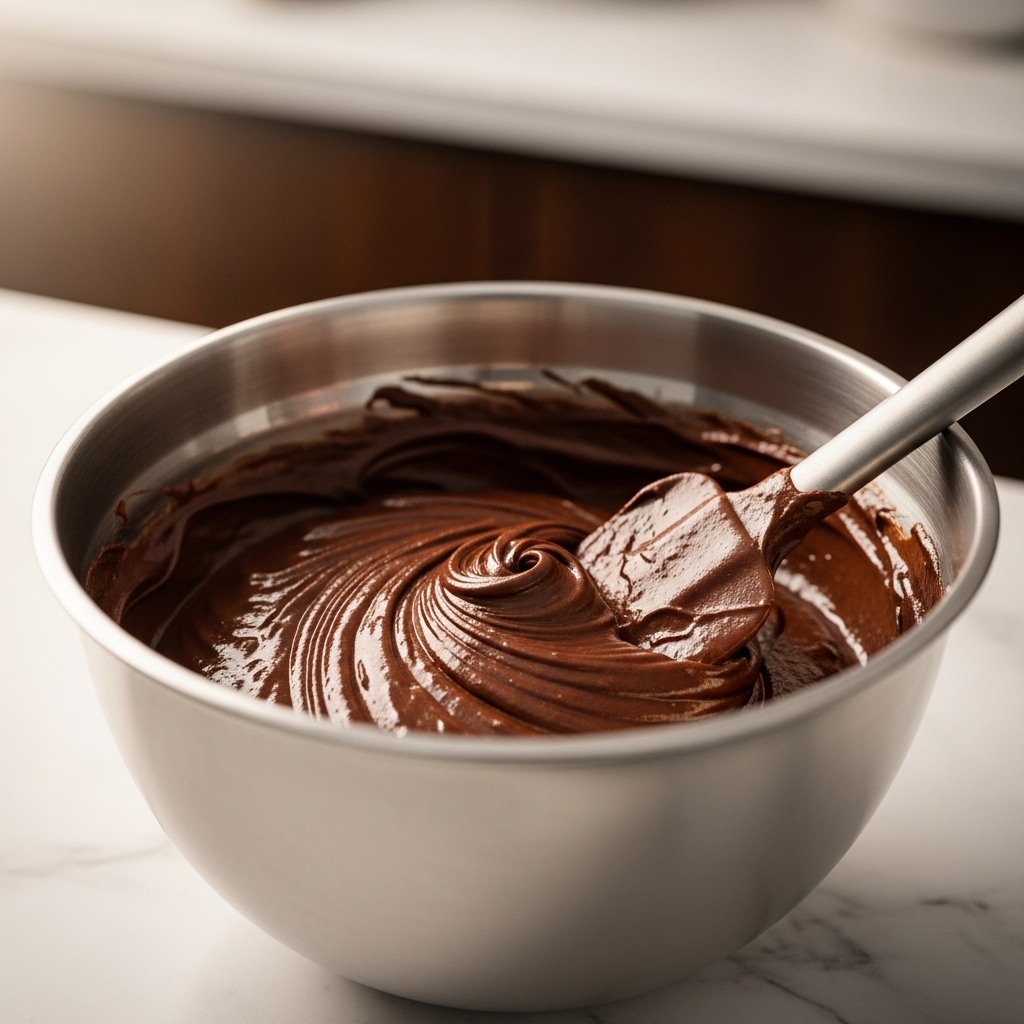
Step 1: Mix the Batter
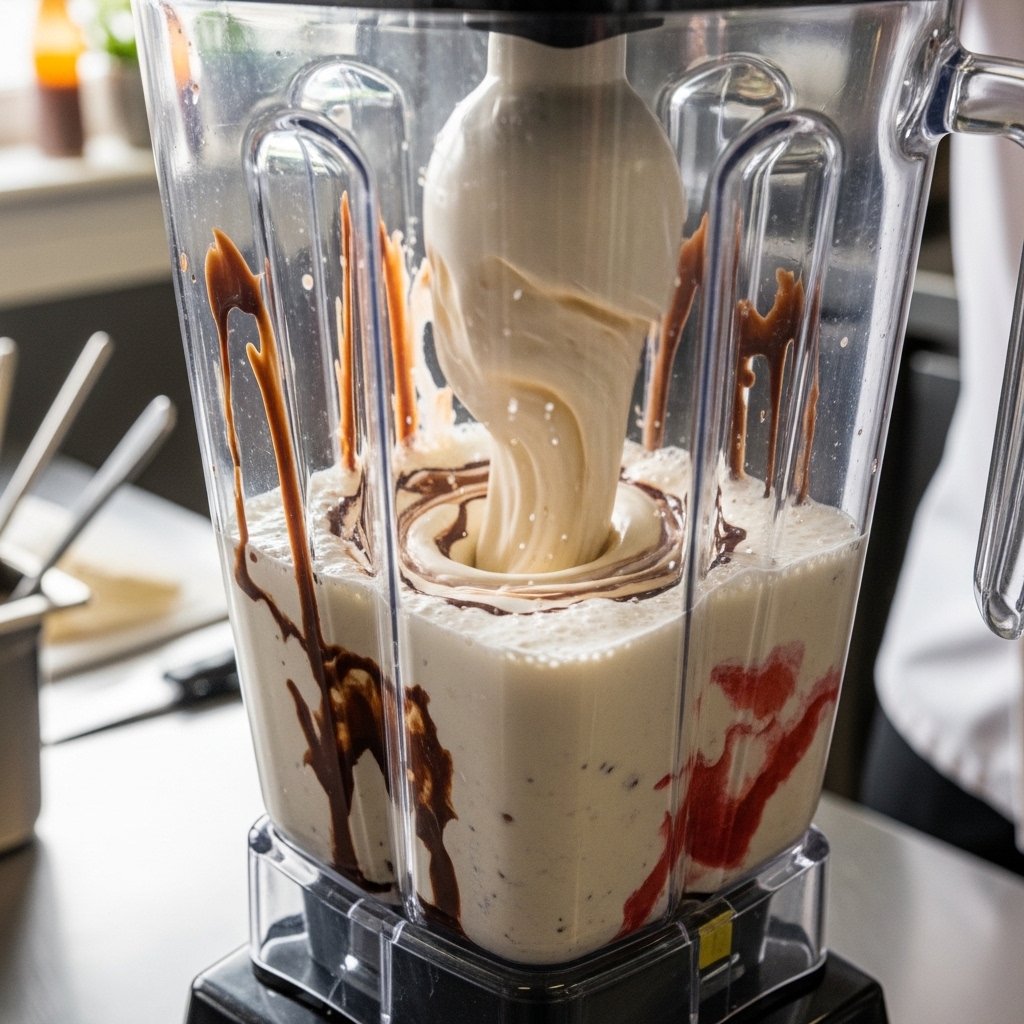
Combine dry ingredients in one bowl and wet ingredients in another. Mix until smooth and slightly thick.
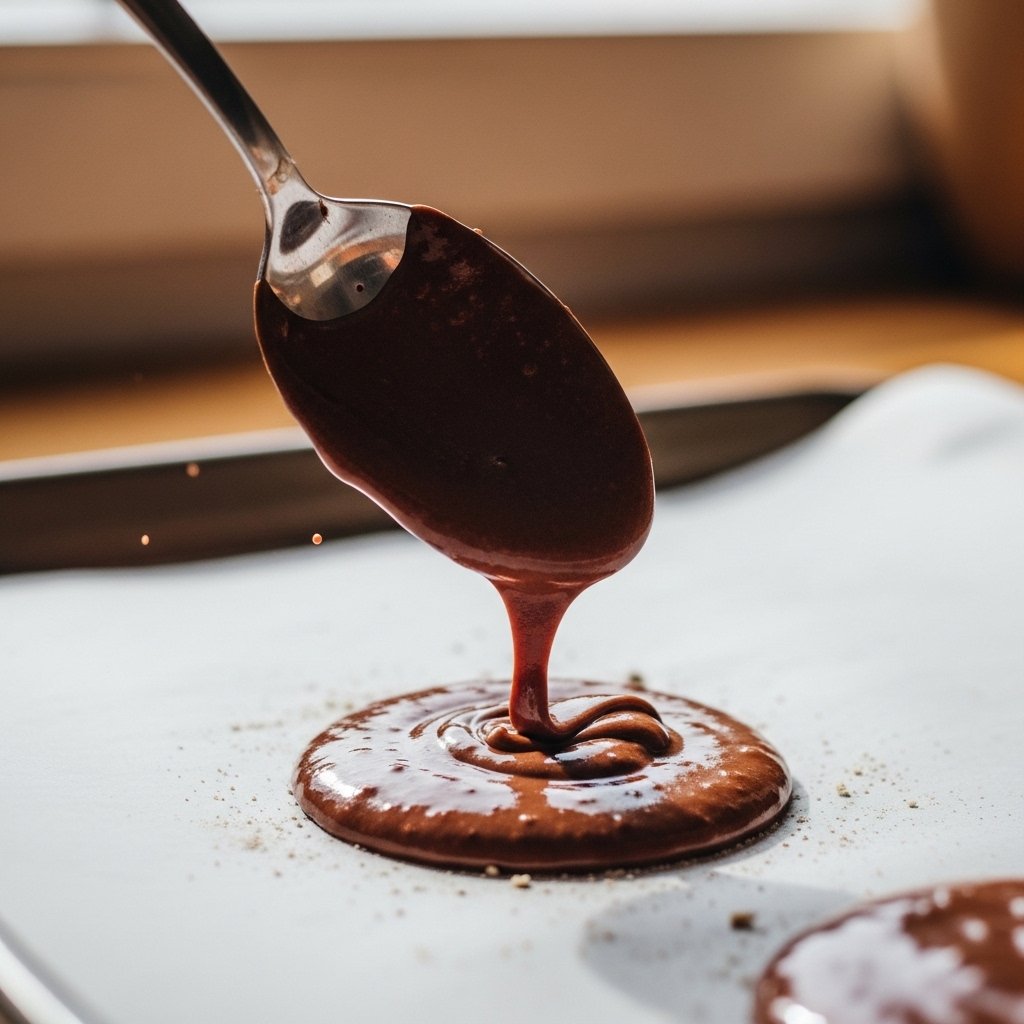
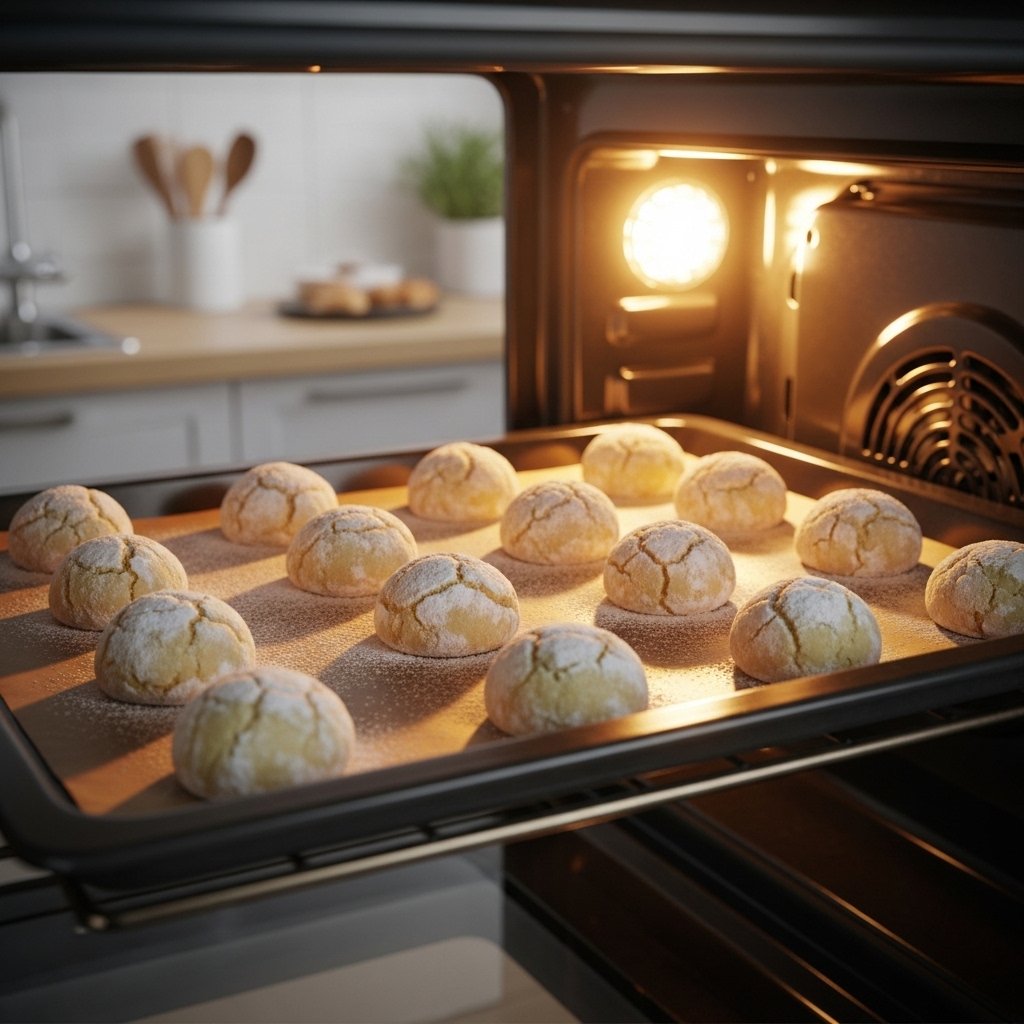
Step 2: Portion and Bake
Scoop batter onto baking sheet in even rounds. Bake at 350°F (175°C) for 10–12 minutes.
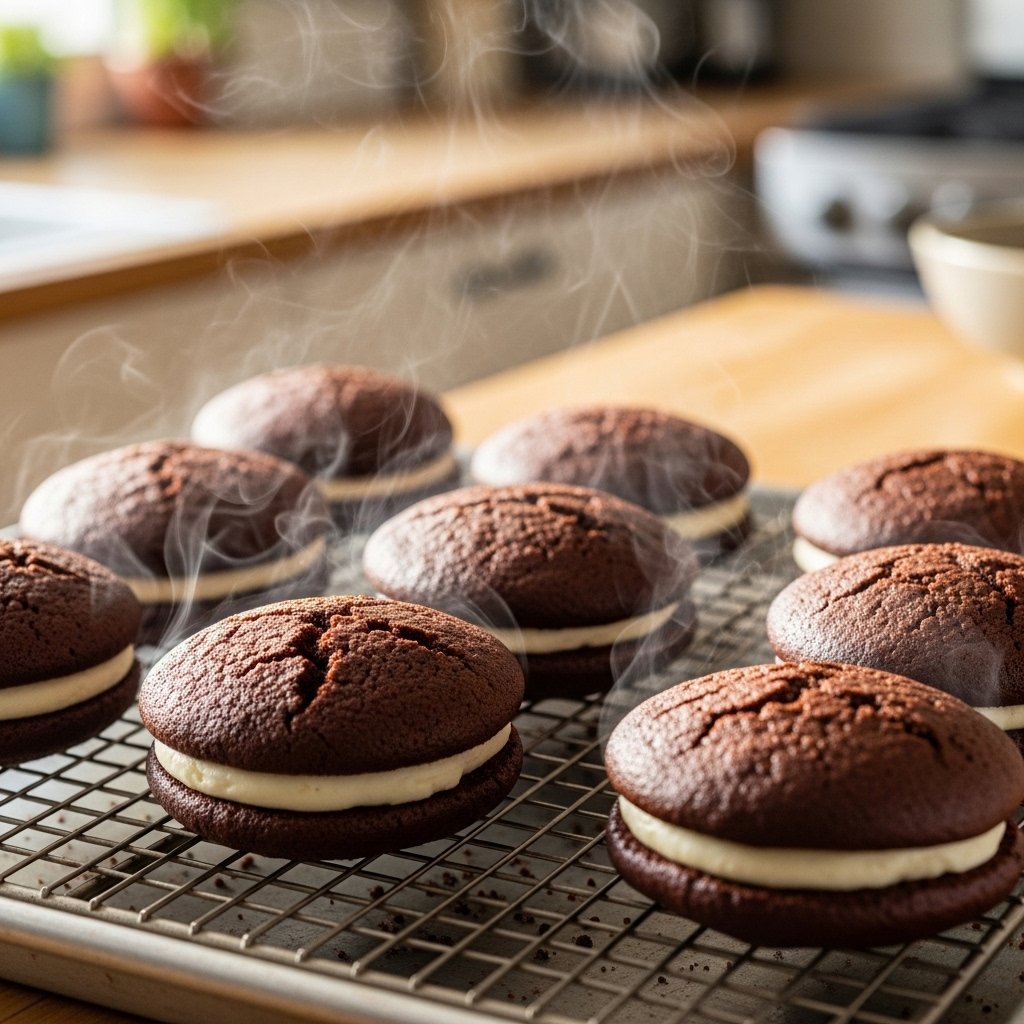
Step 3: Cool Completely
Let the cakes cool fully before adding filling to prevent melting.
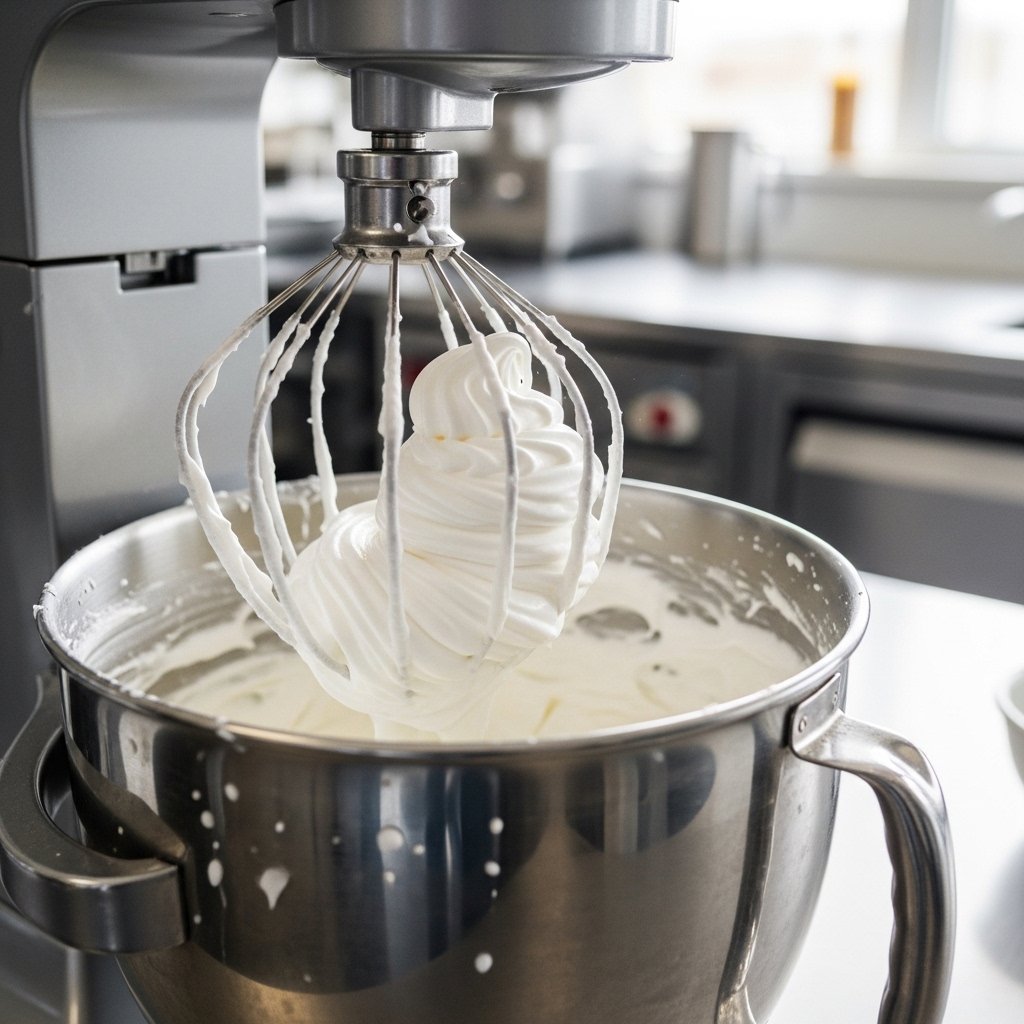
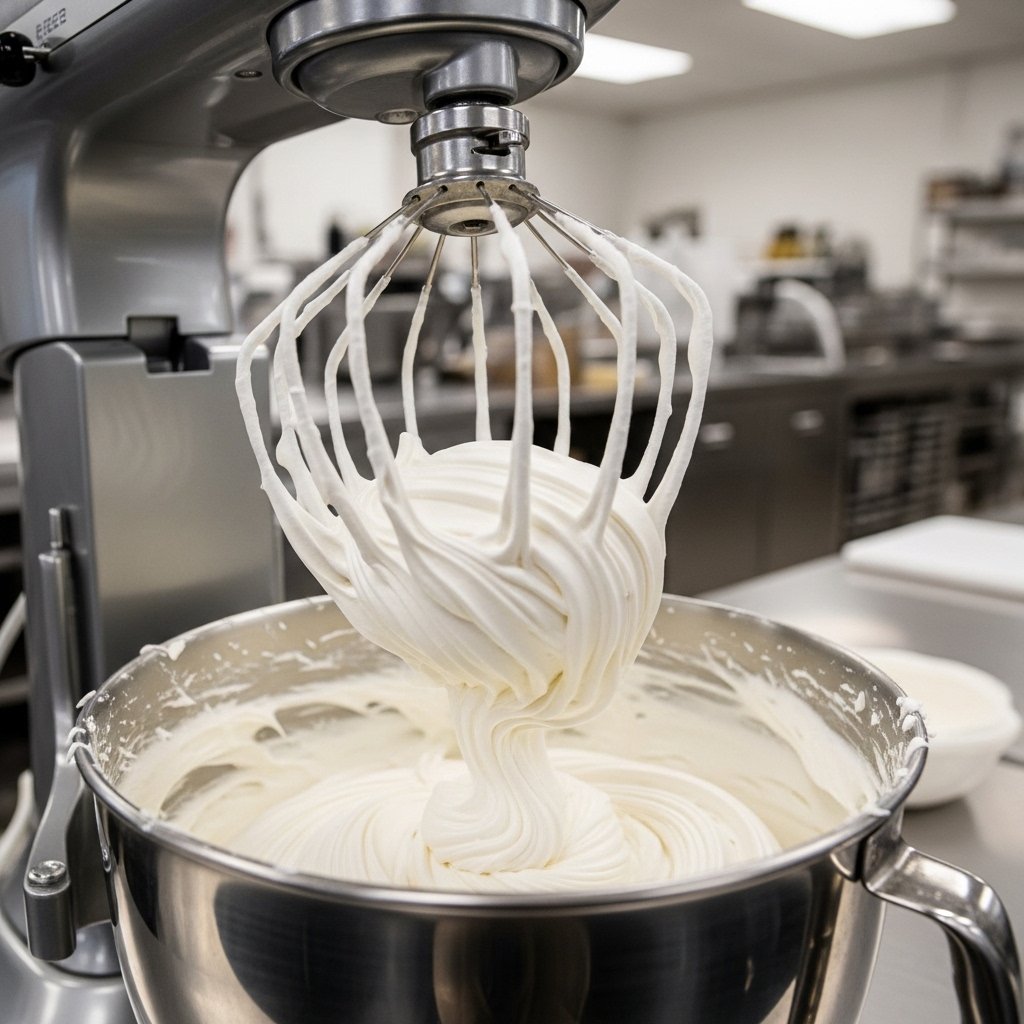
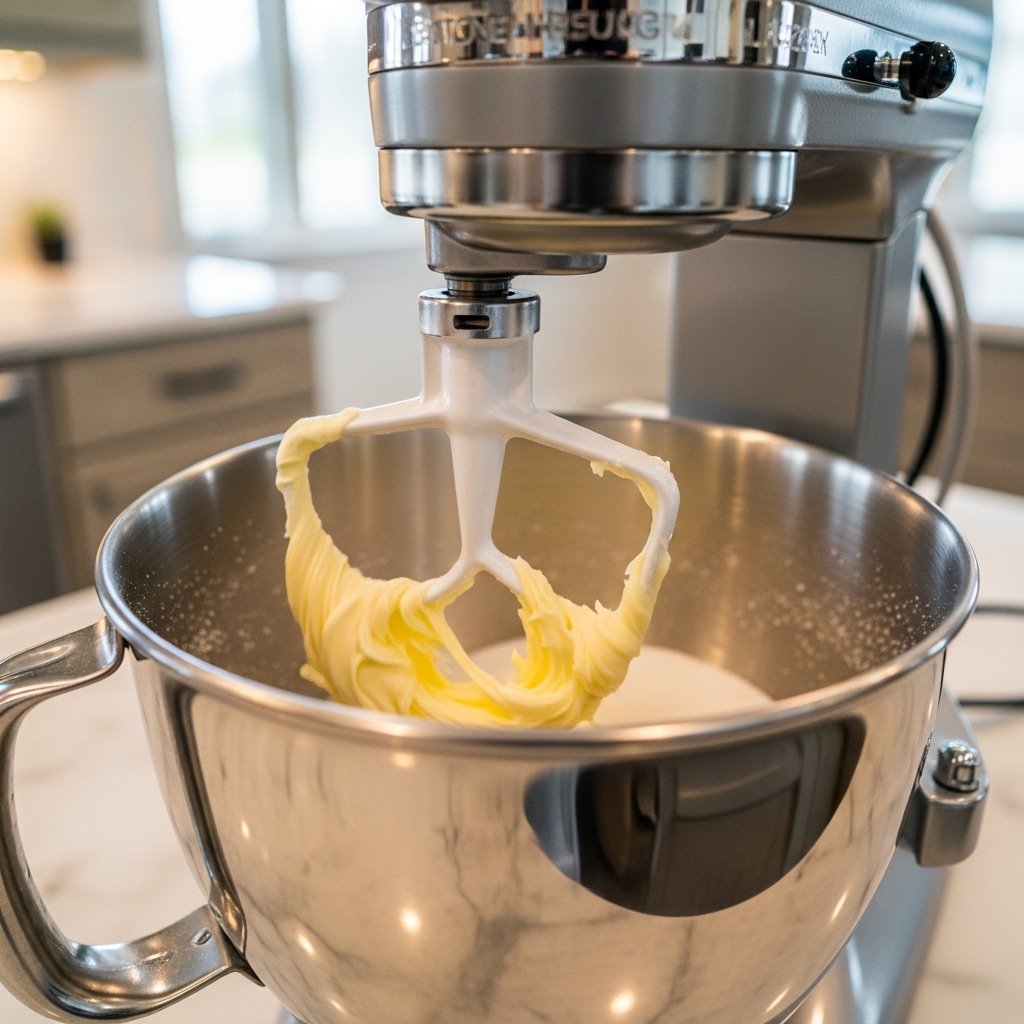
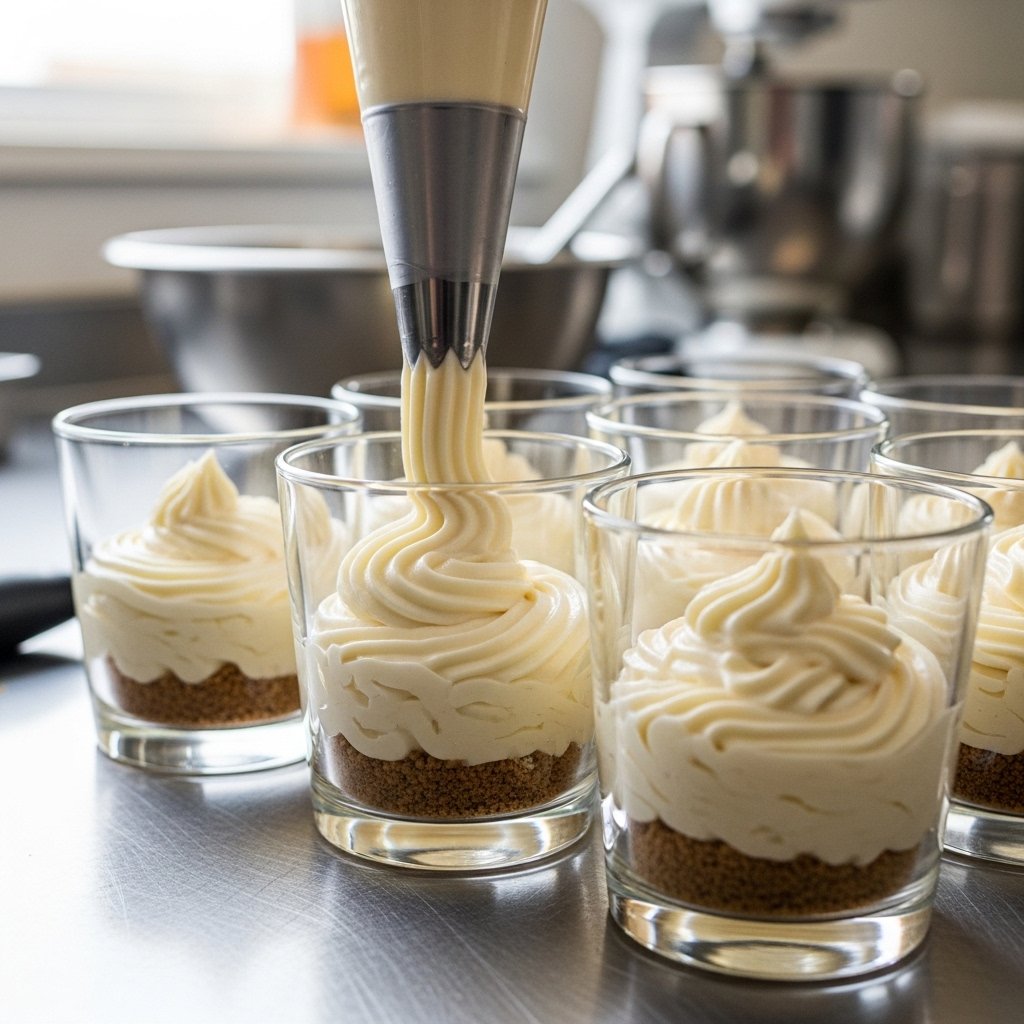
Step 4: Make the Cream Filling
Beat butter and sugar until fluffy, then fold in marshmallow fluff and vanilla.
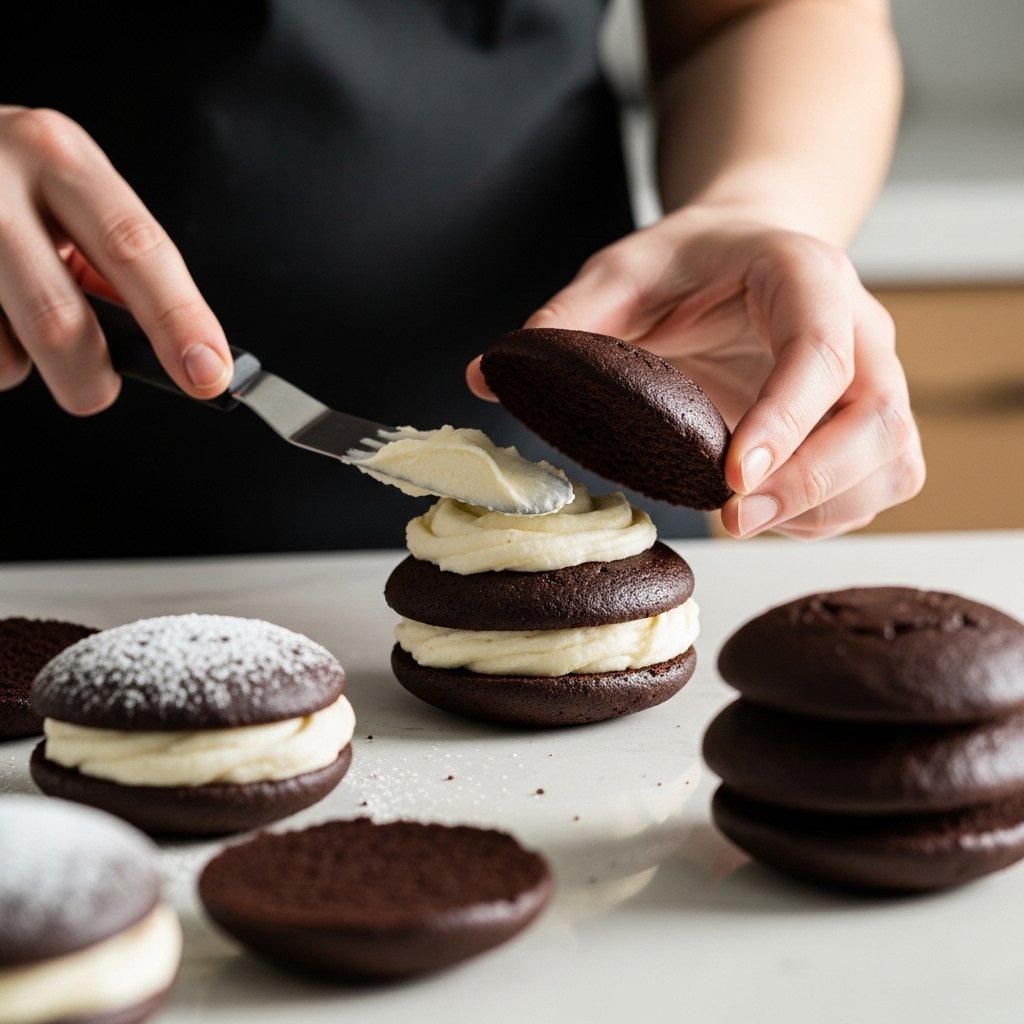
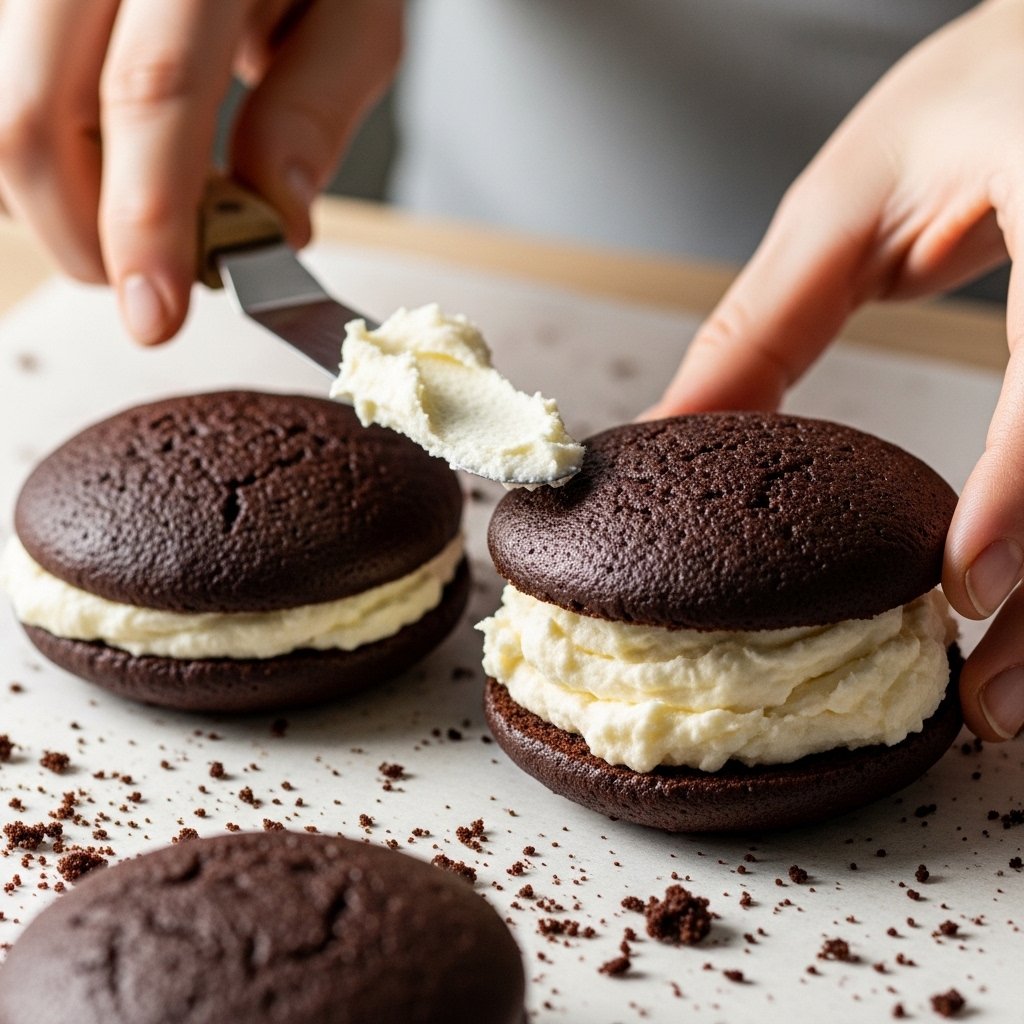
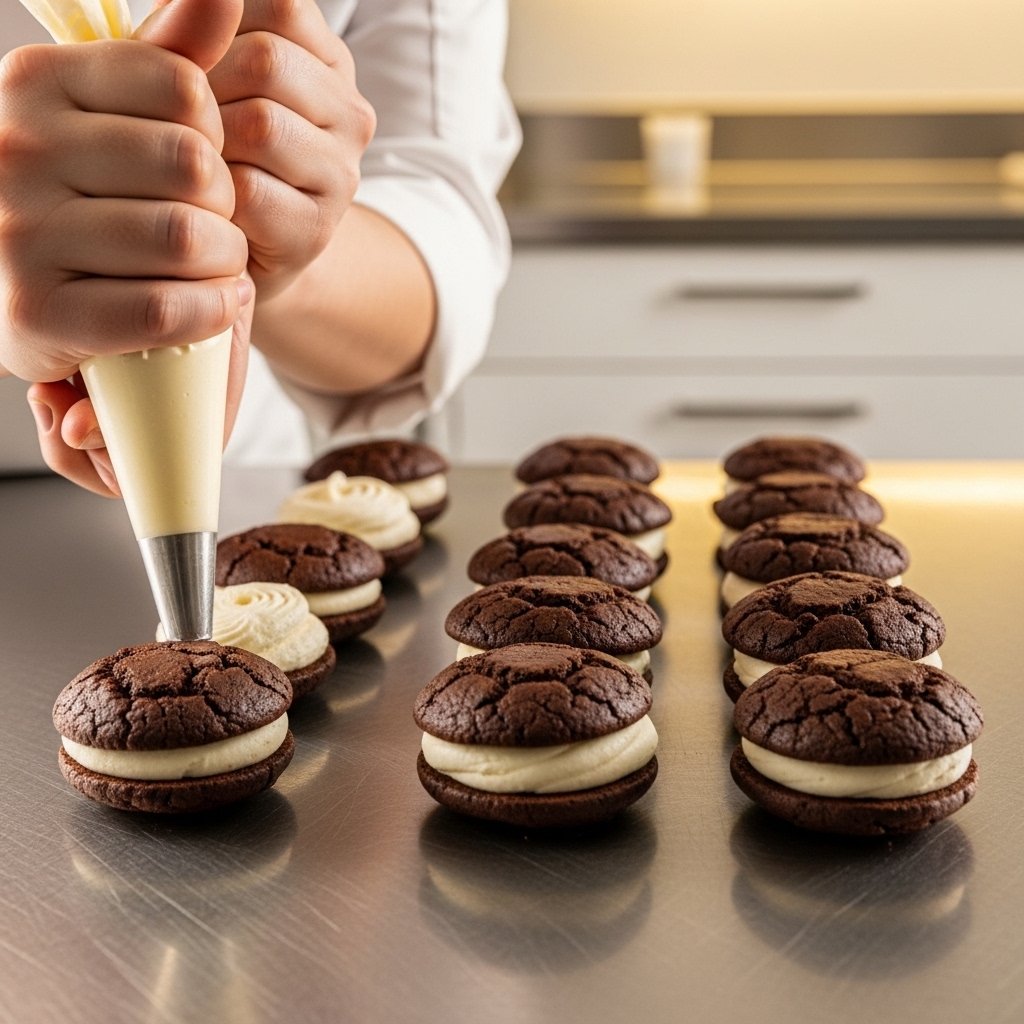
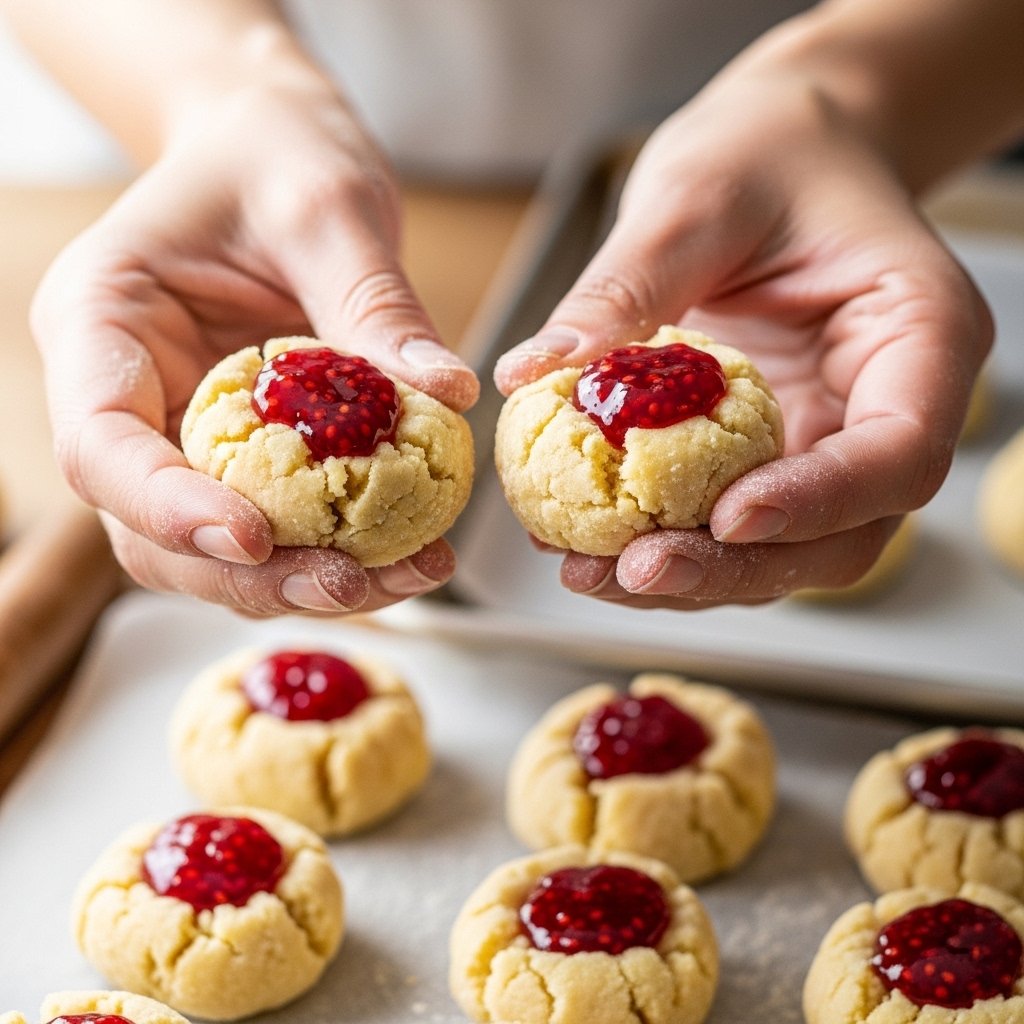
Step 5: Assemble Whoopie Pies
Spread filling on one cake and sandwich with another.

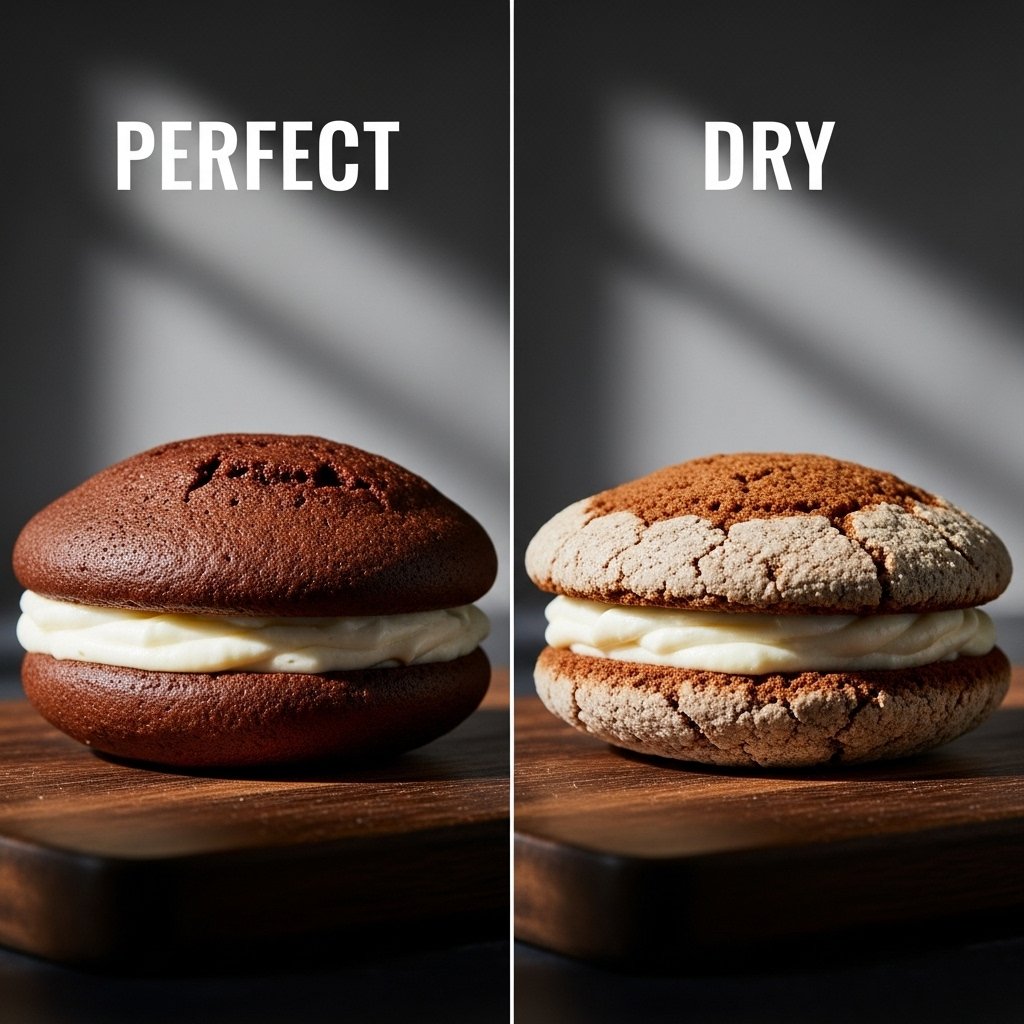
Tips for Perfect Food Explorer Whoopies
To master The Food Explorer Whoopies by Cape Whoopies | Goldbelly, follow these tips:
- Don’t overbake the cakes
- Use a cookie scoop for even sizing
- Chill filling slightly for better structure
- Allow cakes to cool fully before assembling
- Store in fridge for best texture

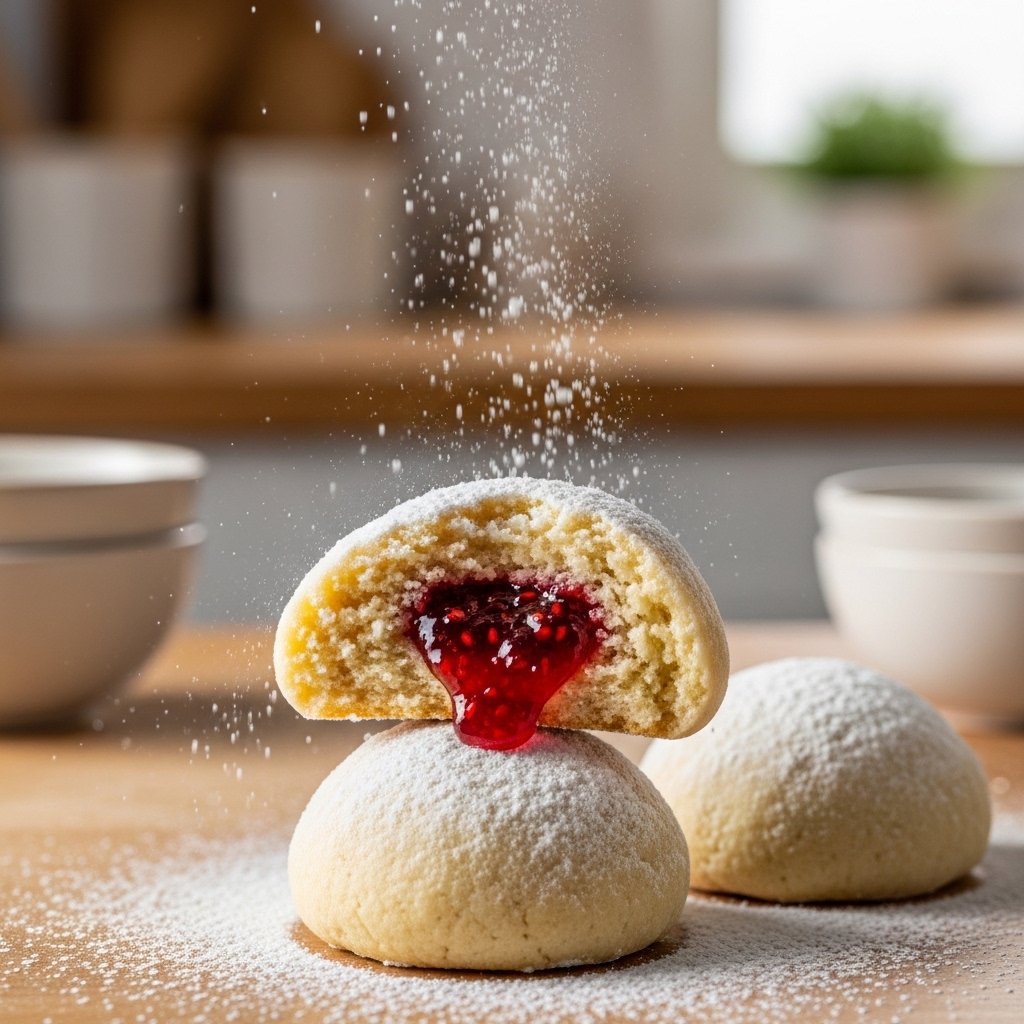
Variations of Food Explorer Whoopies
You can customize Food Explorer Whoopies by Cape Whoopies | Goldbelly in many ways:
- Red Velvet Version: Add red cocoa and cream cheese filling
- Pumpkin Spice Whoopies: Perfect fall variation
- Peanut Butter Filling: Rich and nutty twist
- Mint Chocolate: Refreshing holiday version

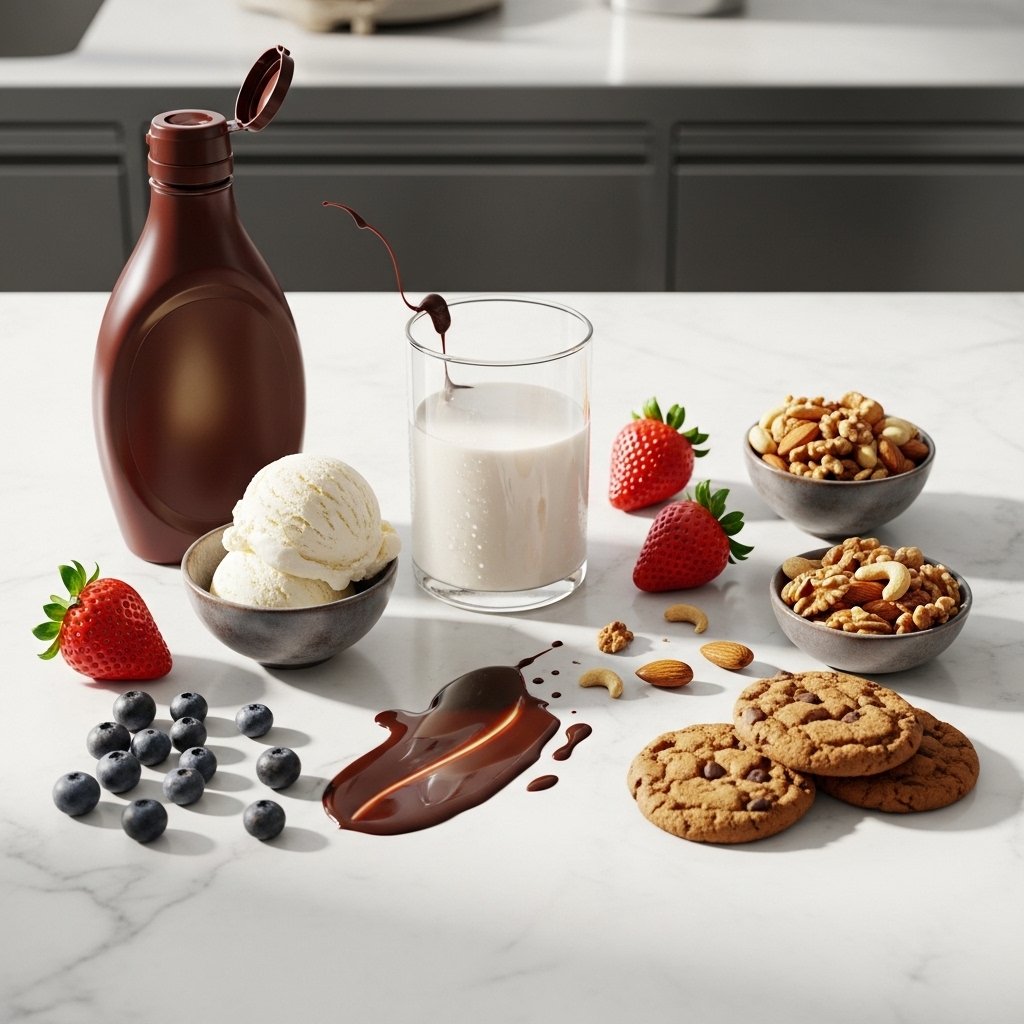
What to Serve With Whoopie Pies
These gourmet treats pair perfectly with:
- Hot coffee or espresso
- Cold milk
- Vanilla ice cream
- Dessert platters for parties
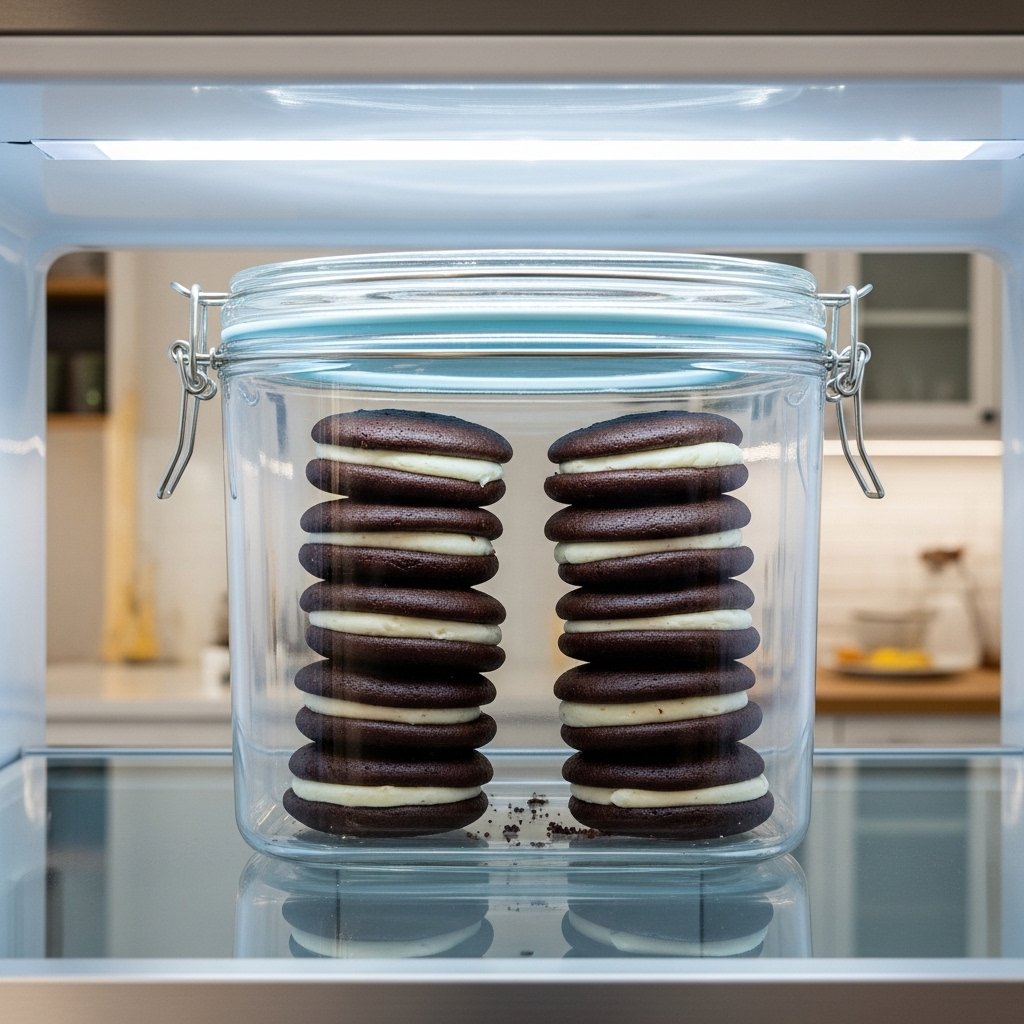
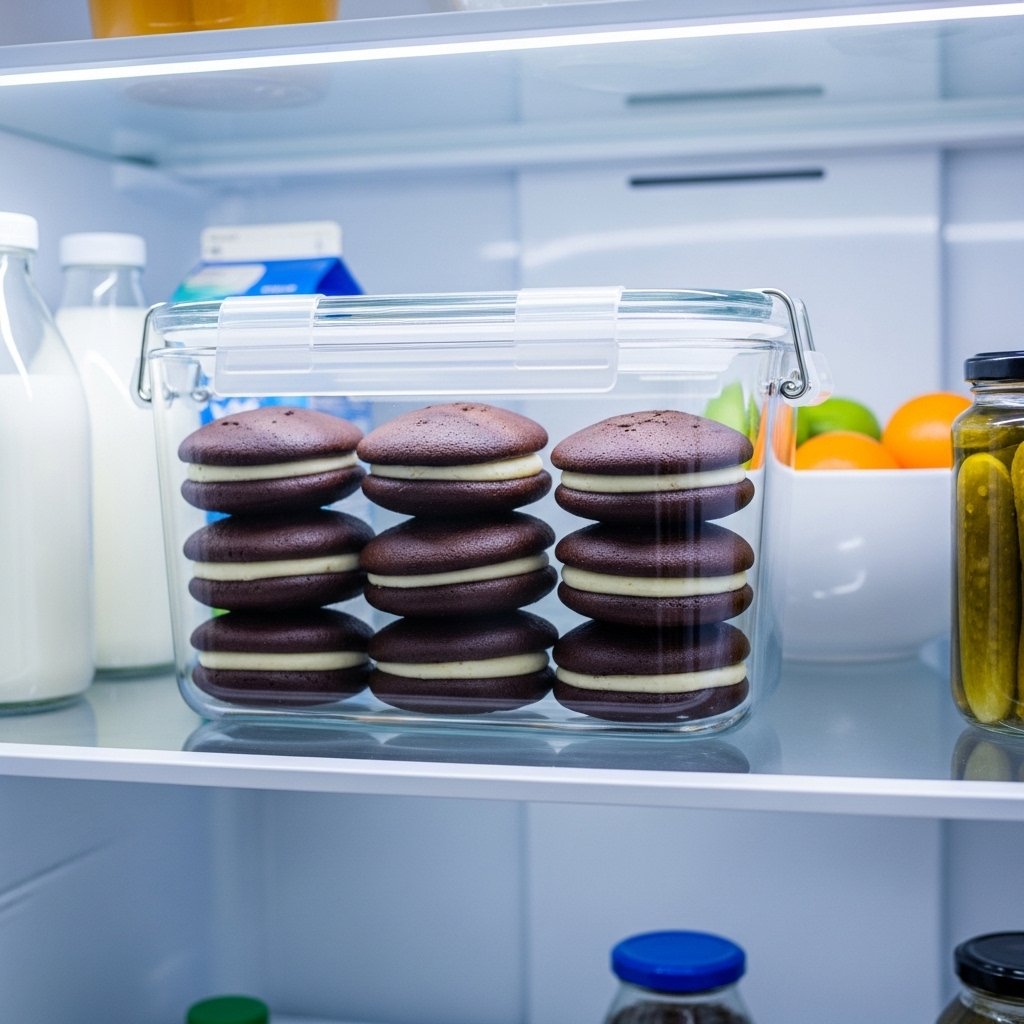
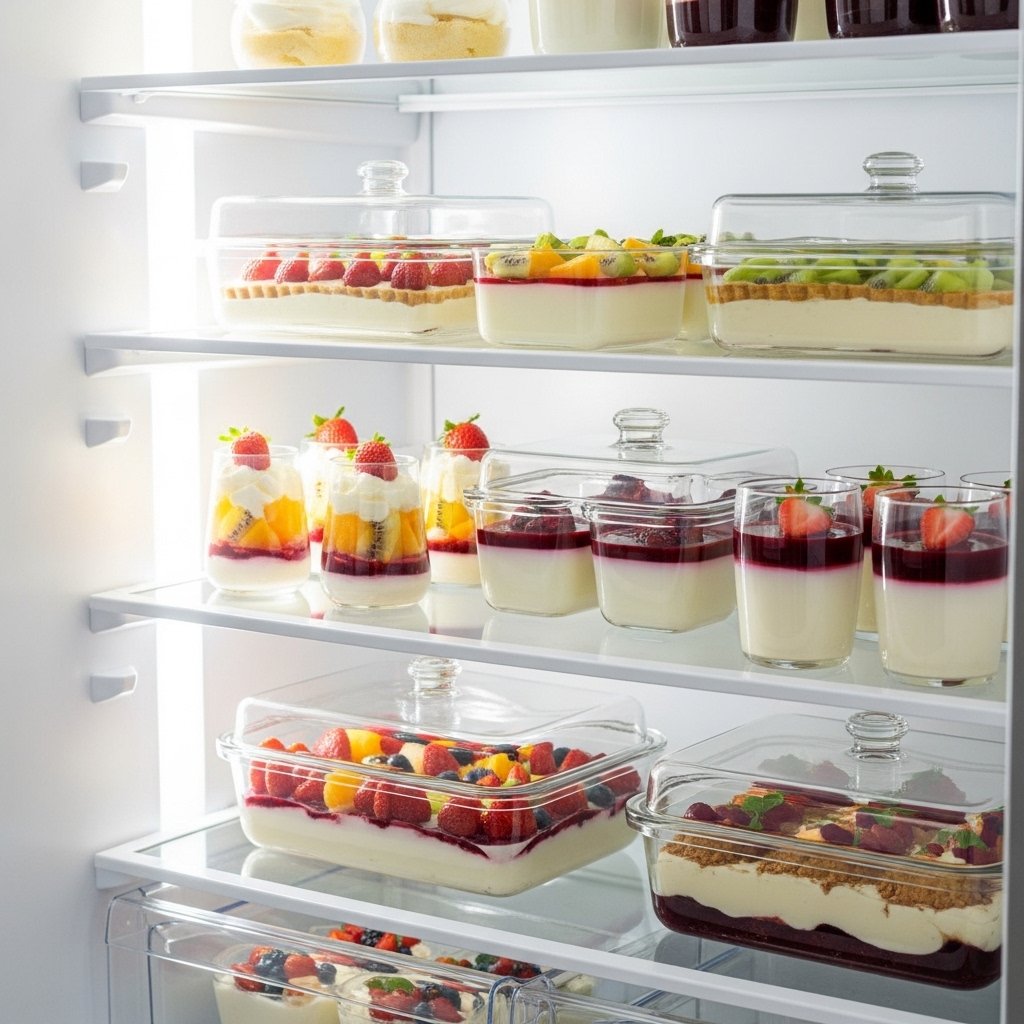
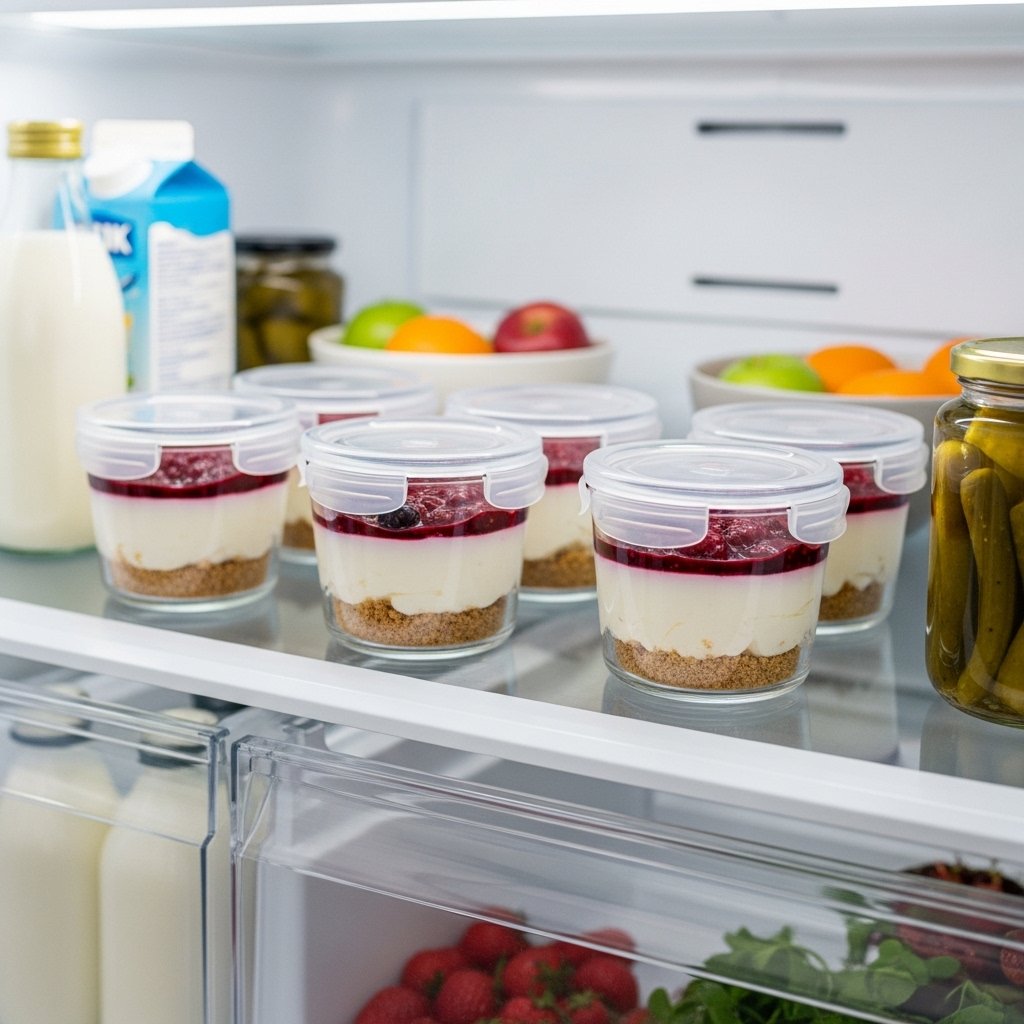
Storage Tips for Food Explorer Whoopies
To keep The Food Explorer Whoopies by Cape Whoopies | Goldbelly fresh:
- Store in airtight container in fridge for up to 5 days
- Freeze unfilled cakes for up to 2 months
- Keep filling separate for best texture
- Bring to room temperature before serving

Common Mistakes to Avoid
Avoid these mistakes when making Food Explorer Whoopies by Cape Whoopies | Goldbelly style treats:
- Overmixing batter (makes cakes dense)
- Overbaking (causes dryness)
- Filling warm cakes (melts cream)
- Uneven sizing (affects assembly)

Frequently Asked Questions (FAQs)
1. What makes Cape Whoopies different?
They use premium ingredients and creative gourmet fillings.
2. Can I make them at home?
Yes, this recipe is inspired by their classic texture and flavor.
3. How long do whoopie pies last?
Up to 5 days refrigerated.
4. Can I freeze whoopie pies?
Yes, freeze cakes without filling for best results.
Final Thoughts
The Food Explorer Whoopies by Cape Whoopies | Goldbelly are the perfect blend of nostalgia and gourmet baking. Soft, rich, and filled with creamy sweetness, they’re a dessert that truly stands out.
Whether you order them through Goldbelly or recreate them at home, these whoopie pies are guaranteed to bring joy with every bite.