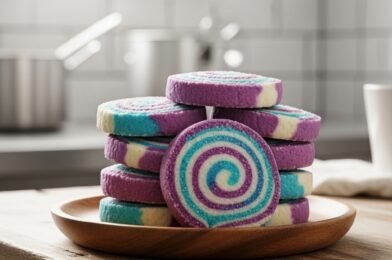
If you’re looking for a dessert that’s as fun to make as it is to eat, these magical spiral cookies: creative sweet treats for kid desserts & Halloween fun are exactly what you need. With their vibrant swirls, playful colors, and eye-catching designs, these cookies are guaranteed to be a hit with kids and adults alike.
Perfect for Halloween parties, birthdays, or creative baking days, these cookies combine a buttery base with colorful layers that roll into mesmerizing spirals. The result? A dessert that looks magical and tastes absolutely delicious.

Why You’ll Love These Magical Spiral Cookies
These magical spiral cookies: creative sweet treats for kid desserts & Halloween fun are loved for many reasons:
- Visually stunning and fun to decorate
- Perfect for kids and themed parties
- Easy to customize colors and flavors
- Soft, buttery texture with a slight crisp edge
- Great baking activity for families
They’re not just cookies—they’re an experience!
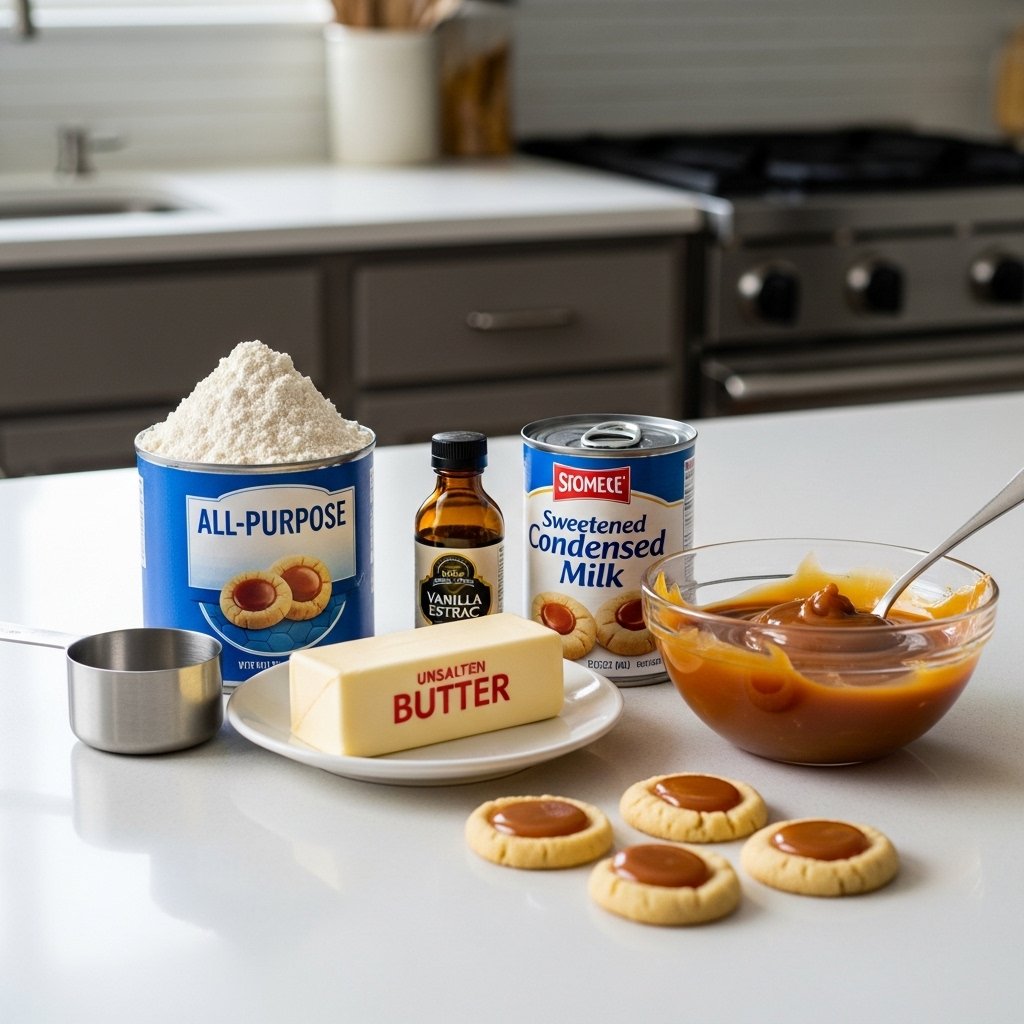
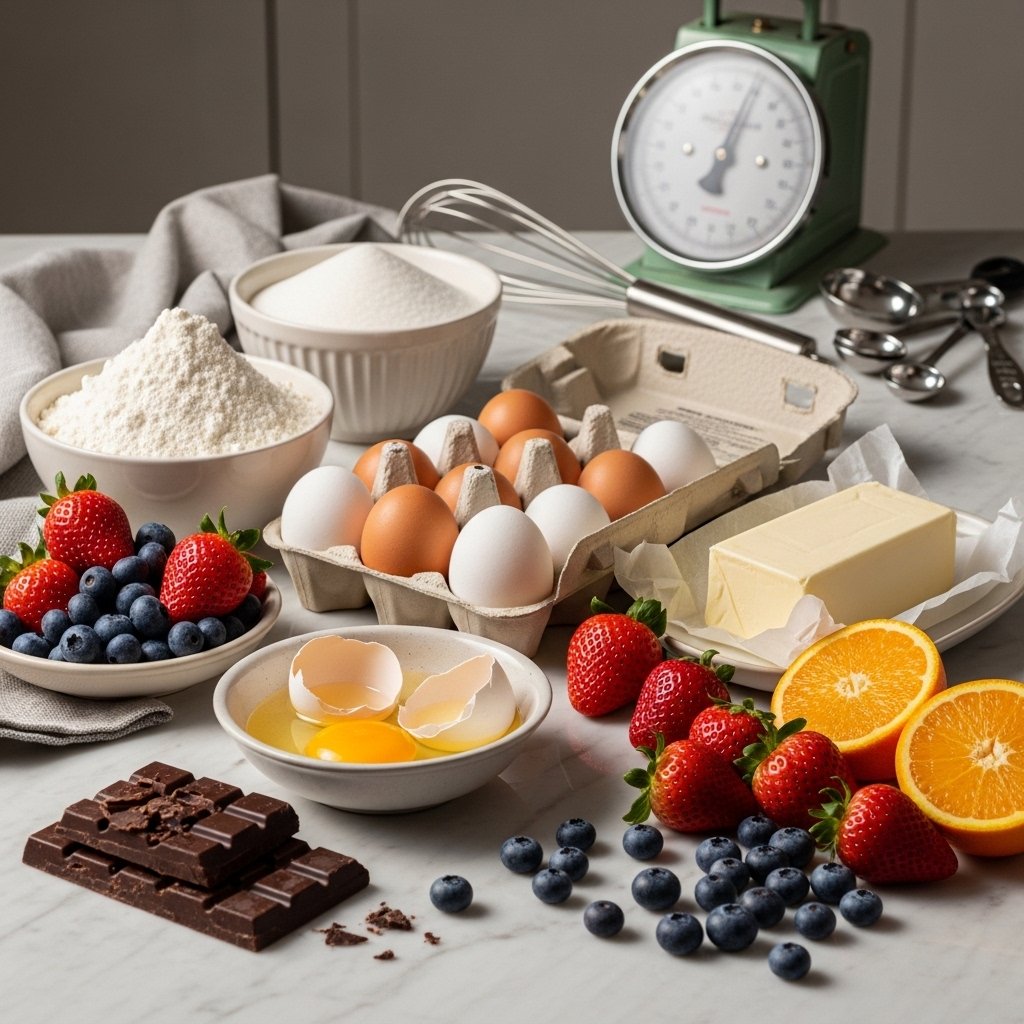
Ingredients You’ll Need
To make these magical spiral cookies: creative sweet treats for kid desserts & Halloween fun, gather:
- All-purpose flour
- Butter (softened)
- Sugar
- Egg
- Vanilla extract
- Food coloring (gel preferred)
- Optional: sprinkles or edible glitter
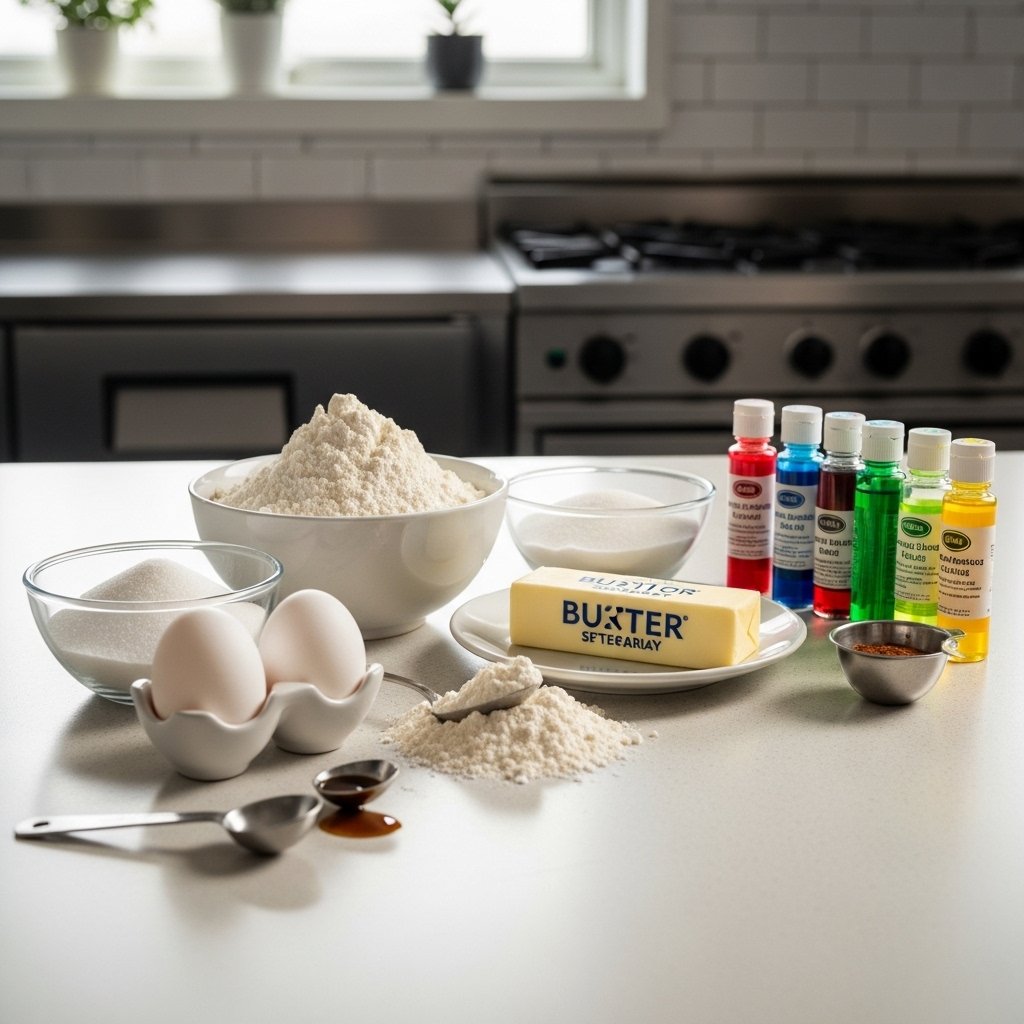
Ingredient Notes
The key to achieving beautiful magical spiral cookies: creative sweet treats for kid desserts & Halloween fun is using gel food coloring, which provides vibrant color without affecting the dough’s texture.
Make sure your butter is softened for easy mixing, and avoid overusing flour to keep the cookies tender and soft.
Step-by-Step Instructions
1. Make the Dough
Cream butter and sugar, then add egg and vanilla. Mix in flour until a soft dough forms.
2. Divide and Color
Split the dough into portions and add different colors to each.
3. Roll the Layers
Roll each colored dough into thin sheets.
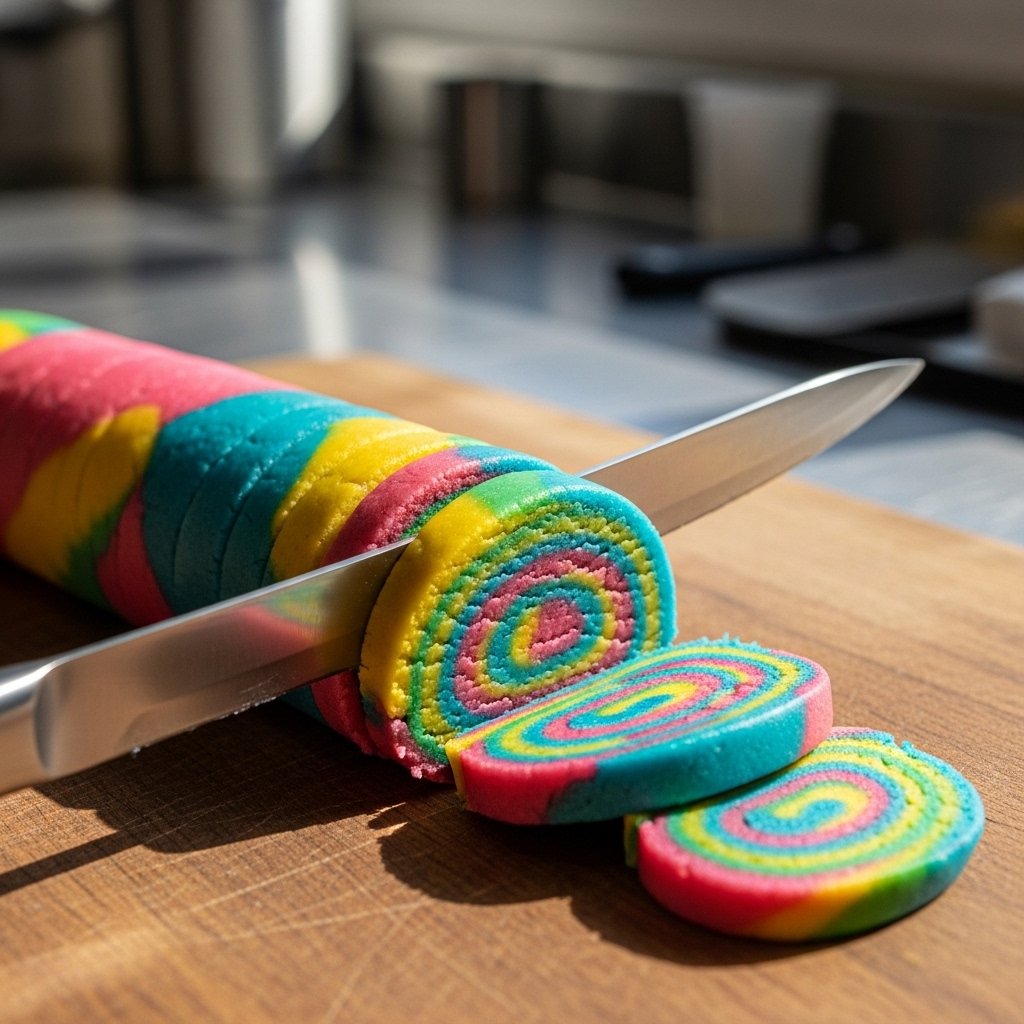
4. Stack and Roll
Layer the colors, then roll tightly into a log to create the spiral.
5. Chill
Wrap and refrigerate for at least 1 hour.
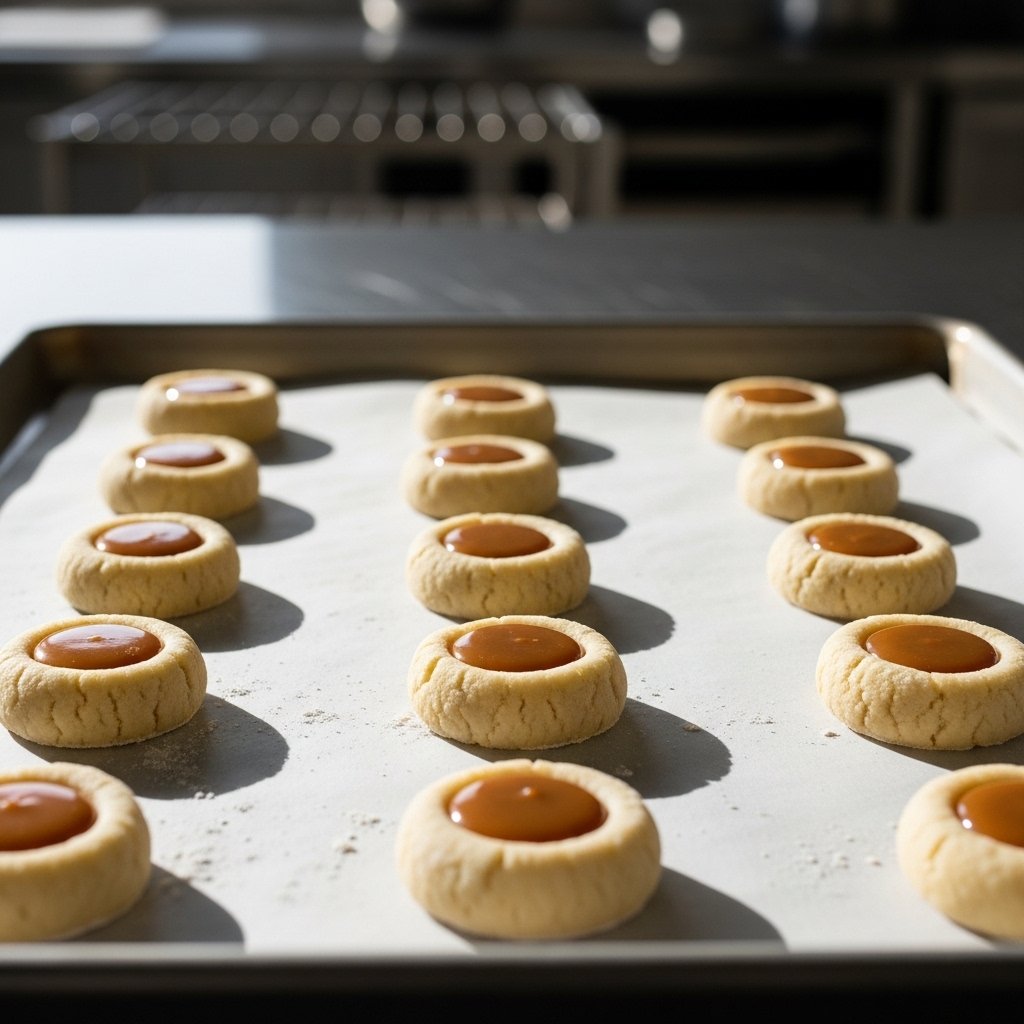
6. Slice and Bake
Cut into rounds and bake at 350°F (175°C) for 10–12 minutes.
Tips for Perfect Spiral Cookies
To perfect your magical spiral cookies: creative sweet treats for kid desserts & Halloween fun, follow these tips:
- Chill the dough before slicing
- Roll tightly to avoid gaps
- Use a sharp knife for clean cuts
- Don’t overbake to keep colors vibrant
These small steps ensure beautiful, bakery-quality cookies.
Variations and Customizations
Get creative with your magical spiral cookies: creative sweet treats for kid desserts & Halloween fun:
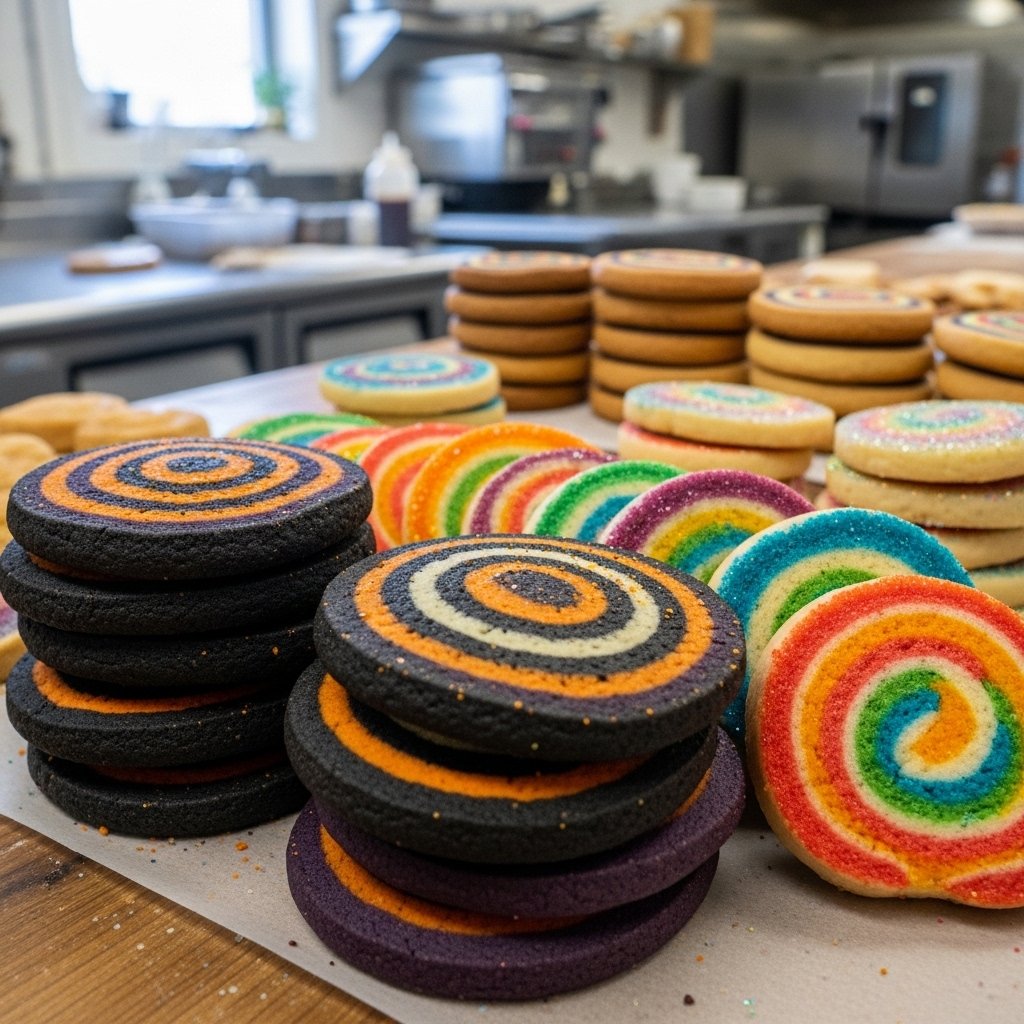
- Use Halloween colors like orange, black, and purple
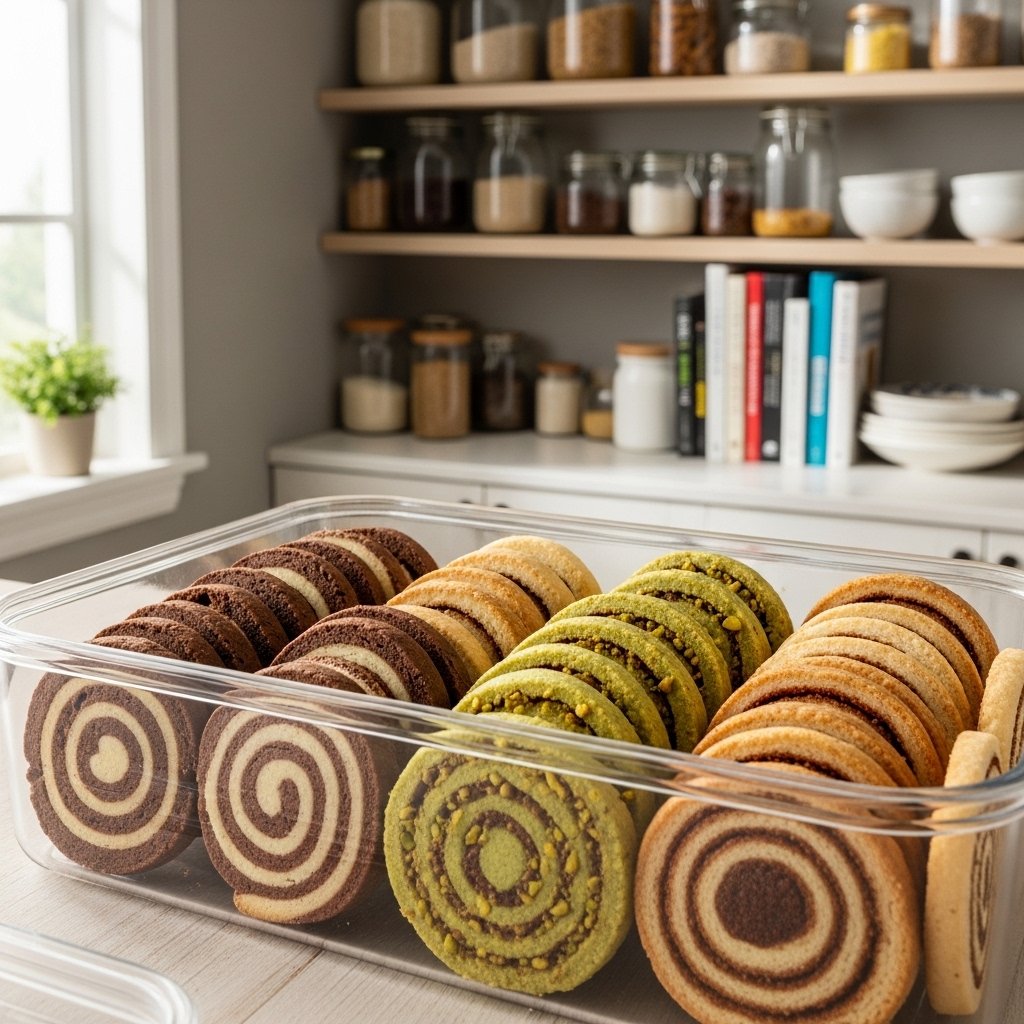
- Add cocoa powder for chocolate layers
- Sprinkle sugar or glitter for sparkle
- Create rainbow spirals for birthdays
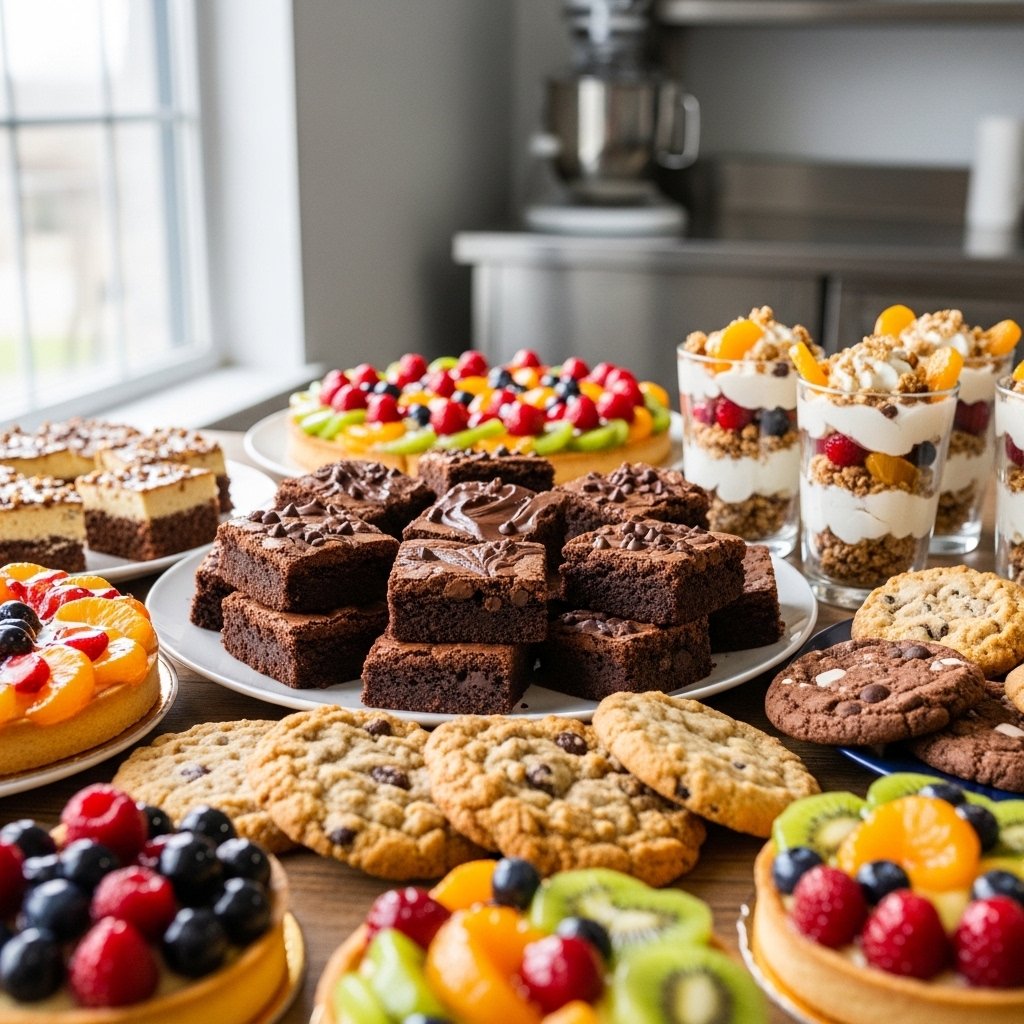
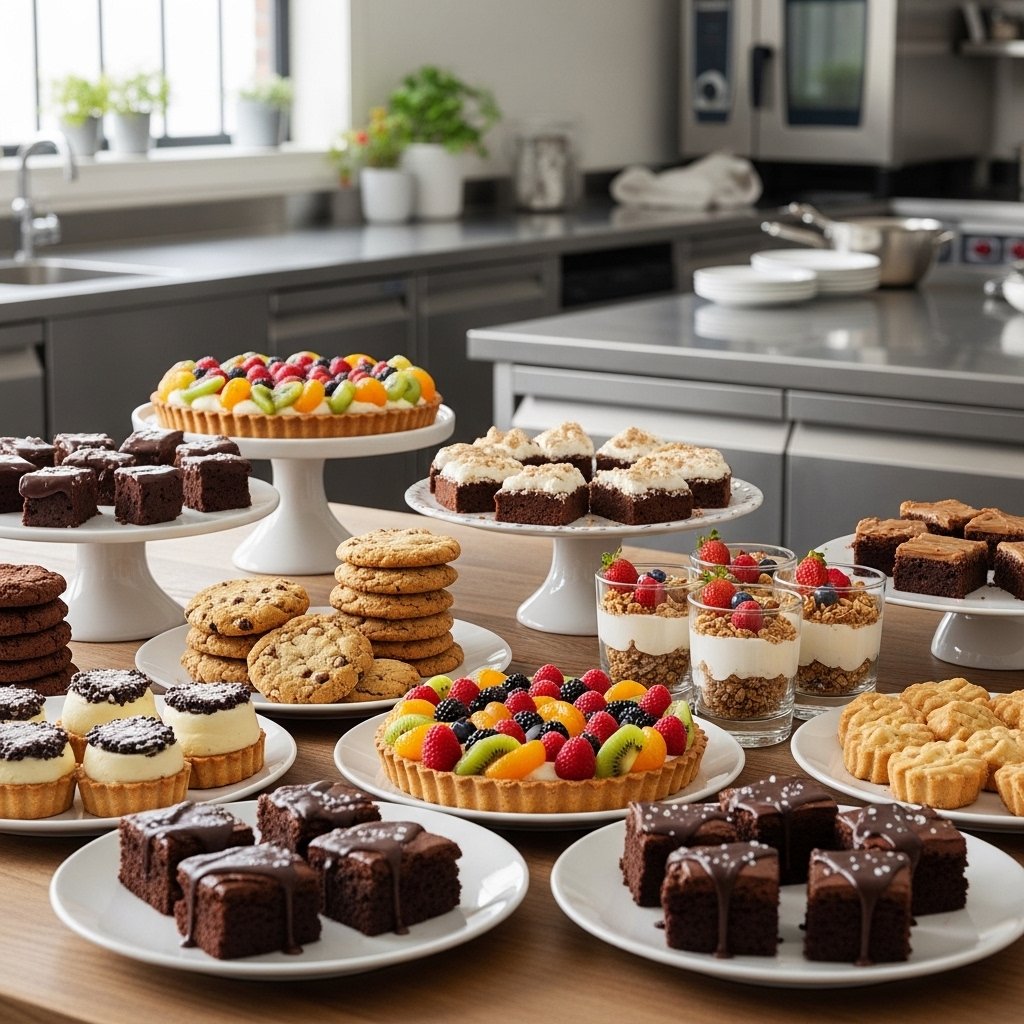
What to Serve With These Cookies
Pair your magical spiral cookies: creative sweet treats for kid desserts & Halloween fun with:
- Milk or hot chocolate
- Fruit platters
- Ice cream
- Party dessert tables
They’re perfect as a centerpiece for any dessert spread.
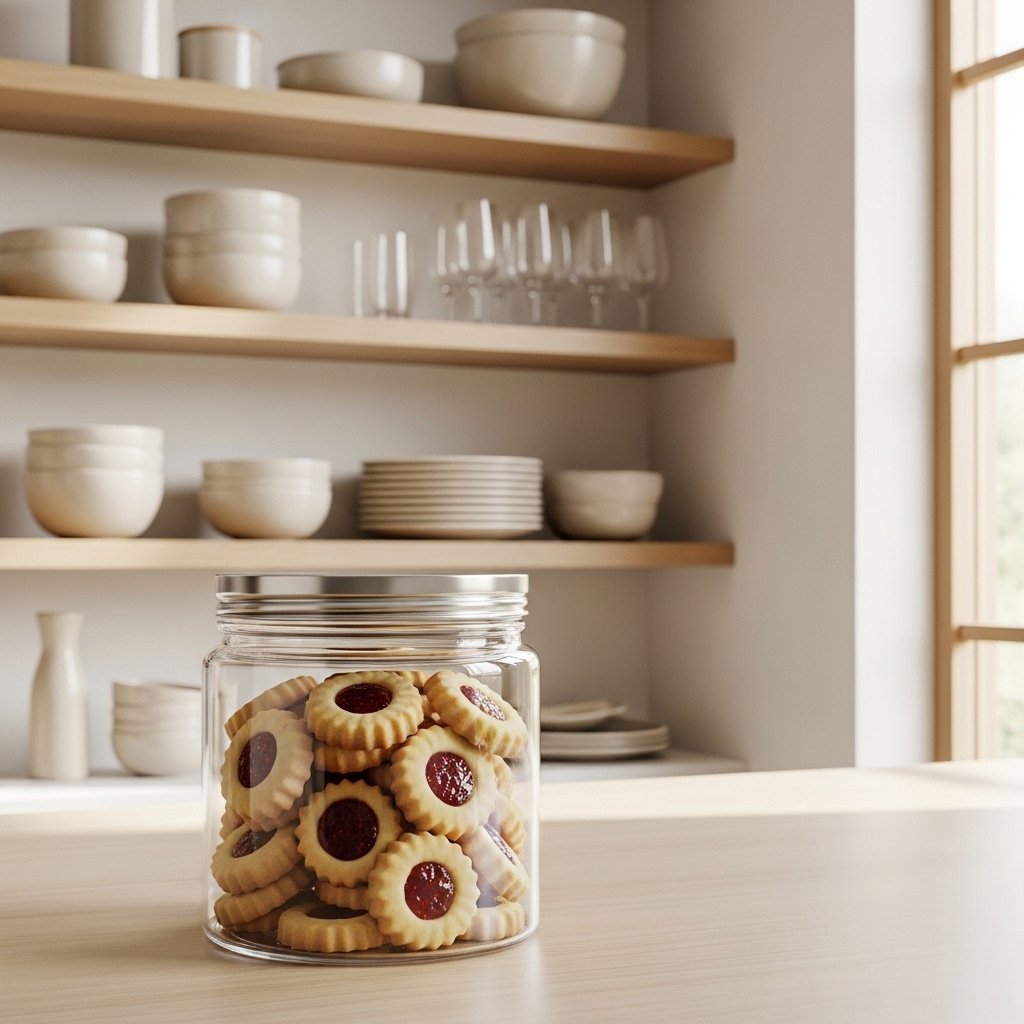
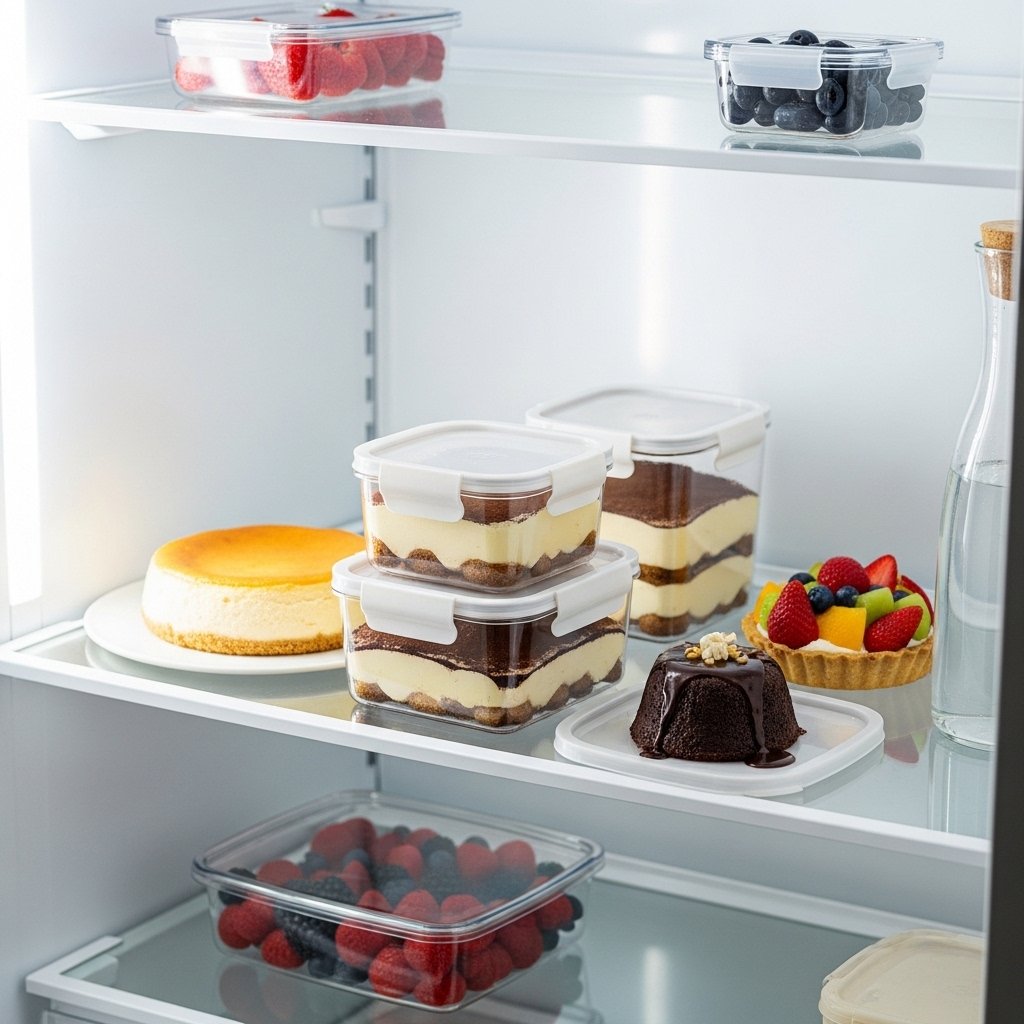
Storage & Reheating Tips
To keep your magical spiral cookies: creative sweet treats for kid desserts & Halloween fun fresh:
- Store in an airtight container for up to 5 days
- Freeze dough logs for future baking
- Avoid humidity to maintain texture
Common Mistakes to Avoid
When making magical spiral cookies: creative sweet treats for kid desserts & Halloween fun, avoid:
- Skipping the chilling step
- Rolling uneven layers
- Using too much flour
- Overbaking
Attention to detail ensures vibrant, perfect spirals.
FAQs
Can I make the dough ahead of time?
Yes! The dough can be refrigerated for up to 2 days.
Why are my spirals not clear?
The dough may not have been rolled tightly enough.
Can I freeze these cookies?
Yes, both baked cookies and dough freeze well.
What colors work best for Halloween?
Orange, black, purple, and green create a festive look.
Final Thoughts
These magical spiral cookies: creative sweet treats for kid desserts & Halloween fun are the perfect combination of creativity and flavor. They’re fun to make, stunning to look at, and absolutely delicious to eat.
Whether you’re baking with kids or preparing for a festive celebration, these cookies bring joy, color, and a touch of magic to your kitchen. Try them once, and they’ll quickly become a favorite tradition!