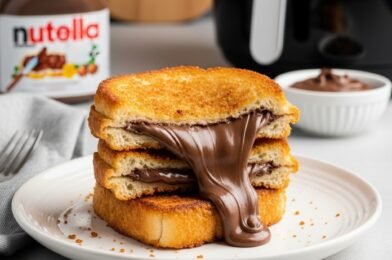
If you love classic comfort food with a fun twist, these quick grilled cheese roll ups for a tasty snack are about to become your new favorite. They take everything you adore about traditional grilled cheese—melty cheese, buttery crisp bread—and transform it into a playful, bite-sized treat that’s perfect for any occasion.
Whether you’re making a quick after-school snack, packing lunchboxes, or preparing a simple appetizer for guests, these roll ups deliver big flavor with minimal effort. Plus, they’re incredibly versatile, so you can customize them to suit any taste.

Why You’ll Love These Quick Grilled Cheese Roll Ups
There are so many reasons to fall in love with these quick grilled cheese roll ups for a tasty snack:
- Ready in under 15 minutes
- Perfectly crispy on the outside
- Gooey, melty cheese inside
- Easy to customize with different fillings
- Great for kids and adults alike
They’re simple, satisfying, and always a hit.
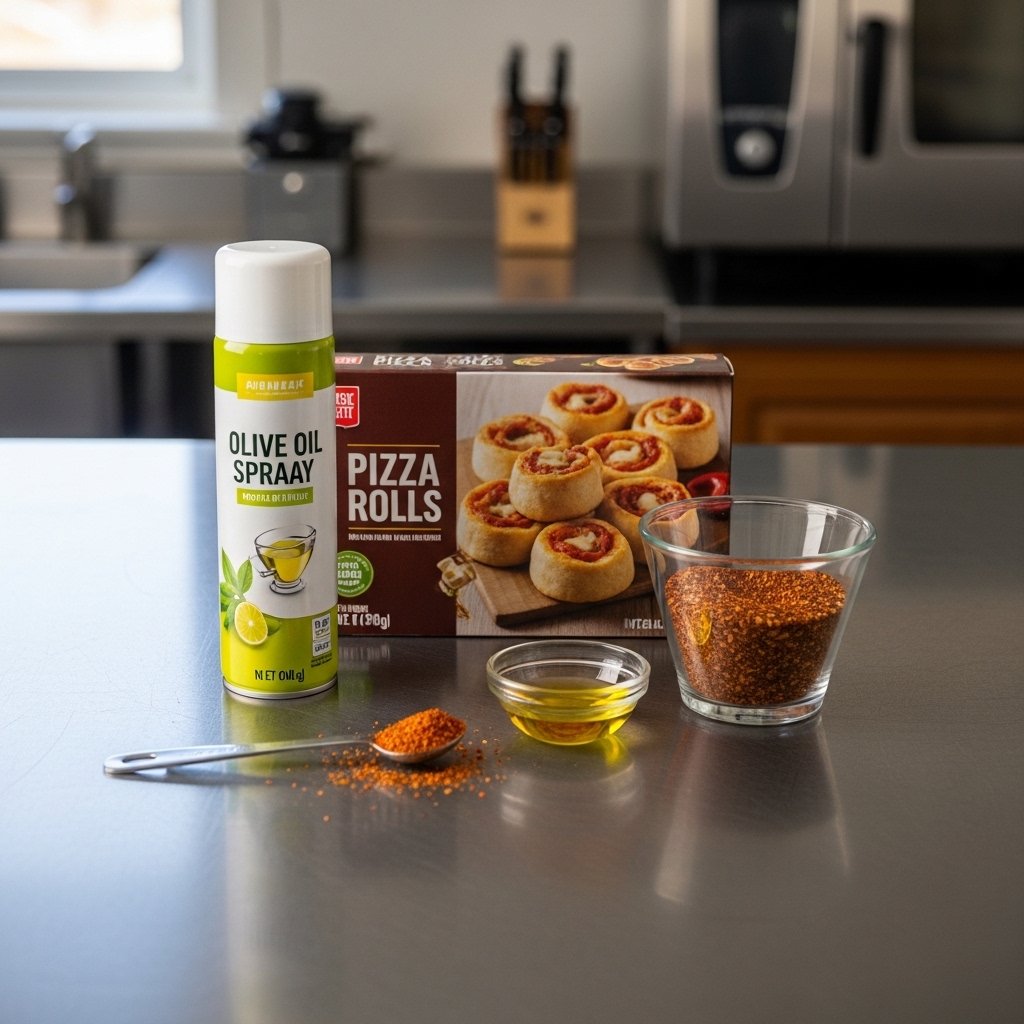
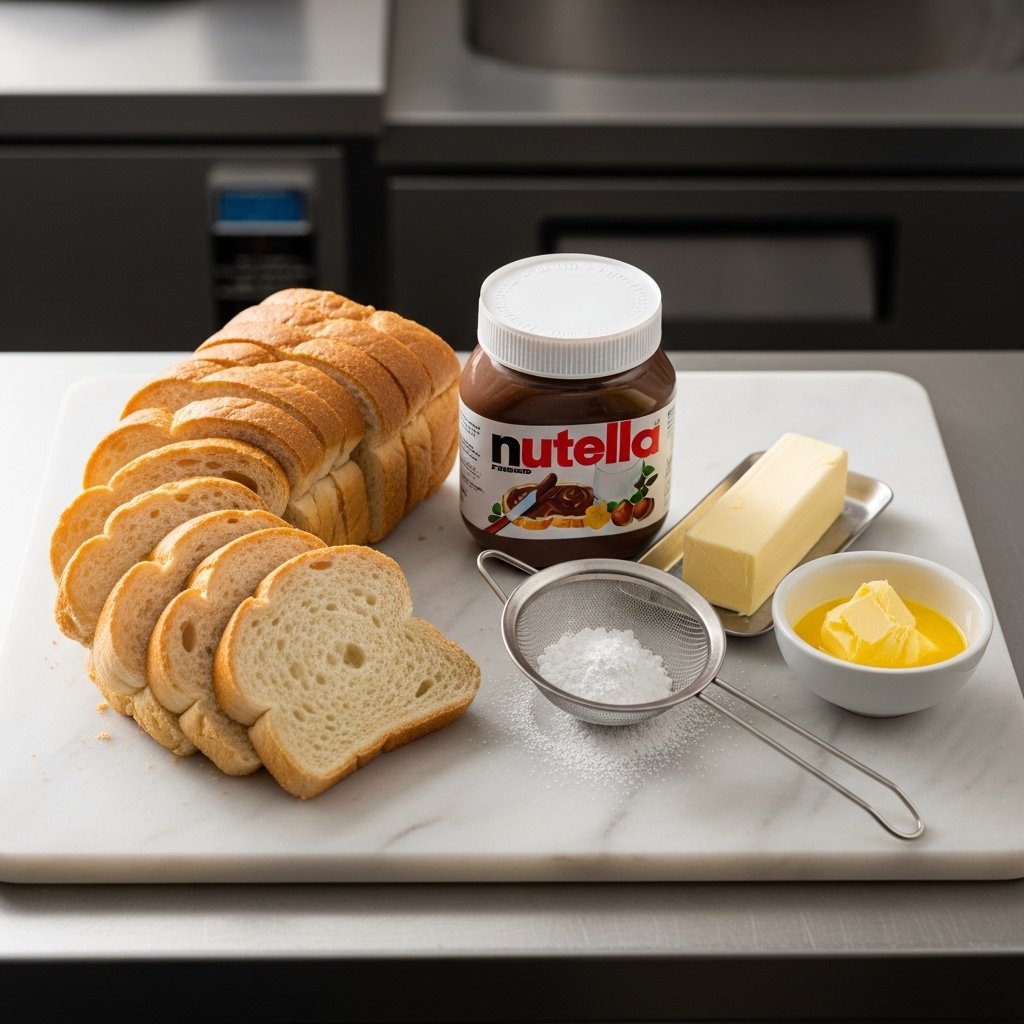
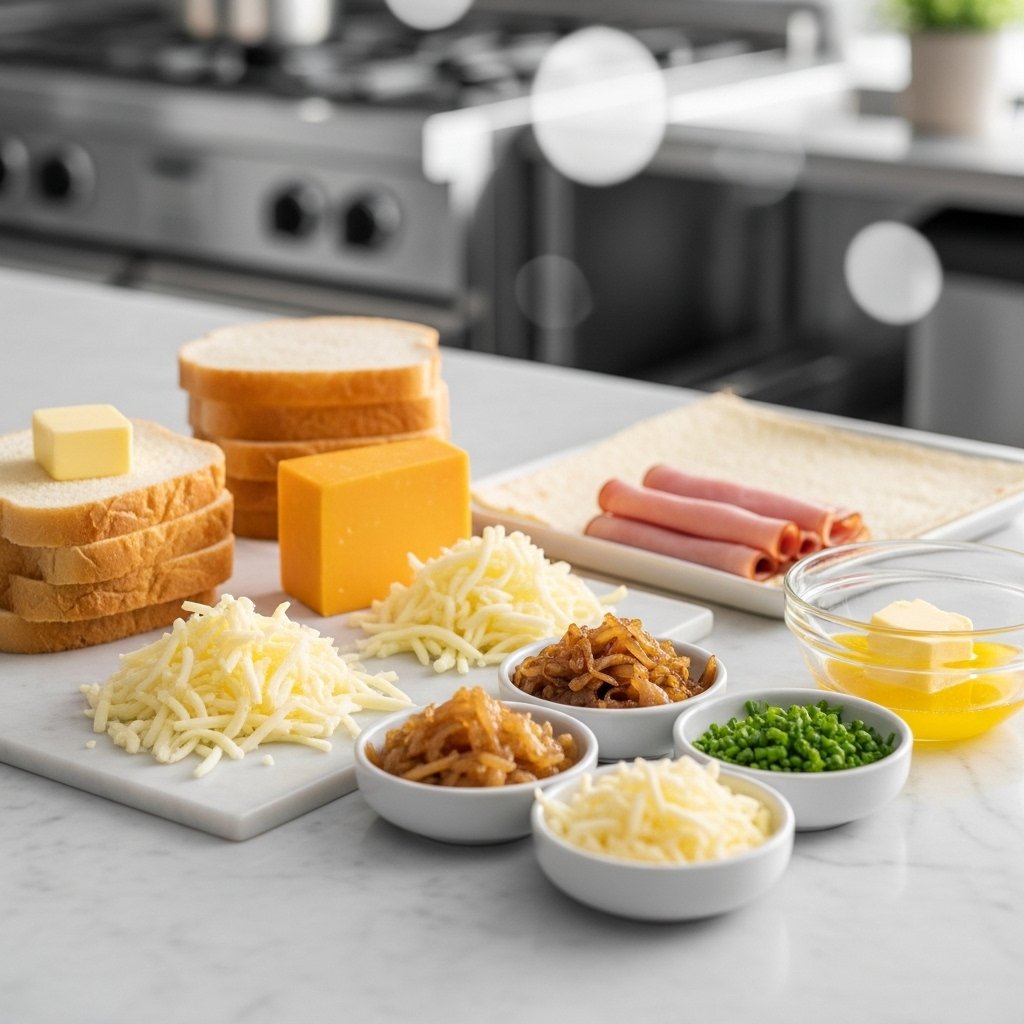
Ingredients for Grilled Cheese Roll Ups
To make these delicious quick grilled cheese roll ups for a tasty snack, you’ll need:
- Soft sandwich bread
- Sliced cheese (cheddar, mozzarella, or American)
- Butter (softened)
- Optional: ham, turkey, or veggies for filling
Ingredient Notes
The key to perfect quick grilled cheese roll ups for a tasty snack is using soft, fresh bread that rolls easily without tearing. Cheddar adds a bold flavor, while mozzarella gives that irresistible cheese pull.
You can also mix cheeses for a richer taste or add fillings like deli meats or sautéed veggies for extra texture and flavor.
Step-by-Step Instructions
1. Flatten the Bread
Use a rolling pin to flatten each slice of bread.
2. Add Cheese
Place a slice of cheese on each flattened piece of bread.
3. Roll It Up
Tightly roll the bread into a log shape.
4. Butter the Outside
Spread butter evenly on all sides.
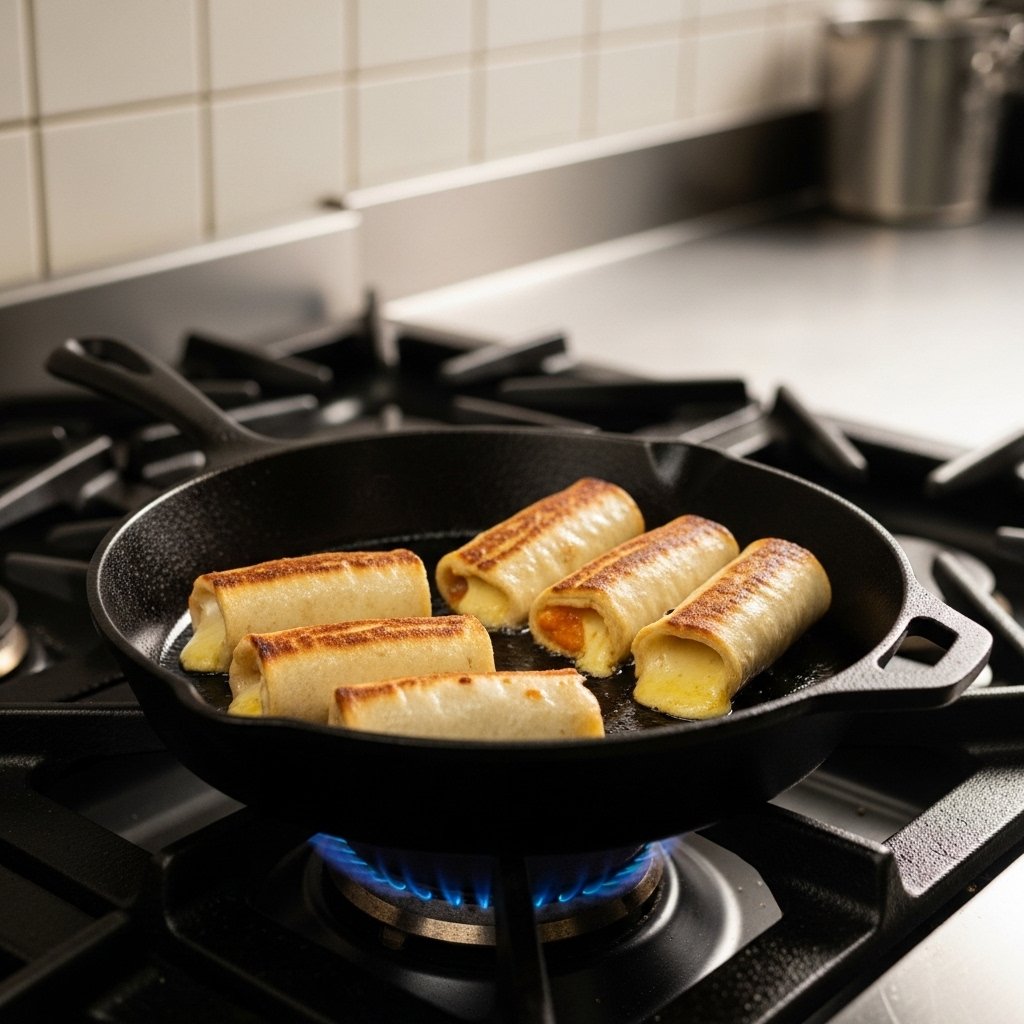
5. Cook Until Golden
Cook in a skillet over medium heat, turning until all sides are golden and crispy.
Tips for Perfect Results
To master quick grilled cheese roll ups for a tasty snack, keep these tips in mind:
- Roll tightly to prevent unwrapping
- Cook on medium heat to avoid burning
- Use enough butter for crispiness
- Press gently while cooking for even browning
These small tricks make a big difference.
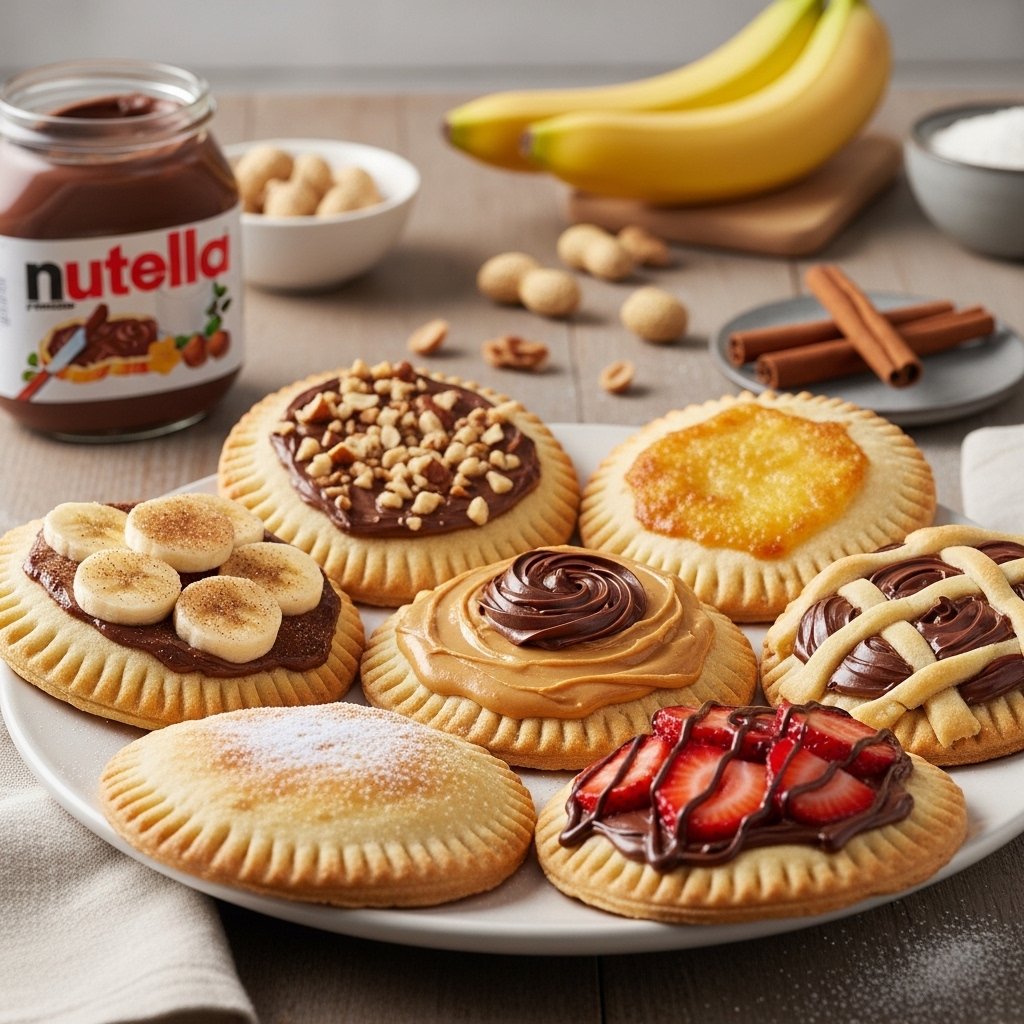
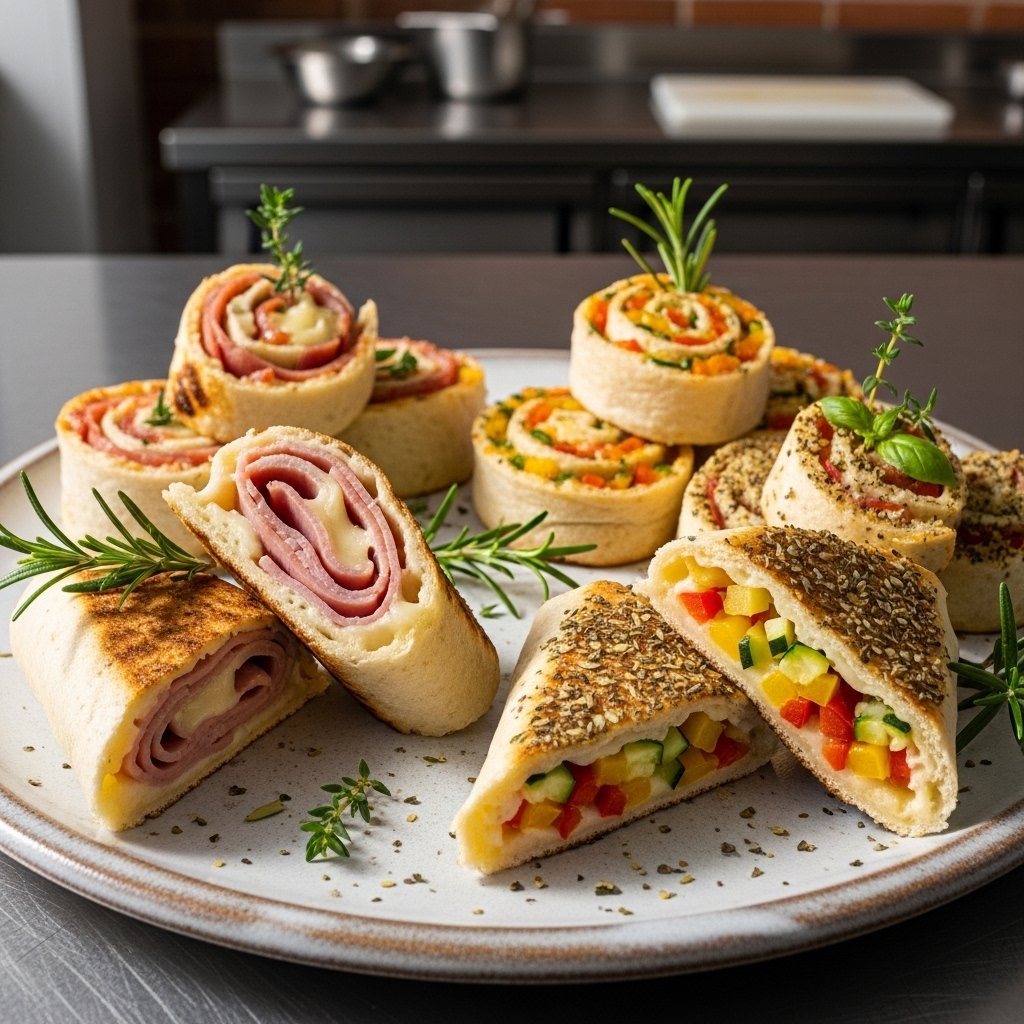
Variations and Customizations
Get creative with your quick grilled cheese roll ups for a tasty snack:
- Add ham or turkey for a protein boost
- Include spinach or tomatoes for freshness
- Sprinkle garlic powder or herbs for extra flavor
- Try cream cheese or flavored spreads
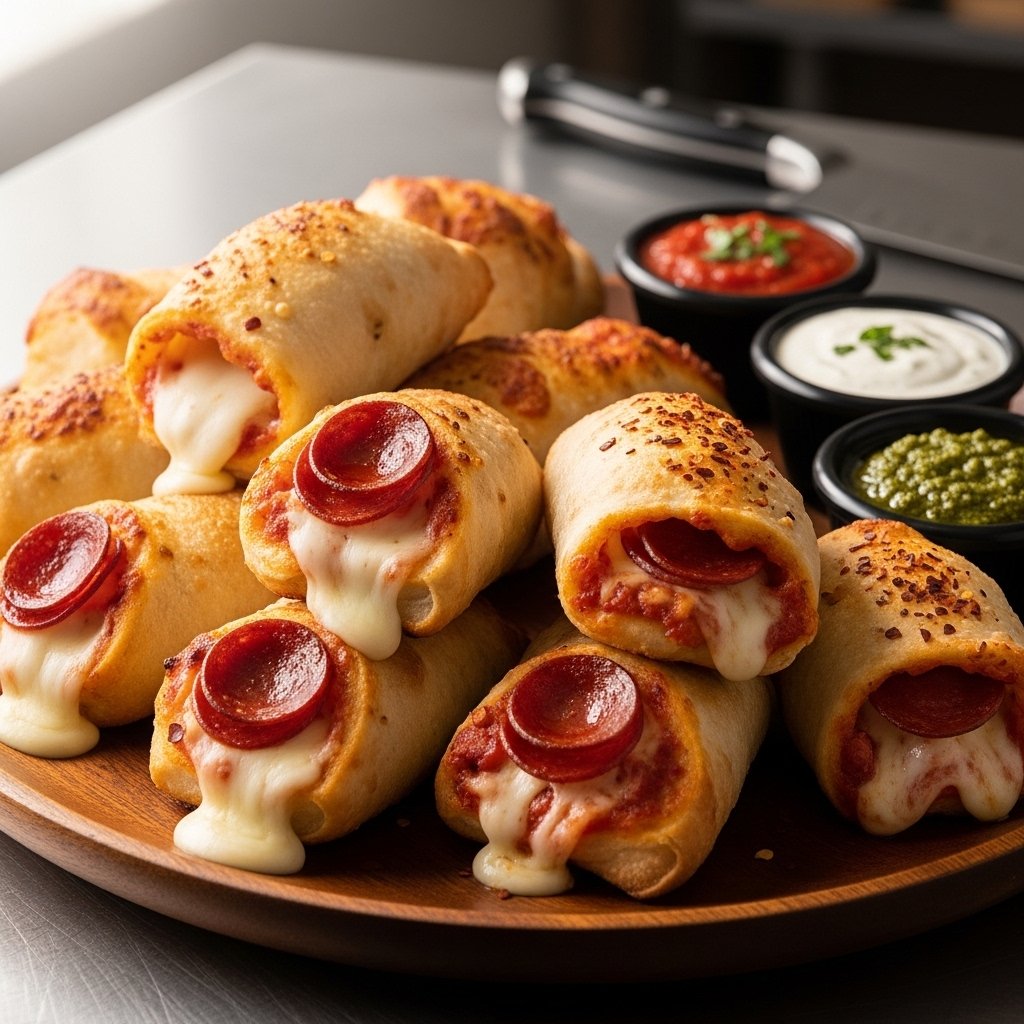
What to Serve With It
Pair your quick grilled cheese roll ups for a tasty snack with:
- Tomato soup for dipping
- Marinara sauce
- Fresh fruit or salad
- Chips or fries
These pairings turn a simple snack into a complete meal.
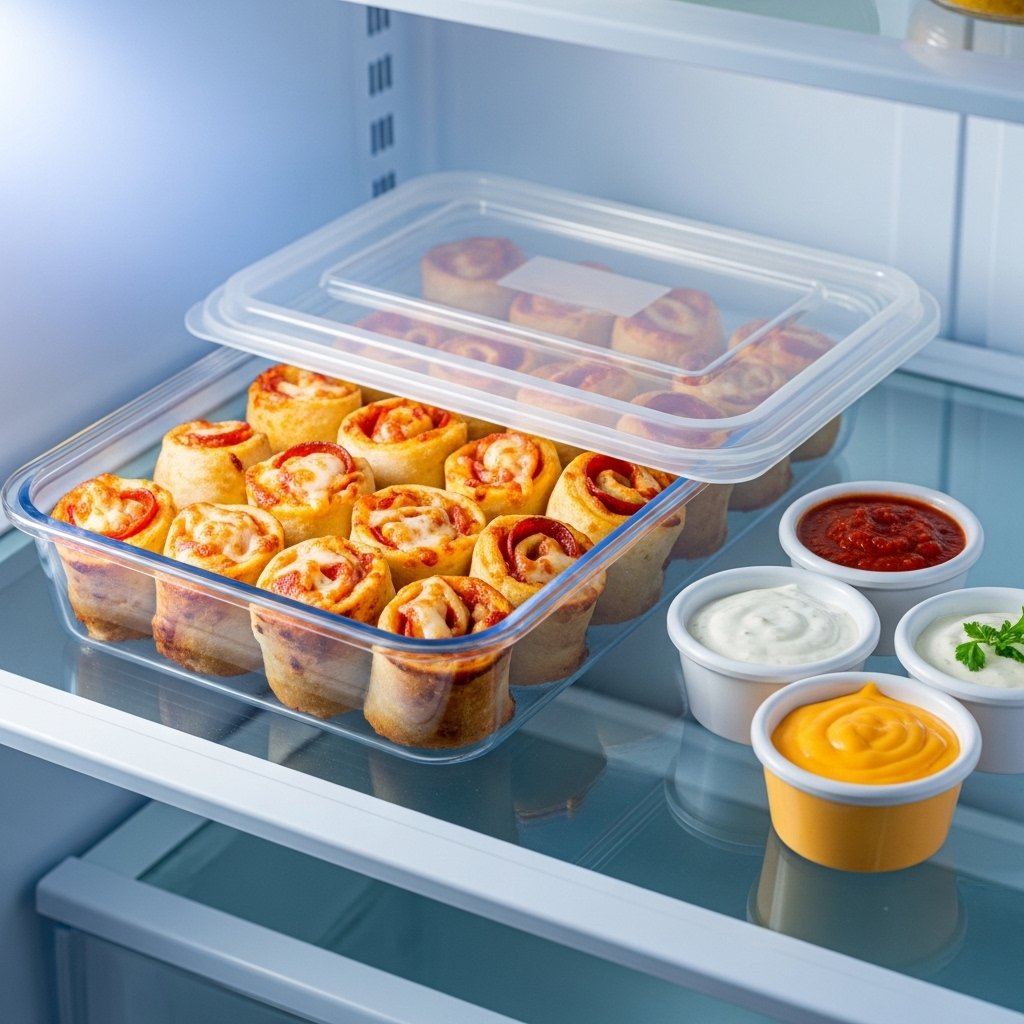
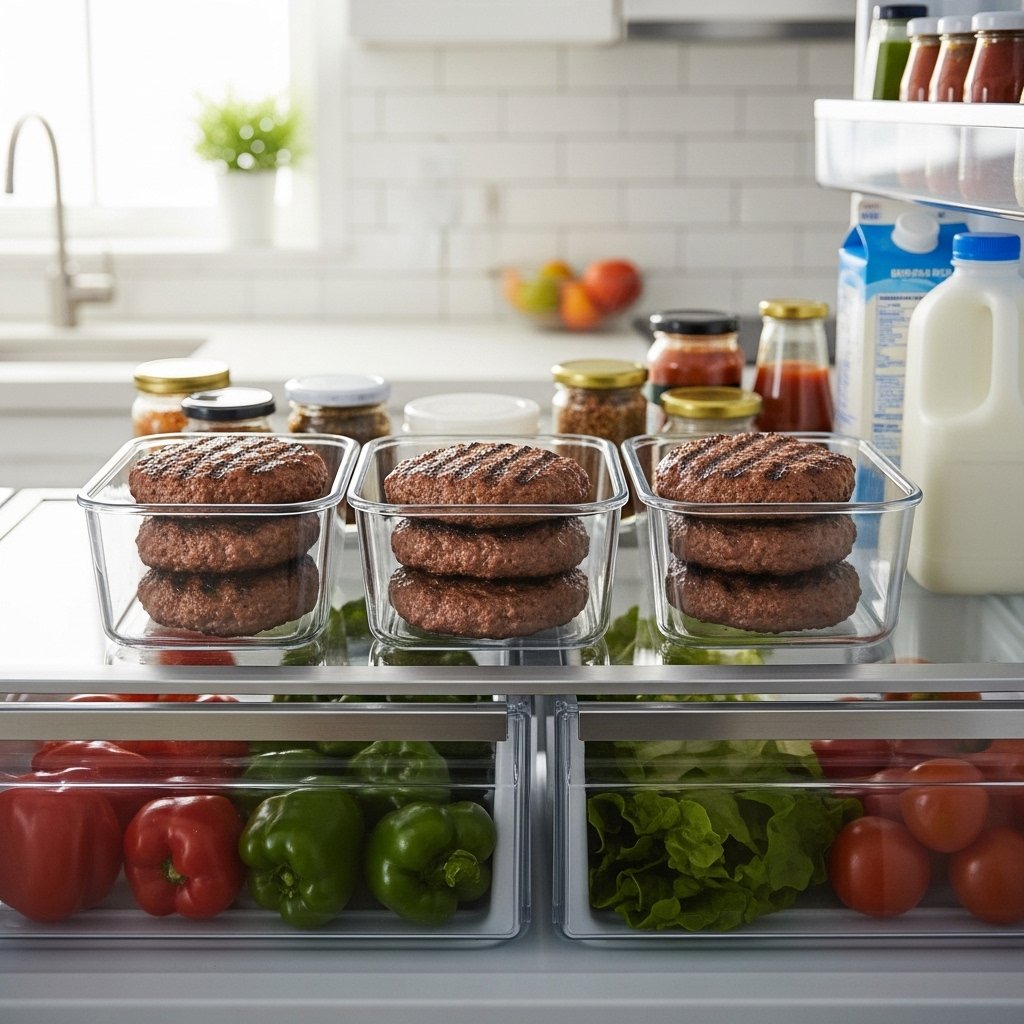
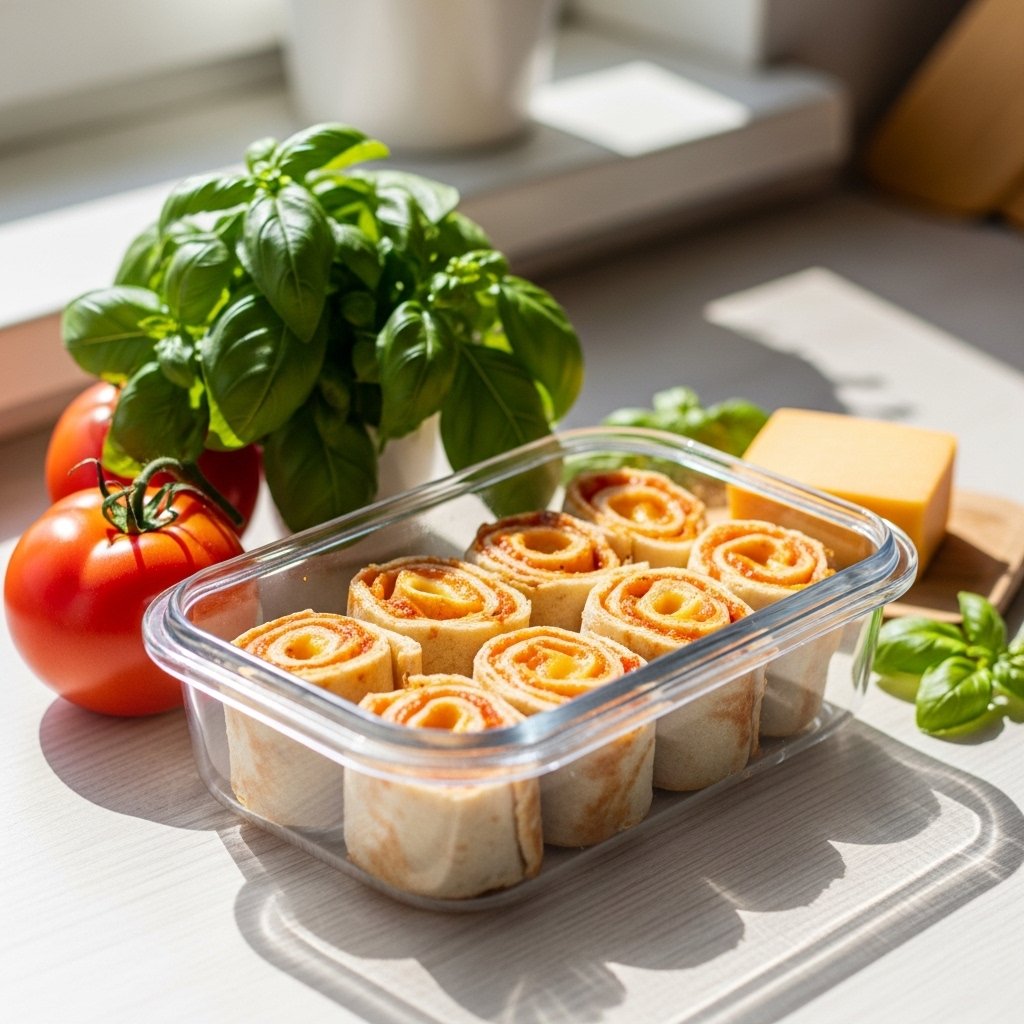
Storage & Reheating Tips
To store your quick grilled cheese roll ups for a tasty snack:
- Keep in an airtight container in the fridge for up to 2 days
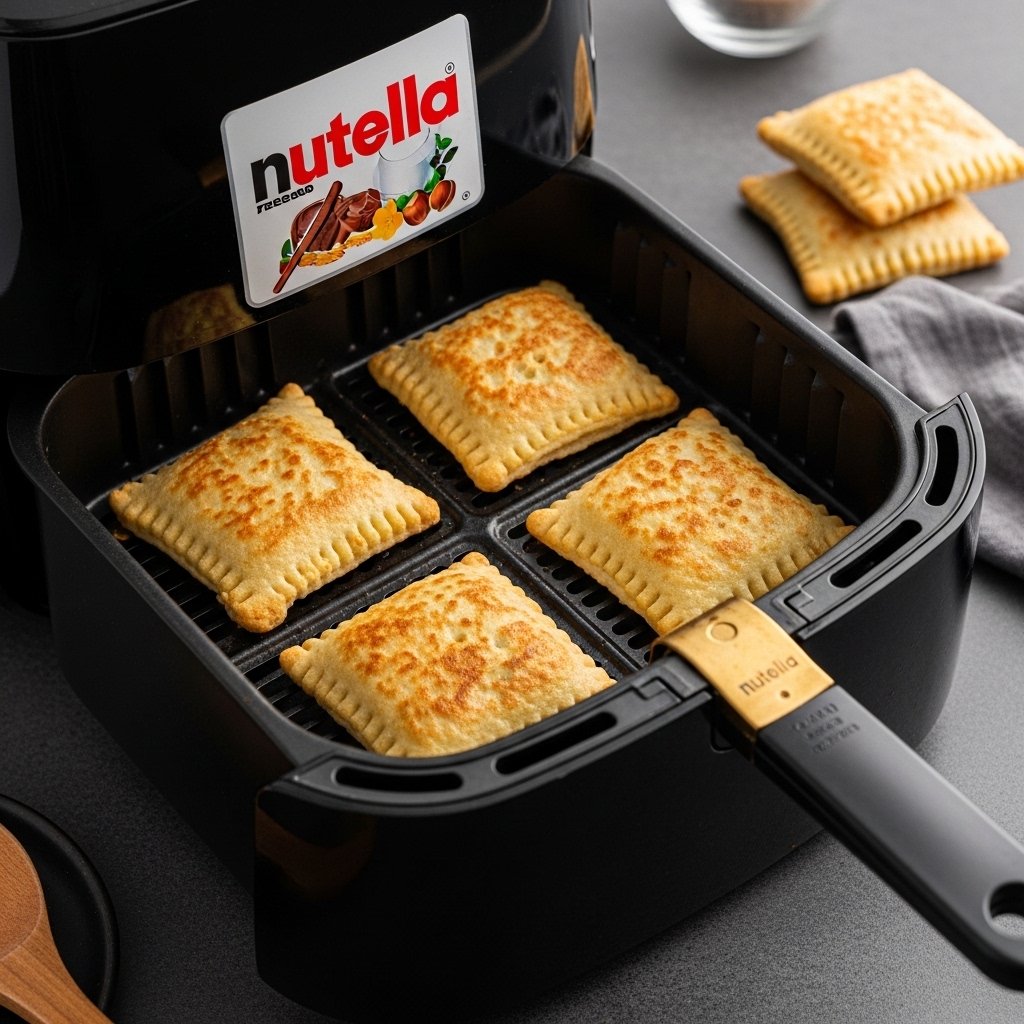
- Reheat in a skillet or air fryer for best texture
- Avoid microwaving to keep them crispy
Common Mistakes to Avoid
Avoid these common issues when making quick grilled cheese roll ups for a tasty snack:
- Overfilling (makes rolling difficult)
- Cooking on high heat (burns outside too quickly)
- Not sealing the roll properly
- Skipping butter (less crispy result)
A little attention goes a long way toward perfect results.
FAQs
Can I make these ahead of time?
Yes! Assemble them ahead and cook when ready to serve.
What cheese works best?
Cheddar, mozzarella, and American cheese all melt beautifully.
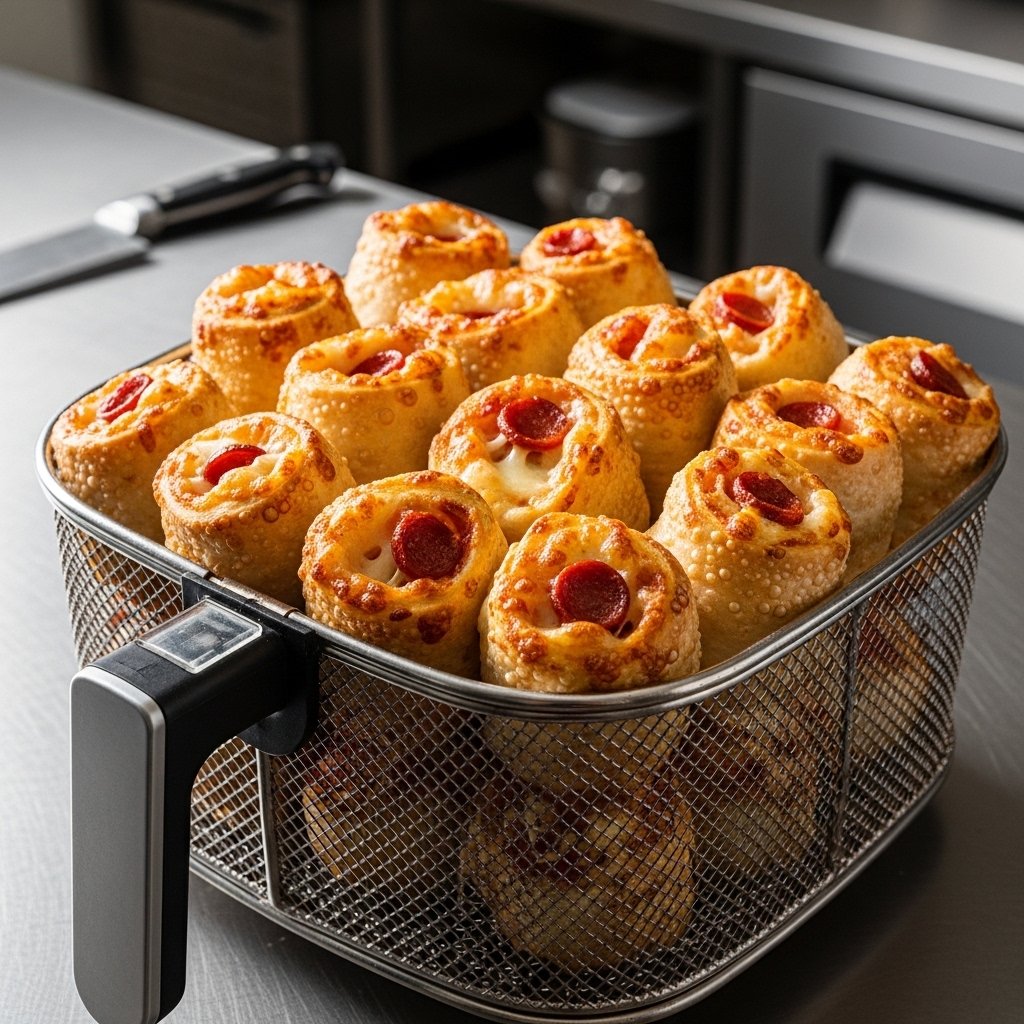
Can I use an air fryer?
Absolutely! Air fry at 375°F for 5–6 minutes.
Are these kid-friendly?
Yes! Kids love the fun shape and cheesy center.
Final Thoughts
These quick grilled cheese roll ups for a tasty snack are proof that simple ingredients can create something truly special. They’re fast, fun, and endlessly customizable, making them perfect for busy days or casual gatherings.
Once you try them, you’ll find yourself making them again and again. Crispy, cheesy, and incredibly satisfying—this is comfort food at its best!