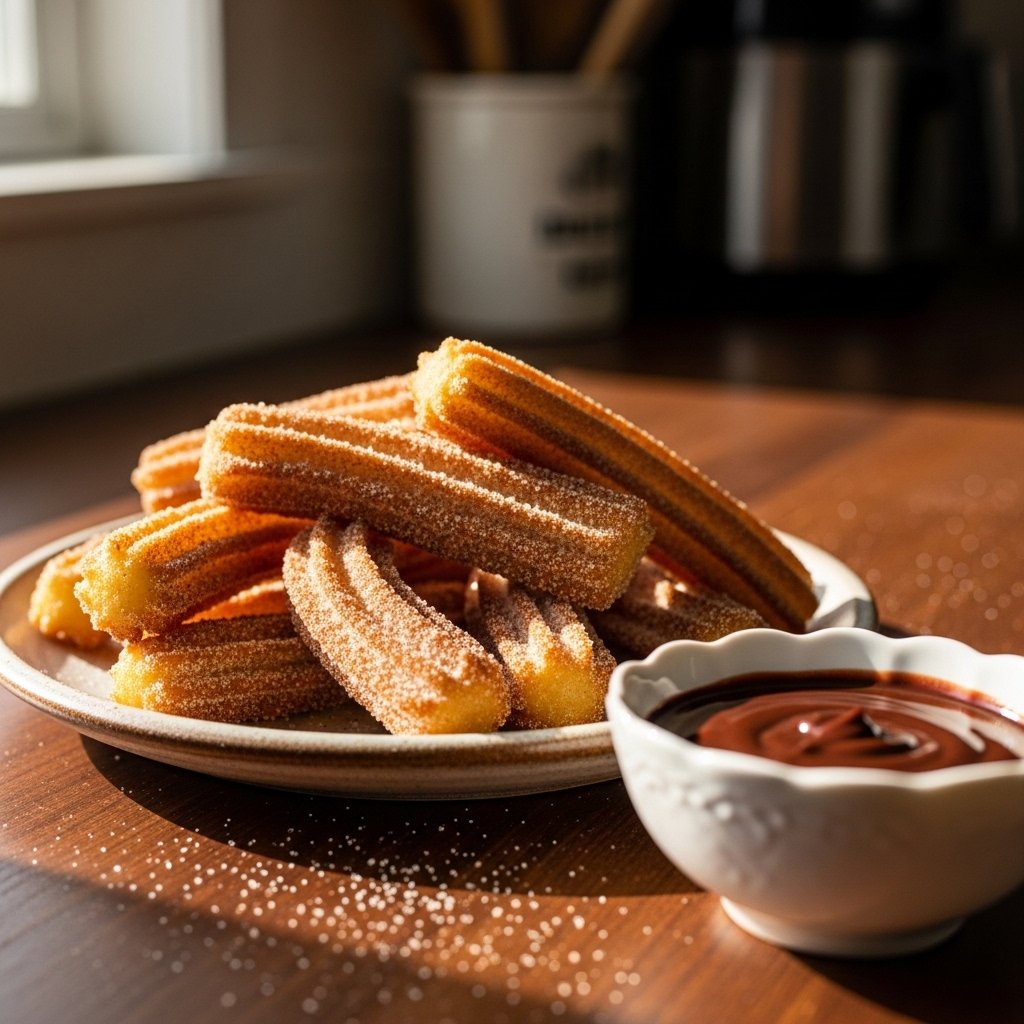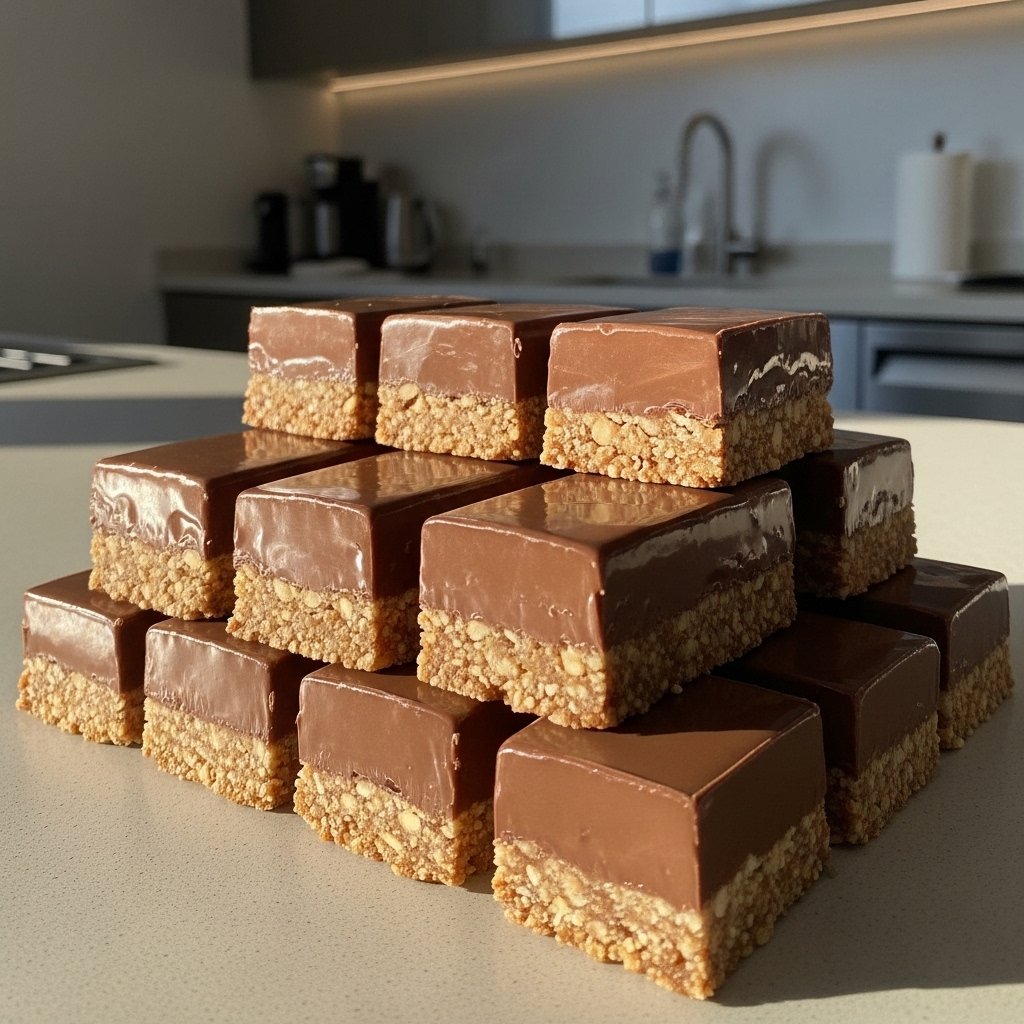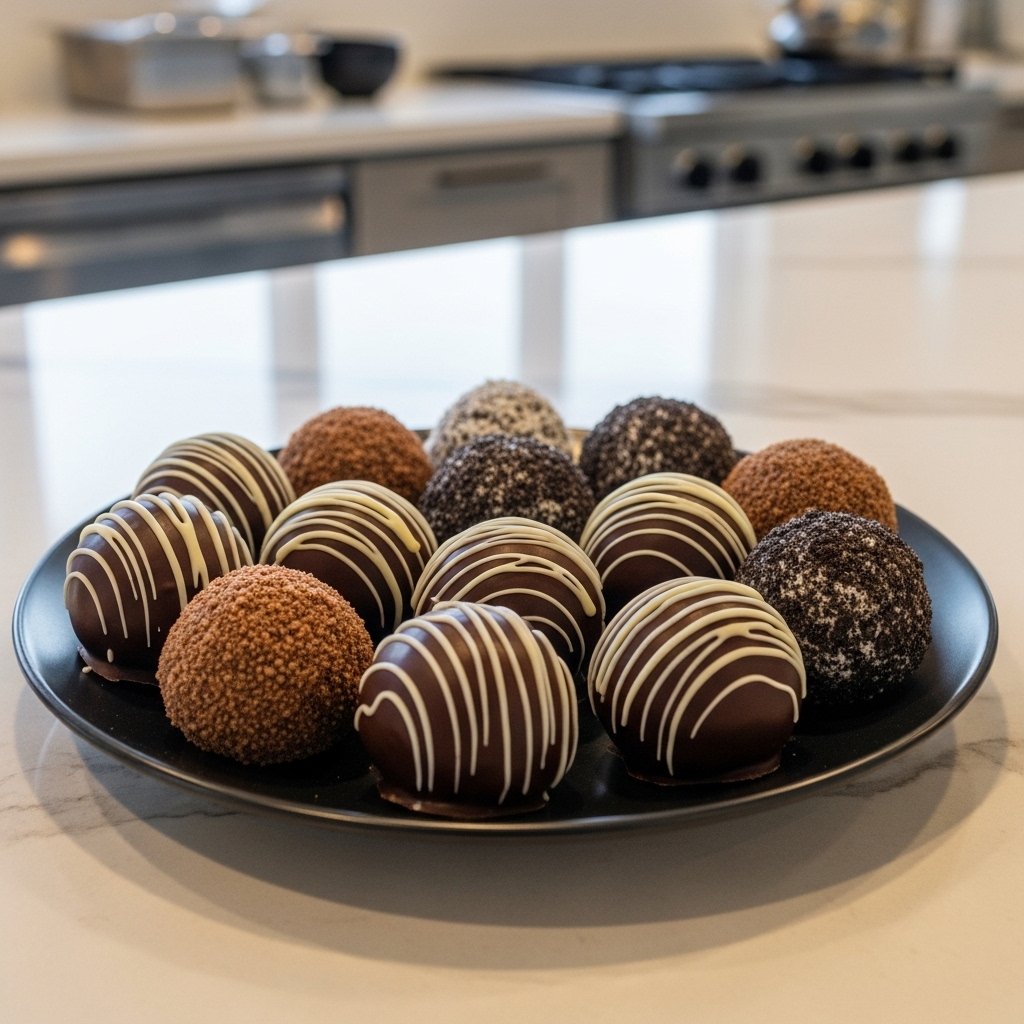
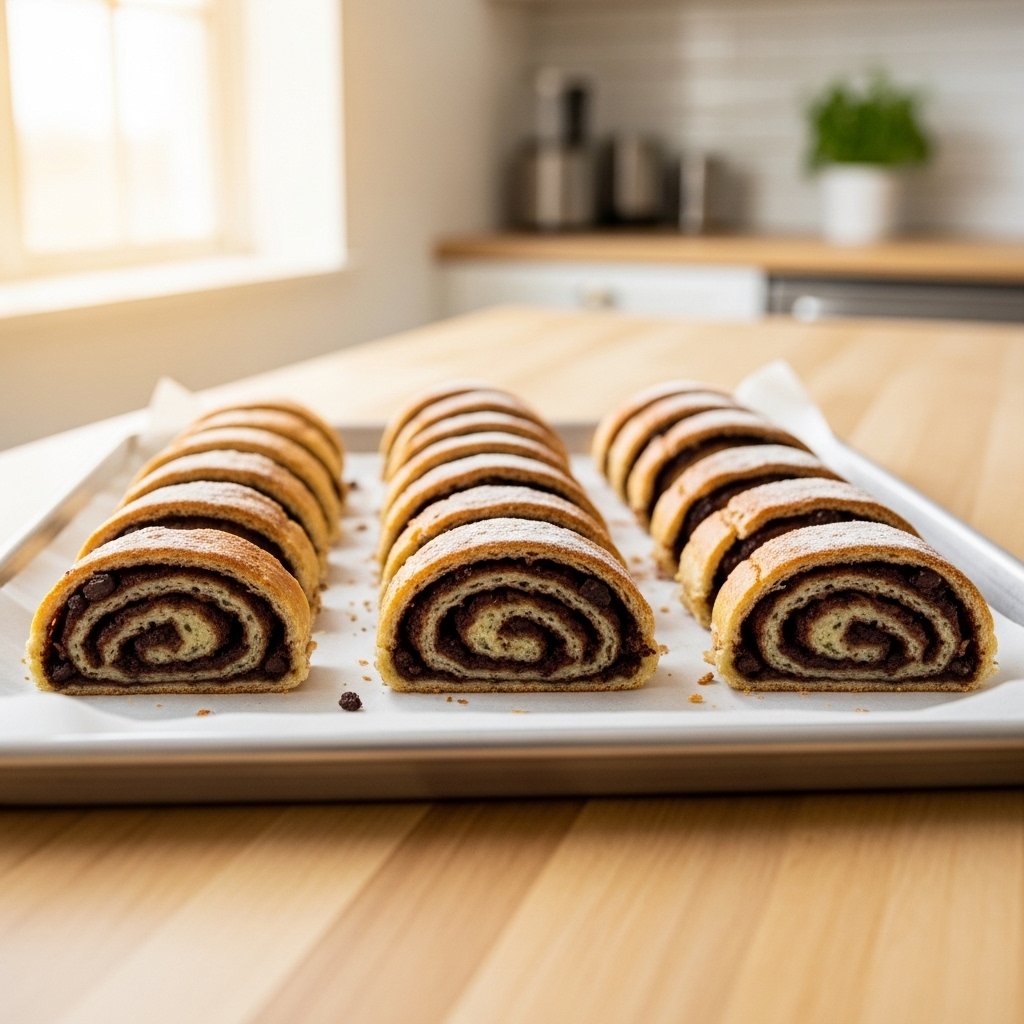
If you’re searching for a dessert that combines crisp, buttery layers with rich chocolate filling, these roulés croquants au chocolat are exactly what you need. Known for their delicate crunch and indulgent center, these crispy chocolate rolls are a bakery-style treat you can easily recreate at home.
Perfect for brunch spreads, afternoon snacks, or elegant dessert platters, this recipe strikes a beautiful balance between simplicity and sophistication. Once you try these roulés croquants au chocolat, you’ll understand why they’re so beloved across European-inspired baking.

Why You’ll Love This Recipe
These roulés croquants au chocolat are more than just a dessert—they’re an experience. Each bite delivers a satisfying crunch followed by smooth, melted chocolate.
Here’s why you’ll love them:
- Crispy, flaky texture
- Rich chocolate flavor
- Simple ingredients
- Elegant presentation
- Perfect for any occasion
Whether you’re hosting guests or baking for yourself, these rolls are always a hit.
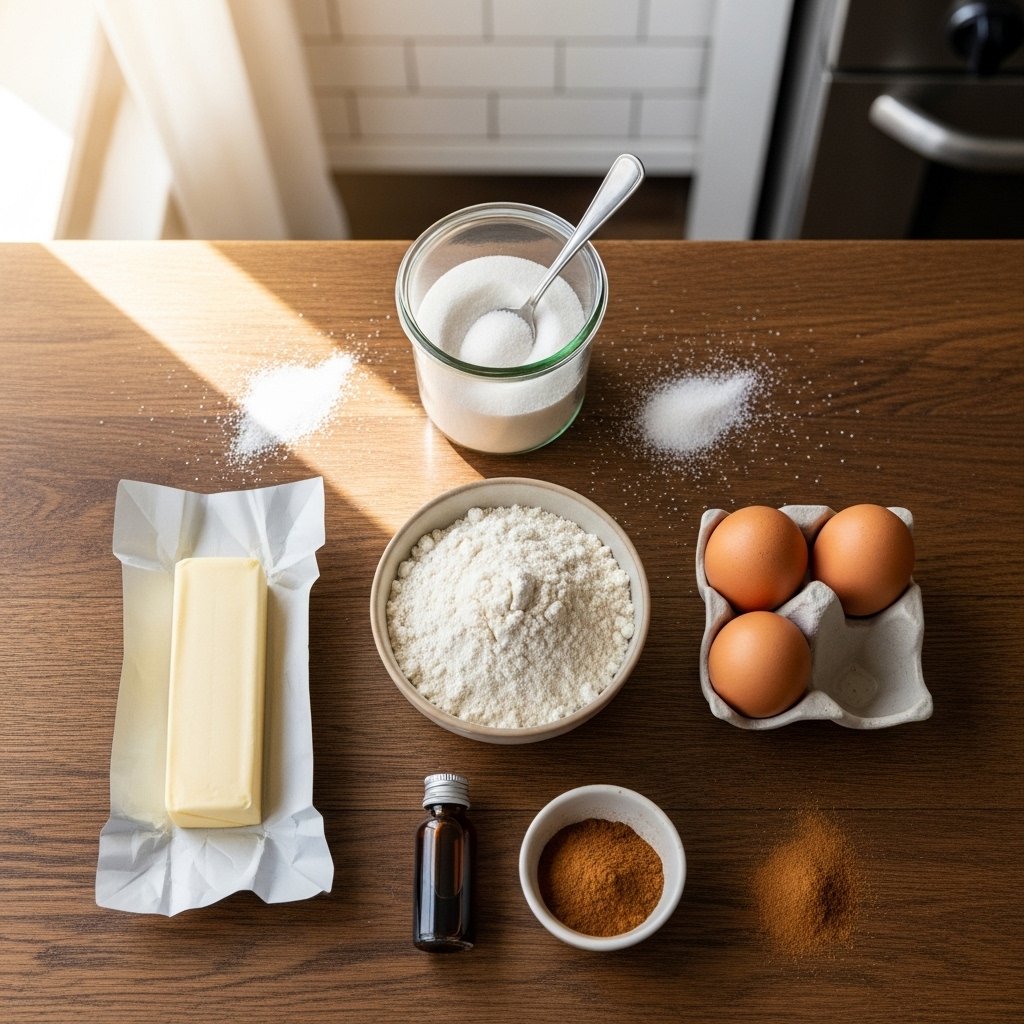
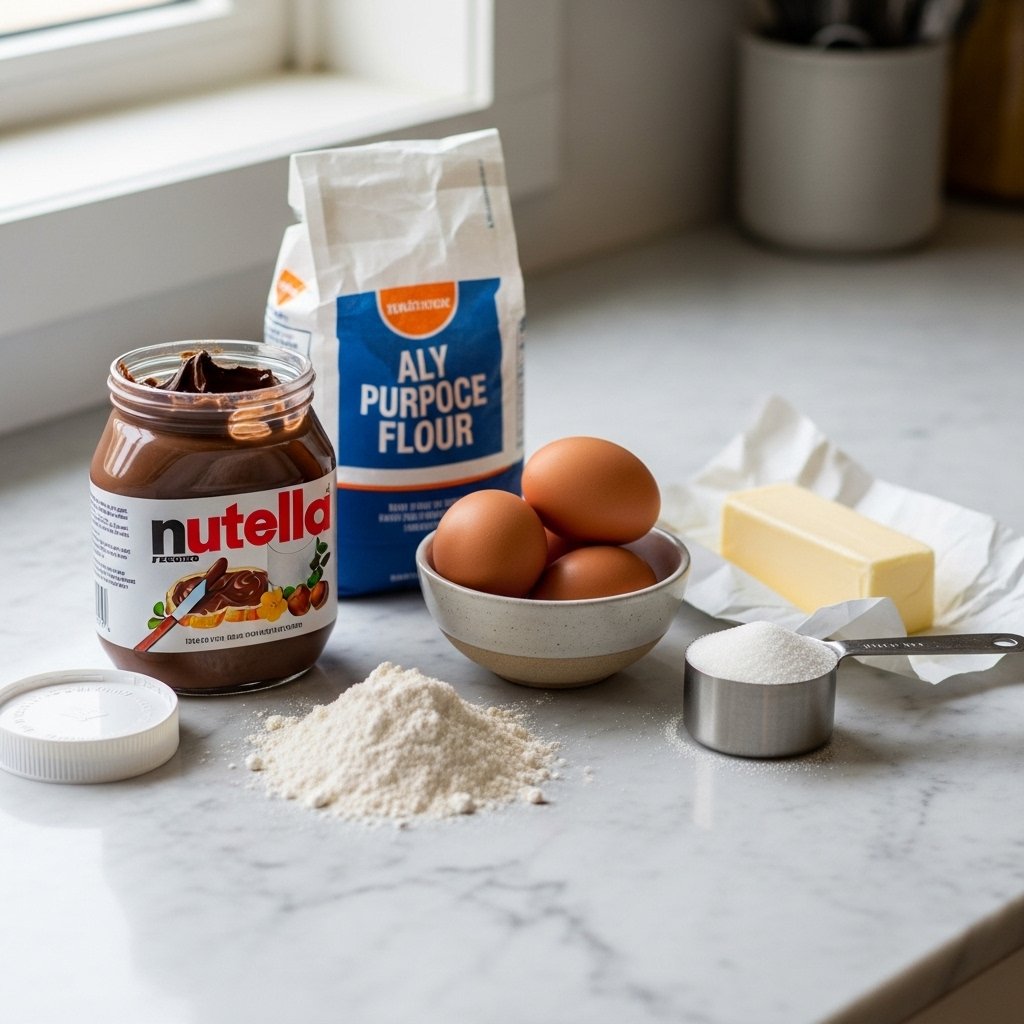
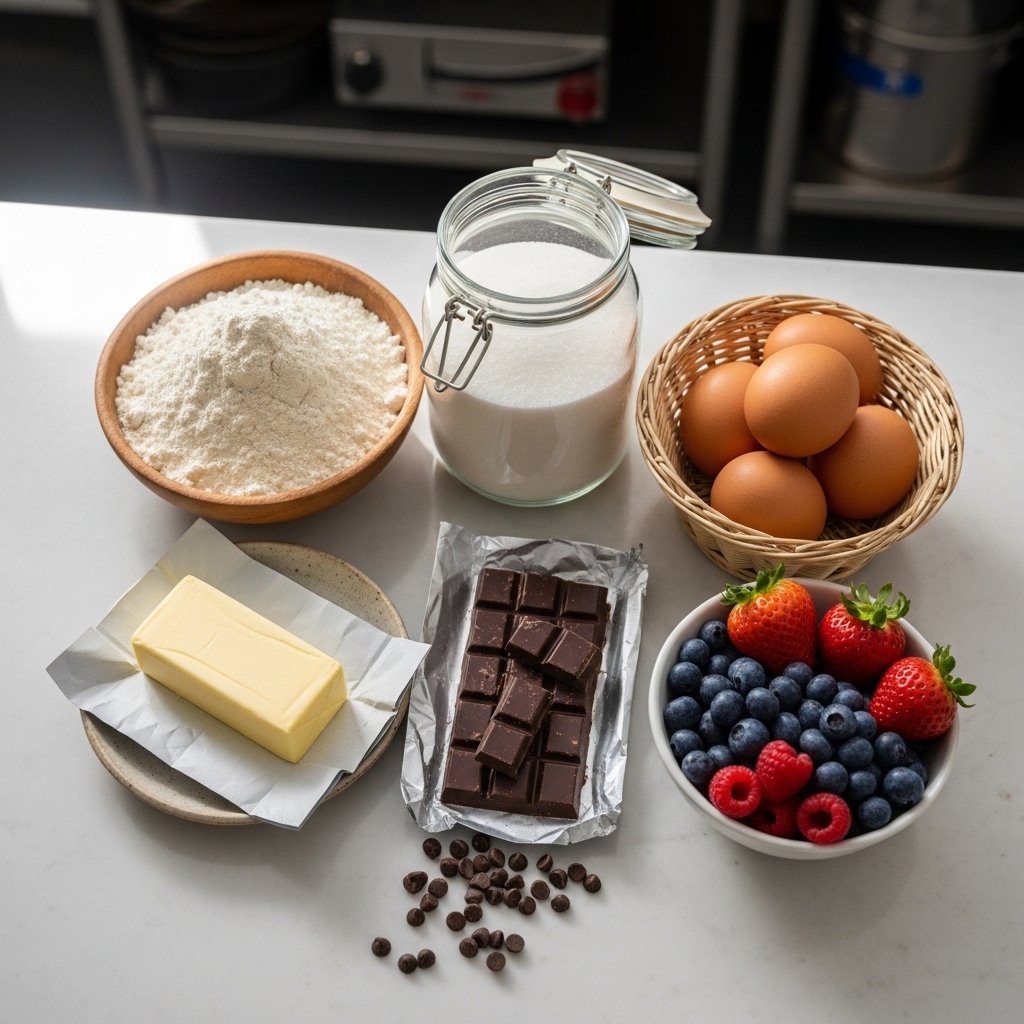
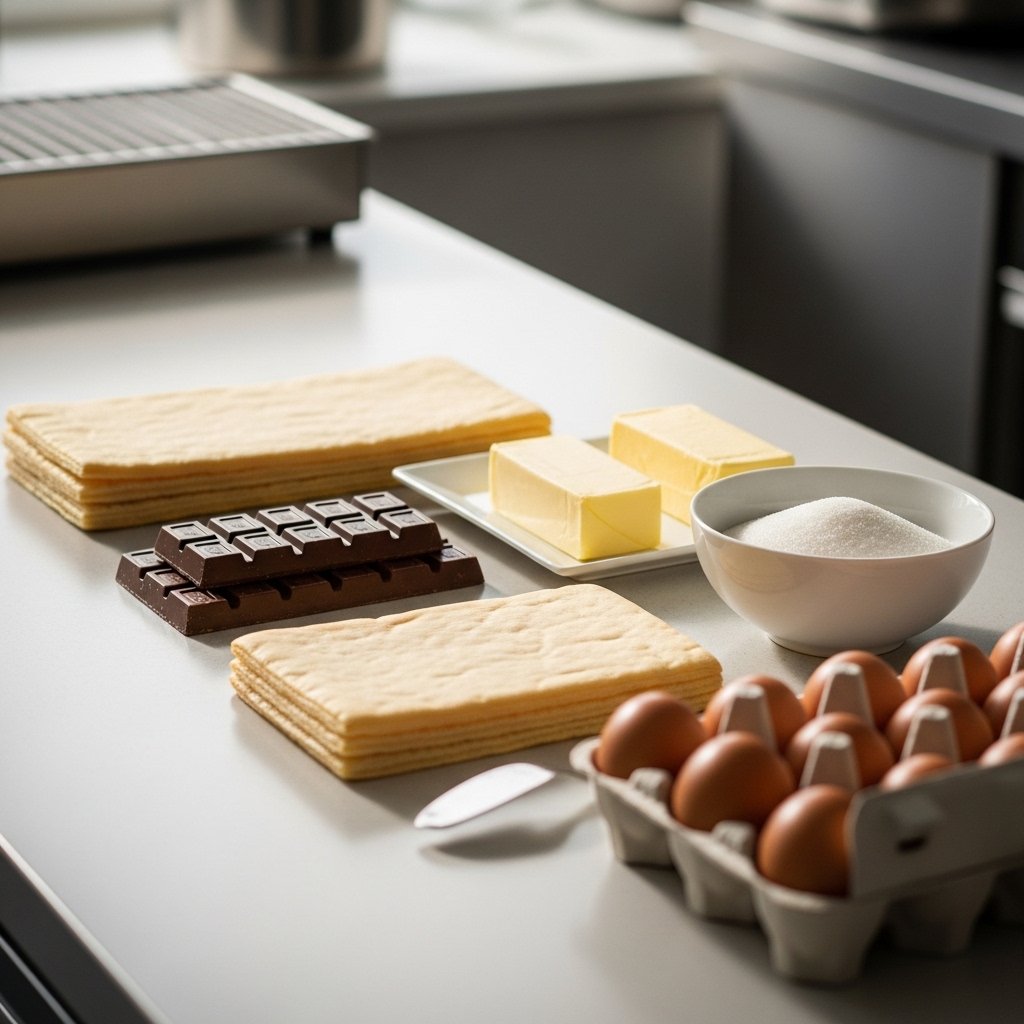
Ingredients
To make these roulés croquants au chocolat, you’ll need:
- Puff pastry sheets
- Chocolate (dark or semi-sweet)
- Butter
- Sugar
- Egg (for egg wash)
- Powdered sugar (optional, for dusting)
These ingredients come together to create a crisp and indulgent dessert.
Ingredient Notes & Substitutions
Puff Pastry
Store-bought puff pastry works beautifully and saves time.
Chocolate
Use high-quality chocolate for the best flavor—dark chocolate gives a richer taste.
Egg Wash
Helps achieve that golden, glossy finish.
Sweetness Level
Adjust sugar or use milk chocolate if you prefer a sweeter filling.
These small tweaks make your roulés croquants au chocolat adaptable to your taste.
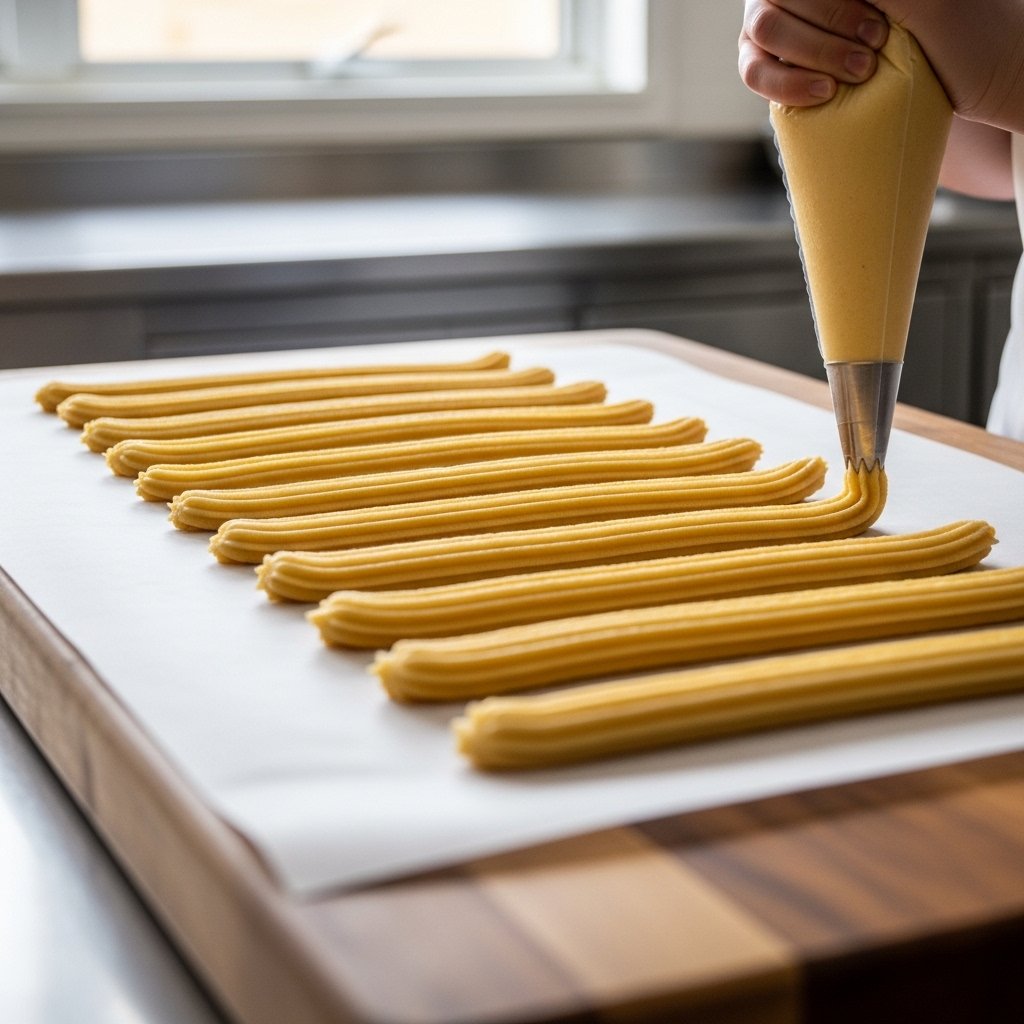
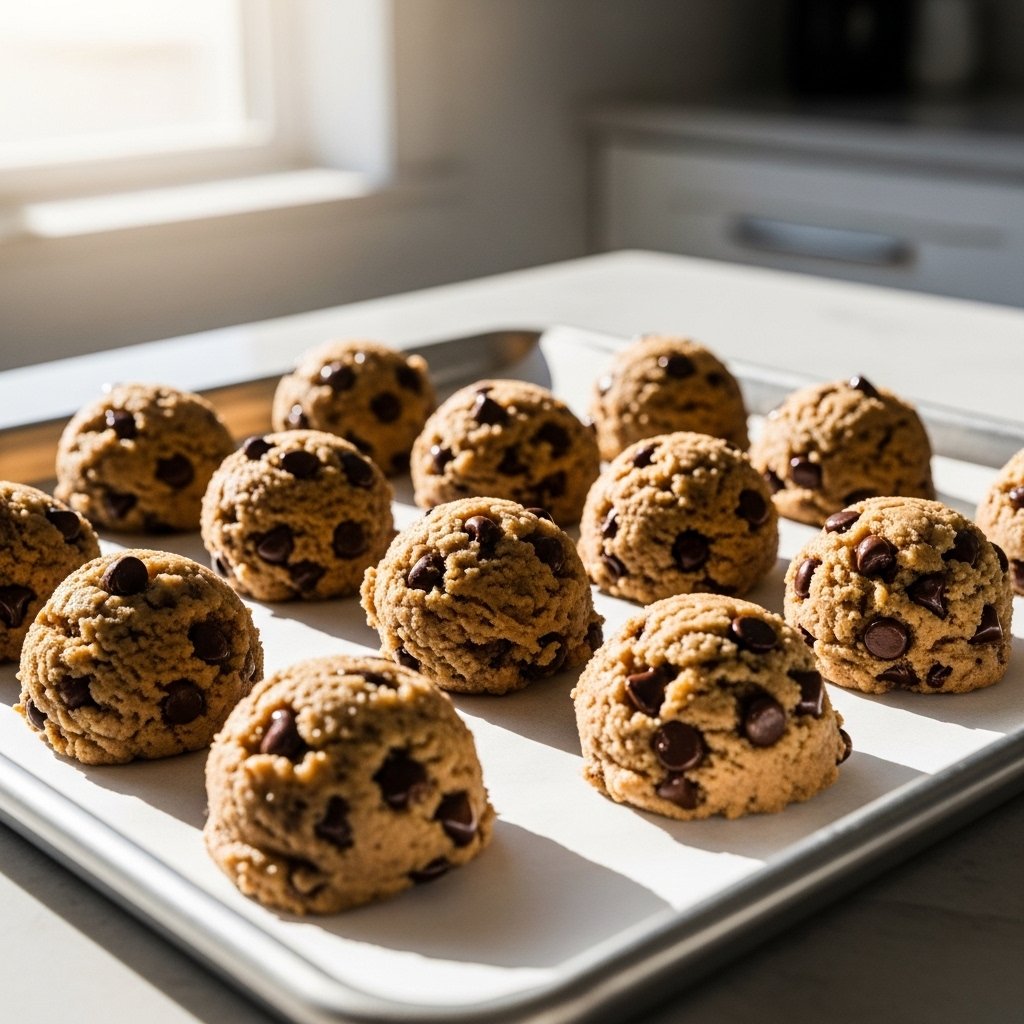
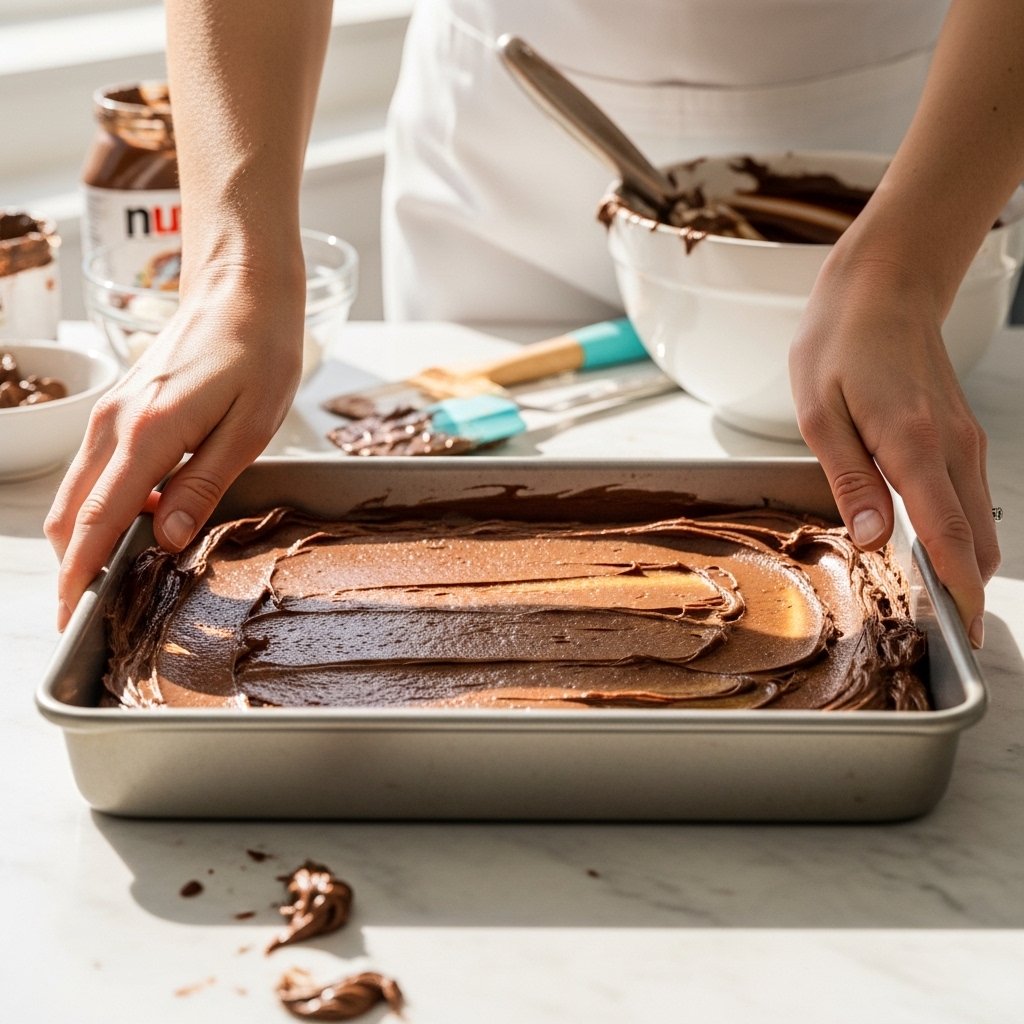
Step-by-Step Instructions
Step 1: Prepare the Pastry
Roll out the puff pastry on a lightly floured surface.
Step 2: Add Chocolate Filling
Spread melted chocolate or place chocolate pieces evenly across the pastry.
Step 3: Roll and Slice
Roll the pastry tightly into a log, then slice into even pieces.
Step 4: Brush and Bake
Brush with egg wash and bake until golden and crispy.
Step 5: Cool and Serve
Let cool slightly before serving for the perfect texture.
Tips for Perfect Results
To make the best roulés croquants au chocolat, keep these tips in mind:
- Chill pastry before baking for better structure
- Use sharp knife for clean slices
- Don’t overfill with chocolate
- Bake until deep golden for maximum crispiness
These tips help you achieve bakery-quality results every time.
Variations to Try
Nutty Chocolate Rolls
Add crushed hazelnuts or almonds for crunch.
Caramel Chocolate
Drizzle caramel before rolling.
White Chocolate Version
Swap dark chocolate for white chocolate.
Fruit Twist
Add thin slices of banana or berries.
These variations make your roulés croquants au chocolat even more exciting.
What to Serve With It
These crispy chocolate rolls pair beautifully with:
- Coffee or espresso
- Hot chocolate
- Vanilla ice cream
- Fresh berries
They’re perfect for breakfast treats or elegant desserts.
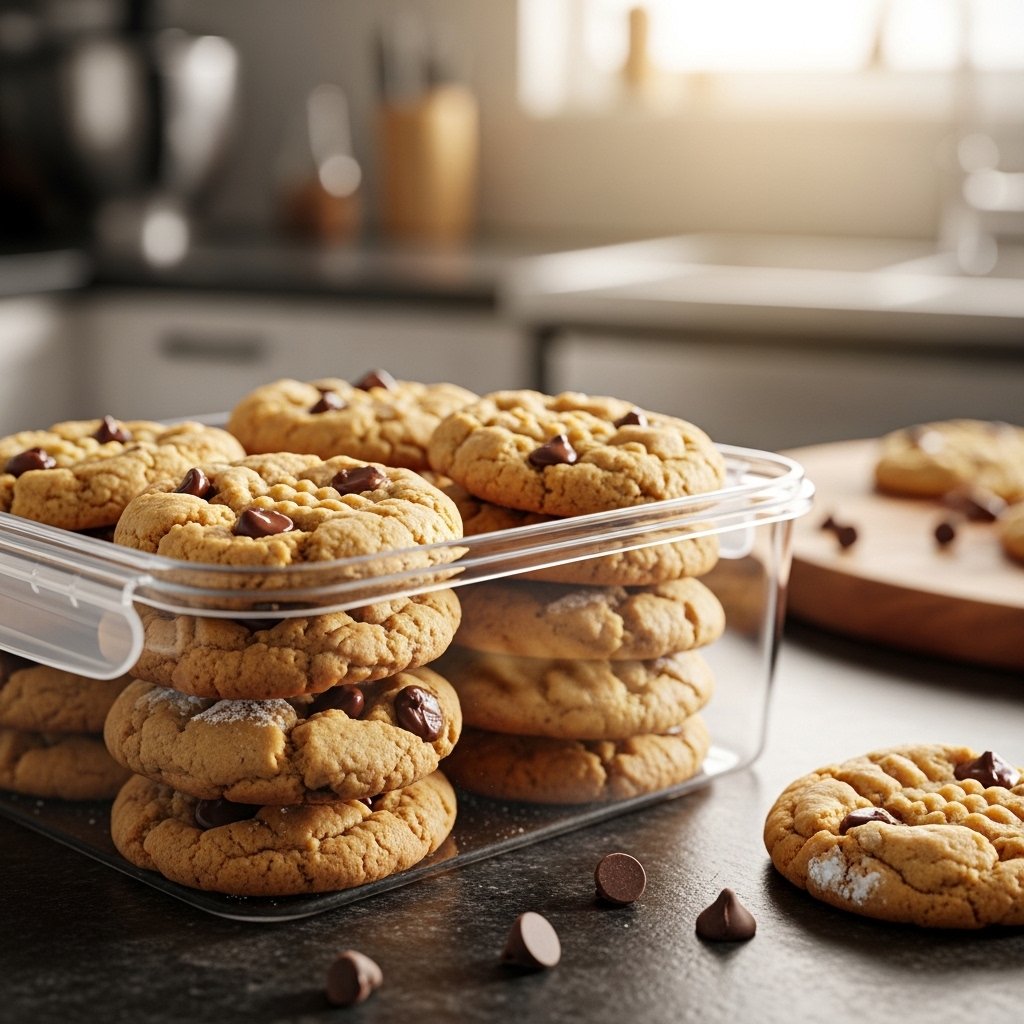
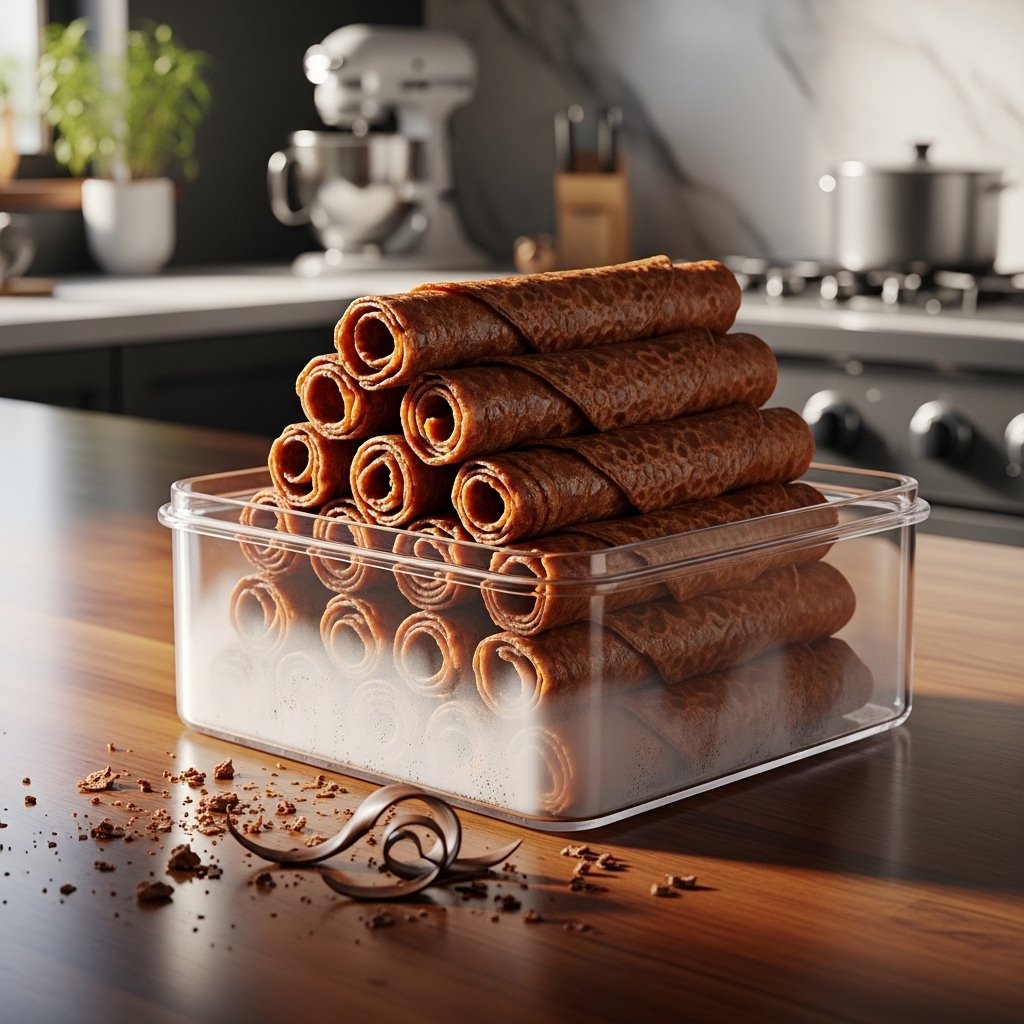
Storage & Reheating
Storage
- Store in an airtight container for up to 3 days
Reheating
- Reheat in oven for a few minutes to restore crispiness
Common Mistakes to Avoid
When making roulés croquants au chocolat, avoid:
- Overfilling the pastry
- Not sealing the edges properly
- Baking at too low temperature
- Skipping egg wash
Avoiding these ensures perfect texture and flavor.
Frequently Asked Questions
Can I use homemade pastry?
Yes, but store-bought is quicker and works just as well.
What type of chocolate is best?
Dark or semi-sweet chocolate gives the best balance.
Can I freeze them?
Yes, freeze before or after baking and reheat when needed.
How do I keep them crispy?
Store properly and reheat in the oven before serving.
Can I make them ahead?
Absolutely, prepare and refrigerate before baking.
Final Thoughts
These roulés croquants au chocolat are the perfect combination of simplicity and indulgence. With their flaky layers and rich chocolate filling, they deliver a bakery-quality experience right from your home kitchen.
Whether you’re baking for a special occasion or just treating yourself, these crispy chocolate rolls are guaranteed to impress—and disappear quickly!