If you’re looking for a crowd-pleasing breakfast that’s both easy and incredibly satisfying, these Quick & Delicious Sausage Egg Breakfast Rolls are exactly what you need. Packed with savory sausage, fluffy eggs, and melty cheese all wrapped in golden, flaky dough, they’re the perfect bite for brunch, holidays, or even busy weekday mornings.
What makes these breakfast rolls stand out is how simple they are to prepare while delivering big, comforting flavors. Whether you’re feeding a family or hosting friends, this recipe guarantees smiles all around.

Why You’ll Love This Sausage Egg Breakfast Rolls Recipe
These sausage egg breakfast rolls are a must-try for so many reasons:
- Quick and easy to make
- Perfect for meal prep or brunch
- Kid-friendly and customizable
- Packed with protein and flavor
- Great for on-the-go breakfasts
They’re the kind of recipe you’ll find yourself making again and again.
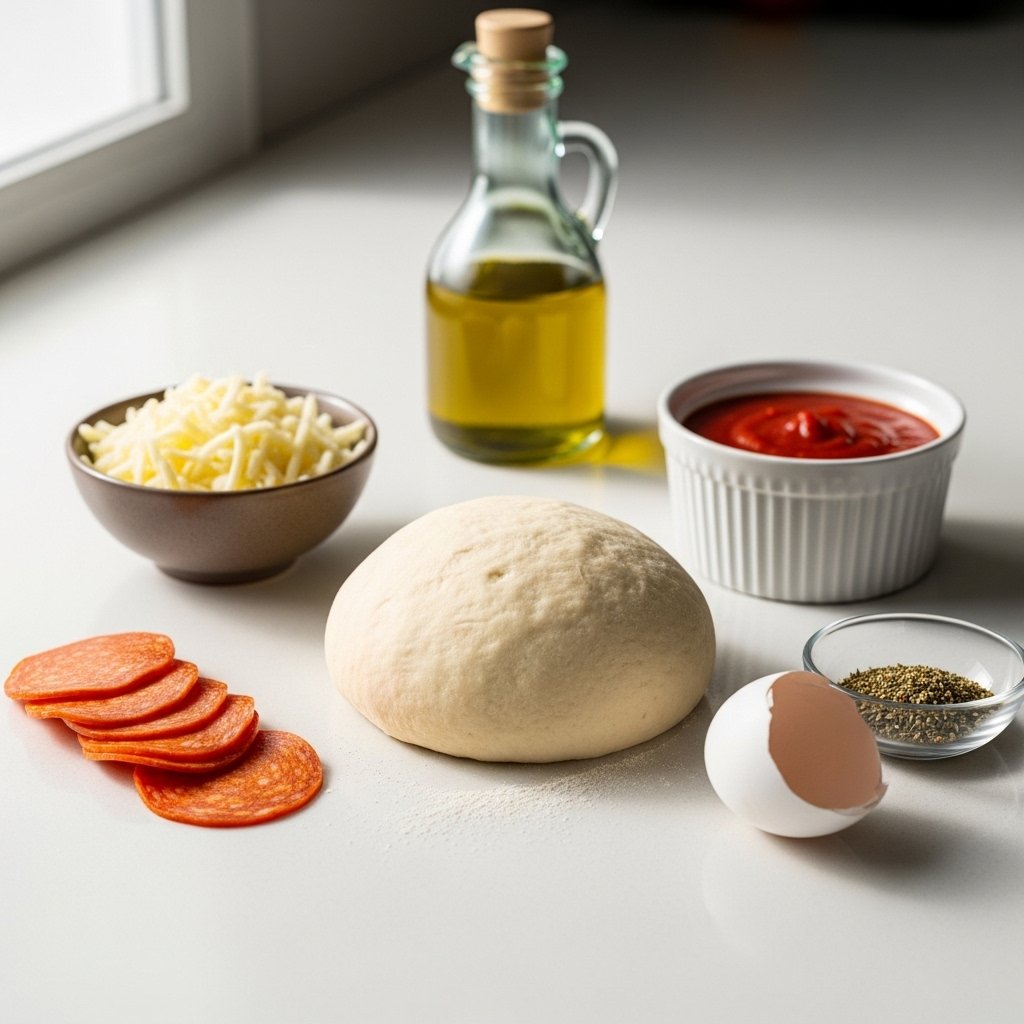
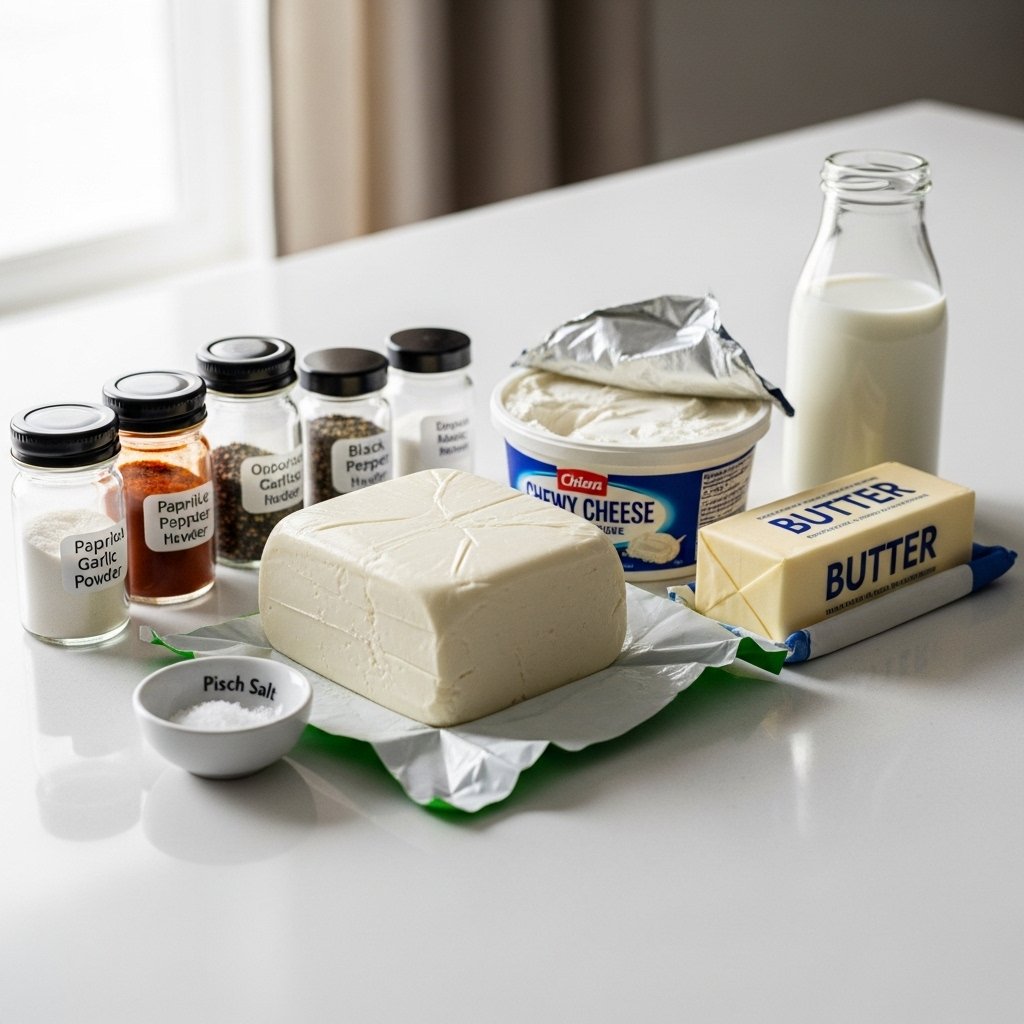
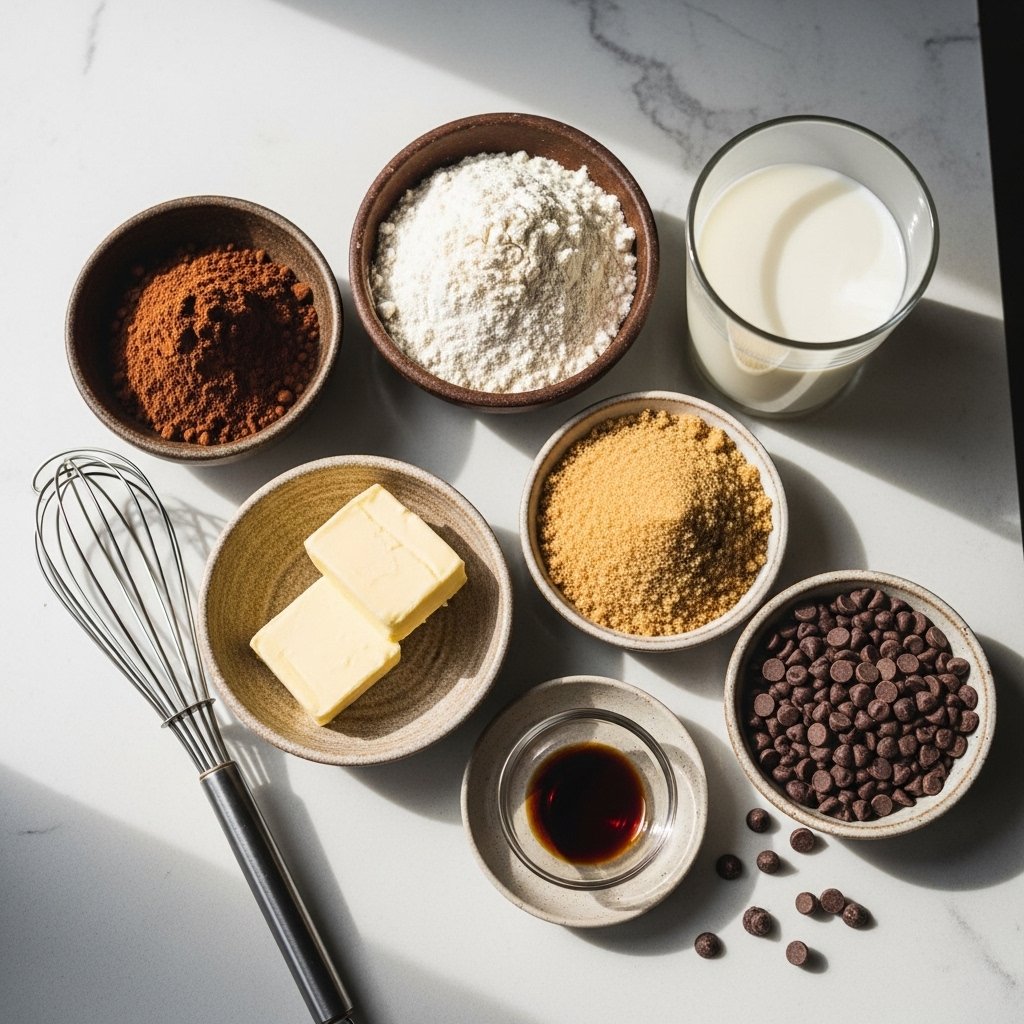
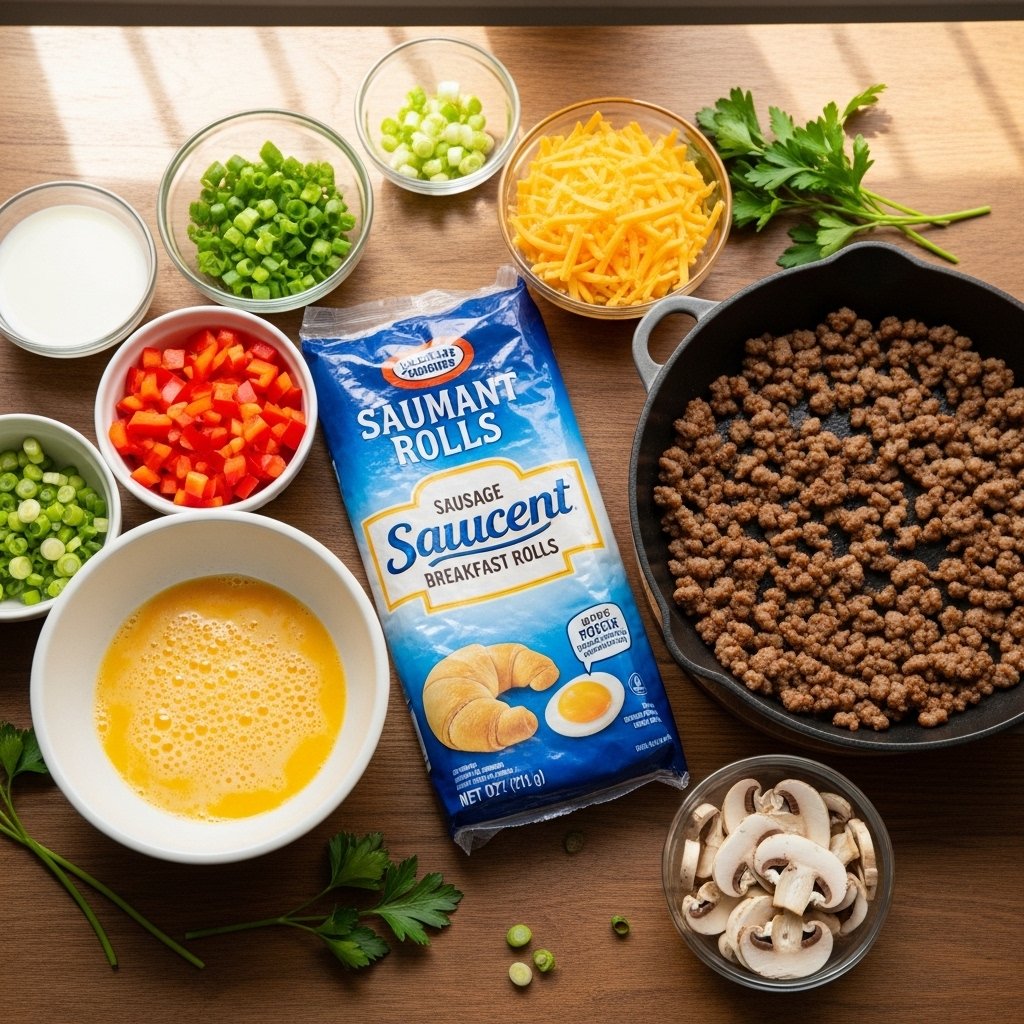
Ingredients
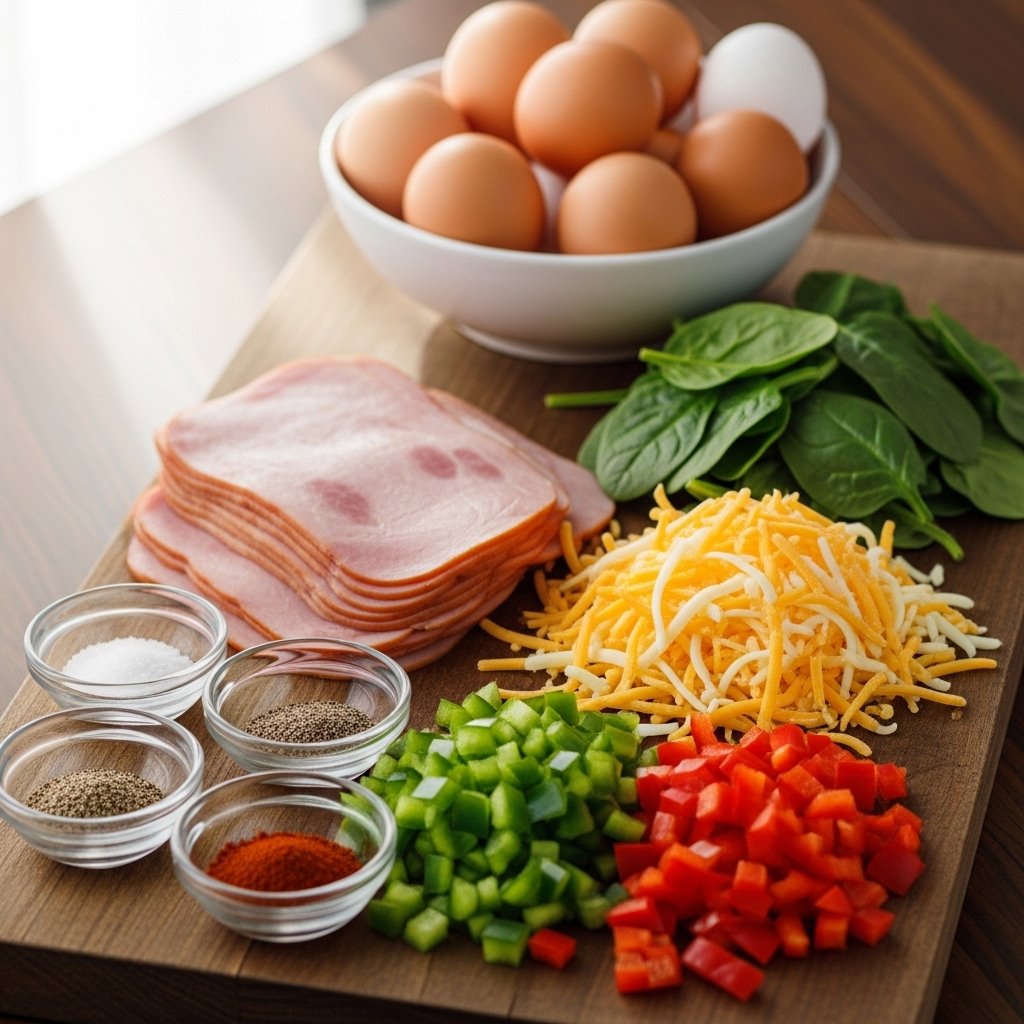
To make these Quick & Delicious Sausage Egg Breakfast Rolls, you’ll need:
- 1 can refrigerated crescent roll dough
- 6 large eggs
- 1 cup cooked breakfast sausage
- 1 cup shredded cheddar cheese
- 2 tablespoons milk
- Salt and pepper to taste
- Optional: chopped green onions or bell peppers
Ingredient Notes
Understanding your ingredients helps you perfect this sausage egg breakfast rolls recipe:
- Crescent dough: creates a flaky, golden crust
- Sausage: adds savory richness
- Eggs: provide fluffy texture and protein
- Cheese: brings creamy, melty goodness
- Milk: makes eggs softer and lighter
Choose high-quality sausage and fresh eggs for the best flavor.
Step-by-Step Instructions
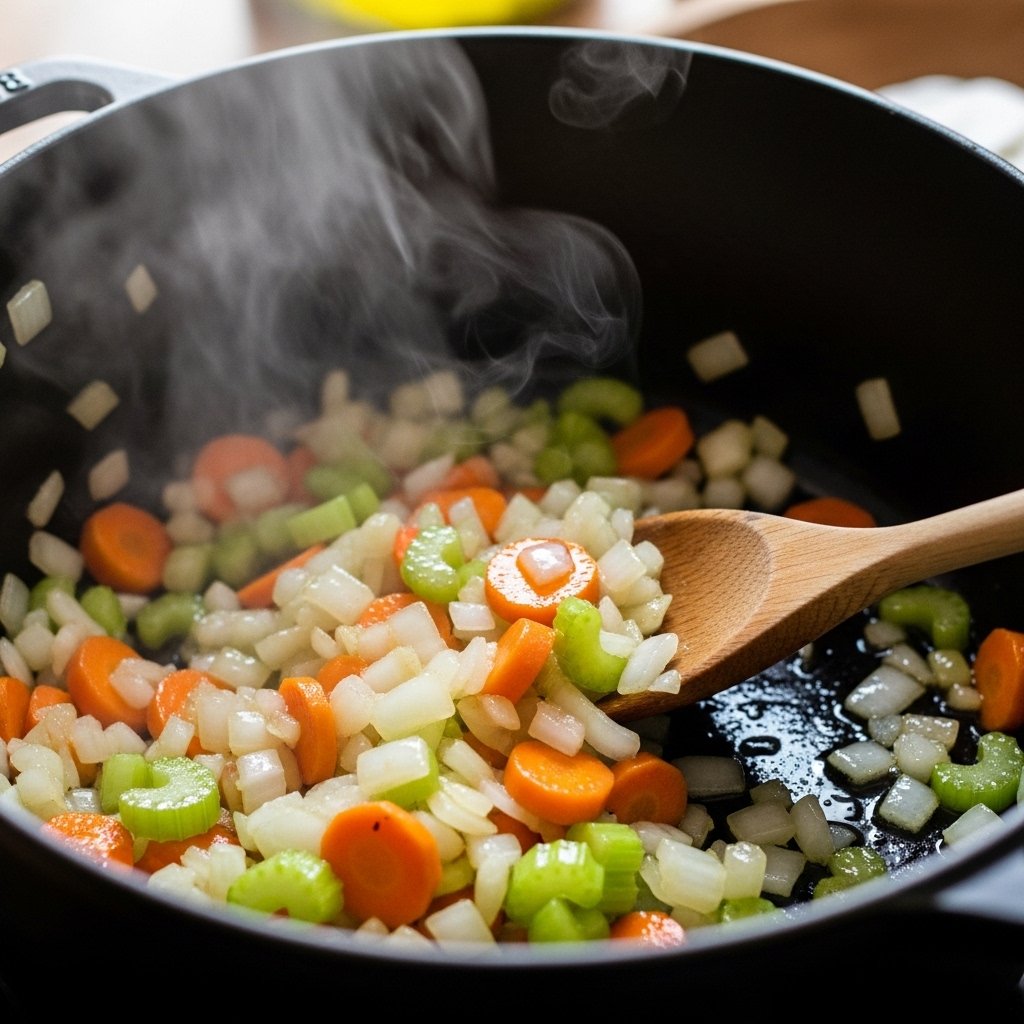
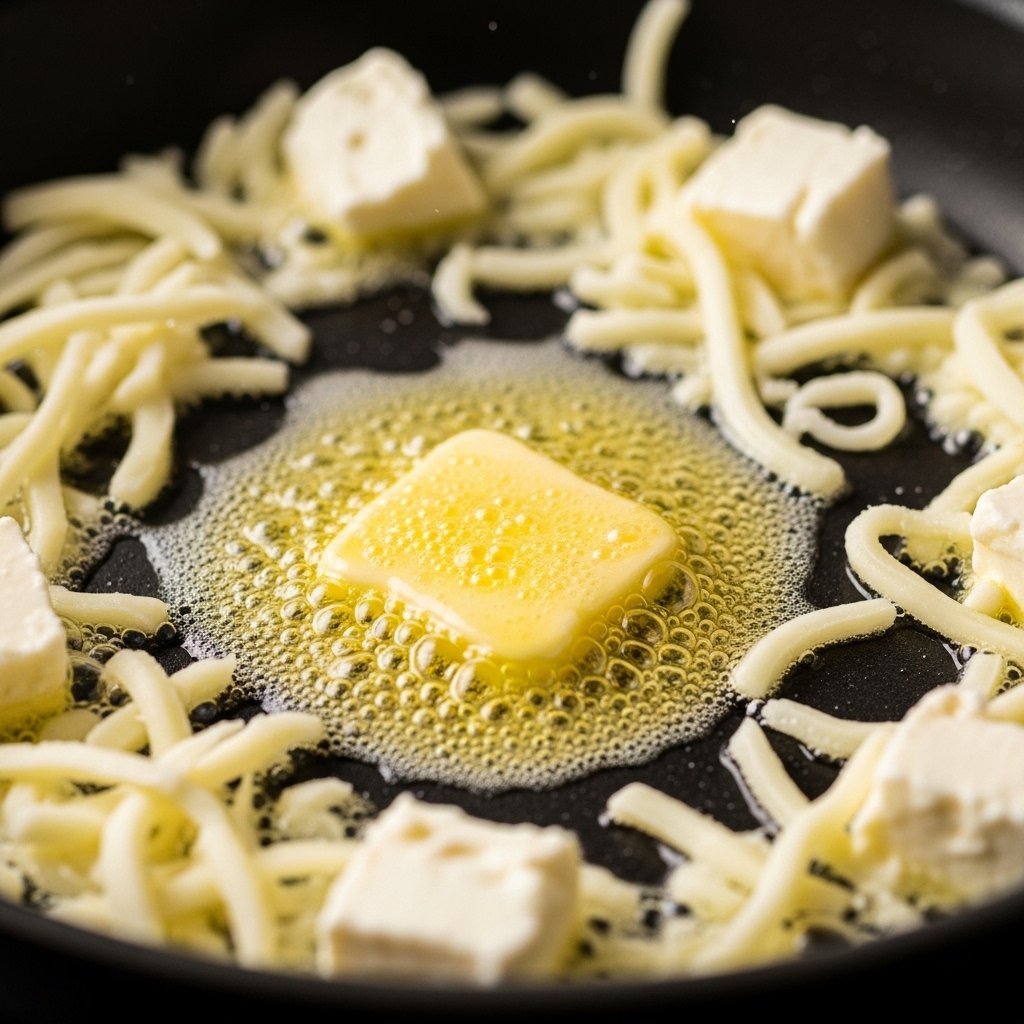
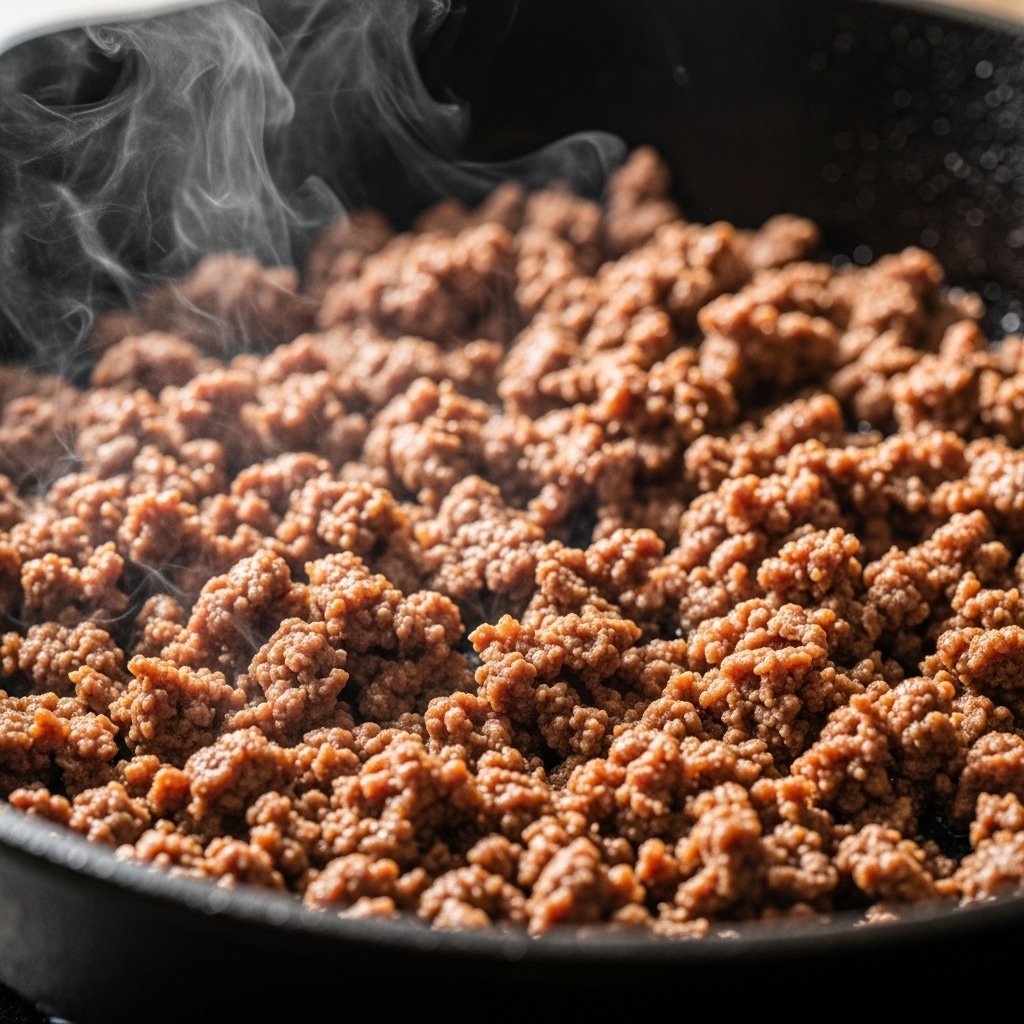
1. Cook the Sausage
Brown the sausage in a skillet until fully cooked, then set aside.

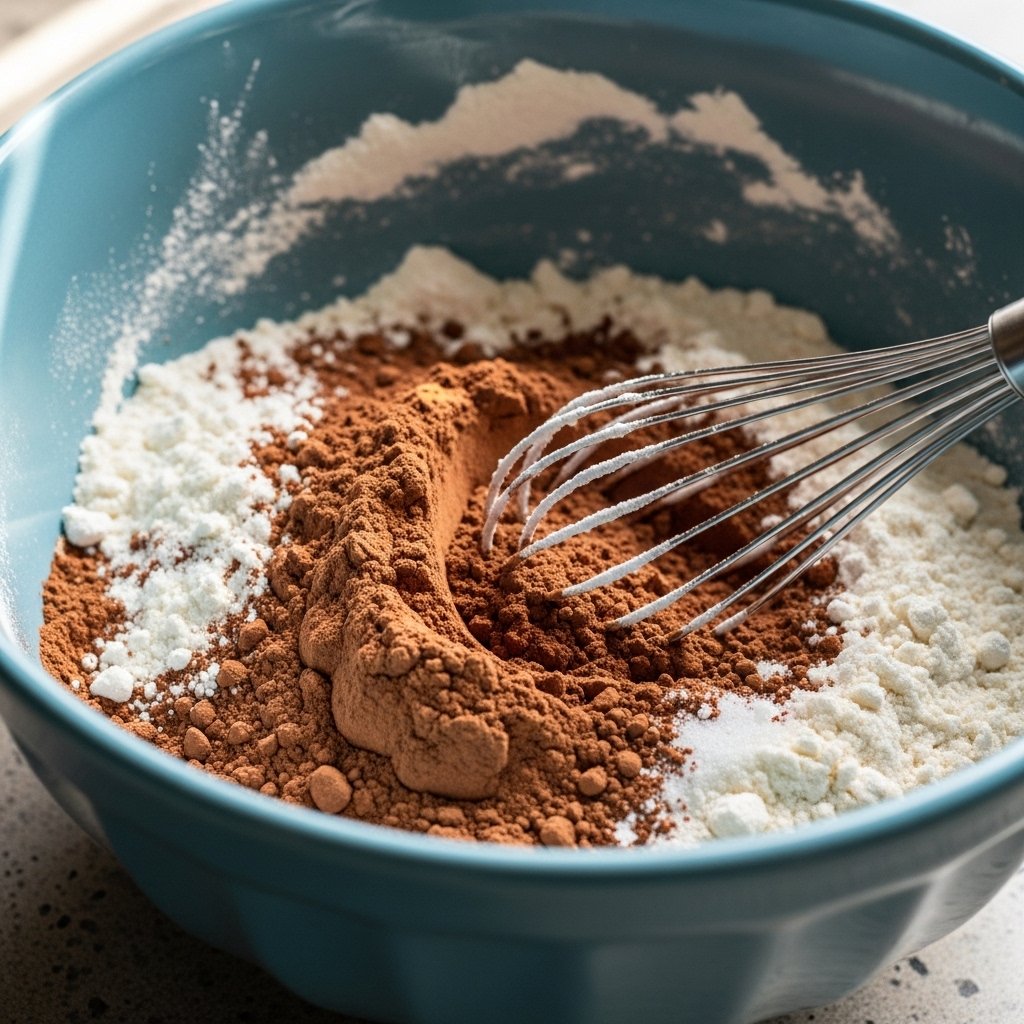
2. Scramble the Eggs
Whisk eggs with milk, then cook gently until just set.

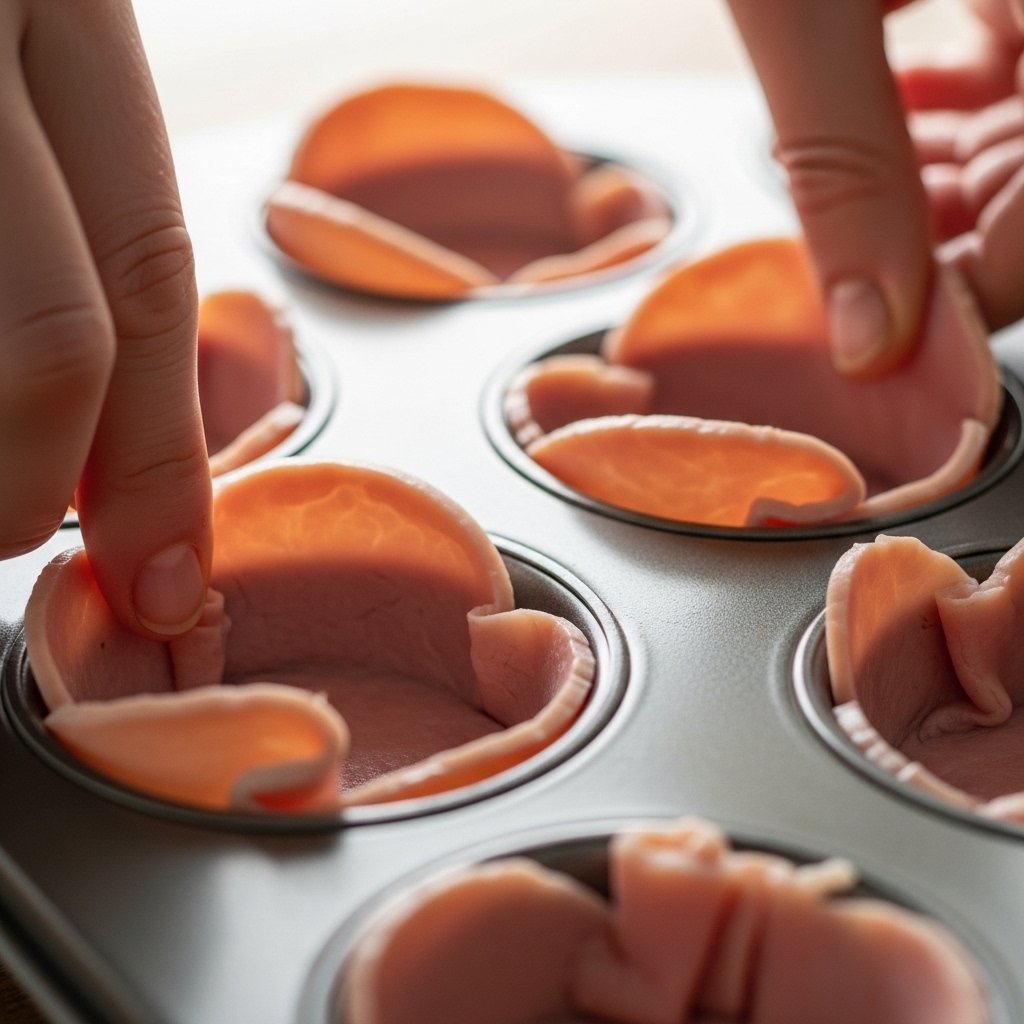
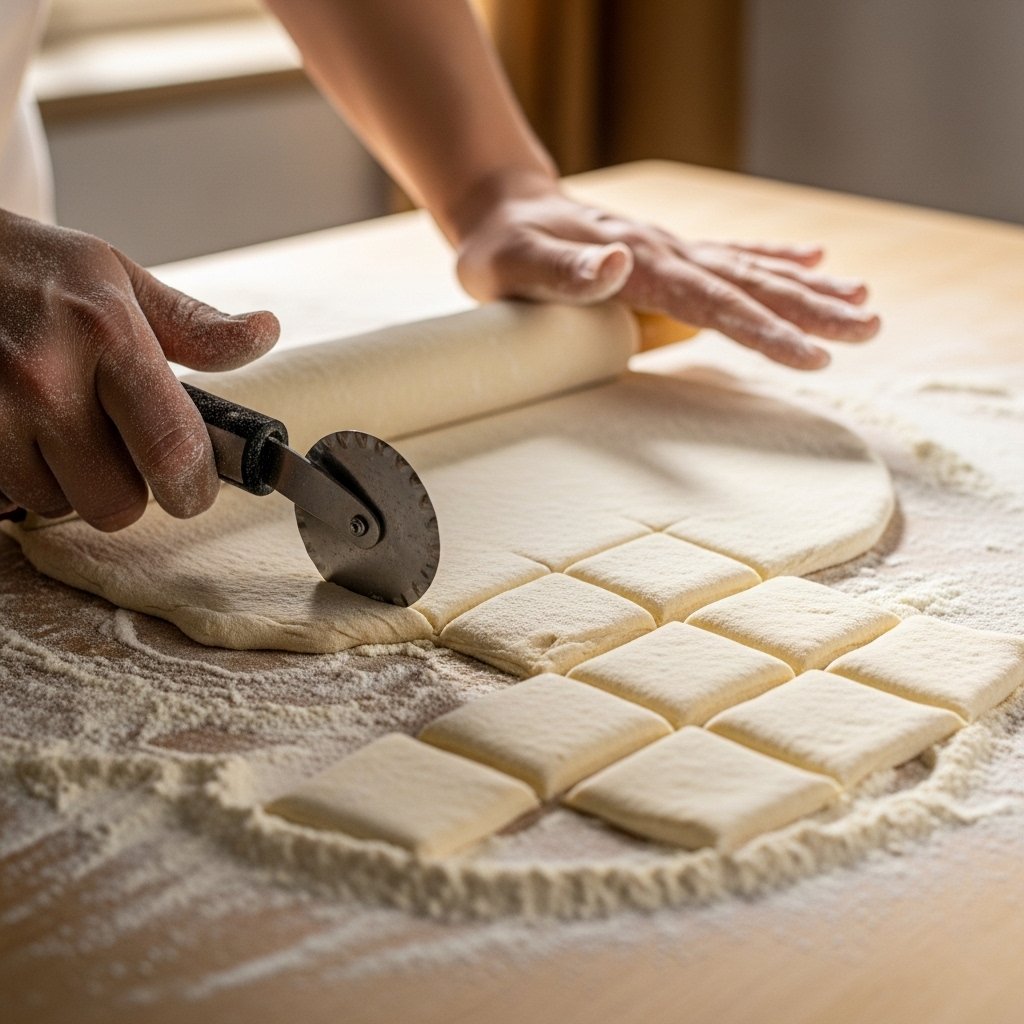
3. Prepare the Dough
Unroll crescent dough and separate into triangles.

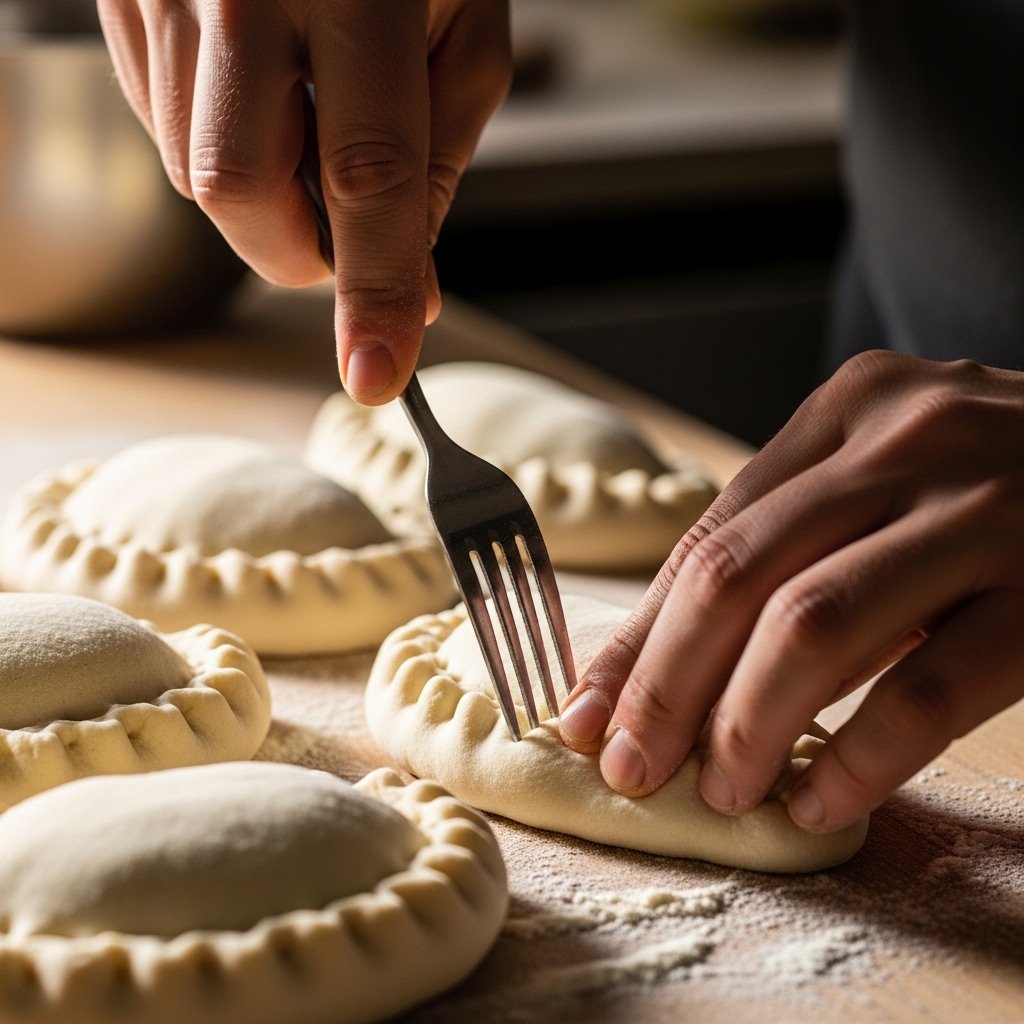
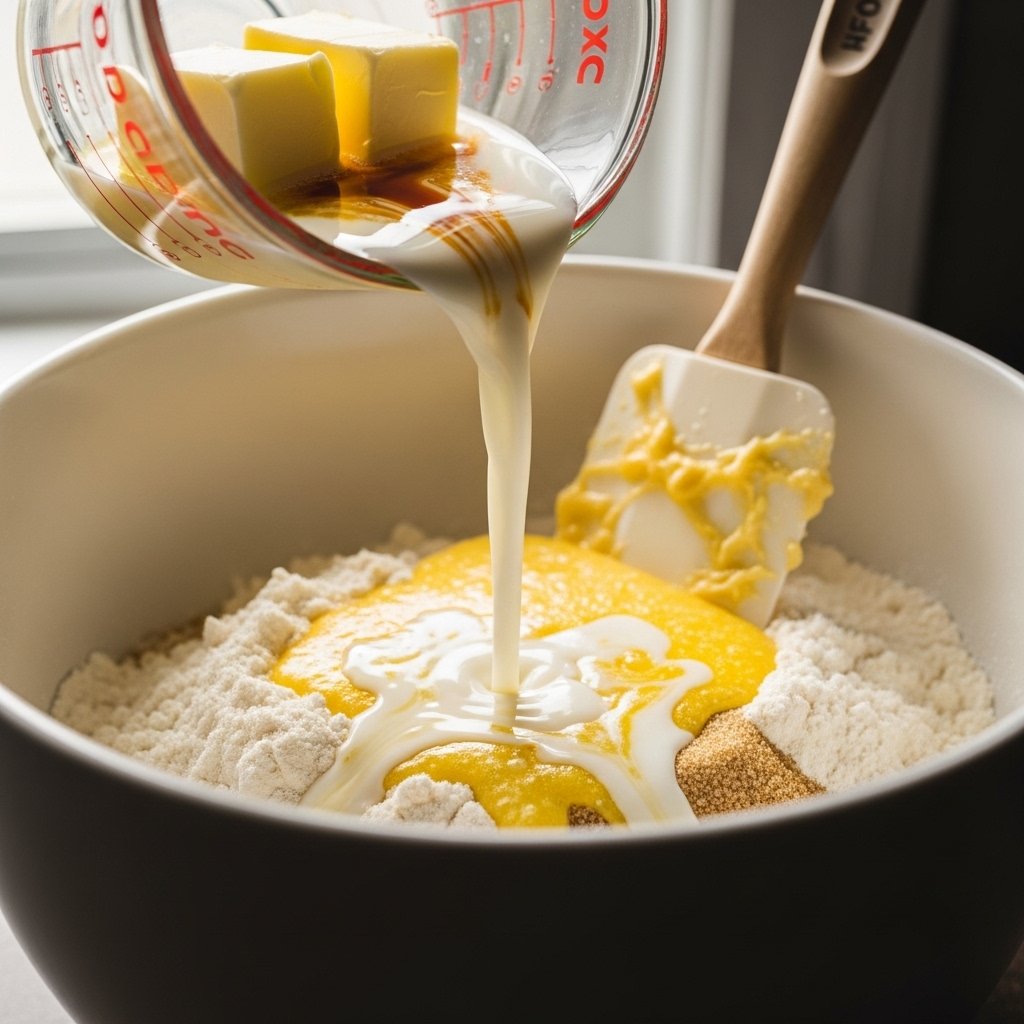
4. Add Fillings
Place sausage, eggs, and cheese onto each dough triangle.

5. Roll Them Up
Carefully roll each triangle into a crescent shape.

6. Bake
Bake at 375°F for 12–15 minutes until golden brown.

7. Serve Warm
Let cool slightly and serve fresh.

Tips for Perfect Results
To get the best sausage egg breakfast rolls, keep these tips in mind:
- Don’t overfill the dough to avoid leaks
- Cook eggs slightly underdone (they finish in oven)
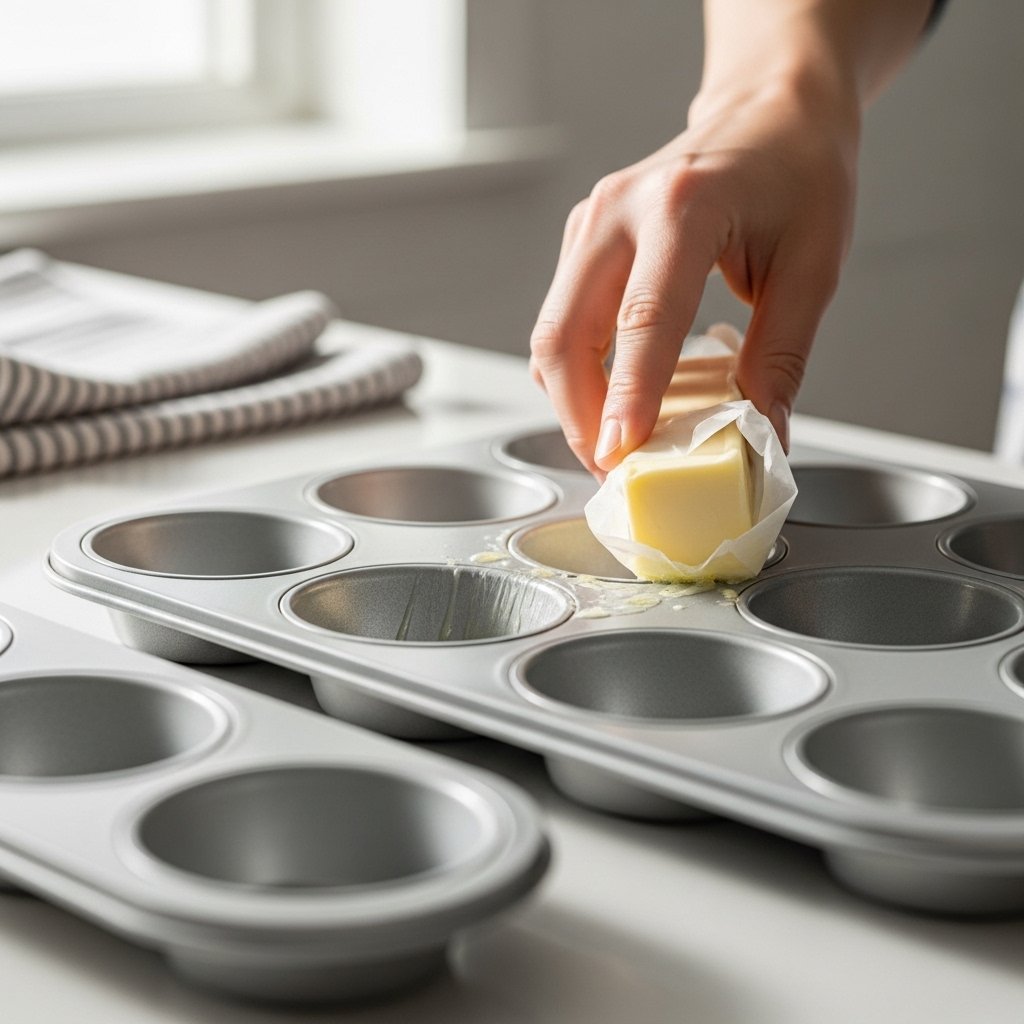
- Use parchment paper for easy cleanup
- Let rolls cool slightly before serving
- Brush tops with egg wash for extra golden color
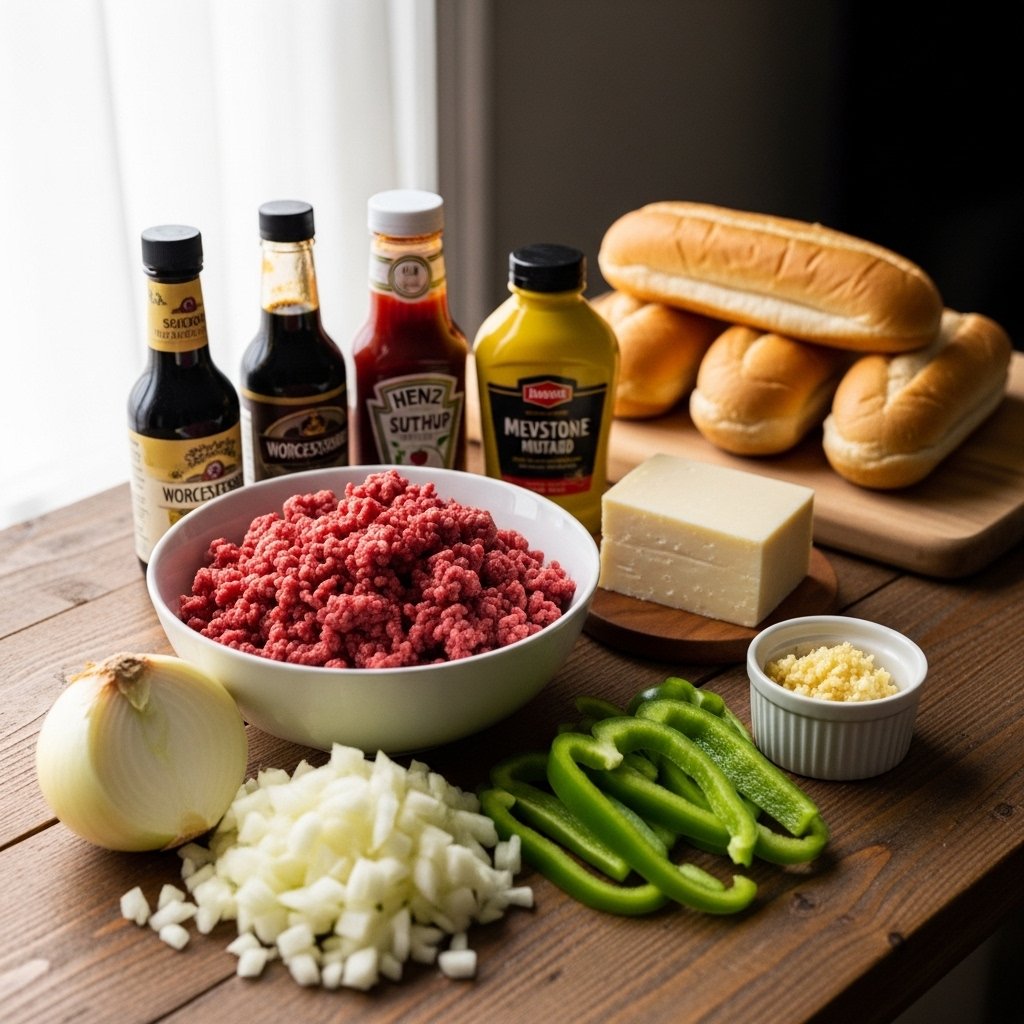
Variations
Switch up your breakfast rolls recipe with these ideas:
Spicy Version
Add jalapeños or hot sauce.
Veggie Version
Include spinach, mushrooms, or peppers.
Cheese Lovers
Mix in mozzarella or pepper jack.
Meat Options
Use bacon or turkey sausage instead.
What to Serve With It
These sausage egg breakfast rolls pair perfectly with:
- Fresh fruit salad
- Yogurt parfaits
- Smoothies
- Coffee or fresh juice
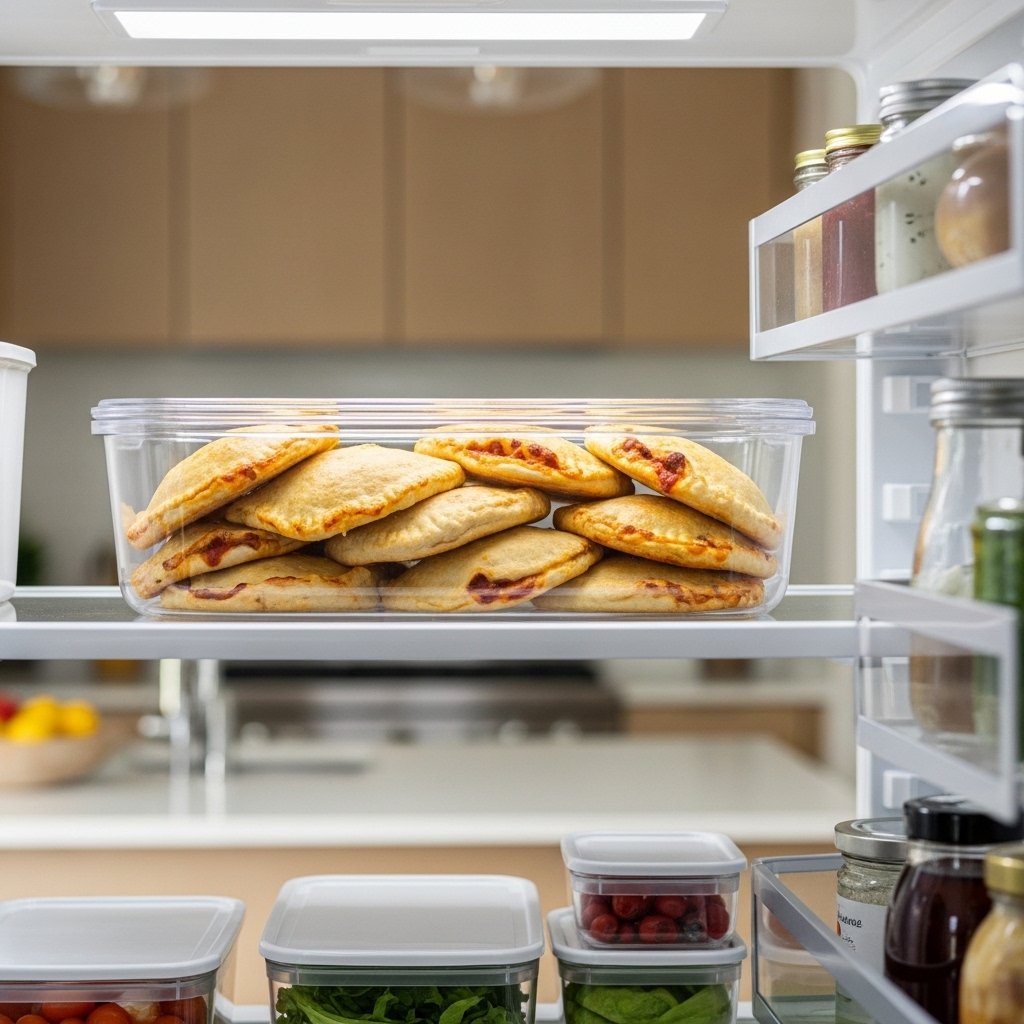
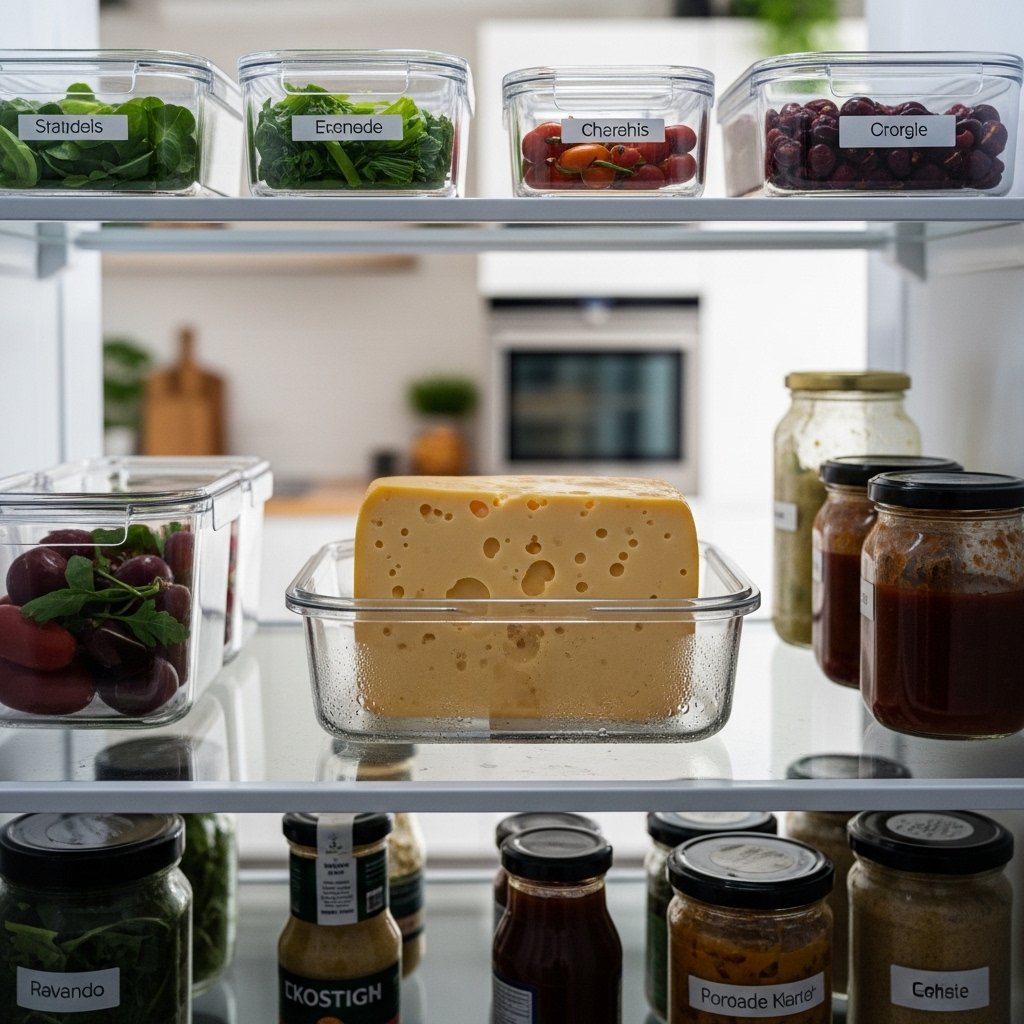
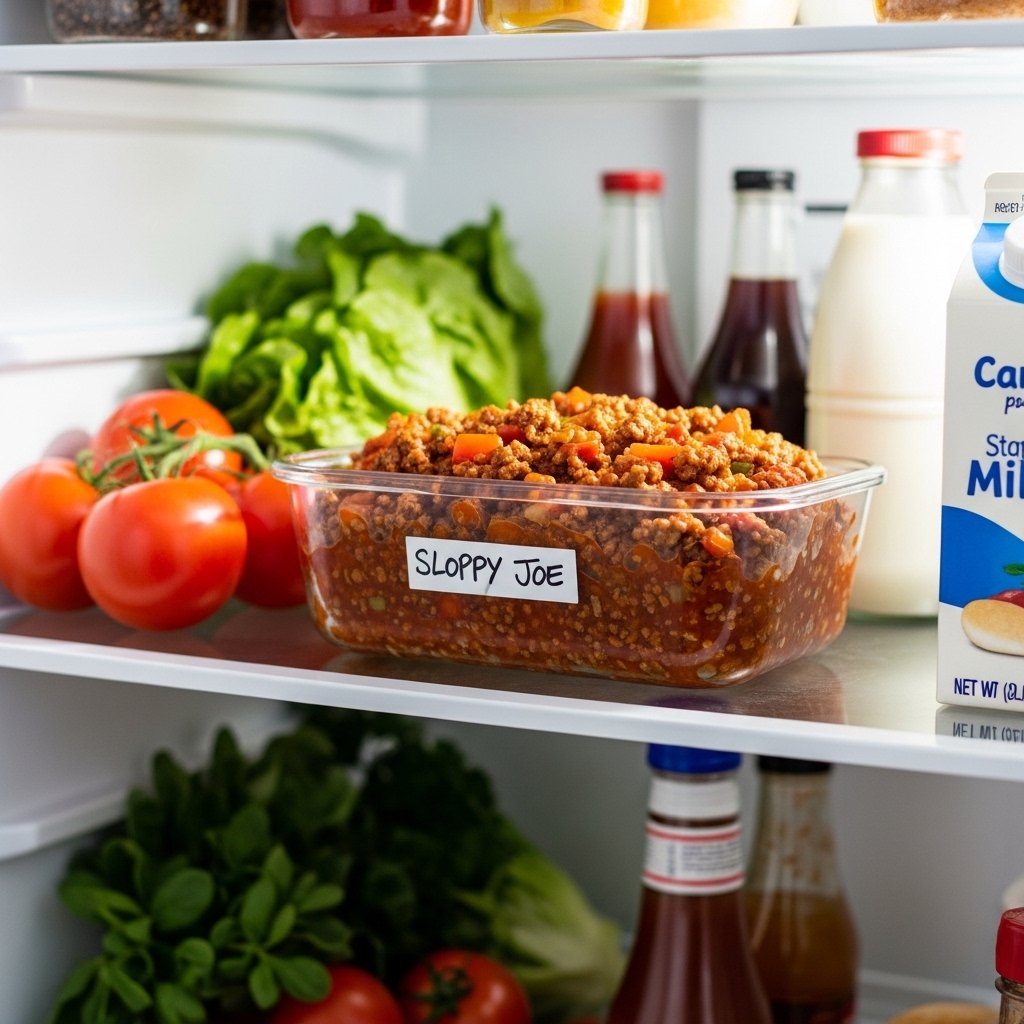
Storage & Reheating
- Store in fridge up to 3 days
- Reheat in oven or microwave
- Freeze for up to 1 month
- Wrap individually for easy grab-and-go

Common Mistakes to Avoid
- Overcooking eggs before baking
- Overstuffing rolls
- Not sealing dough properly
- Skipping preheating oven
FAQs
1. Can I make these ahead of time?
Yes, prepare and refrigerate before baking.
2. Can I freeze breakfast rolls?
Absolutely, they freeze well.
3. What cheese works best?
Cheddar, mozzarella, or blends work great.
4. Can I use homemade dough?
Yes, but crescent dough is quicker.
Final Thoughts
These Quick & Delicious Sausage Egg Breakfast Rolls are everything you want in a breakfast recipe—easy, flavorful, and incredibly satisfying. Whether for brunch, meal prep, or a quick weekday breakfast, they deliver every time.
Once you try them, they’ll become a staple in your kitchen.