Crispy Air Fryer Pizza Rolls Your New Favorite Snack!

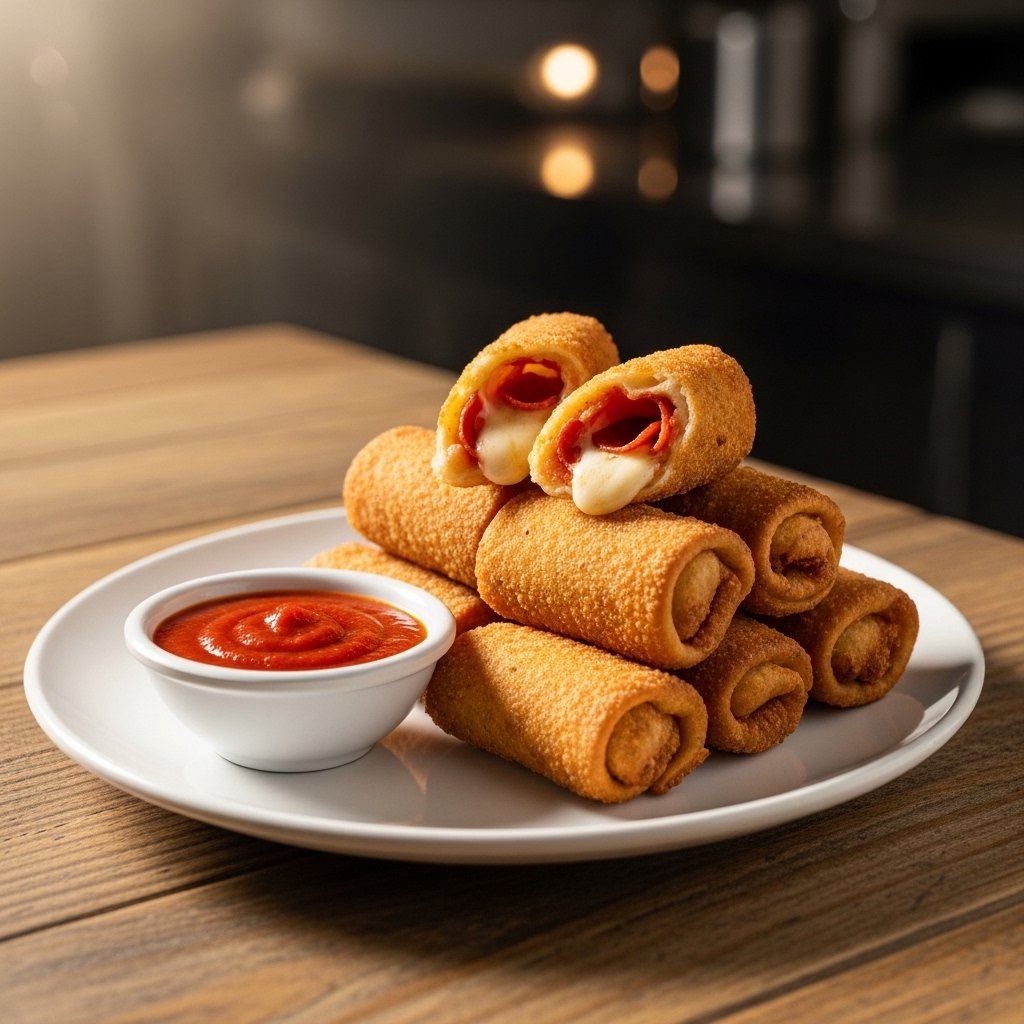
If you’re searching for a quick, satisfying snack that delivers maximum flavor with minimal effort, these crispy air fryer pizza rolls are exactly what you need. Perfectly golden on the outside and filled with gooey, cheesy goodness on the inside, they’re a hit with both kids and adults.

What makes these crispy air fryer pizza rolls so irresistible is the air fryer magic—no deep frying required. You get that crunchy texture without the extra oil, making them a lighter yet equally delicious option. Whether you’re hosting a game night or craving a late-night bite, this recipe has you covered.

Why You’ll Love These Crispy Air Fryer Pizza Rolls

These crispy air fryer pizza rolls are more than just a snack—they’re a game changer for quick meals and entertaining.

Here’s why you’ll love them:

  • Super crispy without deep frying
  • Quick and easy to prepare
  • Perfect for parties and gatherings
  • Kid-friendly and customizable
  • Less greasy than traditional methods

Once you try these crispy air fryer pizza rolls, you’ll never go back to the oven version.
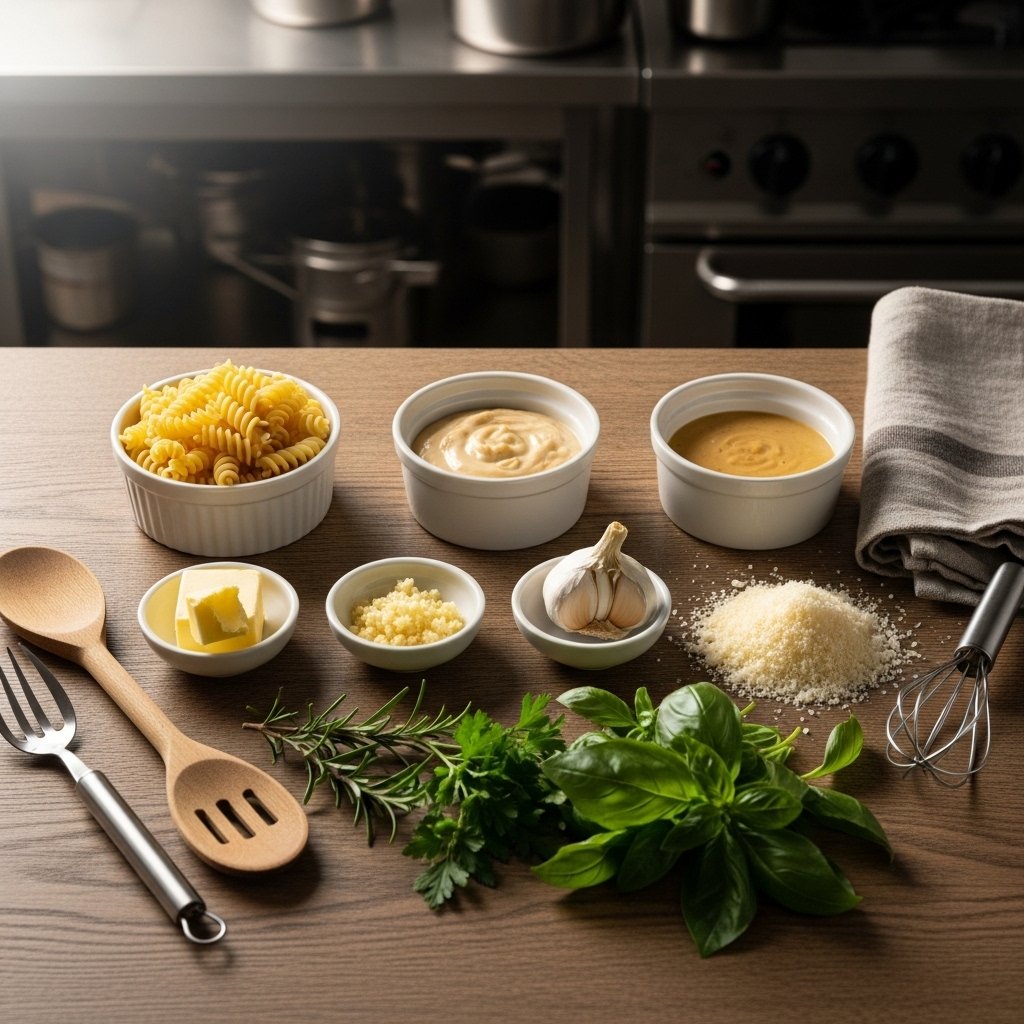
Ingredients

To make these delicious crispy air fryer pizza rolls, you’ll need:

  • Frozen pizza rolls (store-bought or homemade)
  • Cooking spray or a light oil
  • Marinara sauce (for dipping)
  • Optional: grated Parmesan cheese
  • Optional: Italian seasoning

Simple ingredients, big flavor.

Ingredient Notes & Tips

Pizza Rolls

Use your favorite brand or homemade version for best results.

Oil Spray

A light spray helps achieve that perfect crispiness.

Seasoning

Adding Italian herbs enhances the pizza flavor.

Dipping Sauce

Warm marinara or ranch dressing pairs perfectly.

These tips ensure your crispy air fryer pizza rolls come out perfect every time.

Step-by-Step Instructions

Step 1: Preheat the Air Fryer

Set your air fryer to 380°F and let it preheat.

Step 2: Arrange Pizza Rolls

Place pizza rolls in a single layer in the basket.

Step 3: Lightly Spray

Spray with a small amount of oil for crispiness.

Step 4: Cook

Air fry for 6–8 minutes, shaking halfway through.
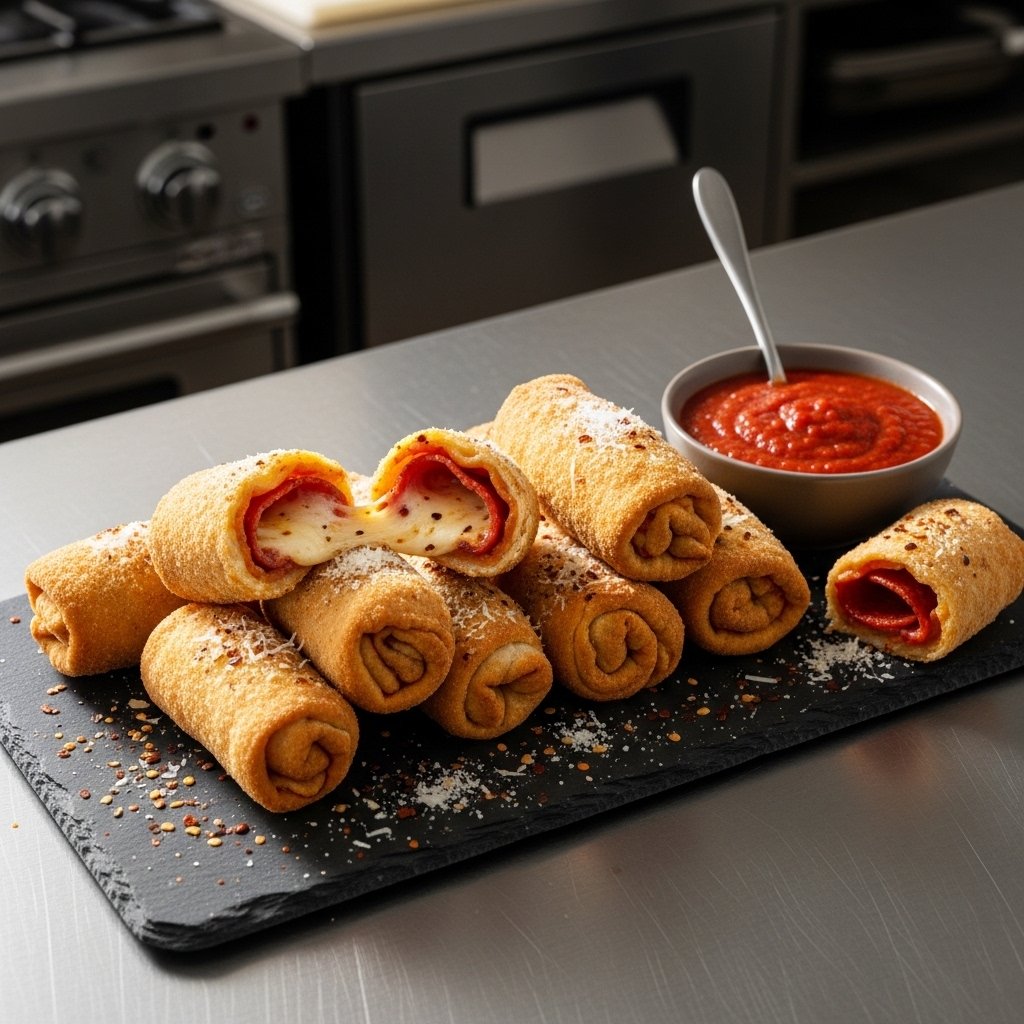
Step 5: Serve

Remove, cool slightly, and serve with dipping sauce.

Tips for Perfect Results

To make the best crispy air fryer pizza rolls, follow these tips:

  • Don’t overcrowd the basket
  • Shake halfway through cooking
  • Let them cool before eating (they’re hot inside!)
  • Adjust time based on your air fryer

These small steps make a big difference in texture and flavor.

Variations to Try

These crispy air fryer pizza rolls are easy to customize:

Cheesy Upgrade

Add extra mozzarella on top after cooking.

Spicy Version

Sprinkle red pepper flakes or serve with spicy sauce.

Homemade Rolls

Use pizza dough with your favorite fillings.

Gluten-Free Option

Use gluten-free pizza rolls.

These variations keep your crispy air fryer pizza rolls exciting and versatile.

What to Serve With It

Pair your crispy air fryer pizza rolls with:

  • Fresh salads
  • Garlic bread
  • Veggie sticks
  • Dipping sauces like ranch or marinara

They’re perfect as a snack, appetizer, or even a quick meal.

Storage & Reheating

Storage

  • Store leftovers in an airtight container in the fridge for up to 3 days

Reheating

  • Reheat in the air fryer at 350°F for 3–4 minutes

Tip

  • Avoid microwaving to keep them crispy

Common Mistakes to Avoid

When making crispy air fryer pizza rolls, avoid:

  • Overcrowding the air fryer
  • Skipping the shake halfway
  • Overcooking (they can burst)
  • Not letting them cool before eating

Avoiding these ensures perfect results every time.

Frequently Asked Questions

How long do you cook pizza rolls in an air fryer?

Typically 6–8 minutes at 380°F, depending on your air fryer.

Do I need to preheat the air fryer?

Yes, preheating helps achieve even cooking.

Can I cook homemade pizza rolls?

Absolutely! Just adjust cooking time slightly.

Are air fryer pizza rolls healthier?

Yes, they use less oil compared to deep frying.

Can I freeze leftovers?

It’s best to cook fresh, but you can freeze and reheat if needed.

Final Thoughts

These crispy air fryer pizza rolls are everything you want in a snack—quick, crunchy, cheesy, and incredibly satisfying. With minimal prep and maximum flavor, they’re perfect for busy days, parties, or anytime cravings hit.

Once you try making crispy air fryer pizza rolls at home, you’ll wonder why you didn’t start sooner. It’s a simple recipe that delivers big on taste and convenience every single time.

20 Healthy Snacks for Kids That Are Easy to Make and Totally Delicious

Finding healthy snacks for kids that are easy to make can feel like a daily challenge—especially when you’re balancing nutrition, taste, and convenience. The good news? It doesn’t have to be complicated. With a little creativity and a few wholesome ingredients, you can whip up snacks your kids will actually enjoy.

This guide to healthy snacks for kids that are easy to make is packed with simple, fun, and nutritious ideas perfect for school lunches, after-school treats, or quick bites at home. Whether you’re dealing with picky eaters or just want better options, these snacks check every box.

Why You’ll Love These Healthy Snacks for Kids

These healthy snacks for kids that are easy to make are designed with both parents and kids in mind. They’re quick, nutritious, and full of flavor.

Here’s why they stand out:

  • Quick prep time
  • Minimal ingredients
  • Balanced nutrition
  • Kid-friendly flavors
  • Perfect for busy schedules

Once you start making these healthy snacks for kids, you’ll see how easy healthy eating can be.

Ingredients You’ll Commonly Use

To create these healthy snacks for kids that are easy to make, keep these staples on hand:

  • Fresh fruits (apples, bananas, berries)
  • Vegetables (carrots, cucumbers, celery)
  • Yogurt and milk
  • Nut butters or seed butters
  • Whole grain bread or crackers
  • Cheese
  • Eggs
  • Oats and granola

These ingredients make it easy to mix and match snack ideas.

20 Healthy Snacks for Kids That Are Easy to Make

Here are some of the best healthy snacks for kids that are easy to make:

Quick & Fresh Snacks

  • Apple slices with peanut butter
  • Banana and yogurt parfait
  • Berry smoothie
  • Cheese and whole grain crackers
  • Sliced veggies with hummus

Fun & Creative Snacks

  • Mini fruit skewers
  • Ants on a log (celery, peanut butter, raisins)
  • Frozen yogurt bites
  • Homemade trail mix
  • Rice cake with nut butter and banana

Protein-Packed Snacks

  • Hard-boiled eggs
  • Turkey and cheese roll-ups
  • Cottage cheese with fruit
  • Mini quesadillas
  • Greek yogurt with honey

Sweet but Healthy Treats

  • Oatmeal energy bites
  • Dark chocolate-dipped strawberries
  • Banana oat cookies
  • Smoothie popsicles
  • Apple cinnamon chips

These healthy snacks for kids that are easy to make offer variety and nutrition without extra effort.

Ingredient Notes & Tips

Keep It Fresh

Use fresh, seasonal ingredients for the best flavor.

Balance Nutrients

Combine protein, fiber, and healthy fats.

Make It Fun

Presentation matters—kids eat with their eyes first.

Prep Ahead

Wash and cut ingredients in advance.

These tips help make your healthy snacks for kids that are easy to make even more effective.

Step-by-Step Snack Prep Strategy

Step 1: Plan Ahead

Choose a few snack ideas for the week.

Step 2: Prep Ingredients

Wash, slice, and portion items.

Step 3: Store Properly

Use airtight containers for freshness.

Step 4: Mix and Match

Combine ingredients for variety.

Step 5: Serve Fresh

Assemble snacks just before eating when possible.

Tips for Perfect Results

To make the most of these healthy snacks for kids that are easy to make, keep these tips in mind:

  • Keep snacks colorful and appealing
  • Rotate options to avoid boredom
  • Involve kids in preparation
  • Use simple, whole ingredients

These strategies make snack time enjoyable and stress-free.

Variations to Try

You can easily customize these healthy snacks for kids that are easy to make:

Allergy-Friendly

Use seed butters instead of peanut butter.

Dairy-Free

Swap yogurt for plant-based alternatives.

Low-Sugar

Focus on natural sweetness from fruits.

High-Protein

Add nuts, seeds, or protein-rich dairy.

These variations ensure every child can enjoy healthy snacks.

What to Serve With Snacks

These healthy snacks for kids that are easy to make pair well with:

  • Milk or smoothies
  • Fresh juice
  • Water infused with fruit
  • Light sandwiches

They can also be part of a balanced lunch or mini meal.

Storage & Reheating

Storage

  • Store snacks in airtight containers
  • Refrigerate perishable items

Reheating

  • Warm items like quesadillas briefly

Freshness Tip

  • Keep wet and dry ingredients separate

Common Mistakes to Avoid

When making healthy snacks for kids that are easy to make, avoid:

  • Overcomplicating recipes
  • Using too much sugar
  • Ignoring portion sizes
  • Skipping variety

Avoiding these keeps snacks healthy and appealing.

Frequently Asked Questions

What are the healthiest snacks for kids?

Snacks with fruits, vegetables, protein, and whole grains are best.

How do I get picky eaters to try healthy snacks?

Make snacks fun and visually appealing.

Can I prepare snacks in advance?

Yes, many can be prepped ahead for convenience.

Are store-bought snacks okay?

Occasionally, but homemade options are usually healthier.

How often should kids snack?

Typically 1–2 snacks between meals, depending on age.

Final Thoughts

These healthy snacks for kids that are easy to make prove that nutritious food doesn’t have to be boring or time-consuming. With simple ingredients and a little planning, you can create snacks that fuel your kids while keeping them happy and satisfied.

Whether you’re packing lunchboxes or prepping after-school bites, these ideas make healthy eating easy, fun, and delicious for the whole family.

Cookies & Cream Milkshake: The Ultimate Creamy Oreo Treat You’ll Crave!

If you’re a fan of classic cookies and milk, then this cookies & cream milkshake is about to become your new obsession. Creamy vanilla ice cream blended with crushed chocolate sandwich cookies creates a dreamy, indulgent drink that’s perfect for any time of year.

This cookies & cream milkshake is incredibly easy to make, yet it delivers that rich, dessert-like experience you’d expect from your favorite diner or ice cream shop. Whether you’re treating yourself after a long day or making something fun for guests, this milkshake never disappoints.

Why You’ll Love This Cookies & Cream Milkshake

There are plenty of milkshakes out there, but this cookies & cream milkshake stands out for its irresistible flavor and texture.

Here’s why you’ll love it:

  • Rich and creamy consistency
  • Loaded with crunchy cookie pieces
  • Quick and easy to prepare
  • Perfect for kids and adults
  • Customizable with toppings and flavors

Once you try this cookies & cream milkshake, it’ll quickly become your go-to sweet treat.

Ingredients

To make this delicious cookies & cream milkshake, you’ll need:

  • Vanilla ice cream
  • Milk (whole milk preferred)
  • Chocolate sandwich cookies (like Oreos)
  • Whipped cream
  • Chocolate syrup (optional)

These simple ingredients come together to create a thick, creamy, and satisfying drink.

Ingredient Notes & Tips

Ice Cream Quality

Use premium vanilla ice cream for the best texture and flavor.

Cookies

Classic chocolate sandwich cookies give the signature cookies & cream taste.

Milk

Adjust the amount depending on how thick you like your milkshake.

Optional Additions

Chocolate syrup adds extra richness and visual appeal.

These tips ensure your cookies & cream milkshake turns out perfect every time.

Step-by-Step Instructions

Step 1: Blend the Base

Add ice cream and milk to a blender and blend until smooth.

Step 2: Add Cookies

Break cookies into chunks and blend lightly to keep texture.

Step 3: Adjust Thickness

Add more milk if needed for a thinner consistency.

Step 4: Serve

Pour into a tall glass.

Step 5: Garnish

Top with whipped cream and extra cookie crumbs.

Tips for Perfect Results

To make the best cookies & cream milkshake, keep these tips in mind:

  • Don’t over-blend the cookies
  • Chill your glass before serving
  • Use cold ingredients for thickness
  • Add toppings right before serving

These small details elevate your milkshake to the next level.

Variations to Try

This cookies & cream milkshake is easy to customize:

Chocolate Lovers

Add chocolate ice cream or extra syrup.

Peanut Butter Twist

Blend in a spoonful of peanut butter.

Vegan Option

Use dairy-free ice cream and milk.

Protein Version

Add a scoop of vanilla protein powder.

These variations make your cookies & cream milkshake even more exciting.

What to Serve With It

Pair your cookies & cream milkshake with:

  • Brownies
  • Chocolate chip cookies
  • Cheesecake
  • Ice cream sandwiches

It’s the perfect addition to any dessert spread.

Storage & Reheating

Storage

  • Best enjoyed immediately

Freezing

  • Can be frozen and re-blended later

Tip

  • Avoid storing too long to maintain texture

Common Mistakes to Avoid

When making a cookies & cream milkshake, avoid:

  • Over-blending the cookies
  • Using too much milk
  • Skipping toppings
  • Using low-quality ingredients

Avoiding these ensures a rich and satisfying result.

Frequently Asked Questions

Can I make this milkshake without a blender?

Yes, you can mix softened ice cream and crushed cookies by hand, though texture may differ.

What cookies work best?

Classic chocolate sandwich cookies are ideal.

How do I make it thicker?

Use less milk or add more ice cream.

Can I make it ahead of time?

It’s best served fresh, but you can prep ingredients in advance.

Is it kid-friendly?

Absolutely! Kids love the creamy and crunchy texture.

Final Thoughts

This cookies & cream milkshake is everything you want in a dessert drink—creamy, crunchy, sweet, and incredibly satisfying. It’s quick to prepare and perfect for any occasion, from casual treats to special celebrations.

Once you make this cookies & cream milkshake, you’ll see just how easy it is to bring a little indulgence into your day. It’s a simple recipe with big flavor that you’ll come back to again and again.

Candy Cane Milkshake: A Festive Peppermint Treat You’ll Love

Nothing says holiday cheer quite like a creamy, refreshing candy cane milkshake. With its cool peppermint flavor, smooth vanilla base, and festive look, this treat is perfect for winter gatherings, Christmas parties, or simply enjoying at home on a cozy evening.

This candy cane milkshake combines classic ice cream richness with crushed candy canes for that signature minty crunch. It’s quick to make, incredibly satisfying, and guaranteed to impress both kids and adults alike.

Why You’ll Love This Candy Cane Milkshake

This candy cane milkshake is more than just a dessert—it’s a seasonal experience that brings joy with every sip.

Here’s why you’ll love it:

  • Refreshing peppermint flavor
  • Creamy and indulgent texture
  • Quick and easy to prepare
  • Perfect for holiday celebrations
  • Beautiful and festive presentation

Once you try this candy cane milkshake, it’ll become a holiday tradition.

Ingredients

To make the perfect candy cane milkshake, you’ll need:

  • Vanilla ice cream
  • Milk (whole milk works best)
  • Candy canes (crushed)
  • Peppermint extract
  • Whipped cream
  • Chocolate syrup (optional)

These simple ingredients come together to create a rich and refreshing drink.

Ingredient Notes & Tips

Ice Cream Choice

Use high-quality vanilla ice cream for the creamiest texture.

Candy Canes

Crush them finely for better blending and texture.

Peppermint Extract

Use sparingly—too much can overpower the drink.

Milk Options

Adjust the amount of milk to control thickness.

These tips help you create the perfect candy cane milkshake every time.

Step-by-Step Instructions

Step 1: Blend the Base

Add ice cream and milk to a blender and blend until smooth.

Step 2: Add Flavor

Mix in crushed candy canes and a drop of peppermint extract.

Step 3: Adjust Consistency

Add more milk if needed for a thinner shake.

Step 4: Serve

Pour into a glass and top with whipped cream.

Step 5: Garnish

Sprinkle extra crushed candy canes and drizzle chocolate if desired.

Tips for Perfect Results

To make the best candy cane milkshake, keep these tips in mind:

  • Blend just until smooth to avoid melting too much
  • Chill your glass for extra freshness
  • Use crushed candy canes for texture
  • Taste and adjust peppermint flavor

These small details make a big difference.

Variations to Try

This candy cane milkshake is easy to customize:

Chocolate Peppermint

Add chocolate ice cream or syrup.

Vegan Version

Use dairy-free ice cream and milk.

Protein Boost

Add a scoop of vanilla protein powder.

Extra Festive

Rim the glass with crushed candy canes.

These variations keep your candy cane milkshake fun and exciting.

What to Serve With It

Pair your candy cane milkshake with:

  • Holiday cookies
  • Brownies
  • Chocolate cake
  • Gingerbread treats

It’s the perfect complement to festive desserts.

Storage & Reheating

Storage

  • Best enjoyed immediately

Freezing

  • Can be frozen and re-blended later

Tip

  • Avoid storing too long to maintain texture

Common Mistakes to Avoid

When making a candy cane milkshake, avoid:

  • Using too much peppermint extract
  • Over-blending the mixture
  • Adding large candy cane chunks
  • Using low-quality ice cream

Avoiding these ensures a smooth and balanced drink.

Frequently Asked Questions

Can I make this milkshake ahead of time?

It’s best served fresh, but you can prep ingredients in advance.

How do I crush candy canes?

Place them in a bag and crush with a rolling pin.

Can I use mint ice cream instead?

Yes, but reduce peppermint extract to avoid overpowering flavor.

Is this kid-friendly?

Absolutely! Kids love the sweet peppermint taste.

Can I make it thicker?

Use less milk or more ice cream.

Final Thoughts

This candy cane milkshake is the ultimate holiday treat—creamy, refreshing, and full of festive flavor. It’s easy to make, visually stunning, and perfect for celebrating the season with loved ones.

Whether you’re hosting a party or just craving something sweet, this candy cane milkshake delivers a delightful combination of flavor and fun that you’ll want to enjoy again and again.

White Bolognese Sauce: A Rich and Creamy Twist on a Classic Italian Favorite

If you love hearty pasta dishes but want something a little different from the classic red sauce, white Bolognese sauce is about to become your new favorite. This creamy, savory variation skips the tomatoes and instead focuses on rich dairy, aromatic vegetables, and tender meat for a comforting, elegant result.

This white Bolognese sauce is deeply satisfying, with layers of flavor that develop slowly as it simmers. It’s perfect for cozy dinners, special occasions, or whenever you’re craving something indulgent yet refined.

Why You’ll Love This White Bolognese Sauce

There’s something incredibly special about this white Bolognese sauce. It’s rich without being heavy and complex without being difficult to make.

Here’s why you’ll love it:

  • Creamy, velvety texture
  • Deep, savory flavor
  • Perfect alternative to tomato-based sauces
  • Great for entertaining or weeknight dinners
  • Pairs beautifully with many types of pasta

Once you try this white Bolognese sauce, it’s sure to become a staple in your kitchen.

Ingredients

To make this delicious white Bolognese sauce, you’ll need:

  • Ground beef, pork, or a mix
  • Onion, finely chopped
  • Carrot and celery (finely diced)
  • Garlic
  • Olive oil and butter
  • Whole milk or cream
  • White wine
  • Chicken or beef broth
  • Parmesan cheese
  • Salt, pepper, and nutmeg

These ingredients create the rich and layered flavor that defines a great white Bolognese sauce.

Ingredient Notes & Tips

Meat Selection

A mix of beef and pork gives the best flavor and texture.

Dairy Choice

Whole milk creates a lighter sauce, while cream adds richness.

Aromatics

Finely chopped vegetables melt into the sauce for depth.

Seasoning

A pinch of nutmeg enhances the creamy flavor beautifully.

These tips help you master your white Bolognese sauce every time.

Step-by-Step Instructions

Step 1: Sauté the Vegetables

Heat olive oil and butter, then cook onions, carrots, and celery until soft.

Step 2: Add the Meat

Cook the ground meat until browned and fully cooked.

Step 3: Deglaze with Wine

Pour in white wine and let it reduce.

Step 4: Add Milk and Broth

Stir in milk and broth, then simmer gently.

Step 5: Finish with Cheese

Add Parmesan and season to taste.

Tips for Perfect Results

To make the best white Bolognese sauce, keep these tips in mind:

  • Cook slowly for deeper flavor
  • Stir occasionally to prevent sticking
  • Use fresh Parmesan for best results
  • Don’t rush the simmering process

Patience is key to achieving that rich, velvety texture.

Variations to Try

This white Bolognese sauce is incredibly versatile.

Chicken Version

Use ground chicken for a lighter option.

Mushroom Twist

Add mushrooms for extra umami.

Dairy-Free Option

Use plant-based milk and skip cheese.

Herb Boost

Add fresh thyme or rosemary.

These variations let you customize your white Bolognese sauce to your taste.

What to Serve With White Bolognese Sauce

This sauce pairs beautifully with:

  • Fettuccine or tagliatelle
  • Pappardelle for a hearty dish
  • Gnocchi for extra comfort
  • Crusty bread for dipping

It’s a versatile sauce that elevates any meal.

Storage & Reheating

Storage

  • Store in an airtight container for up to 3 days

Reheating

  • Reheat gently on the stove with a splash of milk

Freezing

  • Can be frozen for up to 2 months

Common Mistakes to Avoid

When making white Bolognese sauce, avoid:

  • Cooking on high heat
  • Skipping the wine reduction
  • Adding dairy too quickly
  • Under-seasoning

Avoiding these mistakes ensures a smooth and flavorful sauce.

Frequently Asked Questions

What is white Bolognese sauce?

It’s a tomato-free version of traditional Bolognese made with milk or cream.

Can I make it ahead of time?

Yes, it tastes even better the next day.

What pasta works best?

Wide noodles like pappardelle or fettuccine.

Can I freeze it?

Yes, it freezes well for future meals.

Is it very heavy?

It’s rich but balanced when cooked properly.

Final Thoughts

This white Bolognese sauce is a delicious twist on a classic that brings comfort and elegance together in one dish. With its creamy texture, deep flavor, and versatility, it’s perfect for everything from weeknight dinners to special occasions.

Once you try this recipe, you’ll see just how satisfying a tomato-free pasta sauce can be. It’s rich, comforting, and absolutely unforgettable.

15 Creamy Pasta Recipes You’ll Want to Make Again and Again

There’s something undeniably comforting about a bowl of creamy pasta. Whether it’s silky Alfredo, rich cheese sauces, or velvety garlic cream blends, these dishes bring warmth and satisfaction to any table. This collection of 15 creamy pasta recipes is designed to give you a variety of flavors and textures—from classic favorites to creative twists you’ll love.

If you’re looking for easy dinner inspiration, these creamy pasta recipes deliver both convenience and indulgence. Perfect for busy weeknights or cozy weekend meals, each recipe offers a delicious way to elevate simple ingredients into something unforgettable.

Why You’ll Love These Creamy Pasta Recipes

These 15 creamy pasta recipes are all about flavor, comfort, and simplicity. Whether you’re cooking for your family or hosting friends, these dishes never disappoint.

Here’s why they stand out:

  • Rich and comforting flavors
  • Easy to customize ingredients
  • Perfect for quick meals or special dinners
  • Family-friendly and crowd-pleasing
  • Versatile with proteins and vegetables

Once you try these creamy pasta recipes, they’ll quickly become part of your regular rotation.

Essential Ingredients for Creamy Pasta

Before diving into the recipes, let’s talk about the building blocks of great creamy pasta recipes.

Common ingredients include:

  • Heavy cream or half-and-half
  • Butter
  • Garlic and onions
  • Parmesan or other cheeses
  • Pasta (fettuccine, penne, spaghetti)
  • Herbs and seasonings

These ingredients create the rich, smooth texture that defines creamy pasta dishes.

15 Creamy Pasta Recipes to Try

Here’s a delicious variety of creamy pasta recipes to suit every craving:

1. Classic Chicken Alfredo

A rich, buttery sauce with tender chicken and fettuccine.

2. Creamy Garlic Shrimp Pasta

Juicy shrimp in a silky garlic cream sauce.

3. Mushroom Cream Pasta

Earthy mushrooms in a velvety sauce.

4. Spinach Artichoke Pasta

Inspired by the classic dip, creamy and flavorful.

5. Cajun Chicken Pasta

Spicy, creamy, and packed with bold flavors.

6. Tomato Cream Pasta

A perfect blend of tangy and creamy.

7. Broccoli Cheddar Pasta

Comforting and cheesy with added veggies.

8. Creamy Pesto Pasta

Fresh basil flavor with a creamy twist.

9. Bacon Carbonara

Savory and indulgent with crispy bacon.

10. Lemon Cream Pasta

Light, zesty, and refreshing.

11. Creamy Sausage Pasta

Hearty and full of flavor.

12. Lobster Cream Pasta

Elegant and luxurious.

13. Vegan Creamy Pasta

Dairy-free but still rich and satisfying.

14. One-Pot Creamy Pasta

Quick and easy with minimal cleanup.

15. Garlic Parmesan Pasta

Simple yet incredibly flavorful.

These 15 creamy pasta recipes ensure there’s something for everyone.

Step-by-Step Basic Creamy Pasta Method

Step 1: Cook the Pasta

Boil pasta in salted water until al dente.

Step 2: Prepare the Sauce

Melt butter, sauté garlic, and add cream.

Step 3: Add Cheese

Stir in Parmesan or other cheeses until smooth.

Step 4: Combine

Mix pasta with sauce and toss well.

Step 5: Serve

Garnish with herbs and extra cheese.

This method works for most creamy pasta recipes.

Tips for Perfect Creamy Pasta

To master these creamy pasta recipes, keep these tips in mind:

  • Don’t overcook the pasta
  • Use freshly grated cheese
  • Reserve pasta water for sauce consistency
  • Cook sauces on low heat

These small steps make a big difference in texture and flavor.

Variations to Try

These creamy pasta recipes are easy to customize:

  • Add grilled chicken or shrimp
  • Use whole wheat or gluten-free pasta
  • Add vegetables like spinach or zucchini
  • Swap cream for plant-based alternatives

Experimenting keeps your meals exciting and fresh.

What to Serve With Creamy Pasta

Pair your creamy pasta recipes with:

  • Fresh green salads
  • Garlic bread
  • Roasted vegetables
  • Light soups

These sides balance the richness of the pasta.

Storage & Reheating

Storage

  • Store in airtight containers for up to 3 days

Reheating

  • Reheat gently with a splash of milk or cream

Tip

  • Avoid overheating to prevent separation

Common Mistakes to Avoid

When making creamy pasta recipes, avoid:

  • Using high heat for sauces
  • Adding cheese too quickly
  • Skipping seasoning
  • Overcooking pasta

Avoiding these ensures a smooth and delicious dish.

Frequently Asked Questions

What’s the best pasta for creamy sauces?

Fettuccine and penne work well because they hold sauce nicely.

Can I make creamy pasta without cream?

Yes, use milk, yogurt, or plant-based alternatives.

How do I thicken a creamy sauce?

Add cheese or reduce the sauce slightly.

Can I freeze creamy pasta?

It’s not recommended, as sauces may separate.

How do I make it healthier?

Use lighter cream, add veggies, or reduce cheese.

Final Thoughts

These 15 creamy pasta recipes prove that comfort food can be both simple and incredibly satisfying. With rich flavors, endless variations, and easy preparation, they’re perfect for any occasion.

Whether you’re craving something indulgent or looking for a quick dinner solution, these creamy pasta recipes offer the perfect balance of ease and flavor. Once you try them, you’ll always have a go-to list of comforting meals ready to enjoy.