Packing lunches every day for middle schoolers can feel like a never-ending challenge. Between early mornings, picky eaters, and the need for balanced nutrition, it’s easy to run out of ideas fast. That’s exactly why these Quick & Easy Middle School Lunch Box Ideas are a total game-changer for busy families.
These ideas are designed to be simple, fast, and flexible. You don’t need fancy ingredients or complicated recipes—just real, everyday foods that kids actually enjoy eating. From sandwiches and wraps to snack-style lunch boxes, this guide will help you create lunches that are both nutritious and exciting.

Why You’ll Love These Quick & Easy Middle School Lunch Box Ideas
These Quick & Easy Middle School Lunch Box Ideas are built for real life—busy mornings, tight schedules, and hungry kids who want variety.
- Takes less than 15 minutes to assemble
- Uses simple pantry and fridge staples
- Balanced with protein, carbs, and healthy fats
- Kid-approved and customizable
- Perfect for meal prep and weekly planning
Once you start using these ideas, lunch packing becomes way less stressful and much more organized.
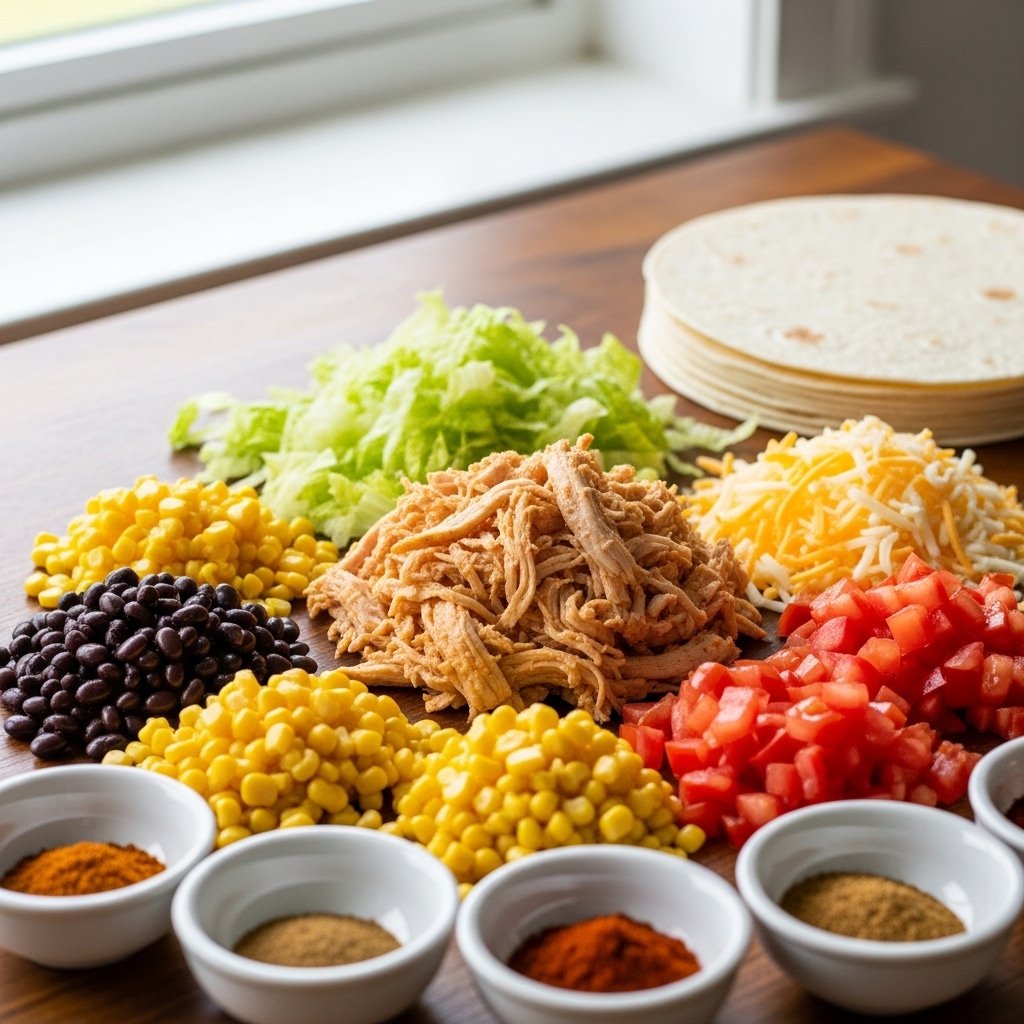
Ingredients
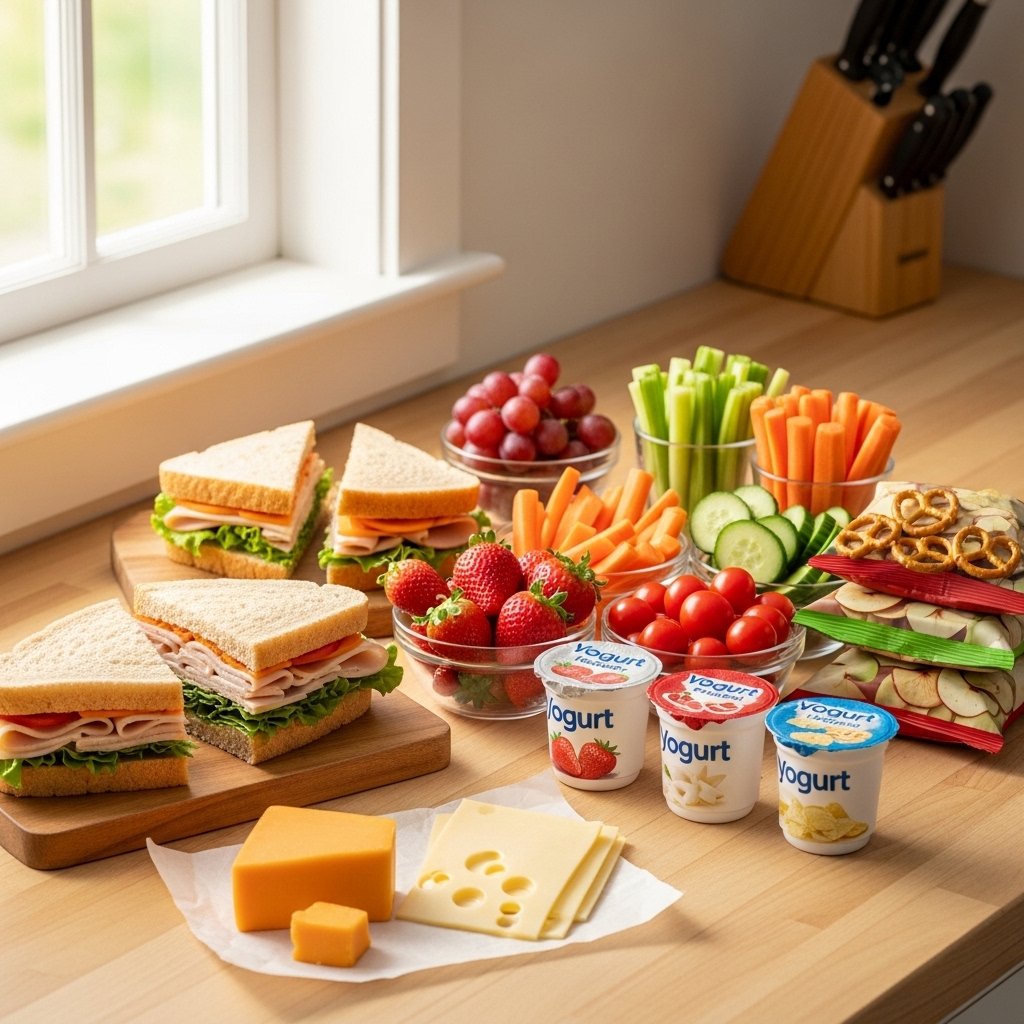
Here are flexible ingredients you can mix and match for Quick & Easy Middle School Lunch Box Ideas:
- Whole wheat bread, wraps, or pita
- Cooked chicken, turkey, ham, or tuna
- Cheese slices or cubes
- Fresh fruits (grapes, apples, berries, oranges)
- Veggie sticks (carrots, cucumbers, celery, bell peppers)
- Hummus or peanut butter
- Yogurt cups or pudding
- Crackers, pretzels, or granola bars
- Hard-boiled eggs
- Small treats like cookies or trail mix

Ingredient Notes
The secret to great Quick & Easy Middle School Lunch Box Ideas is balance. You want to combine protein (like chicken or eggs), fiber (fruits and veggies), and carbs (bread or crackers) so kids stay full and focused throughout the school day.
You don’t need expensive ingredients—simple, fresh foods work best. Even small changes like swapping white bread for whole grain or adding fresh fruit can make lunches healthier without adding extra effort.
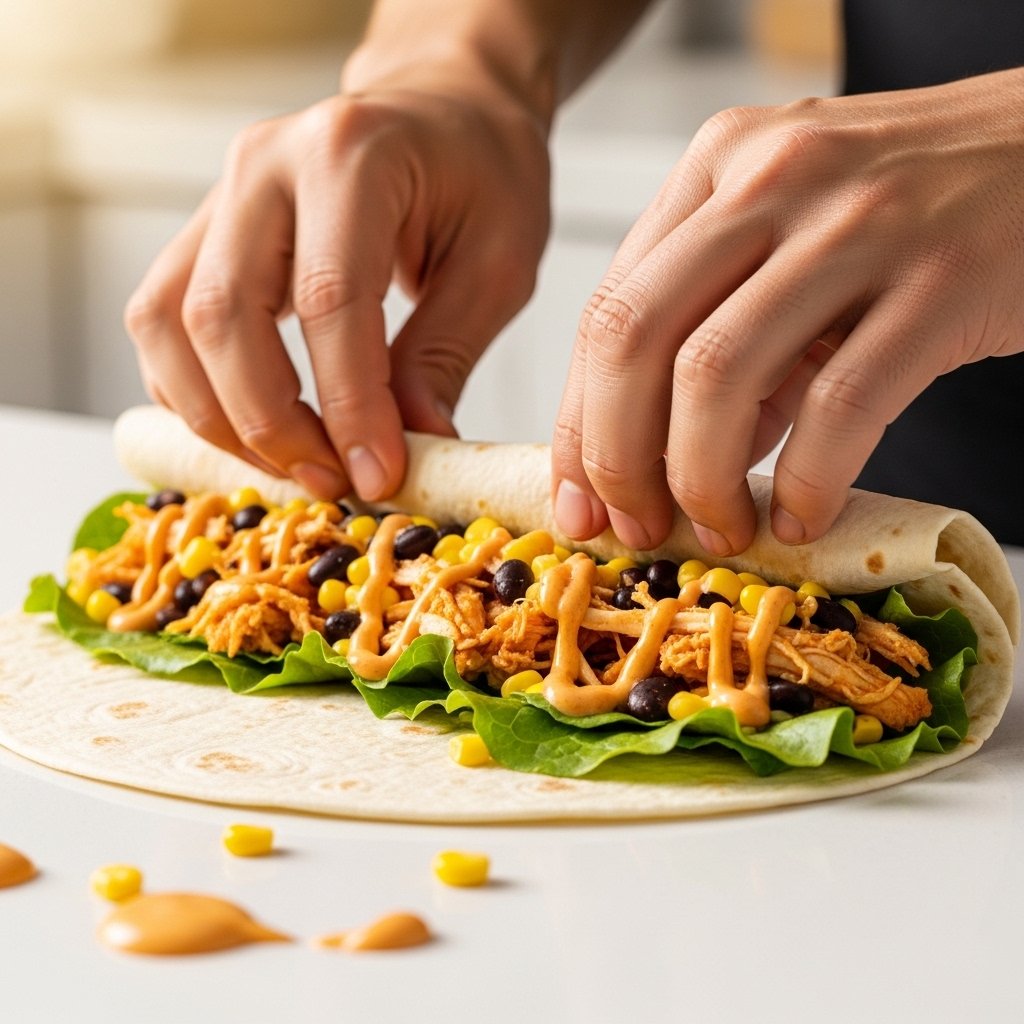
Step-by-Step Instructions
1. Choose a Protein
Start with something filling like chicken, turkey, eggs, or cheese.
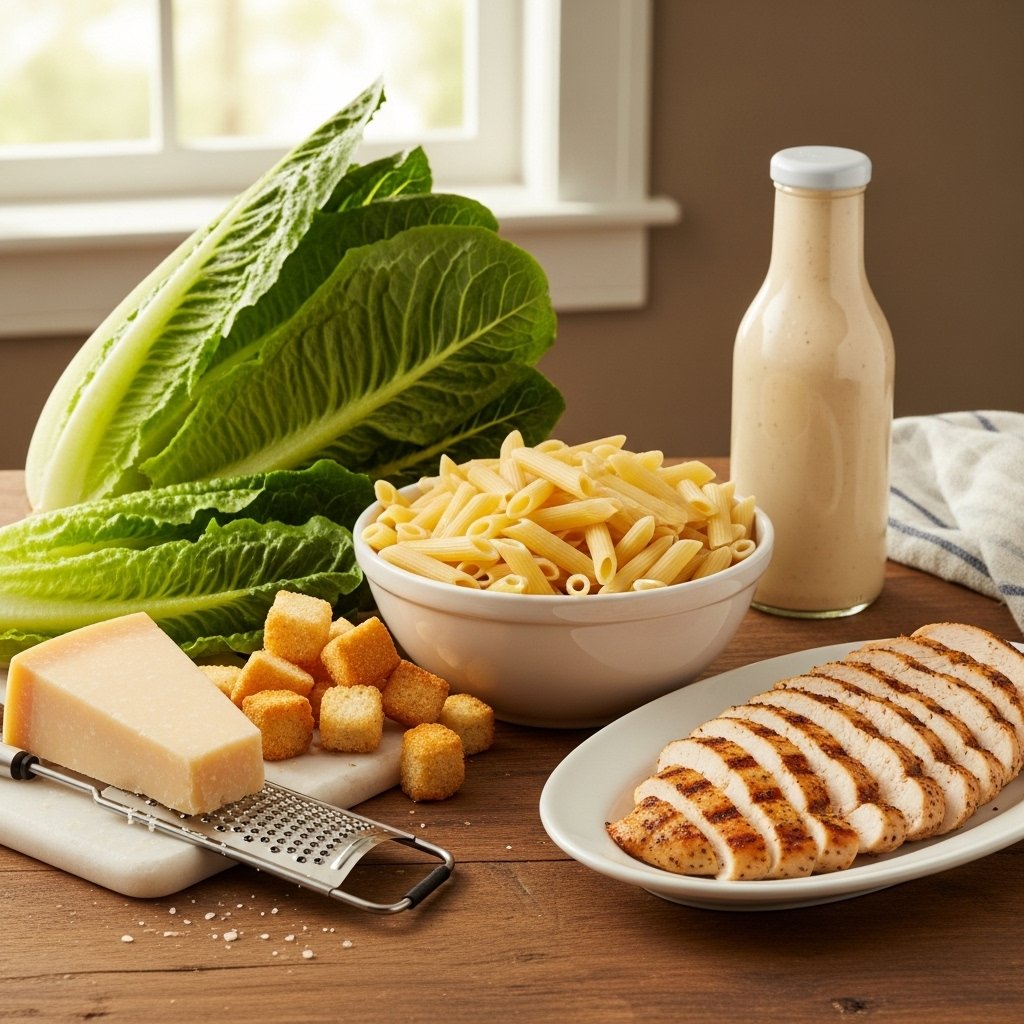
2. Add a Carbohydrate
Include bread, wraps, crackers, or pasta salad for energy.
3. Include Fruits and Vegetables
Add at least one fruit and one veggie for balance.
4. Add a Fun Snack
Include something enjoyable like granola bars, popcorn, or yogurt.
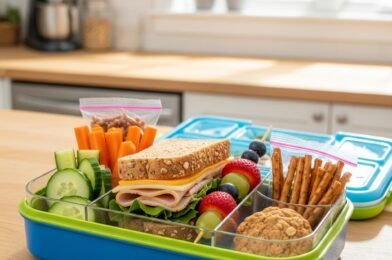
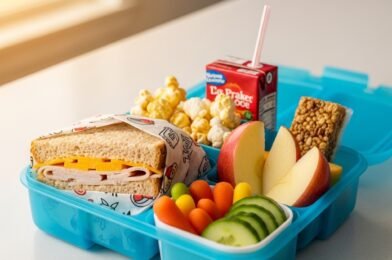
5. Pack Smartly
Use divided lunch containers to keep foods fresh and separated.
Tips for Perfect Results
To make your Quick & Easy Middle School Lunch Box Ideas even better, follow these tips:
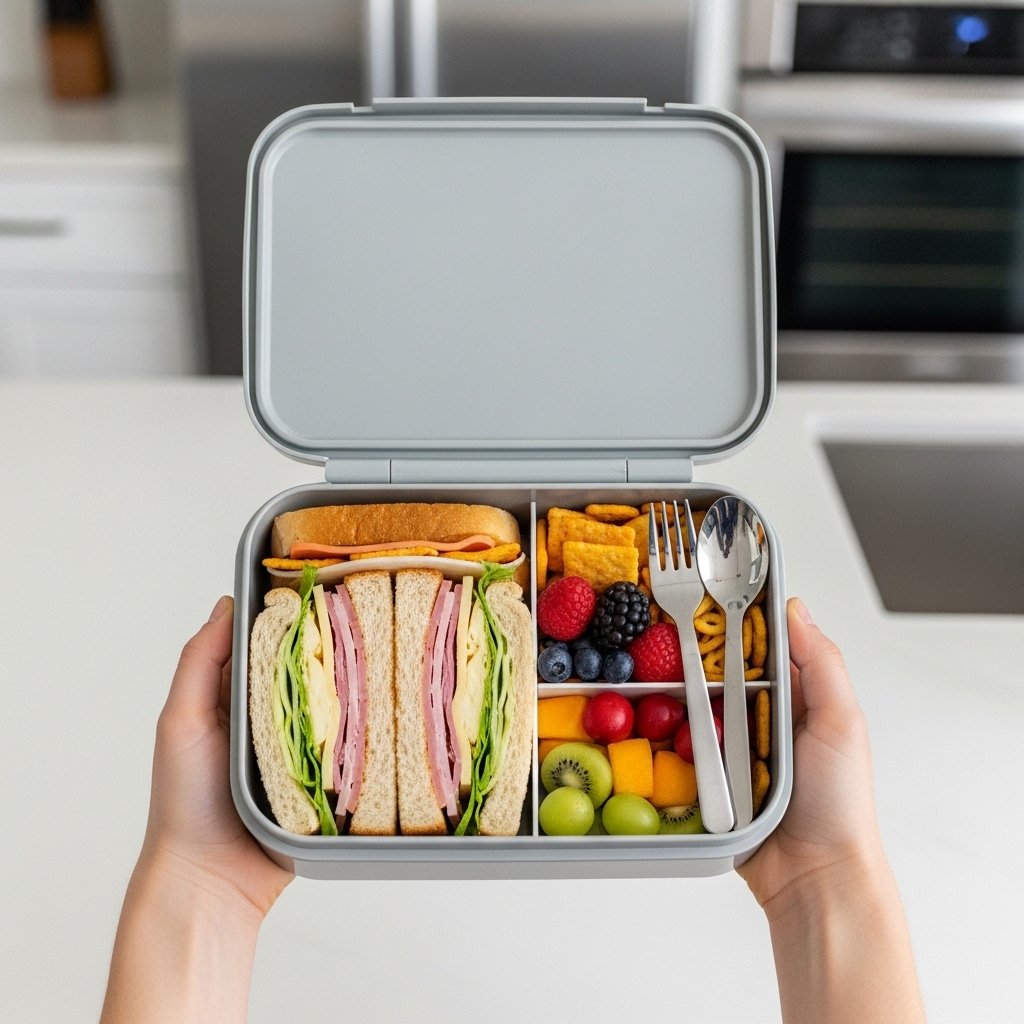
- Prep ingredients the night before to save time
- Use bento-style boxes for variety and portion control
- Keep wet and dry foods separate to avoid sogginess
- Freeze juice boxes or water bottles as ice packs
- Rotate ingredients weekly to avoid lunch boredom
These small habits make lunch packing smoother and more efficient.
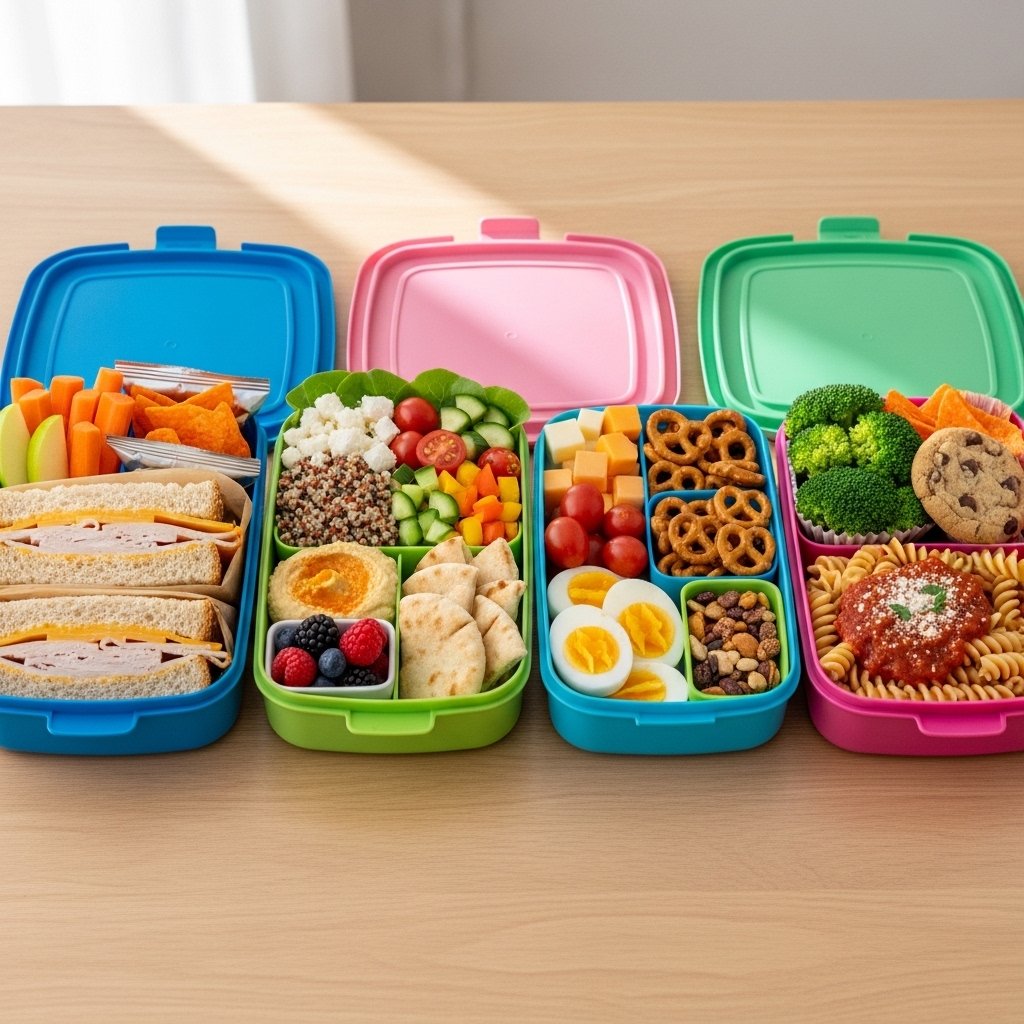
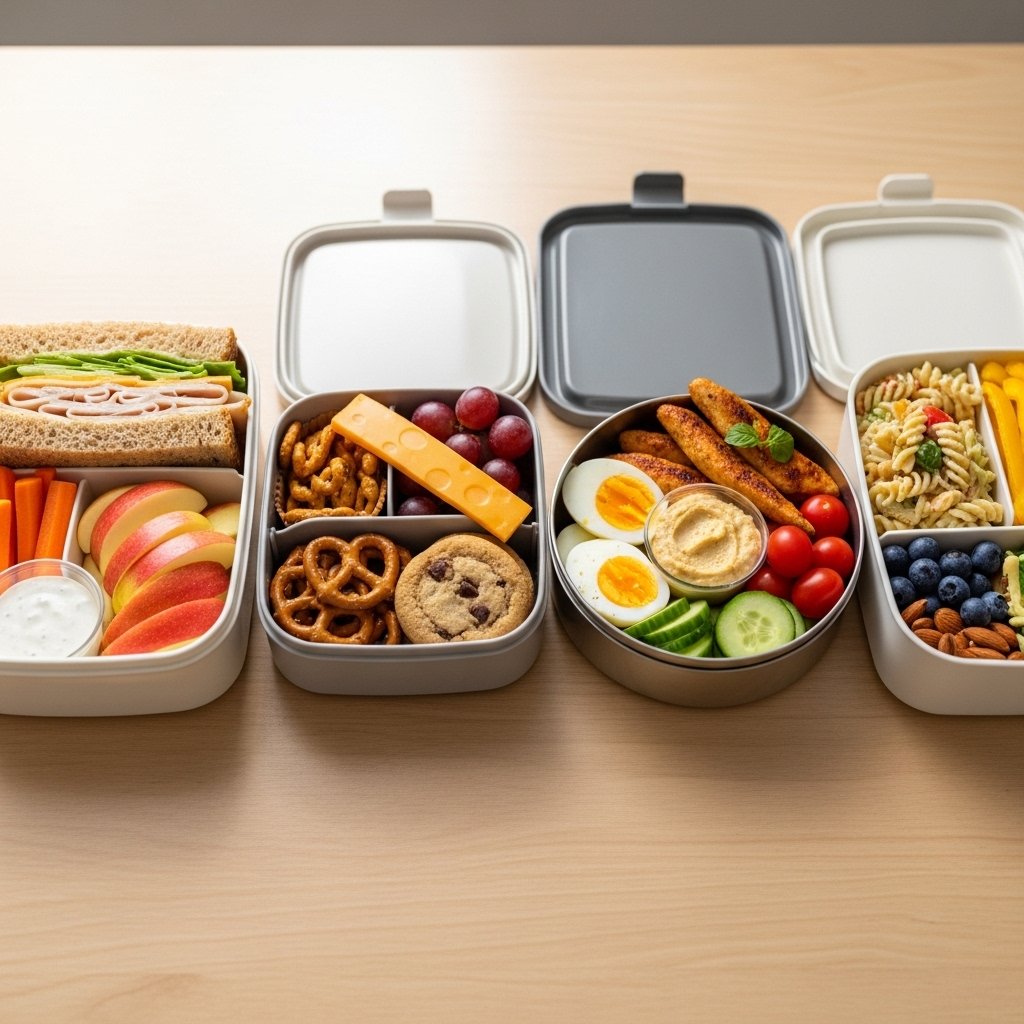
Variations
You can easily customize these Quick & Easy Middle School Lunch Box Ideas based on your child’s preferences:
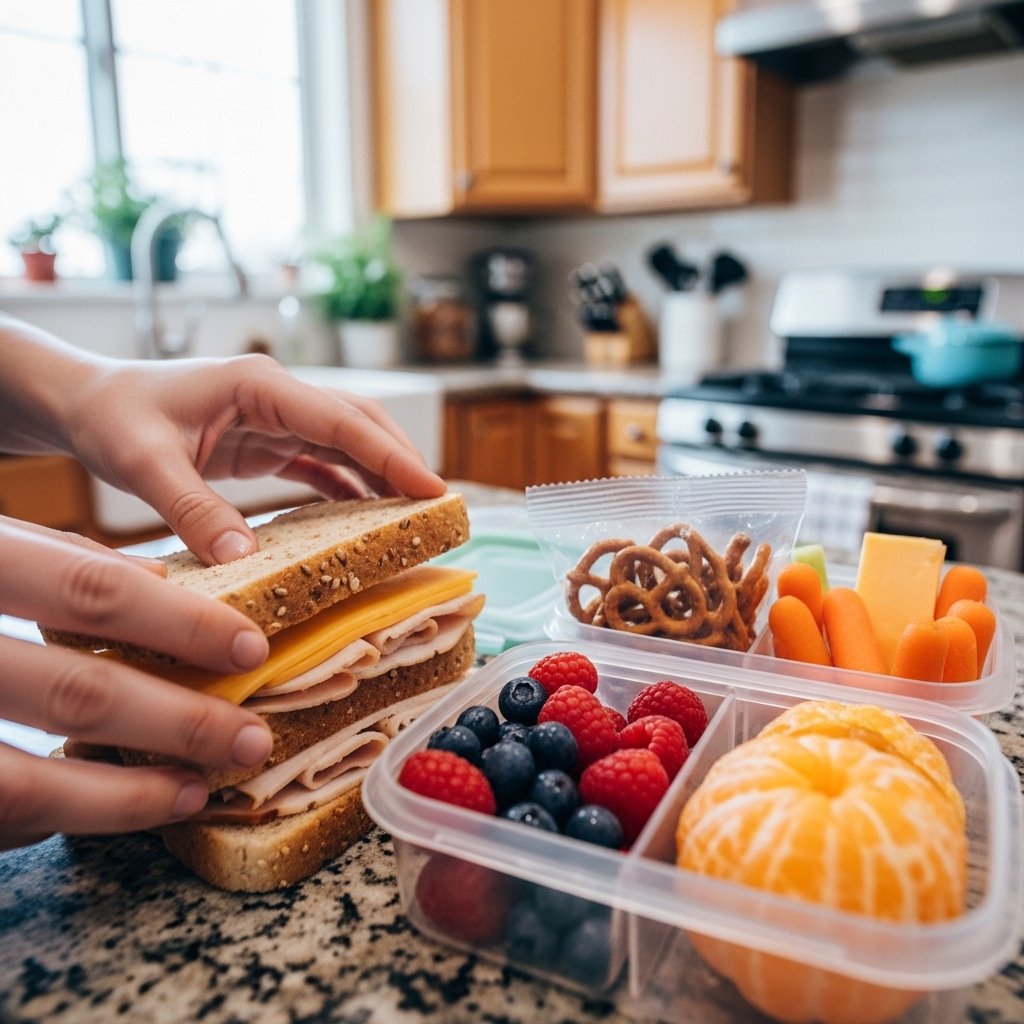
Sandwich Box
Classic turkey or ham sandwich with fruit and veggies.
Snack Box
Cheese, crackers, fruit, nuts, and yogurt.
Protein Box
Hard-boiled eggs, chicken strips, hummus, and veggies.
Vegetarian Box
Hummus wrap, fruits, veggies, and granola bar.
What to Serve With It
These Quick & Easy Middle School Lunch Box Ideas pair well with:
- Water or fruit-infused water
- Milk or plant-based milk
- Fresh smoothies
- Homemade muffins or baked snacks
- Light soups in thermos containers
These extras help create a balanced and satisfying lunch.
Storage & Reheating
Most lunch box items are best eaten cold or at room temperature. Store prepped ingredients in airtight containers in the fridge for up to 3–4 days.
If you include warm items like pasta or chicken, use insulated containers to keep food safe and warm until lunchtime.
Common Mistakes
Avoid these common mistakes when preparing Quick & Easy Middle School Lunch Box Ideas:
- Overpacking too much food
- Forgetting variety (same lunch every day)
- Packing wet foods without containers
- Not using ice packs for perishables
A little planning goes a long way in keeping lunches fresh and enjoyable.
FAQs
What are the easiest middle school lunch box ideas?
Simple sandwiches, fruit, veggie sticks, and snack combos are the easiest options.
How can I keep lunch fresh until lunchtime?
Use insulated lunch bags and ice packs to maintain temperature.
Can I prep lunch boxes ahead of time?
Yes, you can prep ingredients 2–3 days in advance for faster mornings.
What if my child is a picky eater?
Start with familiar foods and slowly introduce new items alongside favorites.
Final Thoughts
These Quick & Easy Middle School Lunch Box Ideas are all about making life easier for parents while keeping kids happy and well-fed. With a little planning and simple ingredients, you can create lunches that are balanced, fun, and stress-free.
Whether you’re packing for one child or multiple, these ideas will help you stay organized and confident every school morning.