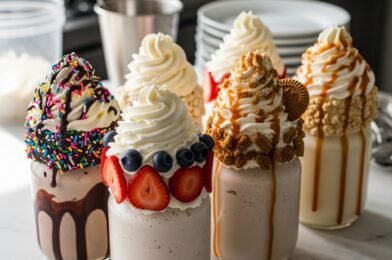
There’s something undeniably comforting about a thick, creamy milkshake. Whether you’re cooling off on a hot day or craving a late-night dessert, these irresistible milkshake recipes | Oreo milkshake, Snickers milkshake, chocolate milkshake & more are guaranteed to hit the spot.
From classic chocolate to indulgent candy-inspired creations, this guide is packed with flavor-packed ideas that are easy to make at home. With just a few ingredients and a blender, you can whip up café-quality milkshakes that are rich, satisfying, and completely customizable.

Why You’ll Love These Irresistible Milkshake Recipes
These irresistible milkshake recipes | Oreo milkshake, Snickers milkshake, chocolate milkshake & more are designed to be quick, delicious, and fun.
- Ready in under 10 minutes
- Perfect for dessert or sweet cravings
- Easily customizable flavors
- Kid-friendly and crowd-pleasing
- Made with simple ingredients
Once you try these, store-bought milkshakes just won’t compare.
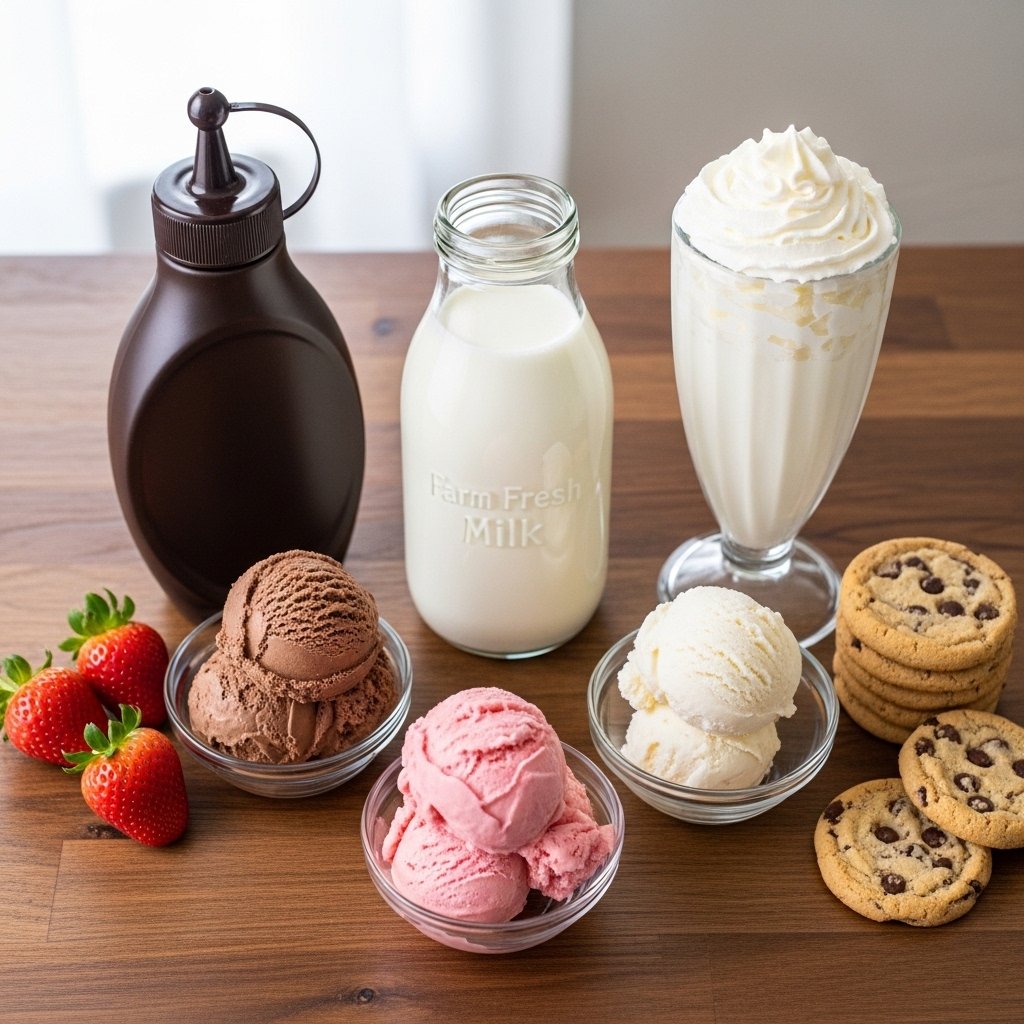
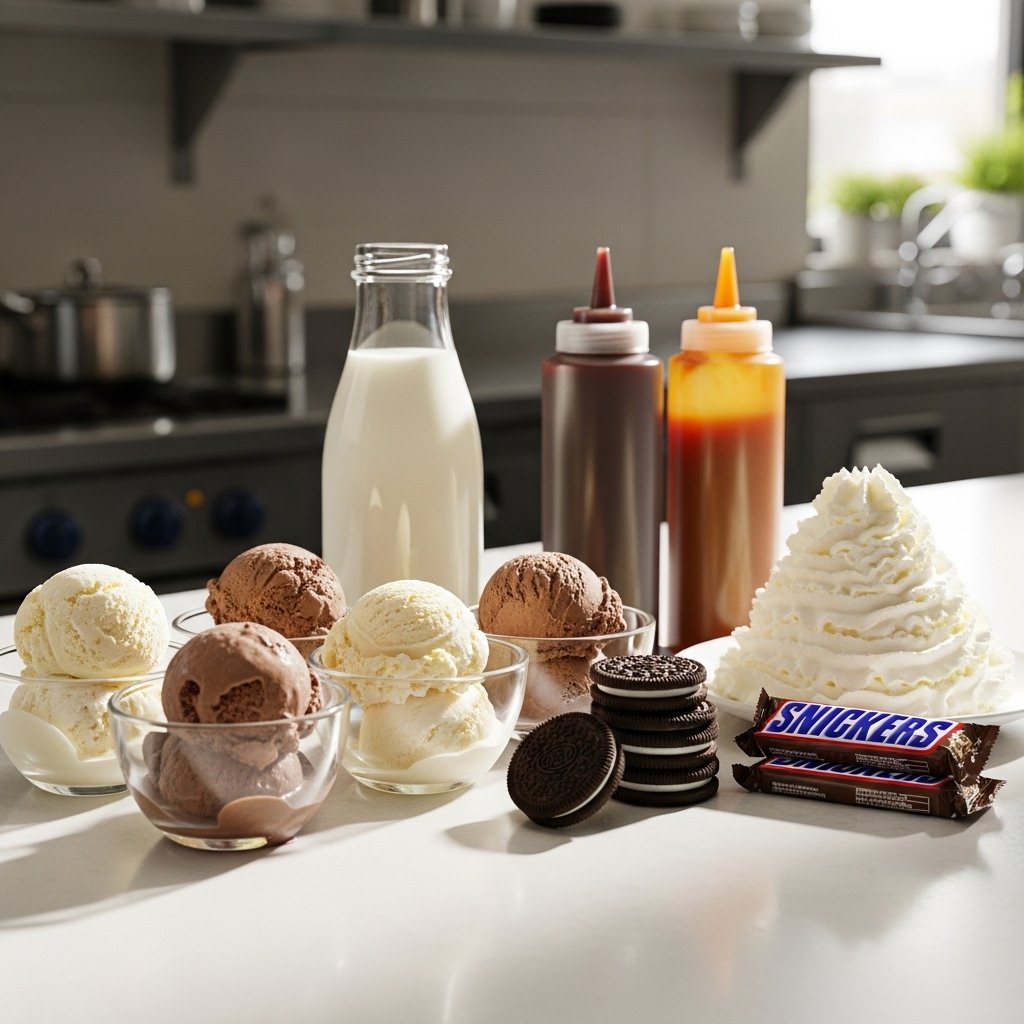
Essential Ingredients
To create the best irresistible milkshake recipes, you’ll need:
- Ice cream (vanilla or chocolate base)
- Milk (whole or plant-based)
- Flavor add-ins (cookies, candy bars, syrups)
- Whipped cream for topping
- Optional garnishes (chocolate drizzle, crushed cookies)
Ingredient Notes
The key to perfect irresistible milkshake recipes is balance. Use high-quality ice cream for a rich base, and adjust the milk to control thickness. For extra indulgence, freeze your candy bars slightly before blending—they’ll create a thicker, creamier texture.
You can also swap ingredients for dietary preferences, like using dairy-free ice cream or sugar-free syrups.
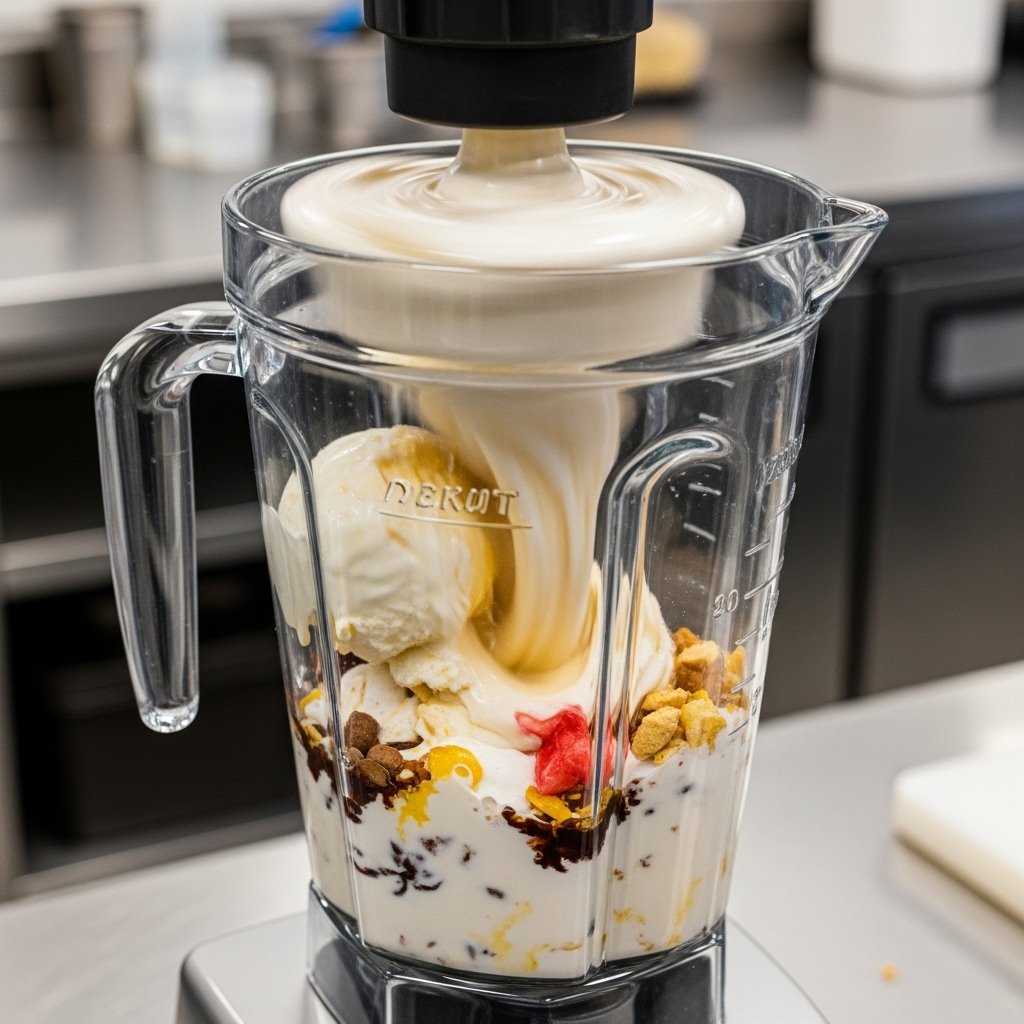
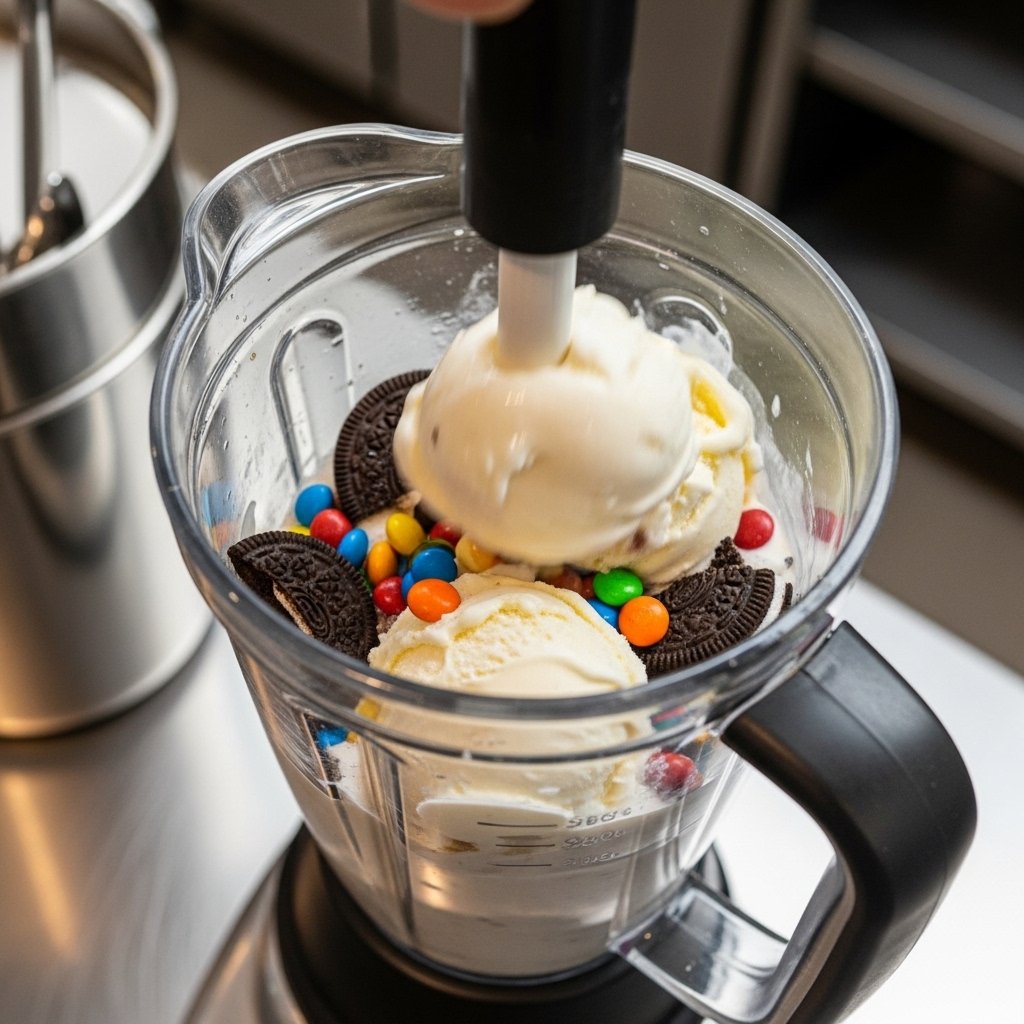
Step-by-Step Instructions
1. Add Base Ingredients
Start by adding ice cream and milk to your blender. A typical ratio is 2 cups of ice cream to ½ cup of milk.
2. Add Flavor Mix-Ins
Add your chosen flavor—Oreo cookies, chopped Snickers, or chocolate syrup.
3. Blend Until Smooth
Blend until thick and creamy. Avoid over-blending to maintain a rich texture.
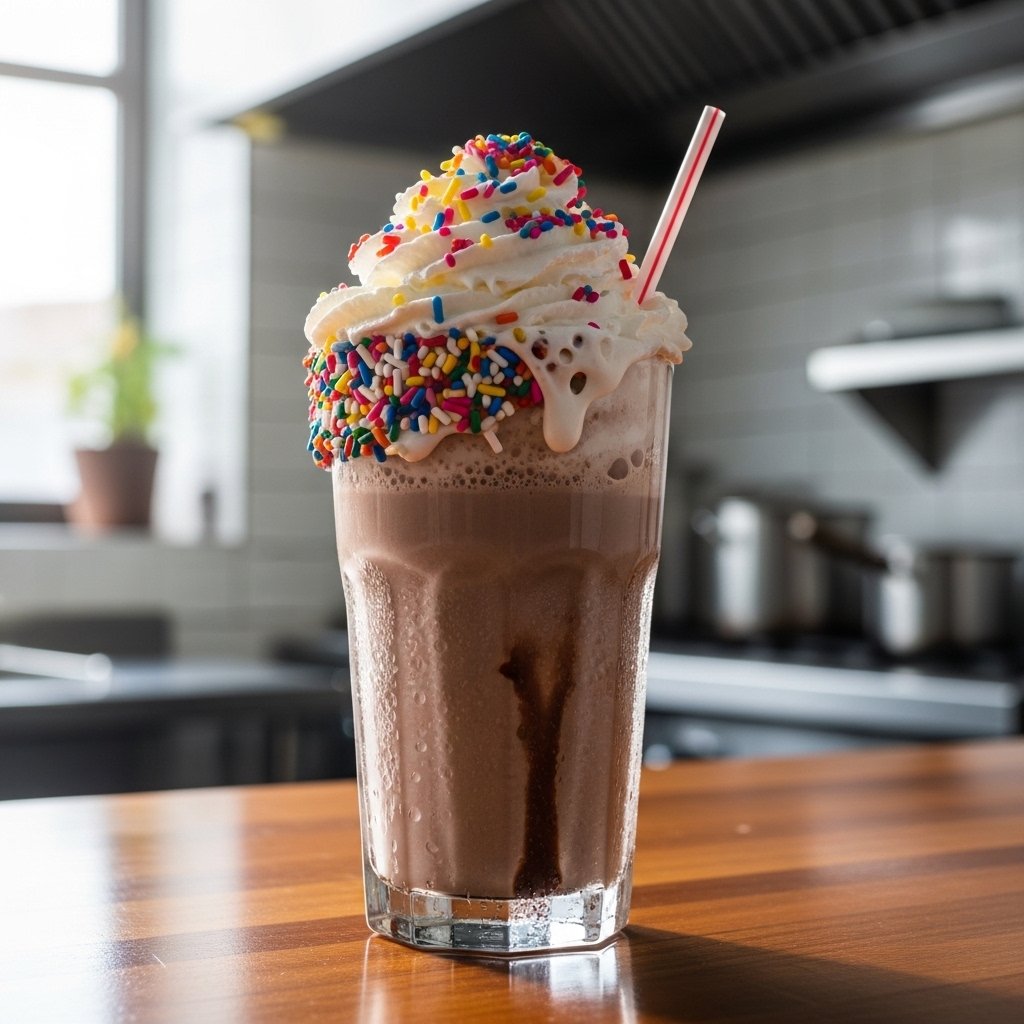
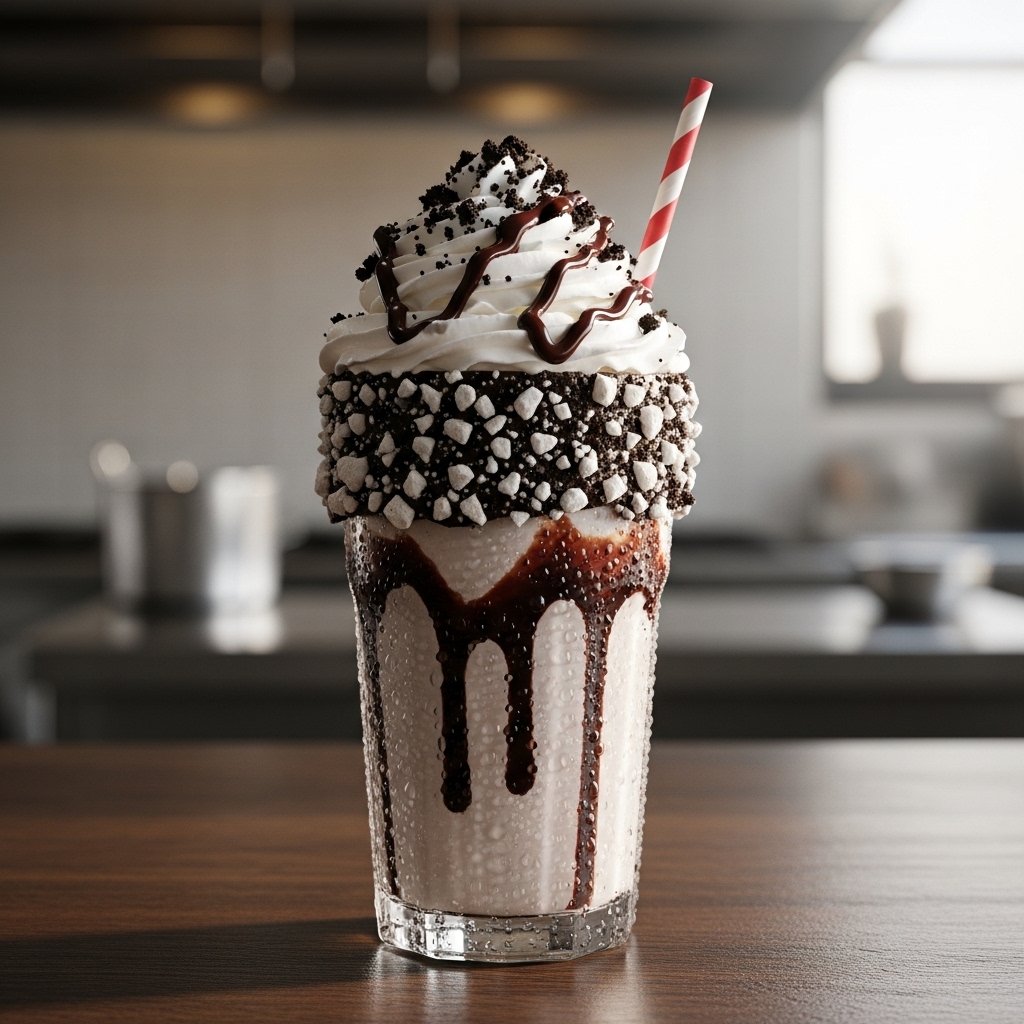
4. Serve and Garnish
Pour into a tall glass and top with whipped cream, crushed toppings, or drizzle.
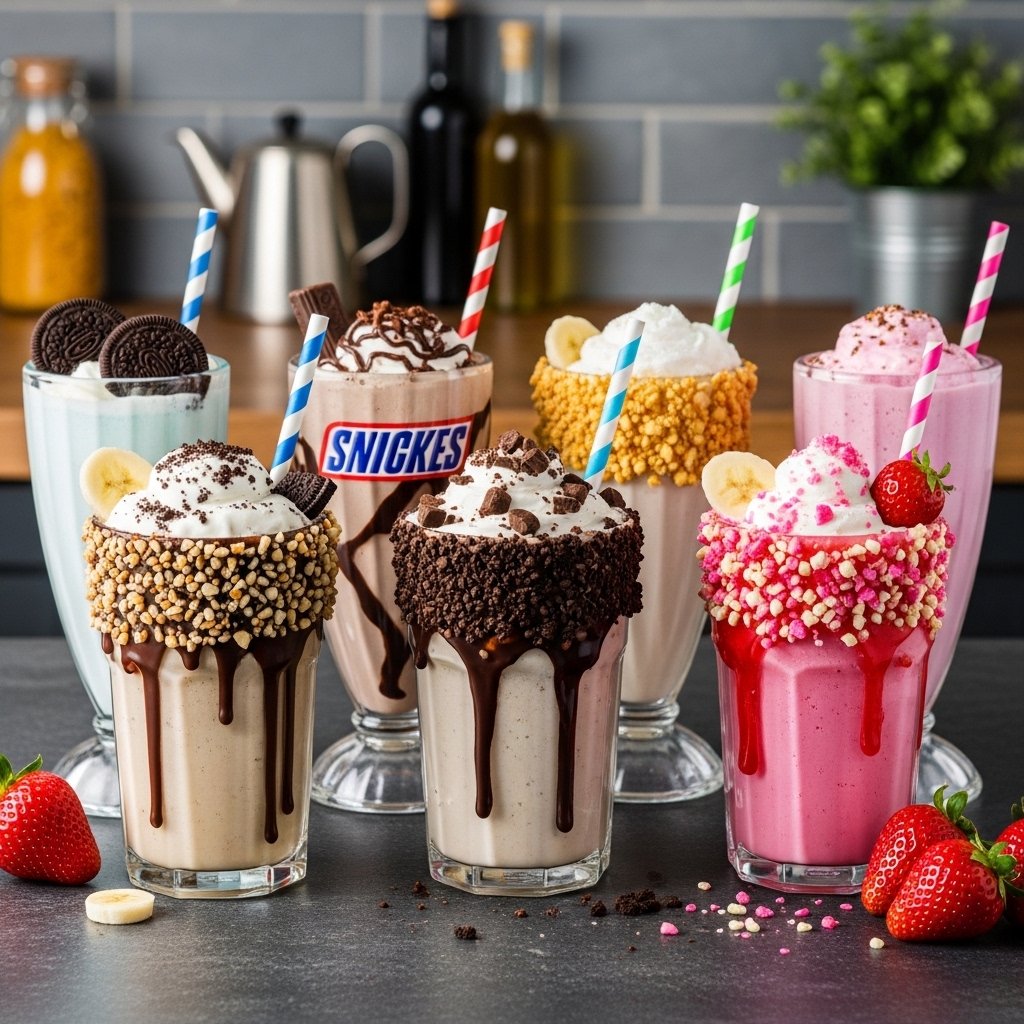
Popular Milkshake Recipes to Try
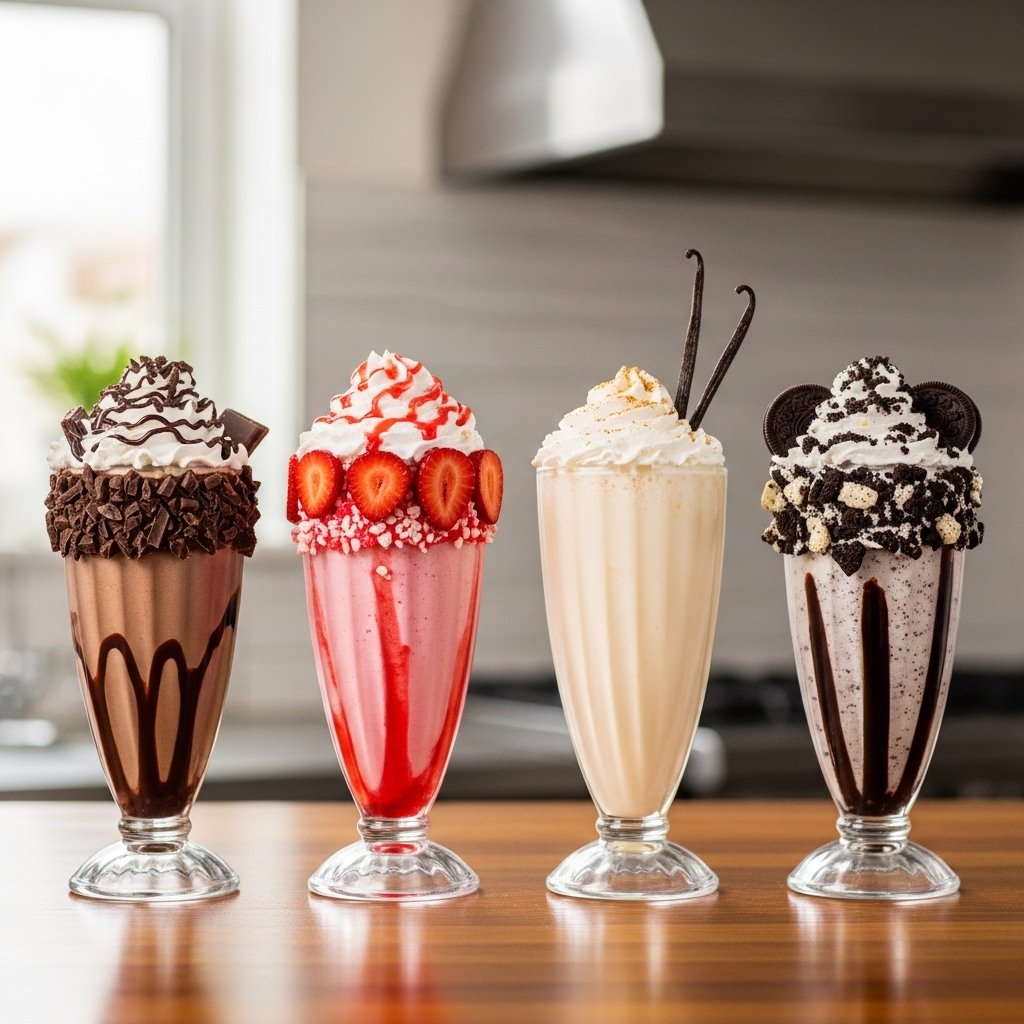
Oreo Milkshake
A creamy blend of vanilla ice cream and crushed Oreo cookies, topped with whipped cream and cookie crumbles.
Snickers Milkshake
Rich and indulgent, made with chocolate ice cream, caramel, peanuts, and chopped Snickers bars.
Chocolate Milkshake
A classic favorite with deep chocolate flavor, perfect for any occasion.
More Delicious Ideas
- Peanut butter chocolate milkshake
- Strawberry cheesecake milkshake
- Banana caramel milkshake
- Coffee milkshake
Tips for Perfect Milkshakes
To master these irresistible milkshake recipes, keep these tips in mind:
- Use chilled glasses for better presentation
- Don’t add too much milk
- Blend just until smooth
- Add toppings right before serving
These small steps make a big difference in taste and texture.
What to Serve With Milkshakes
Milkshakes pair perfectly with:
- Burgers and fries
- Cookies and brownies
- Pancakes or waffles
- Light snacks like popcorn
They can easily turn into a full dessert or treat experience.
Storage & Reheating Tips
Milkshakes are best enjoyed fresh, but if needed:
- Store in the freezer for up to 1 day
- Re-blend before serving
- Avoid letting them sit at room temperature

Common Mistakes to Avoid
Avoid these mistakes when making irresistible milkshake recipes:
- Over-blending
- Adding too much liquid
- Using low-quality ingredients
- Skipping toppings
Keeping it simple ensures the best results.
FAQs
Can I make milkshakes without a blender?
Yes, you can mix softened ice cream and milk by hand, but a blender gives the best texture.
How do I make a thicker milkshake?
Use more ice cream and less milk.
Are these milkshakes customizable?
Absolutely! You can mix and match flavors endlessly.
Can I make dairy-free versions?
Yes, use plant-based milk and dairy-free ice cream.
Final Thoughts
These irresistible milkshake recipes | Oreo milkshake, Snickers milkshake, chocolate milkshake & more are the ultimate way to satisfy your sweet tooth. They’re quick, easy, and endlessly customizable, making them perfect for any occasion.
Whether you stick to classics or experiment with bold new flavors, these milkshakes are guaranteed to impress. Treat yourself—you deserve it!