If there’s one category of comfort food that never disappoints, it’s creamy pasta recipes. Rich, satisfying, and endlessly customizable, creamy pasta dishes bring together silky sauces, tender noodles, and bold flavors in the most irresistible way.
Whether you’re cooking for a cozy weeknight dinner or impressing guests, these 15 creamy pasta recipes offer something for everyone—from classic favorites to creative twists. Get ready to fall in love with pasta all over again.
Why You’ll Love These Creamy Pasta Recipes
There’s a reason creamy pasta recipes are so popular—they’re comforting, versatile, and incredibly easy to make.
- Perfect for quick weeknight meals
- Family-friendly and crowd-pleasing
- Easy to customize with proteins and veggies
- Rich, indulgent flavors in every bite
- Great for leftovers and meal prep
These recipes are designed to simplify your cooking while delivering restaurant-quality results.
Ingredients You’ll Commonly Need
Most creamy pasta recipes rely on a few staple ingredients that create that signature smooth and velvety texture.
- Pasta (penne, fettuccine, spaghetti, or rigatoni)
- Heavy cream or half-and-half
- Butter and olive oil
- Garlic and onion
- Parmesan or other cheeses
- Proteins like chicken, shrimp, or bacon
- Vegetables like spinach, mushrooms, or broccoli
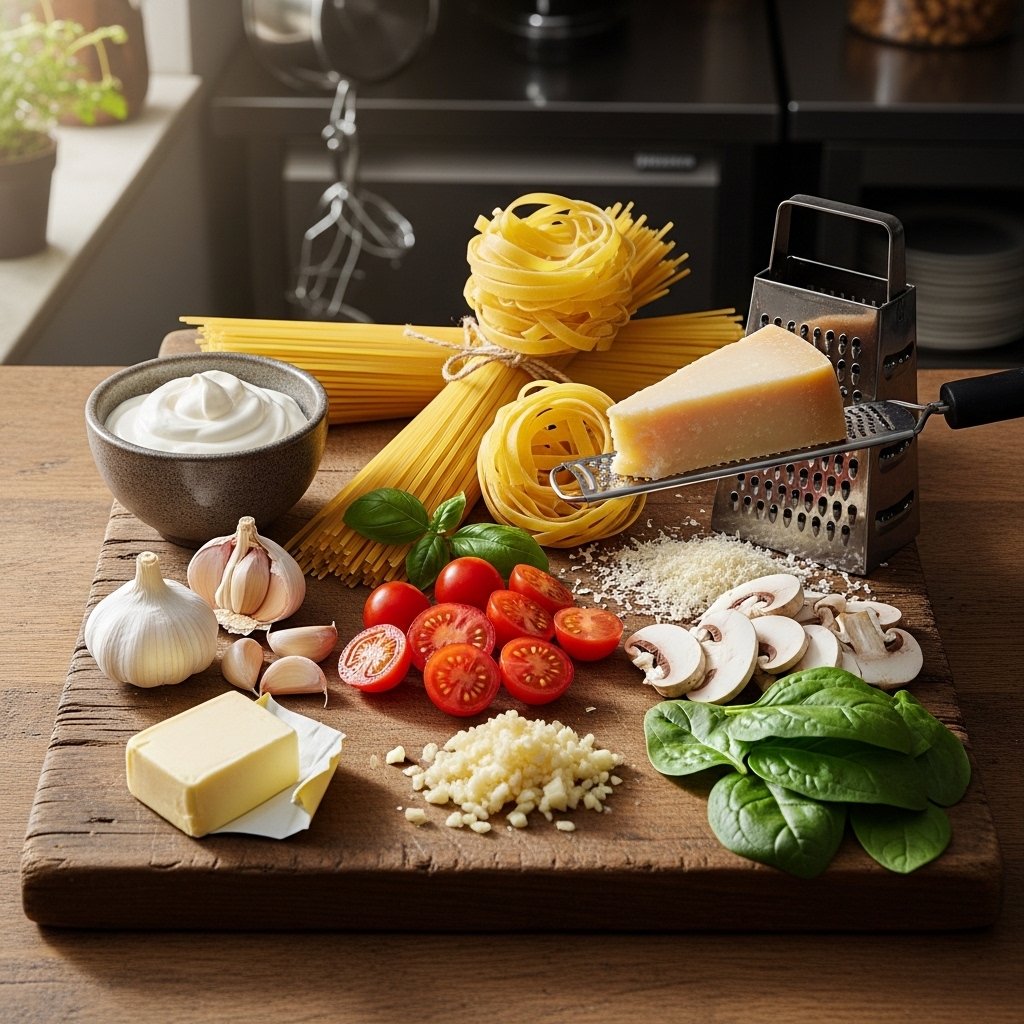
Ingredient Notes
The key to amazing creamy pasta recipes is using high-quality ingredients. Freshly grated cheese melts better and adds richer flavor, while fresh garlic and herbs elevate the entire dish.
You can also lighten things up by using milk instead of cream or adding more vegetables for balance without sacrificing flavor.
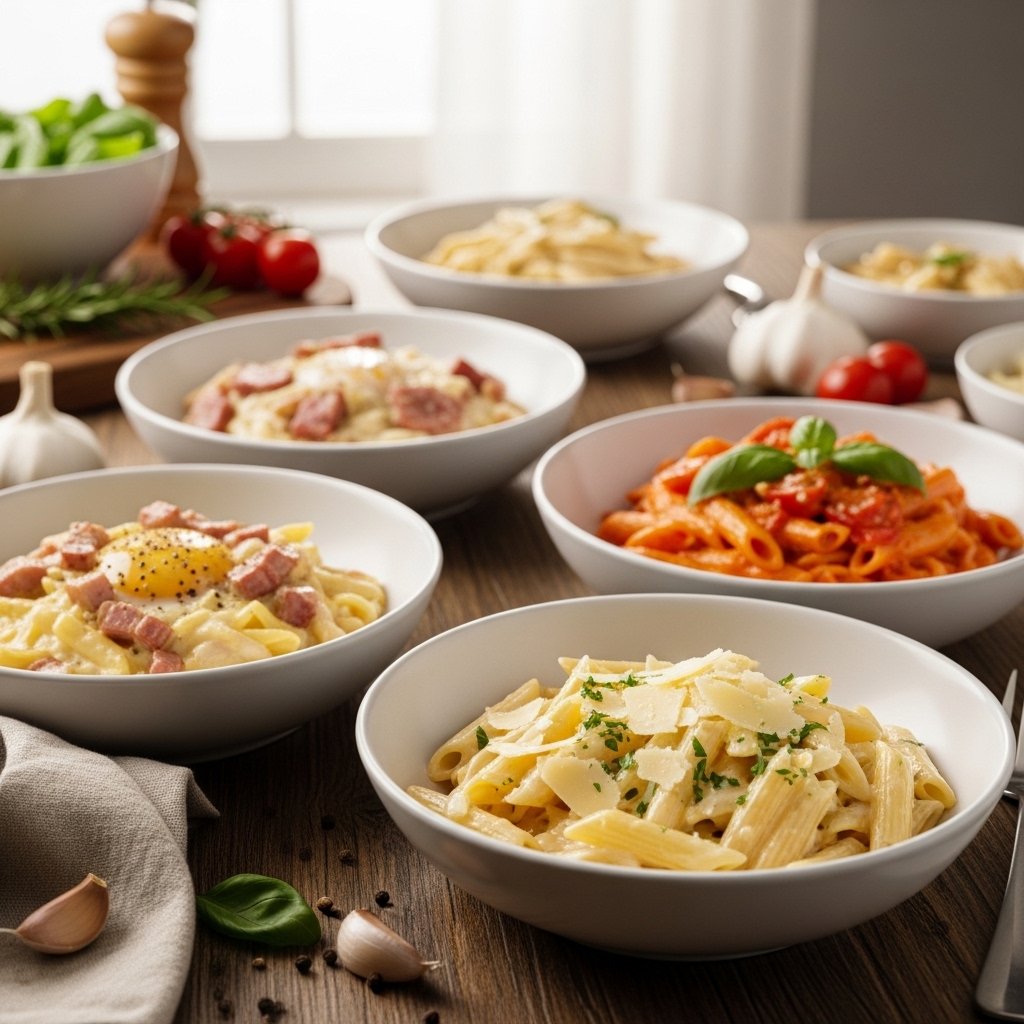
15 Creamy Pasta Recipes to Try
Here are some of the best creamy pasta recipes to add to your meal rotation:
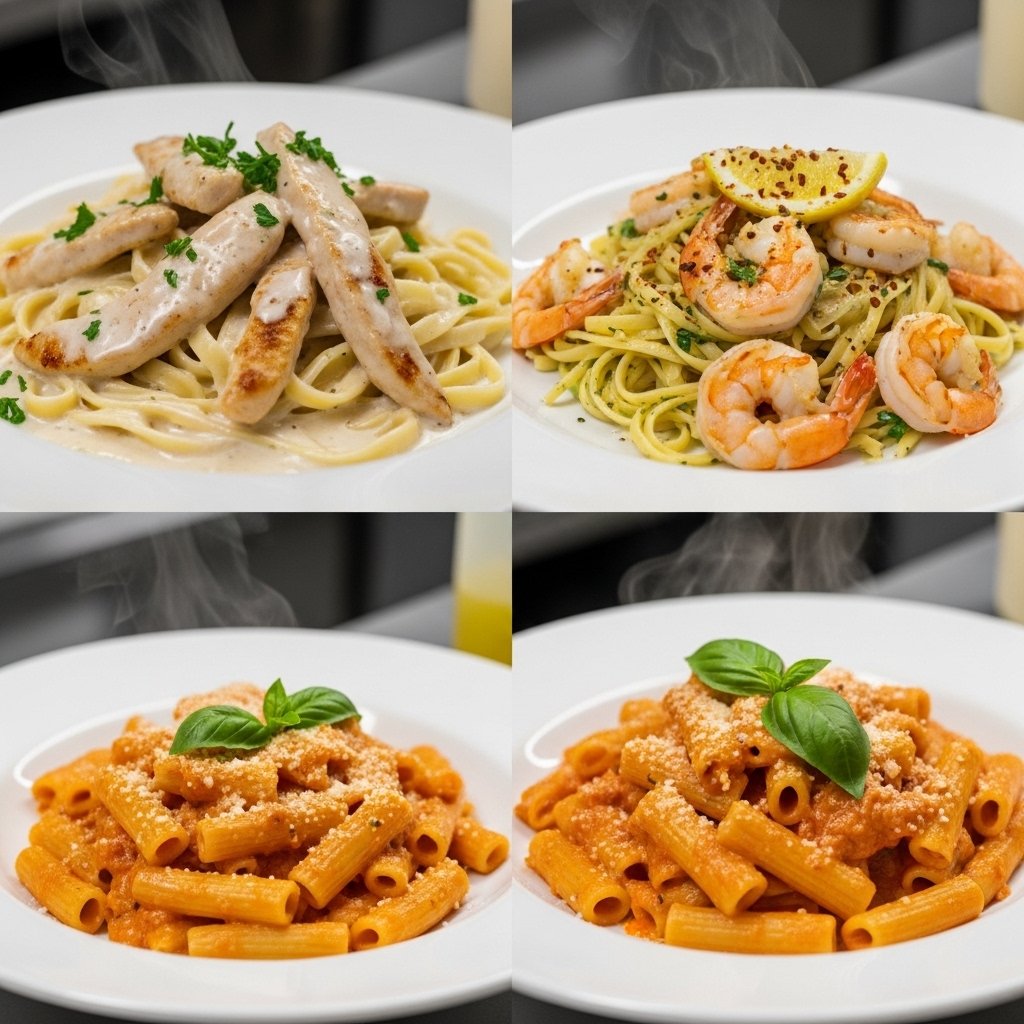
1. Classic Chicken Alfredo
A timeless favorite with tender chicken and rich Alfredo sauce.
2. Creamy Garlic Shrimp Pasta
Loaded with juicy shrimp and a buttery garlic cream sauce.
3. Creamy Tomato Basil Pasta
A comforting blend of tangy tomatoes and smooth cream.
4. Spinach Artichoke Pasta
Inspired by the classic dip, but even more satisfying.
5. Bacon Carbonara
Savory, creamy, and packed with smoky flavor.
6. Mushroom Cream Pasta
Earthy mushrooms in a luscious sauce.
7. Cajun Chicken Pasta
Spicy, creamy, and full of bold flavor.
8. Creamy Pesto Pasta
Fresh basil pesto meets creamy goodness.
9. Broccoli Cheddar Pasta
A cheesy, veggie-packed comfort dish.
10. Creamy Tuscan Chicken Pasta
Sun-dried tomatoes, spinach, and a rich sauce.
11. Lemon Cream Pasta
Bright and refreshing with a citrus twist.
12. Creamy Sausage Pasta
Hearty and full of flavor.
13. Garlic Parmesan Pasta
Simple yet incredibly delicious.
14. Creamy Lobster Pasta
Perfect for special occasions.
15. Vegan Creamy Pasta
Dairy-free but still rich and satisfying.
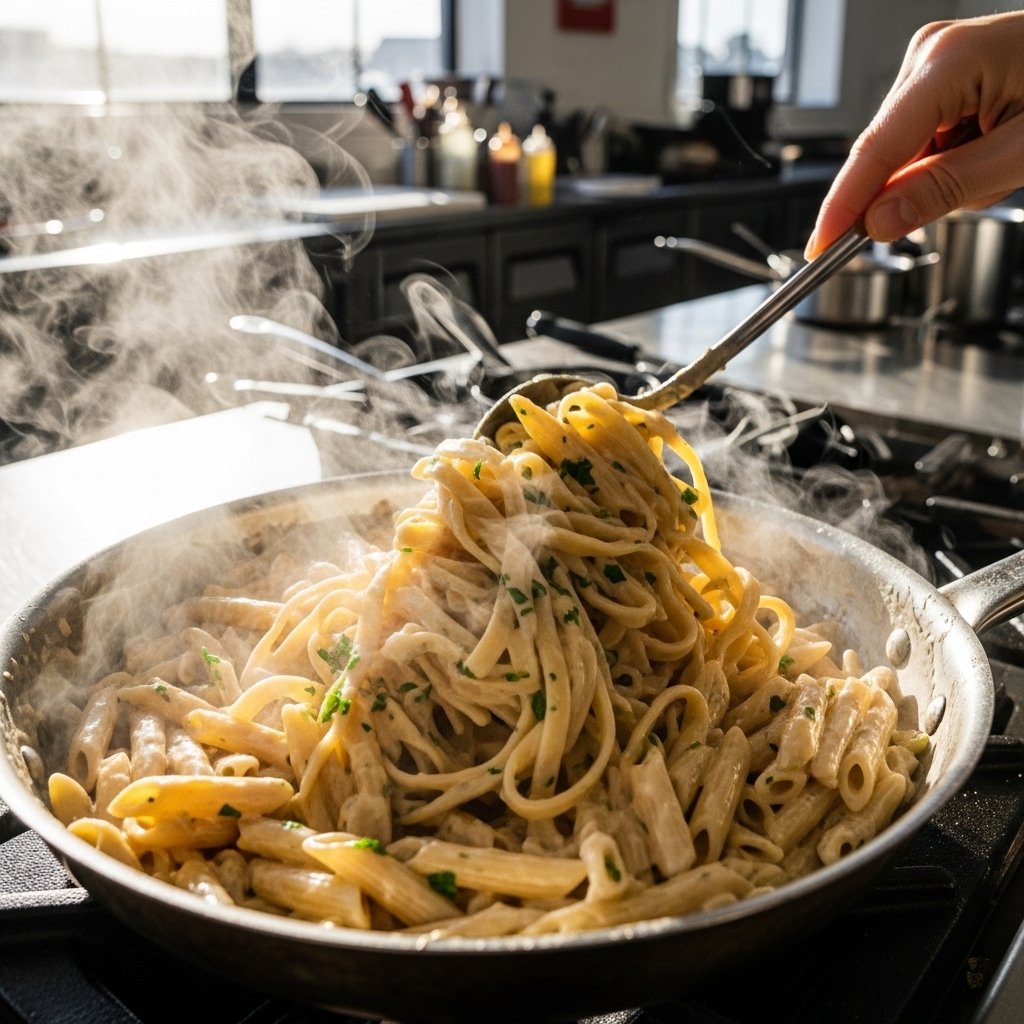
Step-by-Step Basic Creamy Pasta Method
1. Cook the Pasta
Boil salted water and cook pasta until al dente.
2. Prepare the Sauce
Sauté garlic in butter, then add cream and simmer.
3. Add Cheese
Stir in cheese until melted and smooth.
4. Combine
Add pasta and toss until fully coated.
Tips for Perfect Creamy Pasta
To master creamy pasta recipes, keep these tips in mind:
- Reserve pasta water to adjust sauce consistency
- Don’t overcook the pasta
- Add cheese gradually to avoid clumping
- Season well with salt and pepper
These small details make a big difference in the final dish.
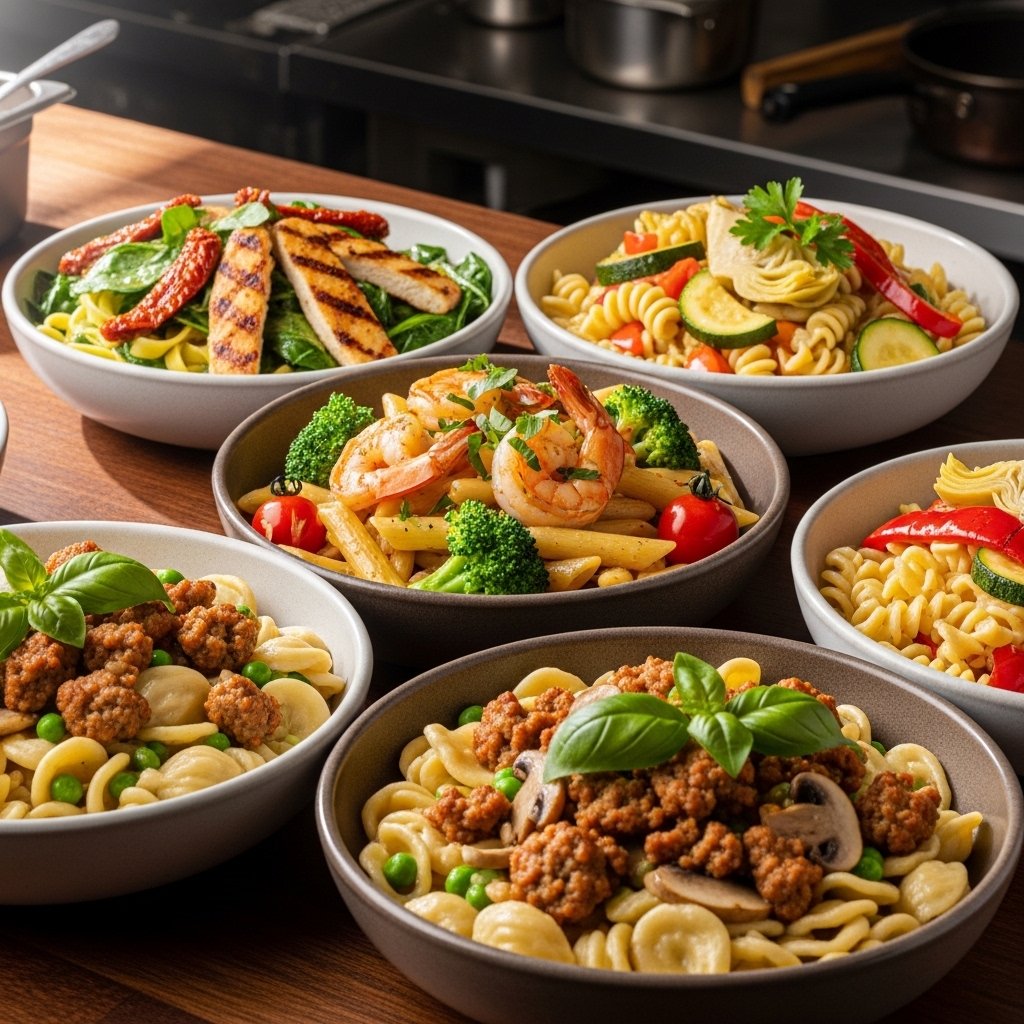
Variations and Customizations
One of the best things about creamy pasta recipes is how adaptable they are.
- Swap proteins like chicken, shrimp, or tofu
- Add seasonal vegetables
- Use gluten-free pasta if needed
- Experiment with different cheeses
What to Serve With Creamy Pasta
Pair your creamy pasta recipes with:
- Garlic bread or crusty bread
- Fresh green salads
- Roasted vegetables
- Light soups
These sides balance the richness of the pasta beautifully.
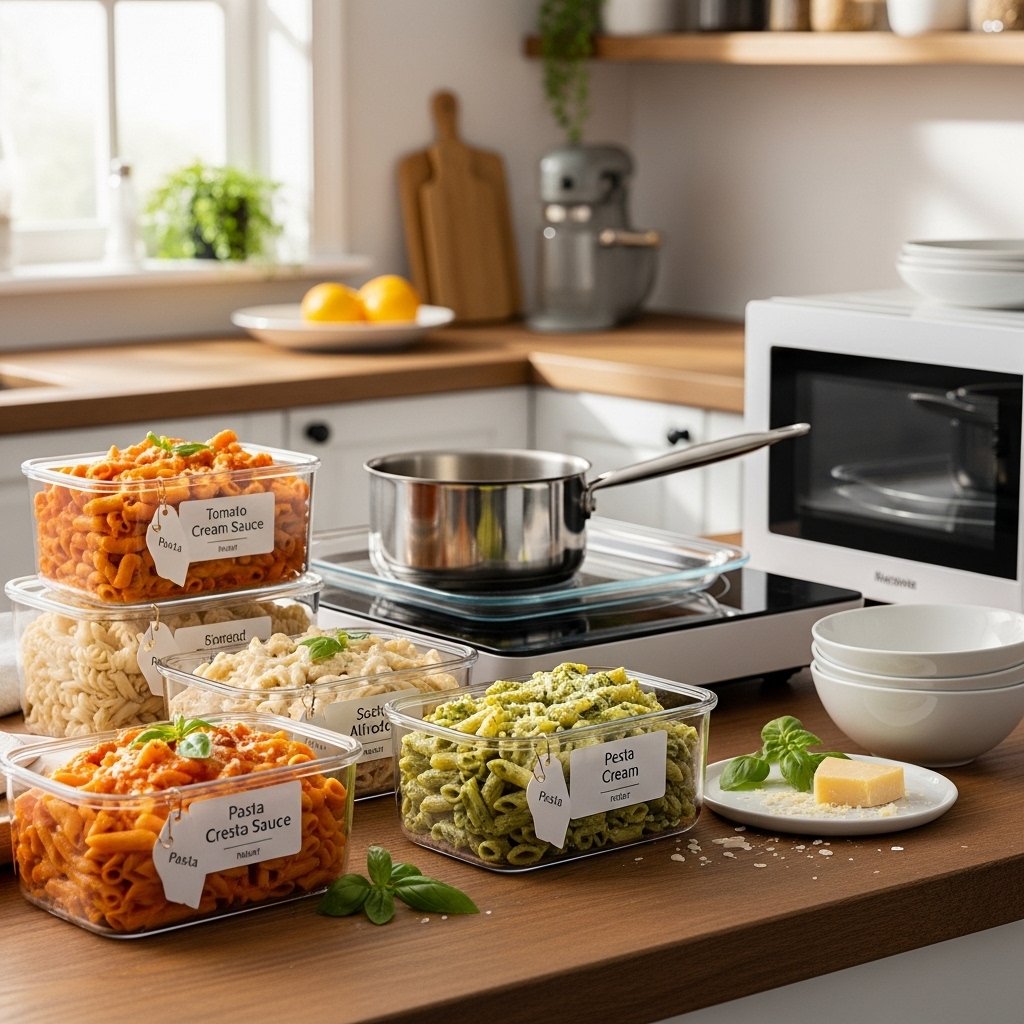
Storage & Reheating Tips
To store your creamy pasta recipes:
- Refrigerate in an airtight container for up to 3 days
- Reheat gently with a splash of milk or cream
- Avoid overheating to prevent separation
Common Mistakes to Avoid
Avoid these pitfalls:
- Using too much cream without balancing flavors
- Skipping seasoning
- Overheating the sauce
- Not mixing pasta with sauce immediately
Keeping these in mind ensures perfect results every time.
FAQs
What pasta works best for creamy sauces?
Short pasta like penne or long pasta like fettuccine both work great.
Can I make creamy pasta without cream?
Yes, use milk, yogurt, or plant-based alternatives.
How do I prevent the sauce from curdling?
Cook on low heat and avoid boiling after adding cream.
Can I freeze creamy pasta?
It’s not recommended, as the texture may change.
Final Thoughts
These 15 creamy pasta recipes are proof that comfort food can be both simple and incredibly satisfying. With endless variations and easy techniques, you’ll never run out of delicious ideas.
Whether you stick to classics or try something new, creamy pasta is always a winning choice. Grab your favorite ingredients, get cooking, and enjoy every rich, flavorful bite!