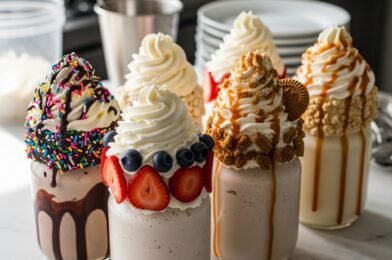
If you’re looking for refreshing, healthy, and easy-to-make drinks, these smoothie recipes – fruit smoothie, tropical smoothie sunrise sunset & more are exactly what you need. Smoothies are one of the simplest ways to enjoy fresh fruits, boost your energy, and stay hydrated—all while treating yourself to something delicious.
From classic fruit smoothies to vibrant tropical blends like the popular sunrise sunset style, this guide will walk you through everything you need to know. Whether you’re a beginner or already love smoothies, these recipes are designed to be approachable, customizable, and incredibly satisfying.

Why You’ll Love These Smoothie Recipes
These smoothie recipes – fruit smoothie, tropical smoothie sunrise sunset & more are perfect for any lifestyle.
- Quick and easy to prepare
- Packed with vitamins and nutrients
- Naturally sweet and refreshing
- Perfect for breakfast, snacks, or post-workout
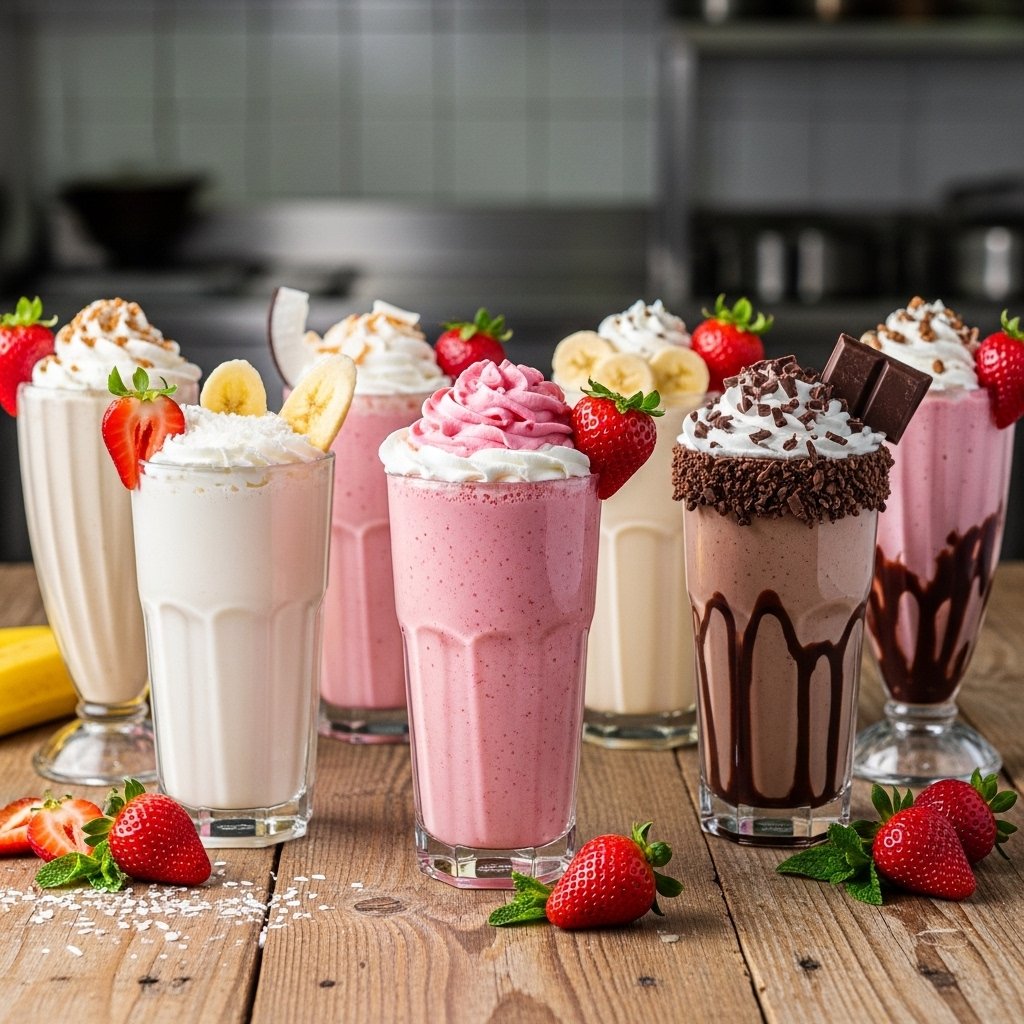
- Endless combinations and flavors
Once you start making your own smoothies, it’s hard to go back to store-bought versions.
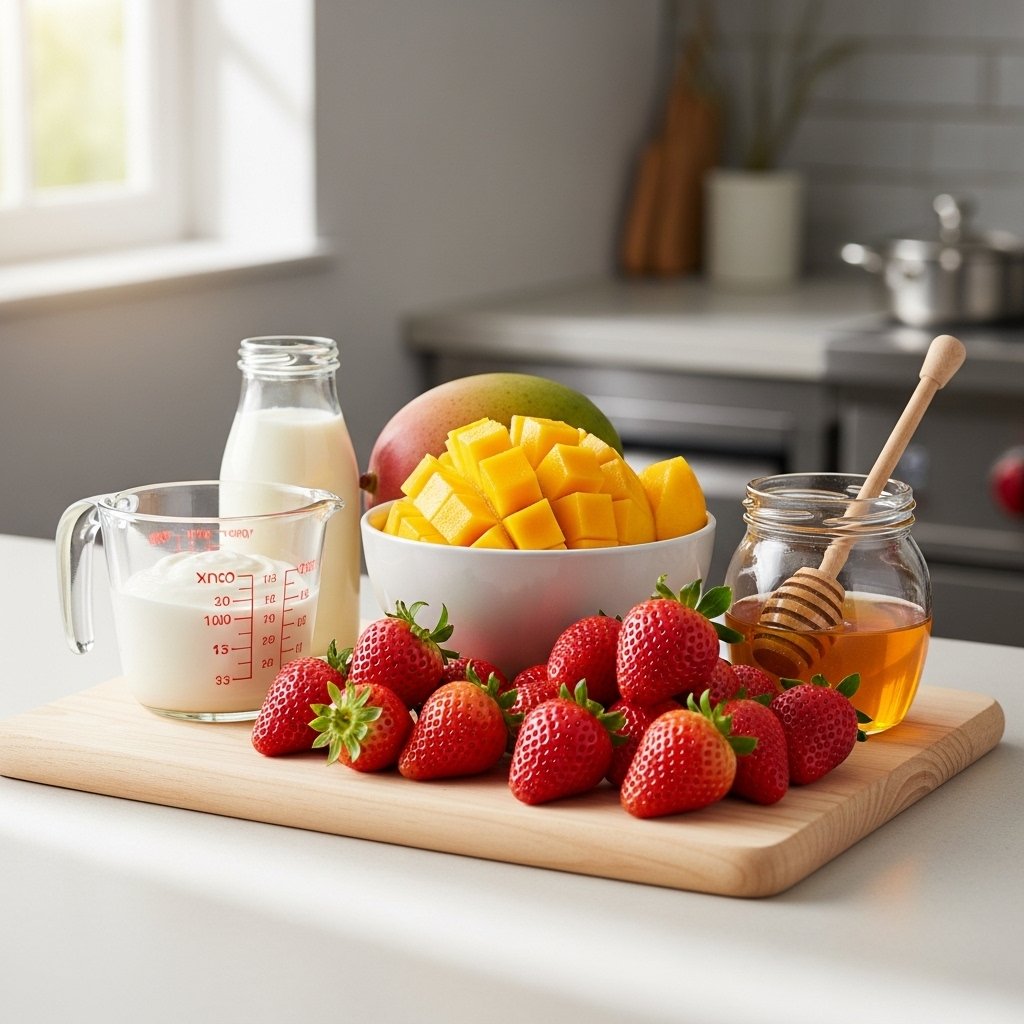
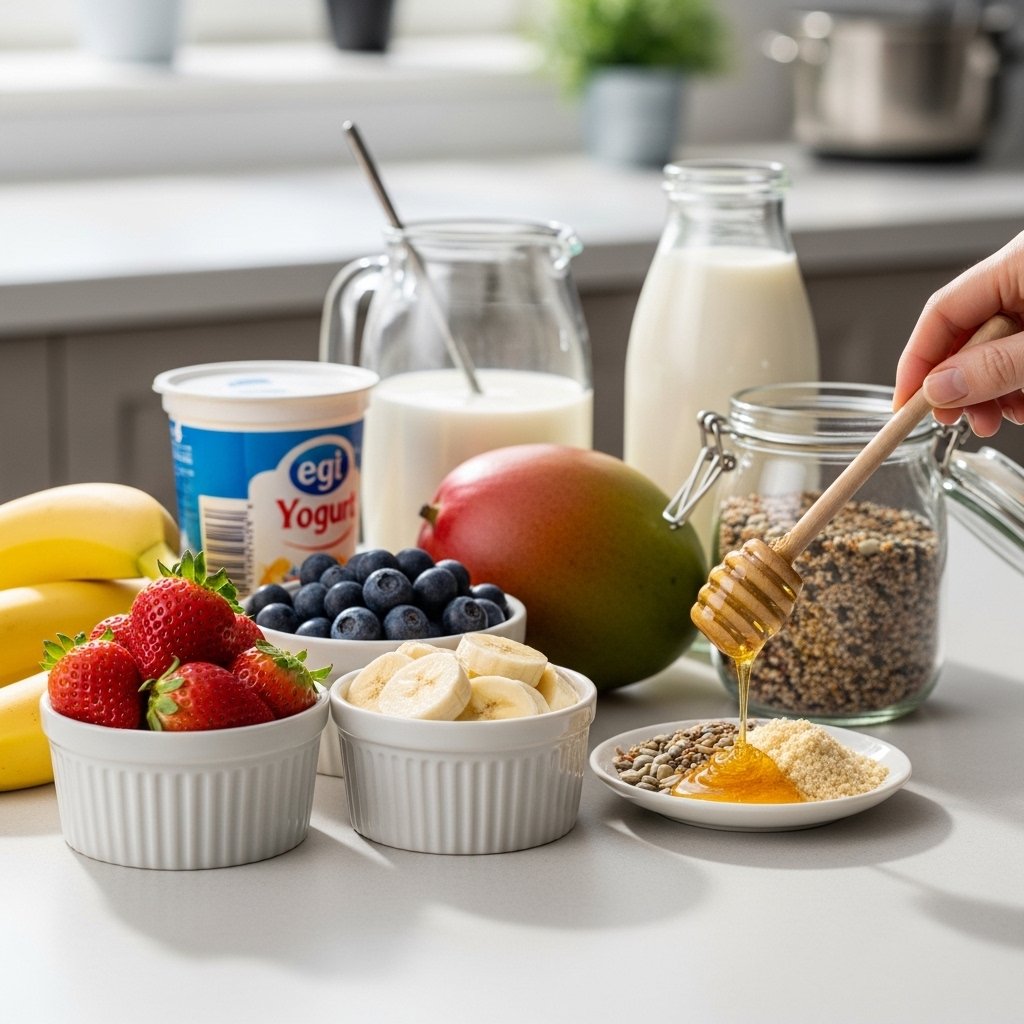
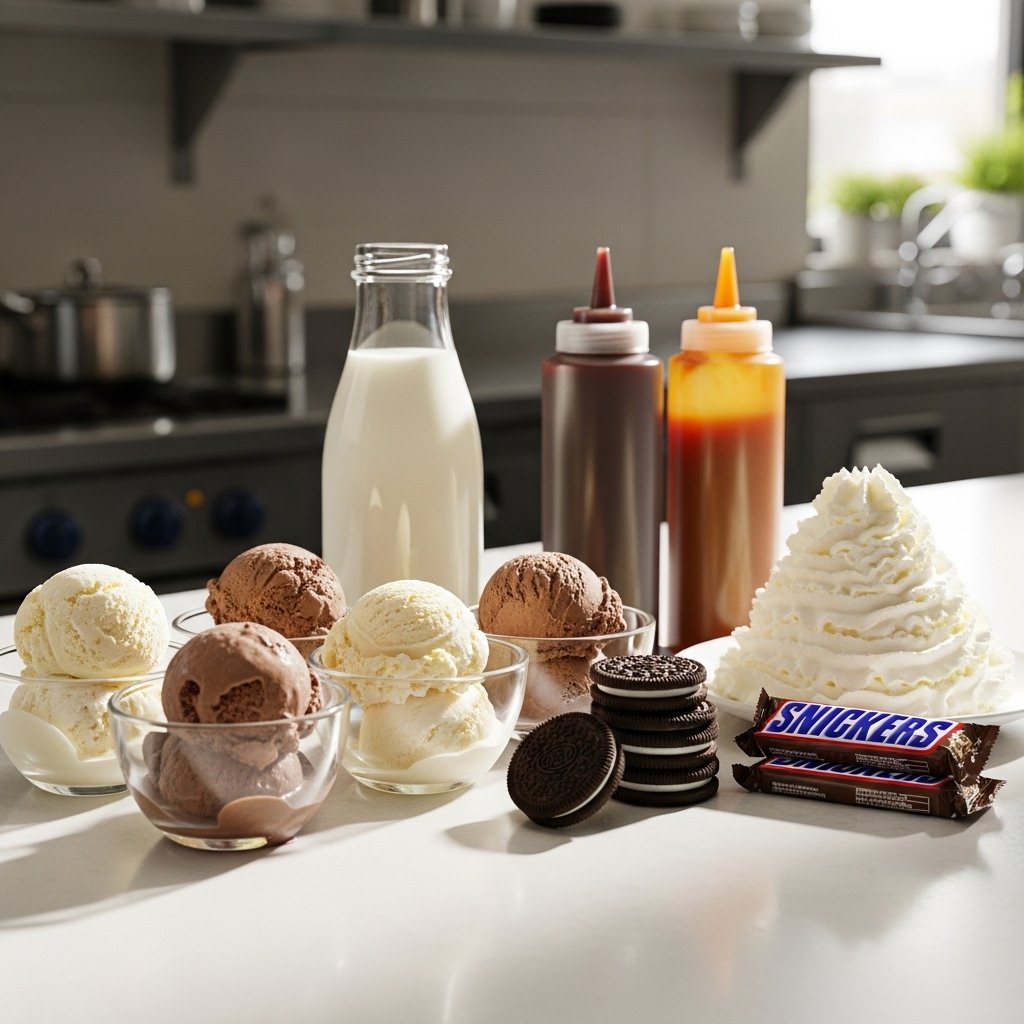
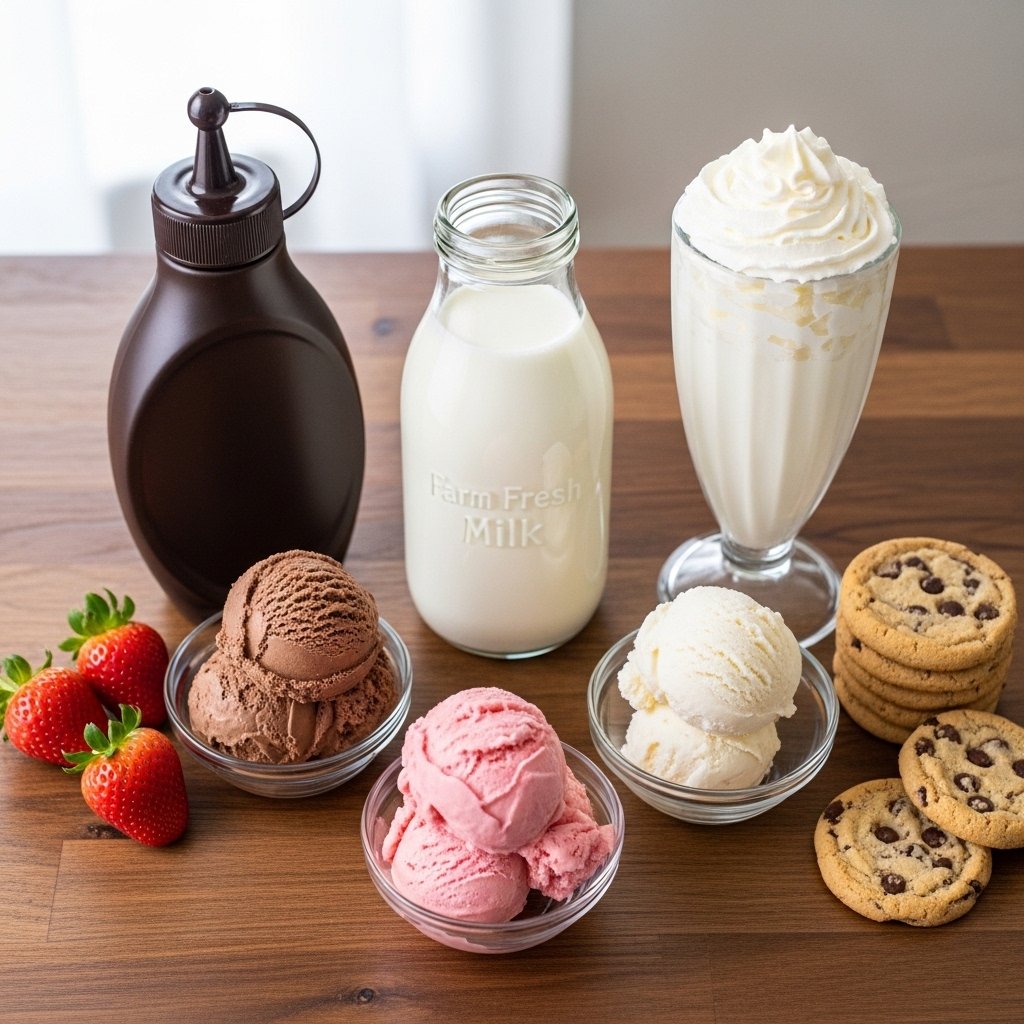
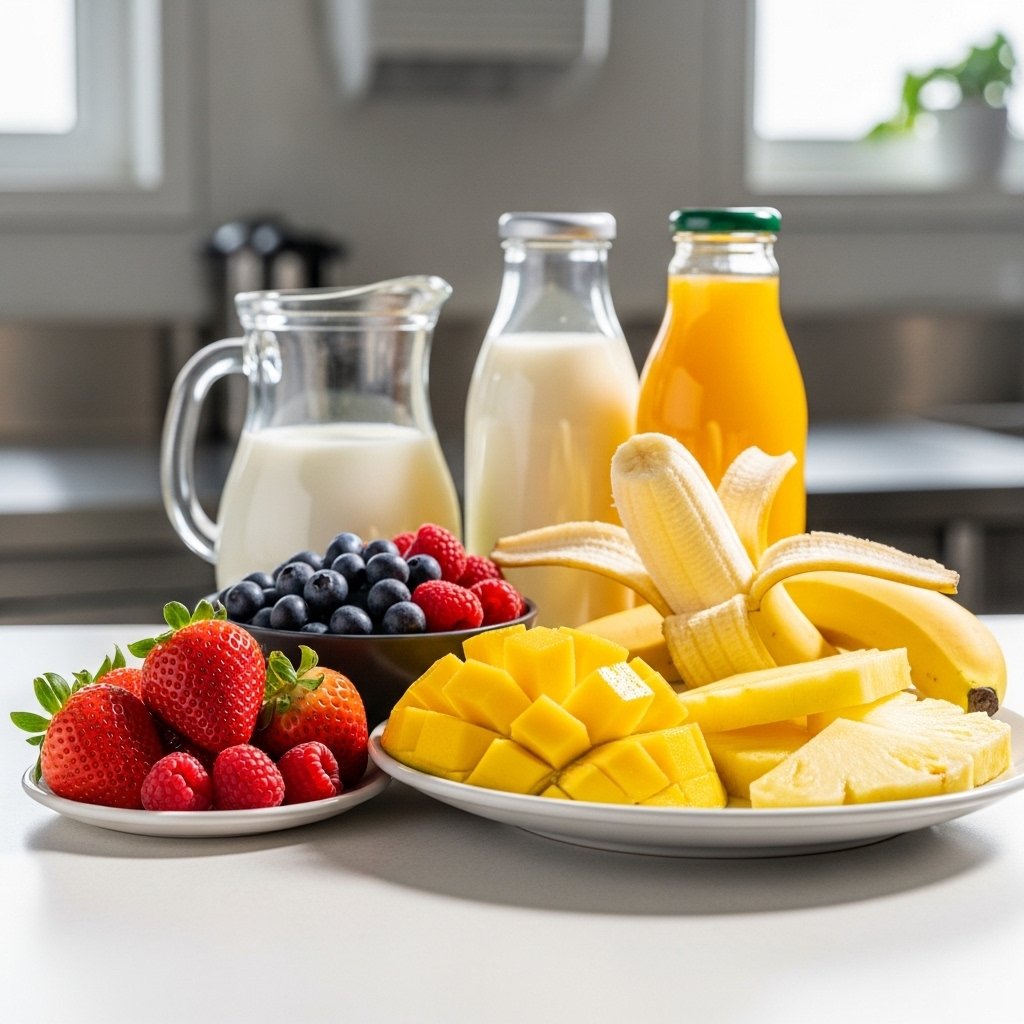
Essential Ingredients for Smoothies
To create the best smoothie recipes – fruit smoothie, tropical smoothie sunrise sunset & more, you’ll need a few key ingredients:
- Fresh or frozen fruits
- Liquid base (milk, juice, or coconut water)
- Creamy element (yogurt, banana, or avocado)
- Sweeteners (optional like honey or maple syrup)
- Ice (optional for texture)
Ingredient Notes
The secret to mastering these smoothie recipes – fruit smoothie, tropical smoothie sunrise sunset & more is balance. You want the right mix of sweetness, creaminess, and liquid to achieve a smooth texture.
Frozen fruit is especially helpful because it creates a thick, cold smoothie without diluting flavor. For tropical smoothies, ingredients like mango, pineapple, and orange juice bring that bright, refreshing taste.
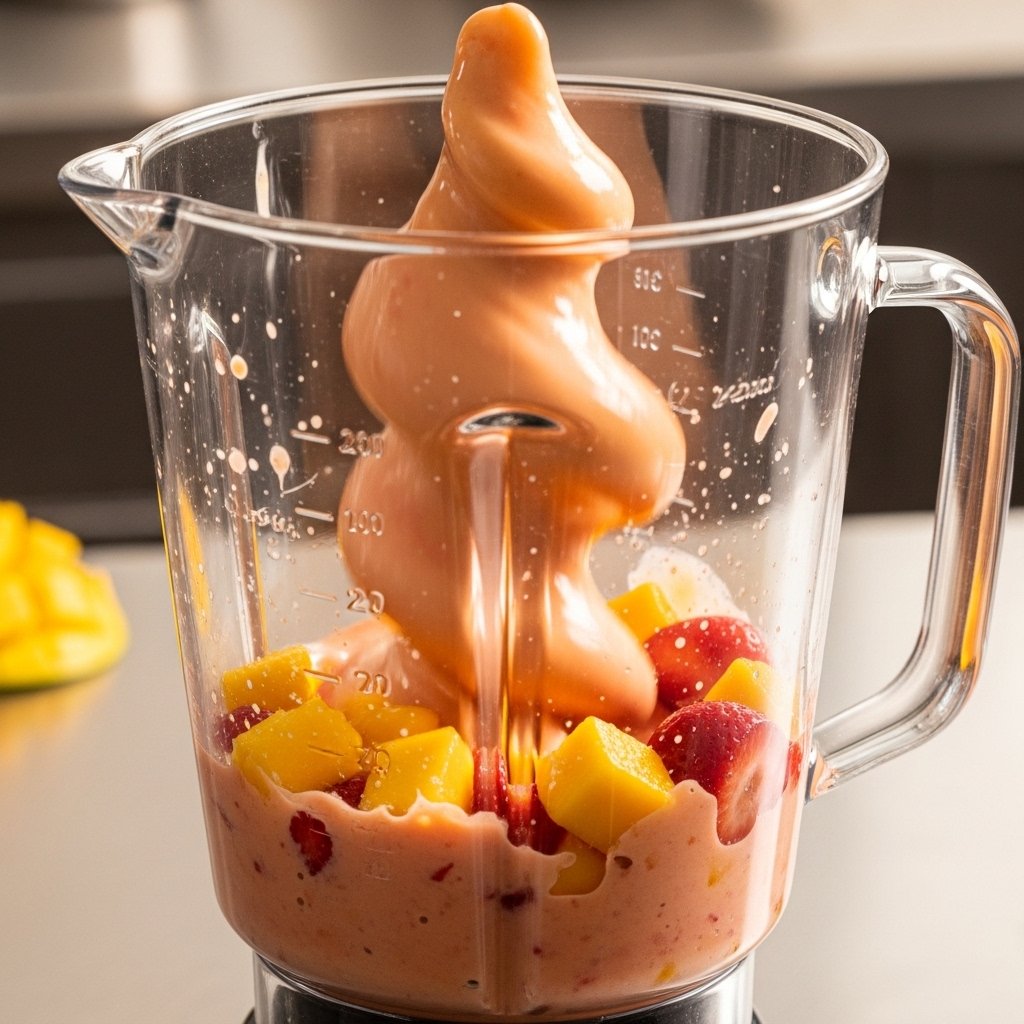
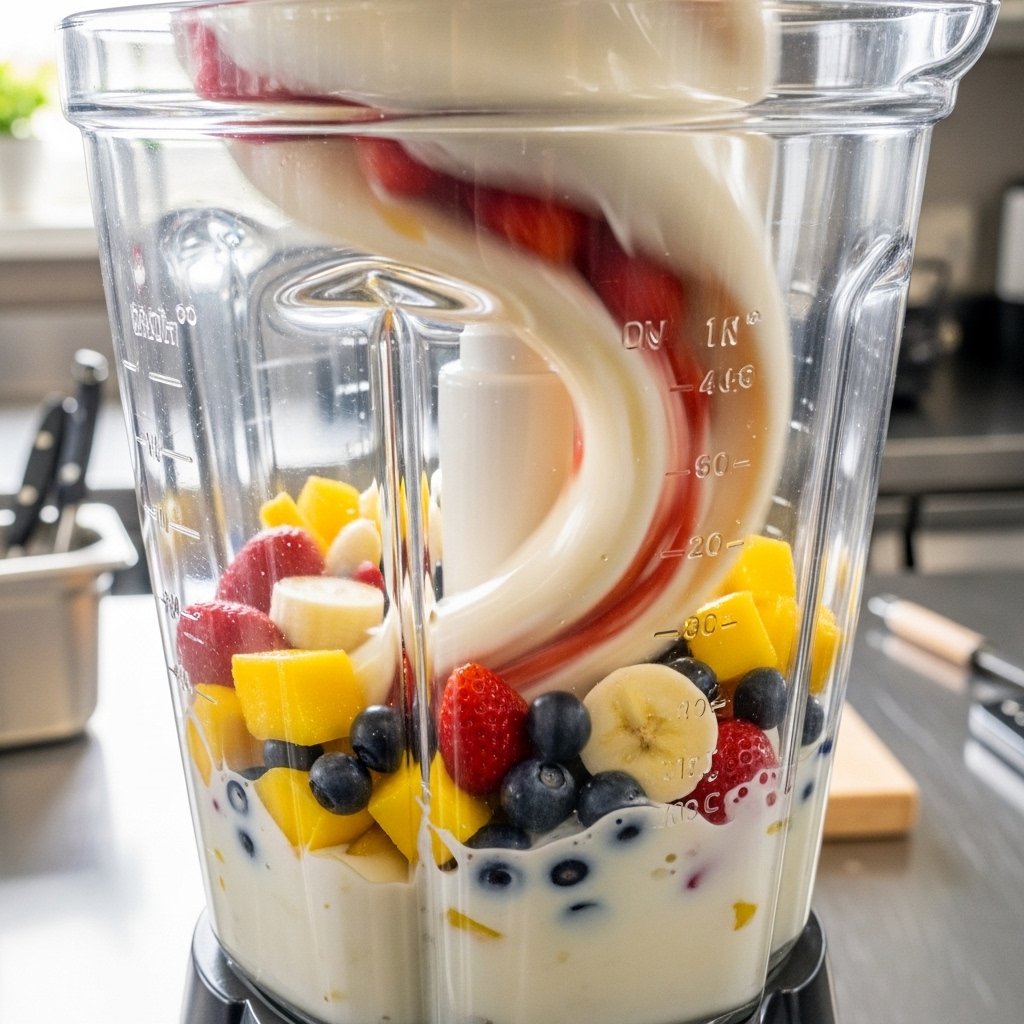
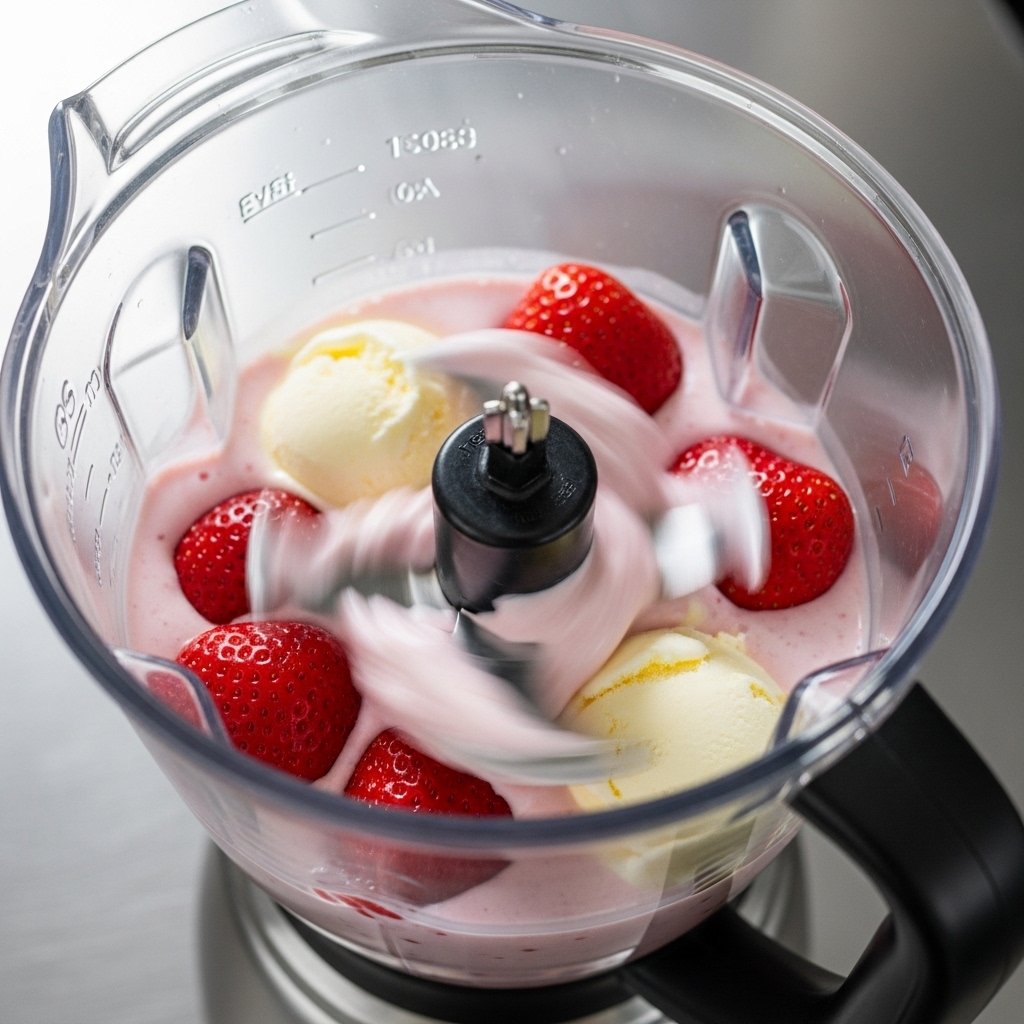
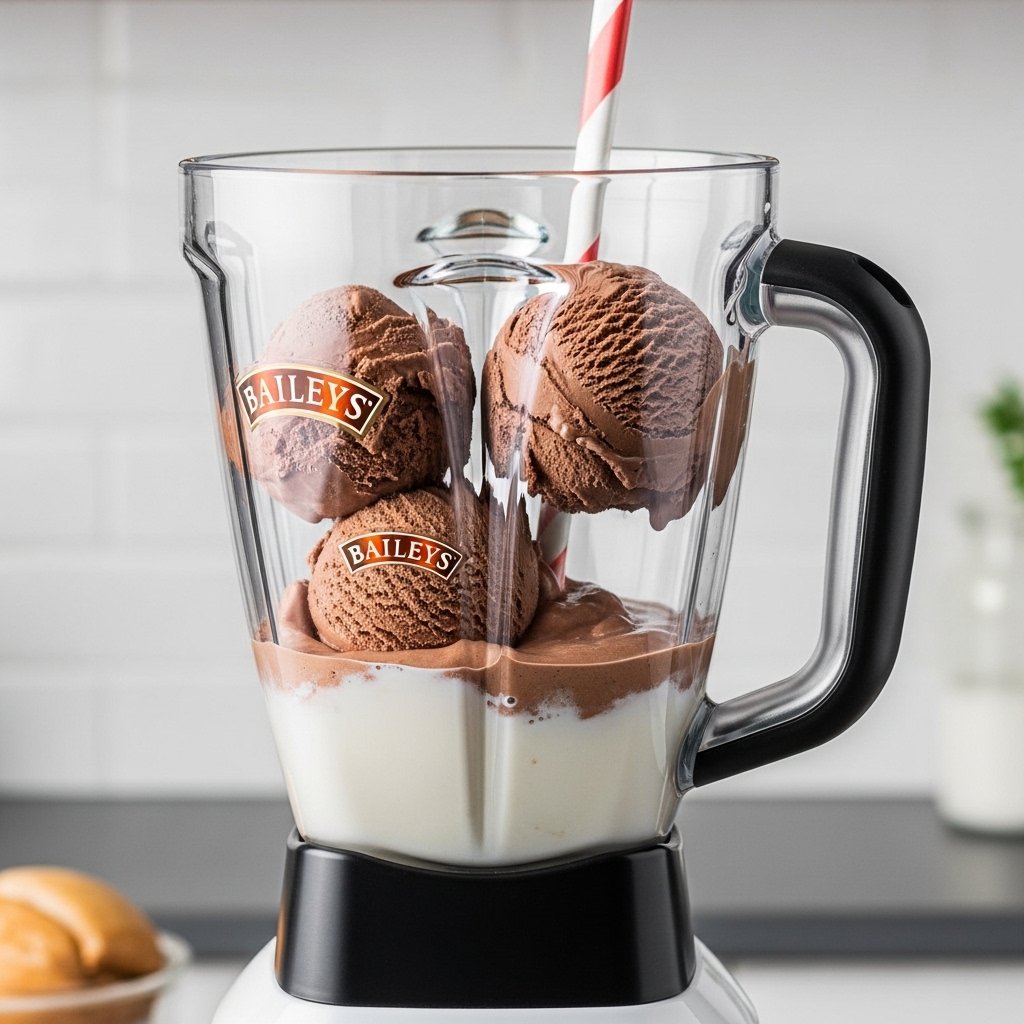
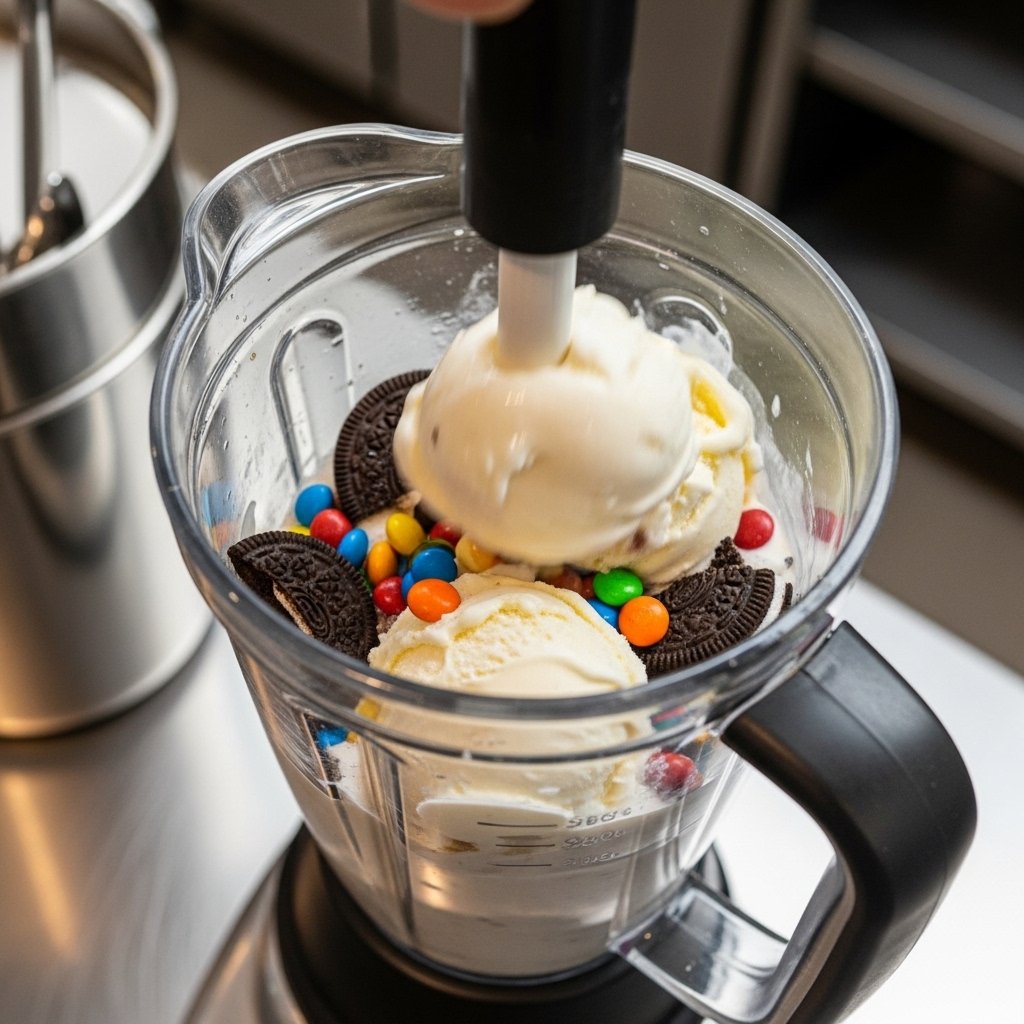
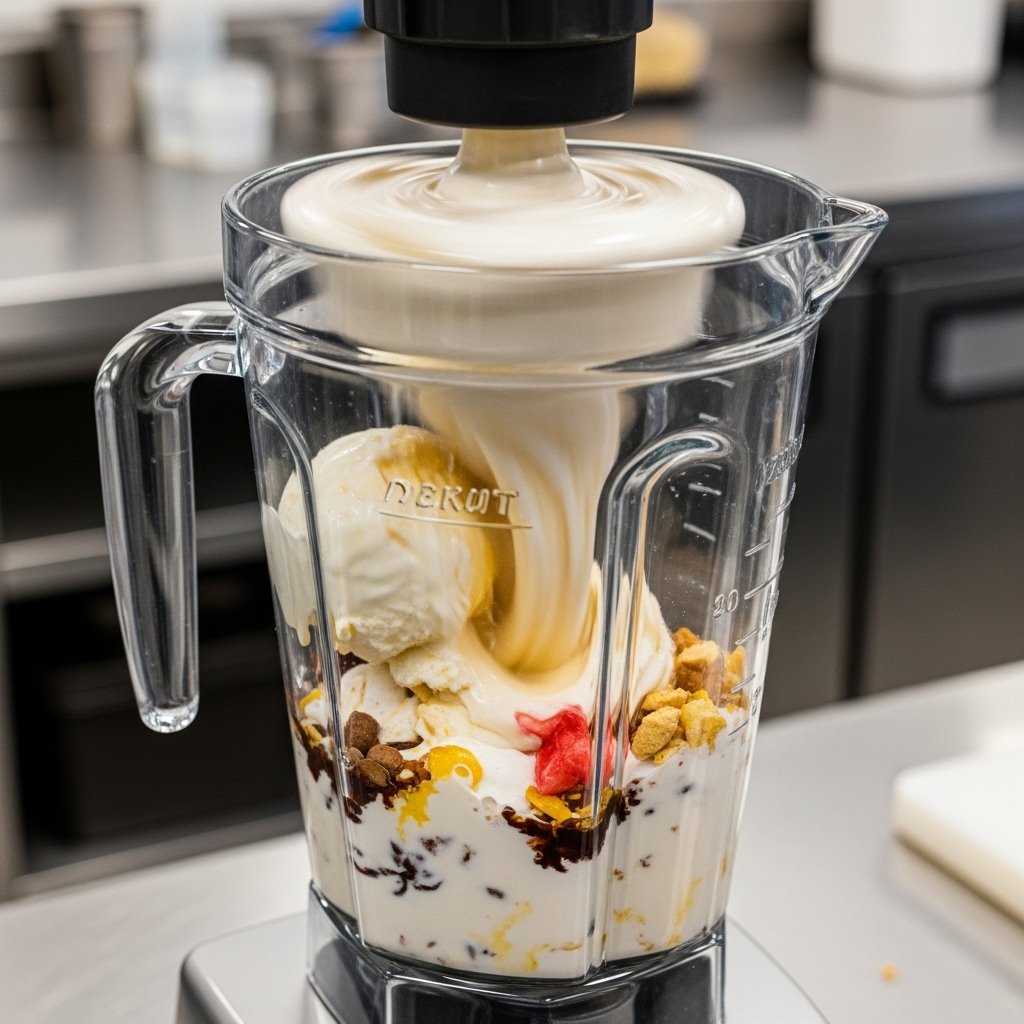
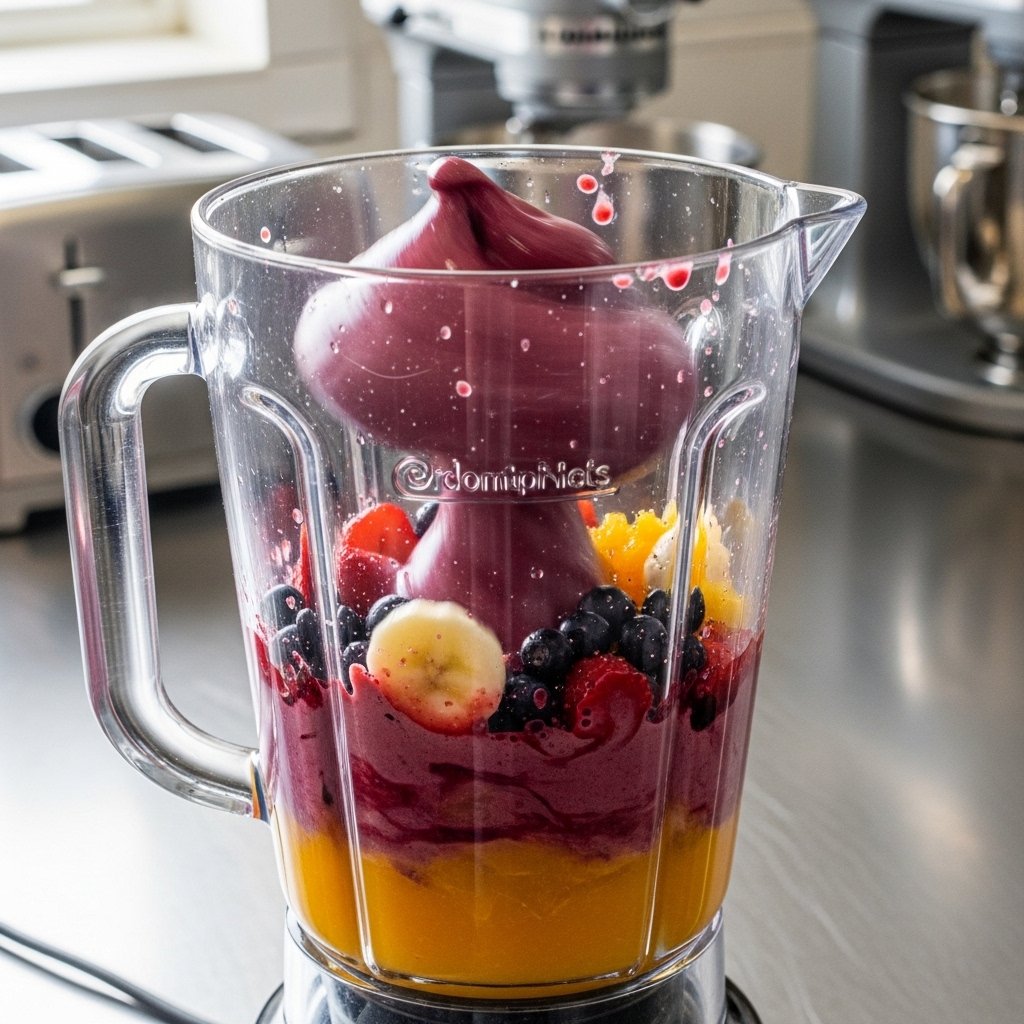
Step-by-Step Instructions
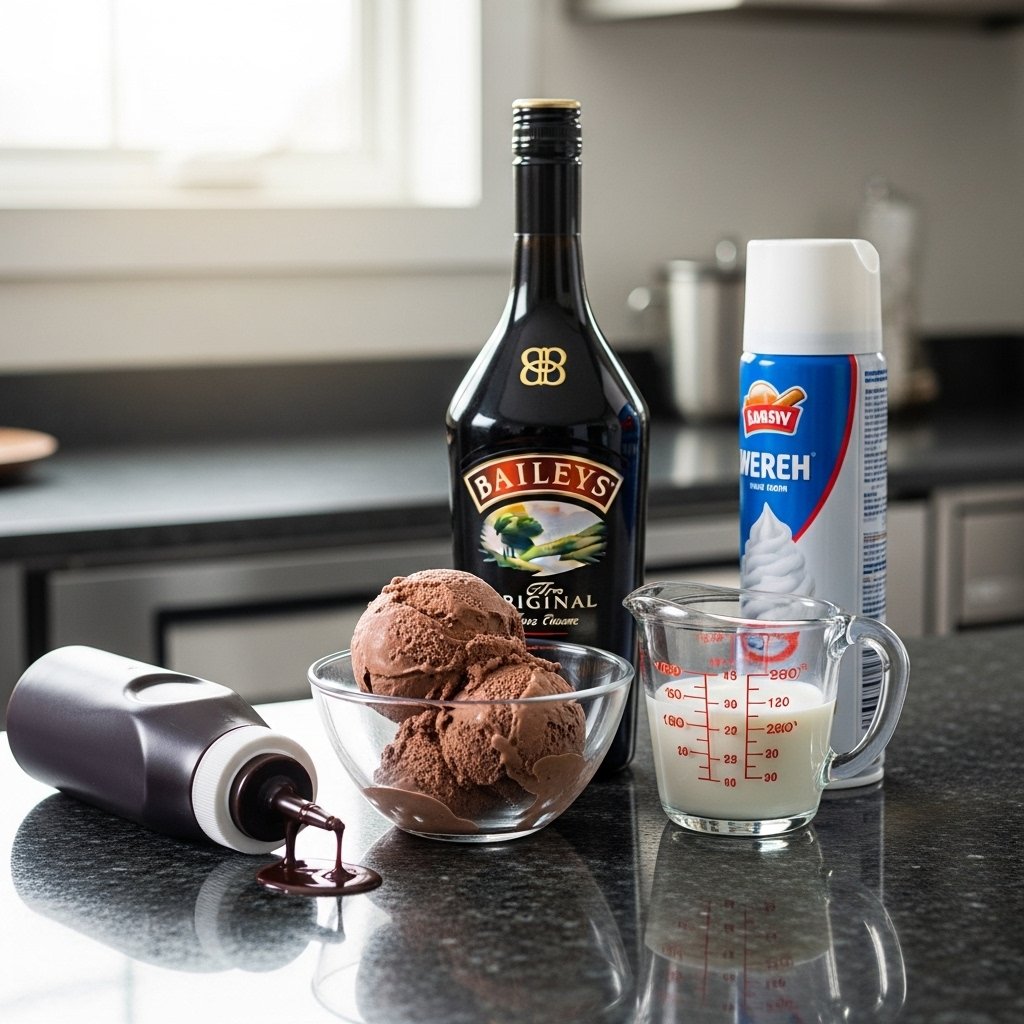
1. Add Liquid First
Start by pouring your liquid base into the blender.
2. Add Fruits and Extras
Add your fruits, yogurt, or other ingredients.
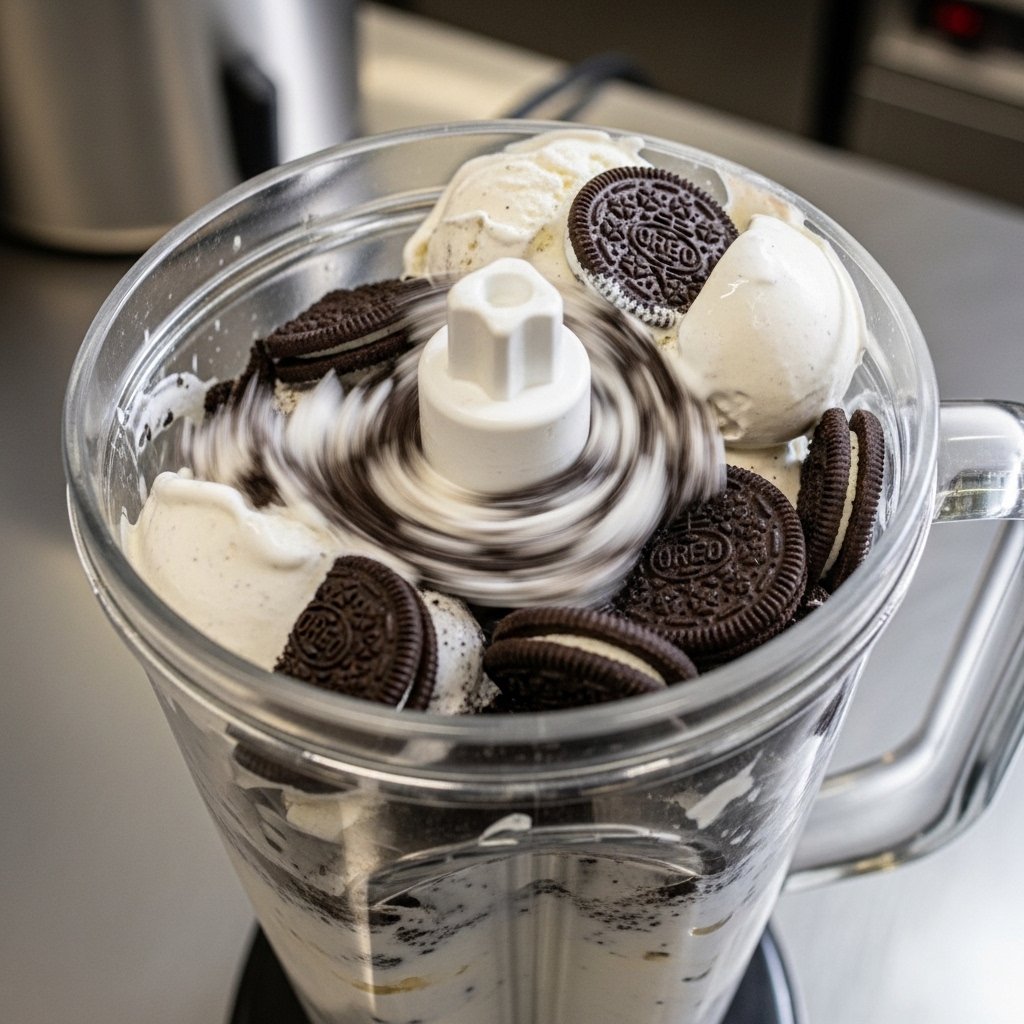
3. Blend Until Smooth
Blend until creamy and smooth, adjusting the consistency as needed.
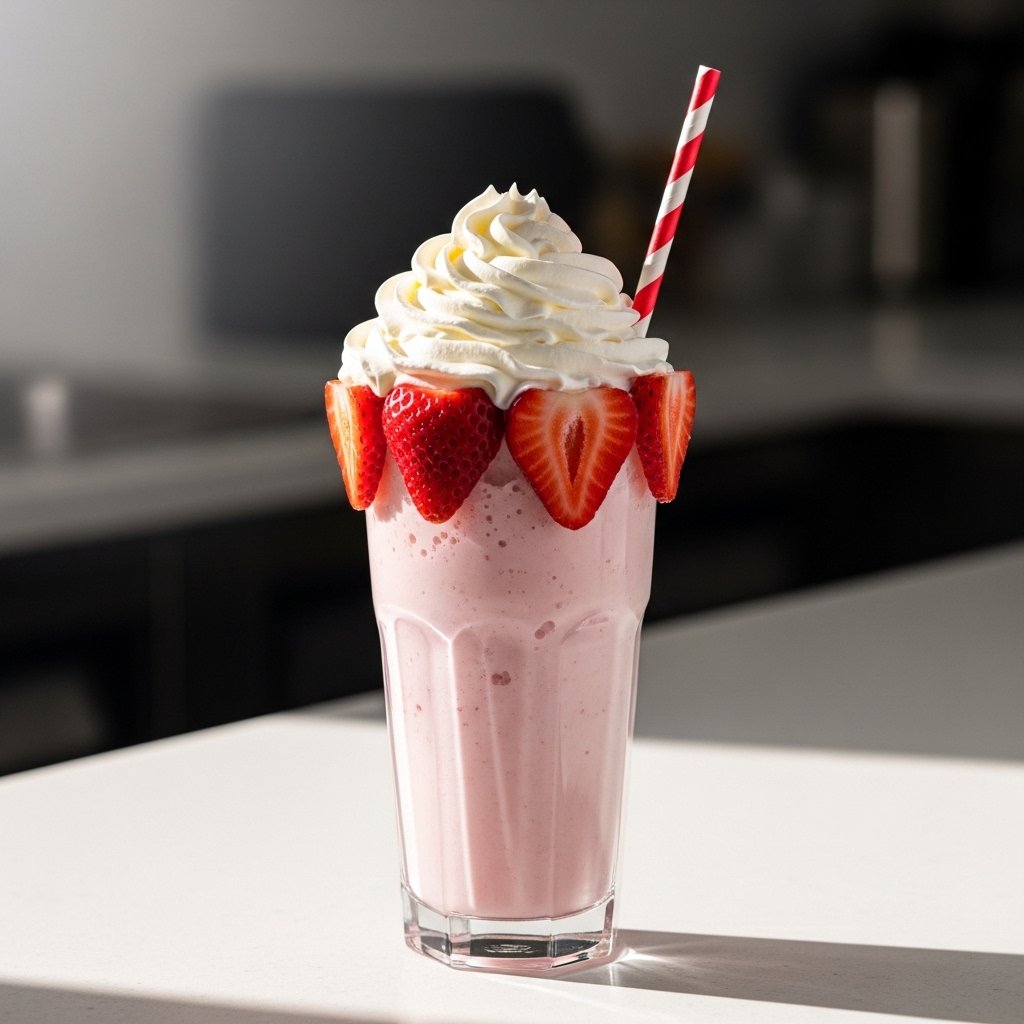
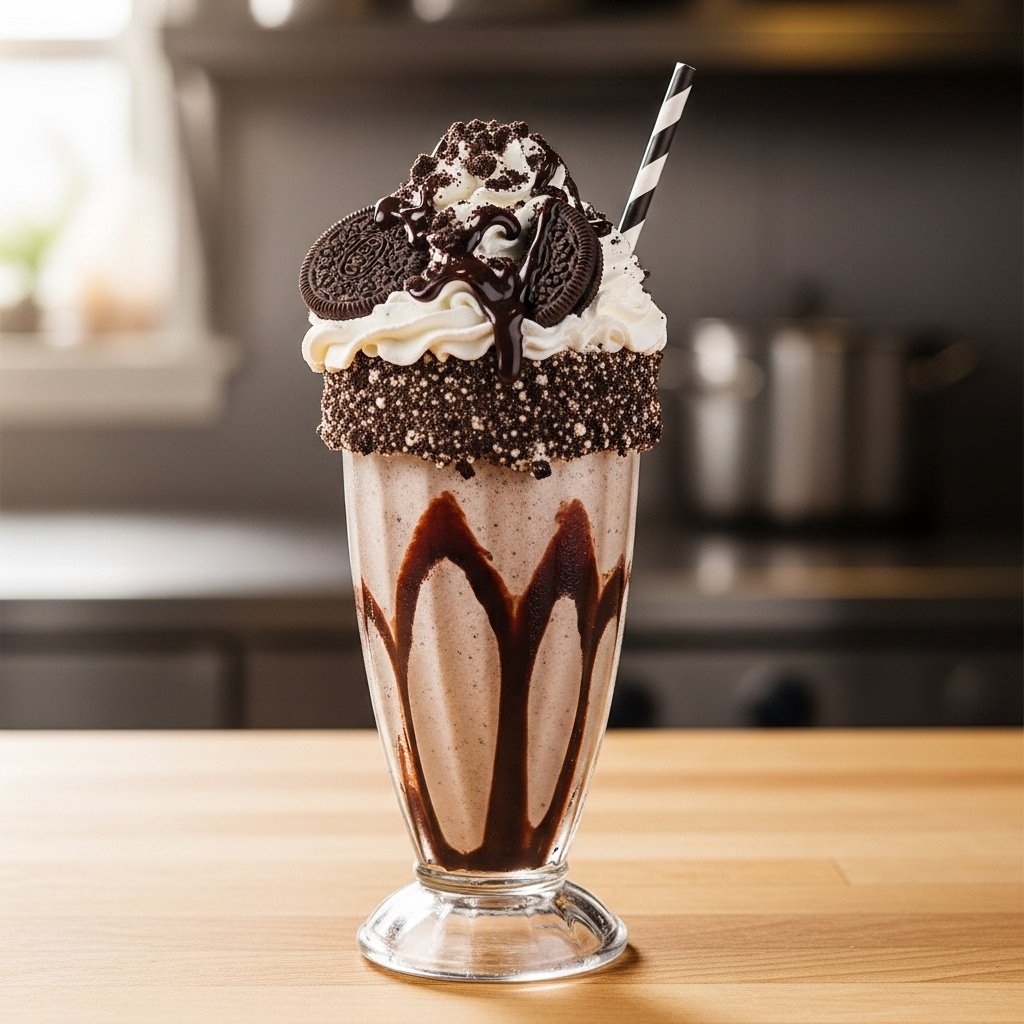
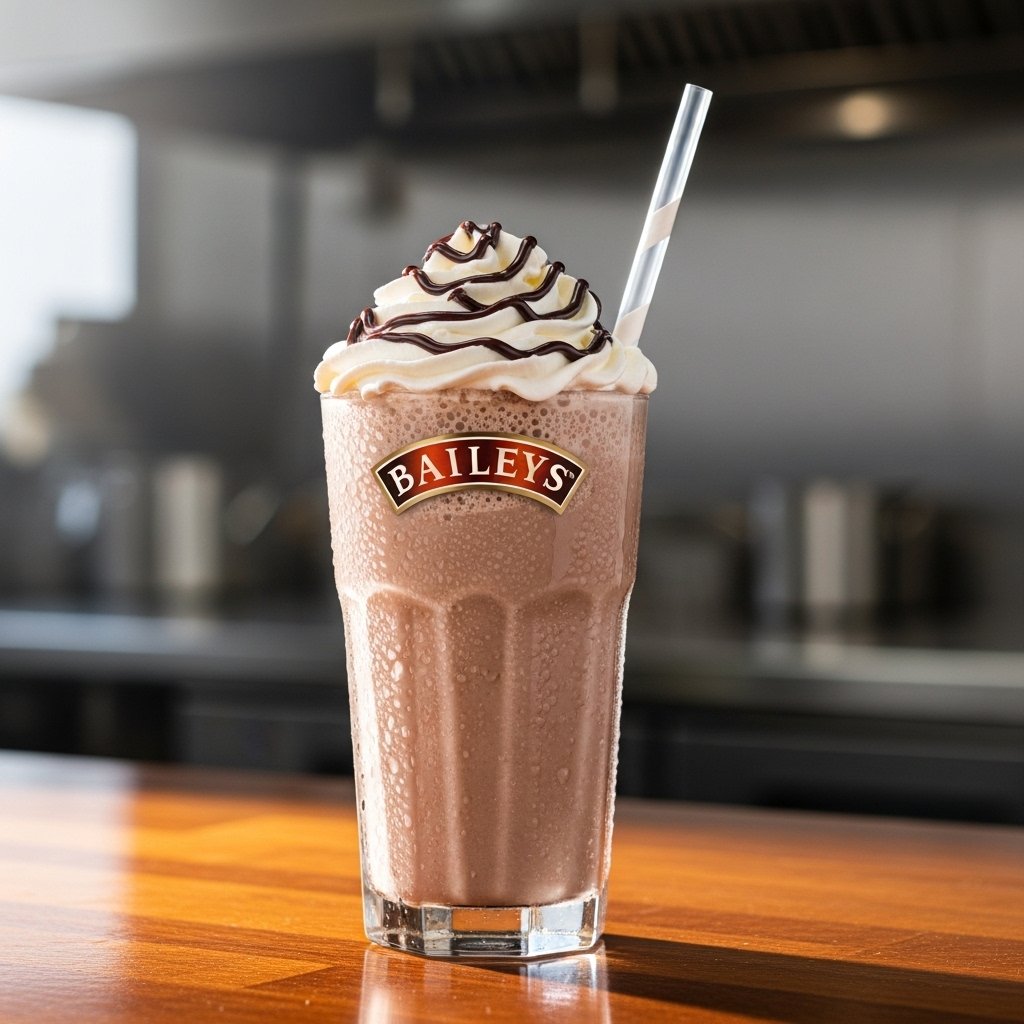
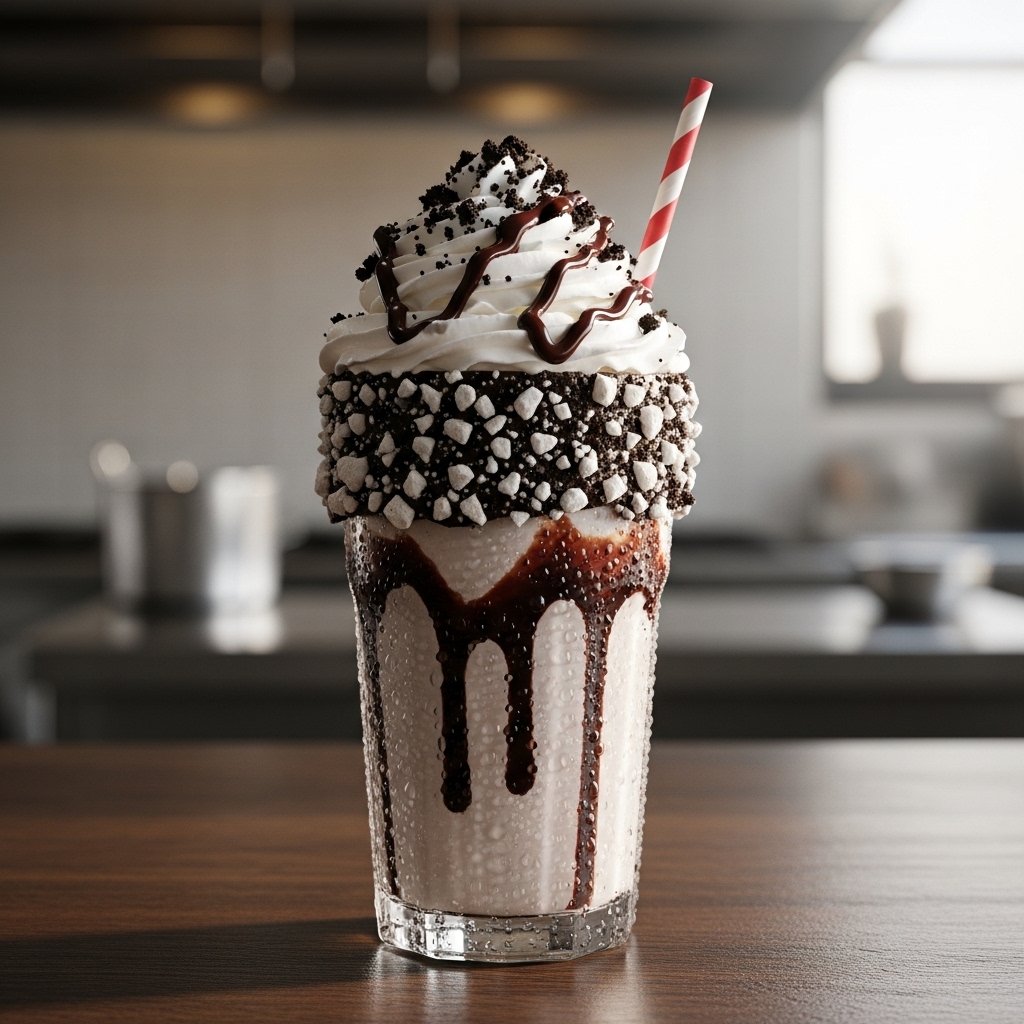
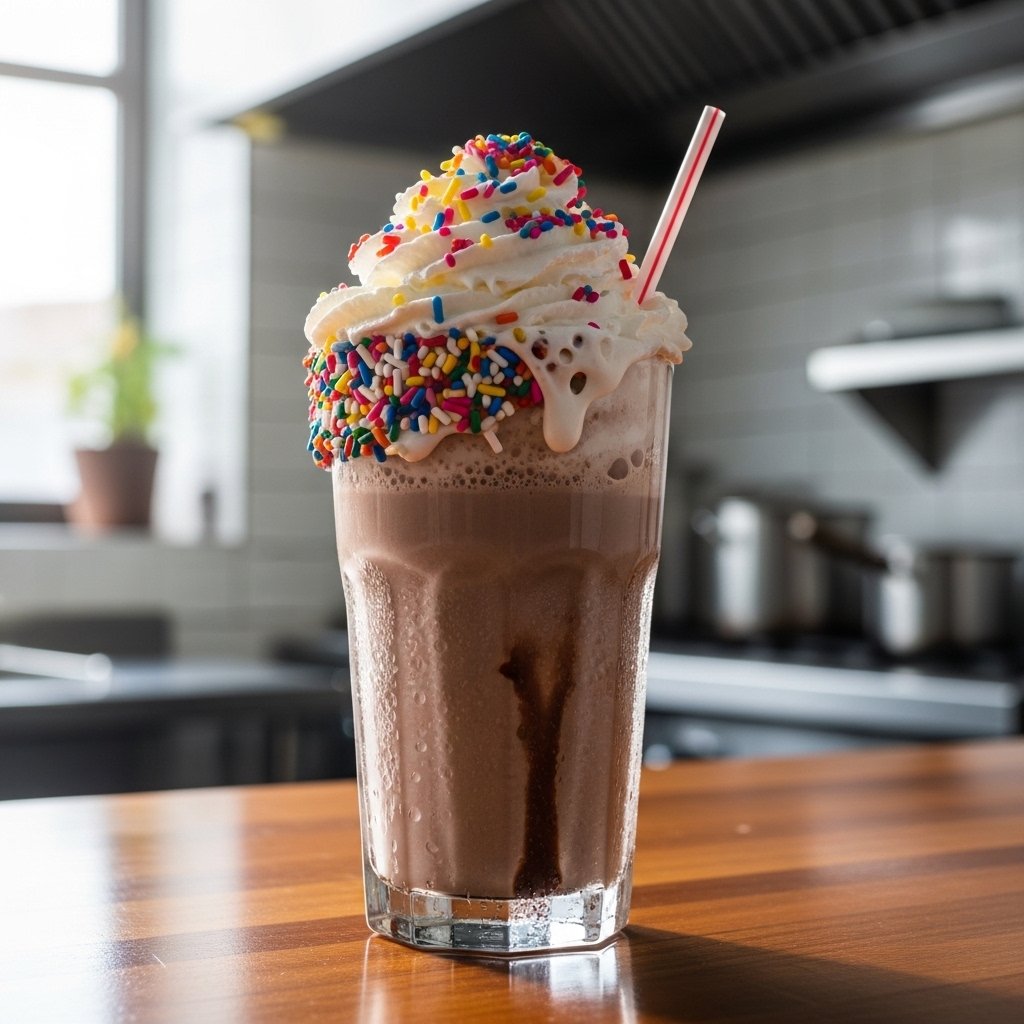
4. Serve Immediately
Pour into a glass and enjoy fresh.
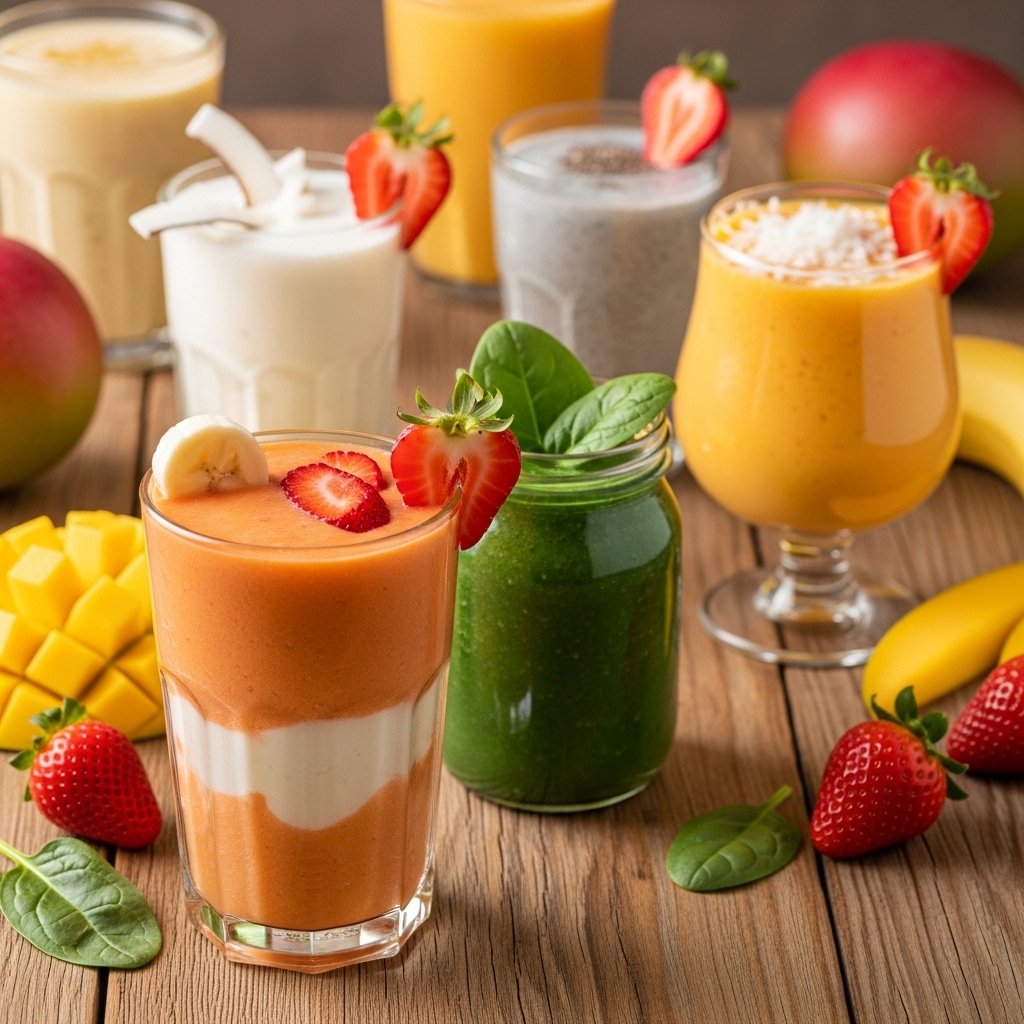
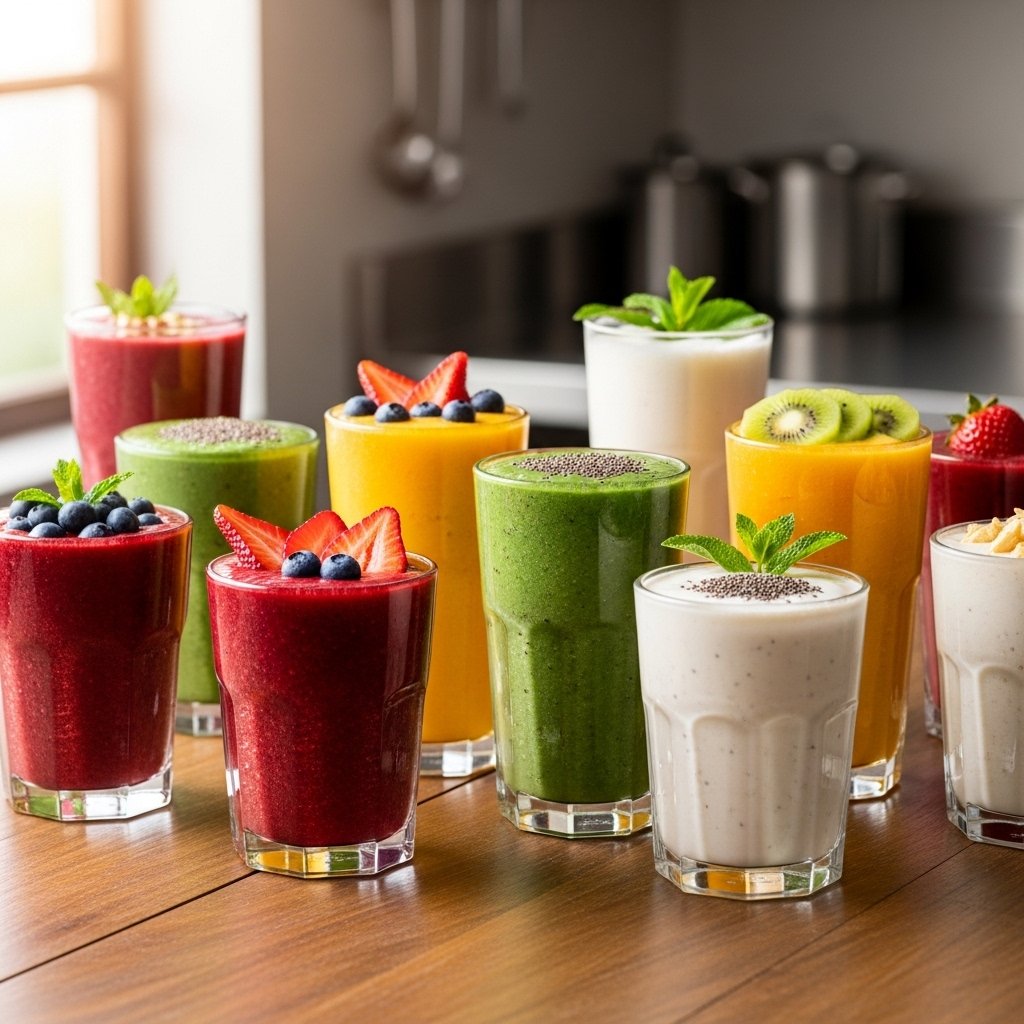
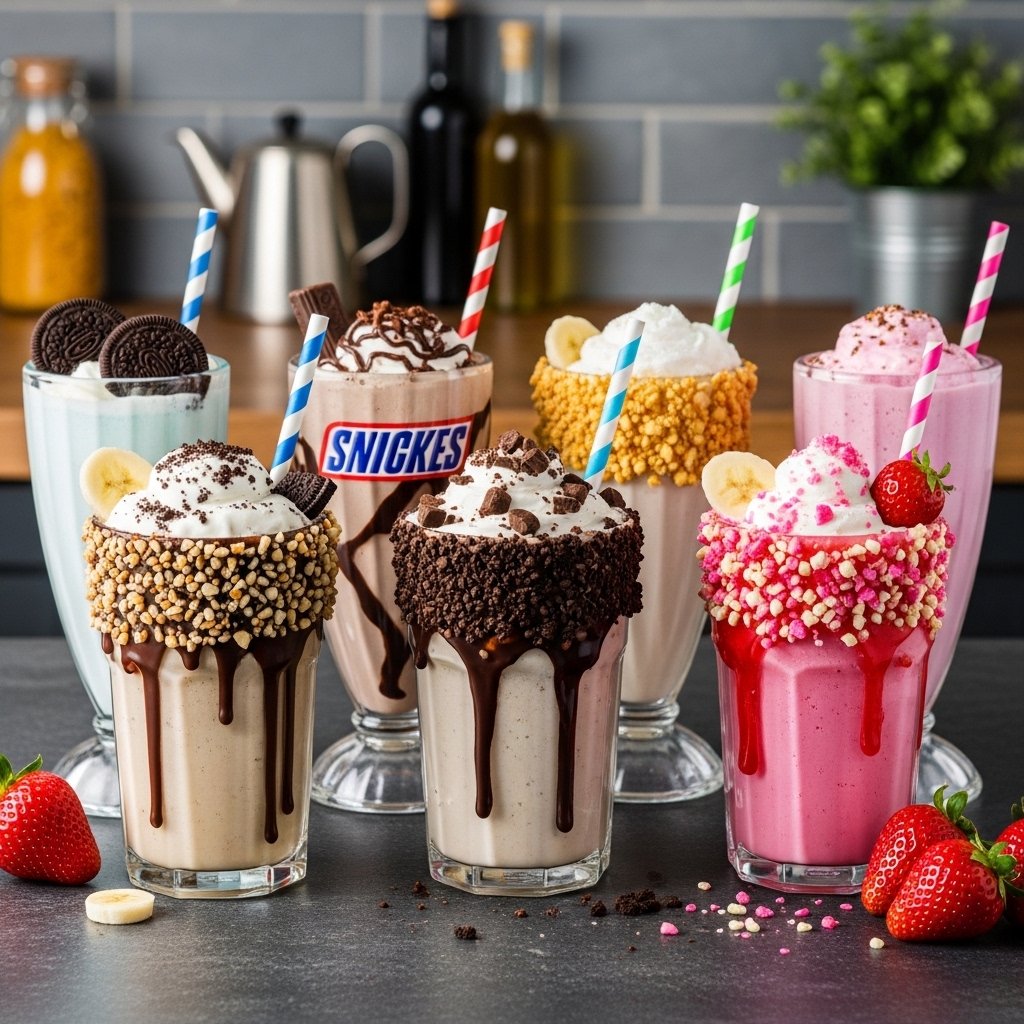
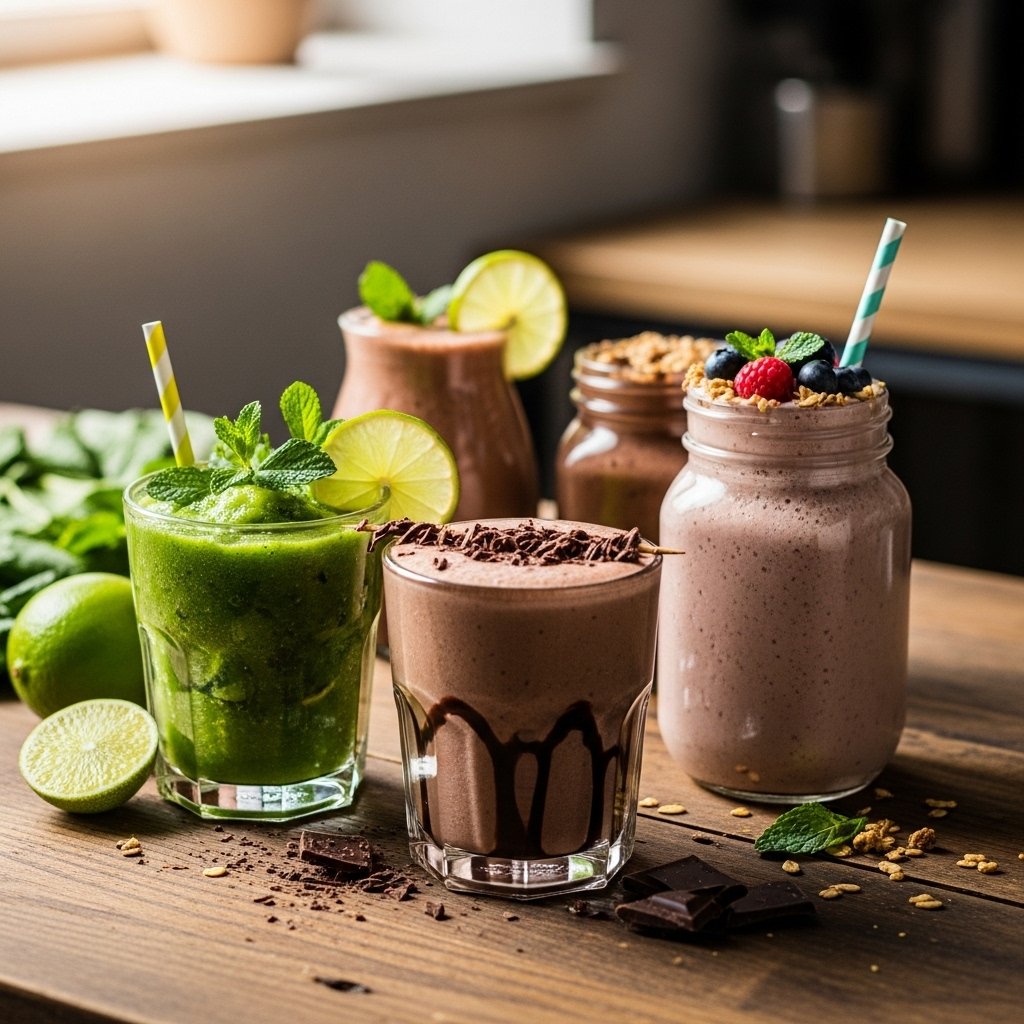
Popular Smoothie Recipes to Try
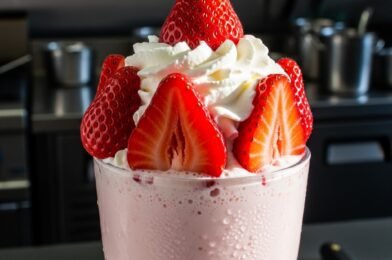
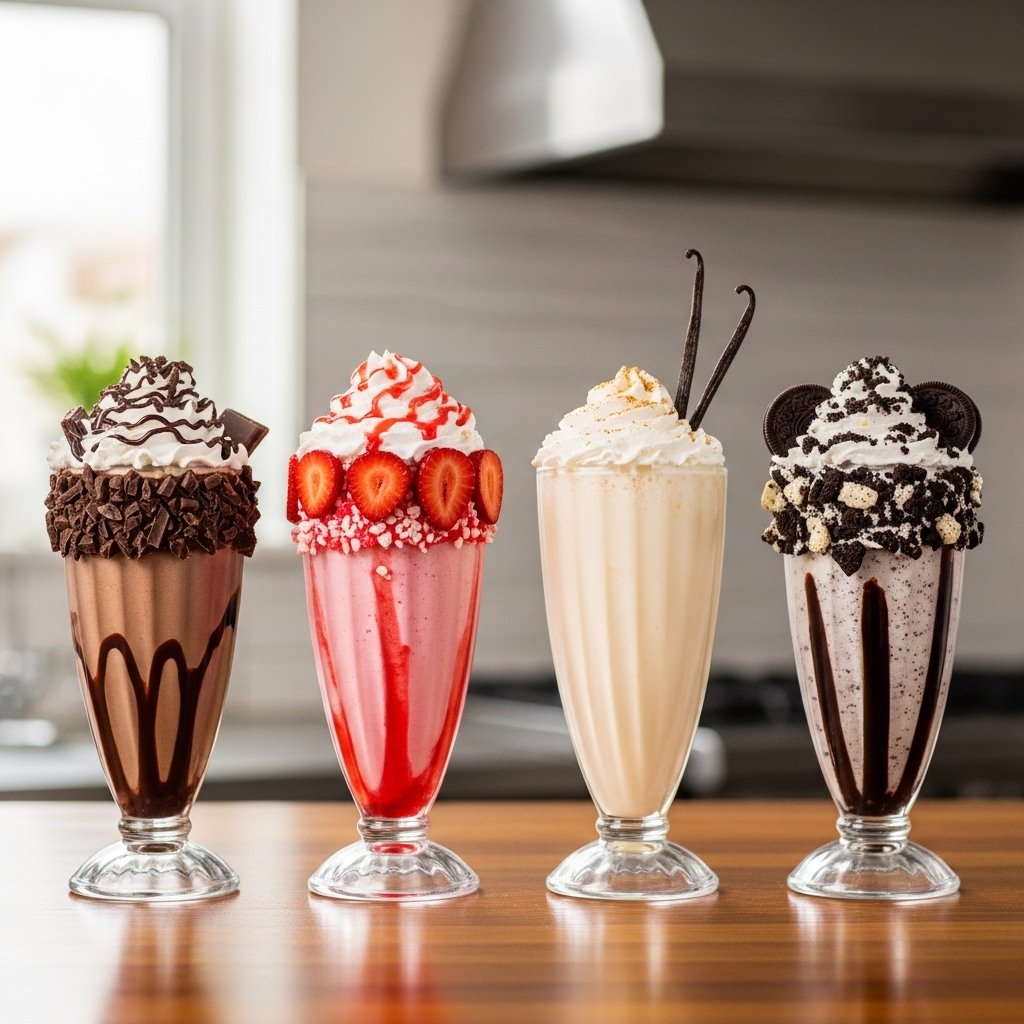
Classic Fruit Smoothie
A simple blend of strawberries, banana, and milk for a creamy, sweet drink.
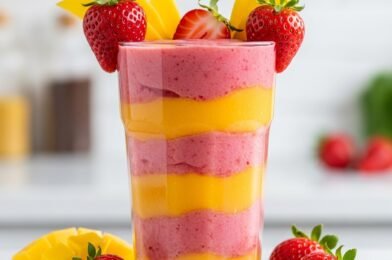
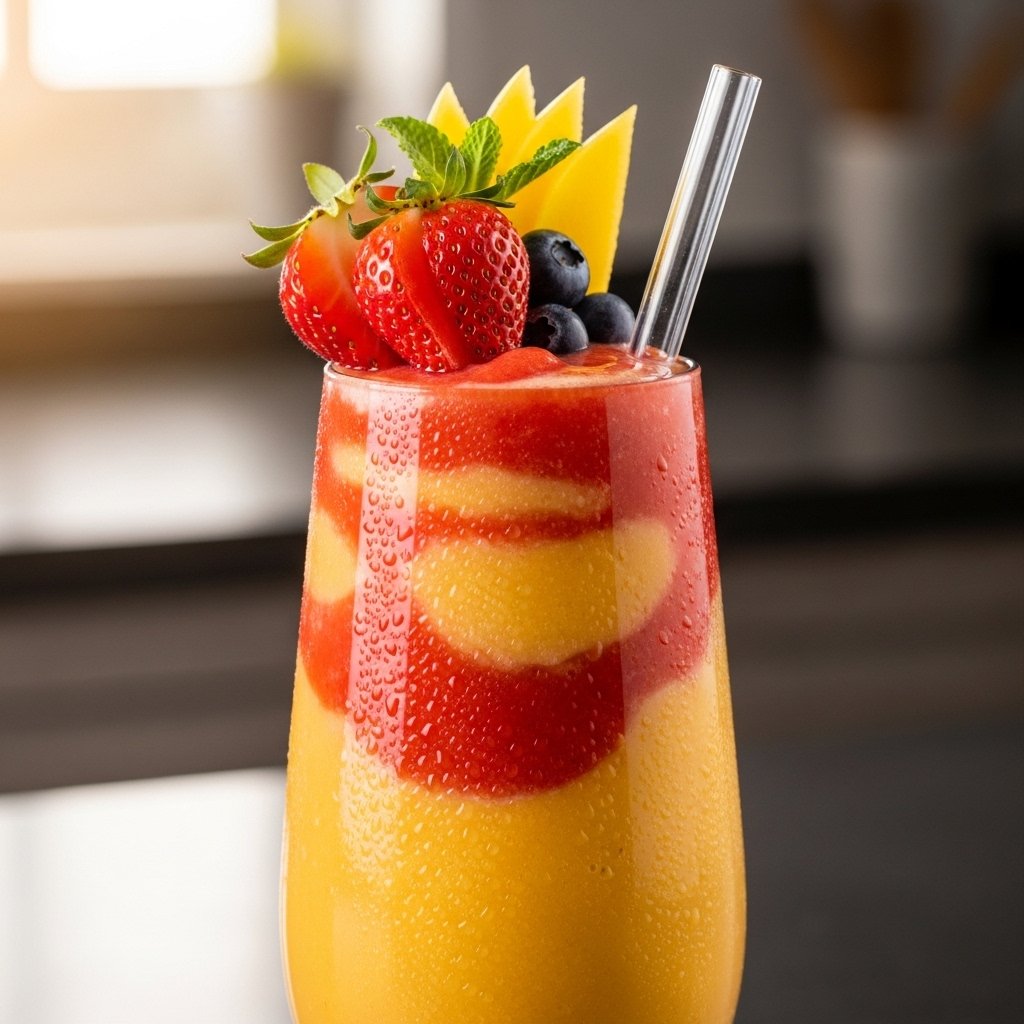
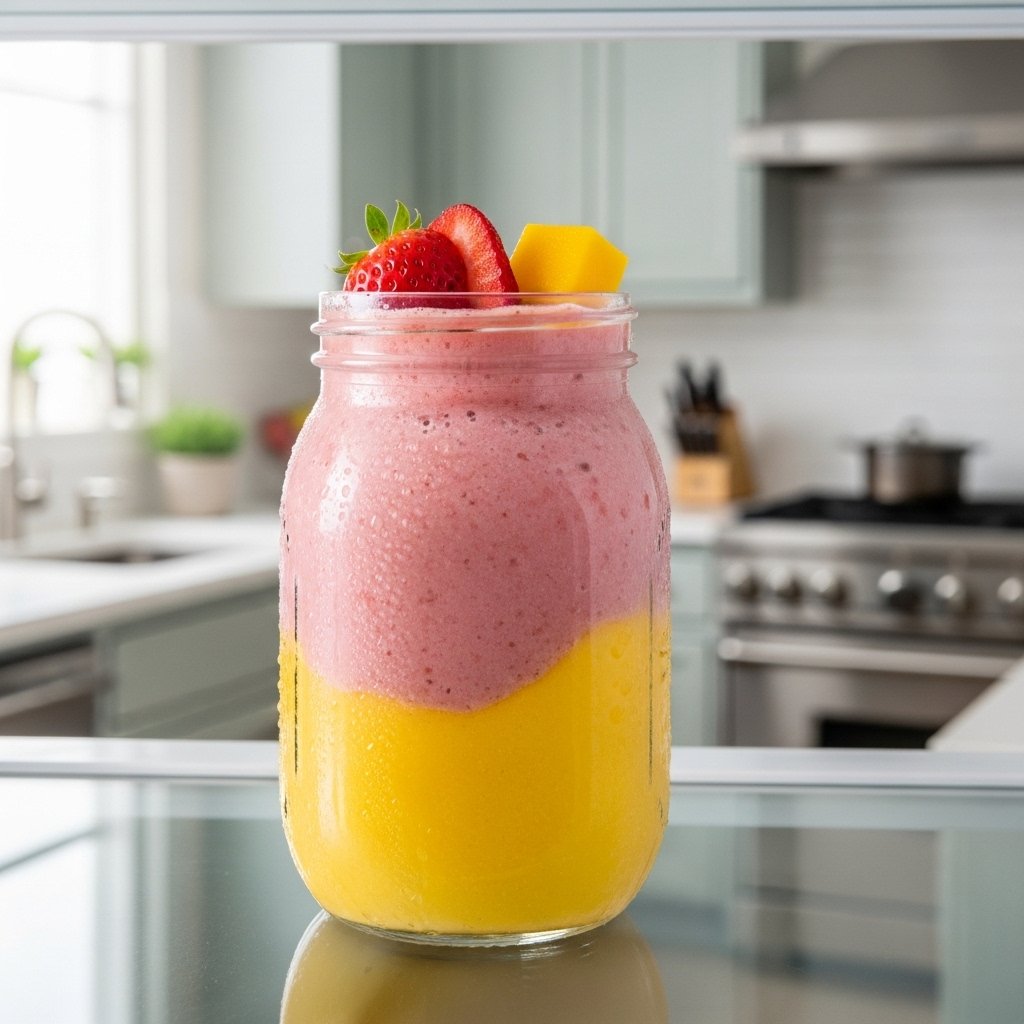
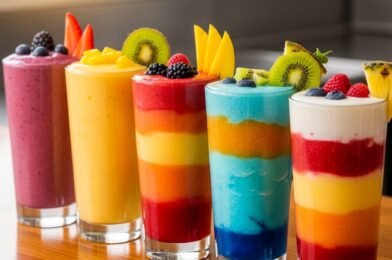
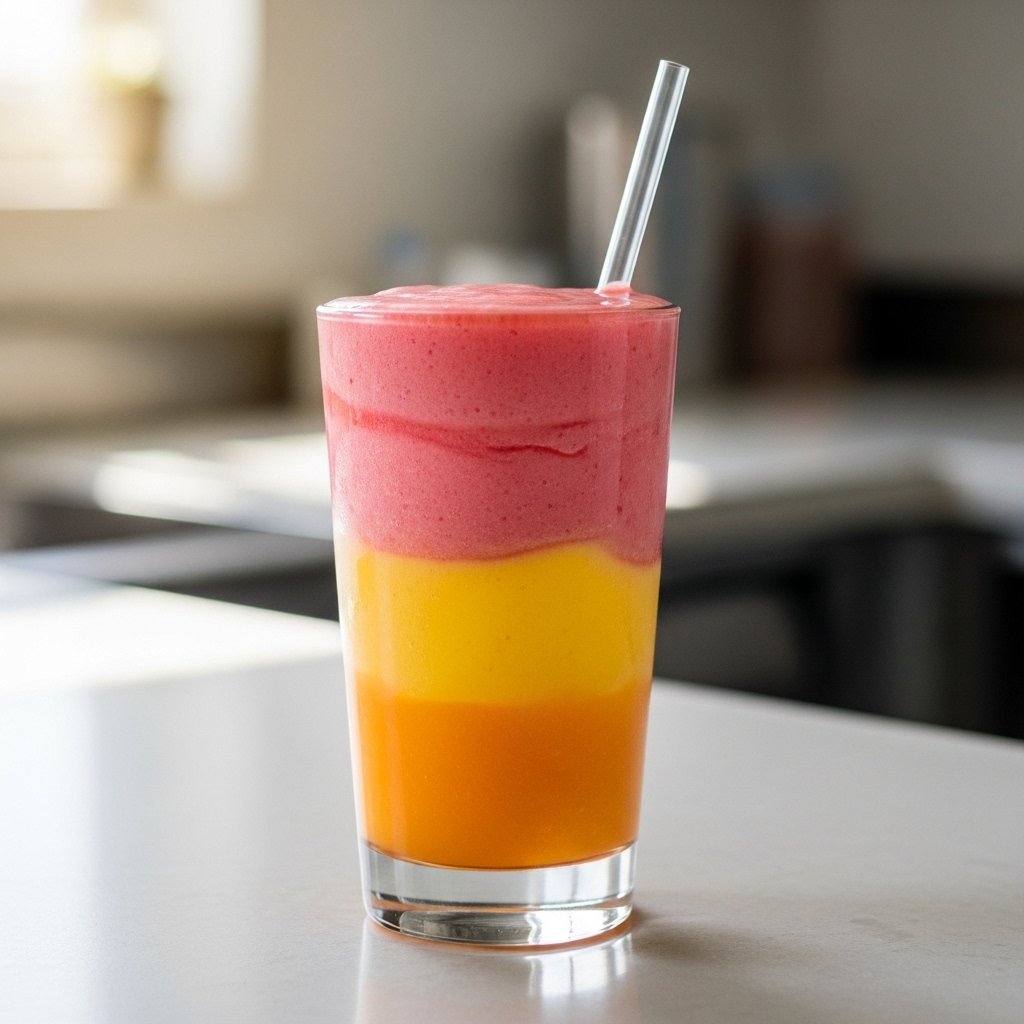
Tropical Sunrise Sunset Smoothie
This stunning smoothie features layers of mango, pineapple, and strawberry for a vibrant, sunset-inspired look and flavor.
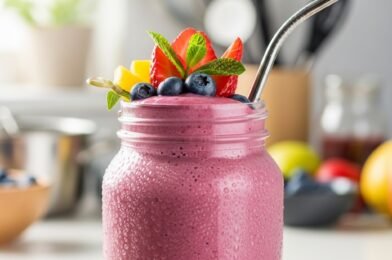
Berry Blast Smoothie
A mix of blueberries, raspberries, and yogurt for a tangy, refreshing option.
Green Smoothie
Spinach, banana, and apple blended for a healthy, nutrient-packed drink.

Tips for Perfect Smoothies
To get the best results from your smoothie recipes – fruit smoothie, tropical smoothie sunrise sunset & more, follow these tips:
- Use frozen fruit for thickness
- Add liquid gradually
- Blend just until smooth
- Taste and adjust sweetness
These simple steps ensure consistent, delicious results.
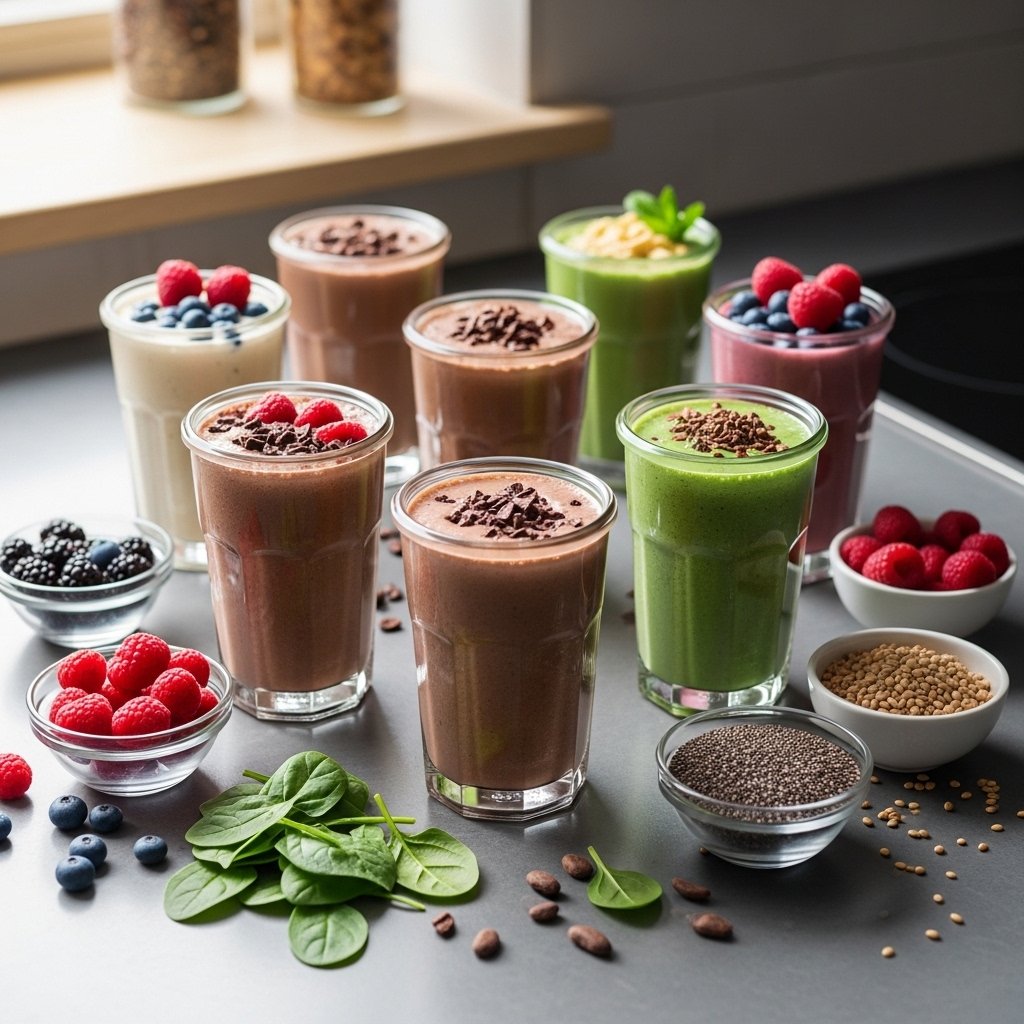
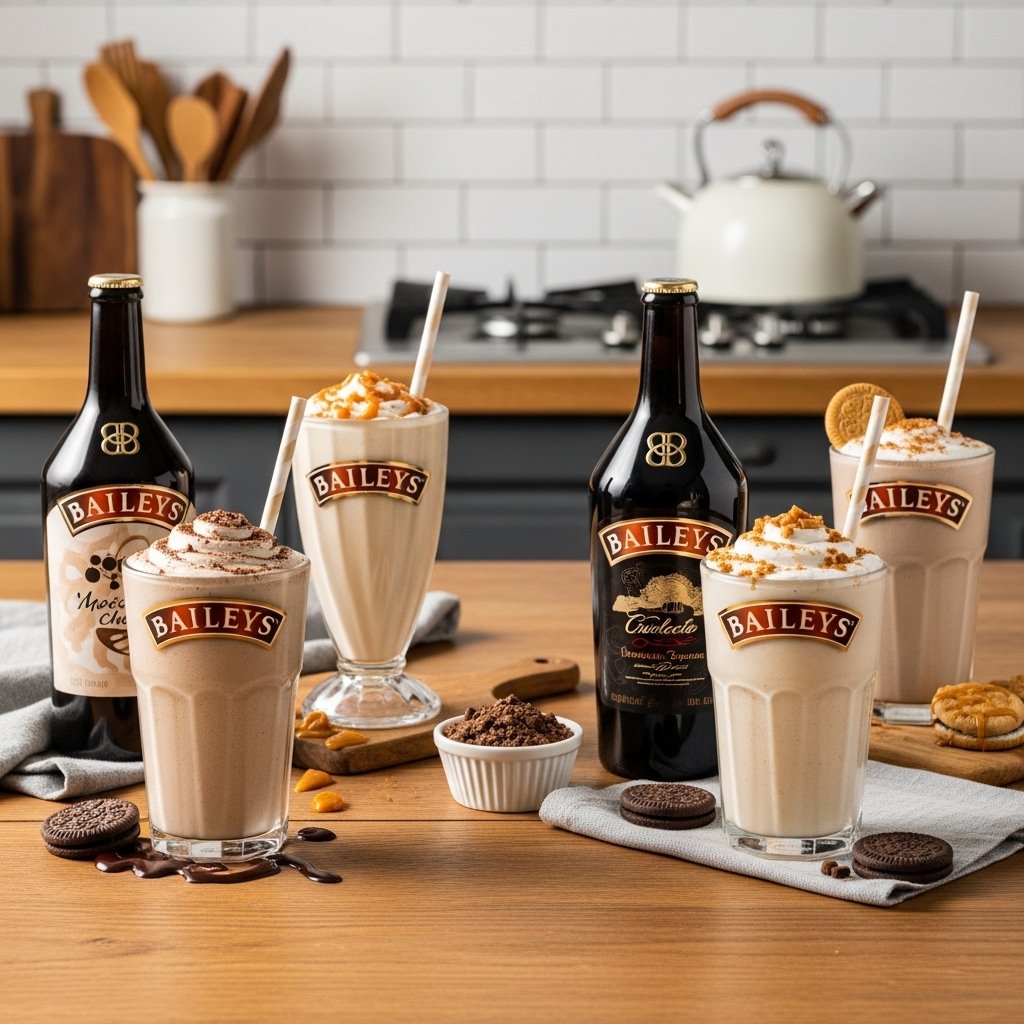
Variations to Try
Once you’re comfortable, experiment with:
- Protein smoothies for workouts
- Dairy-free smoothies
- Dessert-style smoothies with chocolate or vanilla
- Detox smoothies with greens and citrus
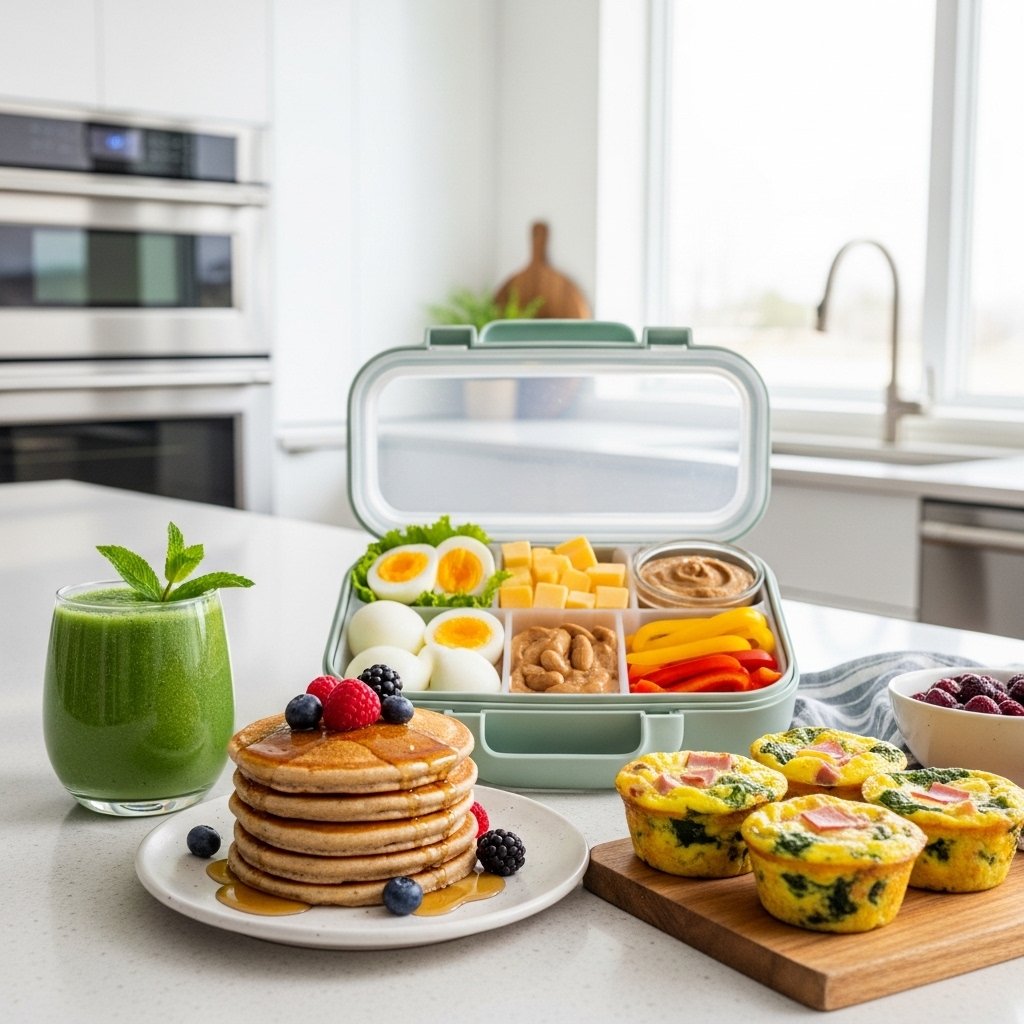
What to Serve With Smoothies
These smoothie recipes – fruit smoothie, tropical smoothie sunrise sunset & more pair well with:
- Toast or bagels
- Granola or oatmeal
- Eggs or breakfast bowls
- Light snacks
They can easily be part of a balanced meal.
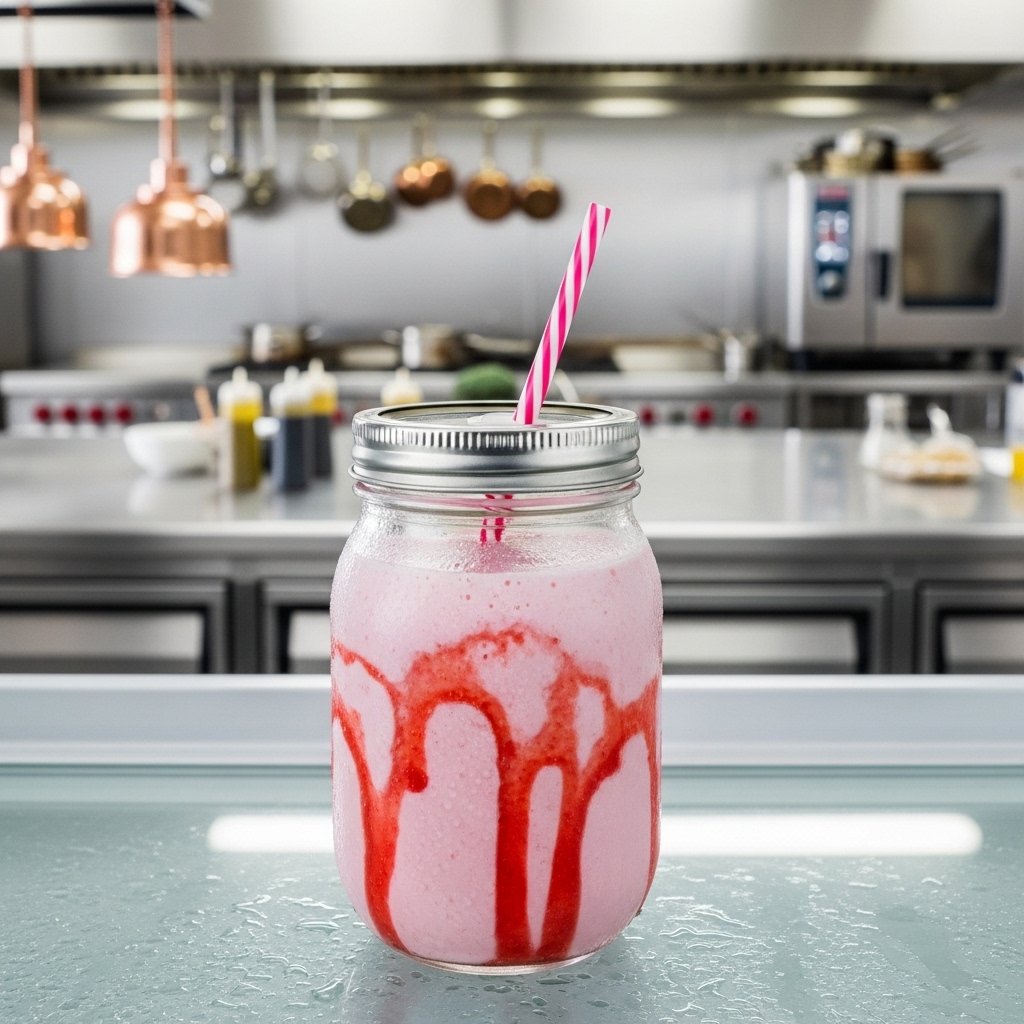
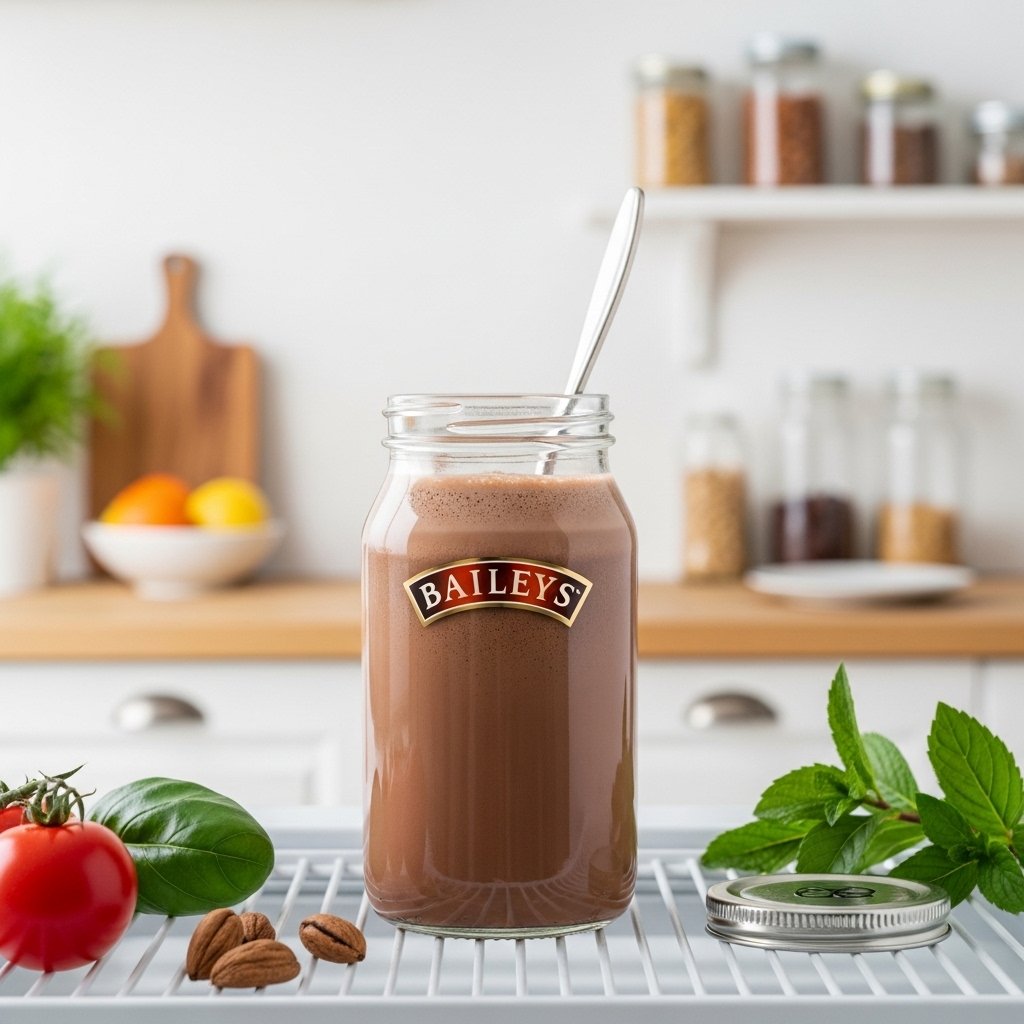
Storage Tips
Smoothies are best fresh, but you can:
- Store in the fridge for up to 24 hours
- Shake before drinking
- Use airtight containers

Common Mistakes to Avoid
Avoid these common smoothie mistakes:
- Adding too much liquid
- Overloading ingredients
- Over-blending
- Skipping taste adjustments
Keeping it simple is key to success.
FAQs
What is the best base for smoothies?
Milk, juice, or coconut water all work well depending on flavor.
Can I use frozen fruit?
Yes, frozen fruit helps create a thicker, colder smoothie.
How do I make layered smoothies?
Blend each layer separately and pour slowly for a layered effect.
Are smoothies healthy?
Yes, when made with natural ingredients and minimal added sugar.
Final Thoughts
These smoothie recipes – fruit smoothie, tropical smoothie sunrise sunset & more are a fun, easy, and delicious way to enjoy healthy drinks at home. With endless combinations and simple steps, anyone can create smoothies that taste amazing and look beautiful.
Whether you’re craving a classic fruit blend or a vibrant tropical creation, these recipes will keep you refreshed and inspired. Grab your blender and start experimenting—you’ll discover your new favorite smoothie in no time!