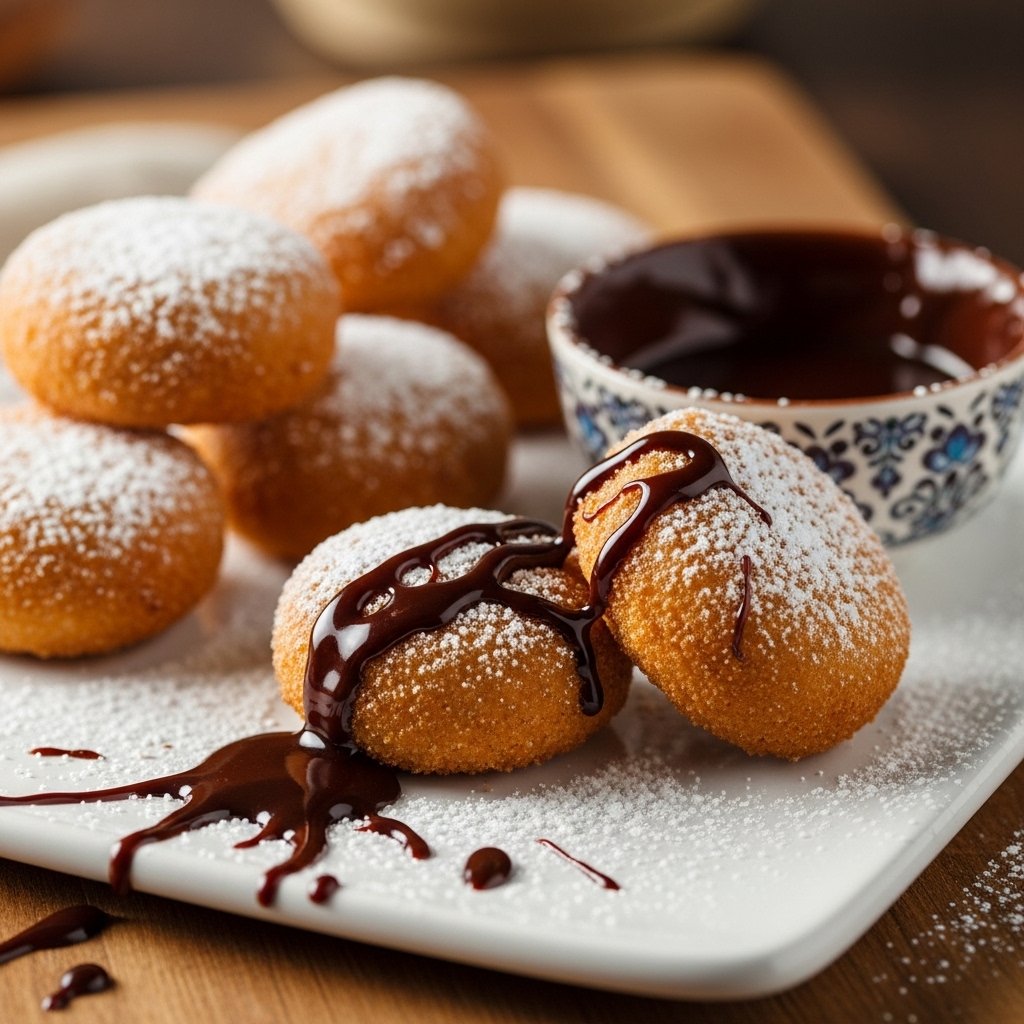
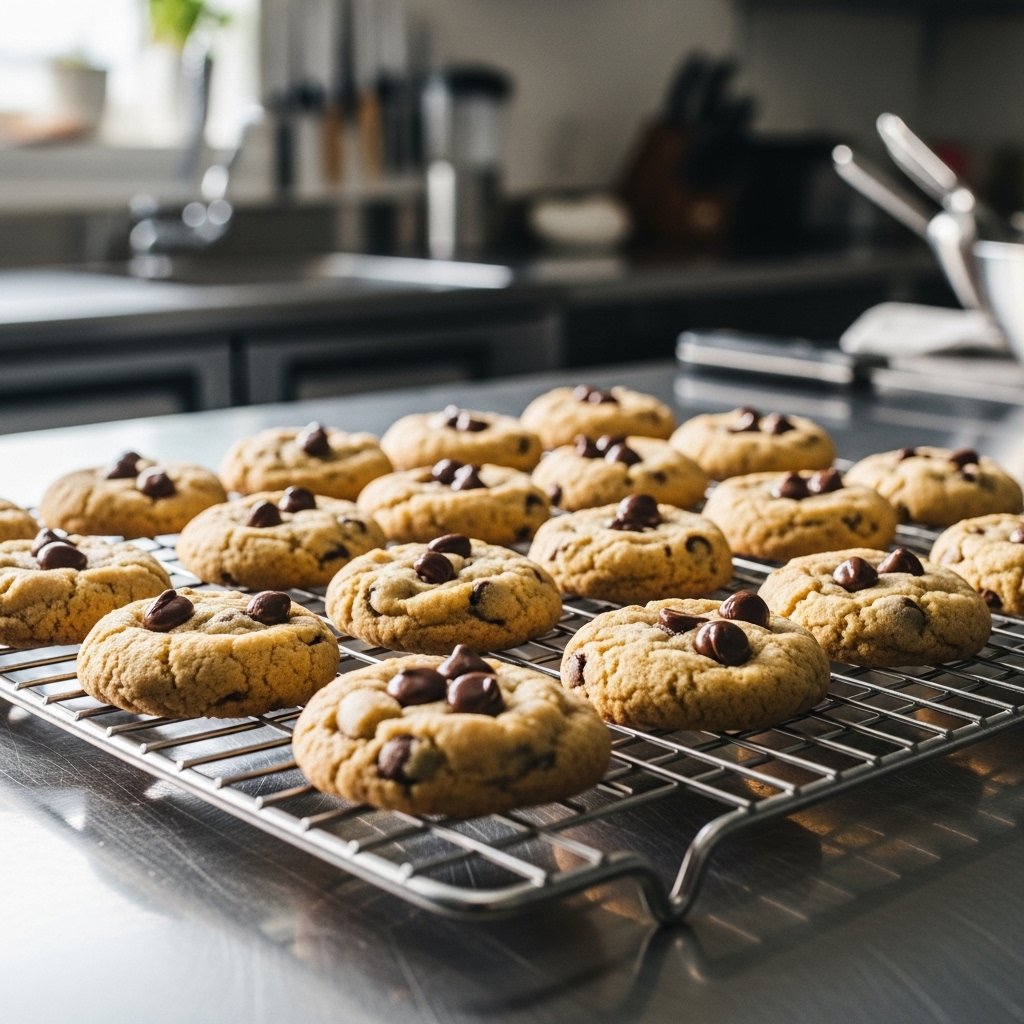
If you’re looking for the ultimate crowd-pleasing treat, this easy mini cookies recipe (makes 100 pieces) is exactly what you need. These bite-sized cookies are soft, chewy, and packed with flavor, making them perfect for parties, lunchboxes, or just a quick sweet snack.
What makes this recipe truly special is how simple and versatile it is. Whether you’re baking for a large group or prepping treats for the week, these mini cookies deliver big flavor in a tiny package.
Why You’ll Love This Mini Cookies Recipe
This easy mini cookies recipe (makes 100 pieces) is a must-try for so many reasons:
- Perfect for sharing and parties
- Quick and easy to prepare
- Soft, chewy texture
- Customizable with different mix-ins
- Great for freezing and meal prep
These cookies are designed to make baking fun, efficient, and delicious.
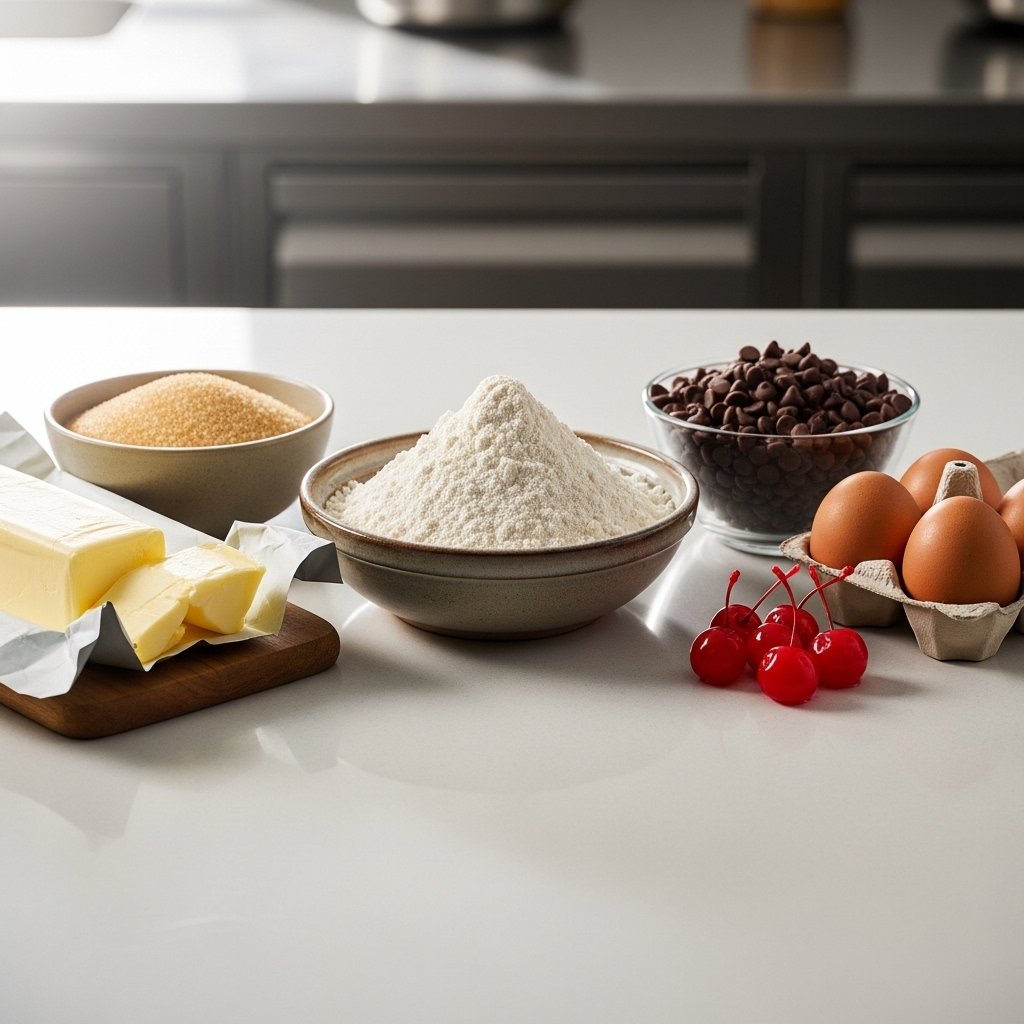
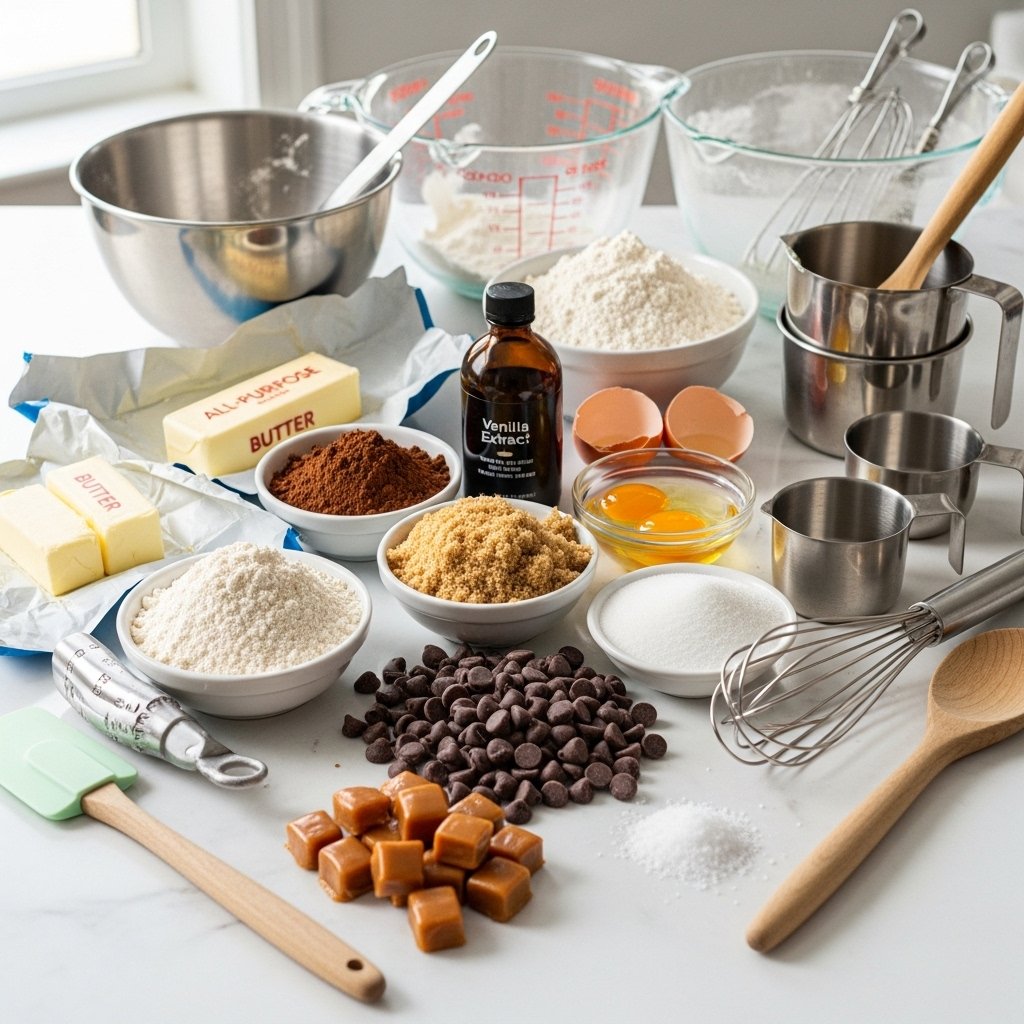
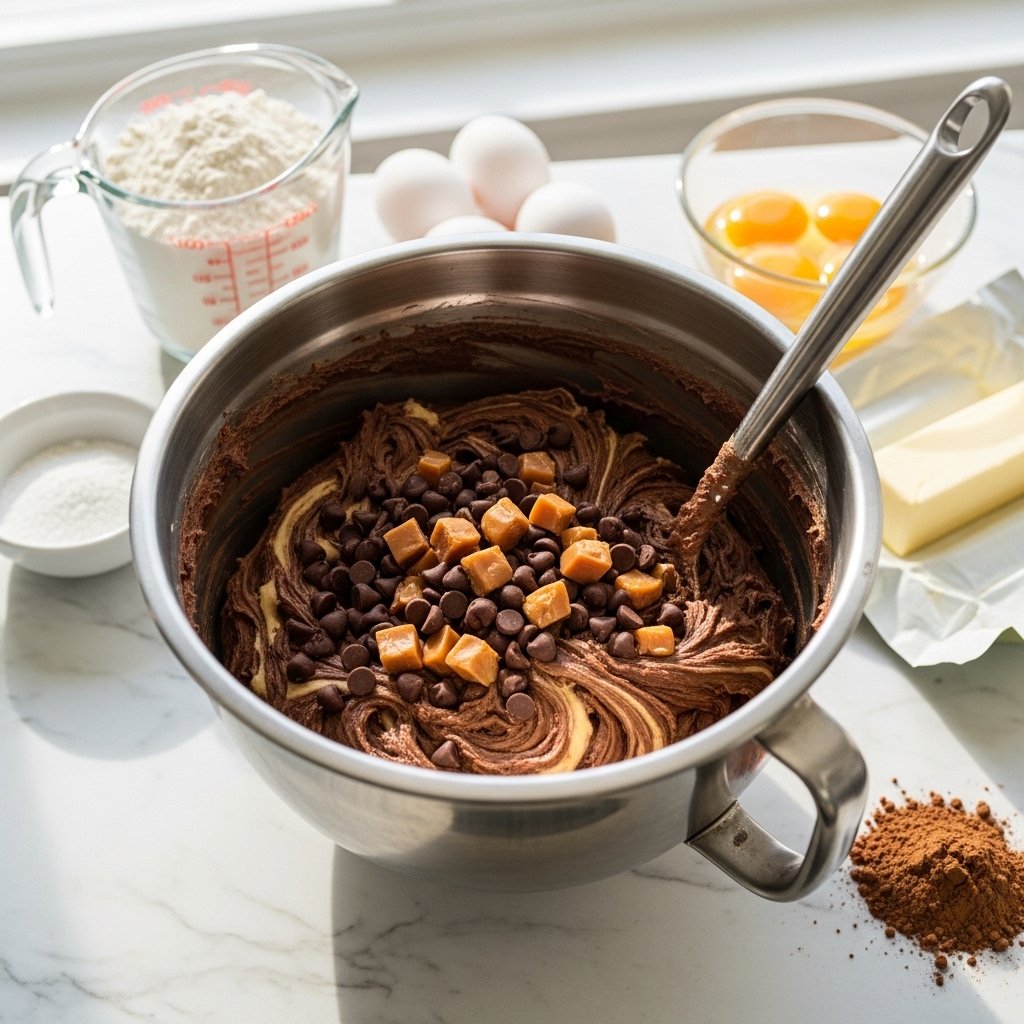
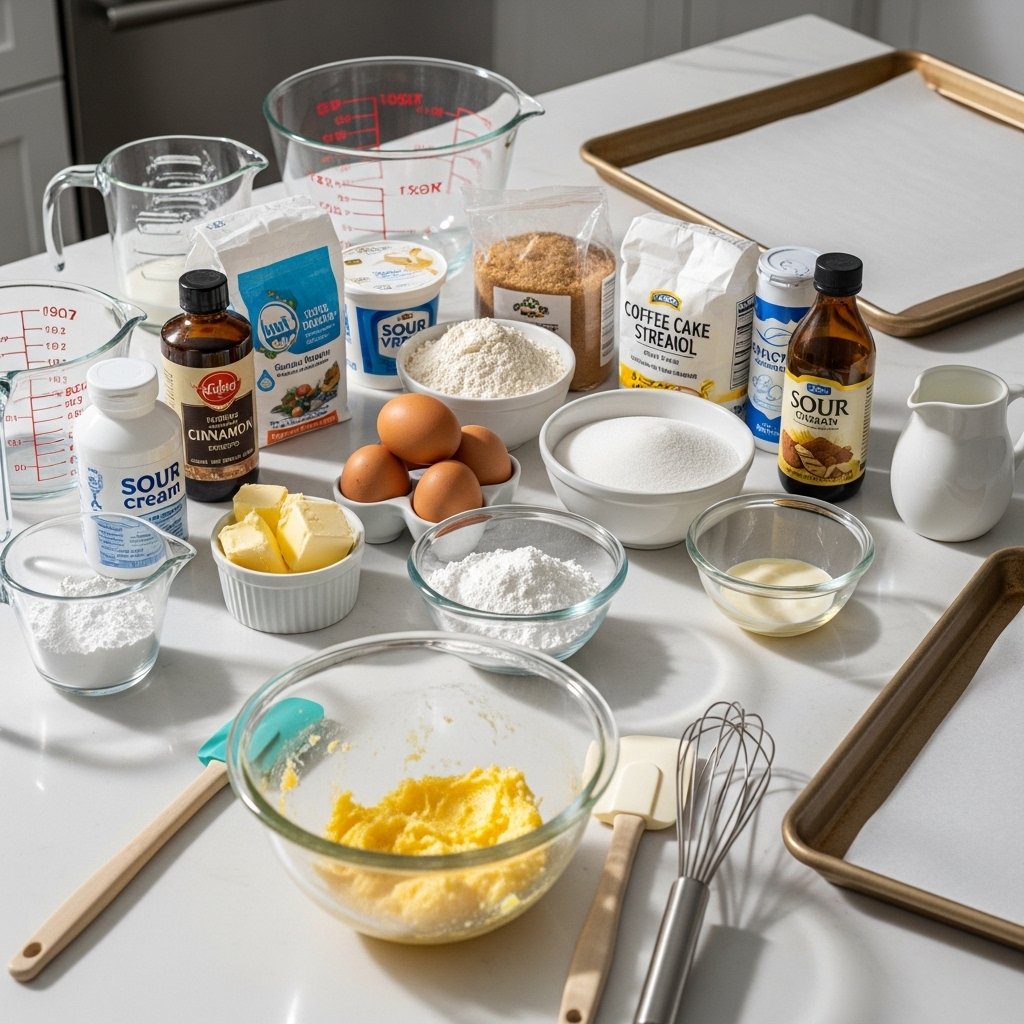
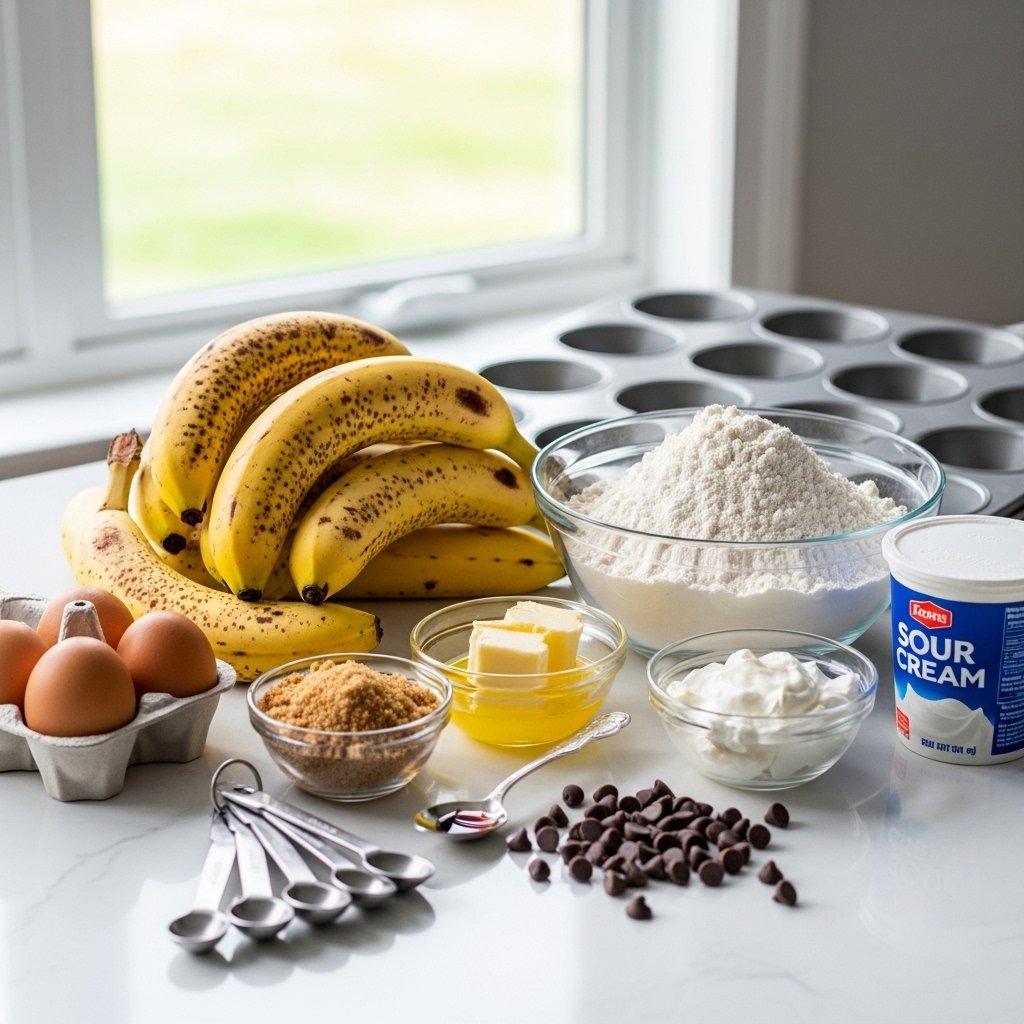
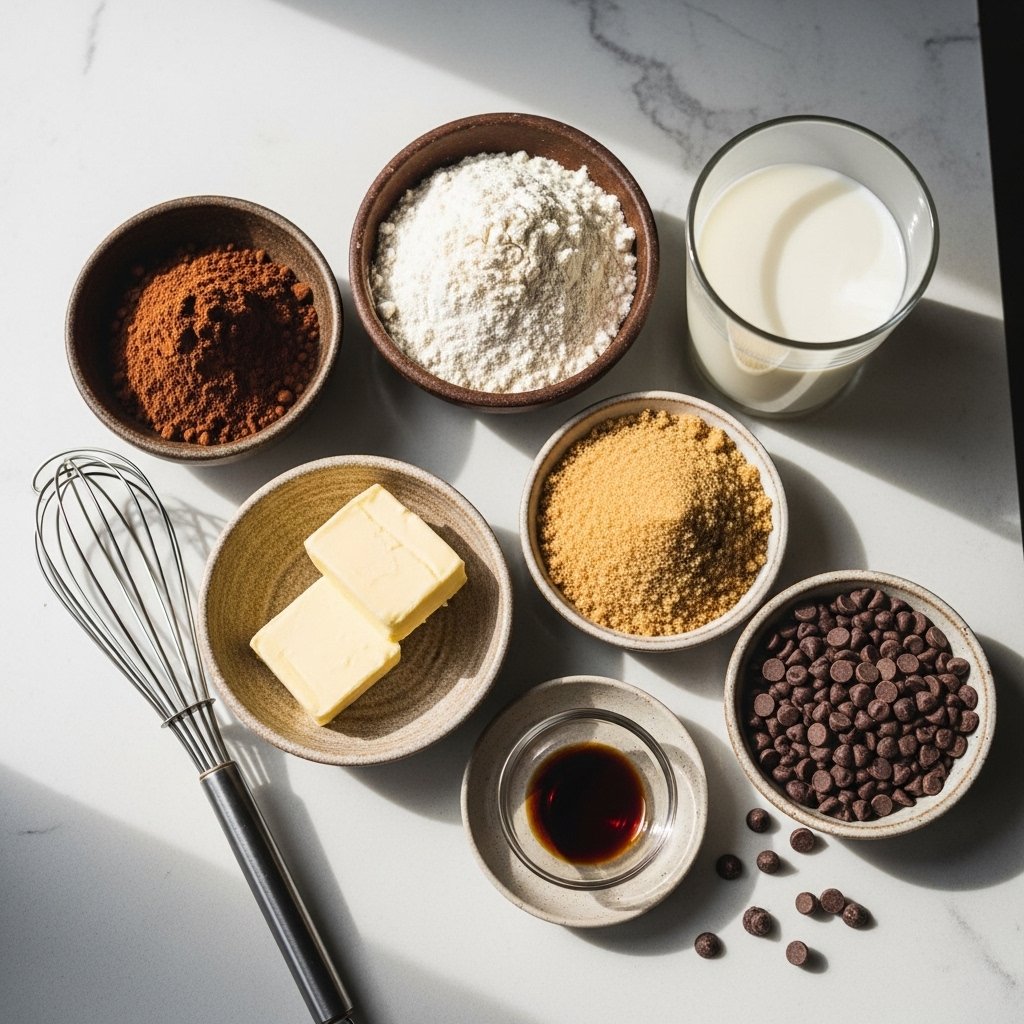
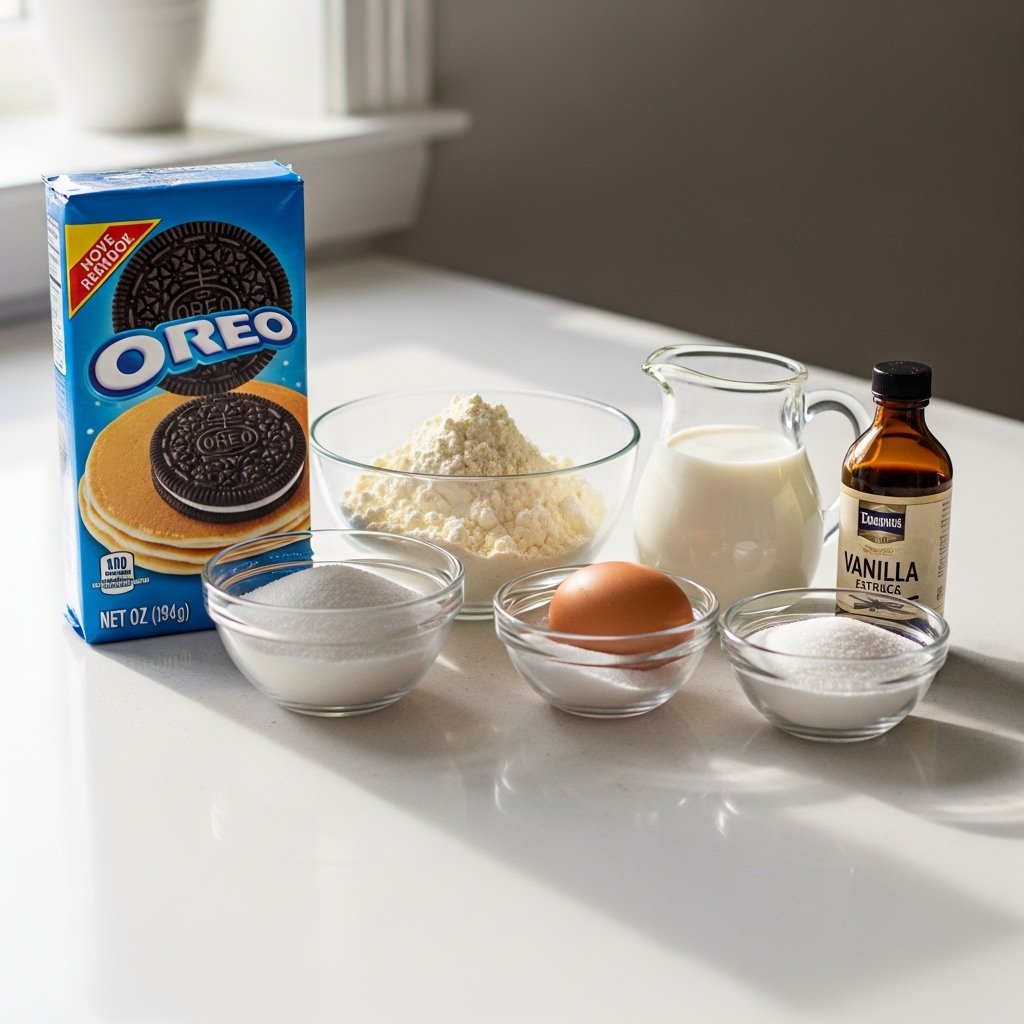
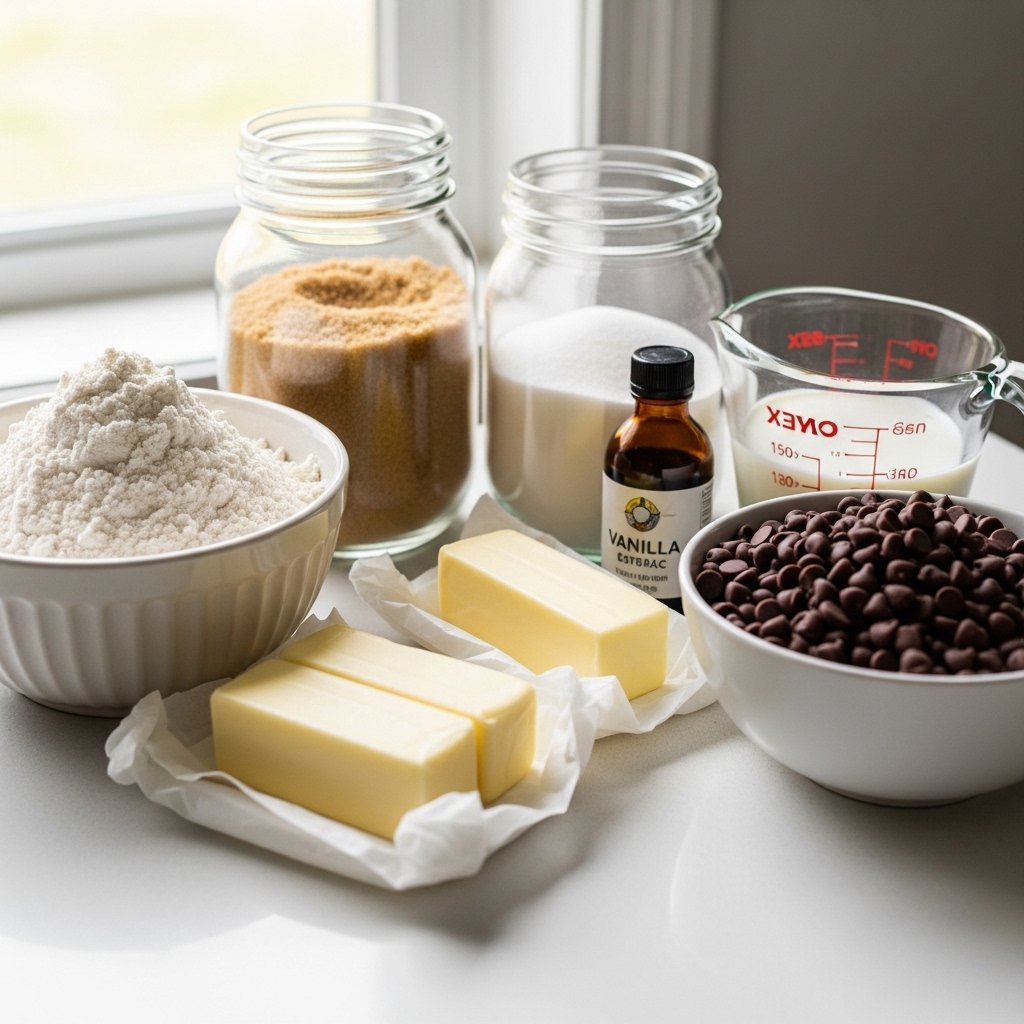
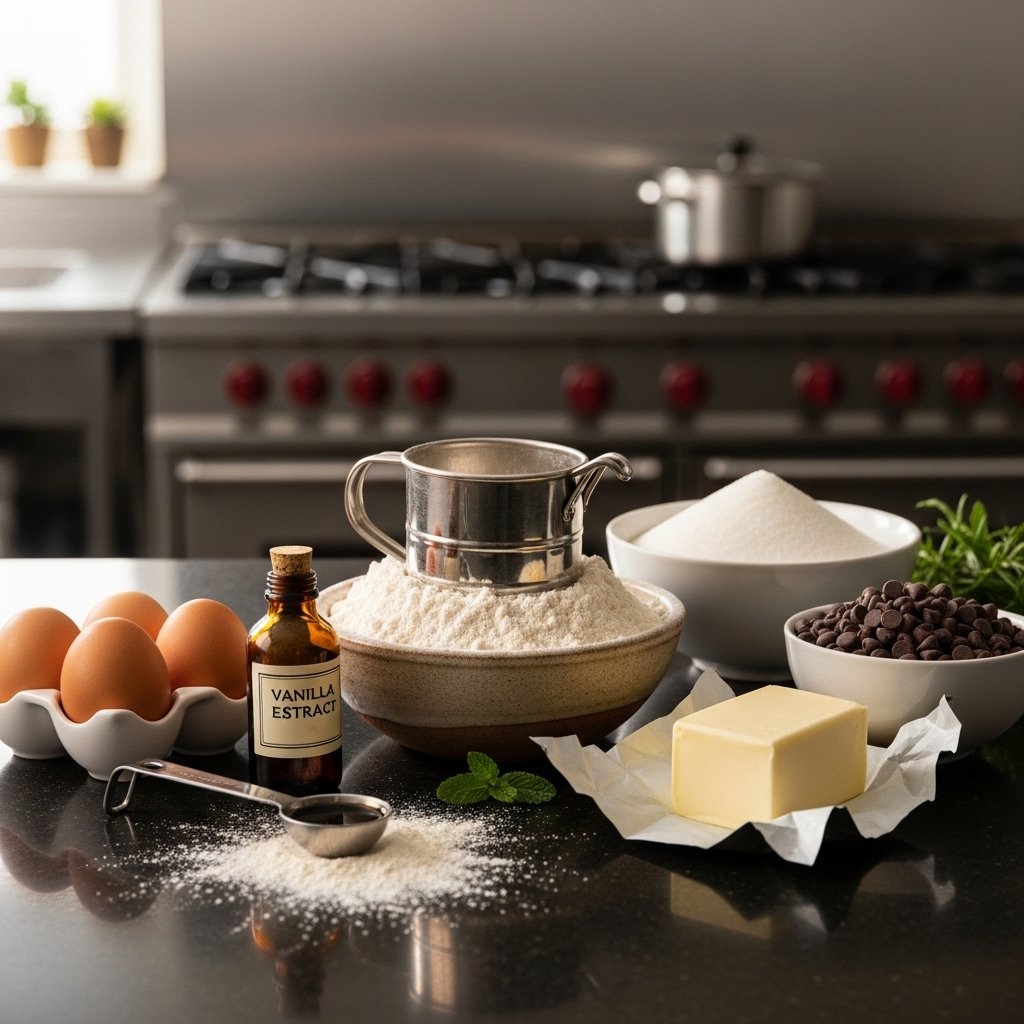
Ingredients
To make this easy mini cookies recipe (makes 100 pieces), you’ll need:
- 2 ½ cups all-purpose flour
- 1 tsp baking soda
- ½ tsp salt
- 1 cup unsalted butter (softened)
- ¾ cup brown sugar
- ½ cup granulated sugar
- 2 large eggs
- 2 tsp vanilla extract
- 1 ½ cups chocolate chips
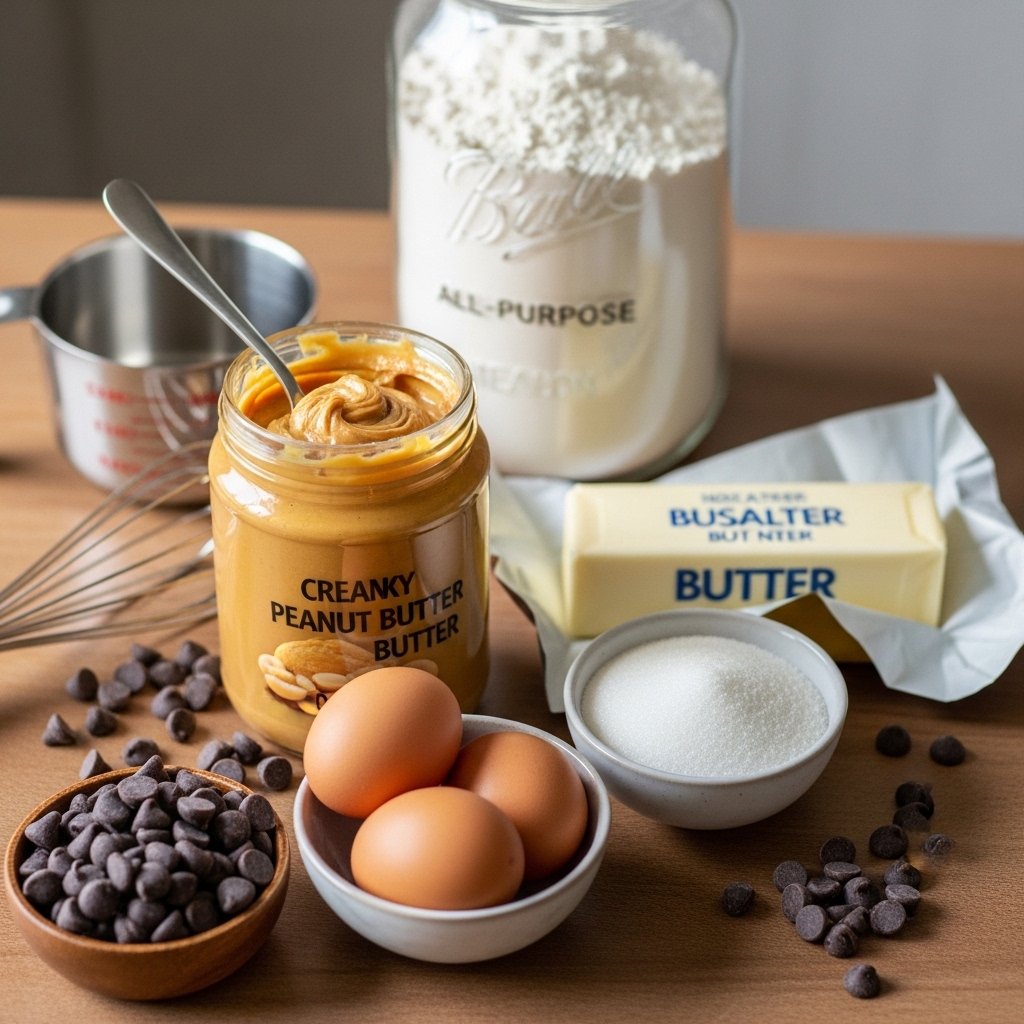
Ingredient Notes
The success of this easy mini cookies recipe (makes 100 pieces) comes down to using quality ingredients. Softened butter ensures a smooth dough, while brown sugar adds moisture and chewiness.
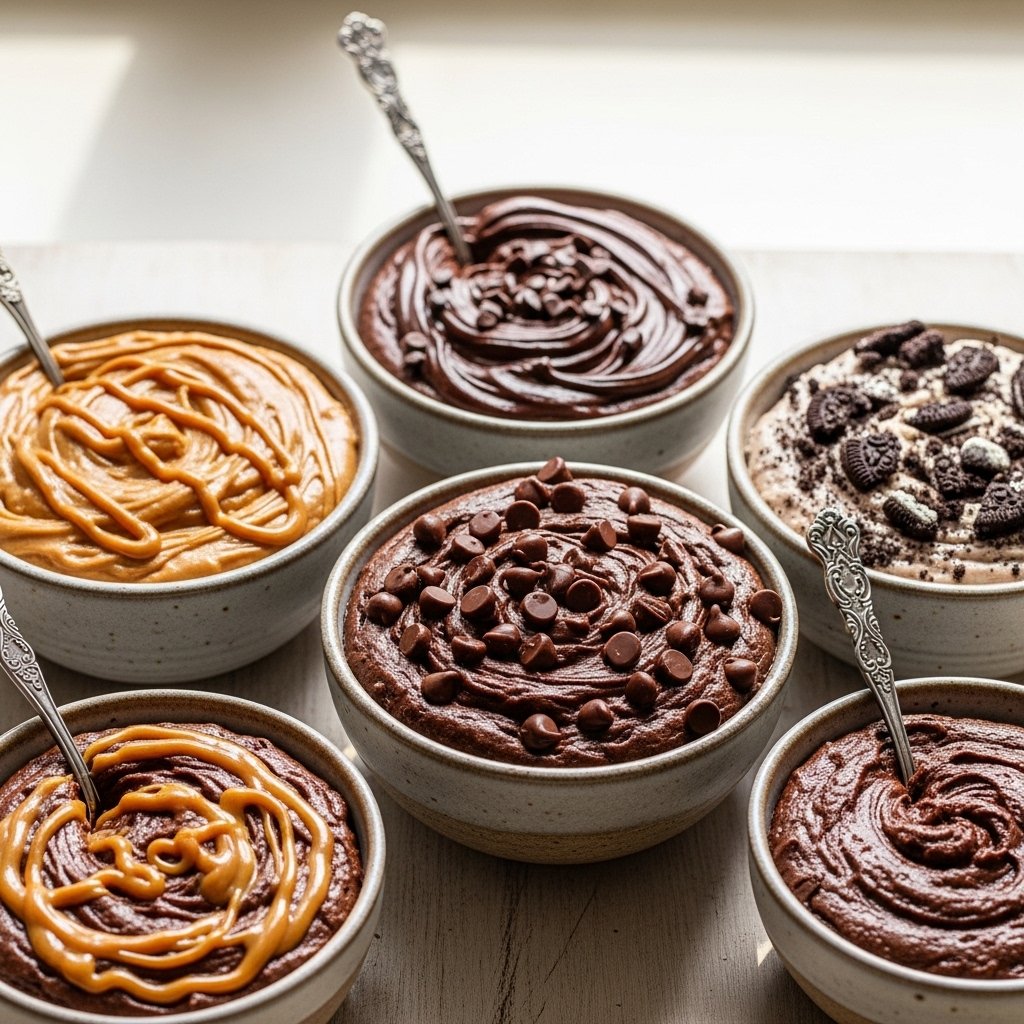
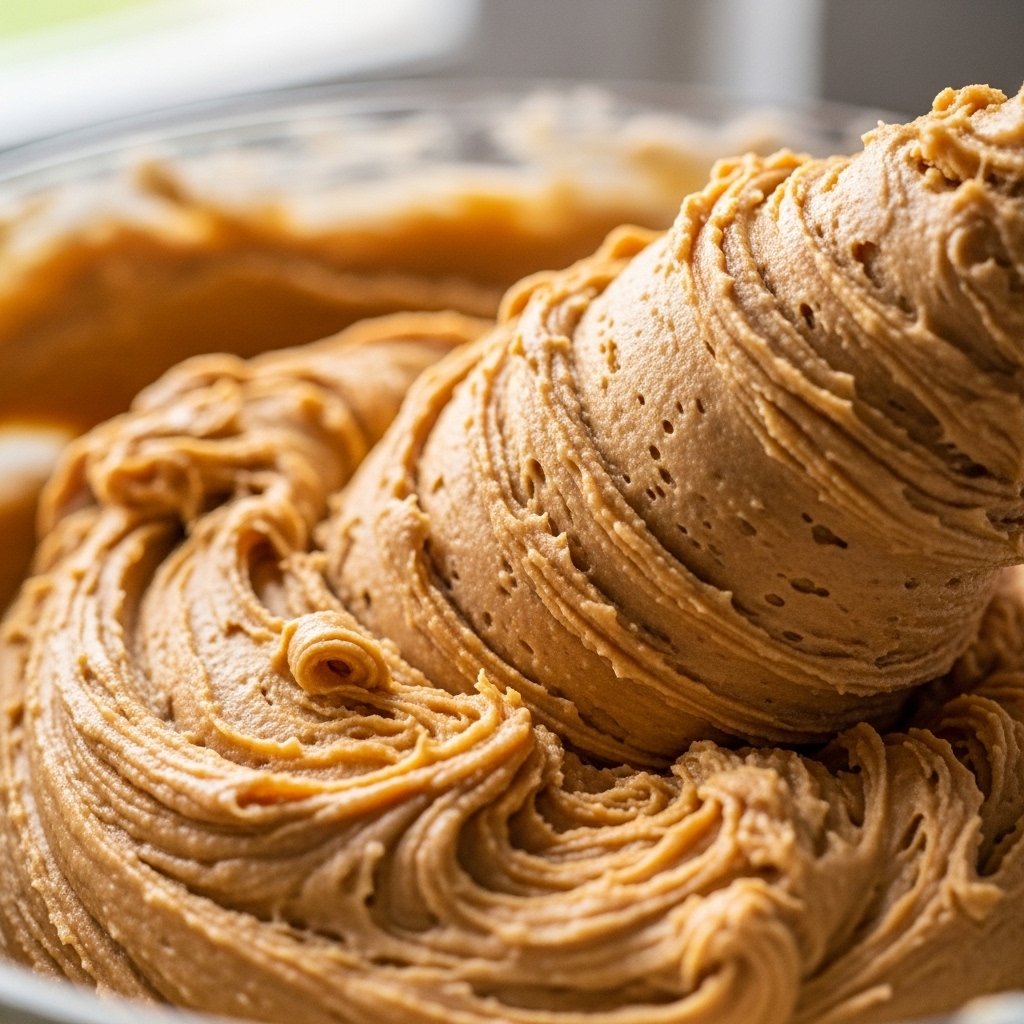
You can easily swap chocolate chips for white chocolate, peanut butter chips, or even dried fruit depending on your taste preferences.
Step-by-Step Instructions
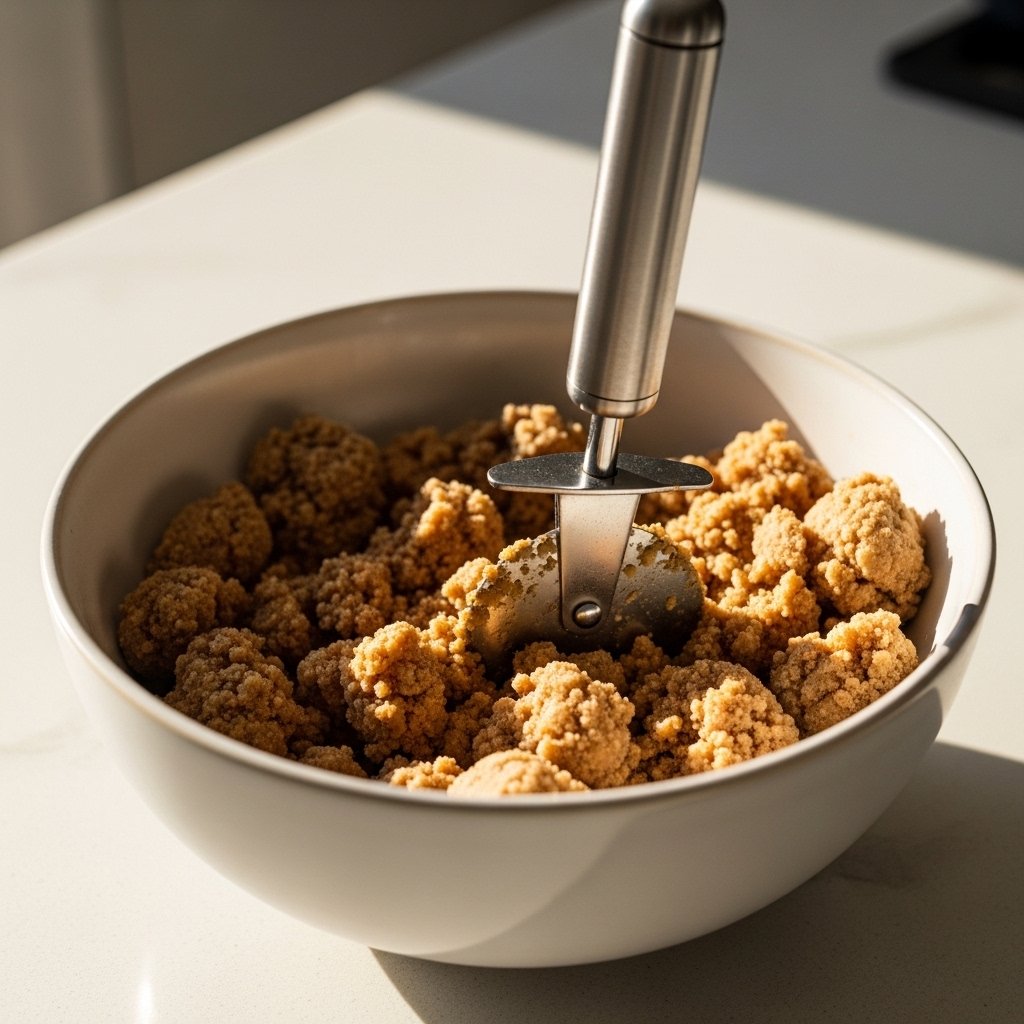
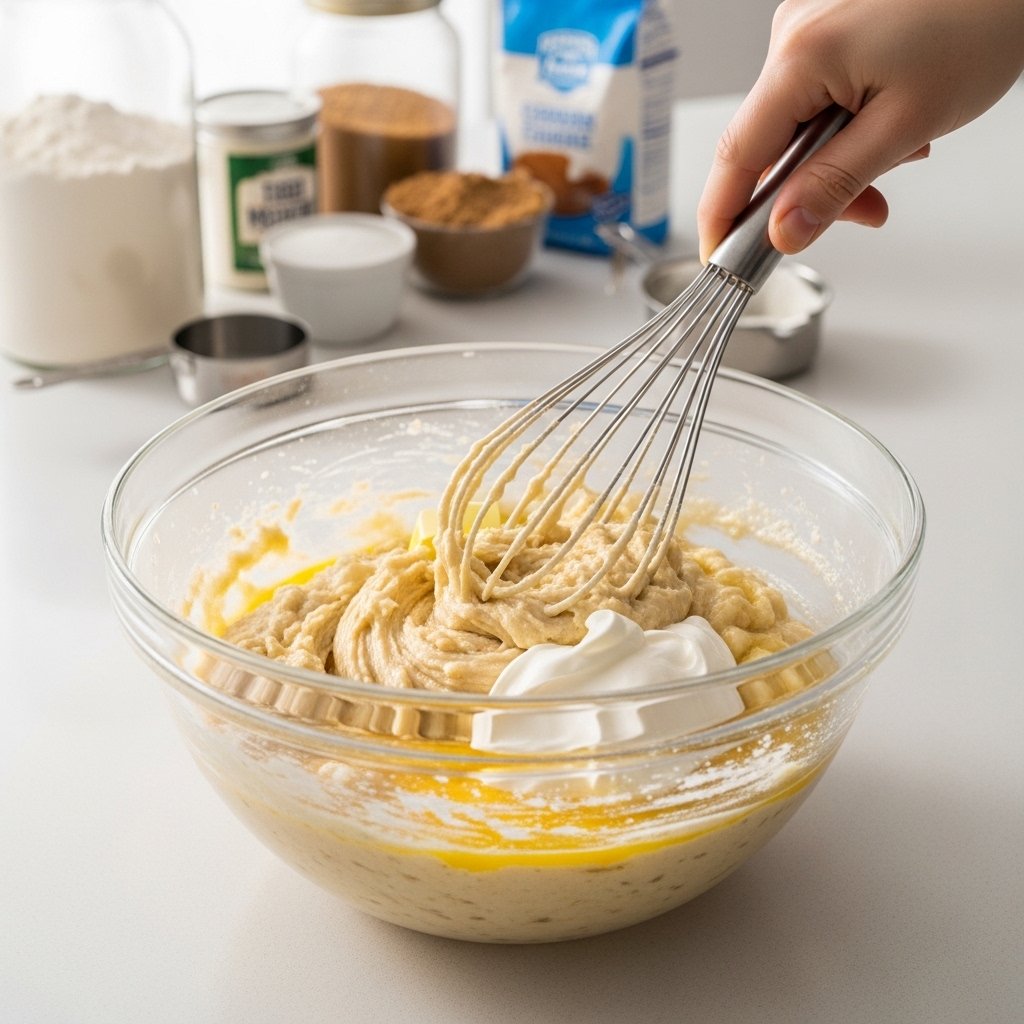
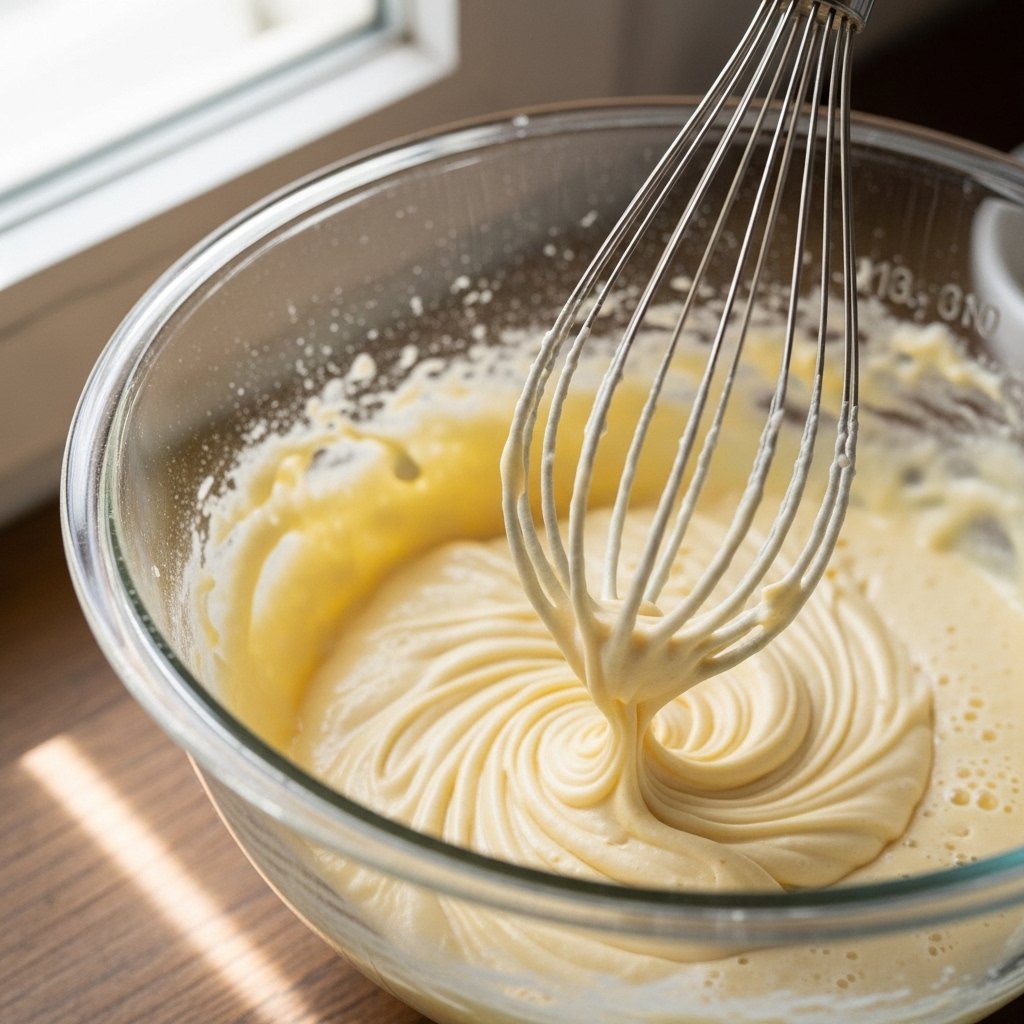
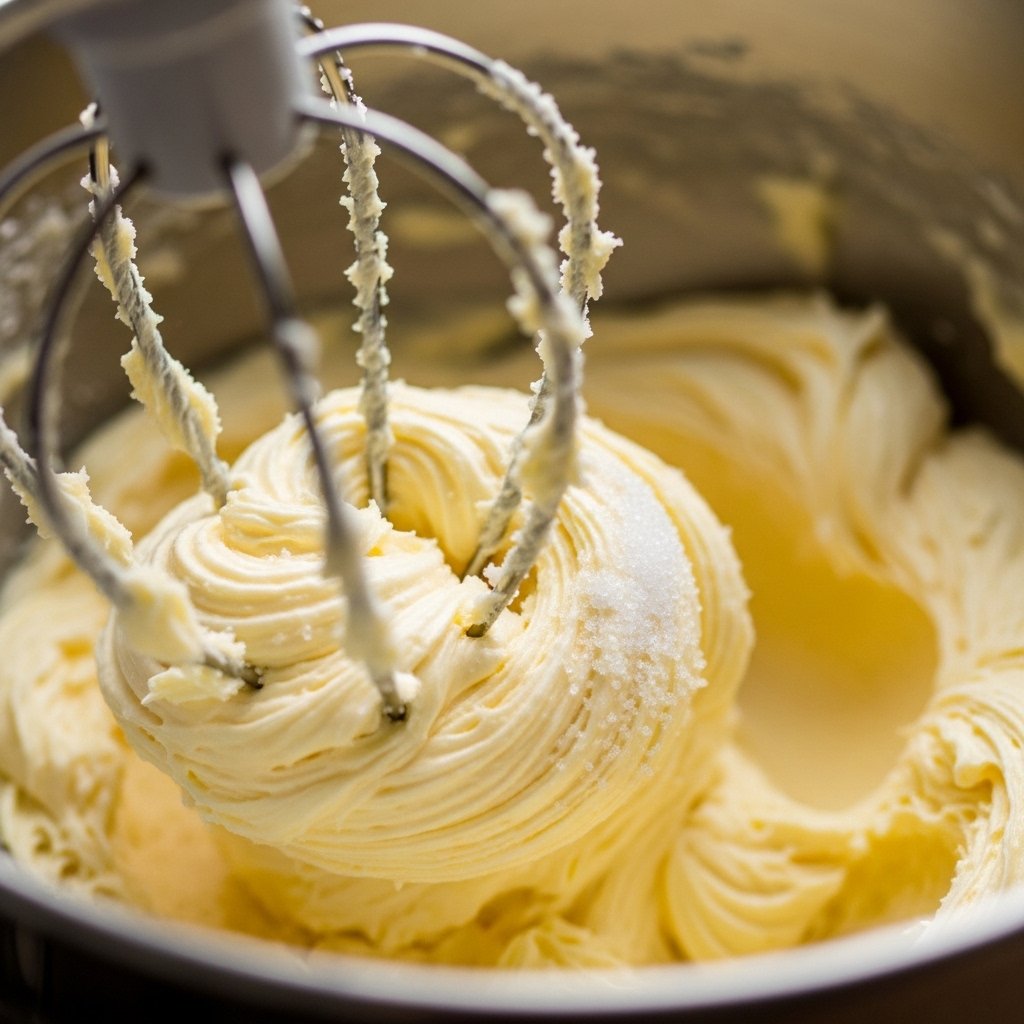
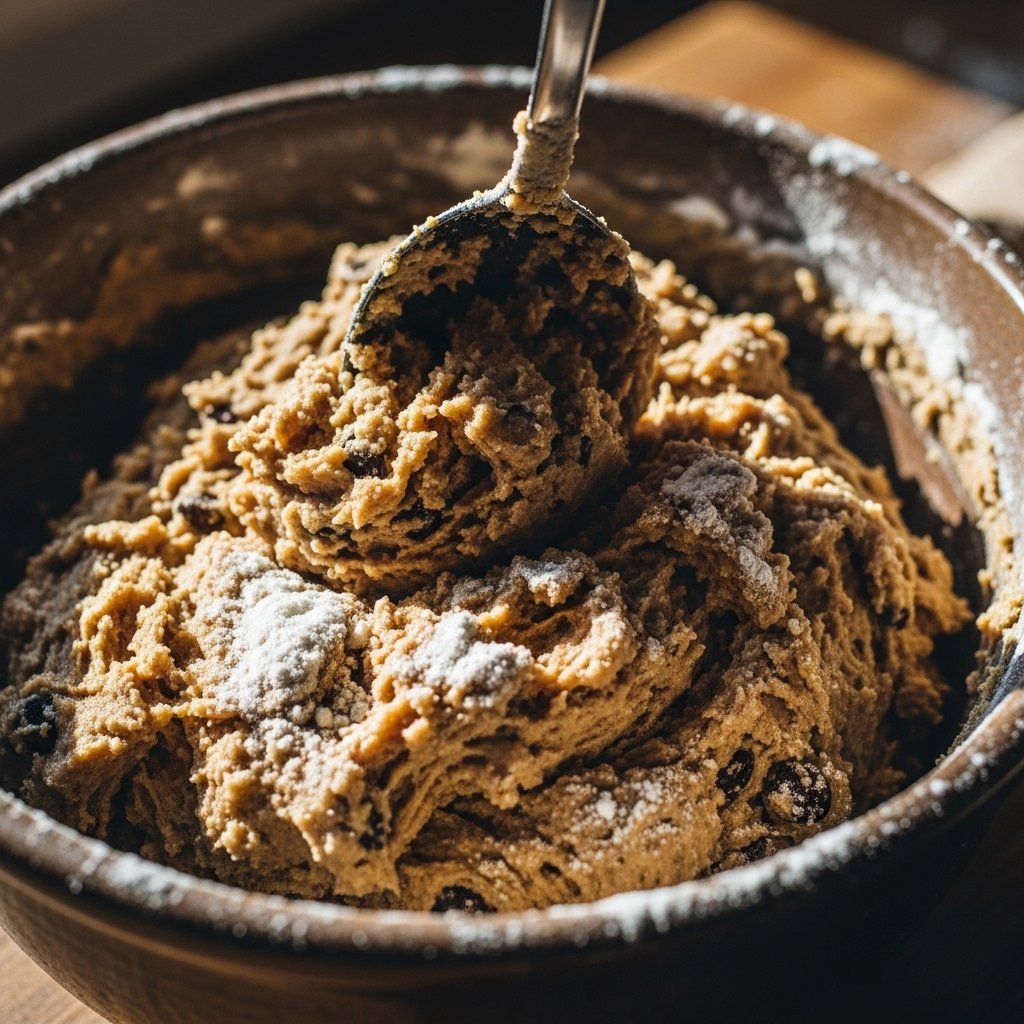
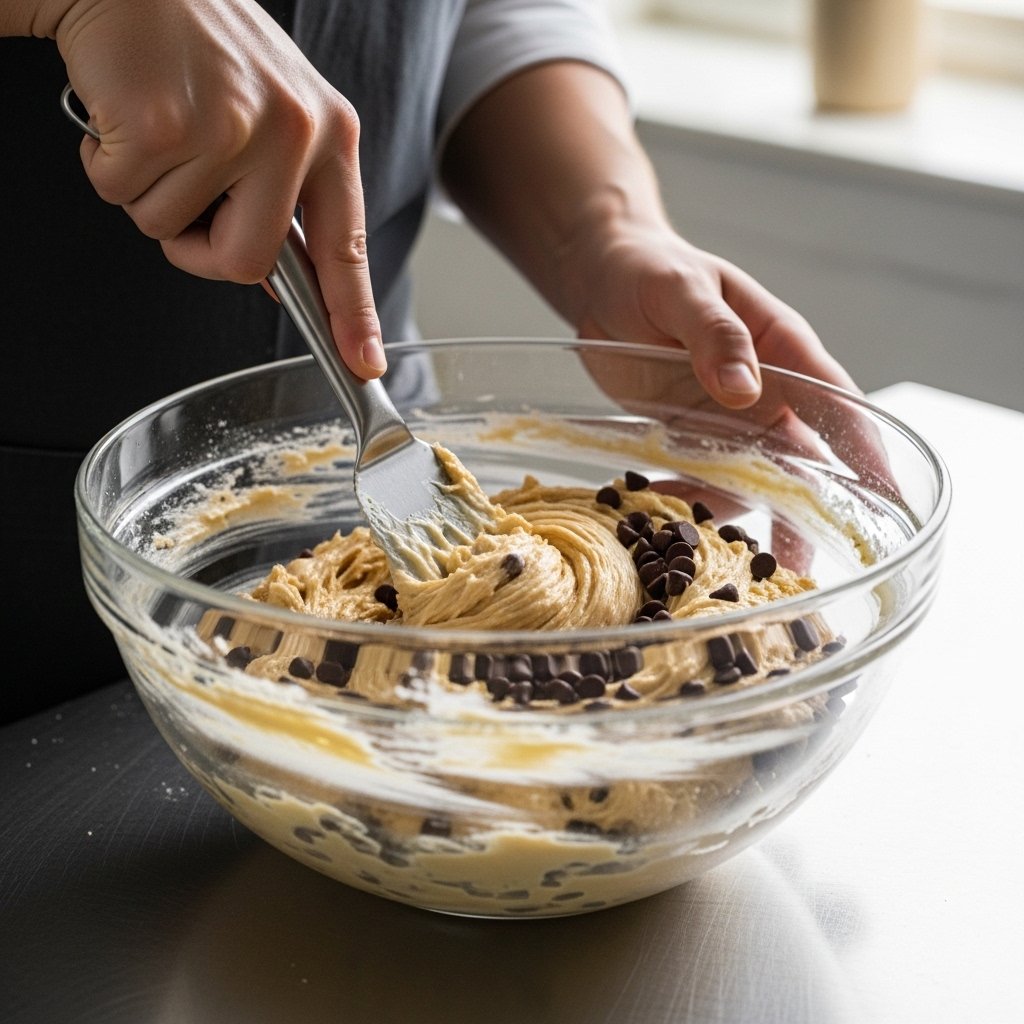
1. Prepare the Dough
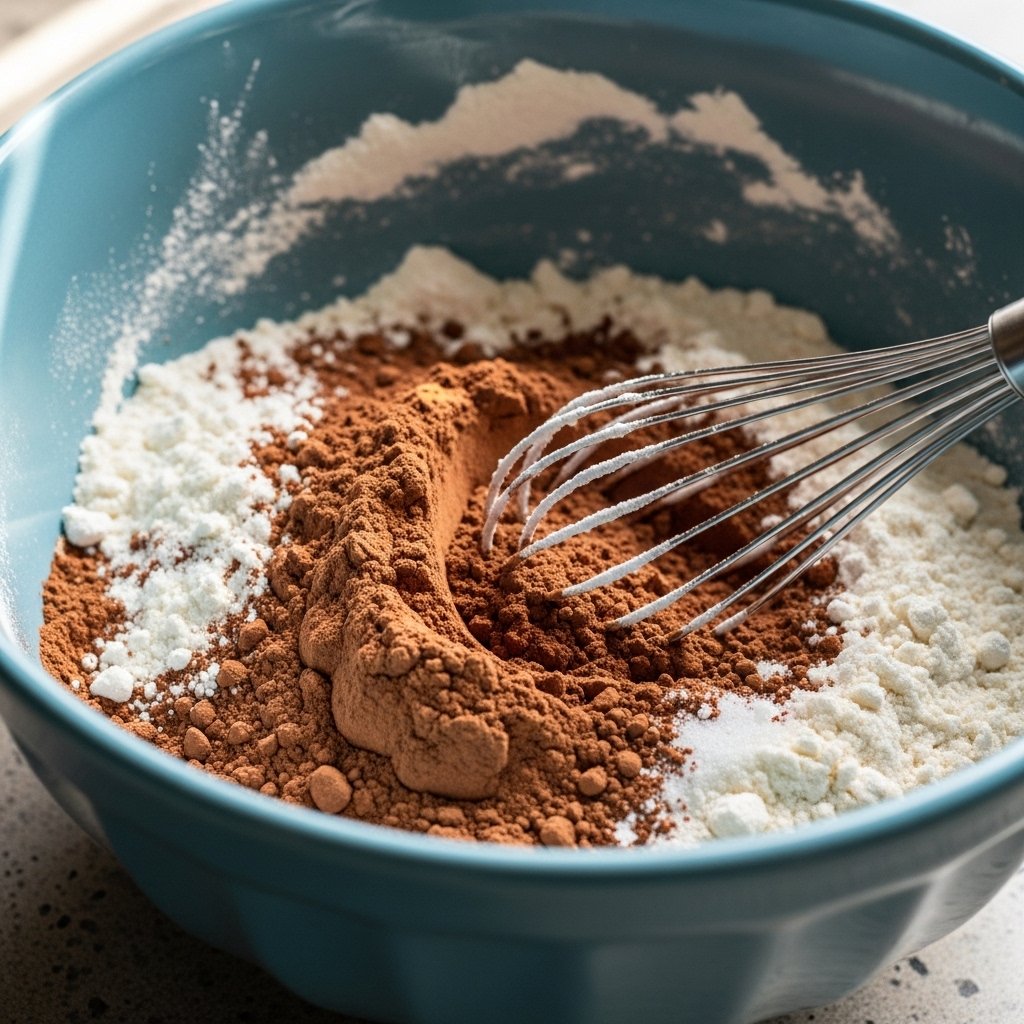
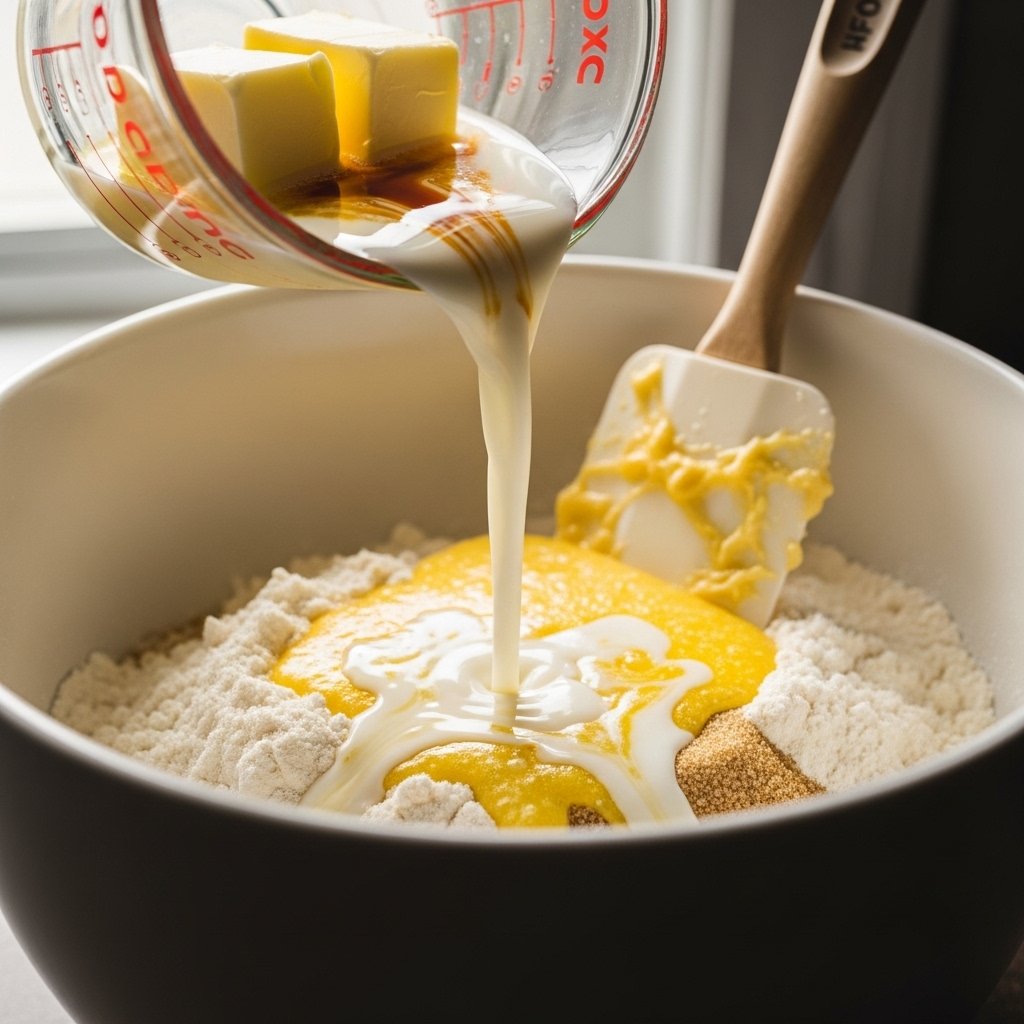
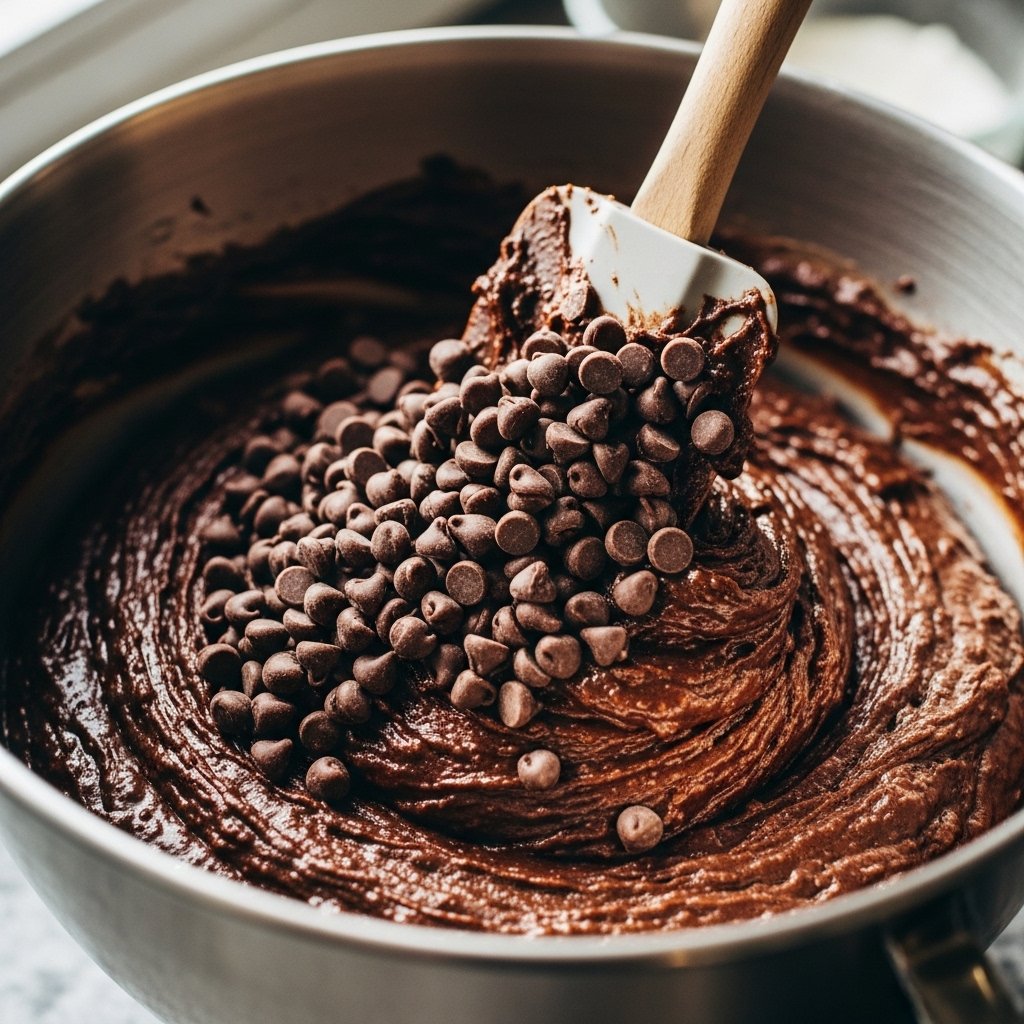
In a bowl, whisk together flour, baking soda, and salt. In another bowl, cream butter and sugars until light and fluffy.
2. Add Wet Ingredients
Mix in eggs and vanilla extract until fully combined.
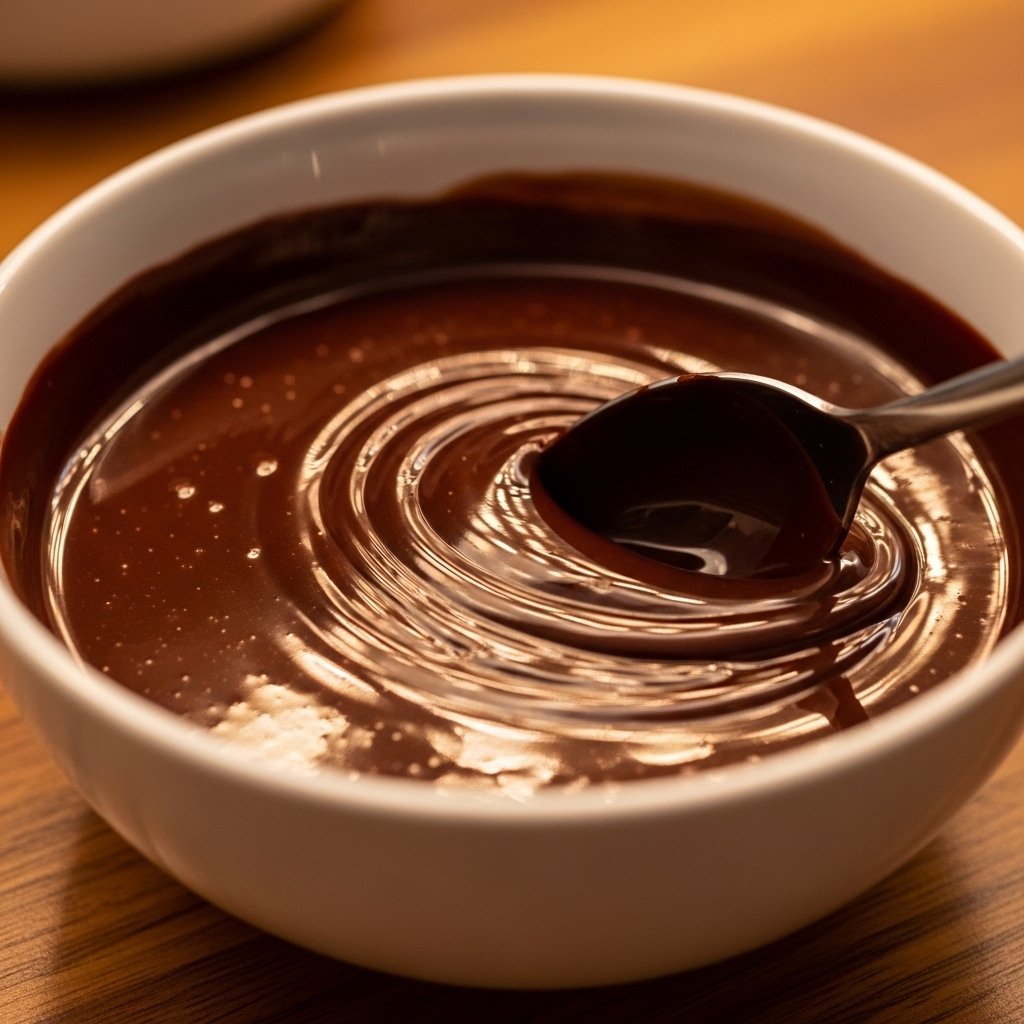
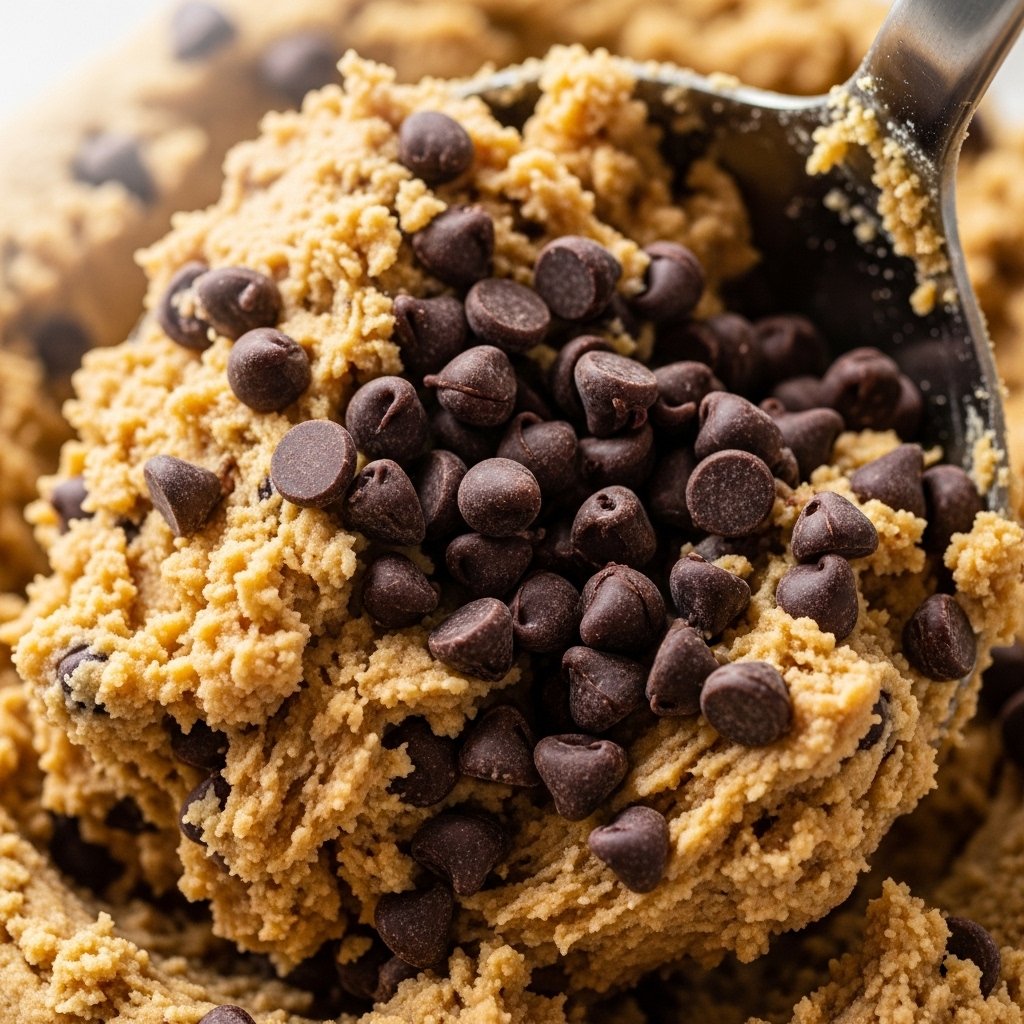
3. Combine Everything
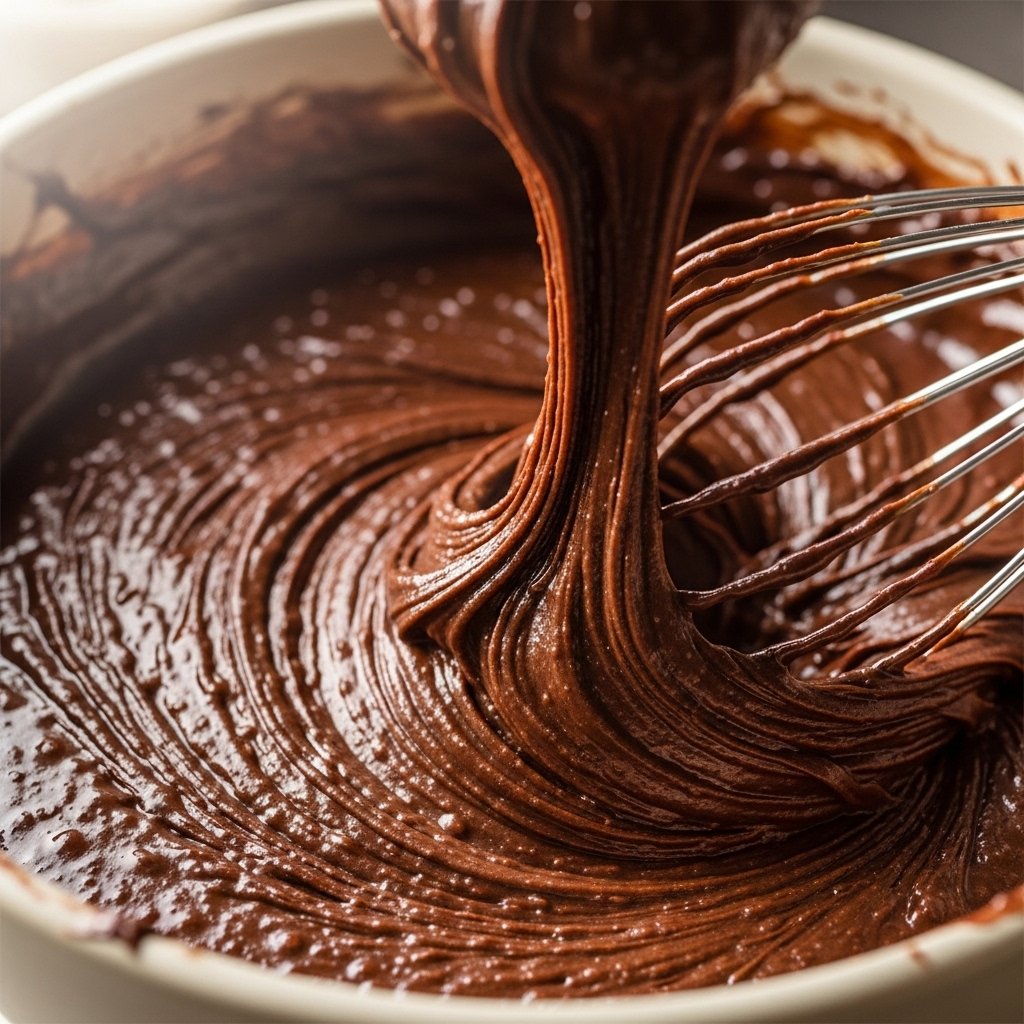
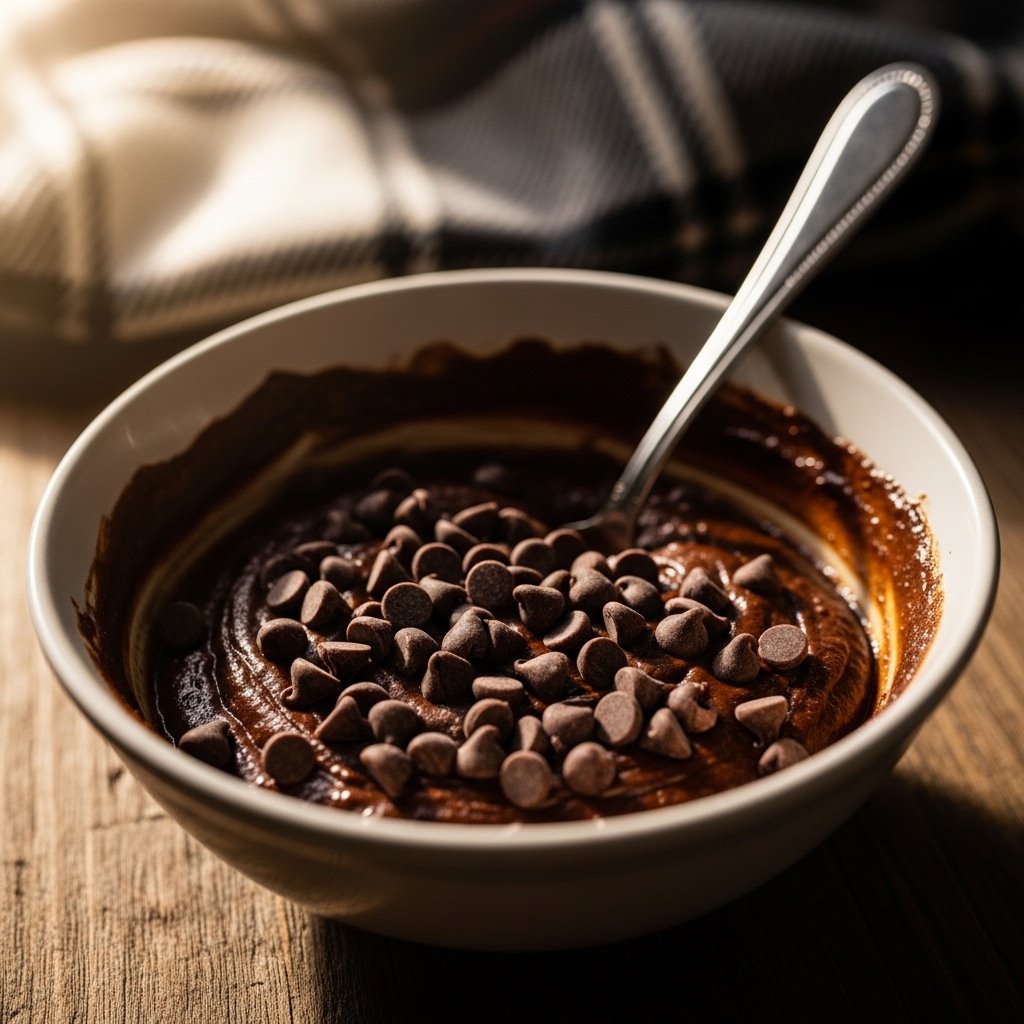
Gradually add dry ingredients to the wet mixture, then fold in chocolate chips.
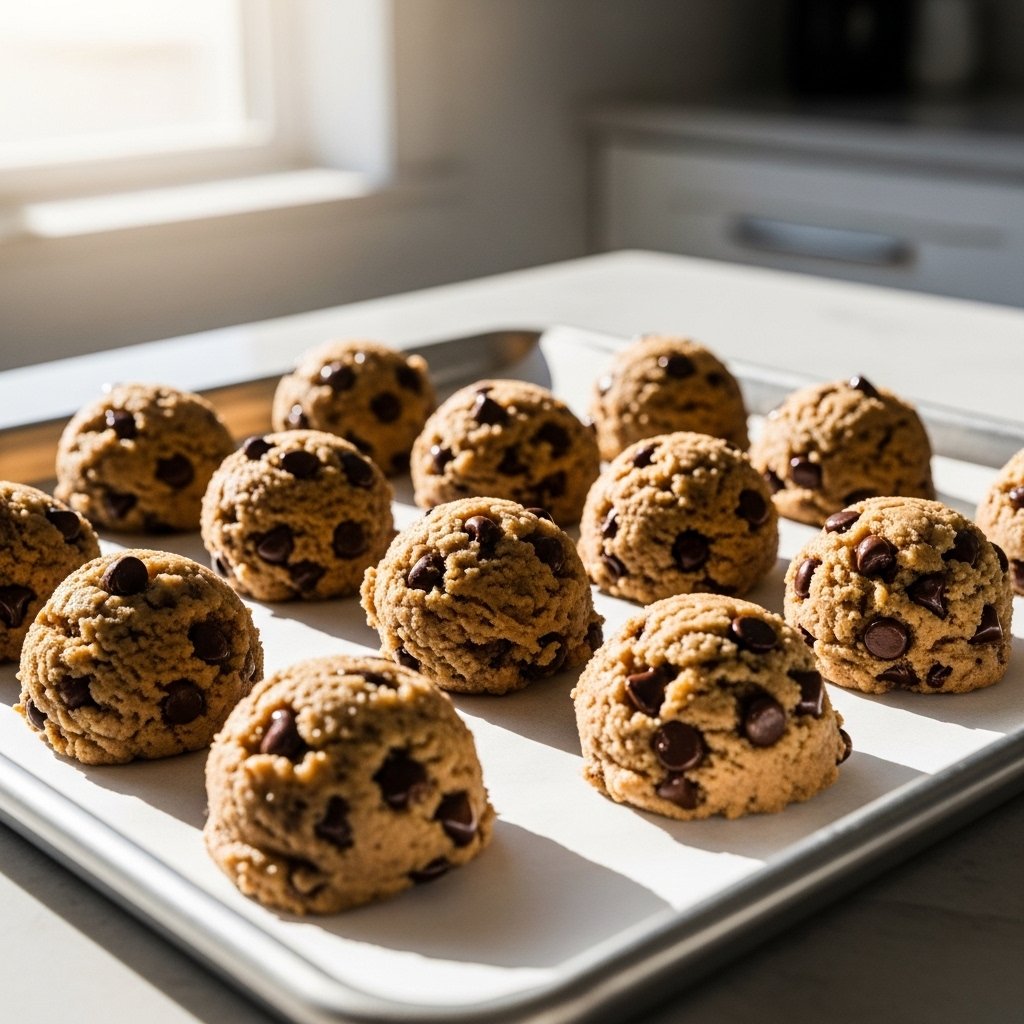
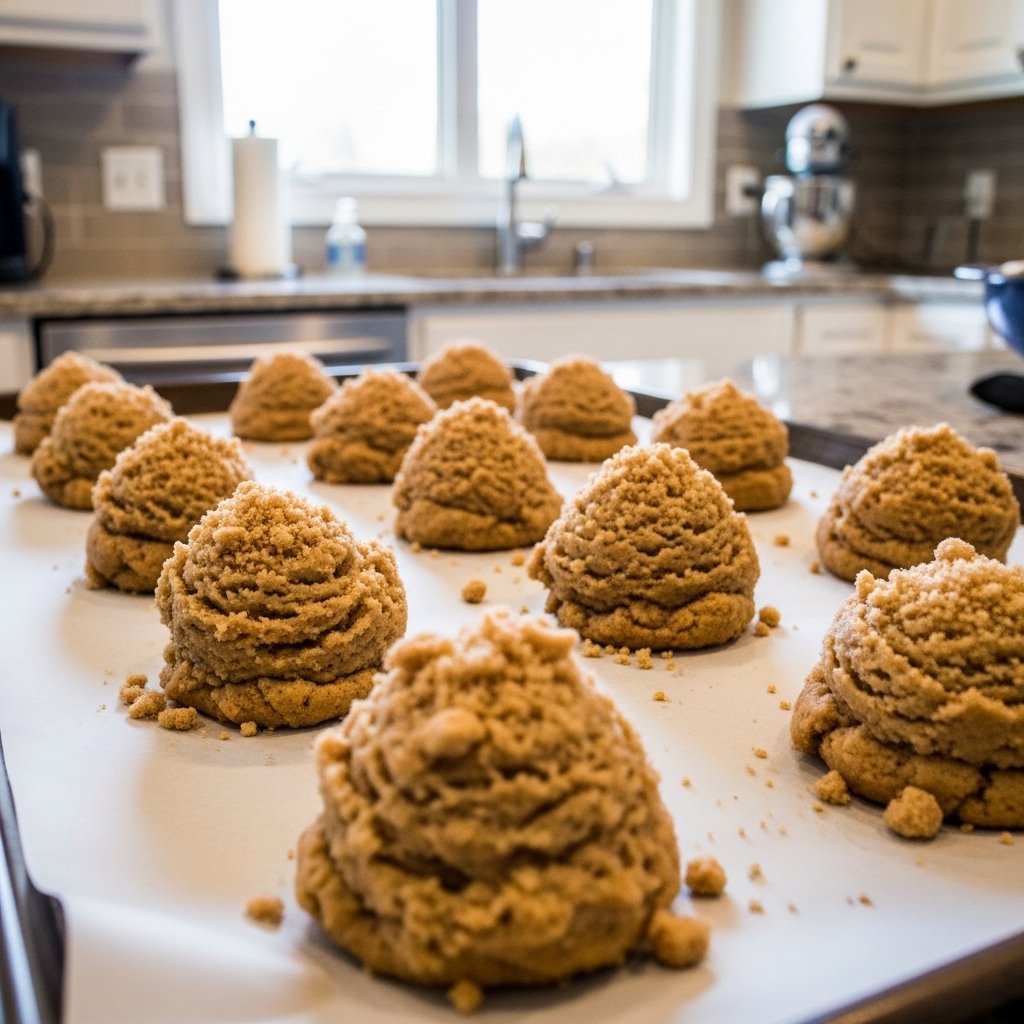
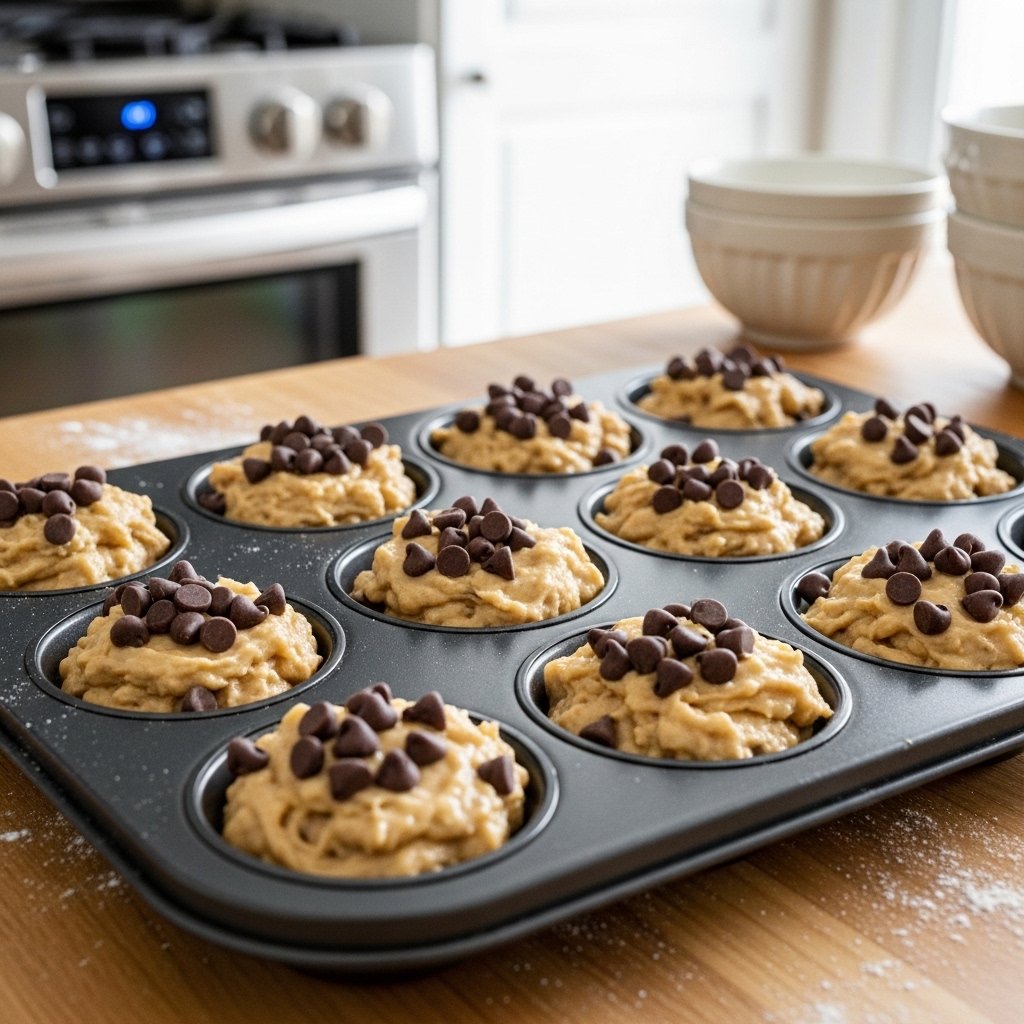
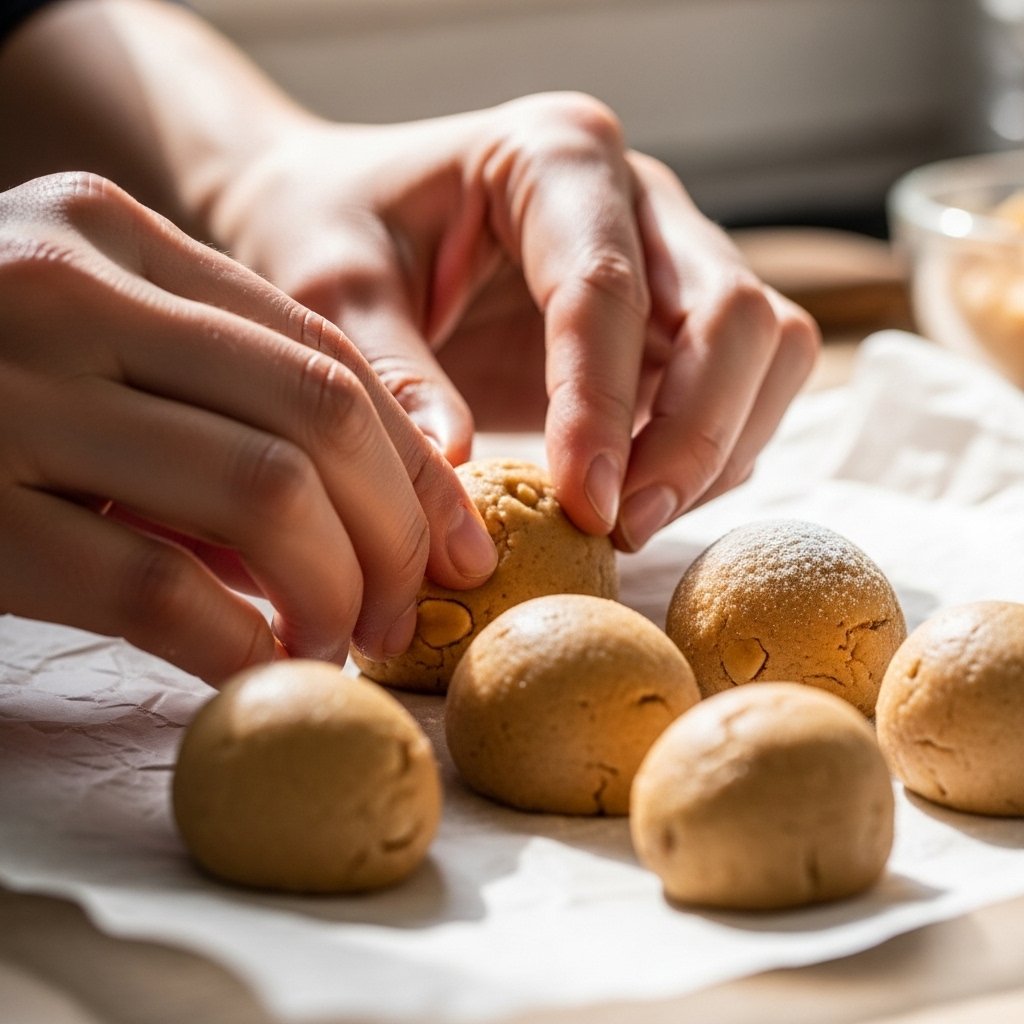
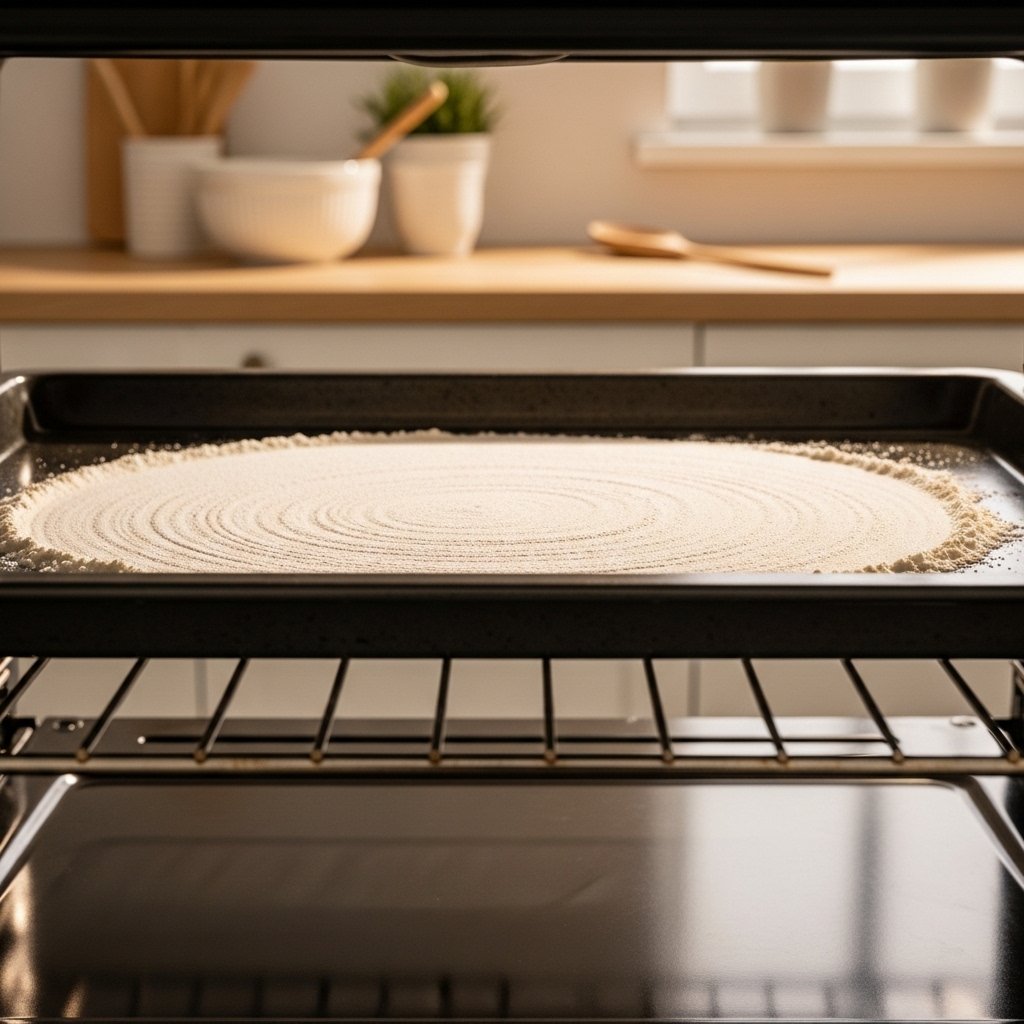
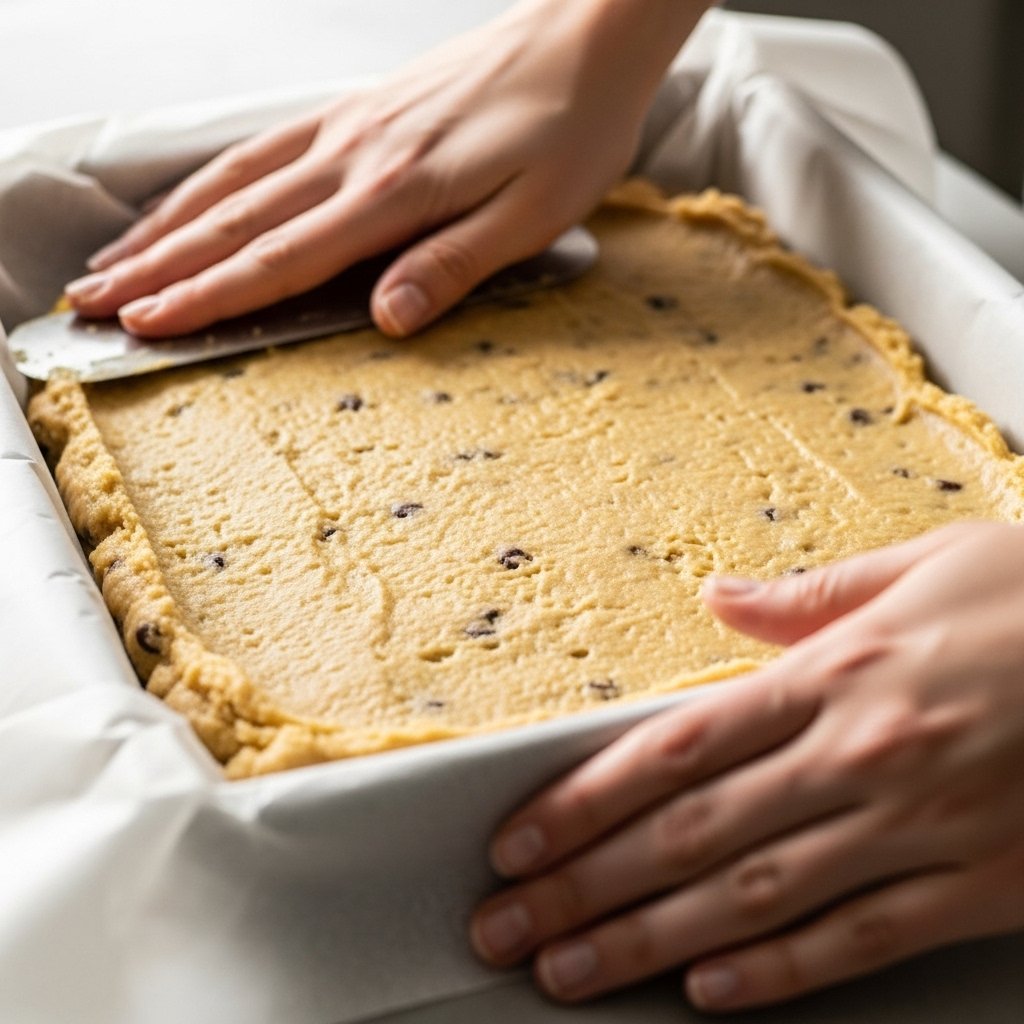
4. Shape Mini Cookies
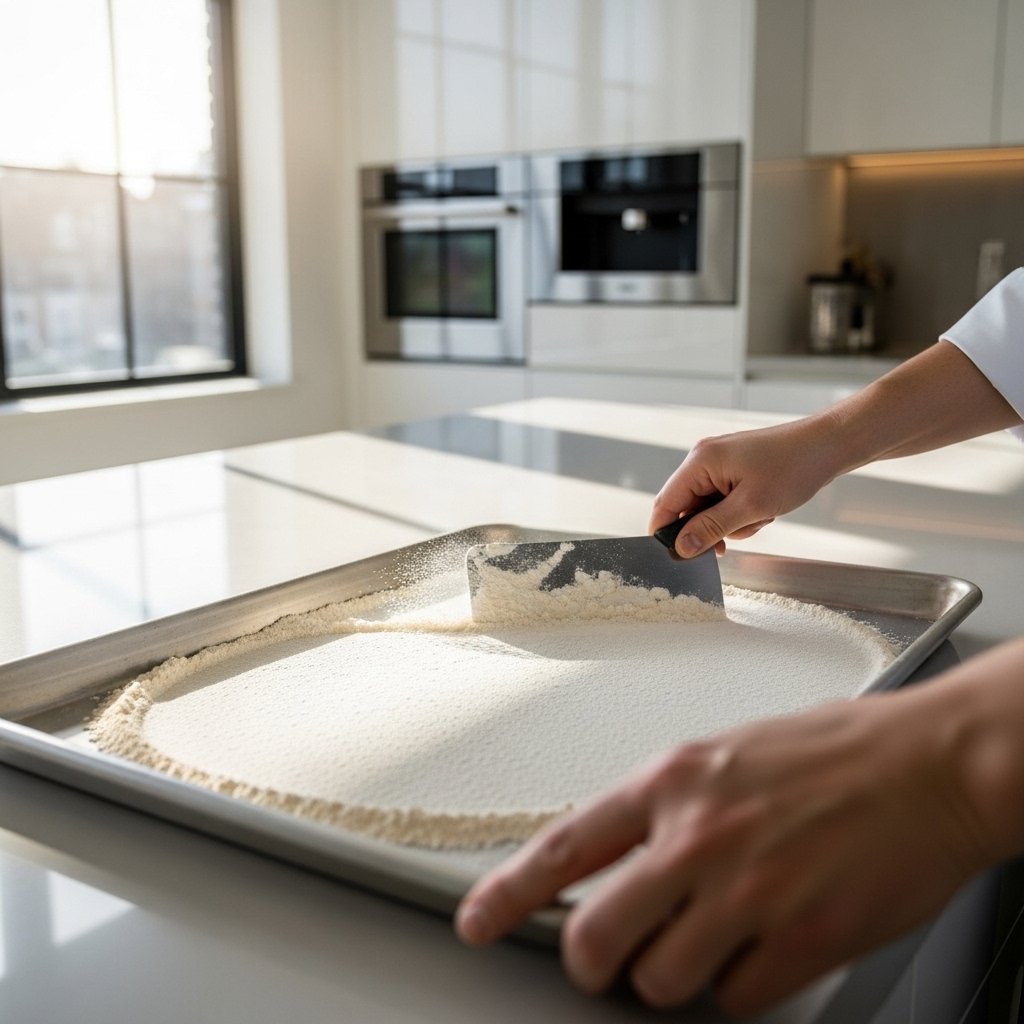
Scoop small portions of dough (about 1 teaspoon each) and place on a lined baking sheet.
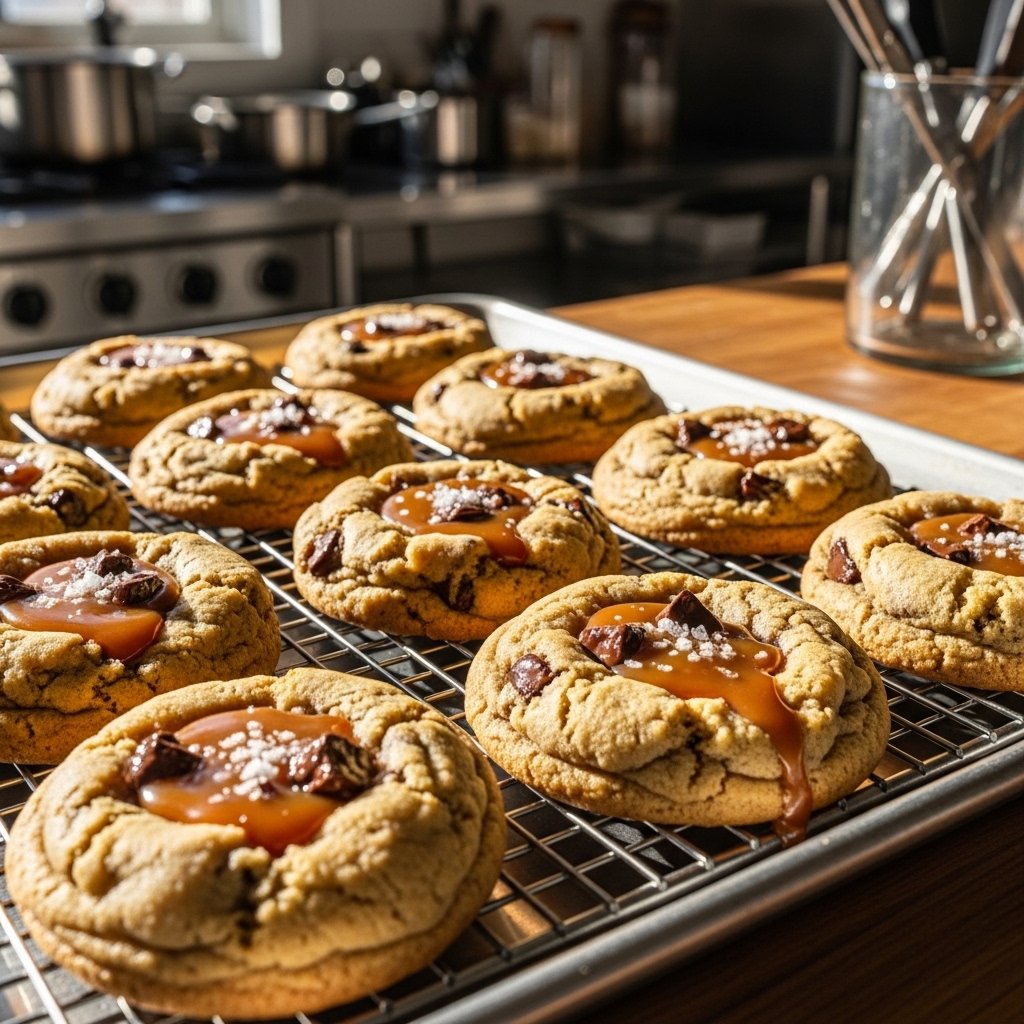
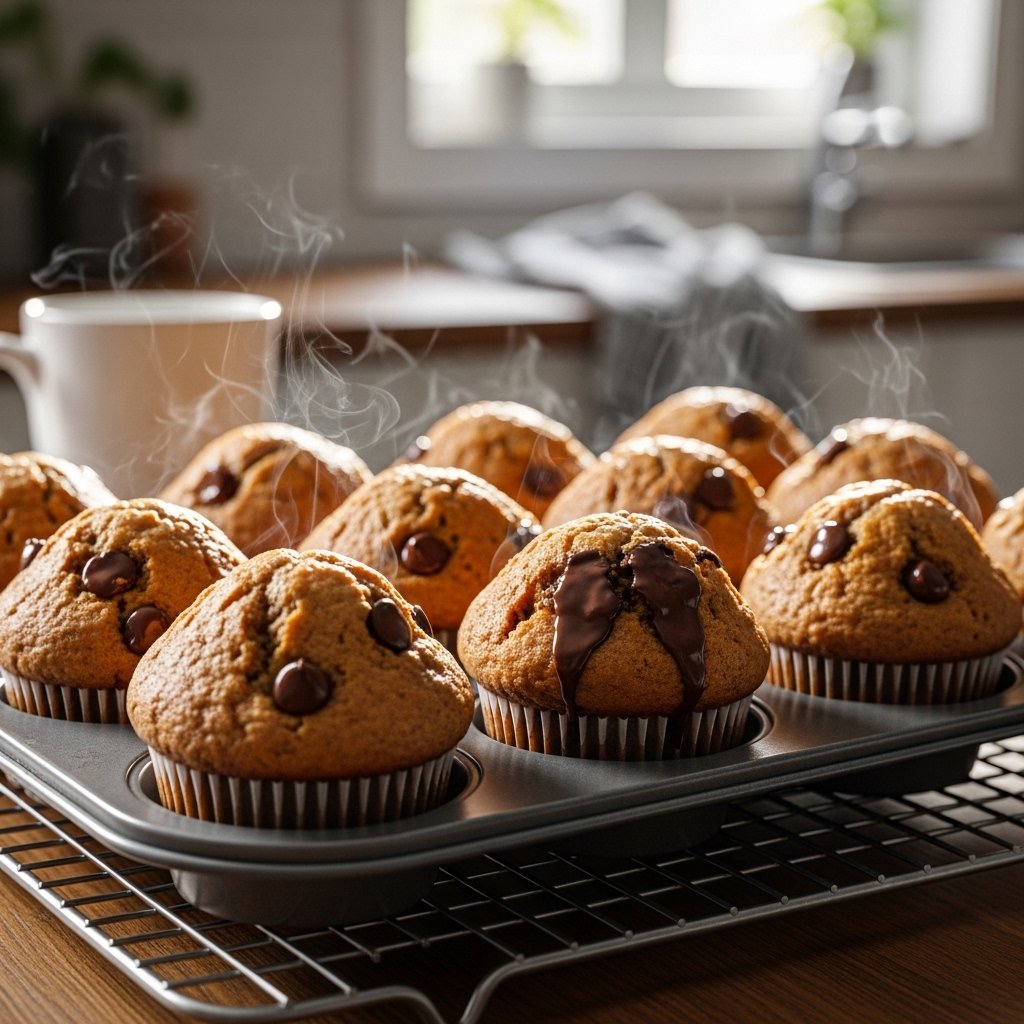
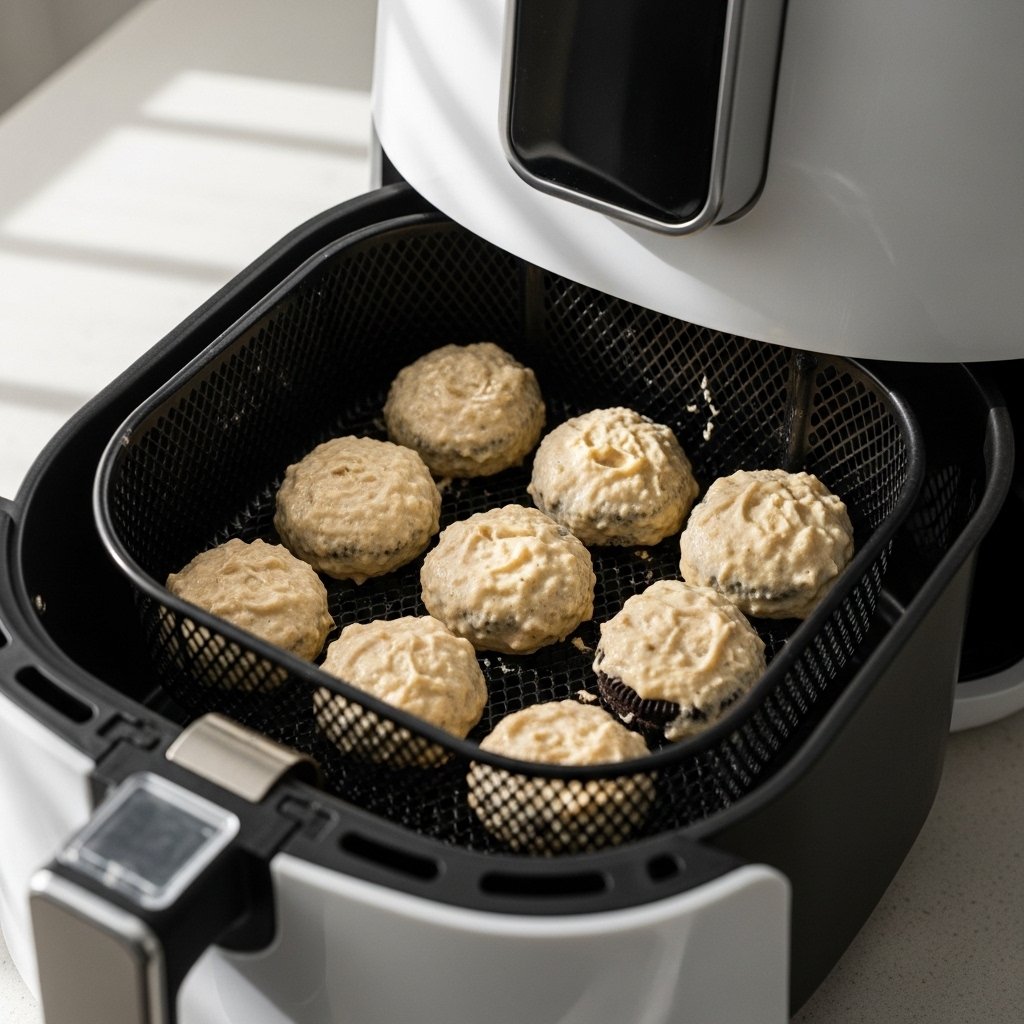
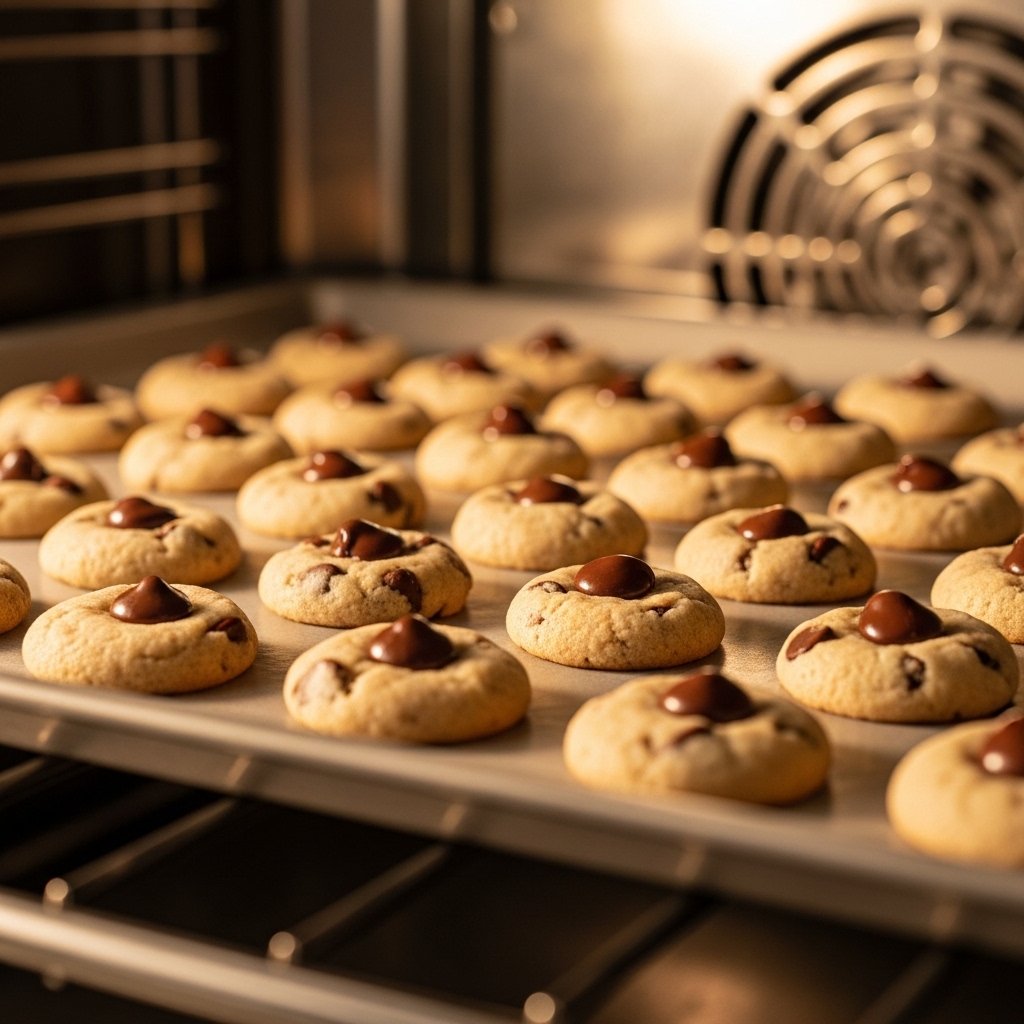
5. Bake
Bake at 350°F (175°C) for 8–10 minutes or until edges are lightly golden.
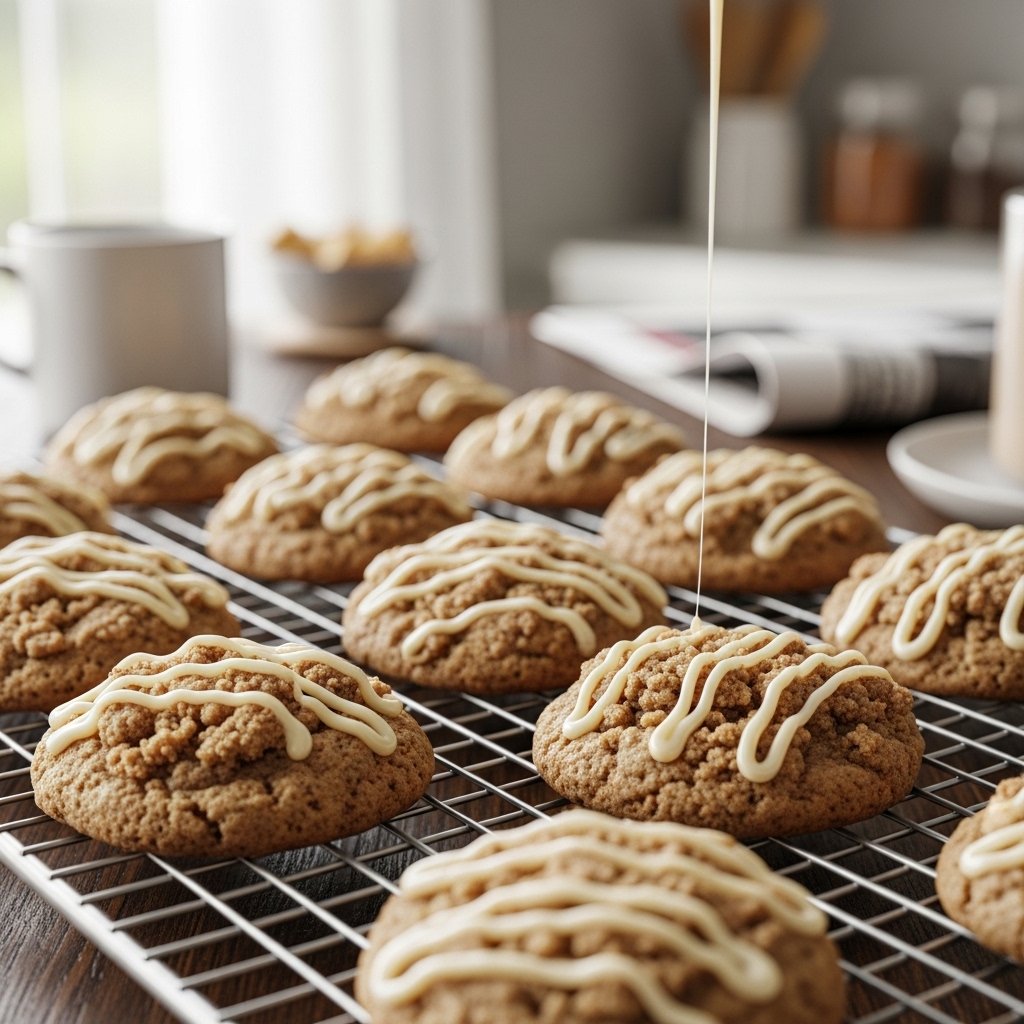
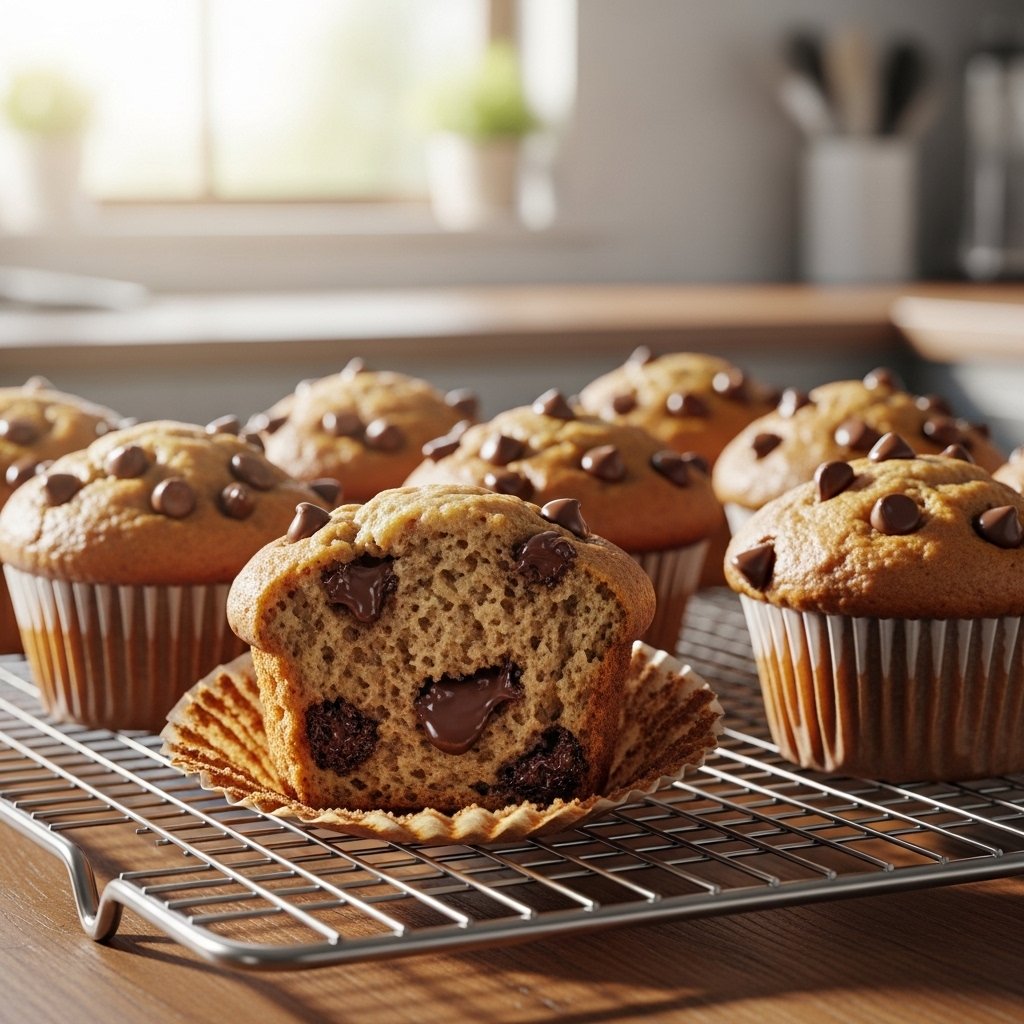
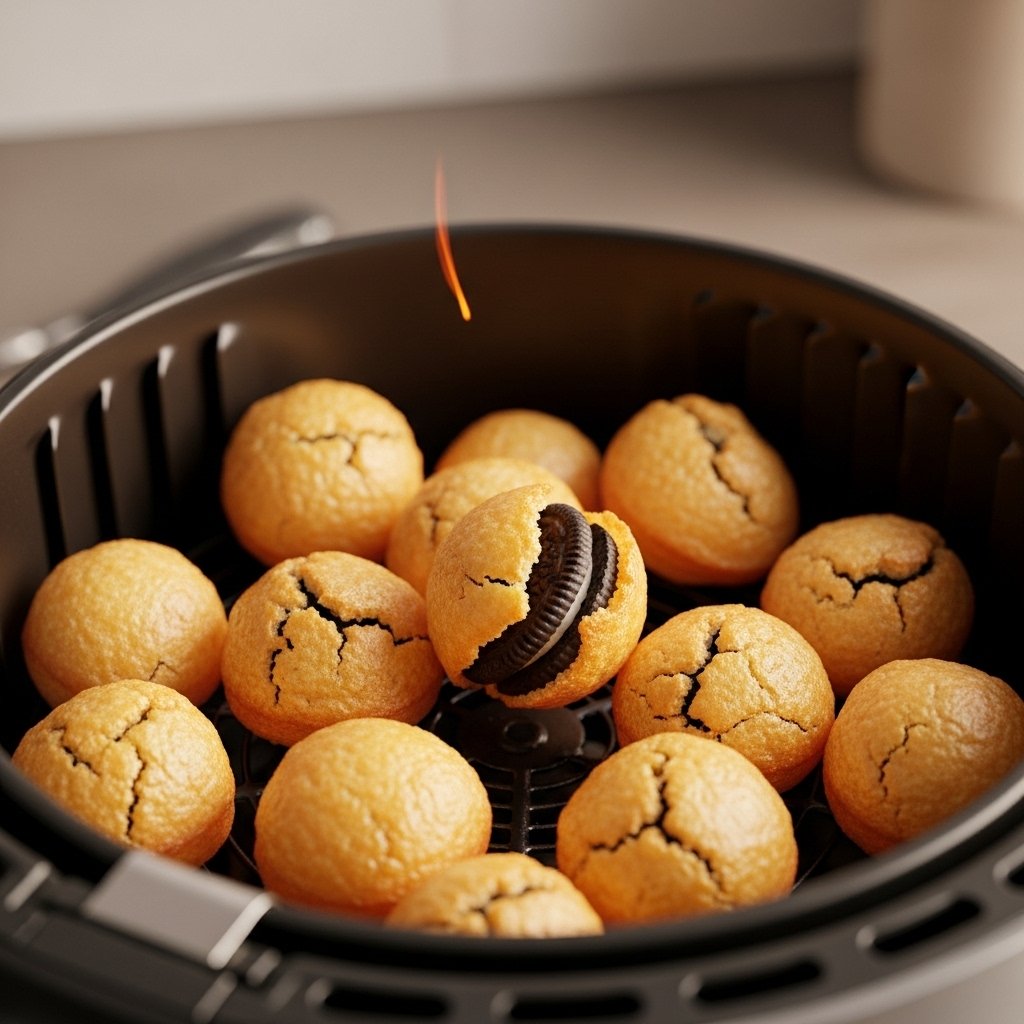
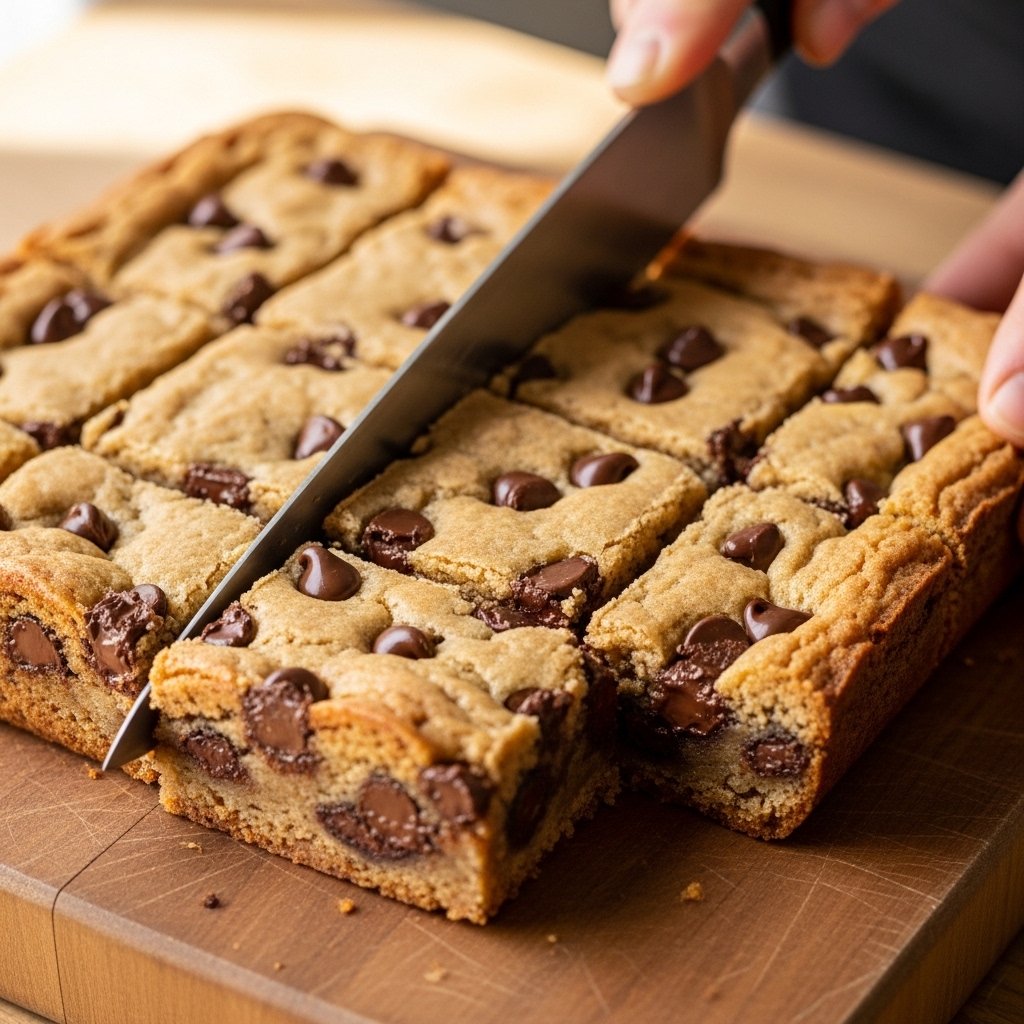
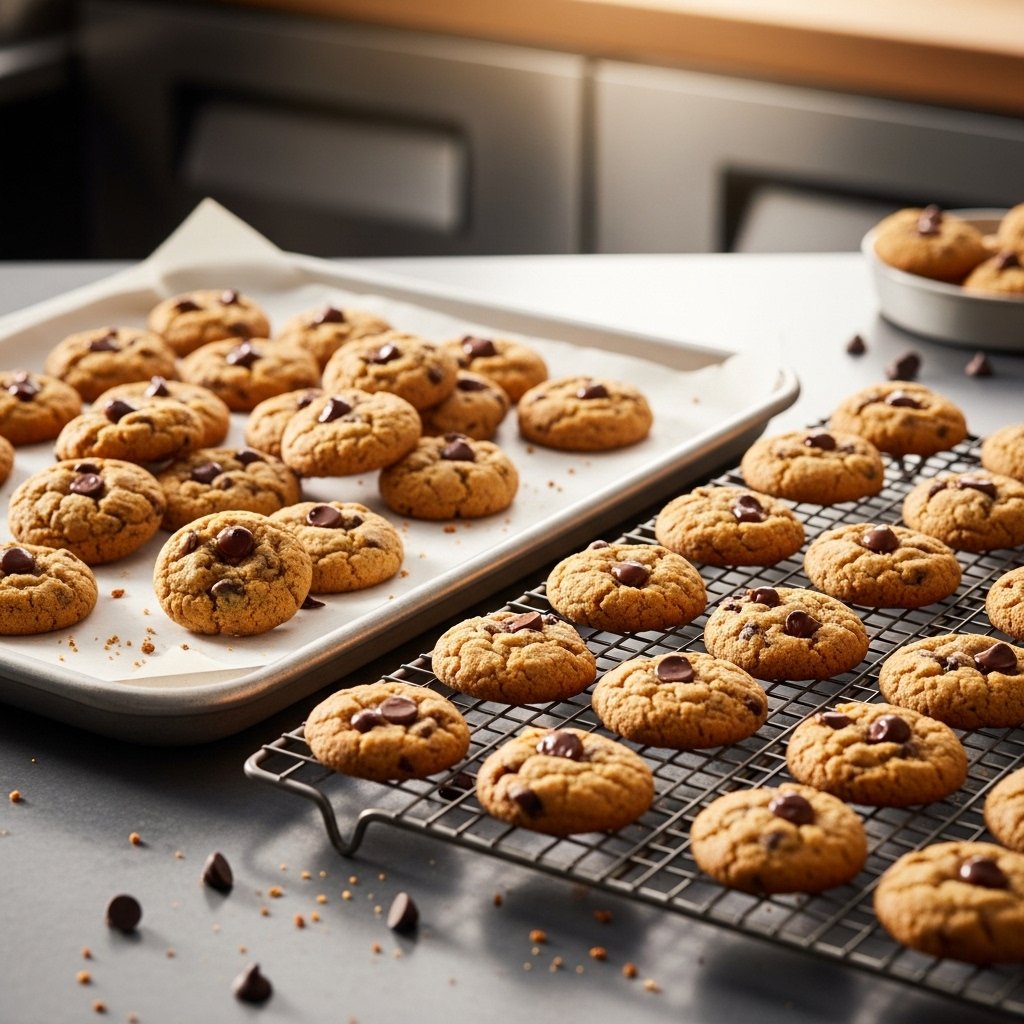
6. Cool and Serve
Let cookies cool on a rack before serving.
Tips for Perfect Mini Cookies
To get the best results from this easy mini cookies recipe (makes 100 pieces):
- Don’t overmix the dough
- Use a small scoop for even sizes
- Avoid overbaking to keep cookies soft
- Chill the dough if it feels too soft
These simple tips will help you achieve bakery-quality cookies every time.
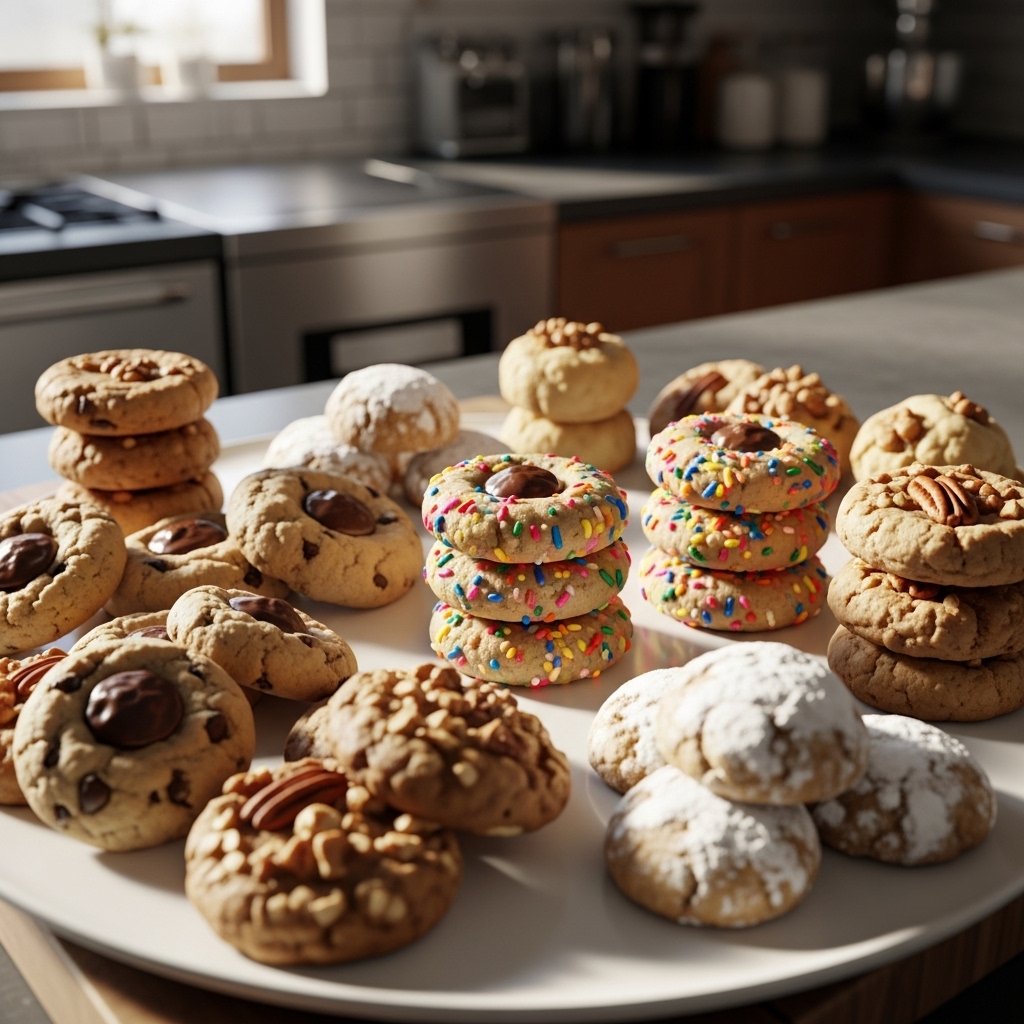
Variations to Try
Switch things up with these ideas:
- Add nuts for extra crunch
- Use different types of chocolate
- Mix in sprinkles for a fun twist
- Make double chocolate cookies with cocoa powder
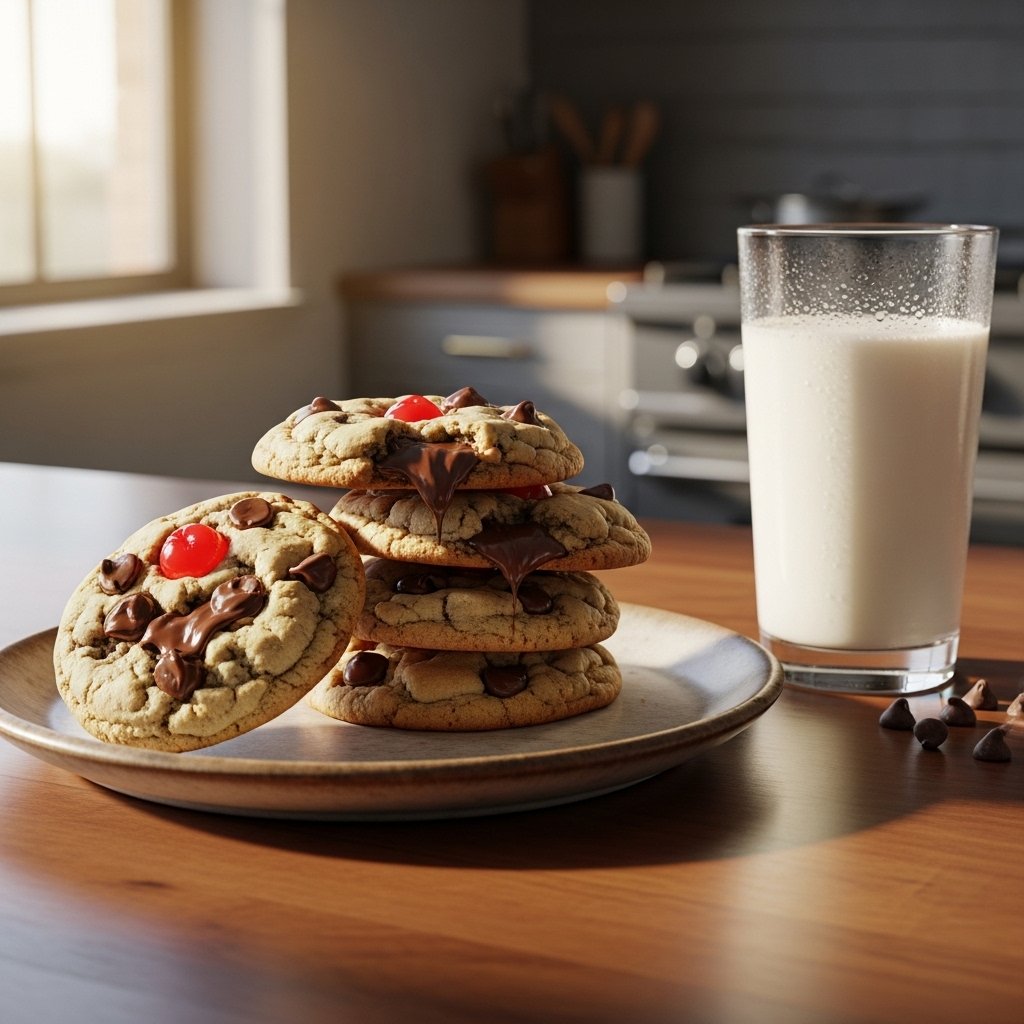
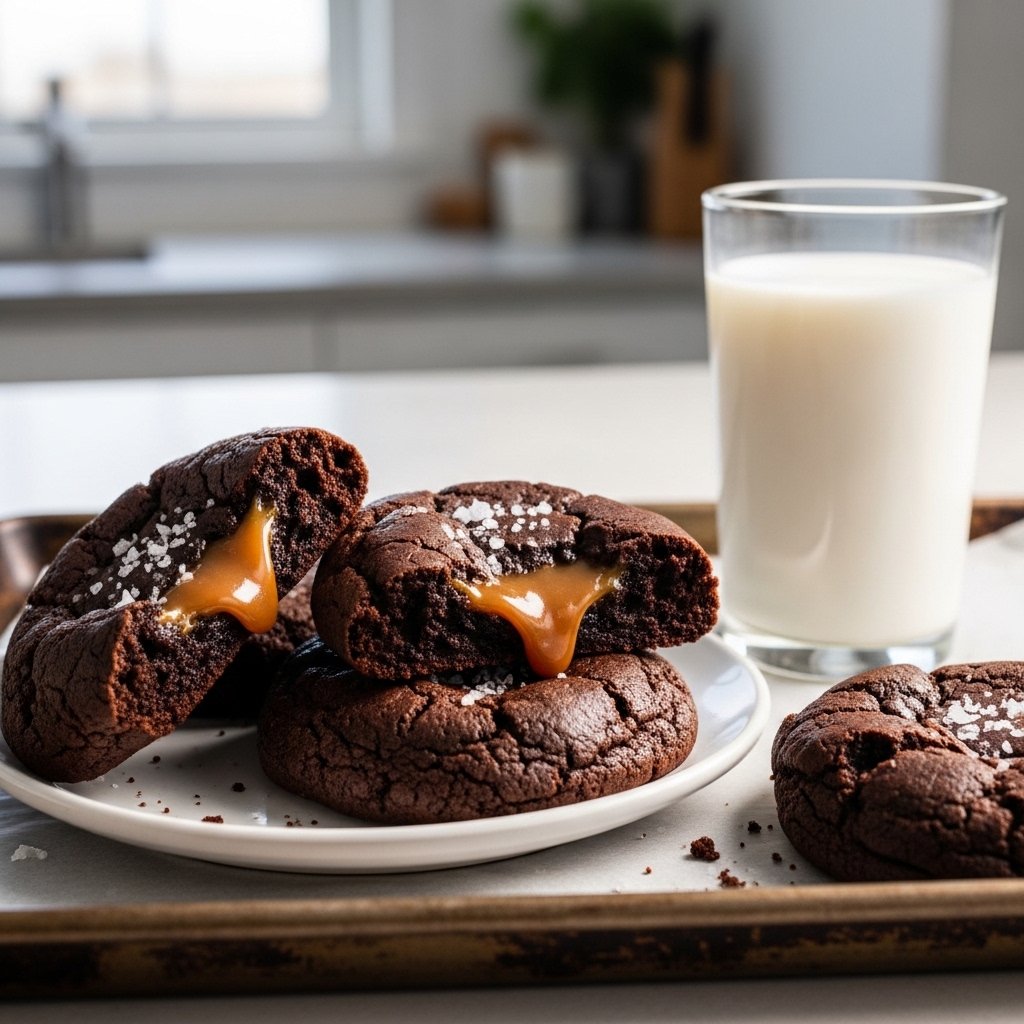
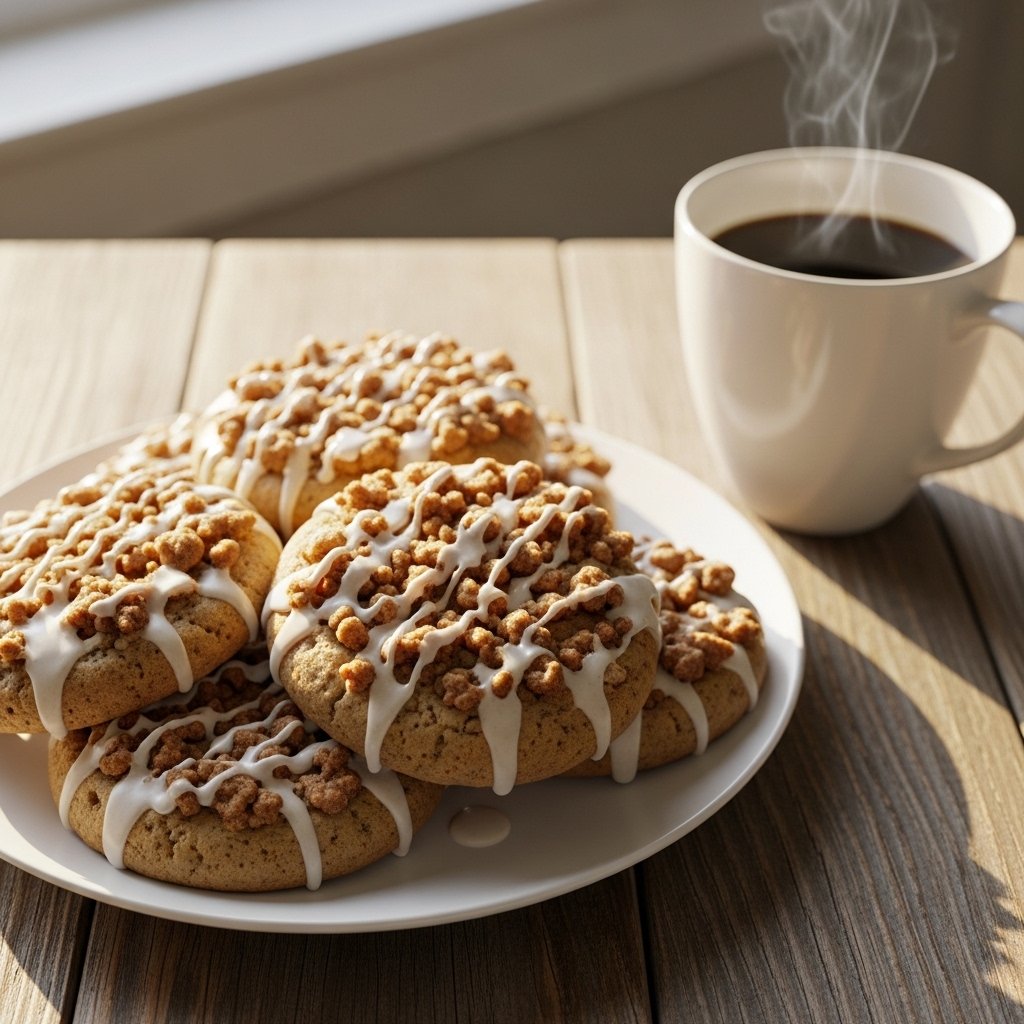
What to Serve With Mini Cookies
These mini cookies pair perfectly with:
- Milk or chocolate milk
- Coffee or tea
- Ice cream for mini cookie sandwiches
They’re versatile and perfect for any occasion.
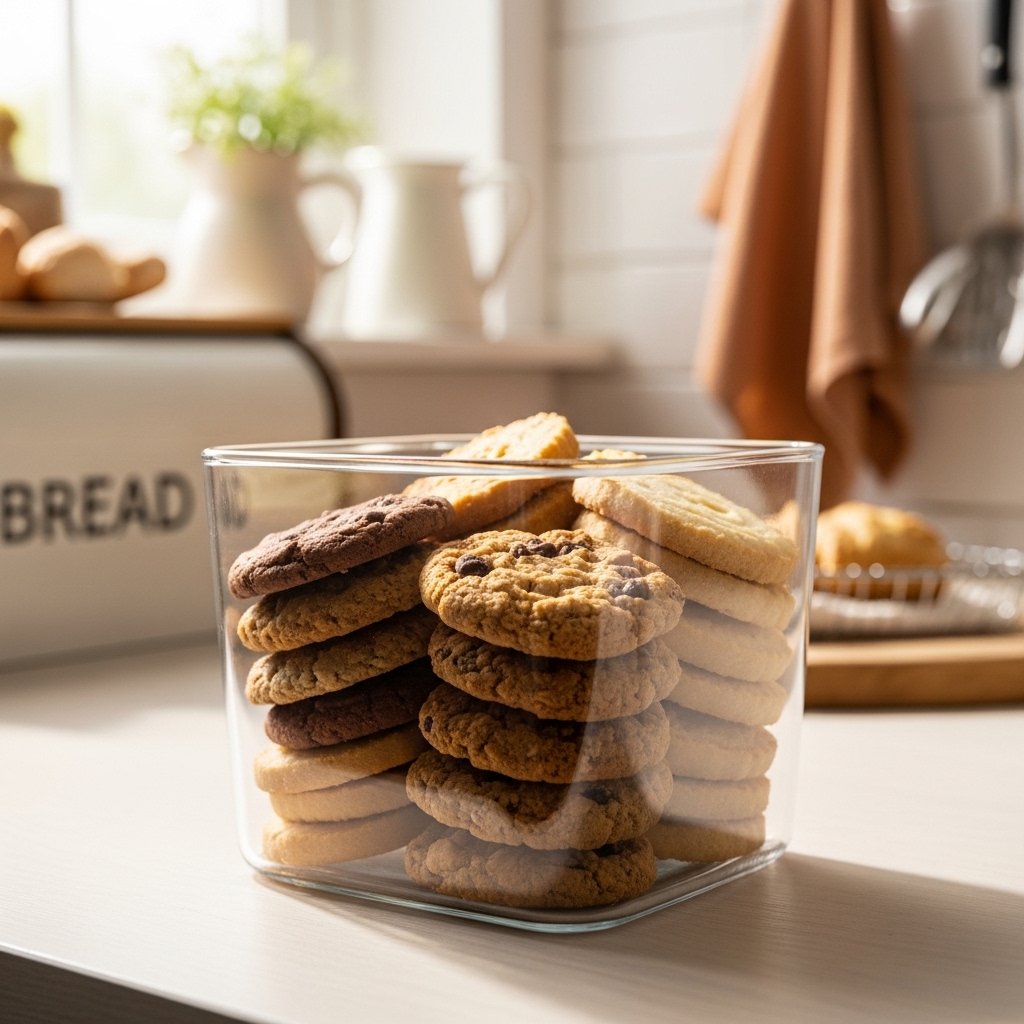
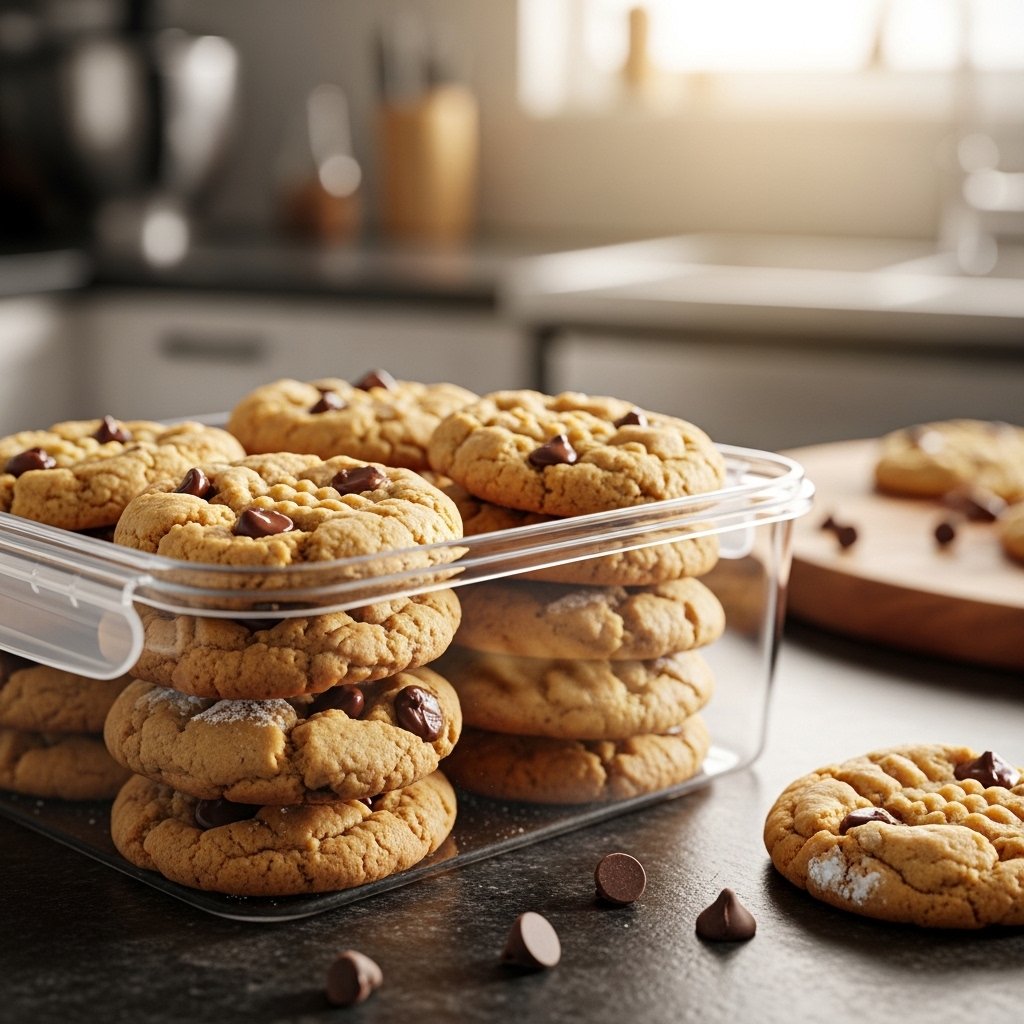
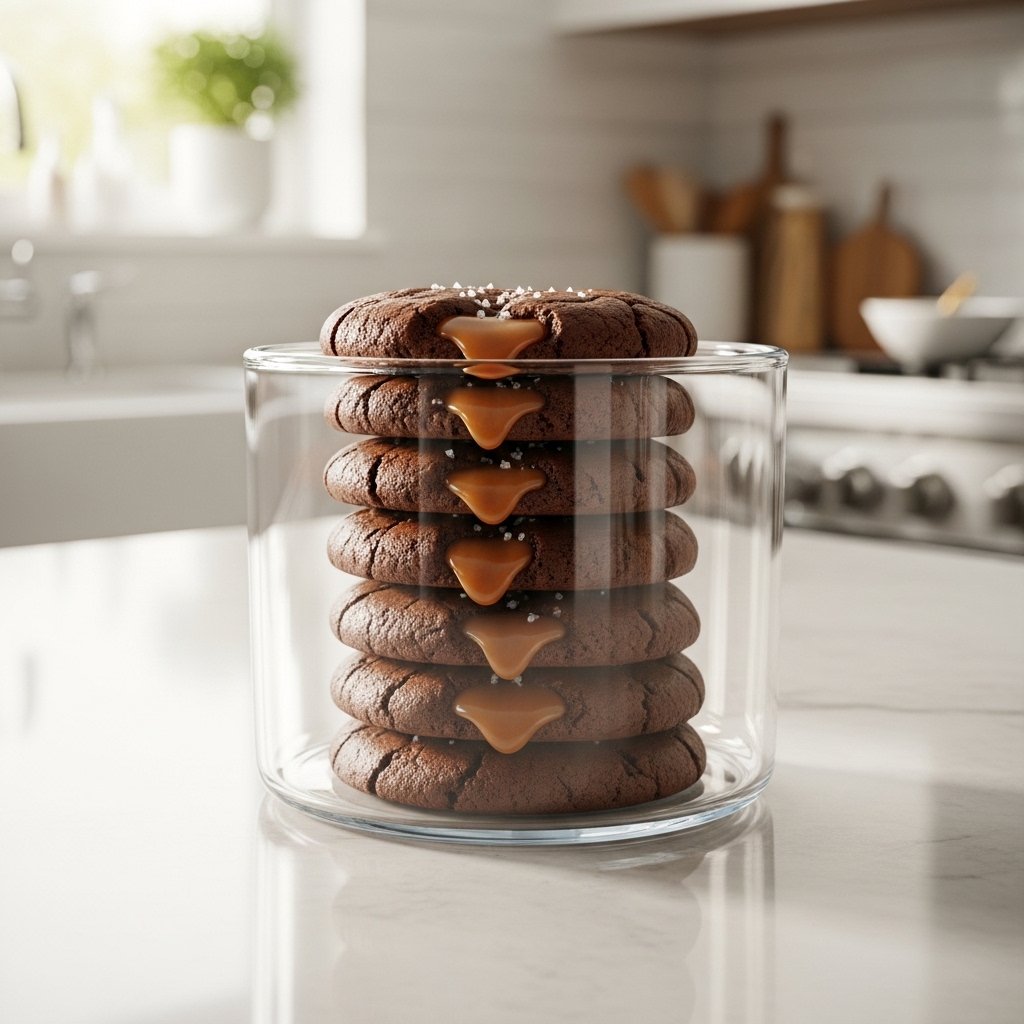
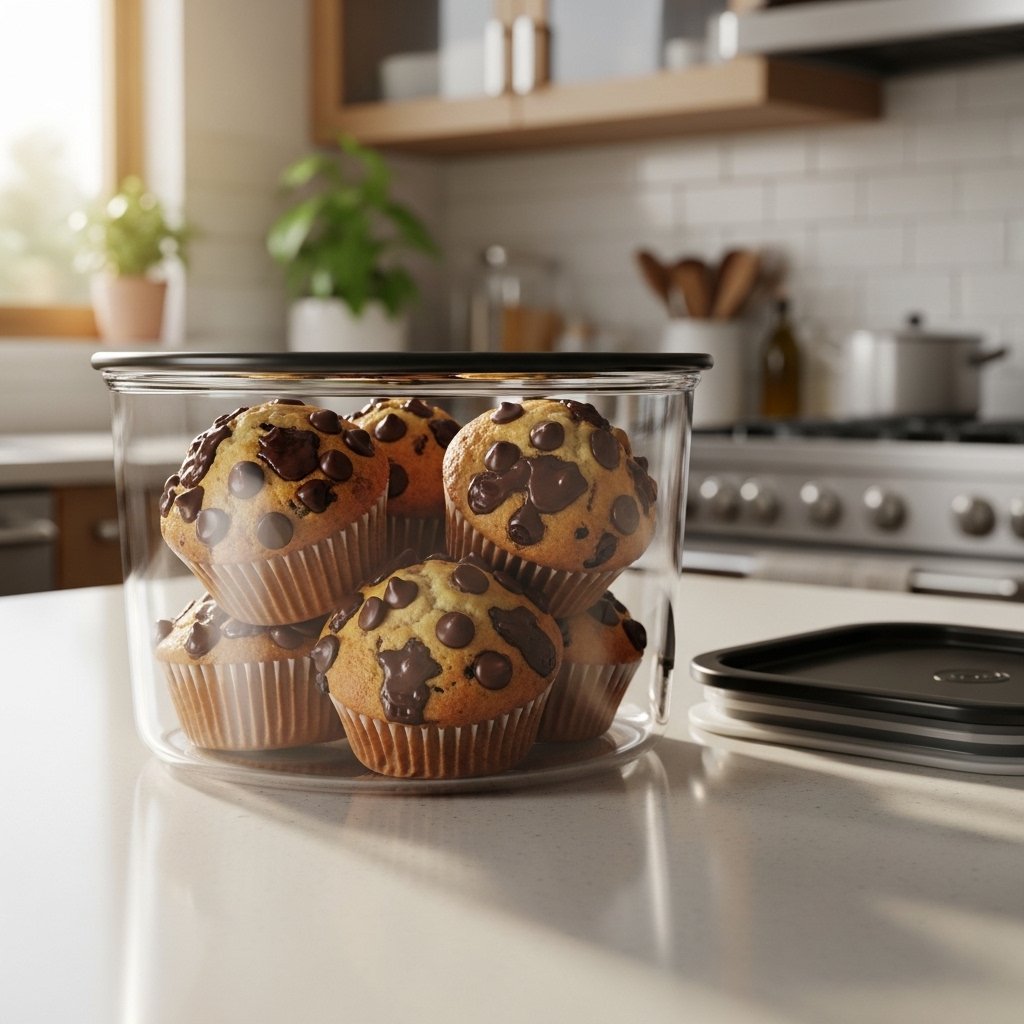
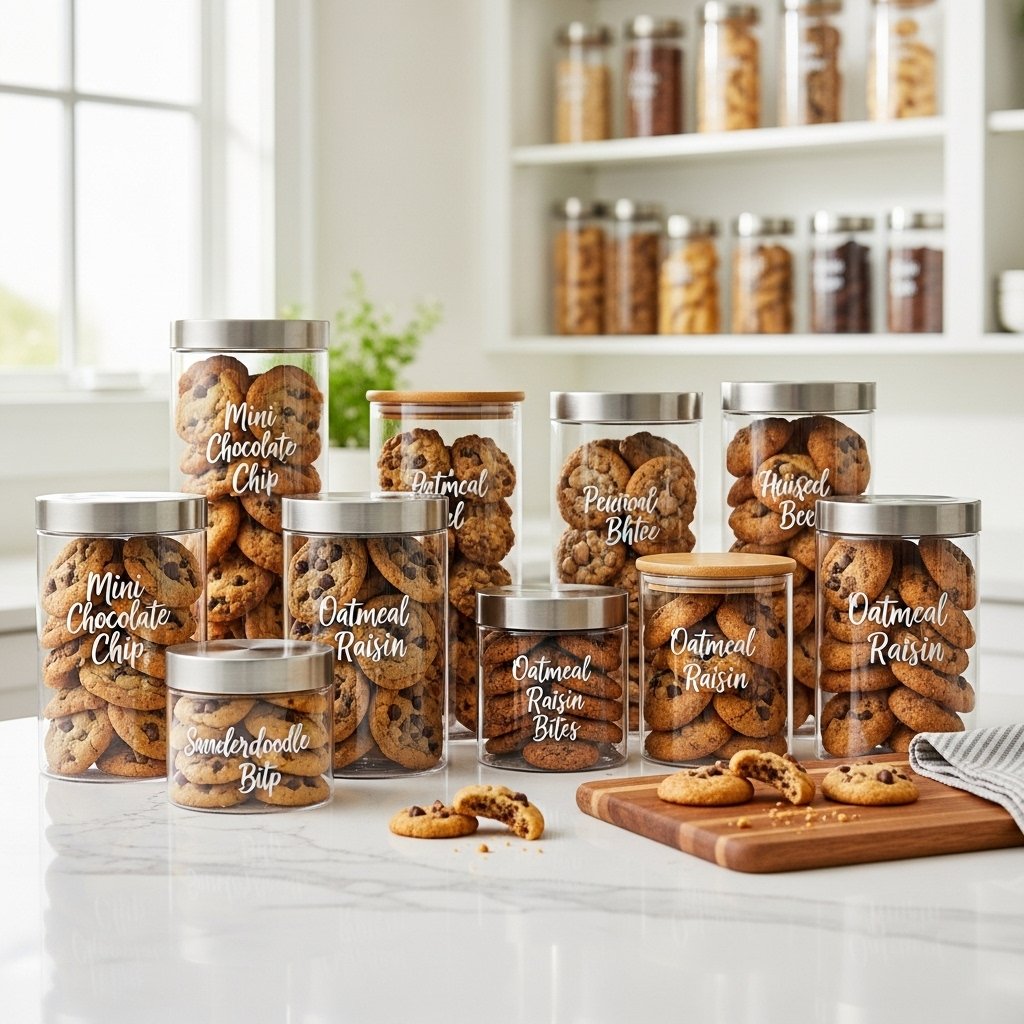
Storage & Reheating Tips
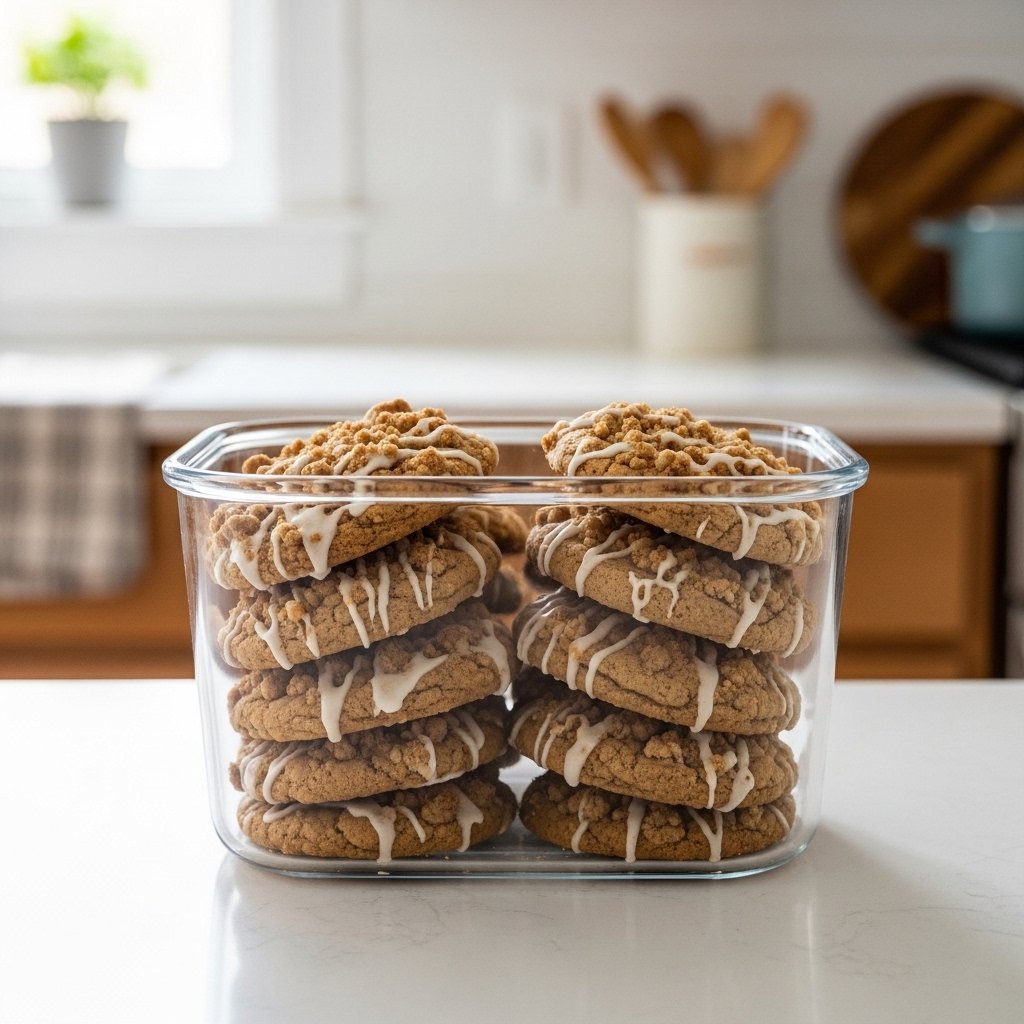
To keep your easy mini cookies recipe (makes 100 pieces) fresh:
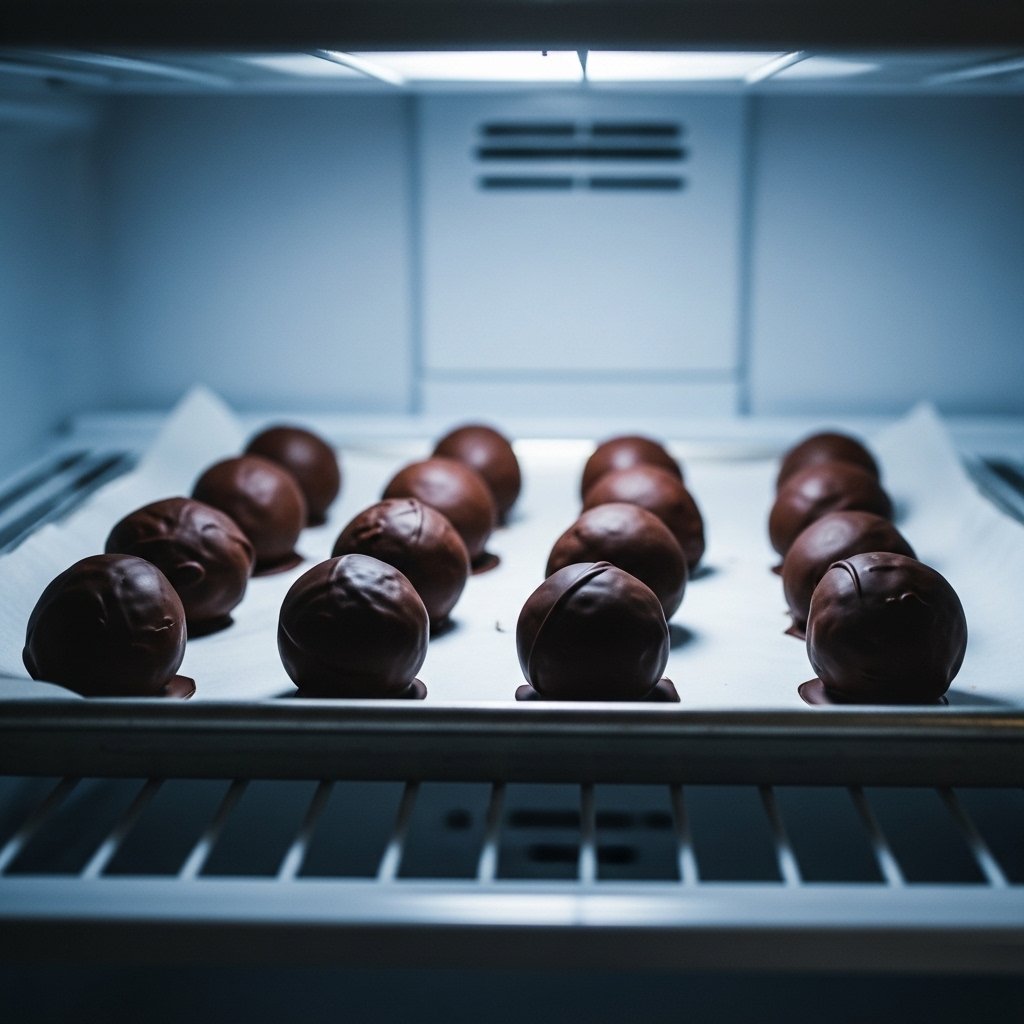
- Store in airtight containers at room temperature for up to 5 days
- Freeze for up to 2 months
- Reheat briefly in the microwave for a warm, soft texture
Common Mistakes to Avoid
Avoid these common baking mistakes:
- Overbaking the cookies
- Using cold butter
- Skipping proper measurements
- Crowding the baking tray
Paying attention to these details makes a big difference.
FAQs
How do I keep mini cookies soft?
Store them in an airtight container and avoid overbaking.
Can I freeze the dough?
Yes, portion the dough and freeze for later use.
Why are my cookies spreading too much?
The dough may be too warm—try chilling it before baking.
Can I make these cookies gluten-free?
Yes, substitute with a gluten-free flour blend.
Final Thoughts
This easy mini cookies recipe (makes 100 pieces) is the perfect go-to for anyone who loves simple, delicious baking. With minimal effort and maximum flavor, these cookies are sure to become a staple in your kitchen.
Whether you’re baking for a party, prepping snacks, or just craving something sweet, these mini cookies deliver every time. Try them once, and you’ll keep coming back for more!