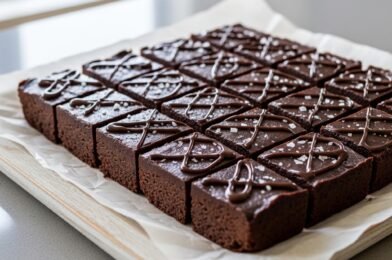
There’s something timeless about homemade fudge. It’s rich, creamy, deeply chocolatey, and somehow always feels a little special—whether you’re making it for the holidays, a party, or just because you want a sweet treat in the fridge. The best part? You don’t need fancy equipment or candy-making skills to make delicious fudge at home.
This easy fudge recipe is designed for anyone who wants foolproof results with minimal effort. With just a handful of ingredients and a simple stovetop or microwave method, you can create smooth, melt-in-your-mouth fudge that tastes like it came from a candy shop. It’s perfect for gifting, sharing, or sneaking a square whenever a craving hits.
Why You’ll Love This Easy Fudge Recipe
This easy fudge recipe is a must-have for dessert lovers because it’s:
- Incredibly creamy and smooth
- Made with simple ingredients
- Perfect for holidays and parties
- Great for gifting
- Easy to customize
- Beginner-friendly
Unlike traditional candy recipes that require thermometers and precise timing, this version keeps things simple while still delivering amazing texture and flavor.
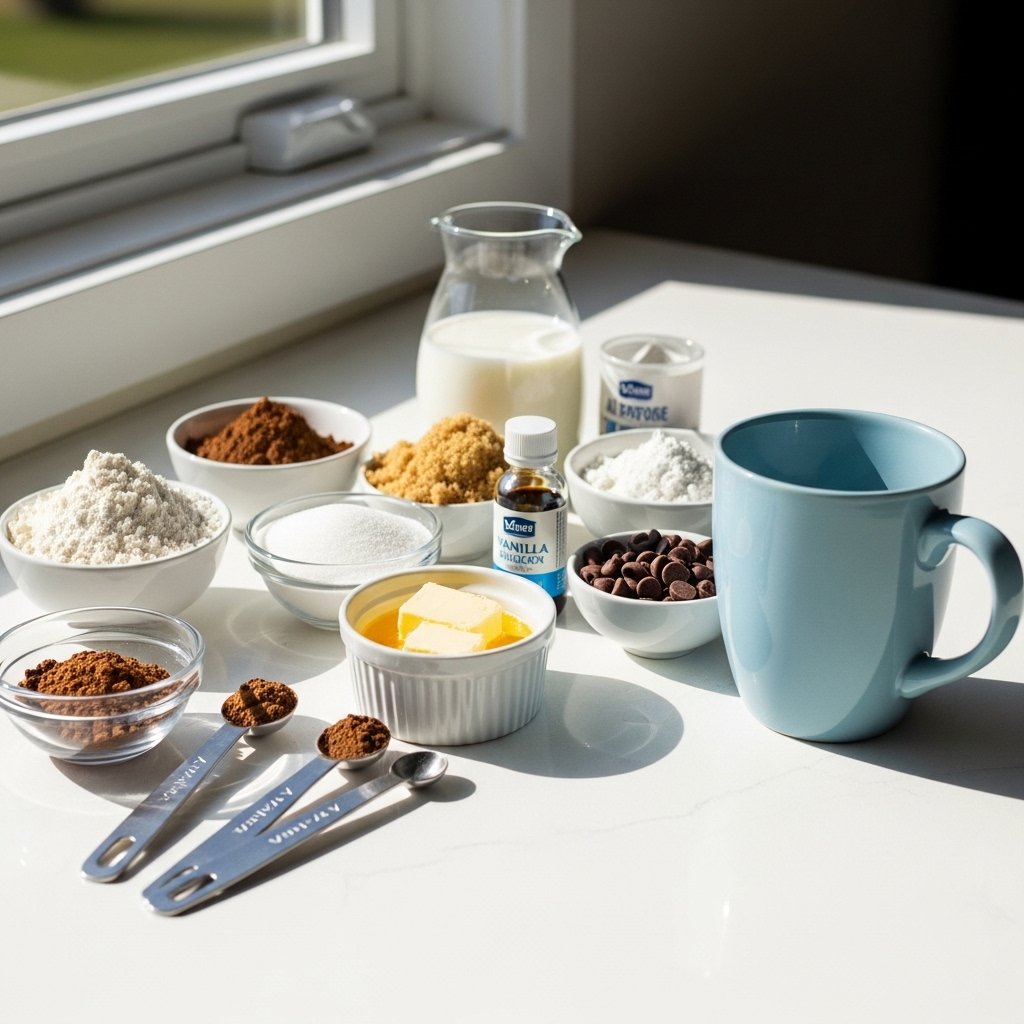
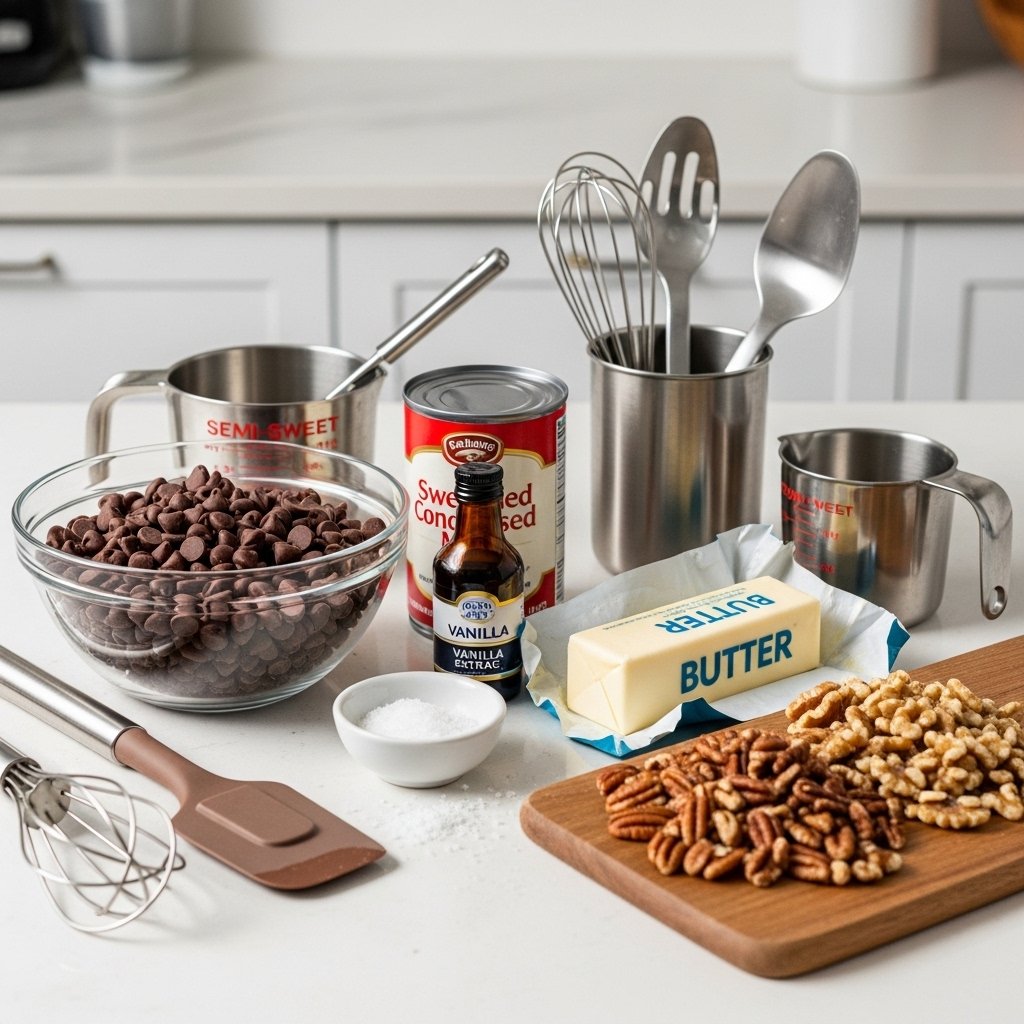
Ingredients You’ll Need
To make this easy fudge recipe, gather:
- 3 cups semi-sweet chocolate chips
- 1 can (14 ounces) sweetened condensed milk
- 2 tablespoons unsalted butter
- 1 teaspoon vanilla extract
- Pinch of salt
Optional mix-ins:
- Chopped walnuts or pecans
- Crushed peppermint
- Peanut butter swirl
- Mini marshmallows
These pantry-friendly ingredients come together to create silky, decadent fudge.
Ingredient Notes for the Best Fudge
Use Good Chocolate
Since chocolate is the star, use quality chocolate chips or chopped baking chocolate for:
- Better flavor
- Smoother texture
Sweetened Condensed Milk Matters
This ingredient:
- Adds sweetness
- Creates creaminess
- Helps fudge set properly
Salt Balances Flavor
Even a small pinch helps cut richness and deepen the chocolate flavor.
Step-by-Step Instructions
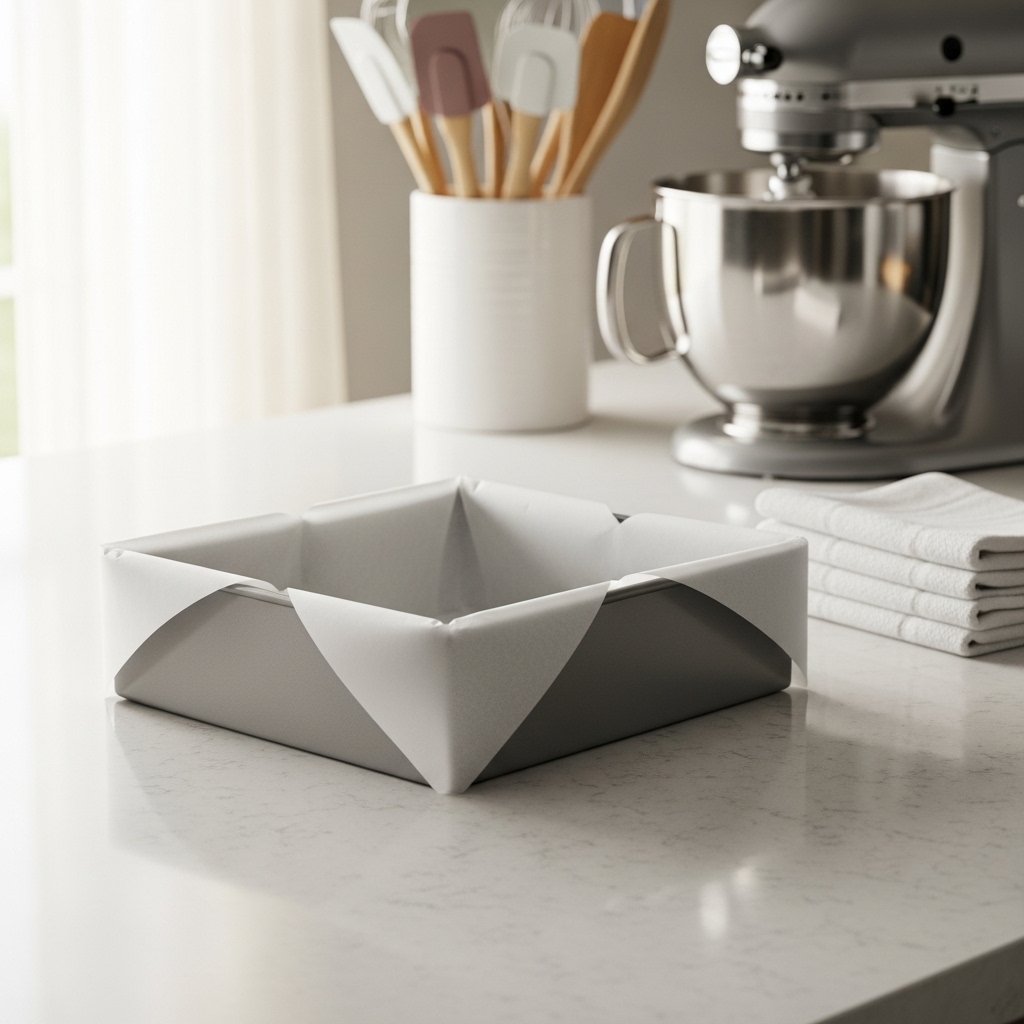
Step 1: Prepare the Pan
Line an 8×8-inch baking dish or pan with parchment paper.
Leave extra paper on the sides so you can lift the fudge out later.
This step makes slicing much easier.
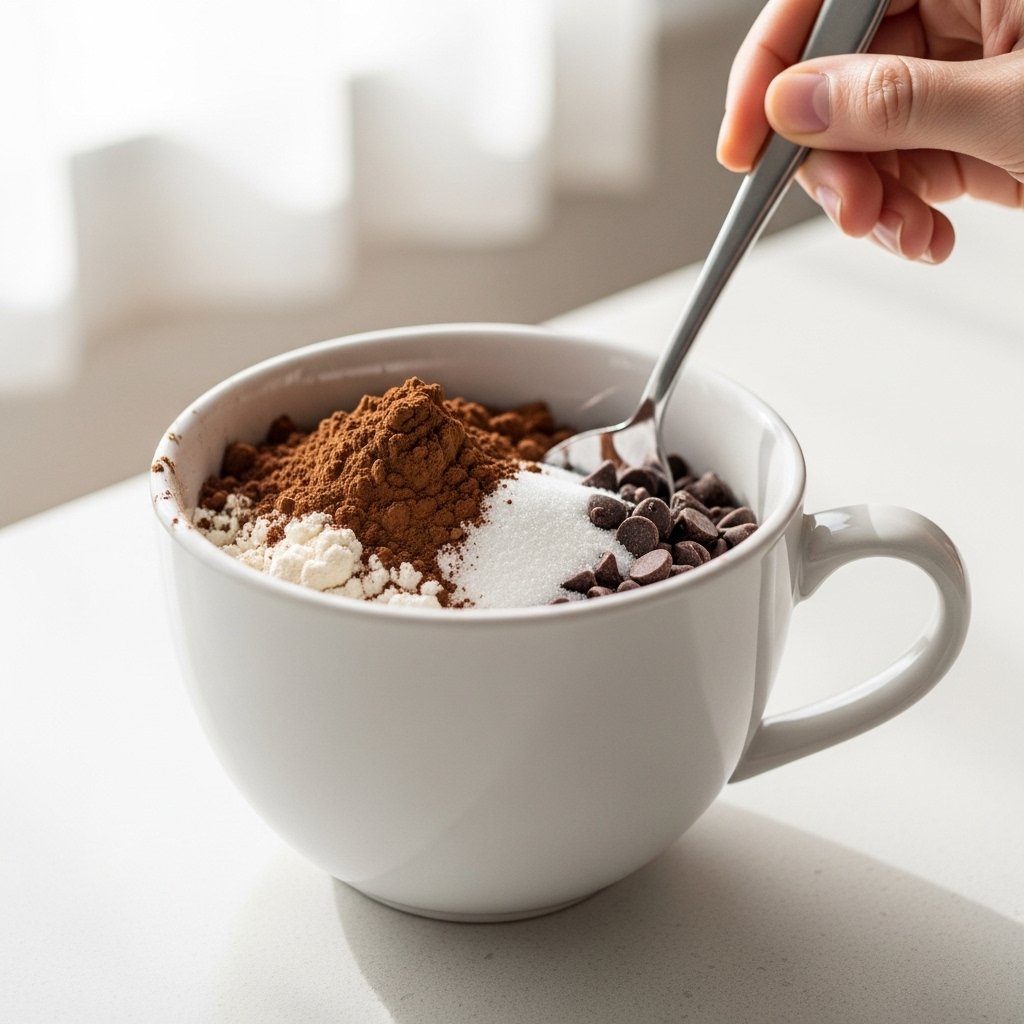
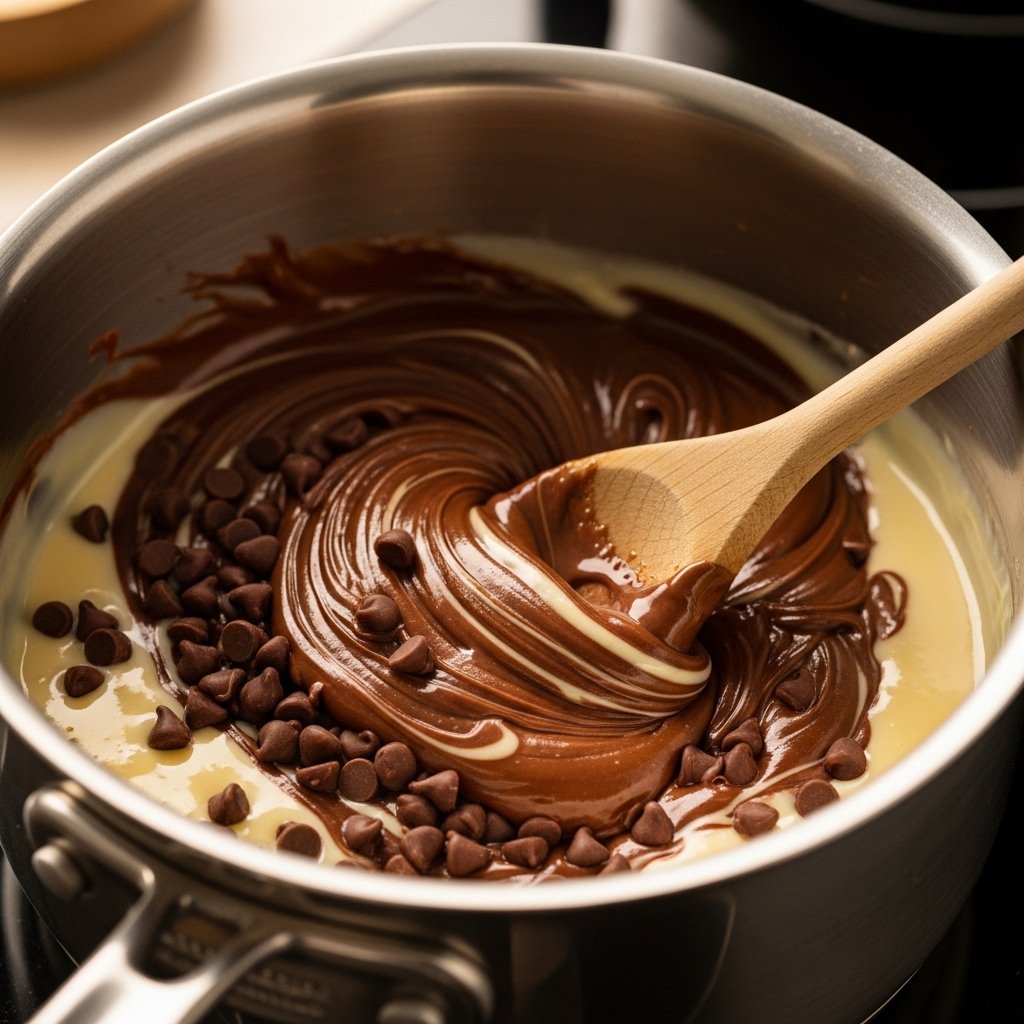
Step 2: Melt the Ingredients
In a saucepan over low heat, combine:
- Chocolate chips
- Sweetened condensed milk
- Butter
- Salt
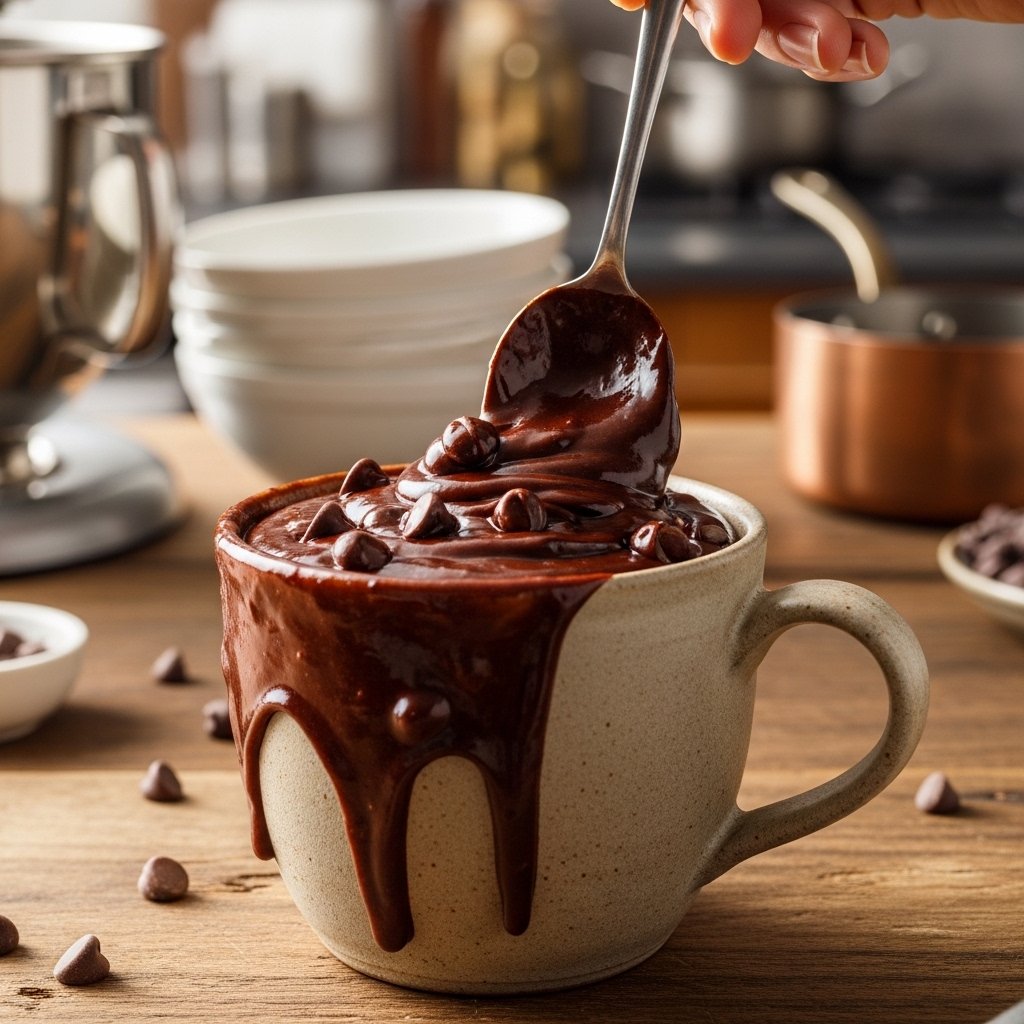
Stir slowly until smooth.
Remove from heat and add vanilla.
This gentle melting process keeps the fudge silky.
Step 3: Add Mix-Ins
If using extras, fold in:
- Nuts
- Marshmallows
- Swirls
Be gentle so the texture stays creamy.
This is where you can personalize your easy fudge recipe.
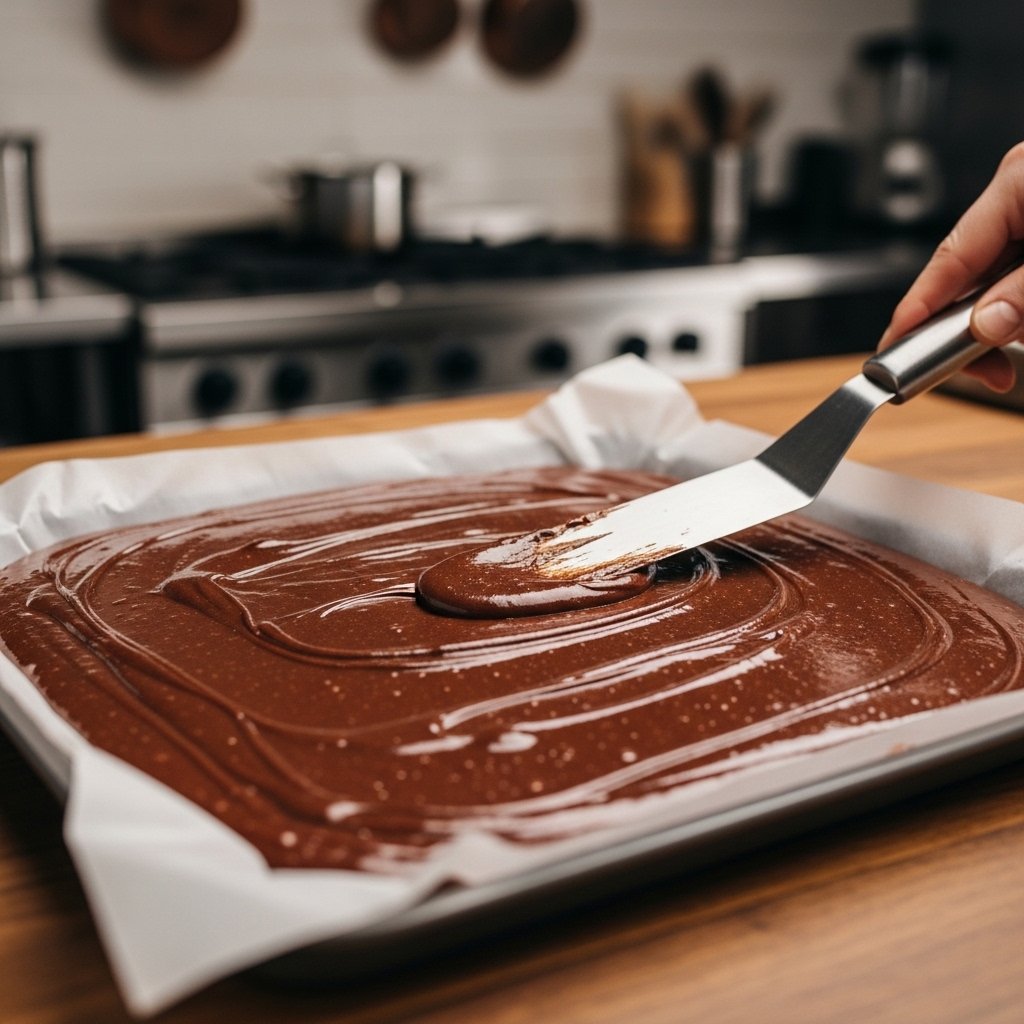
Step 4: Spread and Chill
Pour mixture into prepared pan.
Smooth the top with spatula.
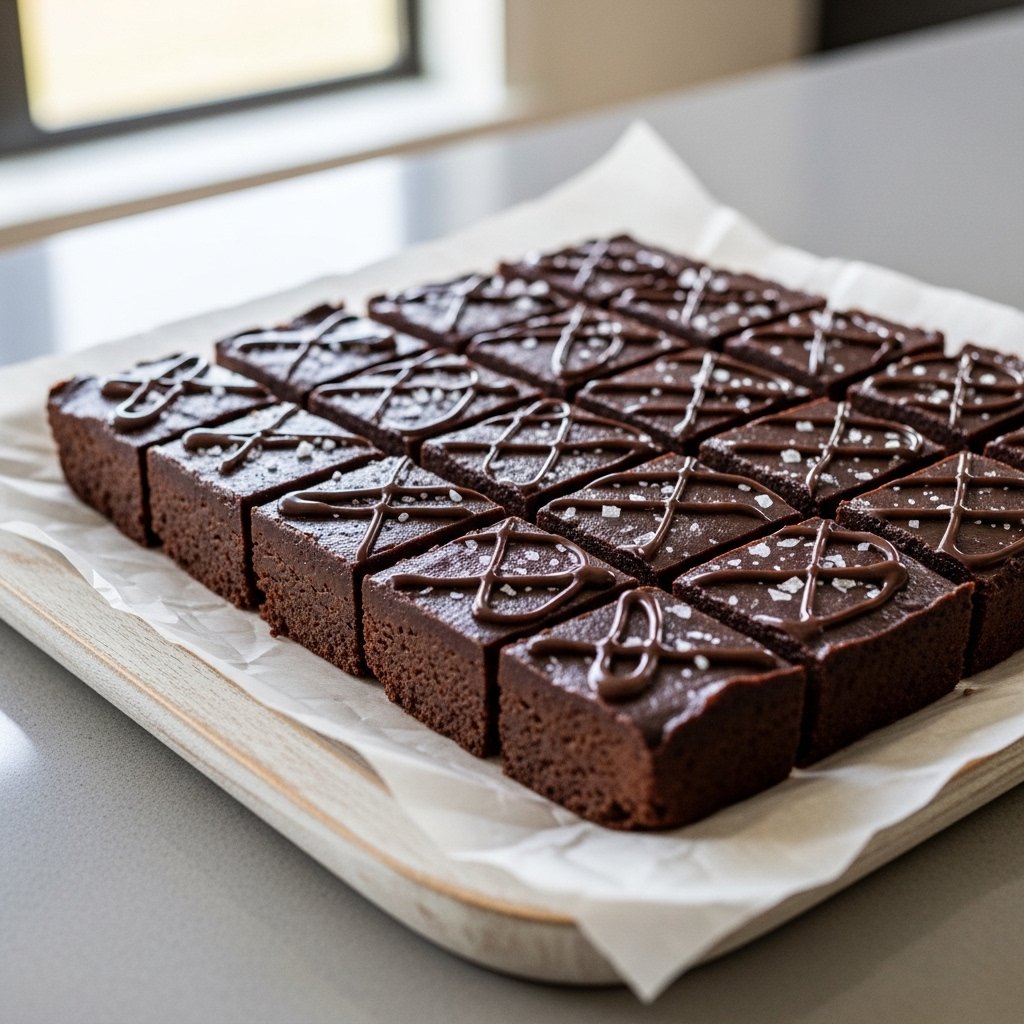
Optional:
- Sprinkle sea salt
- Add drizzle
Chill:
- 2 to 3 hours
Until firm.
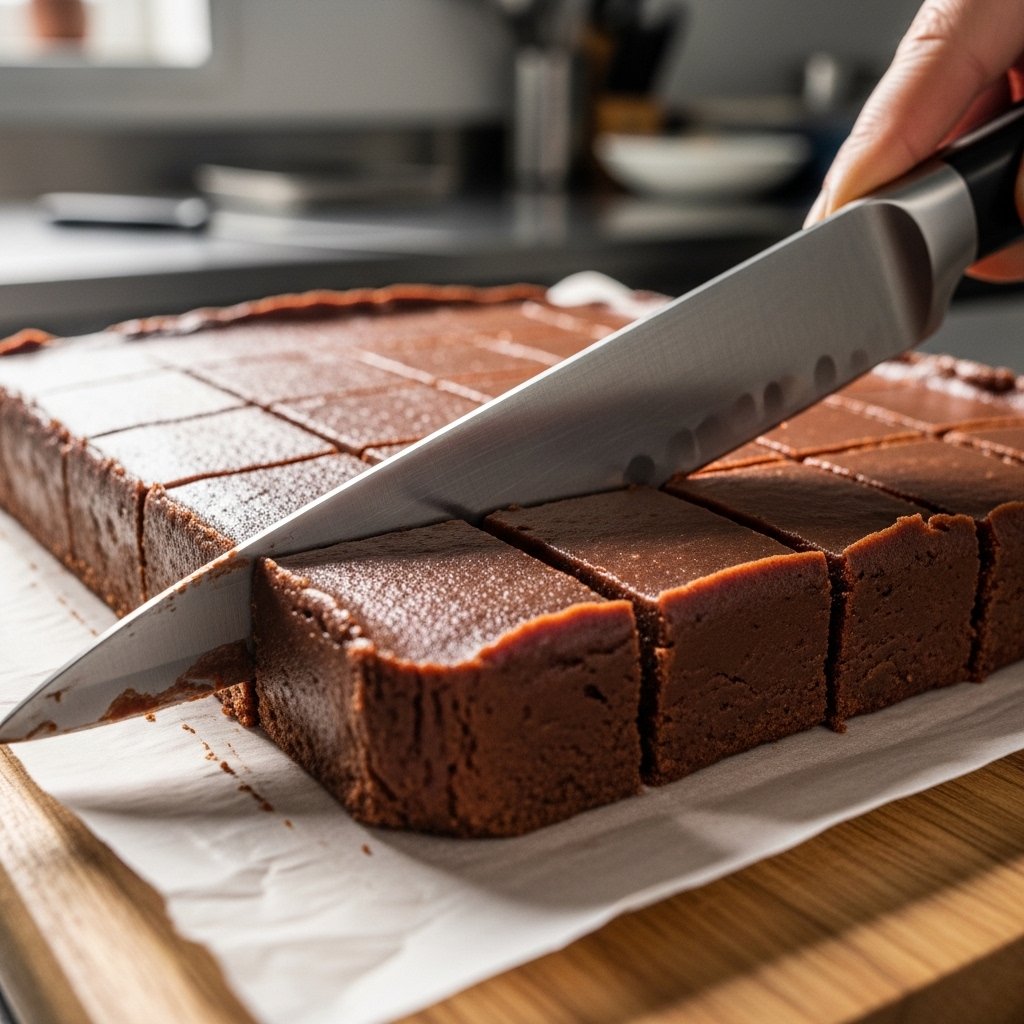
Step 5: Slice and Serve
Lift fudge from pan.
Cut into small squares.
Serve chilled or slightly softened.
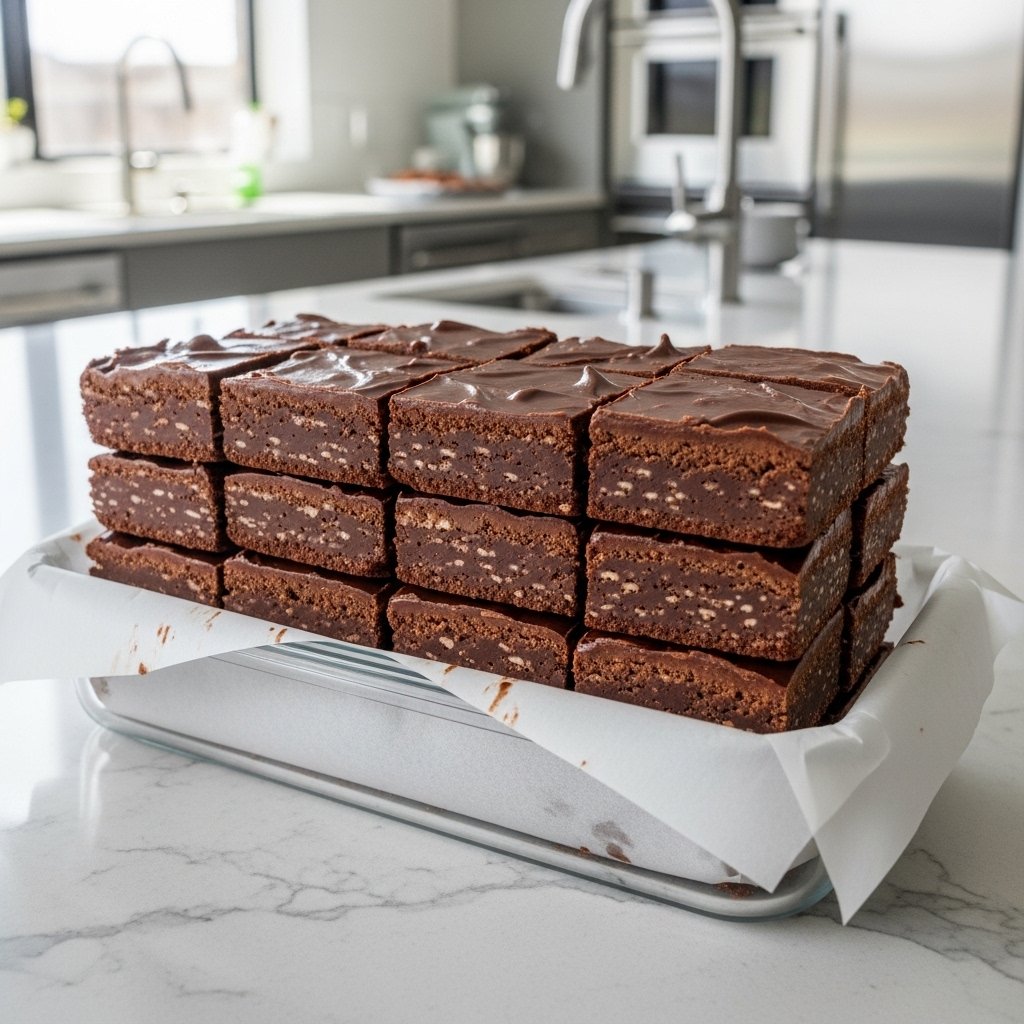
The texture should be:
- Rich
- Creamy
- Melt-in-your-mouth
Tips for Perfect Homemade Fudge
To make the best easy fudge recipe every time:
- Use low heat when melting
- Stir constantly
- Don’t overheat chocolate
- Chill fully before slicing
- Use a sharp knife
Small details help achieve the perfect creamy bite.
Delicious Variations to Try
This easy fudge recipe is wonderfully flexible.
Flavor Ideas
- Peanut butter fudge
- Cookies and cream fudge
- Salted caramel fudge
- White chocolate cranberry fudge
Holiday Versions
- Crushed candy canes
- Festive sprinkles
Toppings
- Sea salt flakes
- Toasted nuts
- Chocolate drizzle
You can make it fit any season or craving.
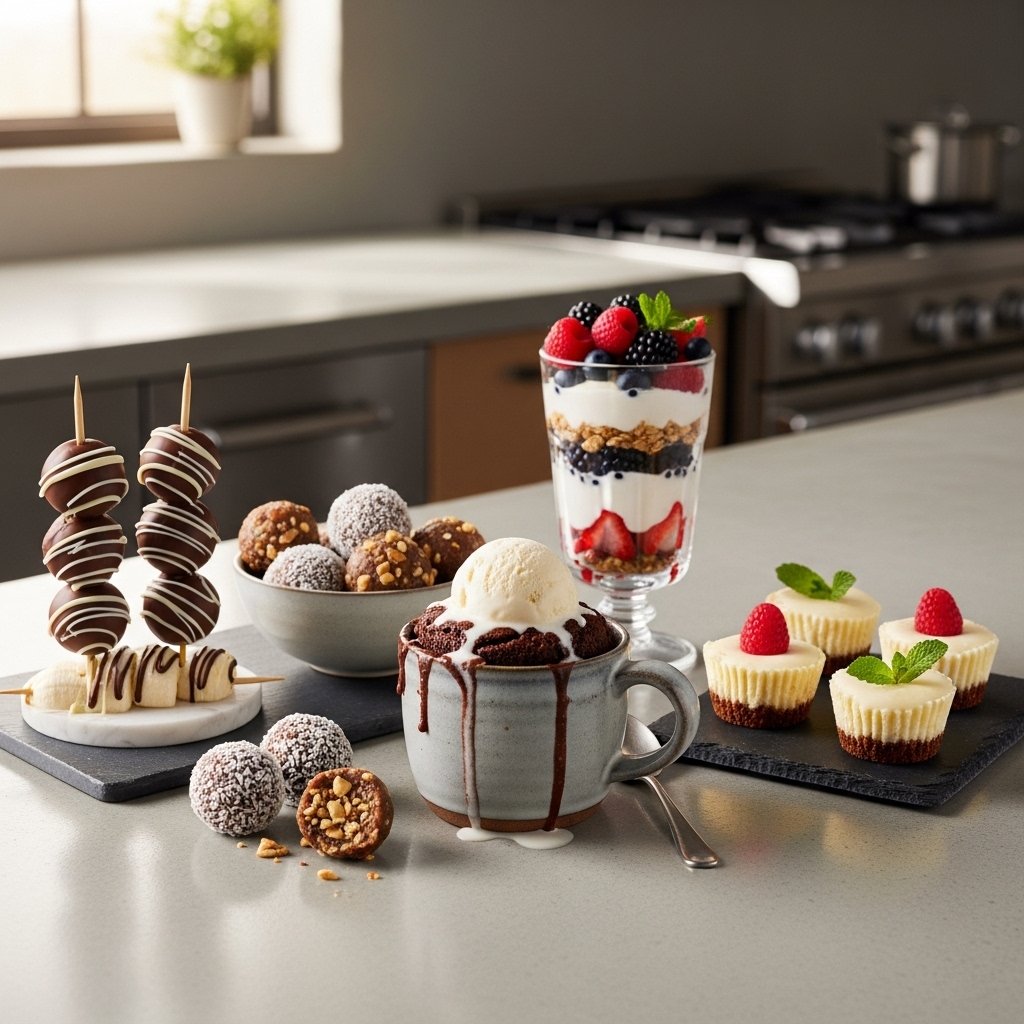
What to Serve With Fudge
Fudge pairs beautifully with:
- Coffee
- Hot cocoa
- Tea
- Vanilla ice cream
It’s perfect for:
- Holiday trays
- Dessert platters
- Gift boxes
This makes homemade fudge feel even more special.
Storage Tips
Fudge stores wonderfully.
Room Temperature
- 3 to 5 days in airtight container
Refrigerator
- Up to 2 weeks
Freezer
- Up to 2 months
Store with parchment between layers to prevent sticking.
Common Mistakes to Avoid
For the best easy fudge recipe:
- Don’t overheat chocolate
- Don’t skip parchment
- Don’t rush chilling
- Don’t cut too soon
Patience gives the best texture.
Frequently Asked Questions
Can I make fudge in the microwave?
Yes, melt in short intervals and stir.
Can I use milk chocolate?
Yes, but it will be sweeter.
Why is my fudge too soft?
It likely needs more chilling time.
Can I make this ahead?
Absolutely, it’s ideal for prep.
Do I need a candy thermometer?
No, this easy fudge recipe doesn’t require one.
Final Thoughts
This easy fudge recipe proves that homemade candy doesn’t have to be intimidating. With just a few ingredients and a simple method, you can make rich, creamy fudge that tastes bakery-quality with very little effort.
Whether you’re making it for the holidays, sharing it with friends, or treating yourself to a chocolate fix, this recipe is one you’ll want to keep in your dessert rotation. One bite, and you’ll understand why homemade fudge never goes out of style.