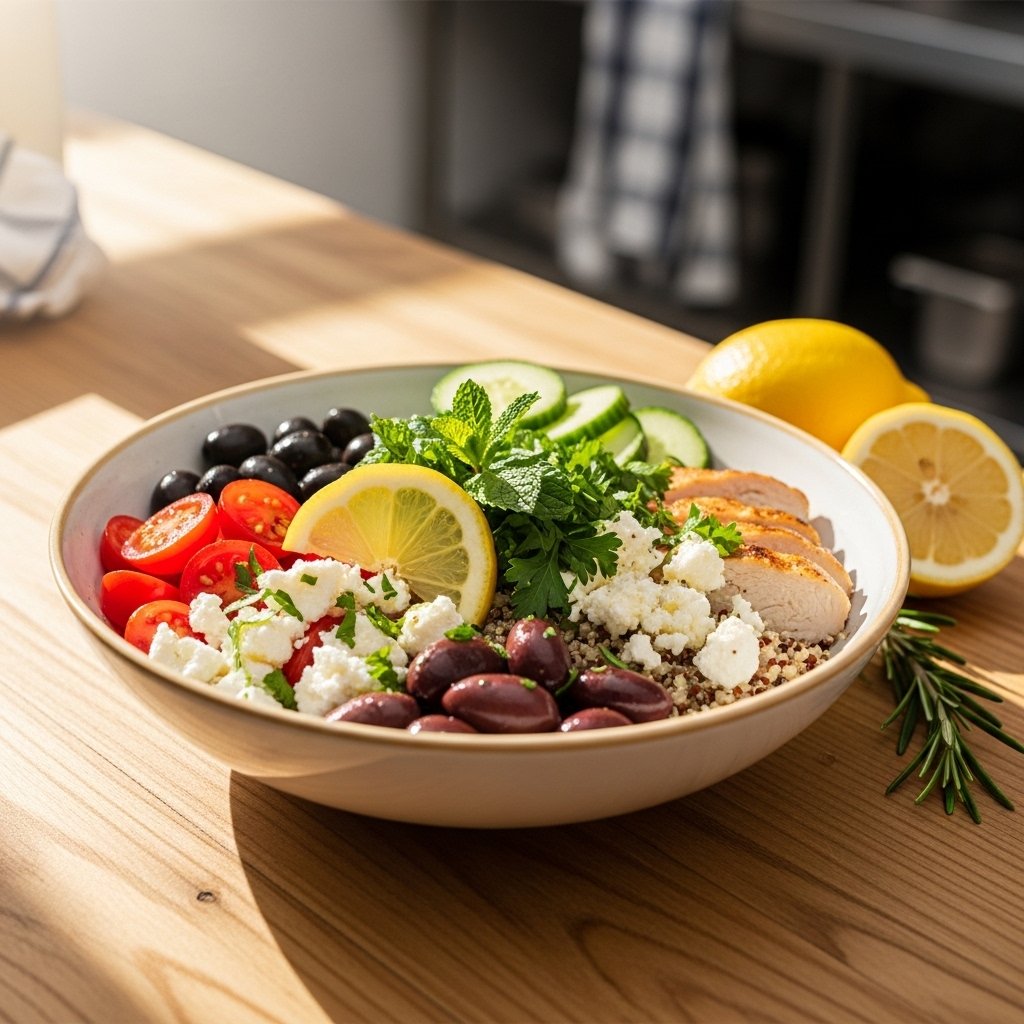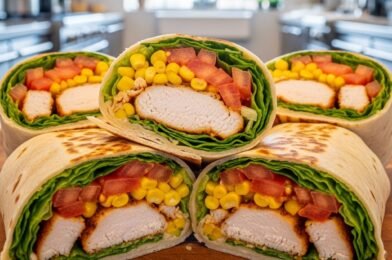
If you’re looking for a lunch that’s quick, flavorful, and actually keeps you full, these Southwest chicken wraps: easy & healthy lunch recipes are exactly what you need. Loaded with seasoned chicken, crisp veggies, and a creamy, zesty sauce, they strike the perfect balance between healthy and satisfying.
Inspired by bold Southwest flavors, these wraps are ideal for busy weekdays, meal prep, or even a light dinner. They’re easy to customize, come together fast, and deliver that crave-worthy combination of smoky, fresh, and creamy in every bite.

Why You’ll Love These Southwest Chicken Wraps
These Southwest chicken wraps: easy & healthy lunch recipes are a go-to favorite because they’re:
- Quick and easy to make
- Packed with protein
- Full of bold Southwest flavors
- Great for meal prep
- Customizable for any diet
- Perfect for lunch or light dinner
They’re the kind of recipe you’ll come back to again and again.
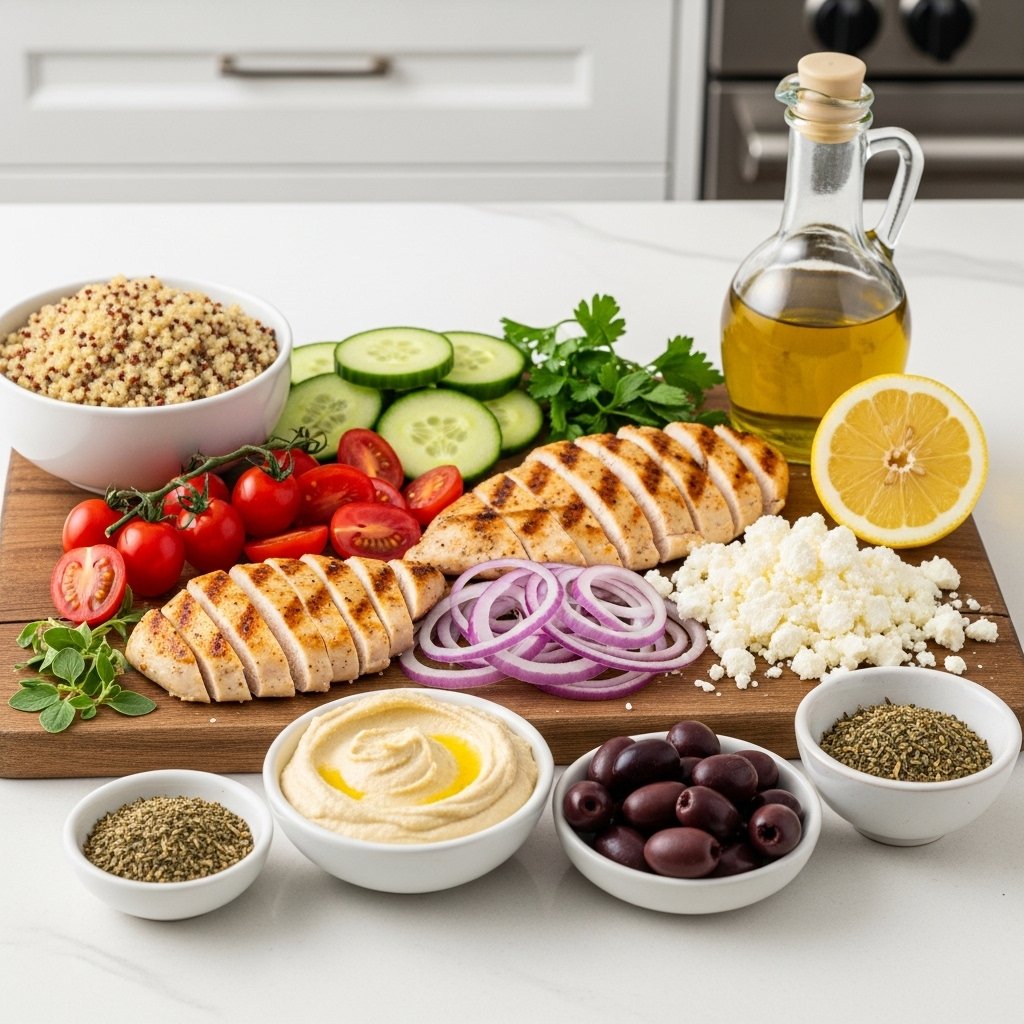
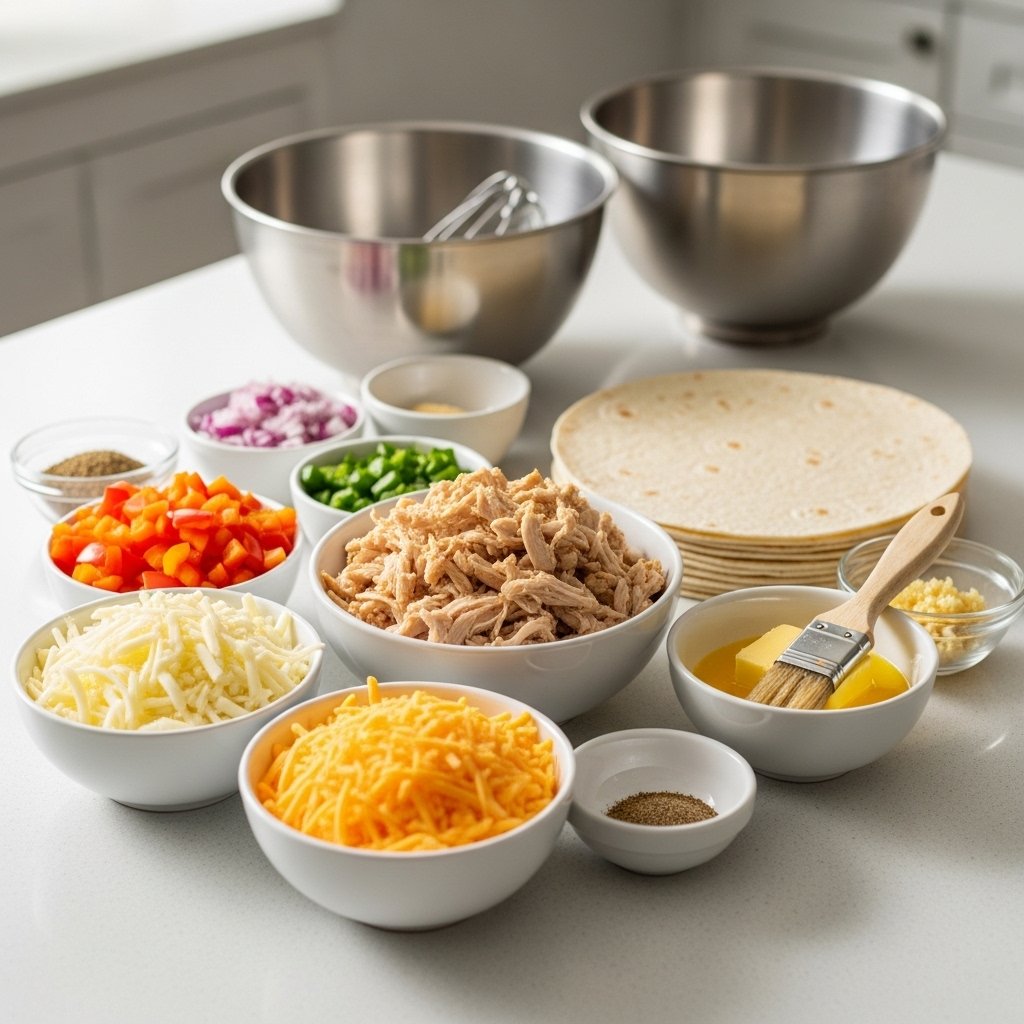
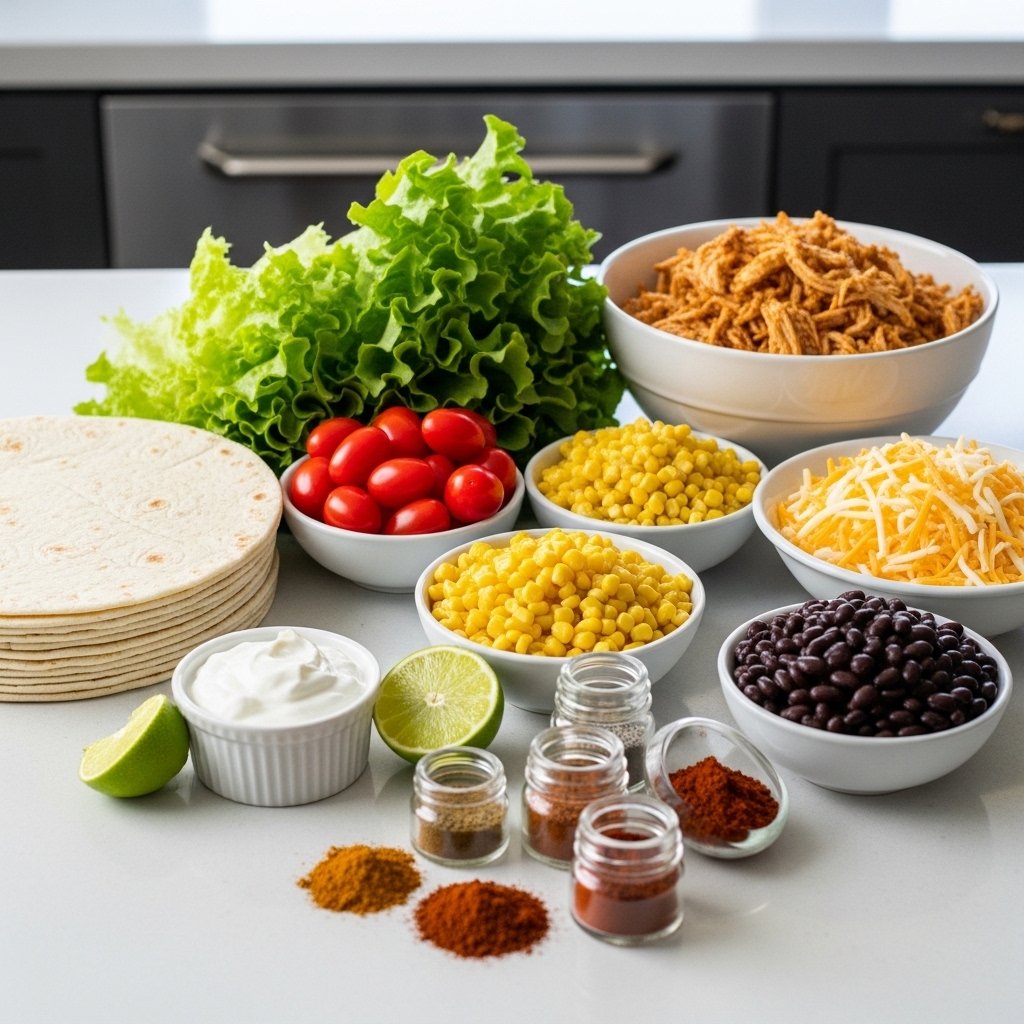
Ingredients You’ll Need
To make these wraps, gather:
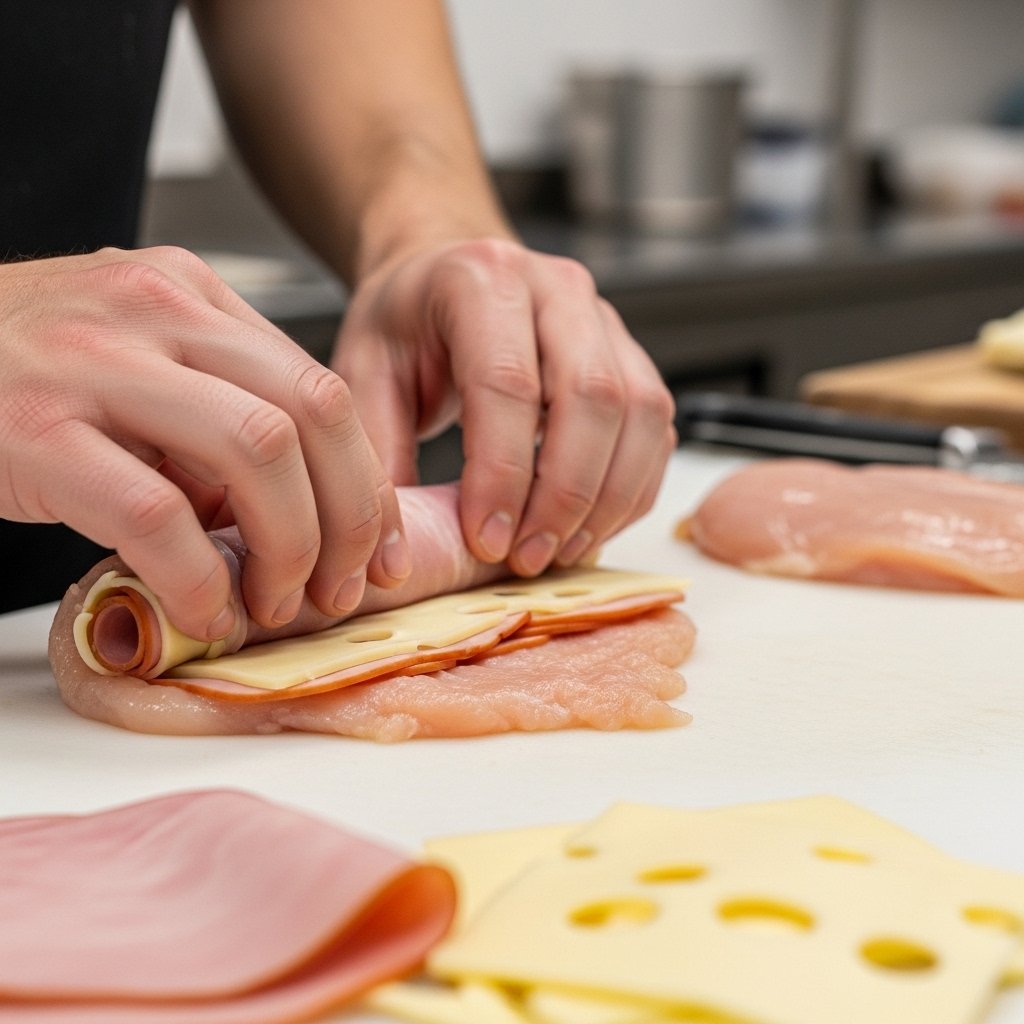
For the Chicken
- 2 cups cooked chicken breast (grilled or shredded)
- 1 teaspoon chili powder
- 1/2 teaspoon cumin
- Salt and pepper
For the Wrap Filling
- 4 large tortillas
- 1 cup romaine lettuce
- 1/2 cup cherry tomatoes
- 1/2 cup corn (fresh or canned)
- 1/4 cup black beans
- 1/4 cup shredded cheese
For the Sauce
- 1/2 cup Greek yogurt or sour cream
- 1 tablespoon lime juice
- 1 teaspoon taco seasoning
These ingredients create a balanced, flavorful wrap.
Ingredient Notes and Healthy Swaps
Protein Options
Switch things up with:
- Grilled chicken
- Rotisserie chicken
- Tofu or beans for vegetarian
Wrap Choices
Use:
- Whole wheat tortillas
- Low-carb wraps
- Lettuce wraps for a lighter option
Sauce Alternatives
Try:
- Avocado crema
- Ranch dressing
- Spicy chipotle sauce
These swaps help tailor the recipe to your needs.
Step-by-Step Instructions
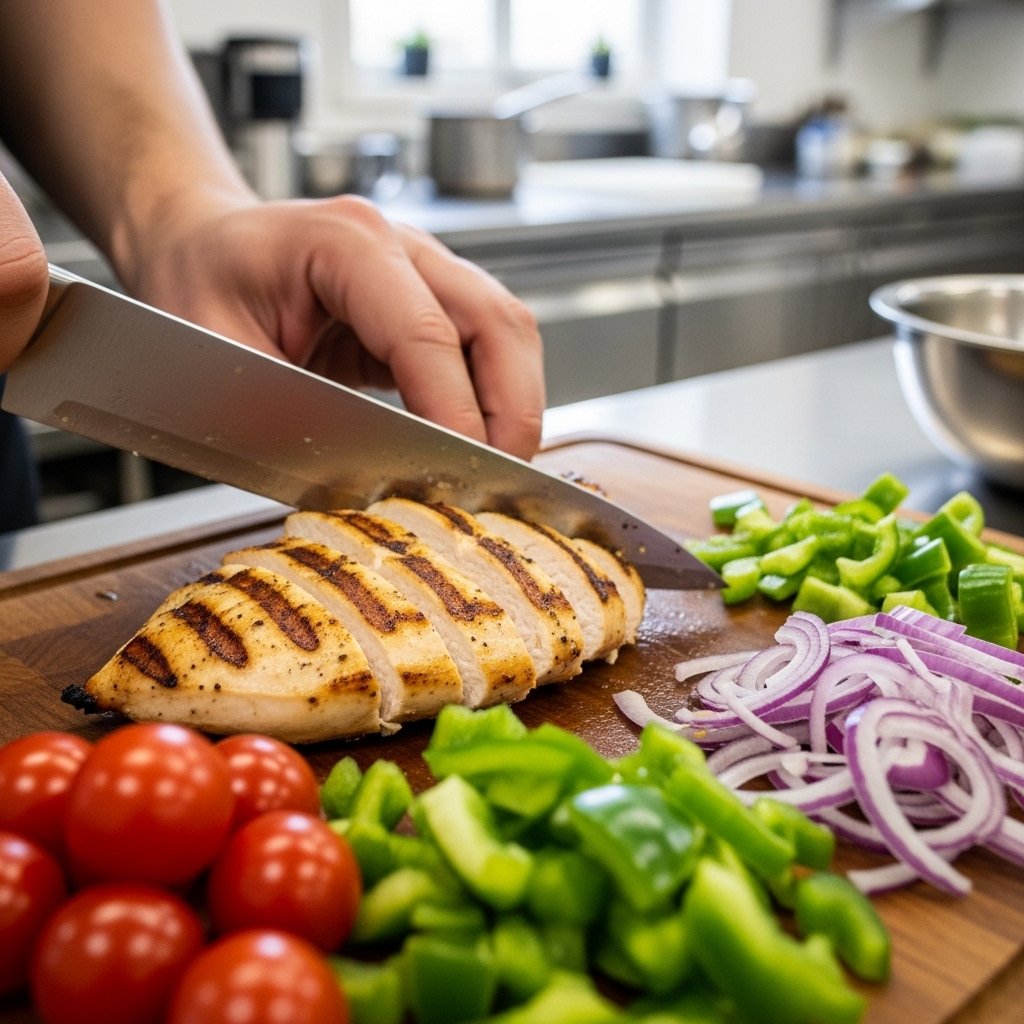
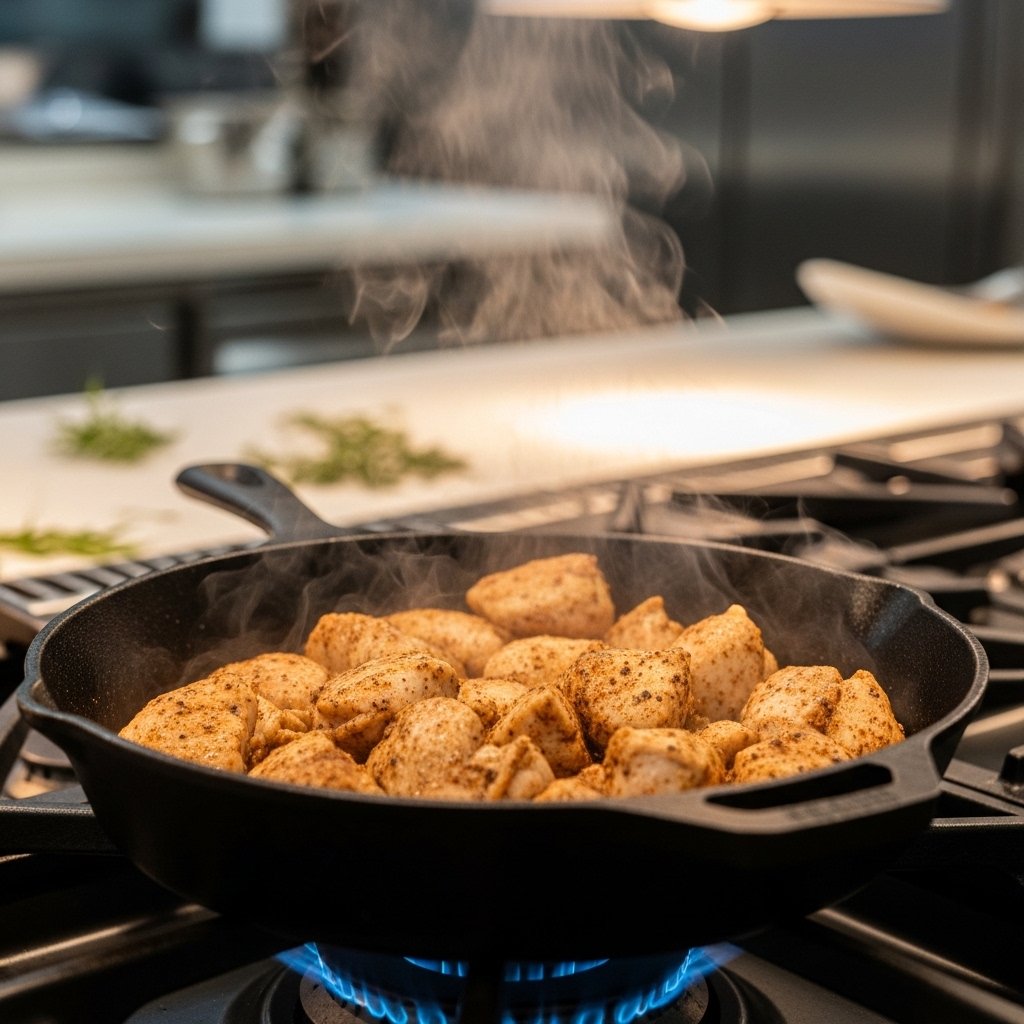
Step 1: Season the Chicken
In a bowl, toss chicken with:
- Chili powder
- Cumin
- Salt and pepper
Heat in a skillet until warm and flavorful.
This builds the base flavor.
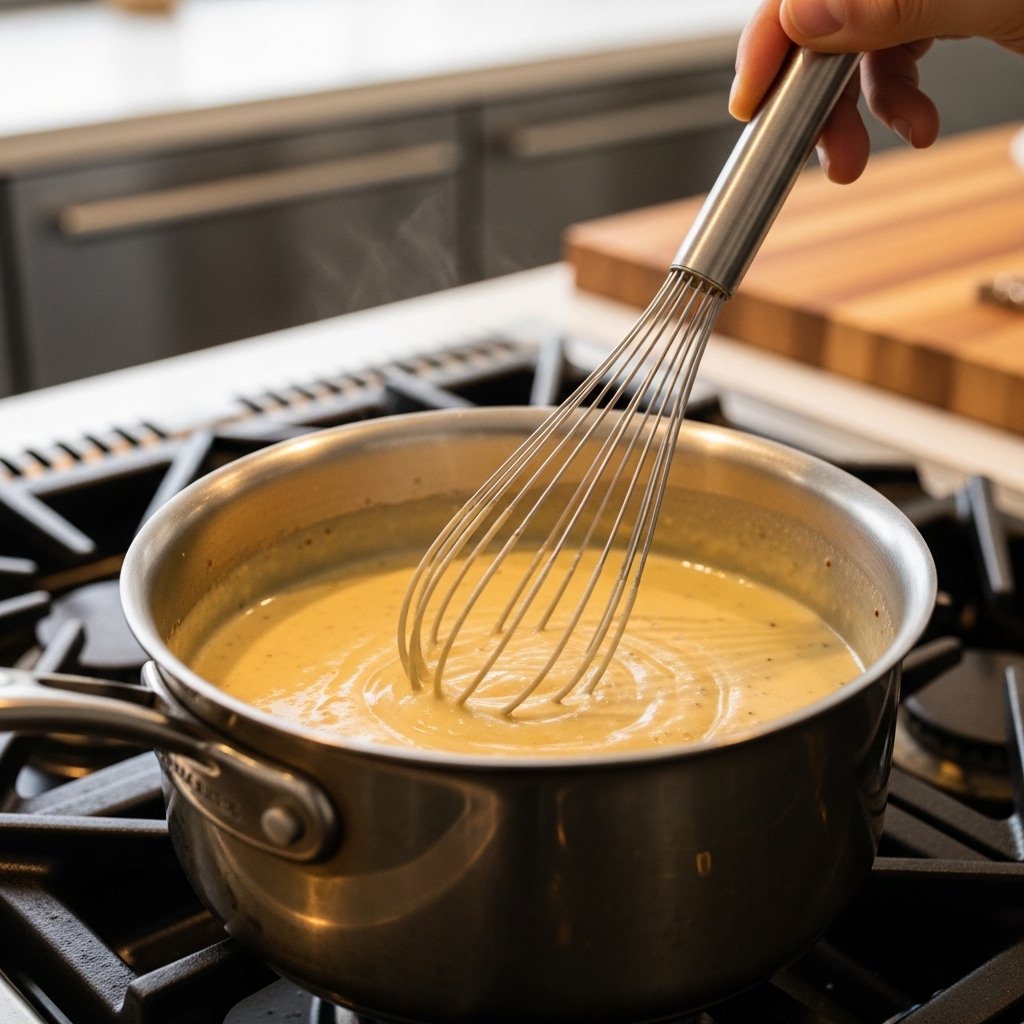
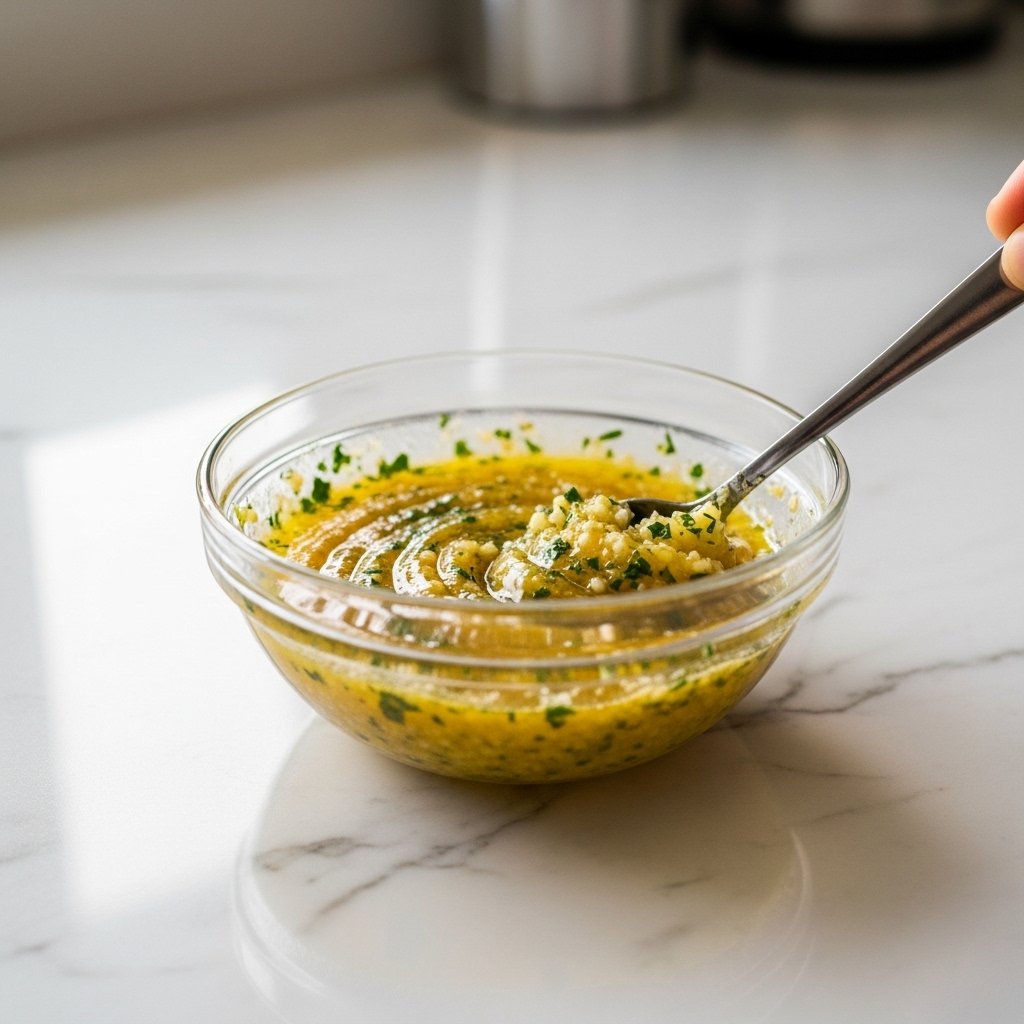
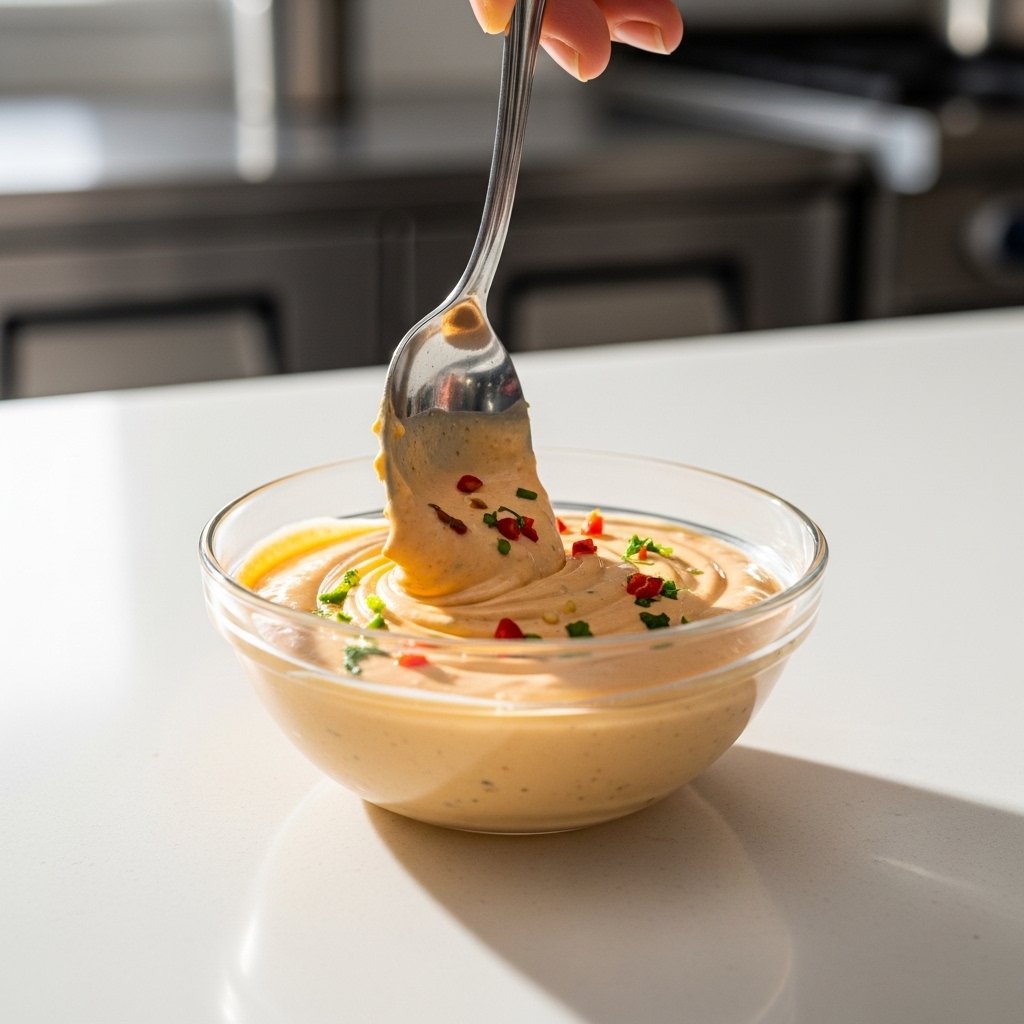
Step 2: Prepare the Sauce
Mix in a bowl:
- Greek yogurt
- Lime juice
- Taco seasoning
Stir until smooth.
This creamy sauce ties everything together.
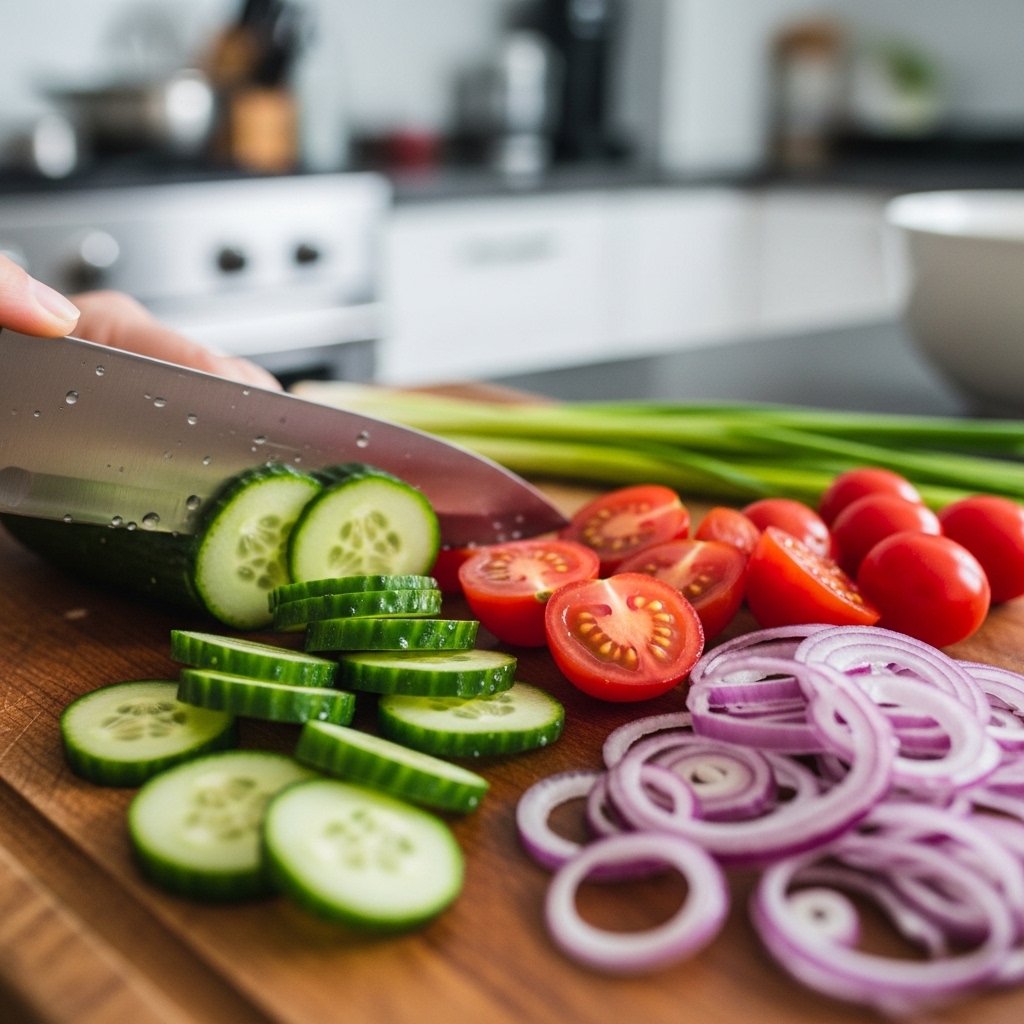
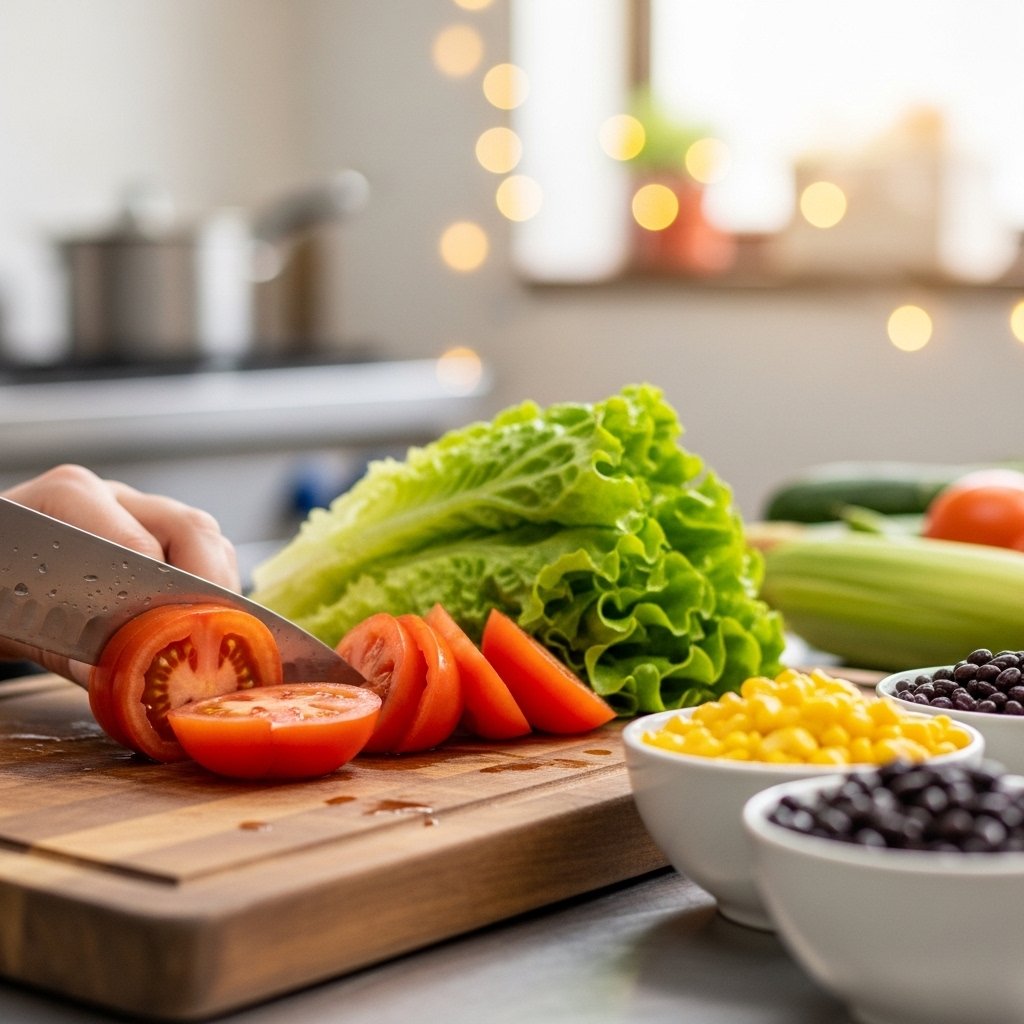
Step 3: Prep the Vegetables
Chop:
- Lettuce
- Tomatoes
Drain:
- Corn
- Black beans
Fresh ingredients add crunch and color.
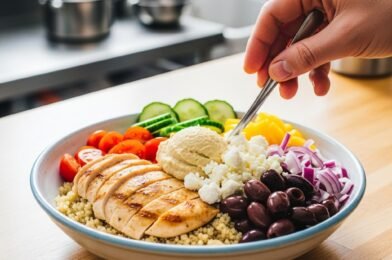
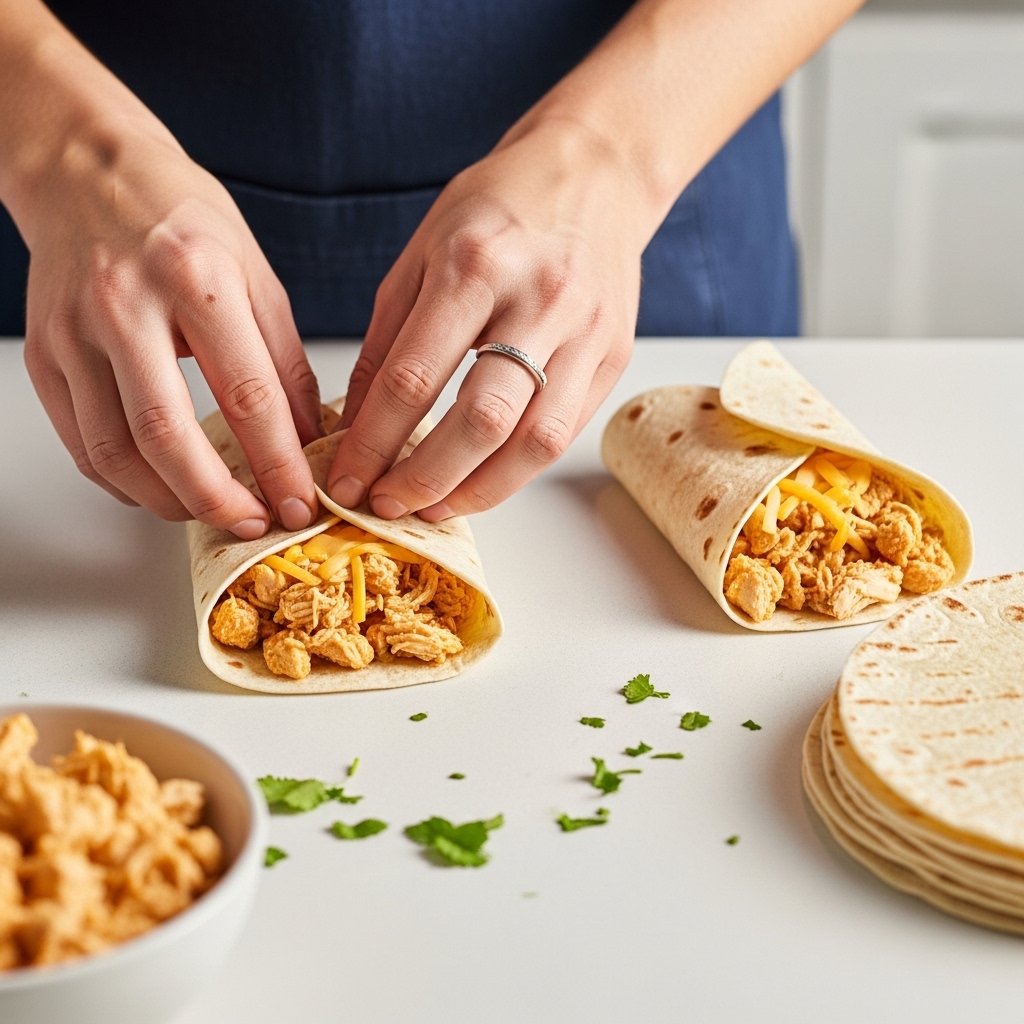
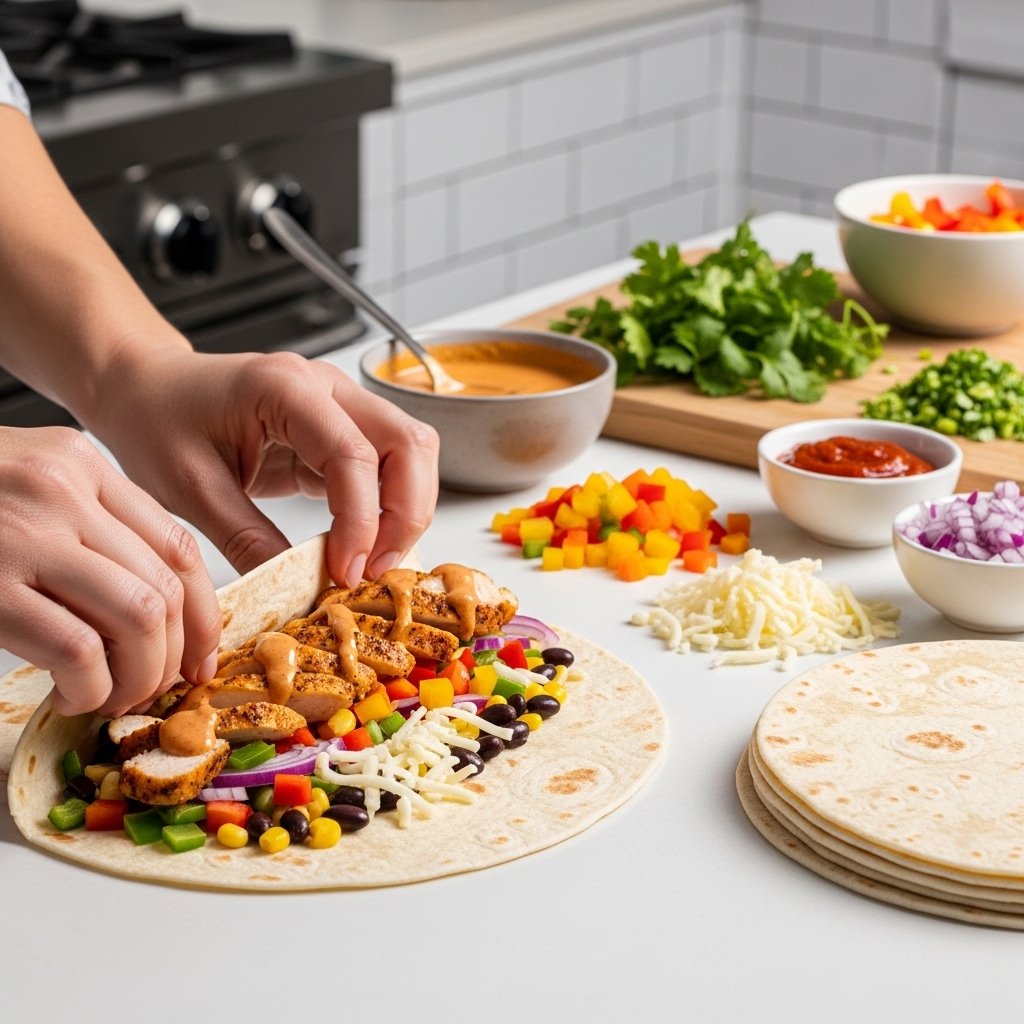
Step 4: Assemble the Wraps
Lay tortillas flat.
Layer:
- Chicken
- Vegetables
- Cheese
Drizzle with sauce.
Fold tightly into wraps.
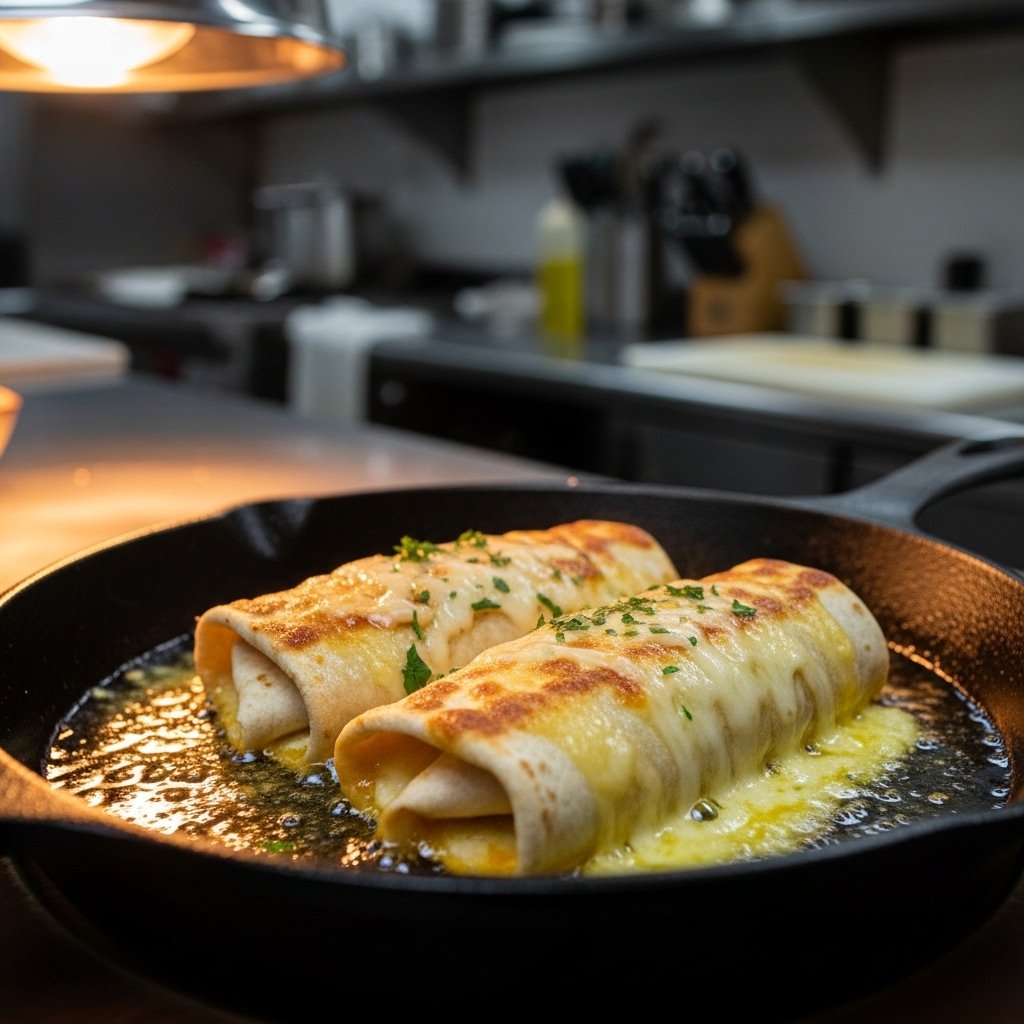
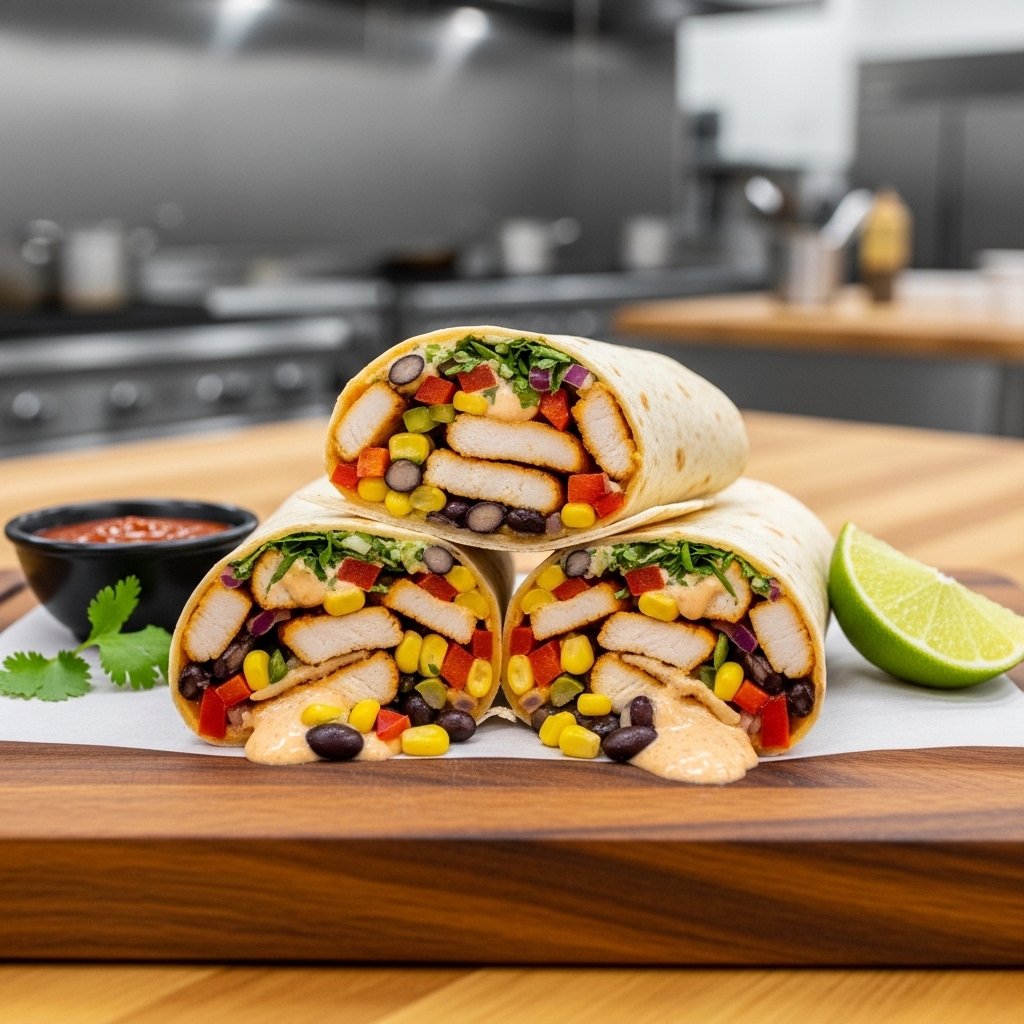
Step 5: Slice and Serve
Slice wraps in half.
Serve immediately or pack for later.
Tips for Perfect Results
For the best Southwest chicken wraps: easy & healthy lunch recipes:
- Don’t overfill the wraps
- Warm tortillas for easier folding
- Use fresh ingredients
- Balance flavors with acidity (lime)
- Add sauce just before serving
These tips keep your wraps fresh and delicious.
Delicious Variations
Try these fun ideas:
Spicy Version
- Add jalapeños
- Use hot sauce
Low-Carb Option
- Swap tortillas for lettuce wraps
Extra Protein
- Add extra chicken or beans
Cheesy Twist
- Melt cheese before wrapping
This recipe is easy to customize.
What to Serve With It
These wraps pair perfectly with:
- Tortilla chips and salsa
- Fresh fruit
- Side salad
- Guacamole
Perfect for:
- Lunch
- Picnics
- Meal prep
They’re versatile and satisfying.
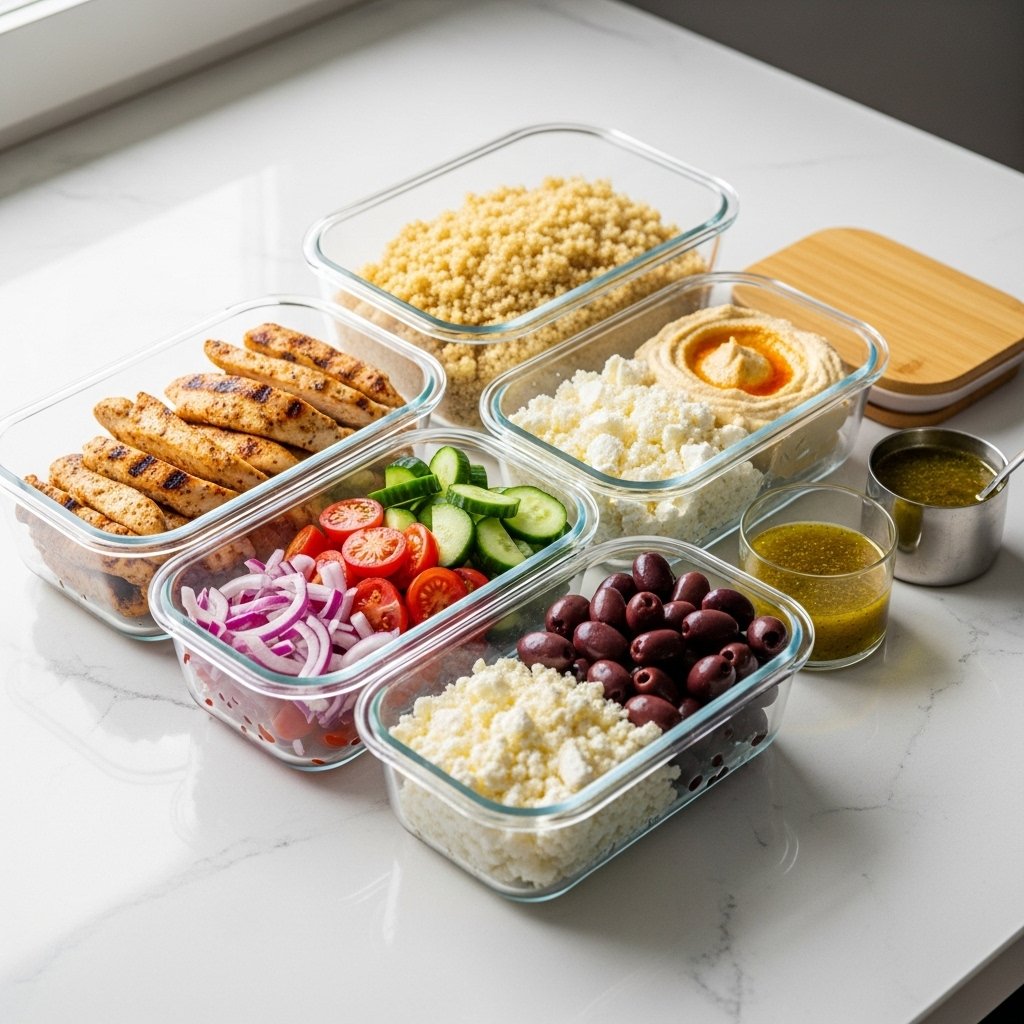
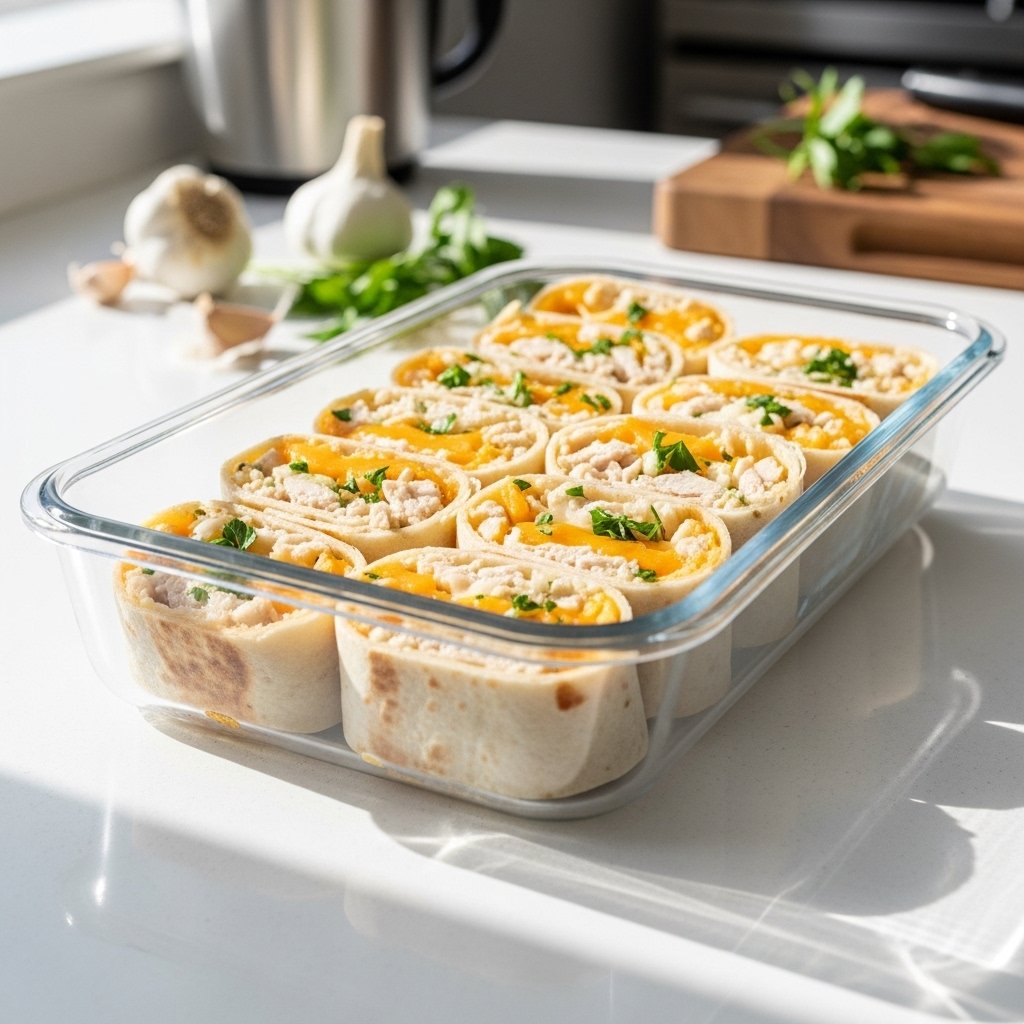
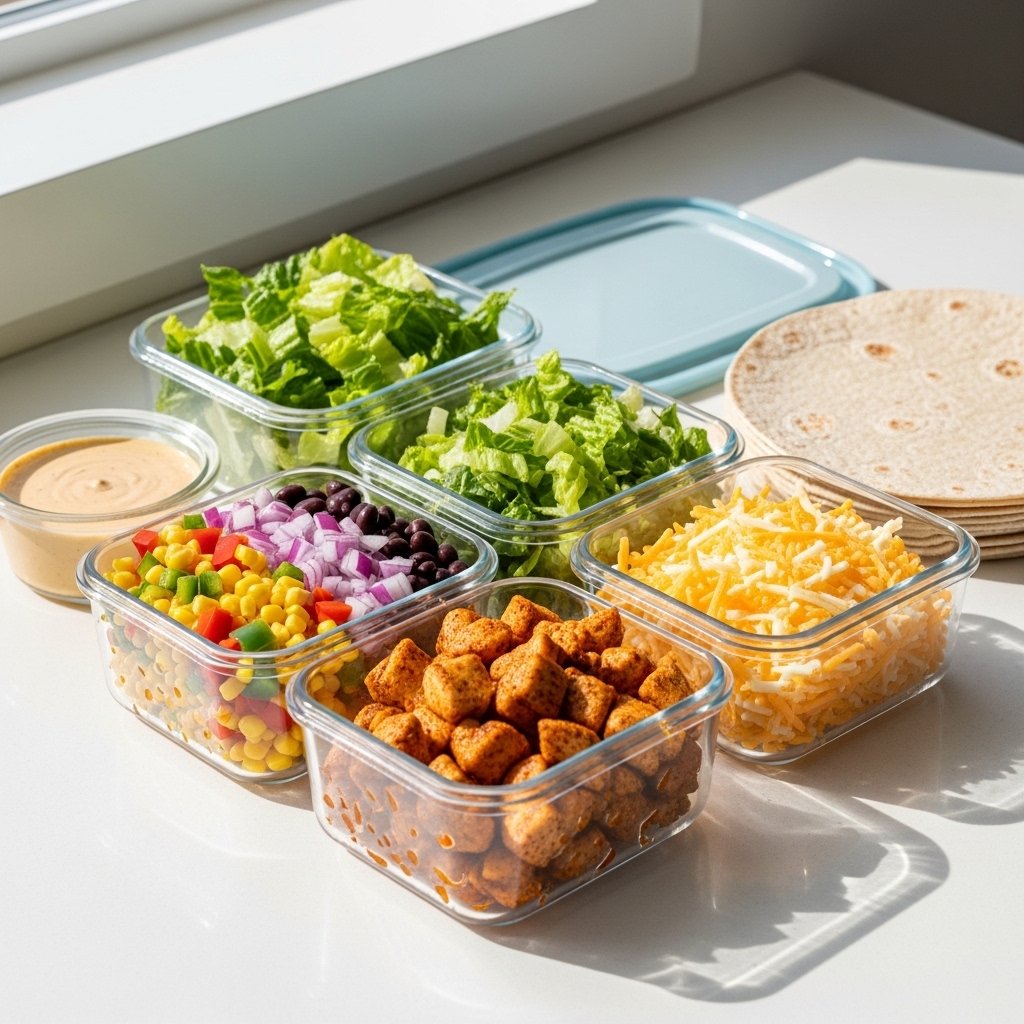
Storage and Reheating Tips
These Southwest chicken wraps: easy & healthy lunch recipes are great for prepping ahead.
Refrigerator
- Store up to 3 days
Storage Tip
- Keep sauce separate
Reheating
- Warm chicken only if needed
Common Mistakes to Avoid
For best results:
- Don’t overfill wraps
- Don’t skip seasoning
- Don’t use soggy vegetables
- Don’t add too much sauce early
Small details make a big difference.
Frequently Asked Questions
Can I make these ahead of time?
Yes, they’re great for meal prep.
Are they healthy?
Yes, they’re balanced and nutritious.
Can I make them vegetarian?
Absolutely, use beans or tofu.
What’s the best sauce?
Greek yogurt-based sauce works great.
Can I freeze them?
Not recommended due to fresh veggies.
Final Thoughts
These Southwest chicken wraps: easy & healthy lunch recipes are everything you want in a quick meal—fresh, flavorful, and satisfying. They’re simple to make, easy to customize, and perfect for busy days.
Once you try them, you’ll see how easy it is to create a healthy lunch that doesn’t compromise on taste. Whether for meal prep or a quick bite, these wraps are always a win.