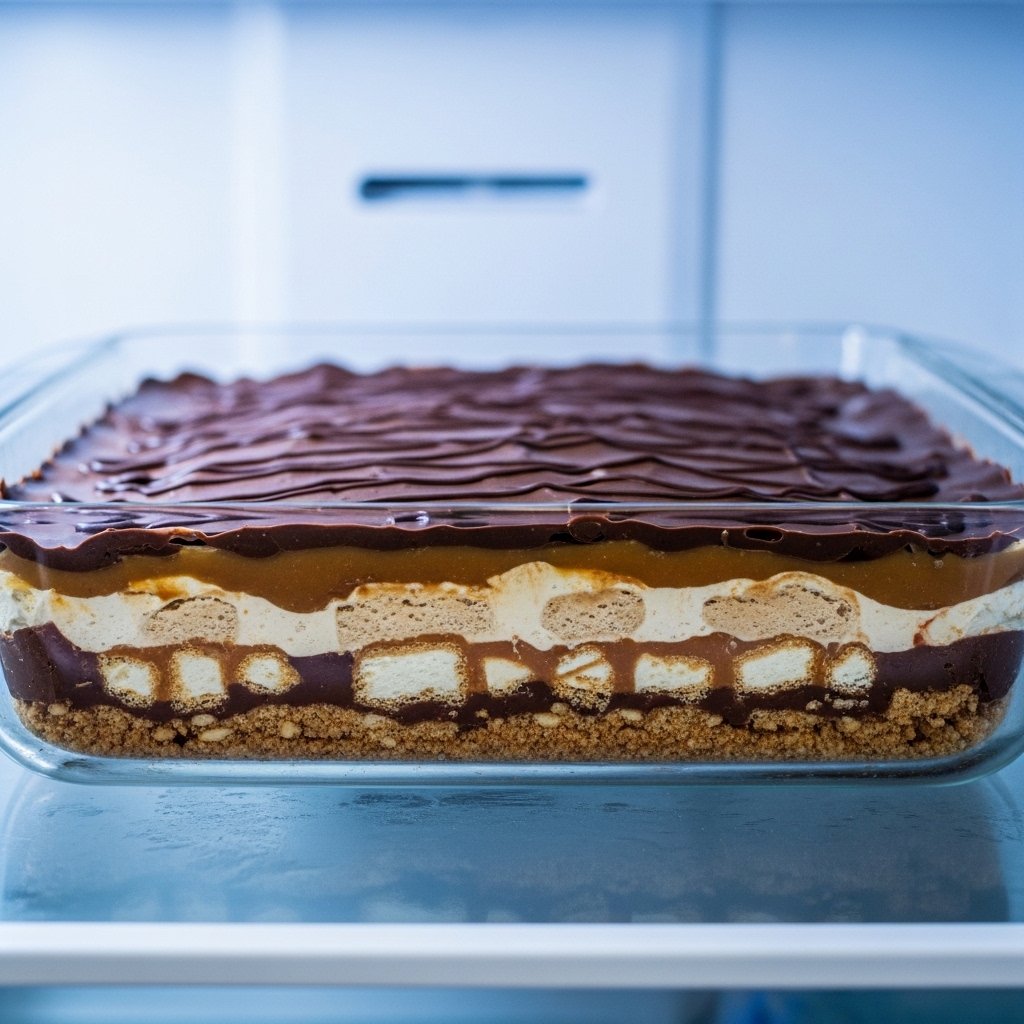
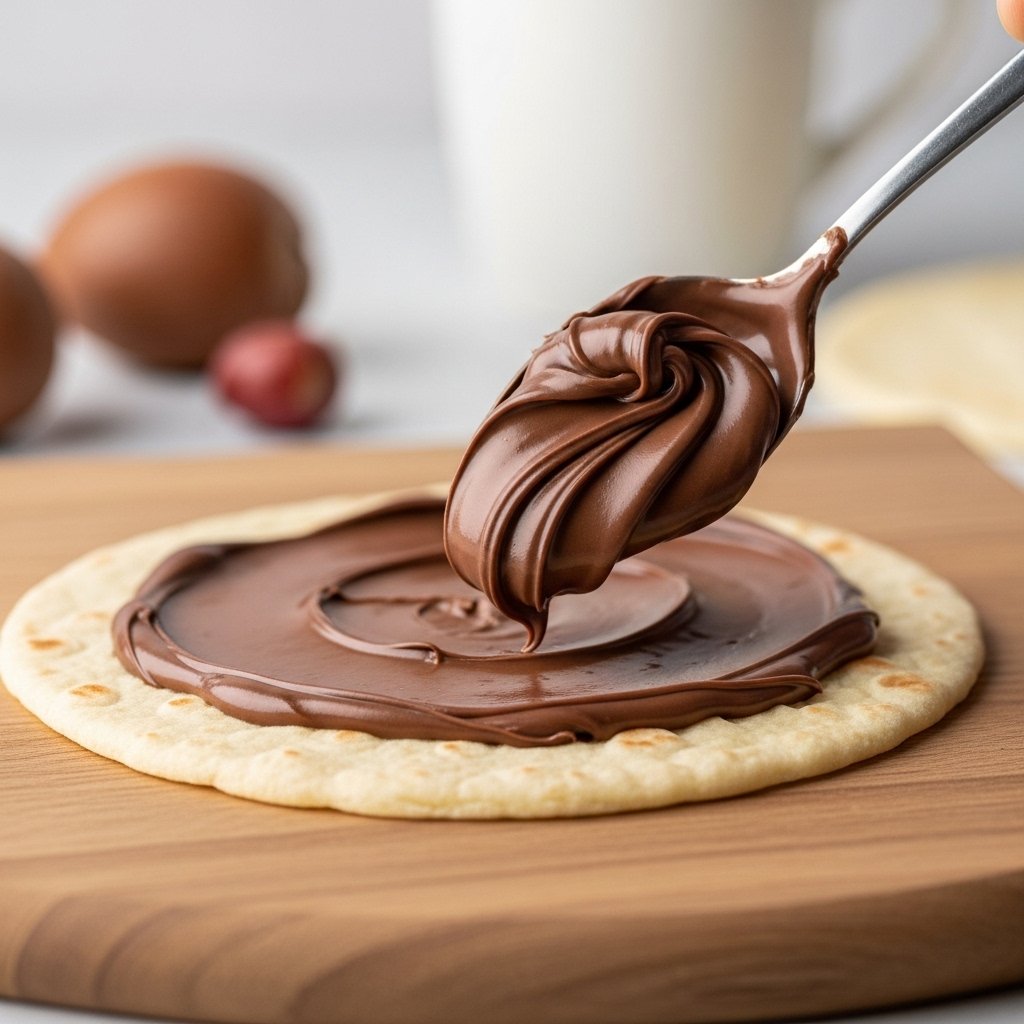
If you’ve ever licked the spoon while baking brownies, you already know how irresistible brownie batter can be. Now imagine enjoying that same rich, fudgy flavor—completely safe to eat. This Easy Edible Brownie Batter recipe is designed specifically for that purpose, with no raw eggs and heat-treated flour.
This indulgent treat is smooth, chocolatey, and ready in just minutes. Whether you’re craving a quick dessert, a dip for fruit, or a fun topping for ice cream, this edible brownie batter hits the spot every time.

Why You’ll Love This Recipe
This Easy Edible Brownie Batter is a must-try for chocolate lovers.
- Safe to eat raw (no eggs)
- Ready in under 10 minutes
- Rich, fudgy, and creamy
- Perfect for dipping or topping
- Easily customizable
It’s like enjoying brownie batter without the wait—or the oven.
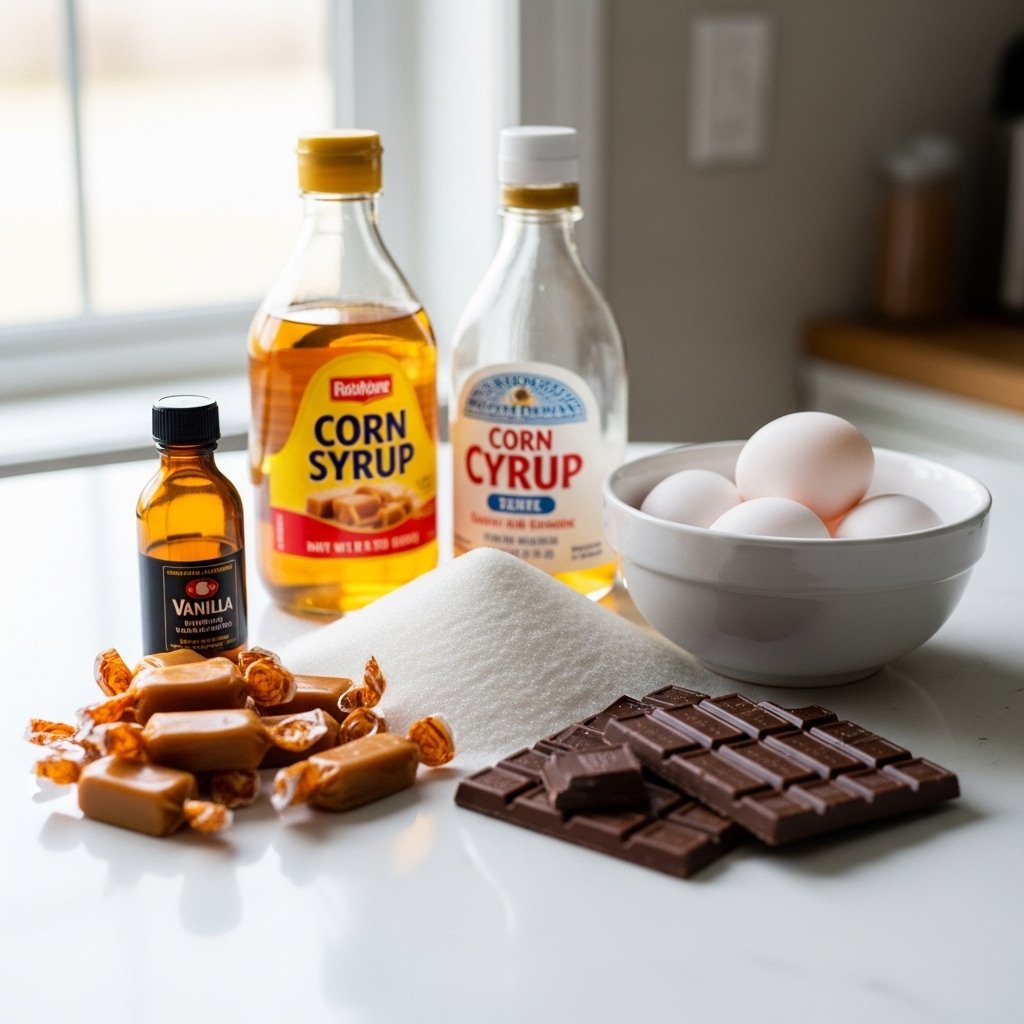
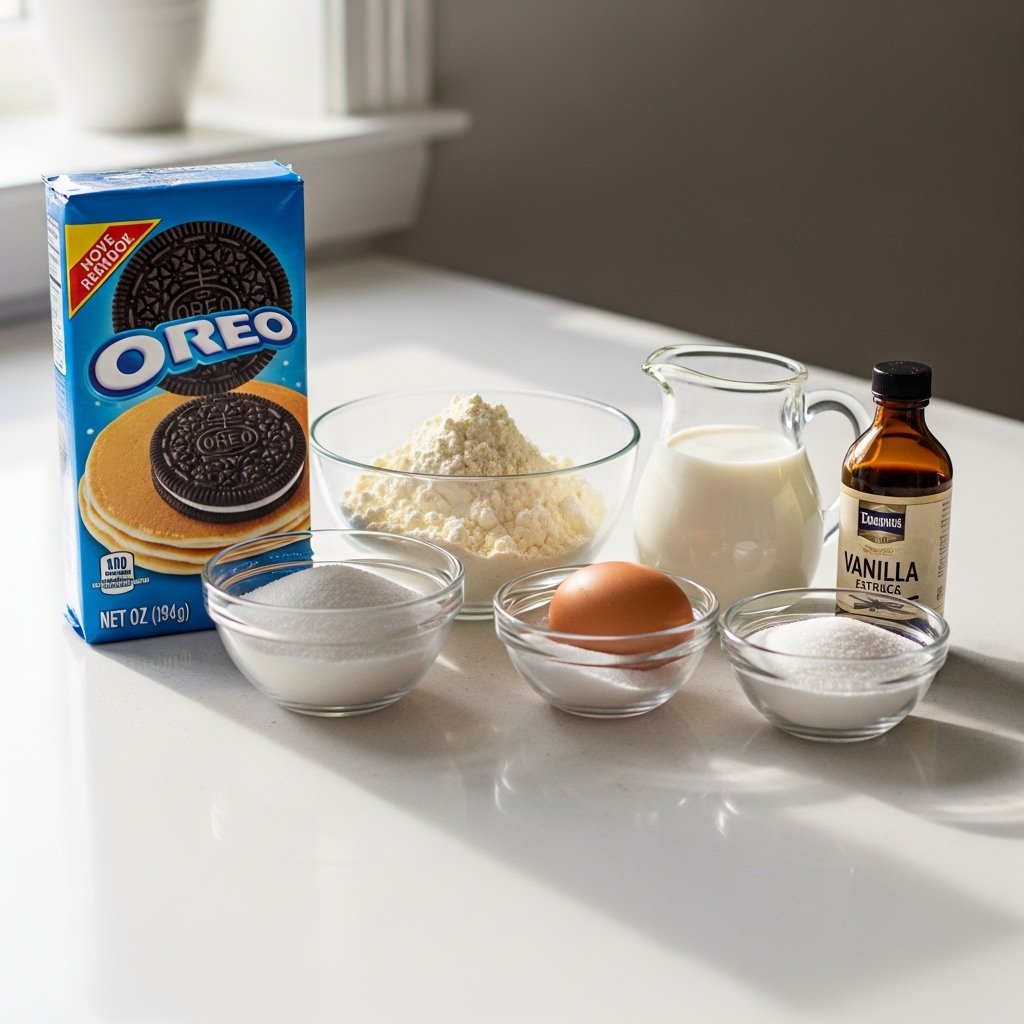
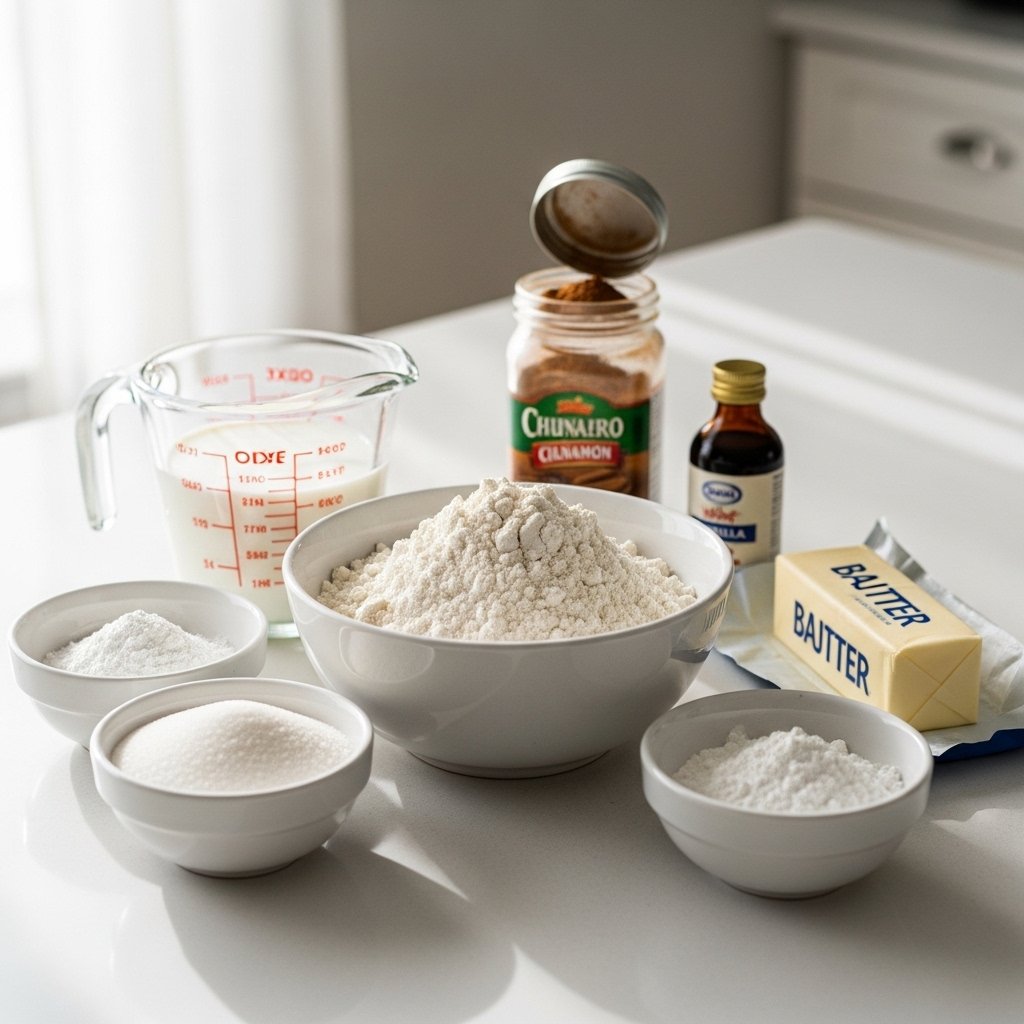
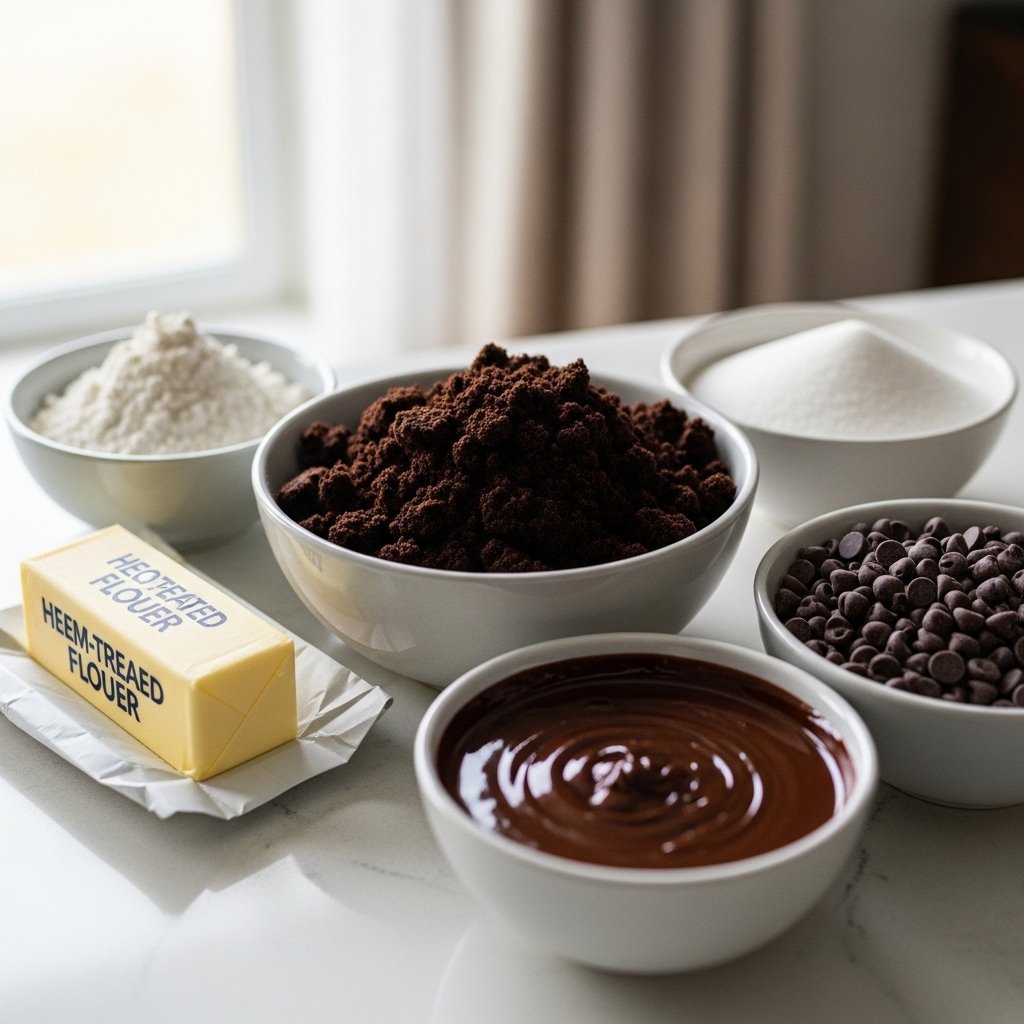
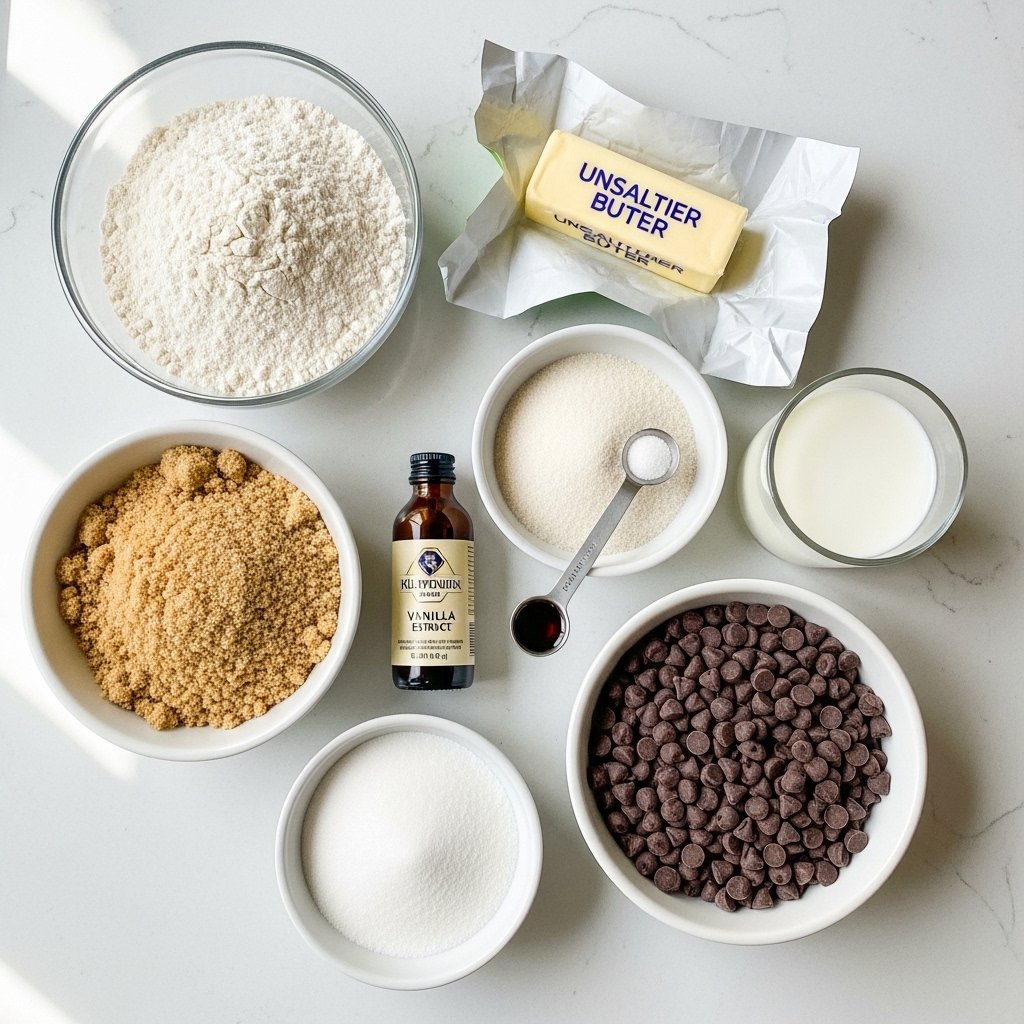
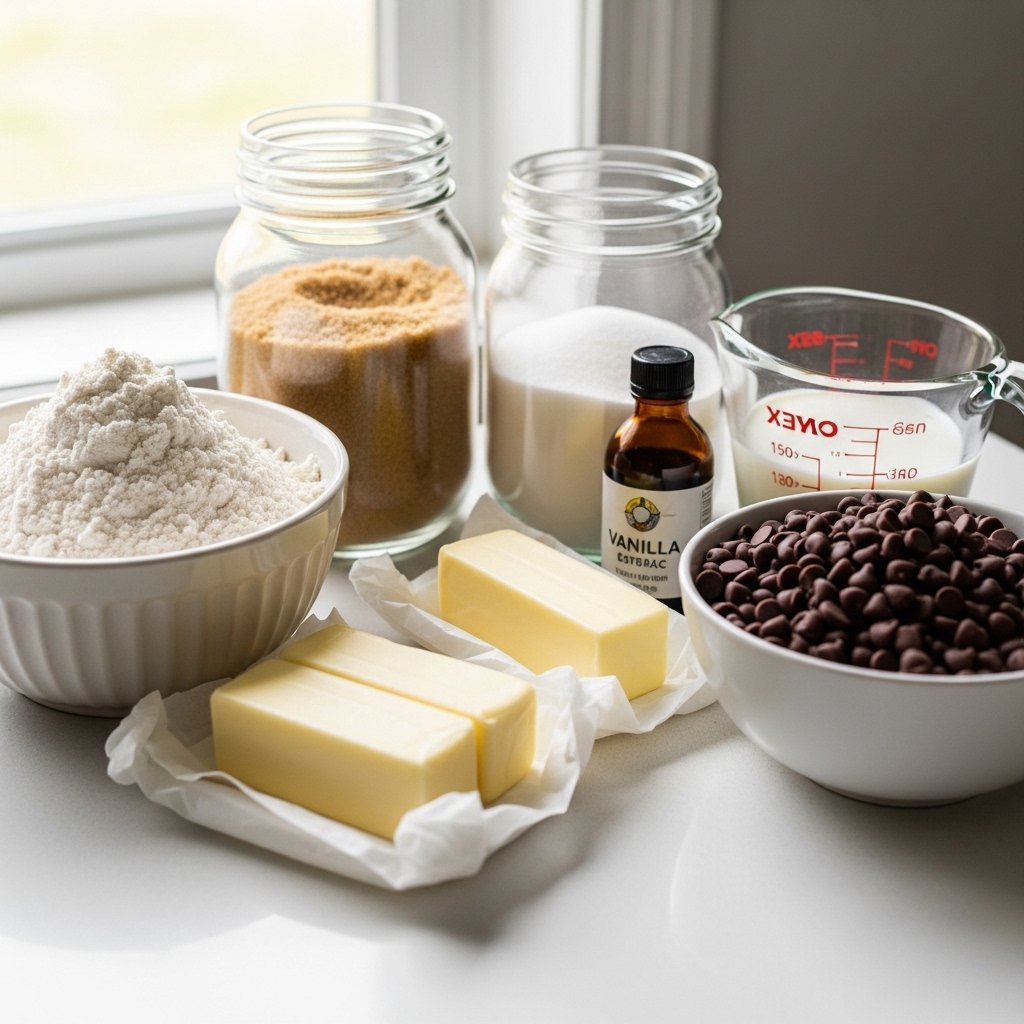
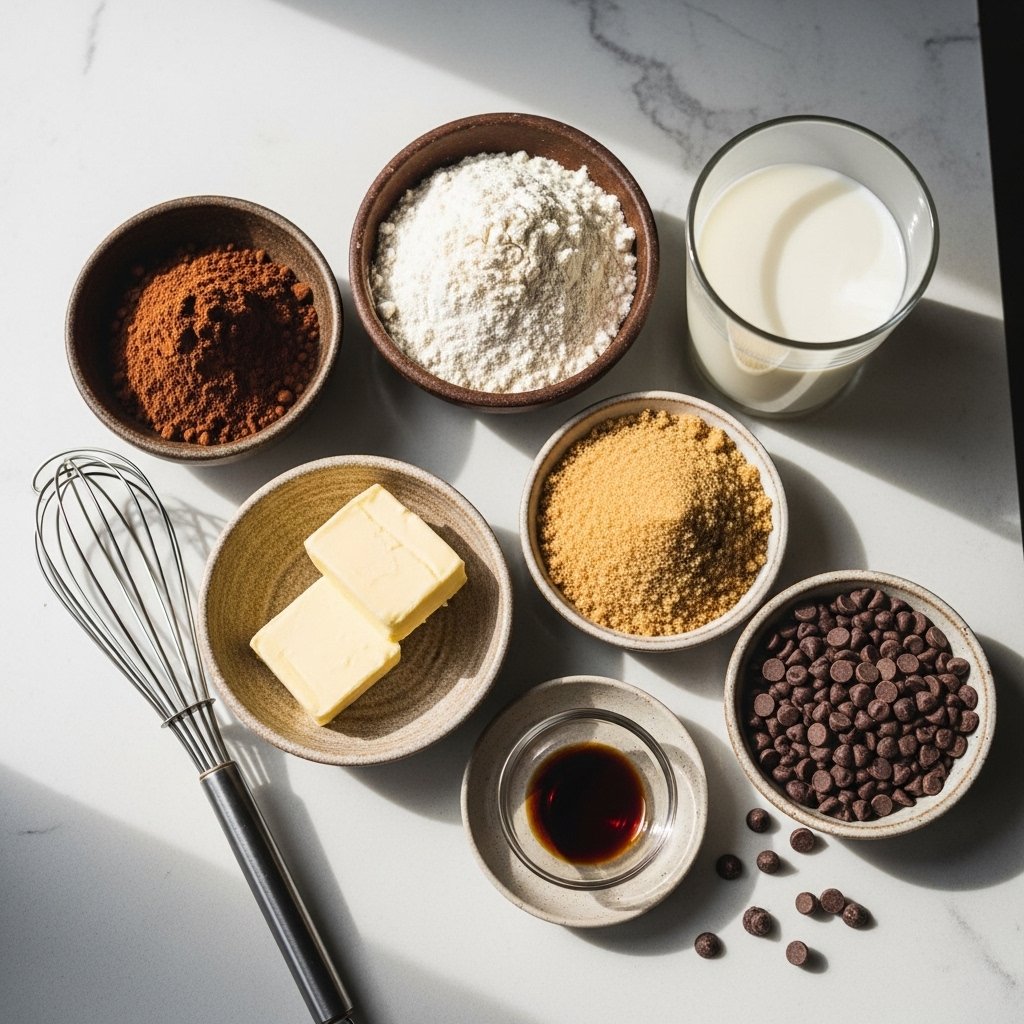
Ingredients
To make this easy edible brownie batter, you’ll need:
- 1 cup heat-treated all-purpose flour
- ½ cup unsweetened cocoa powder
- ½ cup brown sugar
- ¼ cup granulated sugar
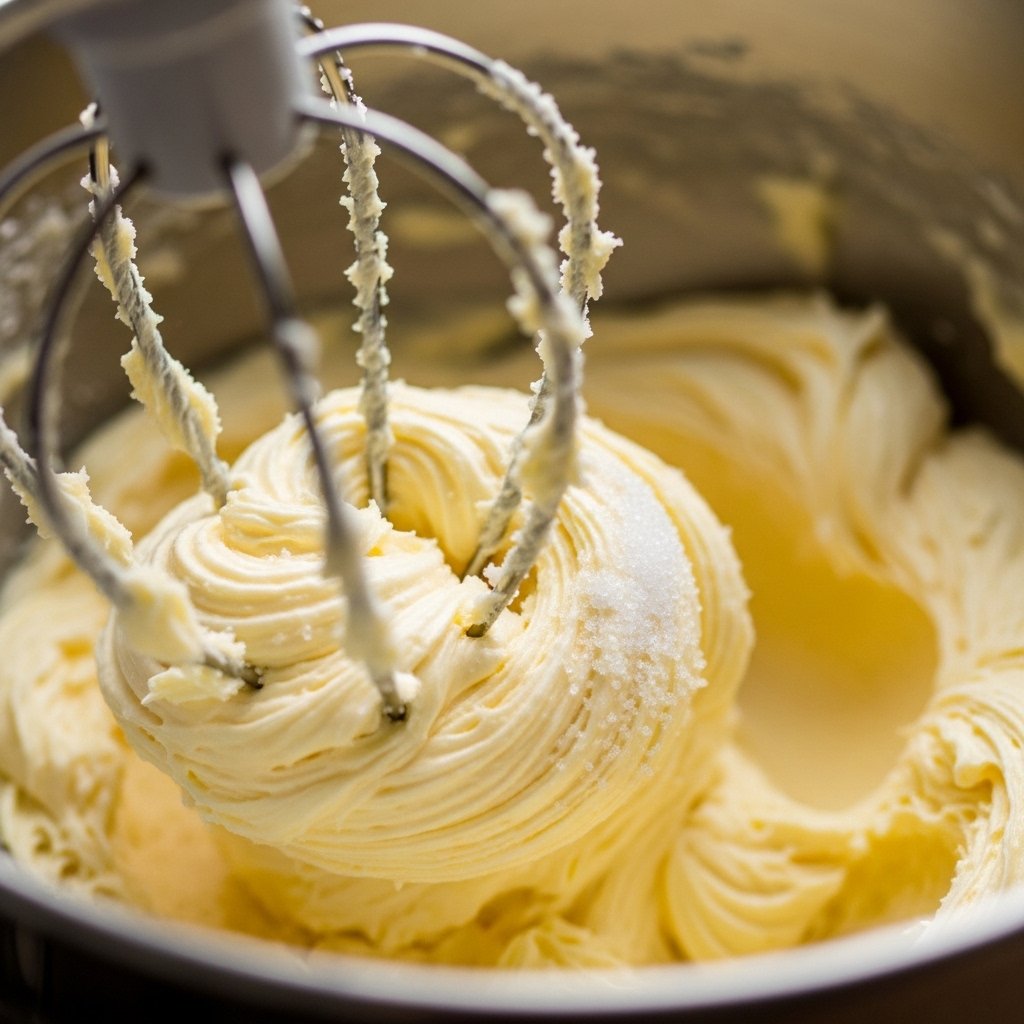
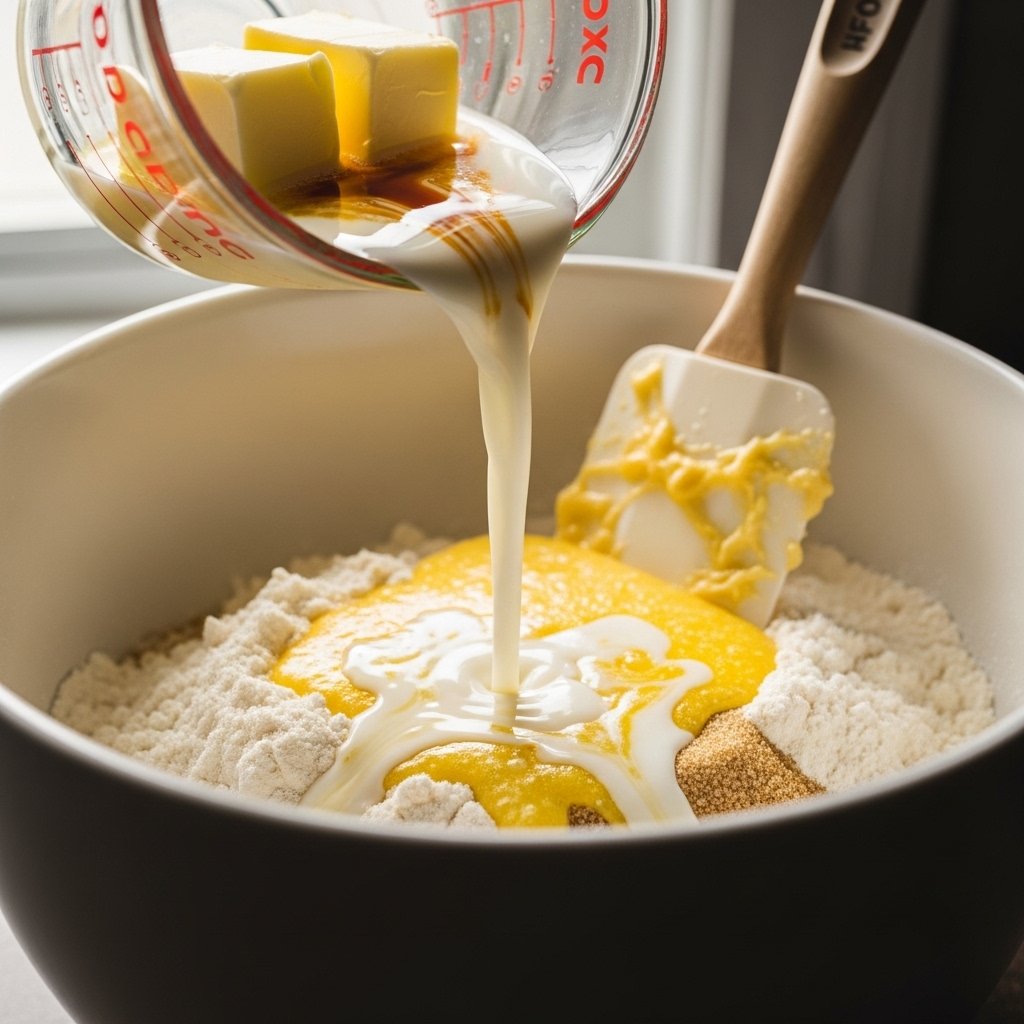
- ½ cup unsalted butter (melted)
- ¼ cup milk (or plant-based milk)
- 1 teaspoon vanilla extract
- Pinch of salt
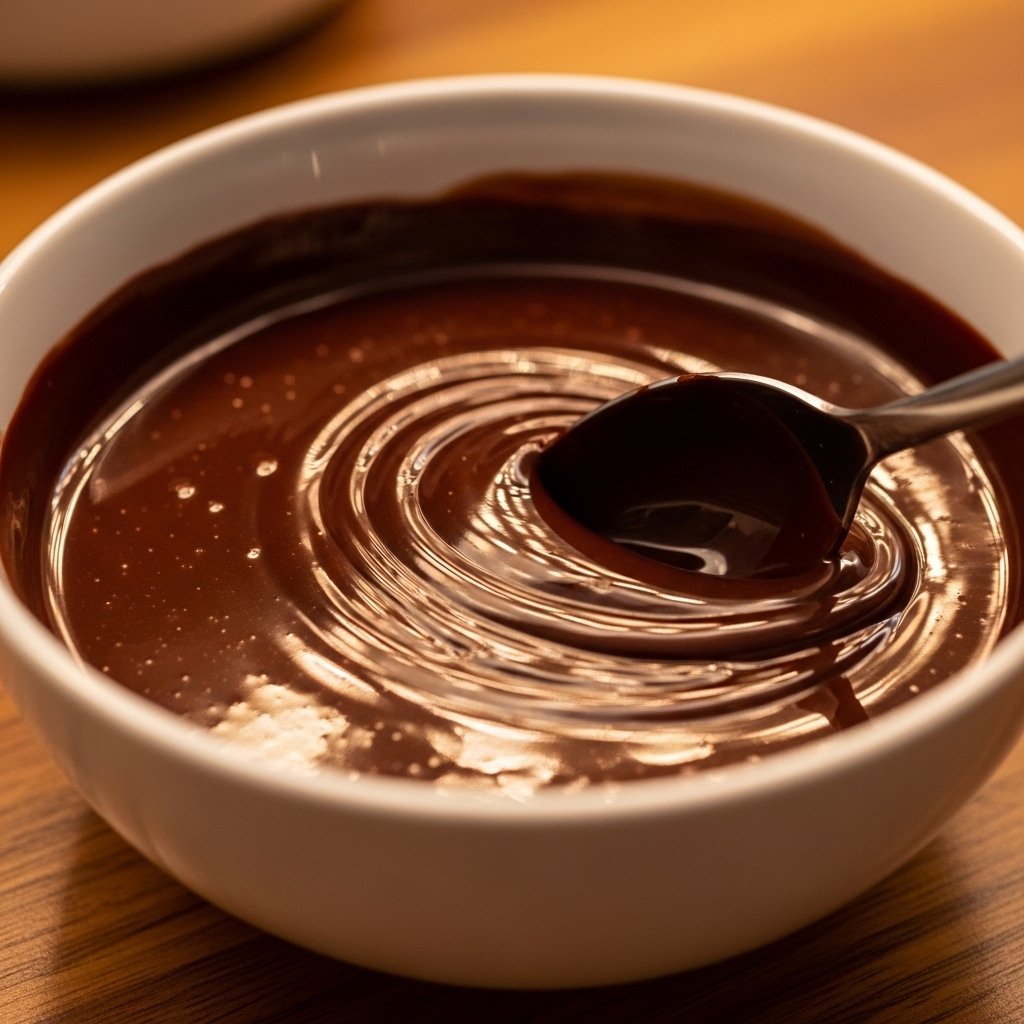
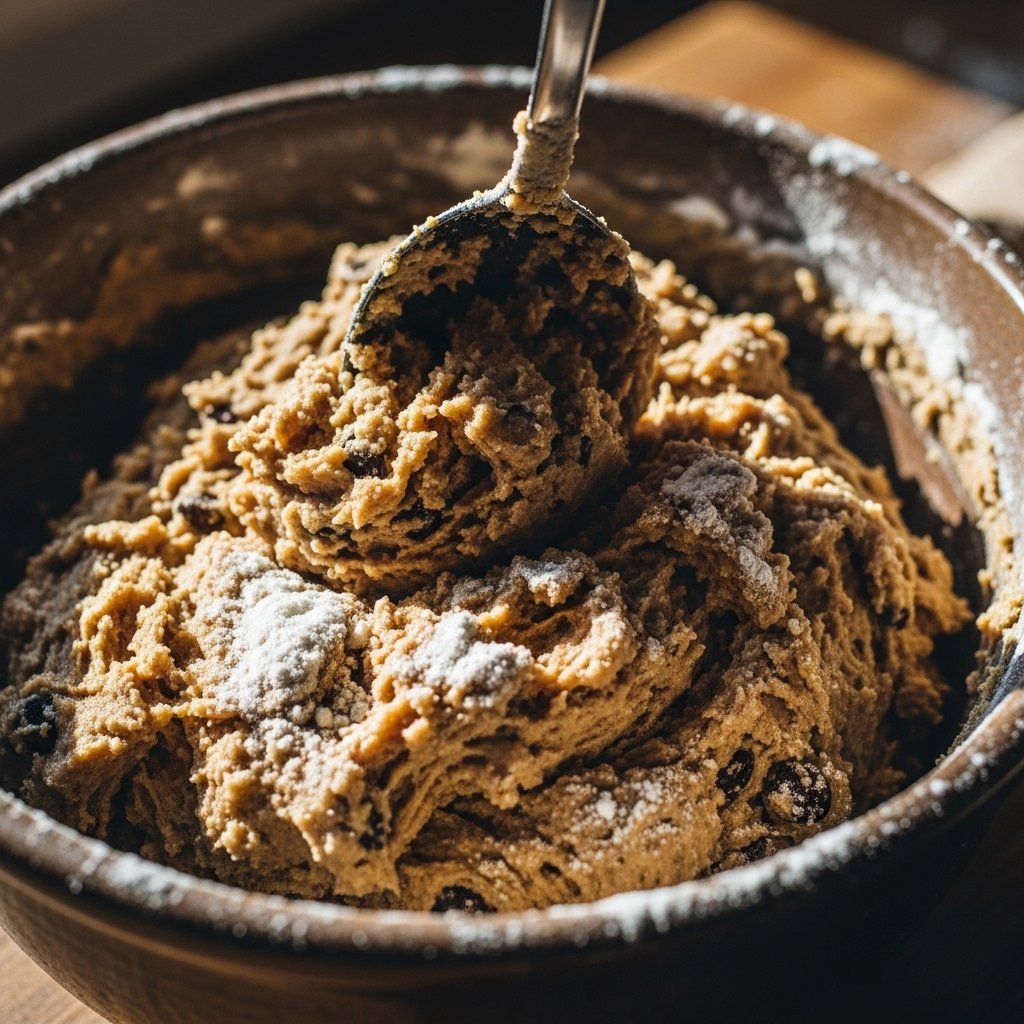
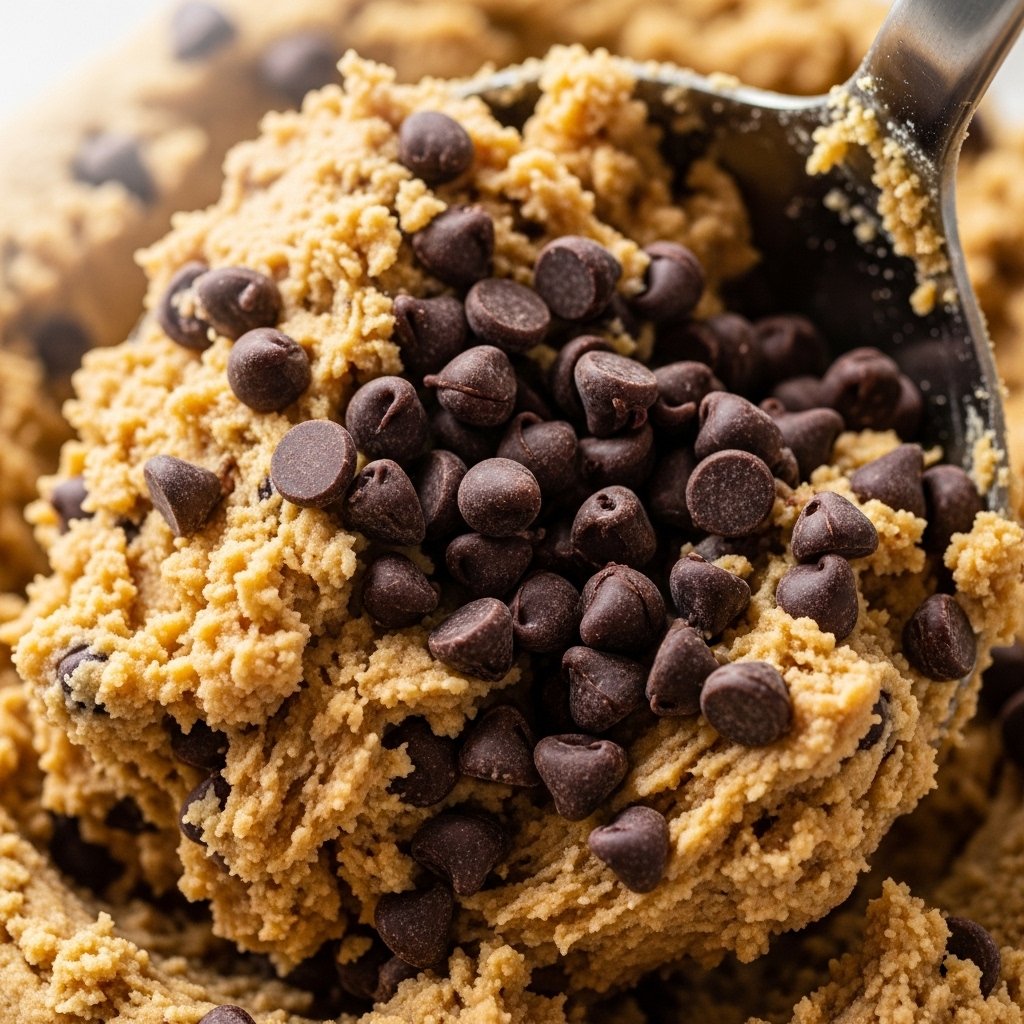
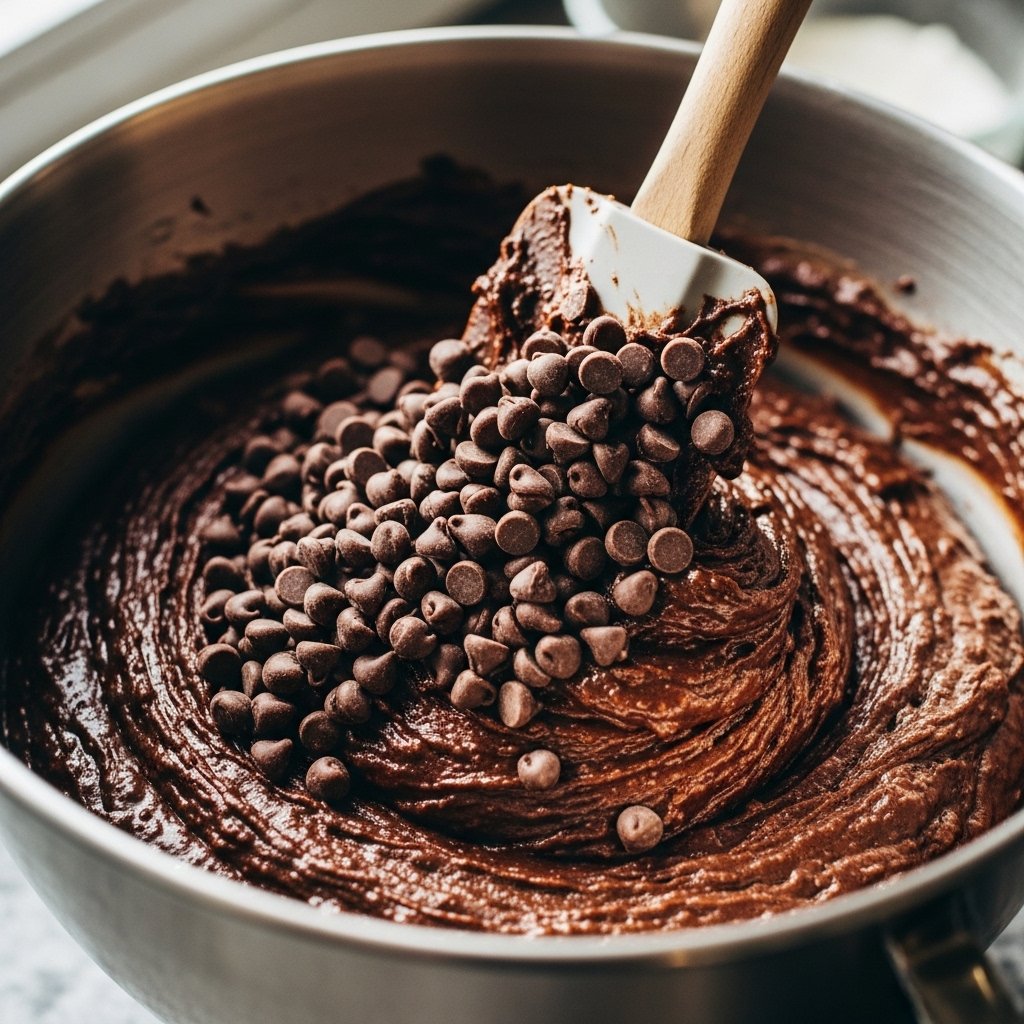
- ½ cup chocolate chips (optional)
Ingredient Notes
The key to perfect Easy Edible Brownie Batter lies in safe and balanced ingredients.
- Heat-treated flour eliminates bacteria risks
- Cocoa powder provides deep chocolate flavor
- Brown sugar adds moisture and richness
- Butter gives smooth, creamy texture
- Milk adjusts consistency
You can tweak sweetness or thickness based on your preference.
Step-by-Step Instructions
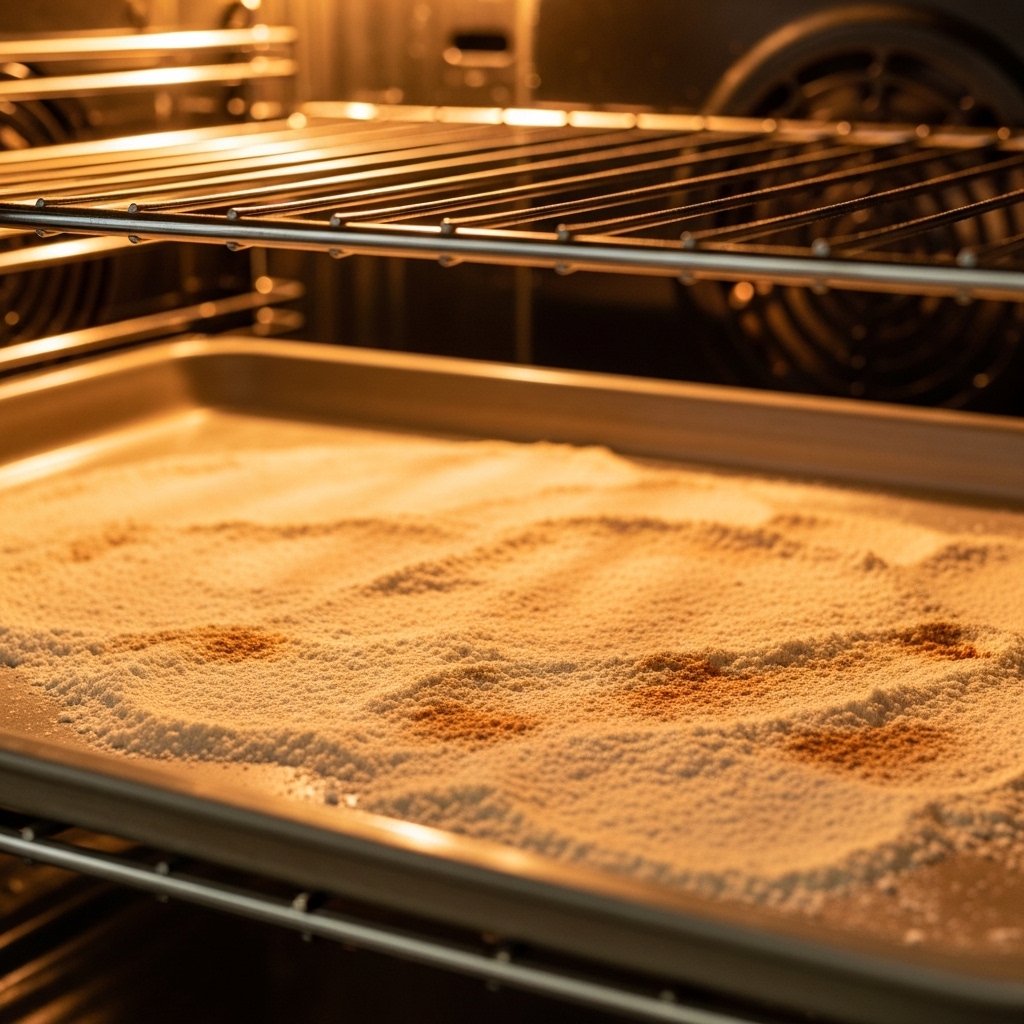
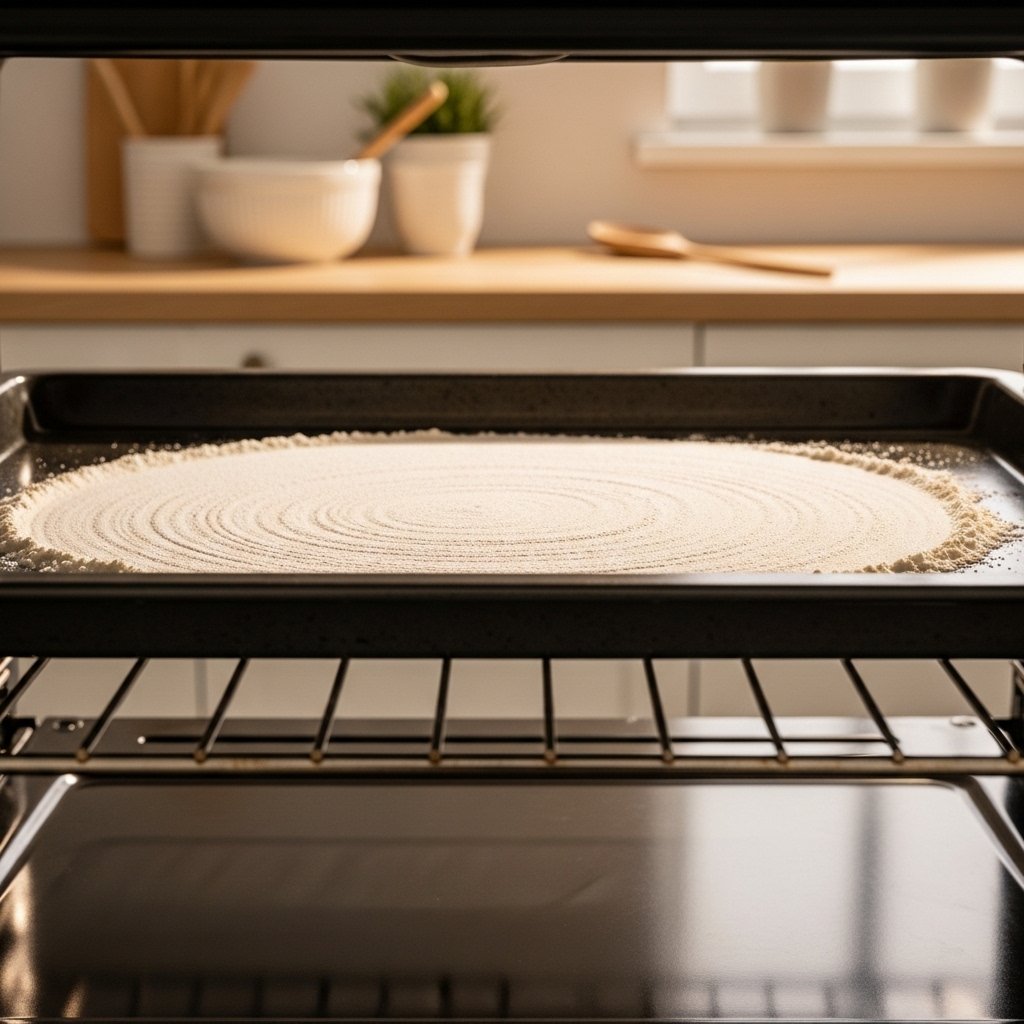
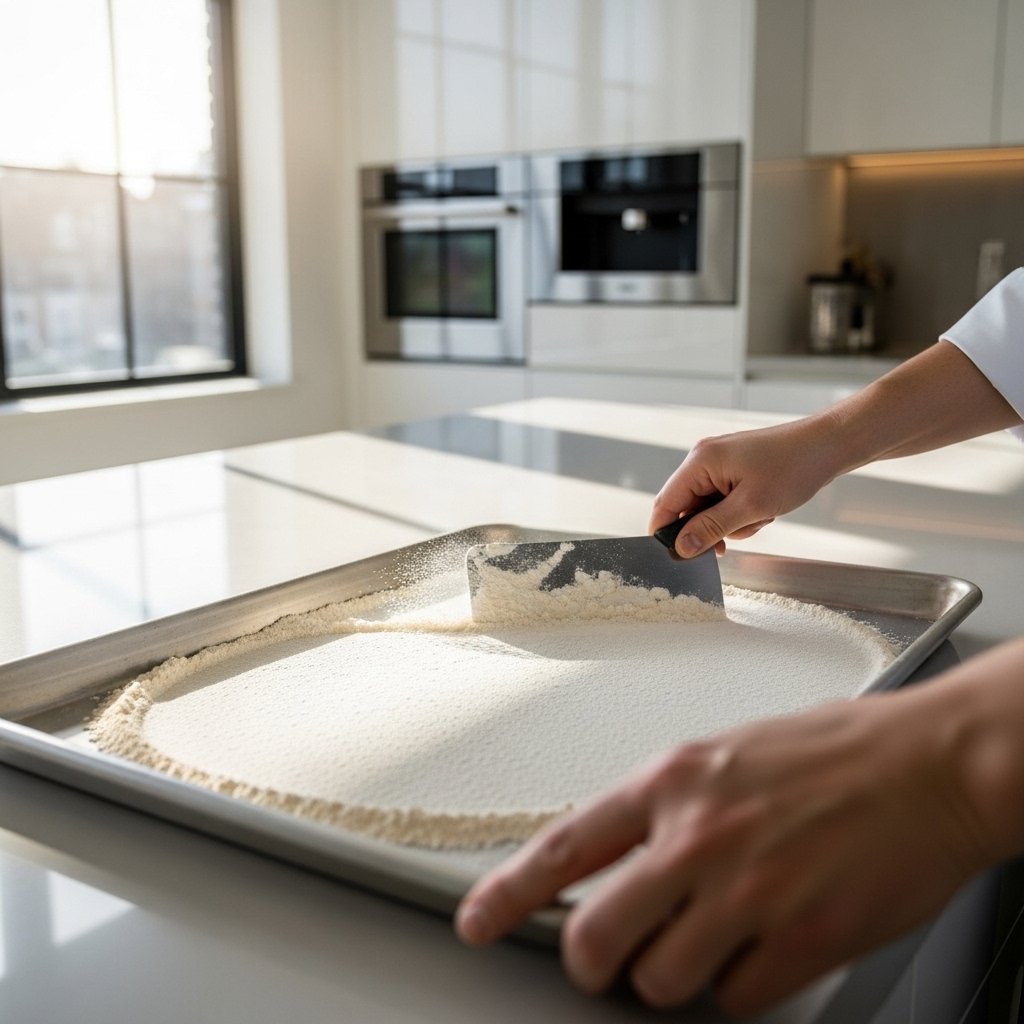
1. Heat-Treat the Flour
Microwave flour for 1–2 minutes or bake at 350°F for 5 minutes.
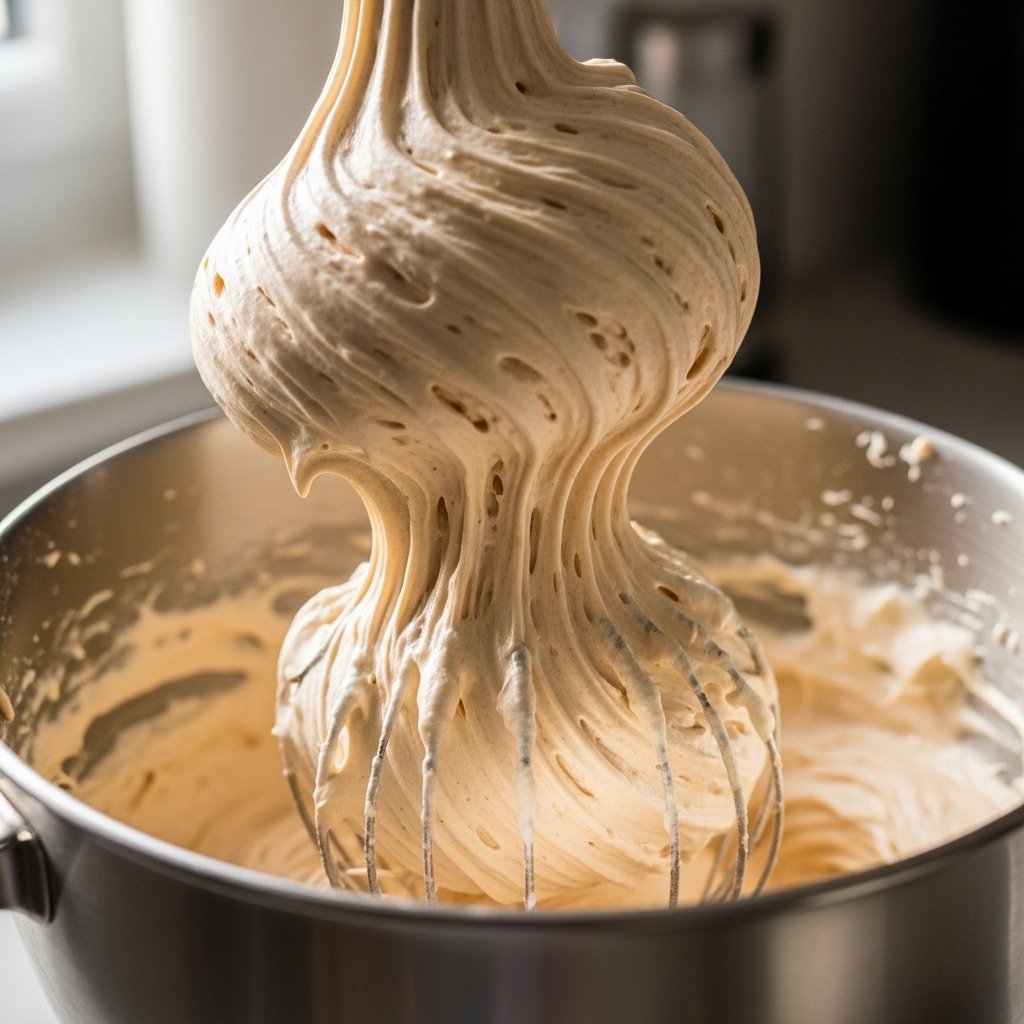
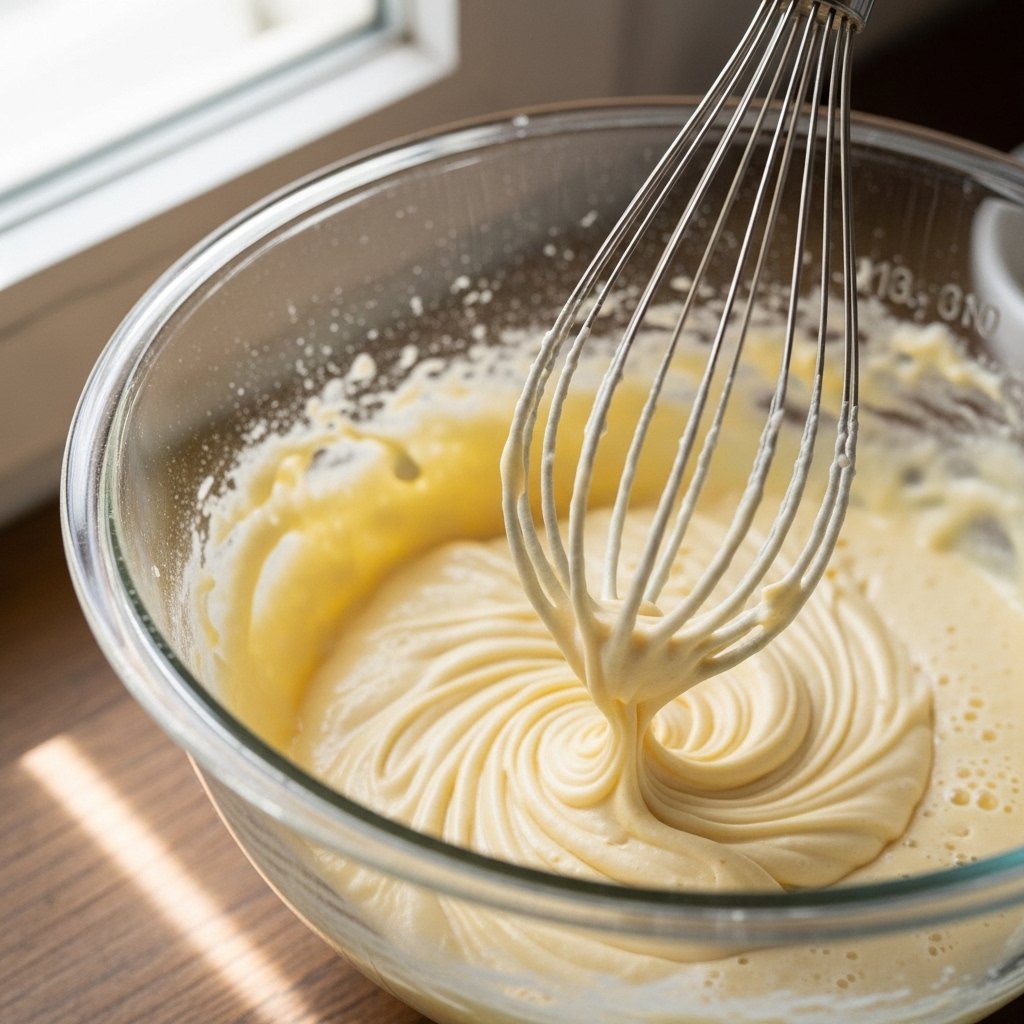
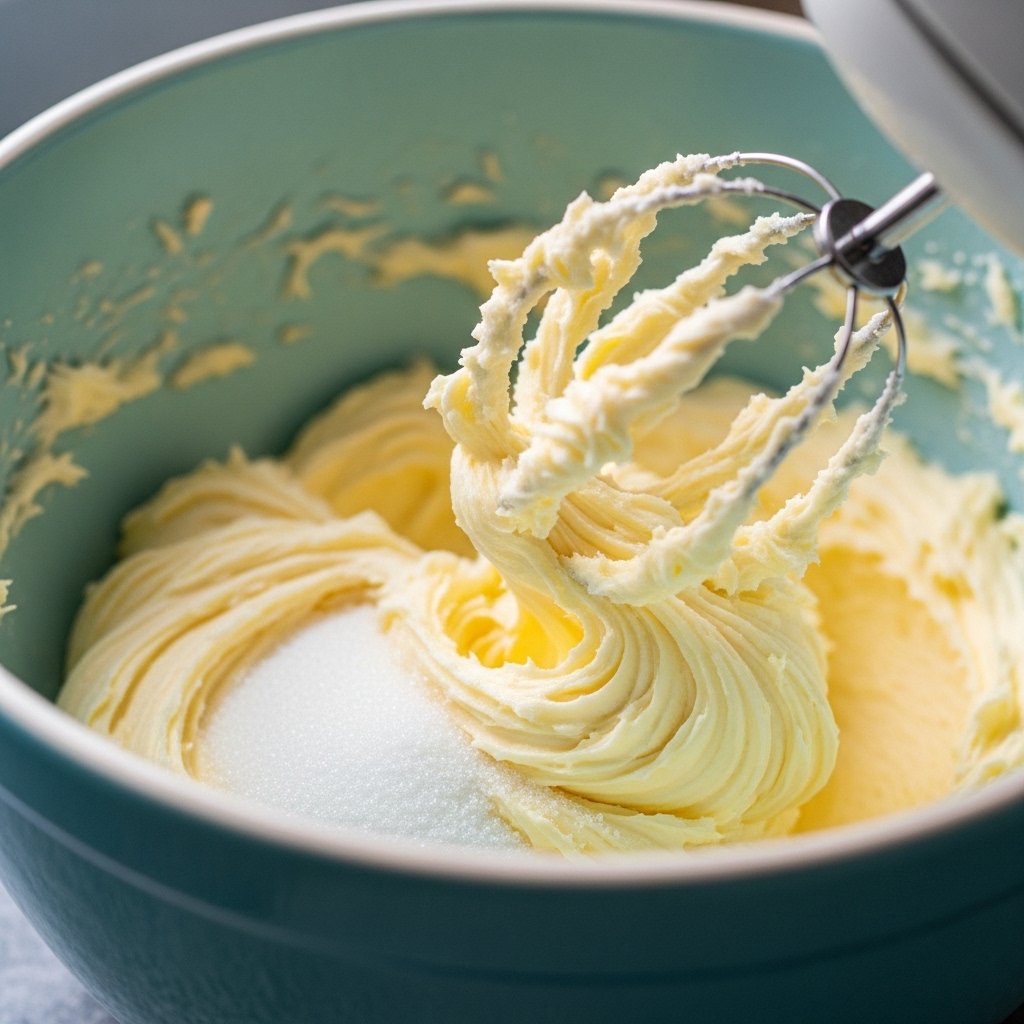
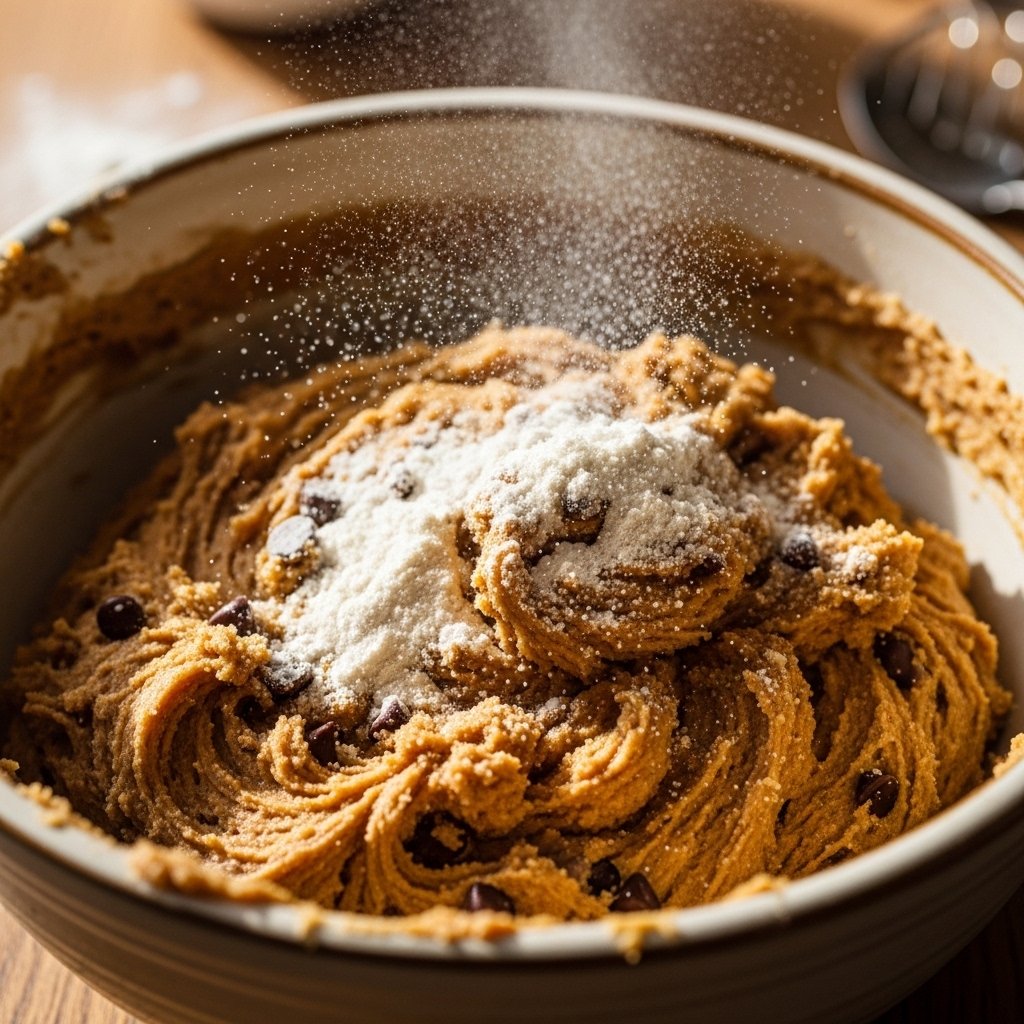
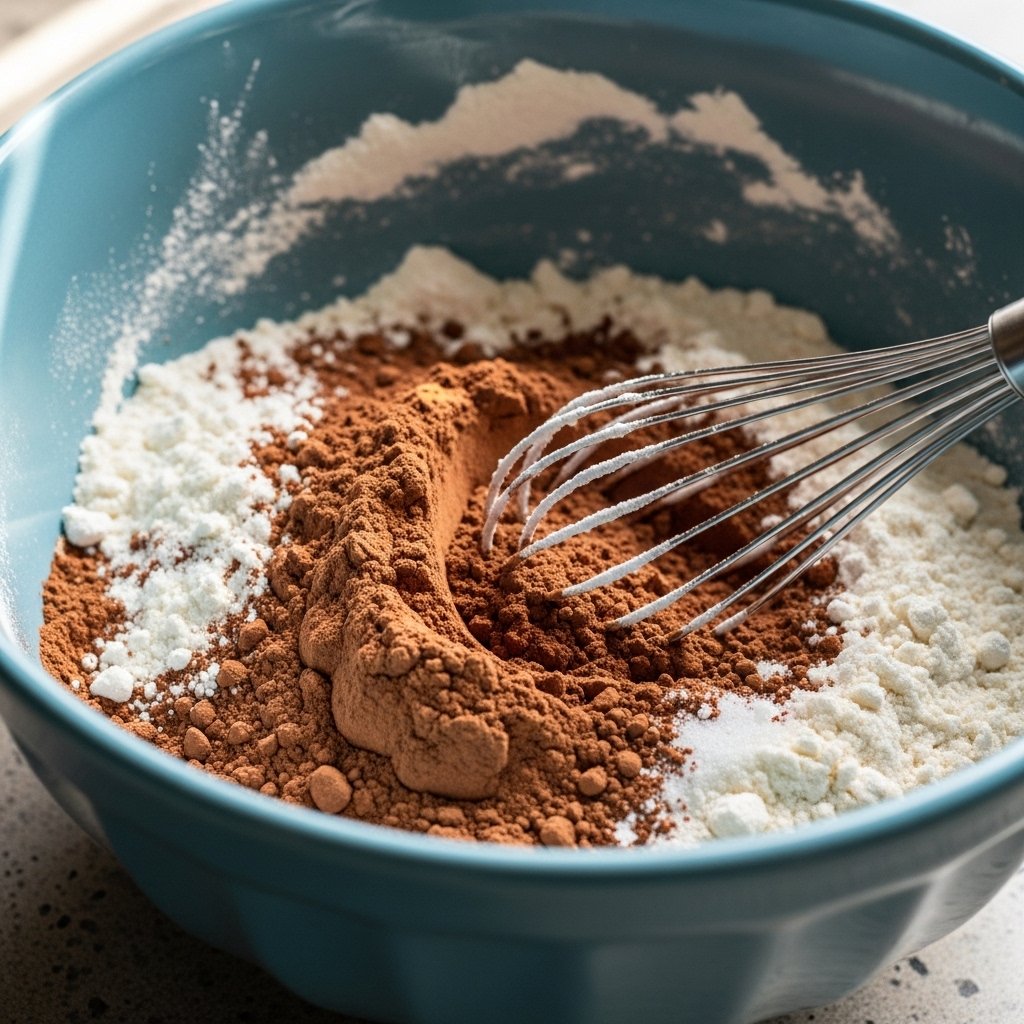
2. Mix Dry Ingredients
Combine flour, cocoa powder, sugars, and salt in a bowl.
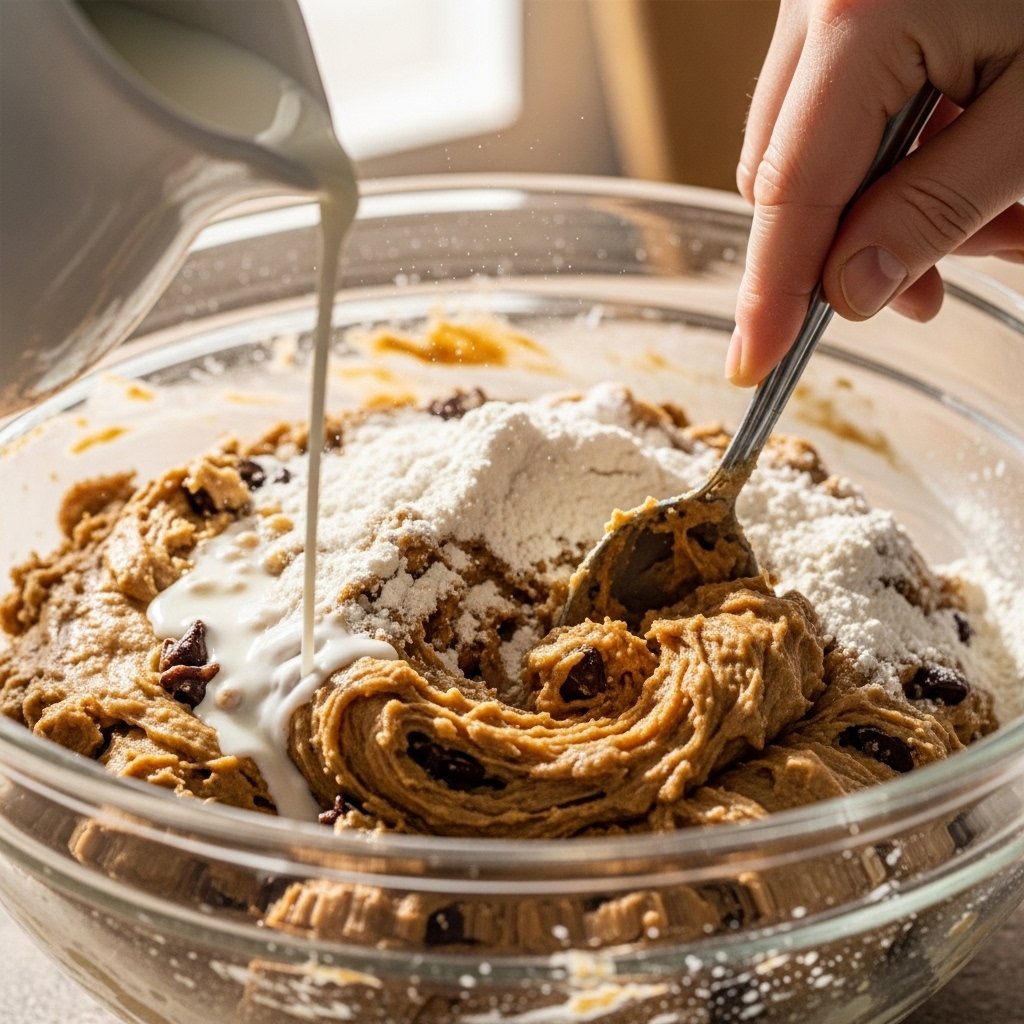
3. Add Wet Ingredients
Pour in melted butter, milk, and vanilla extract.
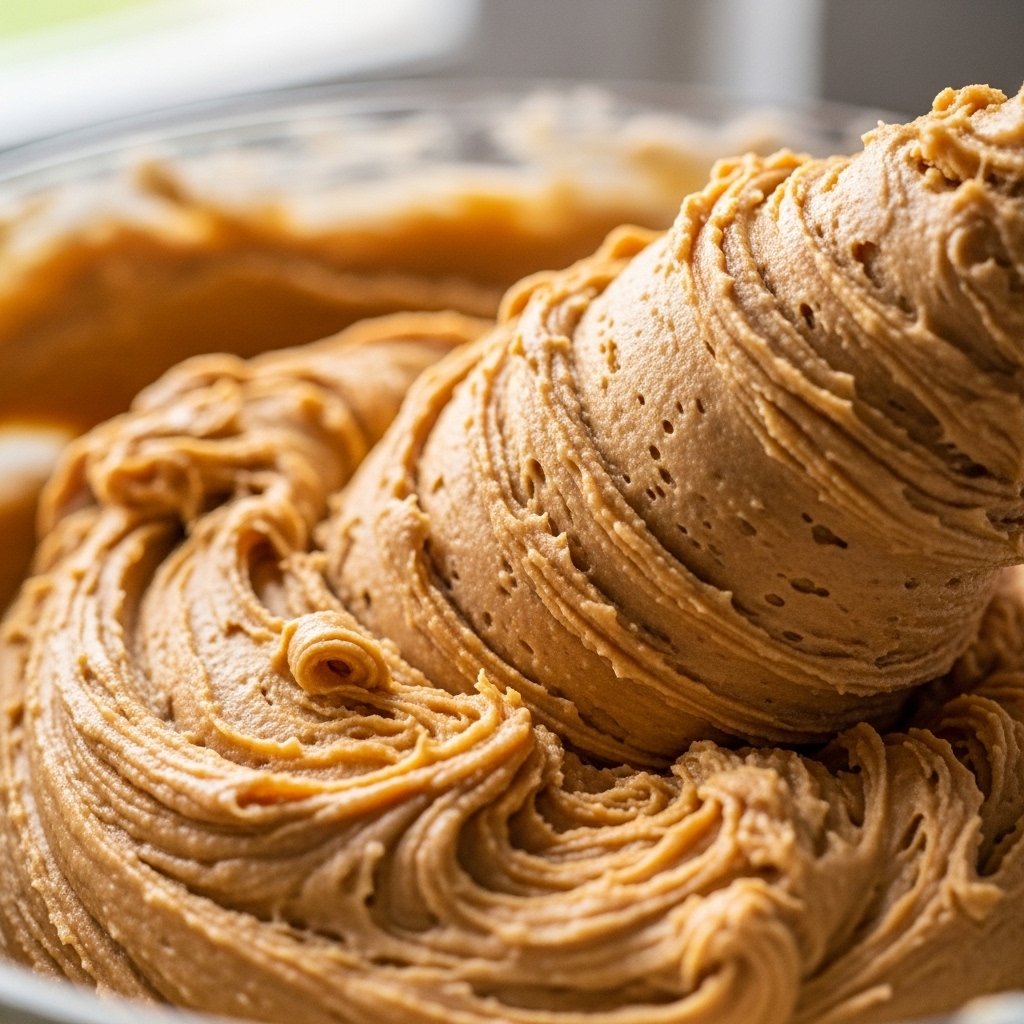
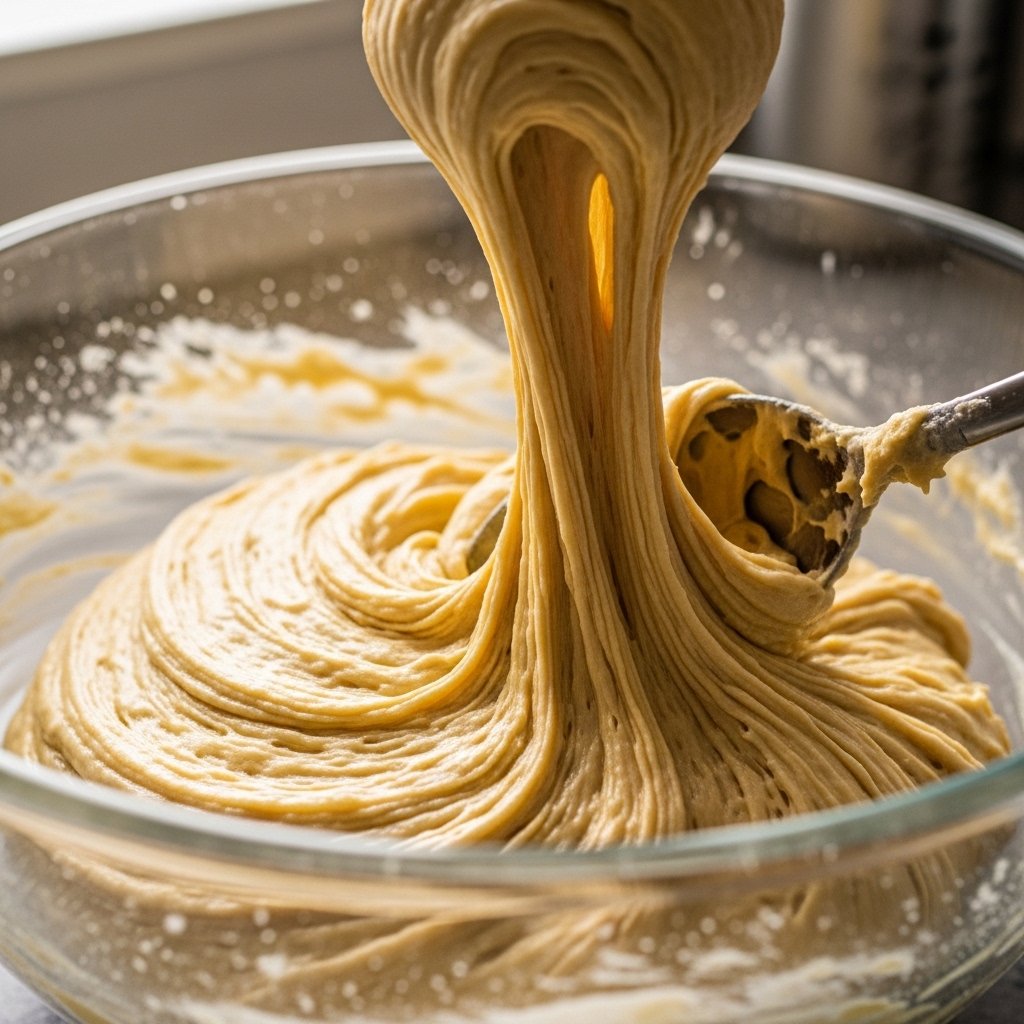
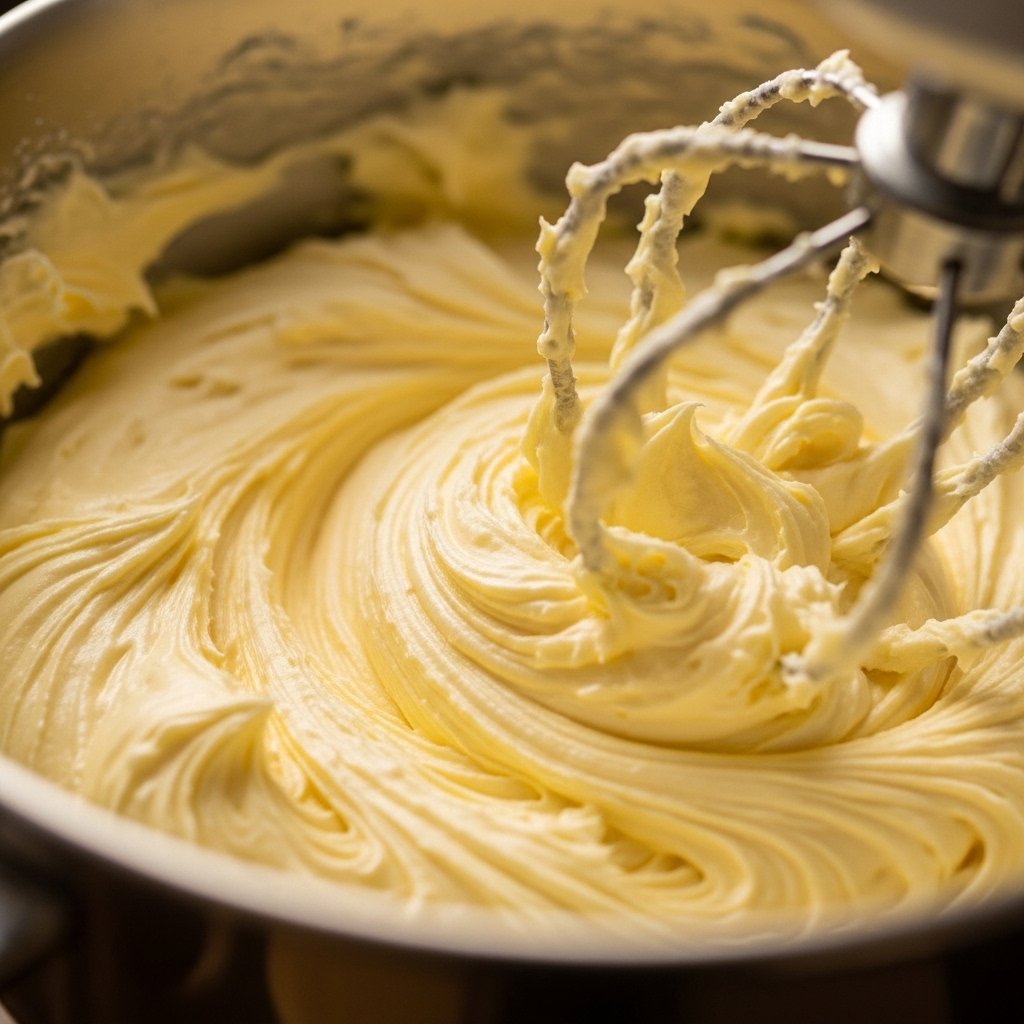
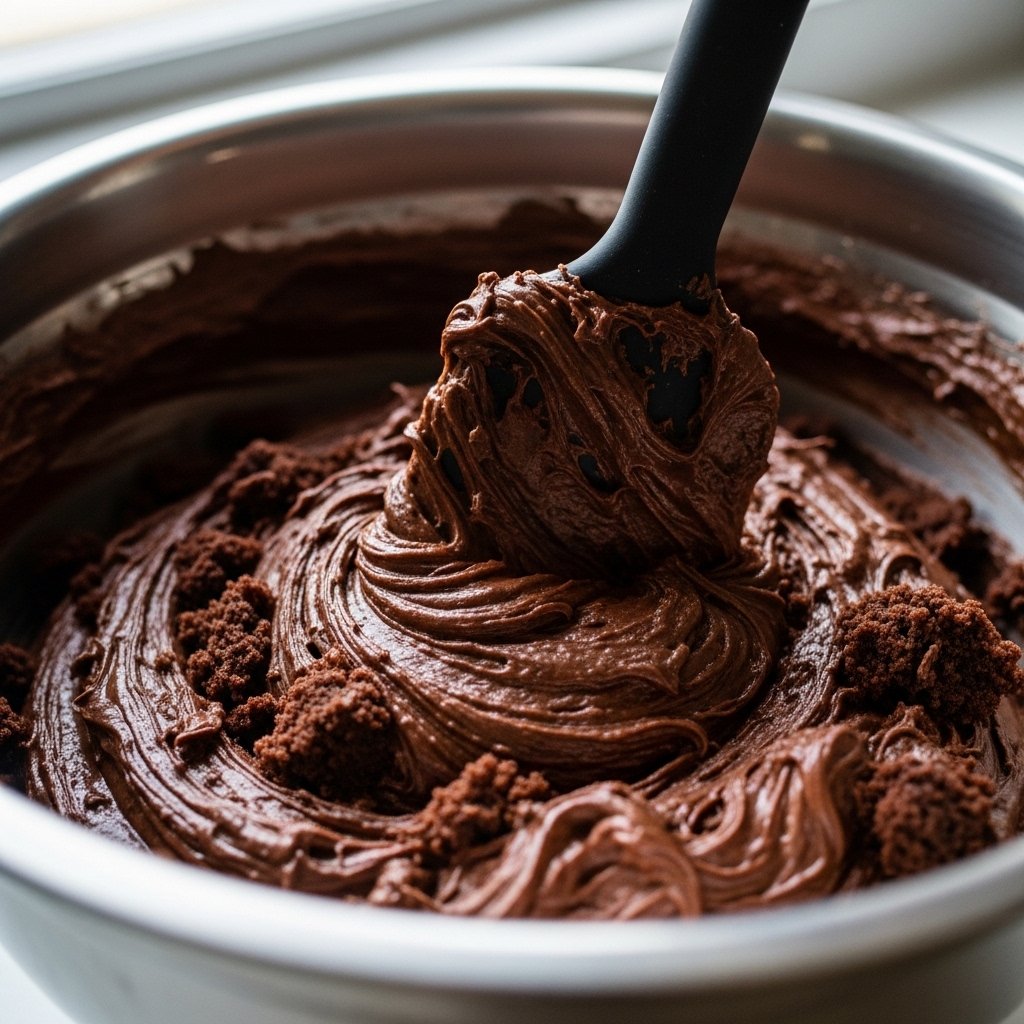
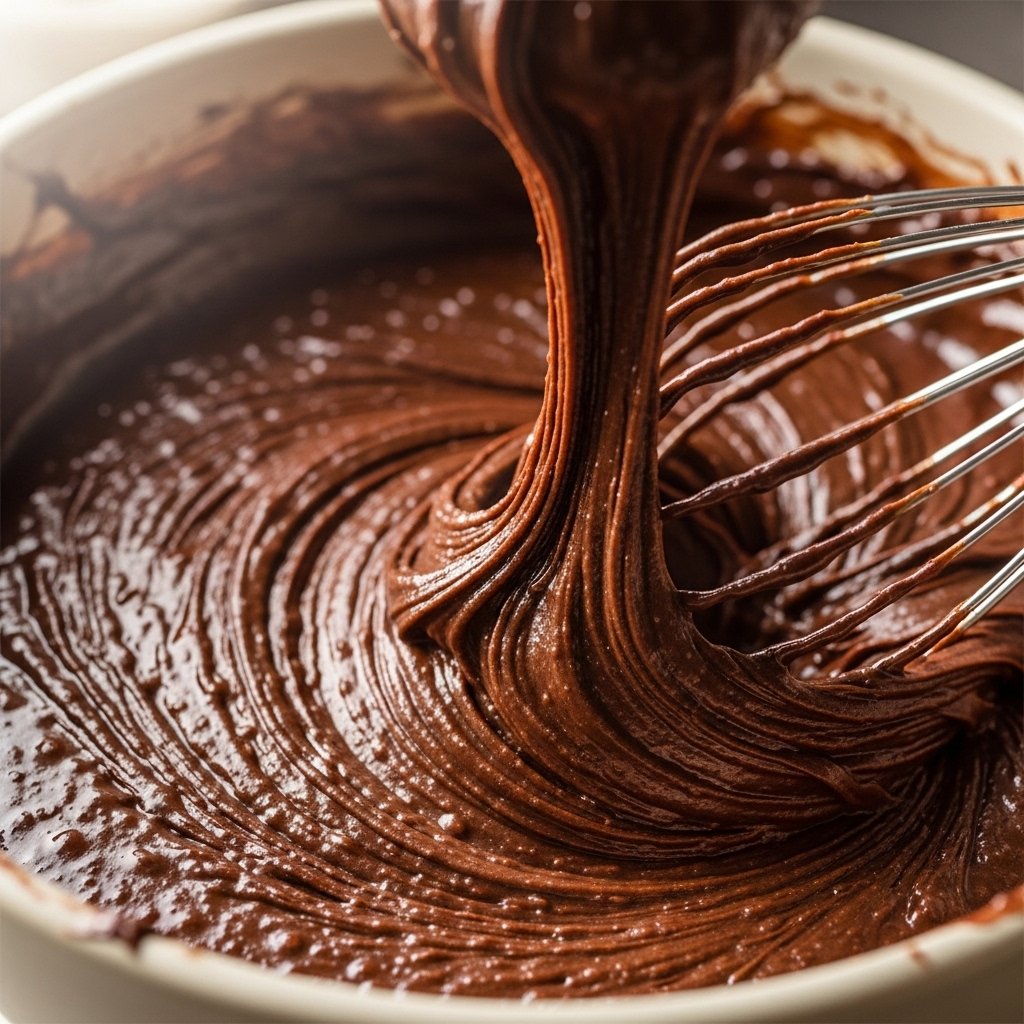
4. Mix Until Smooth
Stir until thick, creamy batter forms.
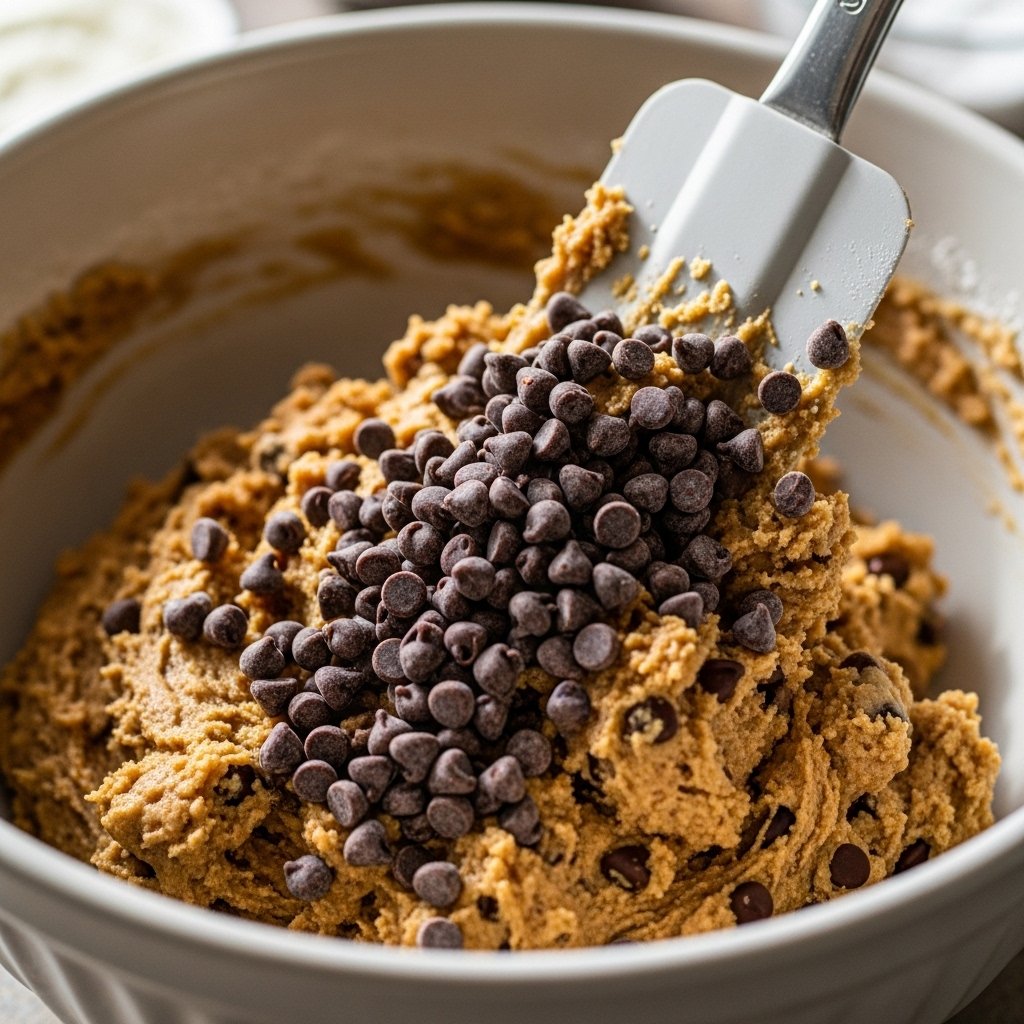
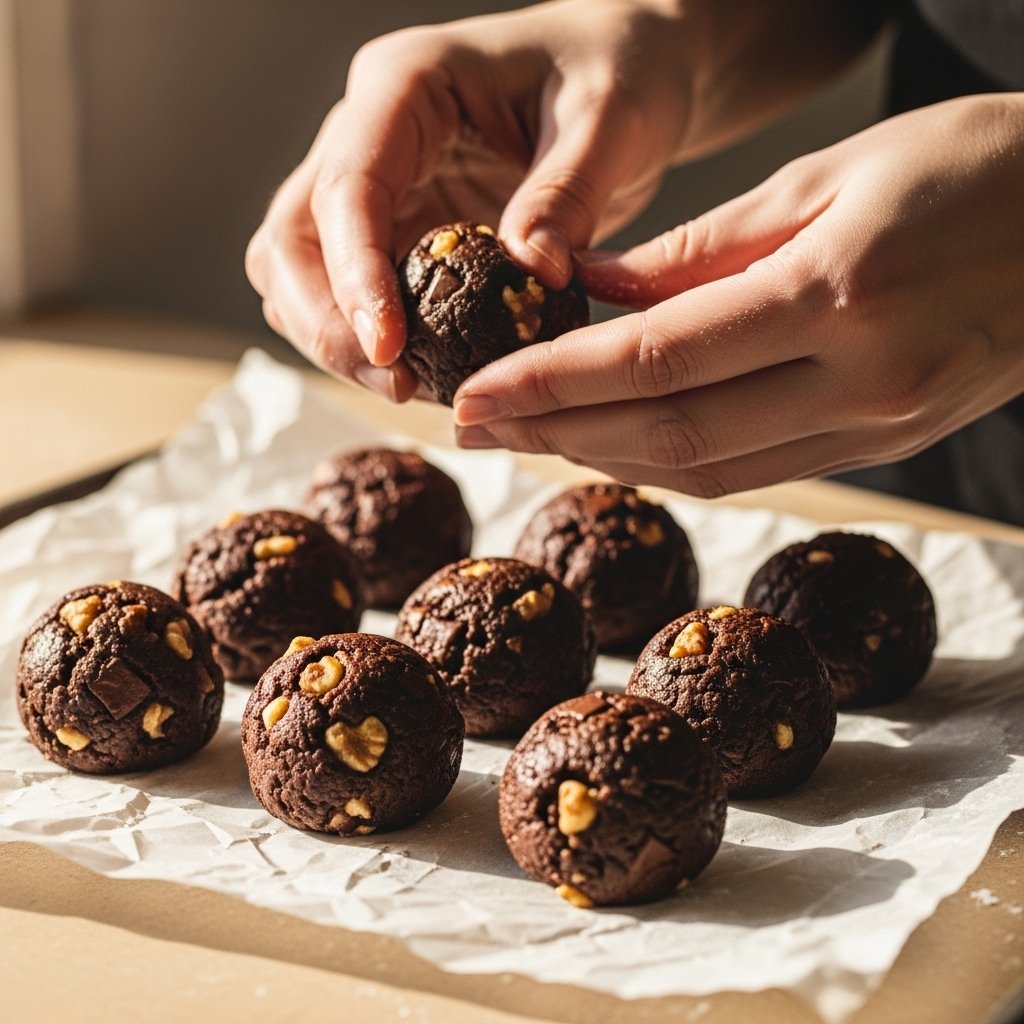
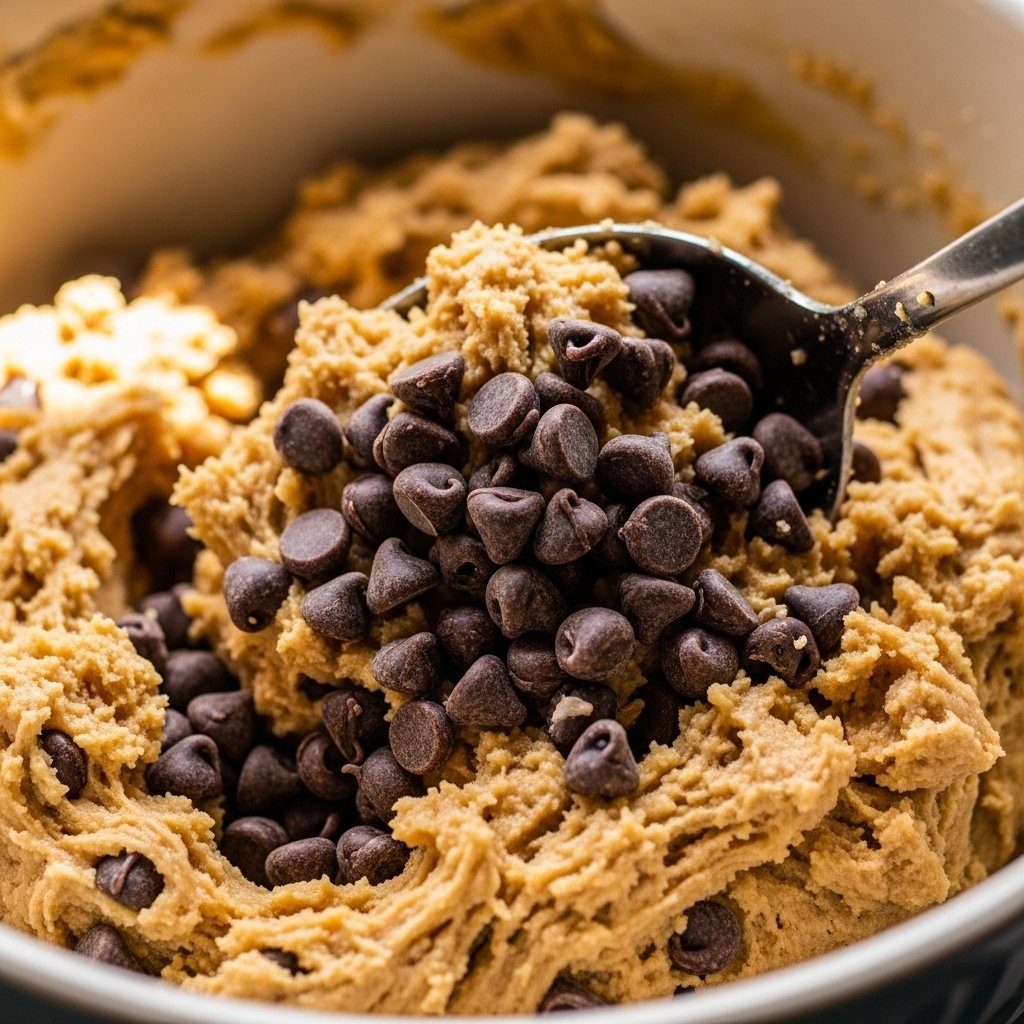
5. Fold in Chocolate Chips
Add chocolate chips for extra texture and flavor.
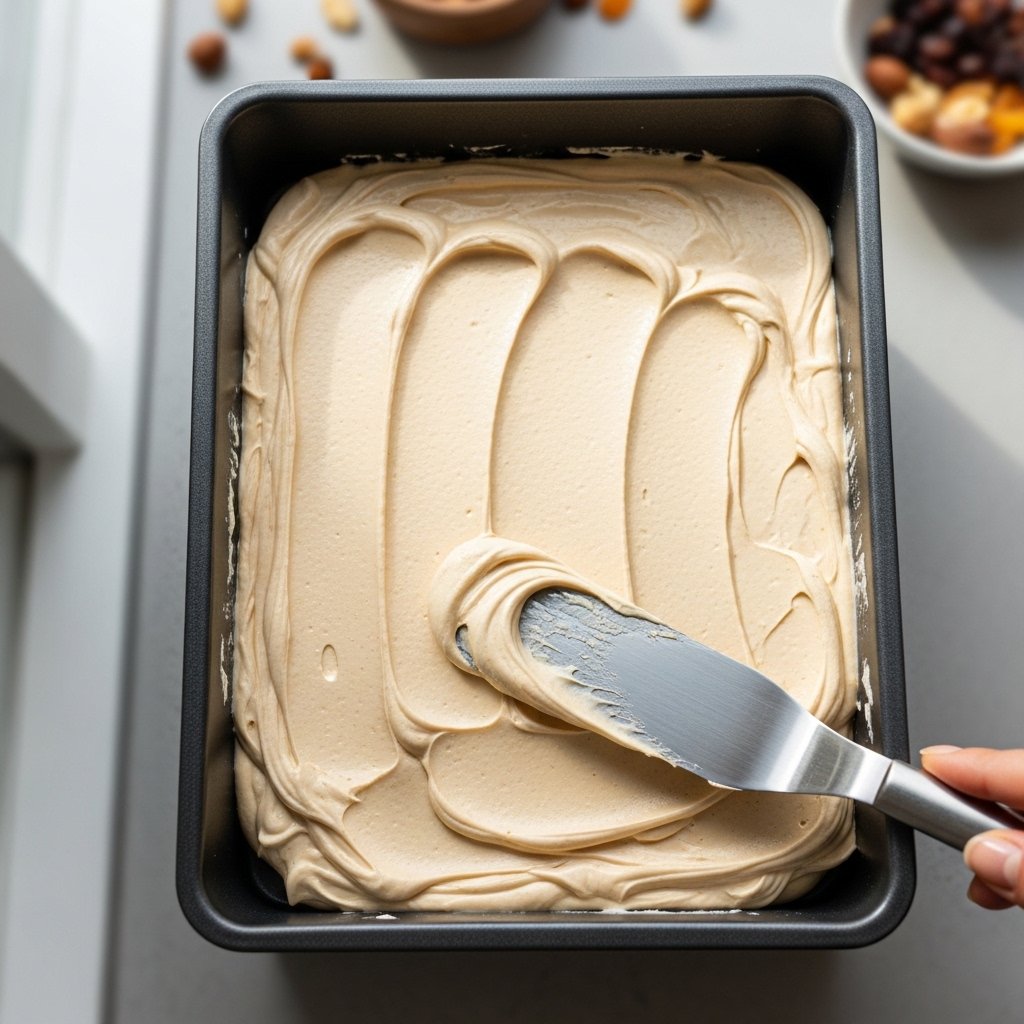
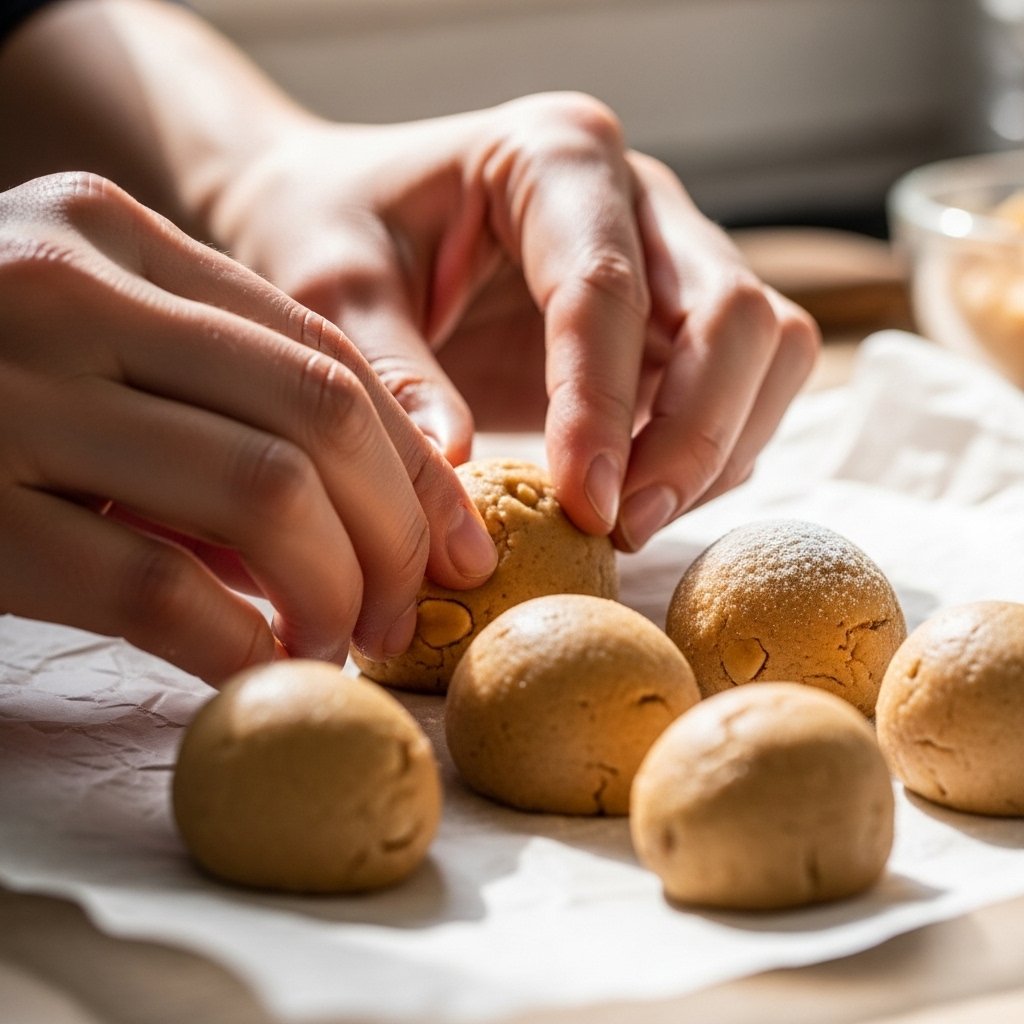
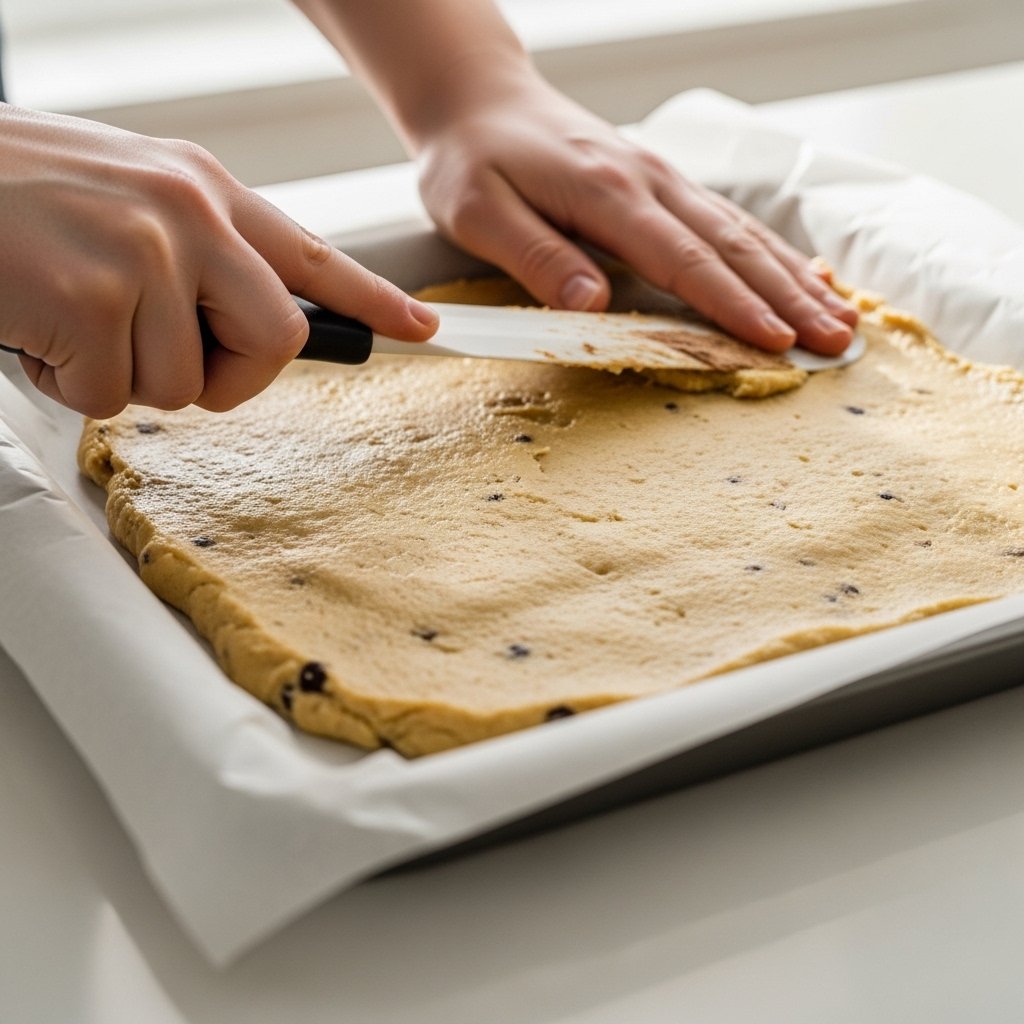
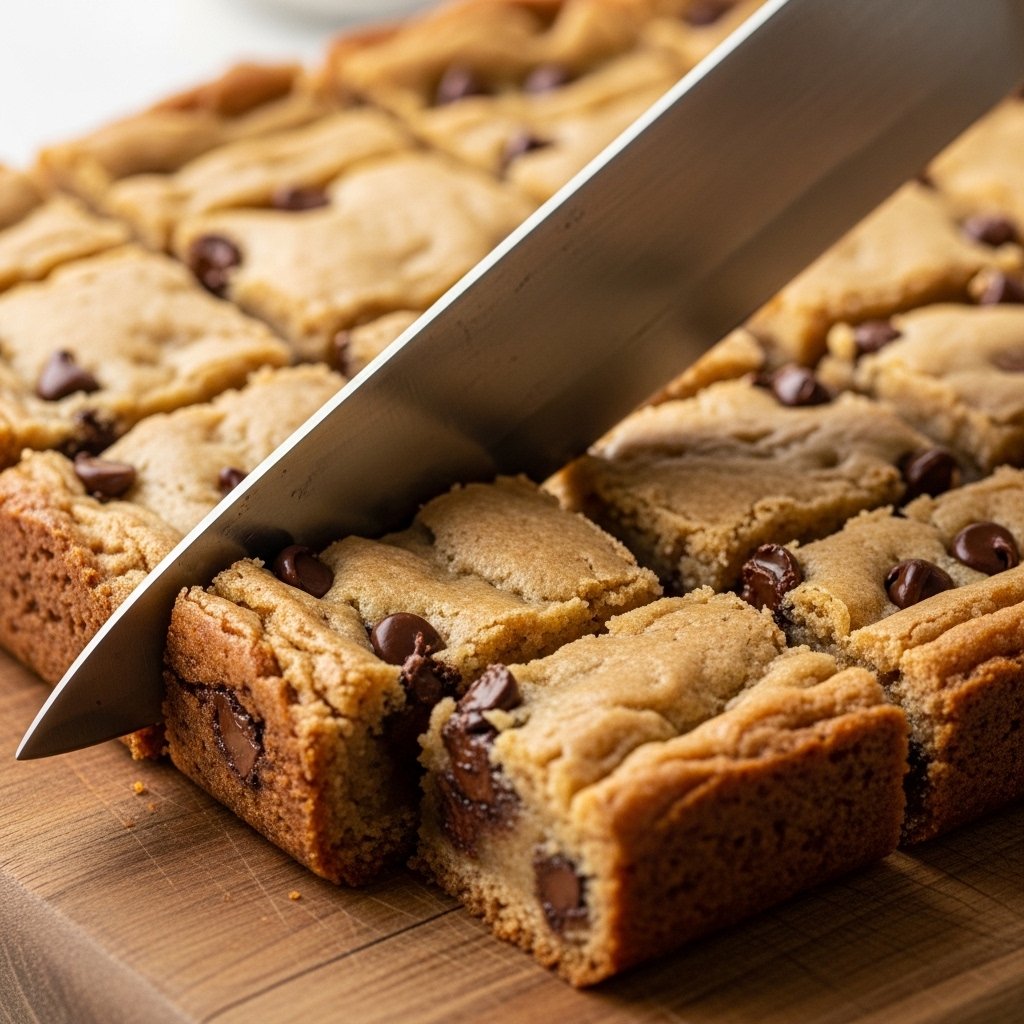
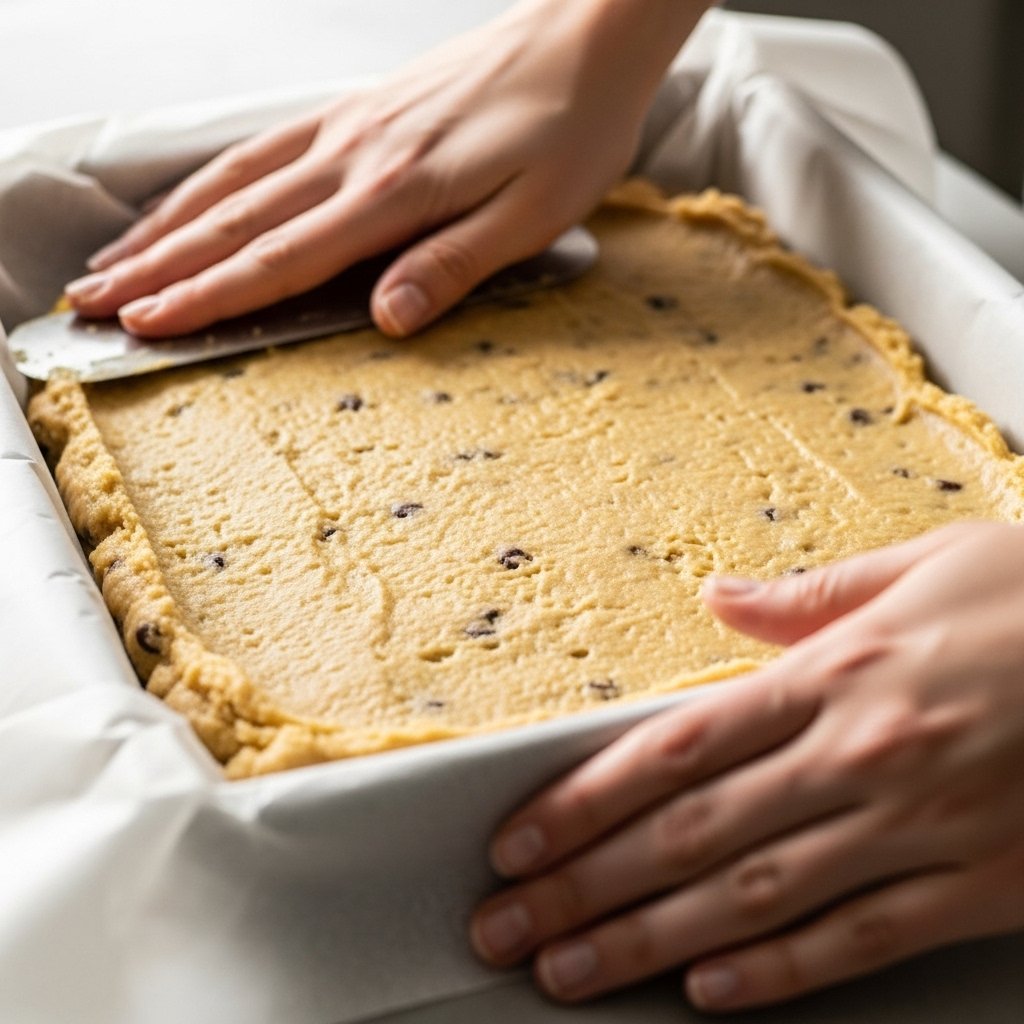
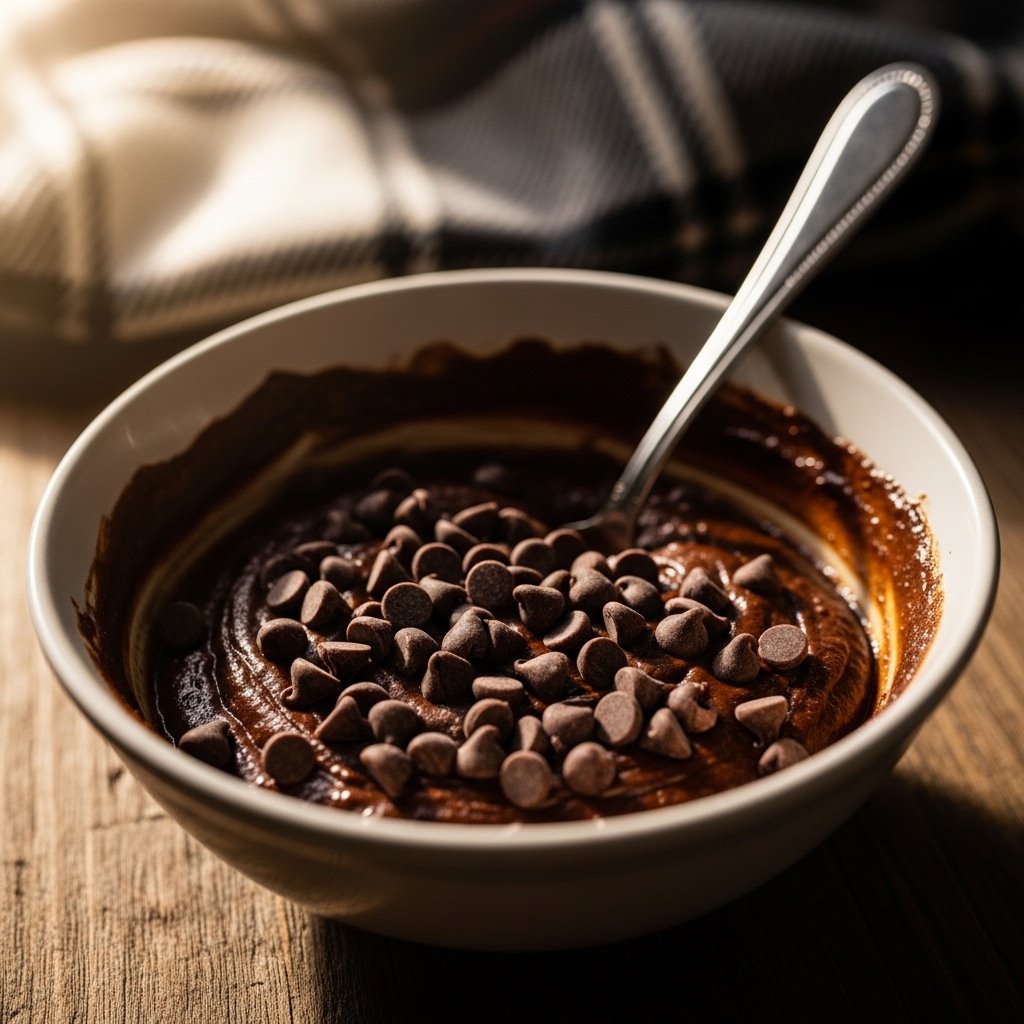
6. Serve or Chill
Enjoy immediately or chill for thicker consistency.
Tips for Perfect Results
To make the best Easy Edible Brownie Batter, follow these tips:
- Always heat-treat flour for safety
- Use high-quality cocoa powder
- Adjust milk for desired consistency
- Chill for thicker texture
- Taste and adjust sweetness
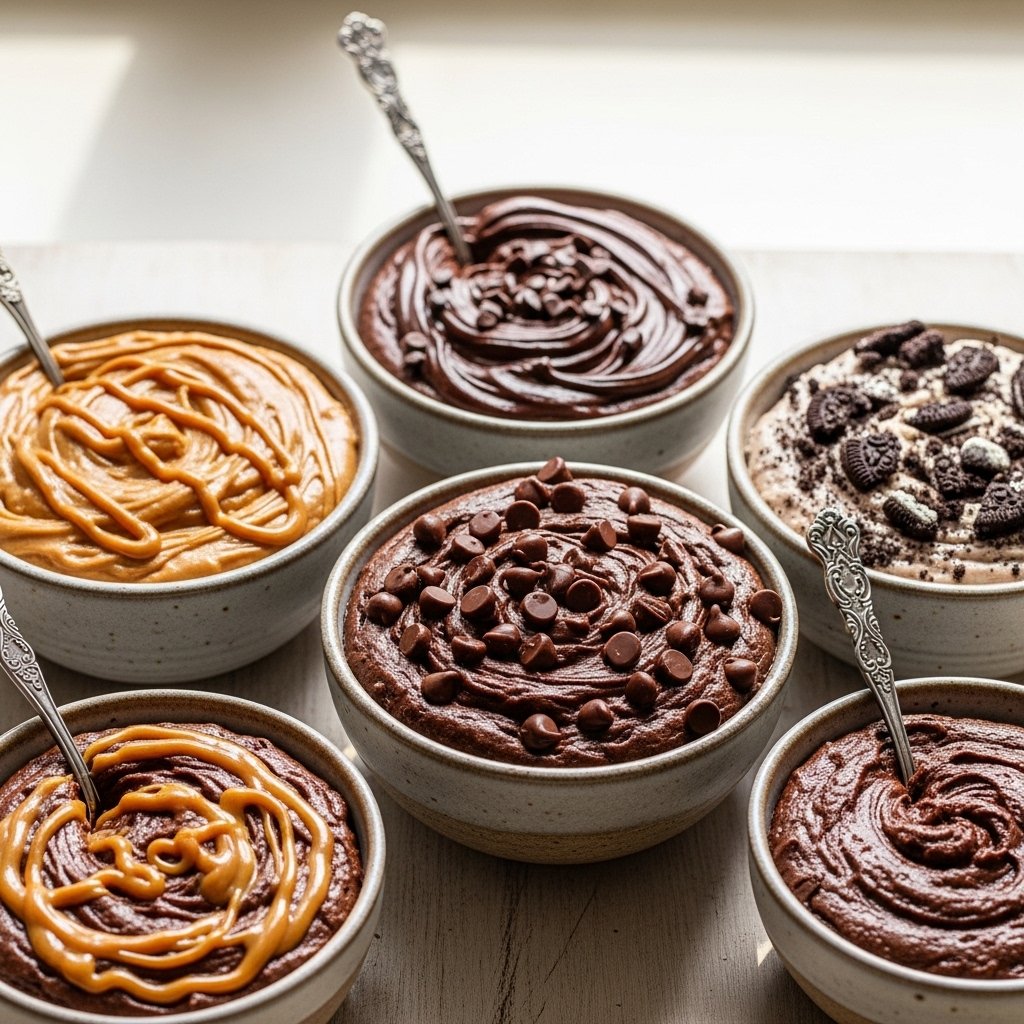
Variations
You can easily customize this brownie batter.
Peanut Butter Swirl
Add peanut butter on top and swirl.
Cookies & Cream
Mix in crushed cookies.
Protein Version
Add chocolate protein powder.
Vegan Option
Use plant-based butter and milk.
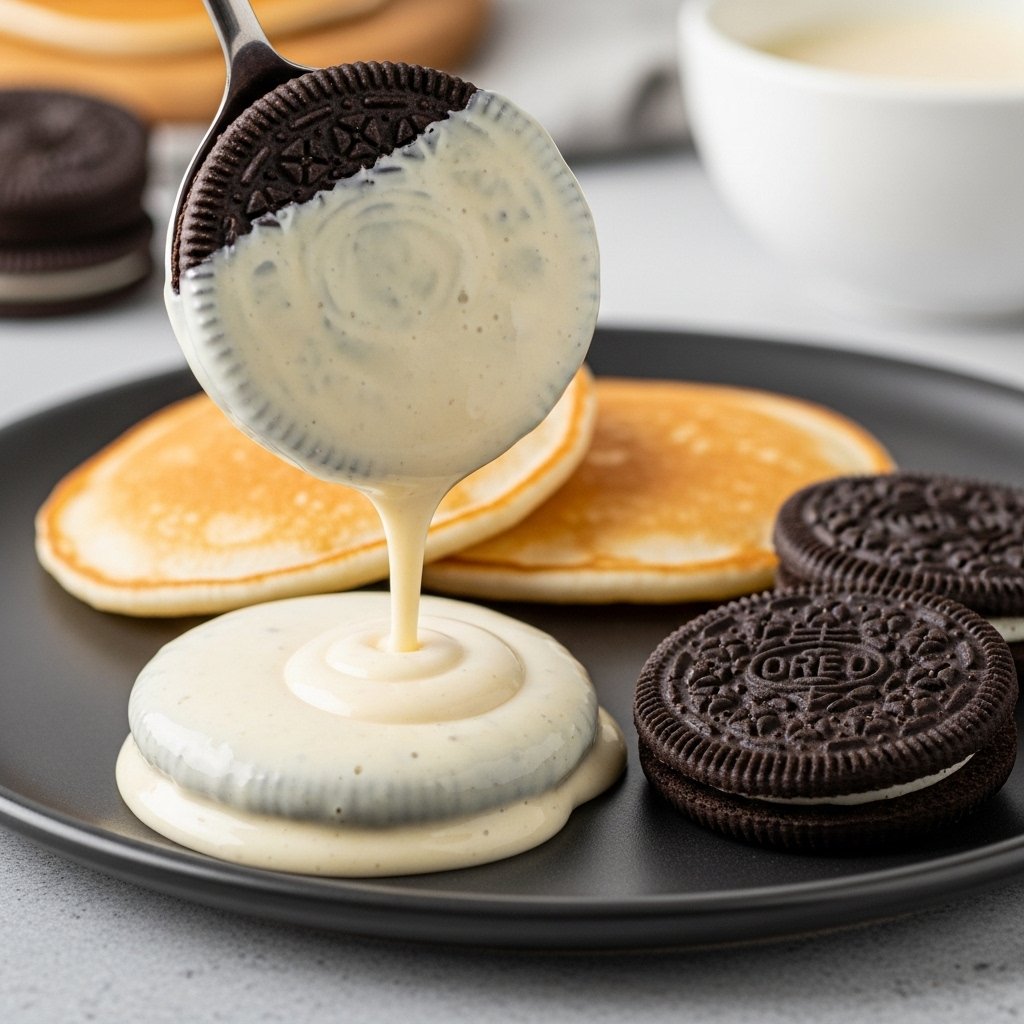
What to Serve With It
This Easy Edible Brownie Batter pairs perfectly with:
- Fresh strawberries
- Pretzels
- Graham crackers
- Vanilla ice cream
- Waffles or pancakes
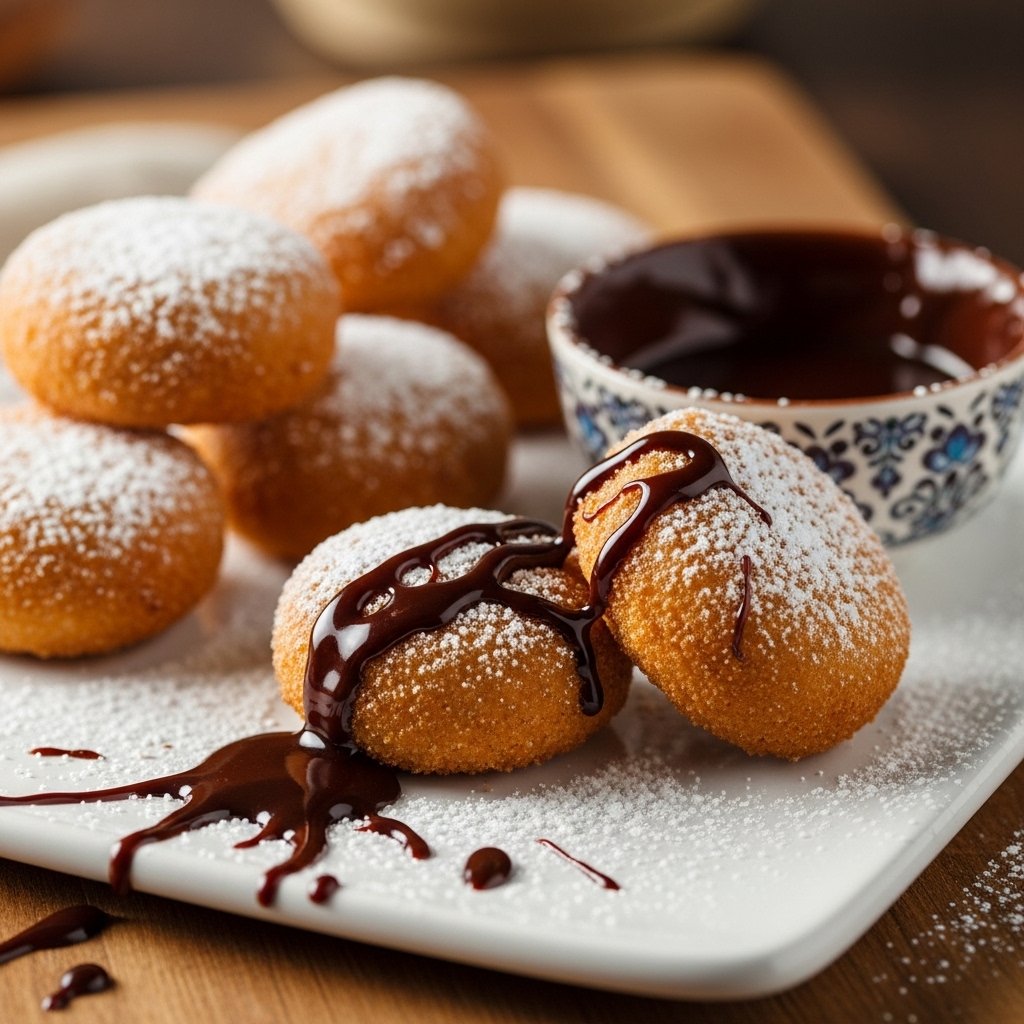
It’s also great as a dip or dessert topping.
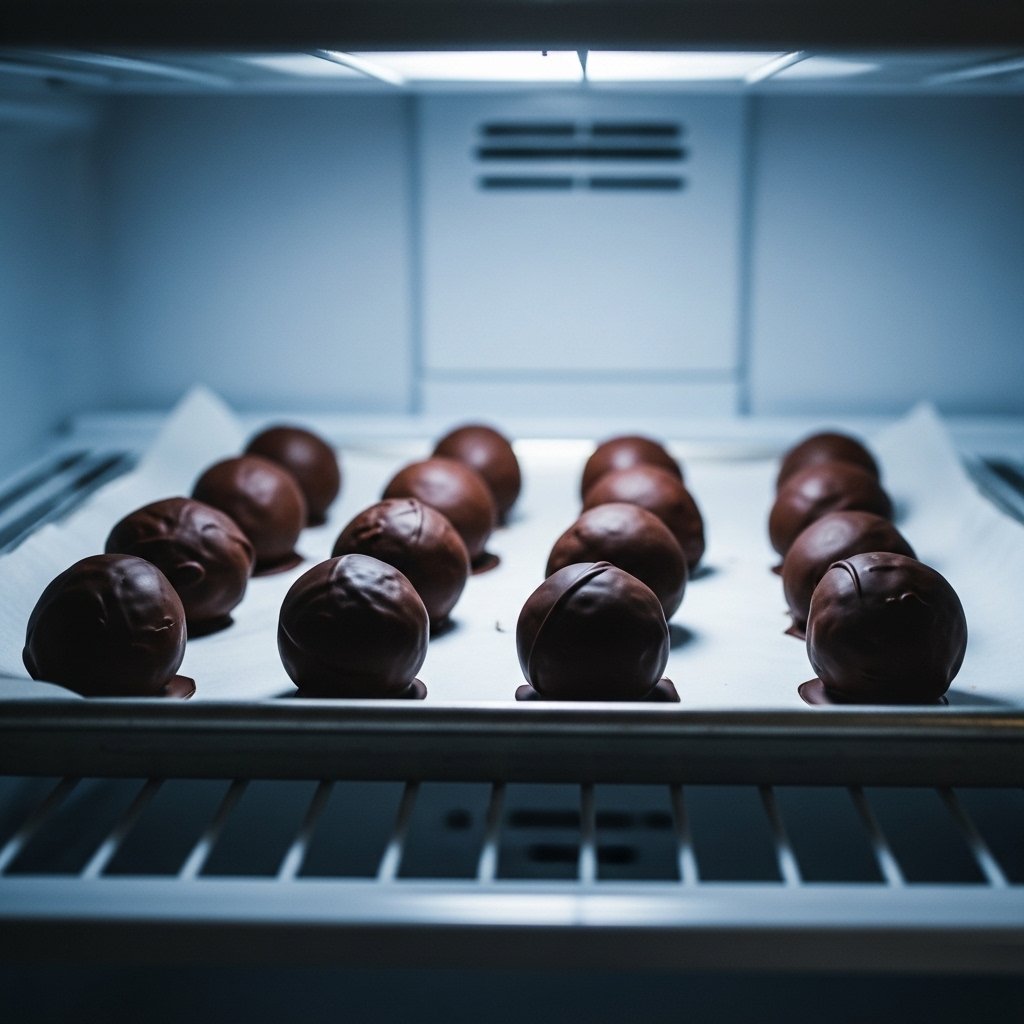
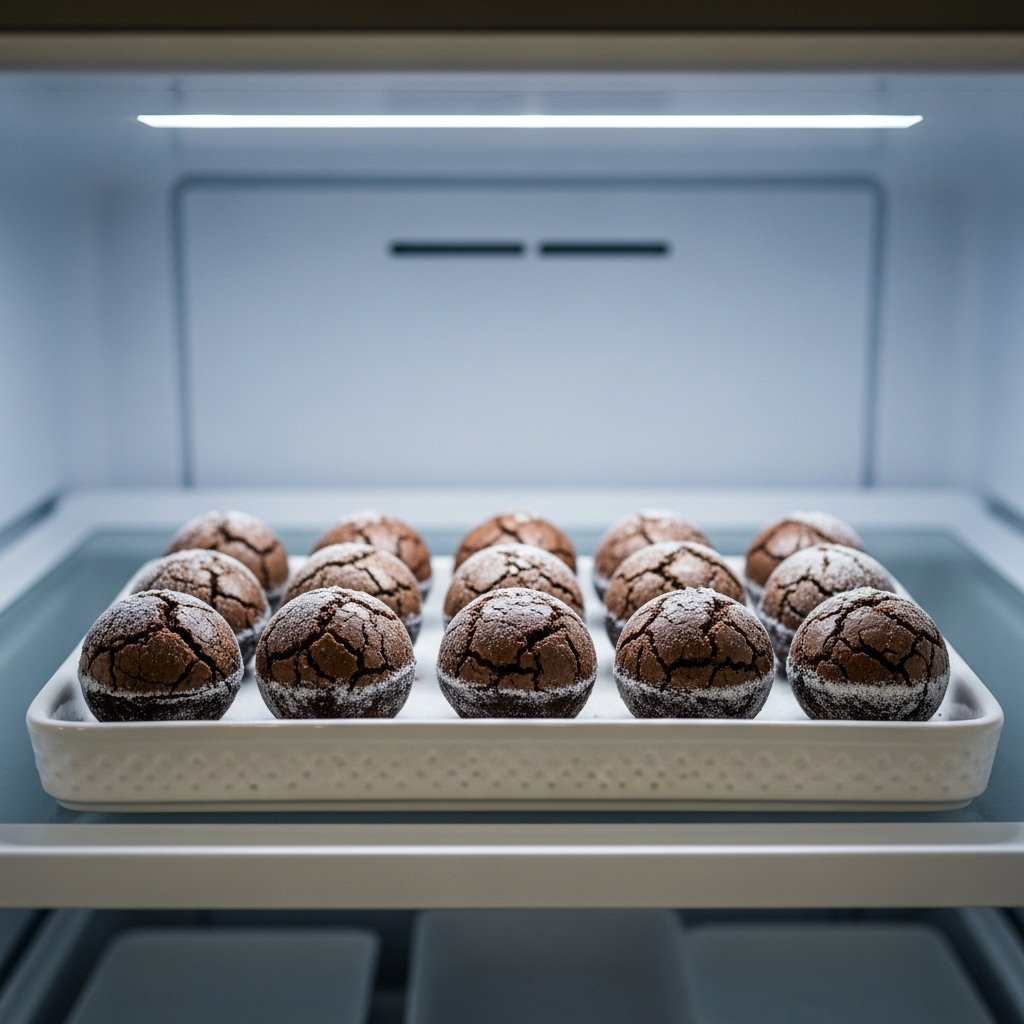
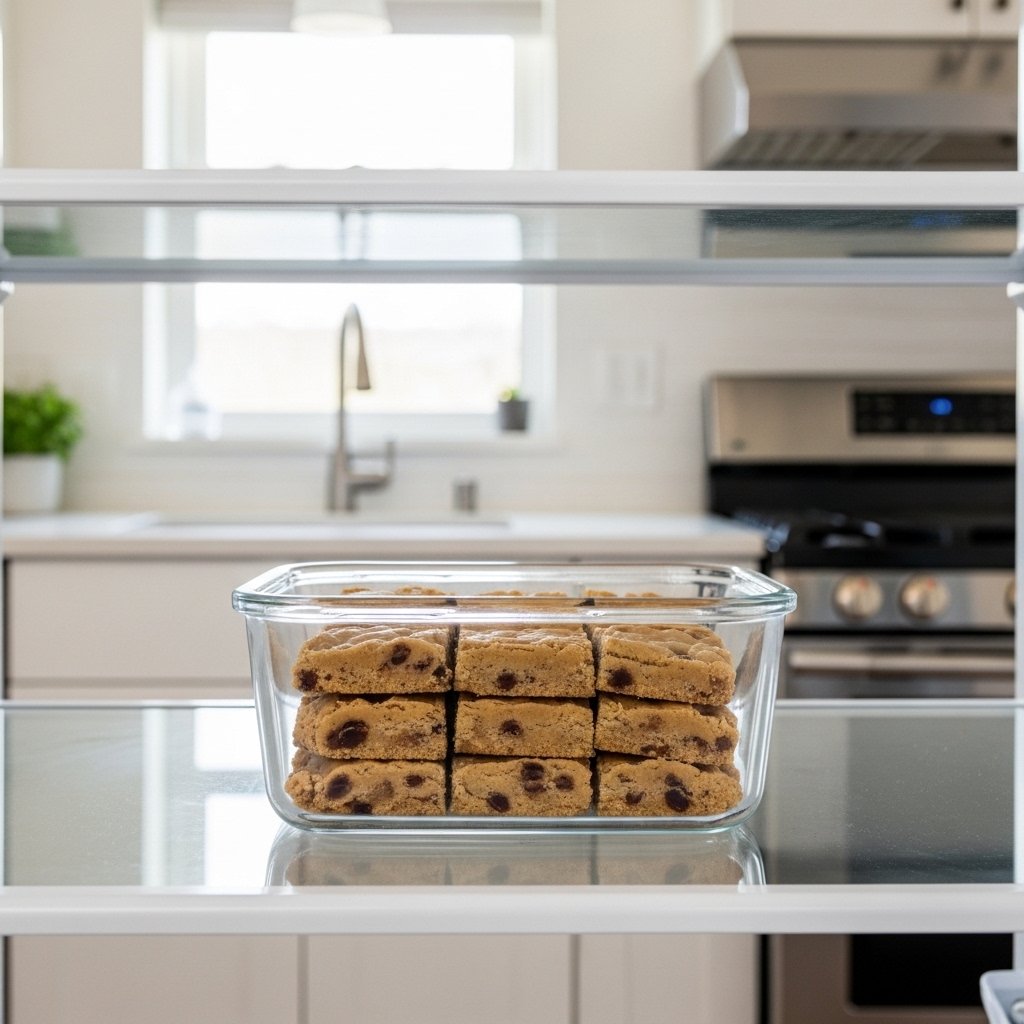
Storage & Reheating
For best freshness:
- Refrigerator: Store up to 5 days
- Freezer: Up to 1 month
- Keep in airtight container
- No reheating required
- Let sit at room temp before serving
Common Mistakes to Avoid
Avoid these issues when making Easy Edible Brownie Batter:
- Skipping heat-treating flour
- Using too much liquid
- Overmixing batter
- Using low-quality cocoa
- Not adjusting sweetness
FAQs
1. Is edible brownie batter safe to eat?
Yes, because it contains no raw eggs and uses heat-treated flour.
2. Can I make it dairy-free?
Yes, use plant-based butter and milk.
3. Why is my batter too thick?
Add a little more milk gradually.
4. Can I bake this batter?
No, this recipe is designed for eating raw.
Final Thoughts
This Easy Edible Brownie Batter is the ultimate quick dessert for chocolate lovers. It’s rich, smooth, and incredibly satisfying—without needing to bake anything.
Once you try it, you’ll always want a batch ready in your fridge for those sweet cravings.