If you’re craving something sweet, refreshing, and secretly healthy, this Chocolate Strawberry Yogurt Clusters Recipe is about to become your new favorite treat. These frozen yogurt clusters combine juicy strawberries, creamy yogurt, and a rich chocolate shell for the perfect bite-sized dessert.
They’re simple to make, require no baking, and taste like a frozen chocolate-covered cheesecake bite. Whether you need a quick snack, a healthier dessert, or a fun treat for kids, this recipe checks every box.

Why You’ll Love This Recipe
This Chocolate Strawberry Yogurt Clusters Recipe is loved for its simplicity and flavor.
- No baking required
- Only a few simple ingredients
- Naturally sweet and refreshing
- Perfect for meal prep snacks
- Kid-friendly and freezer-friendly
It’s a guilt-free dessert that feels indulgent without the extra calories.
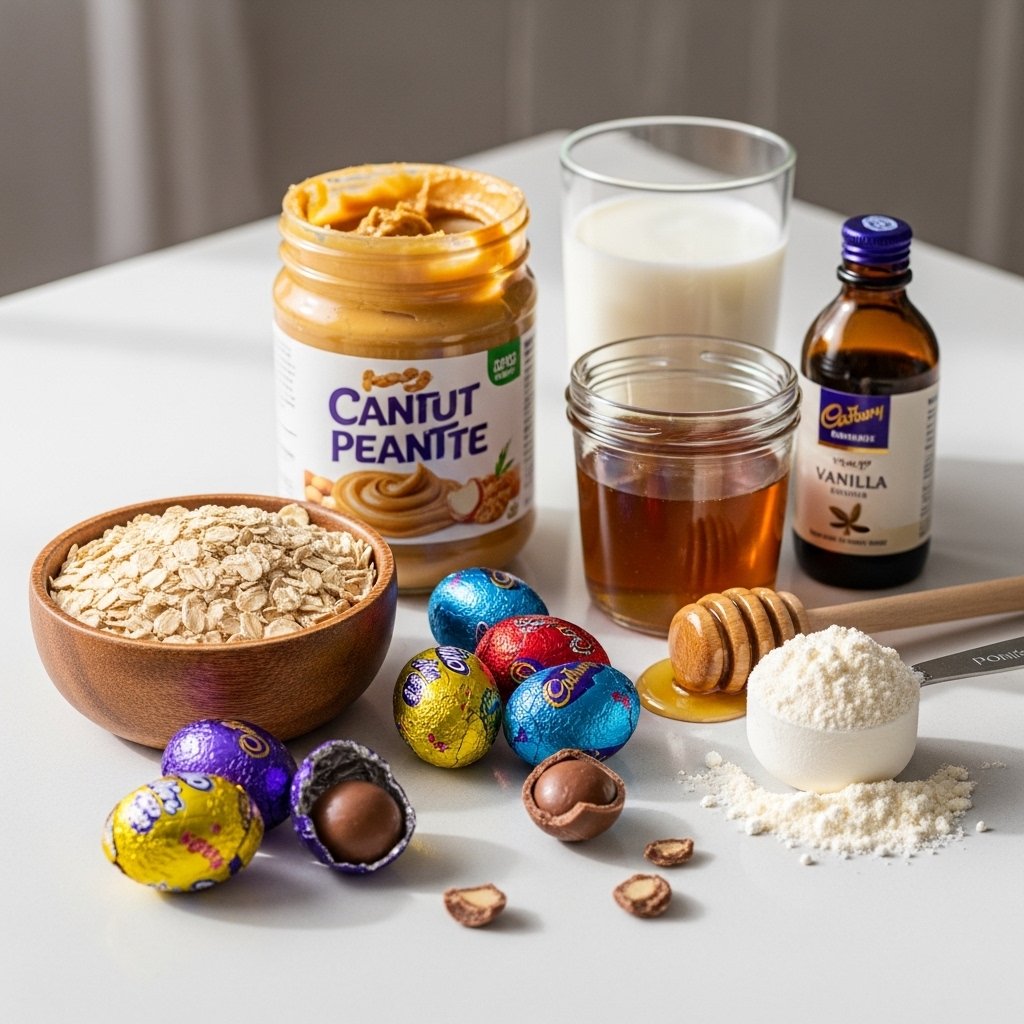
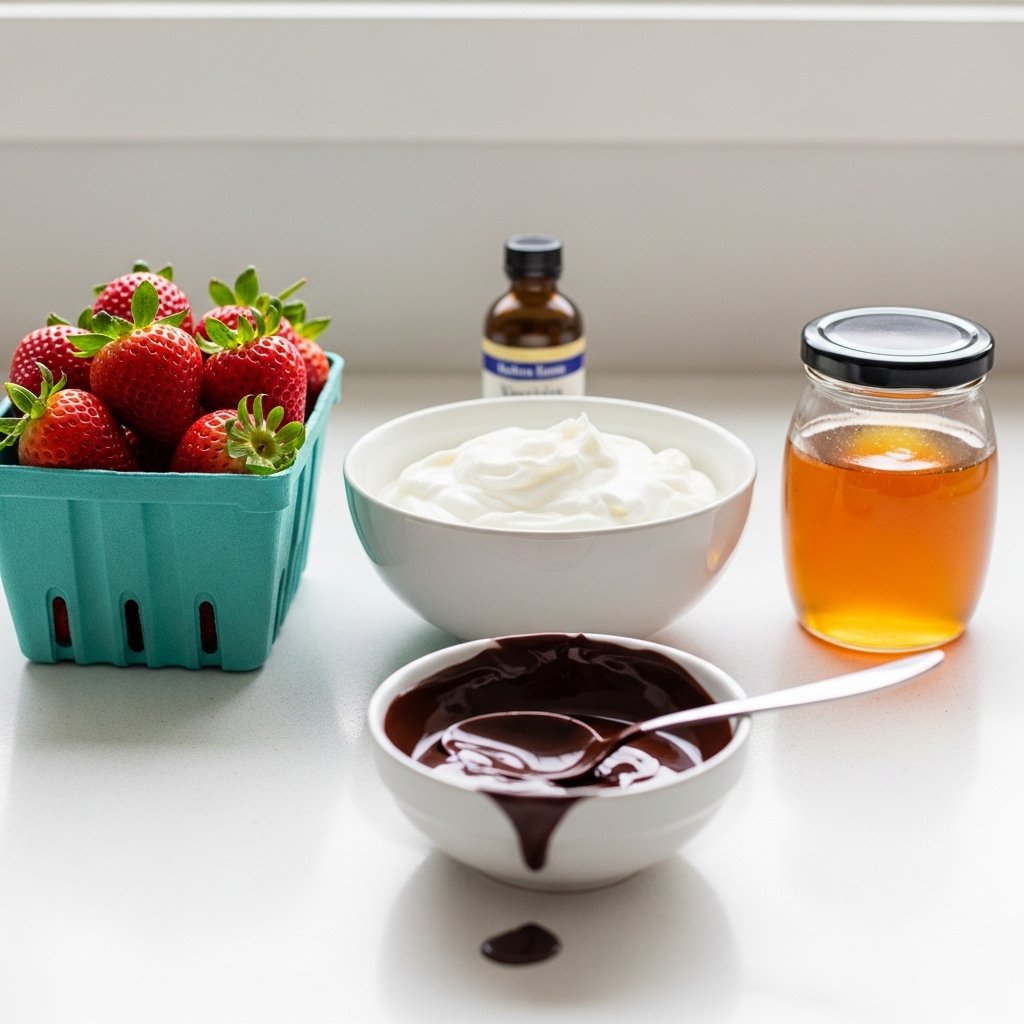
Ingredients
To make this Chocolate Strawberry Yogurt Clusters Recipe, you’ll need:
- 1 ½ cups fresh strawberries (chopped)
- 1 cup Greek yogurt (vanilla or plain)
- 1–2 tablespoons honey or maple syrup
- 1 teaspoon vanilla extract (optional)
- 1 cup melted dark chocolate or milk chocolate
- 1 teaspoon coconut oil (optional for smooth coating)
- Pinch of sea salt (optional)
Ingredient Notes
The success of this Chocolate Strawberry Yogurt Clusters Recipe depends on balance and texture.
- Greek yogurt adds creaminess and protein
- Strawberries give natural sweetness and freshness
- Honey enhances flavor without overpowering
- Dark chocolate adds richness and crunch
- Coconut oil helps create a smooth chocolate shell
You can easily adjust sweetness based on your preference.
Step-by-Step Instructions
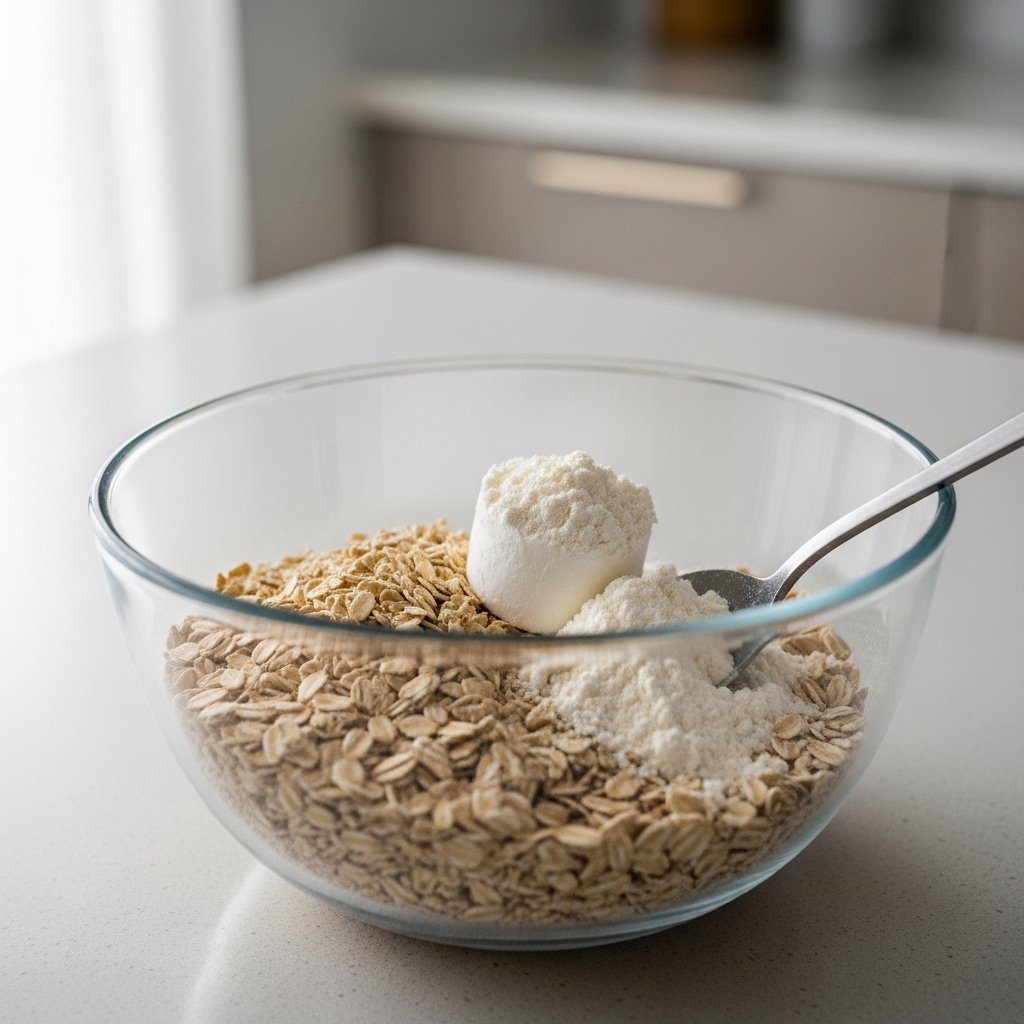
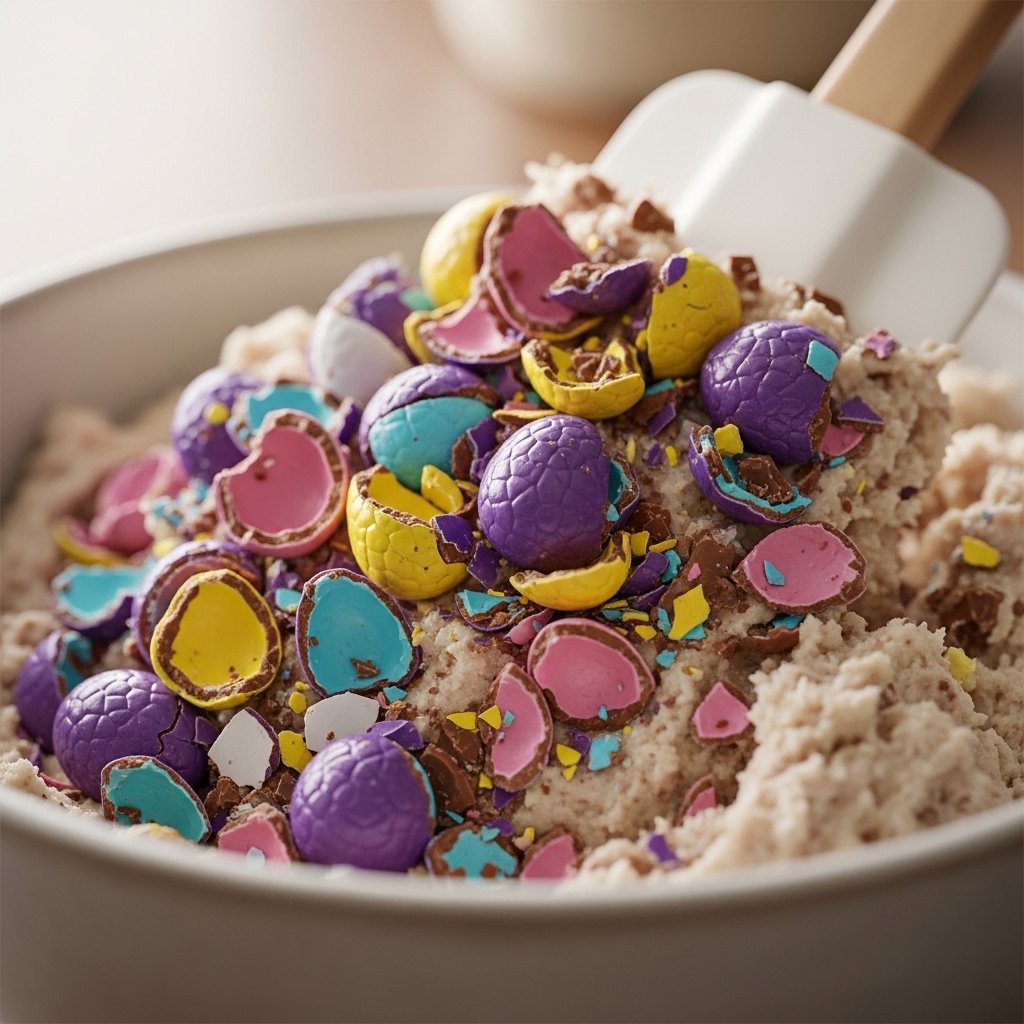
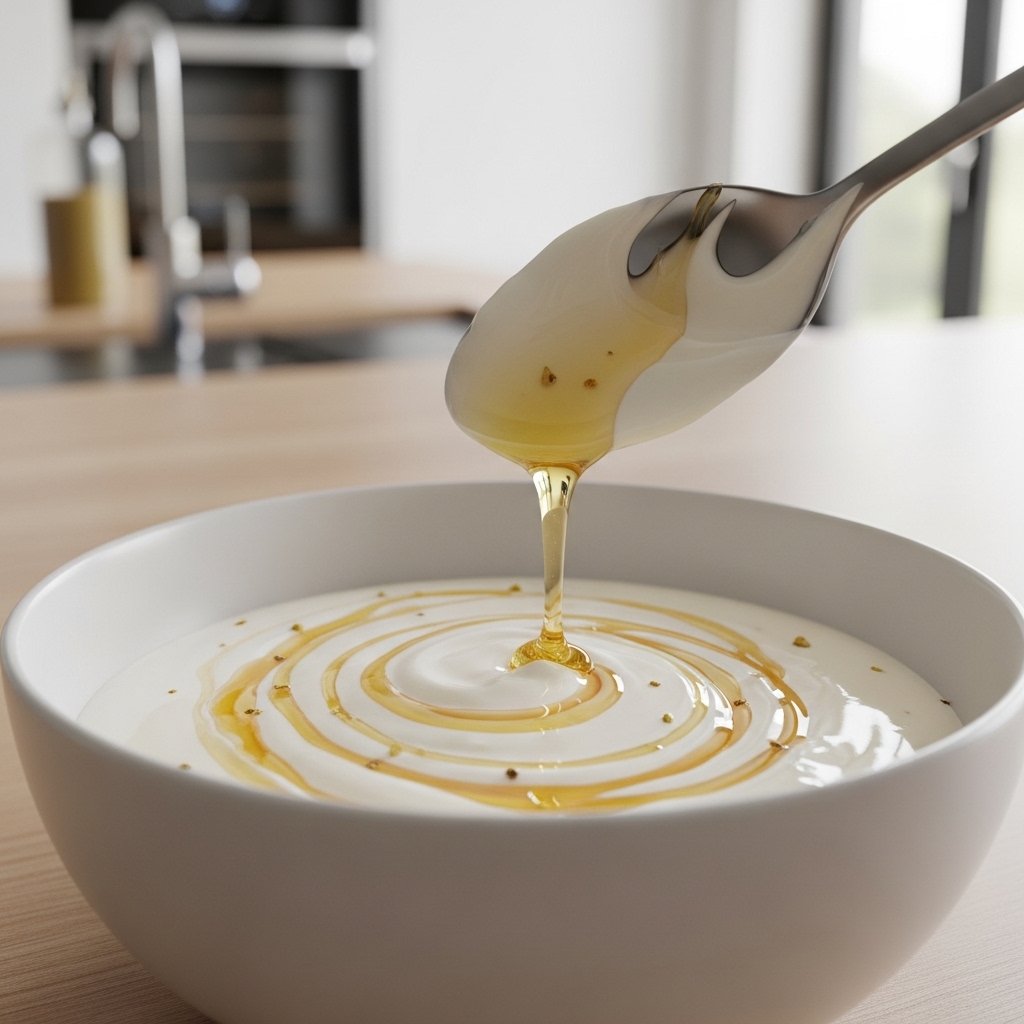
1. Prepare the Yogurt Mixture
In a bowl, mix Greek yogurt, honey, and vanilla until smooth.
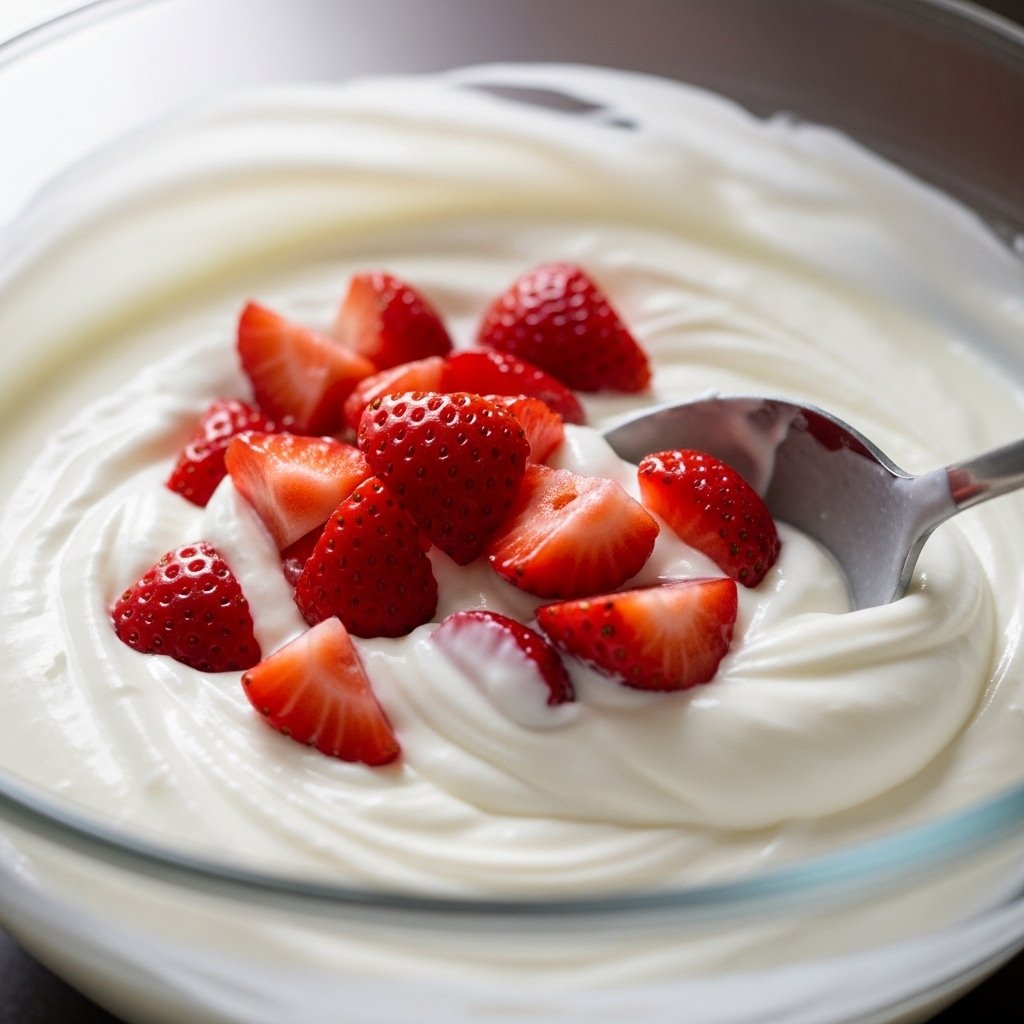
2. Add Strawberries
Fold in chopped strawberries gently so they are evenly coated.
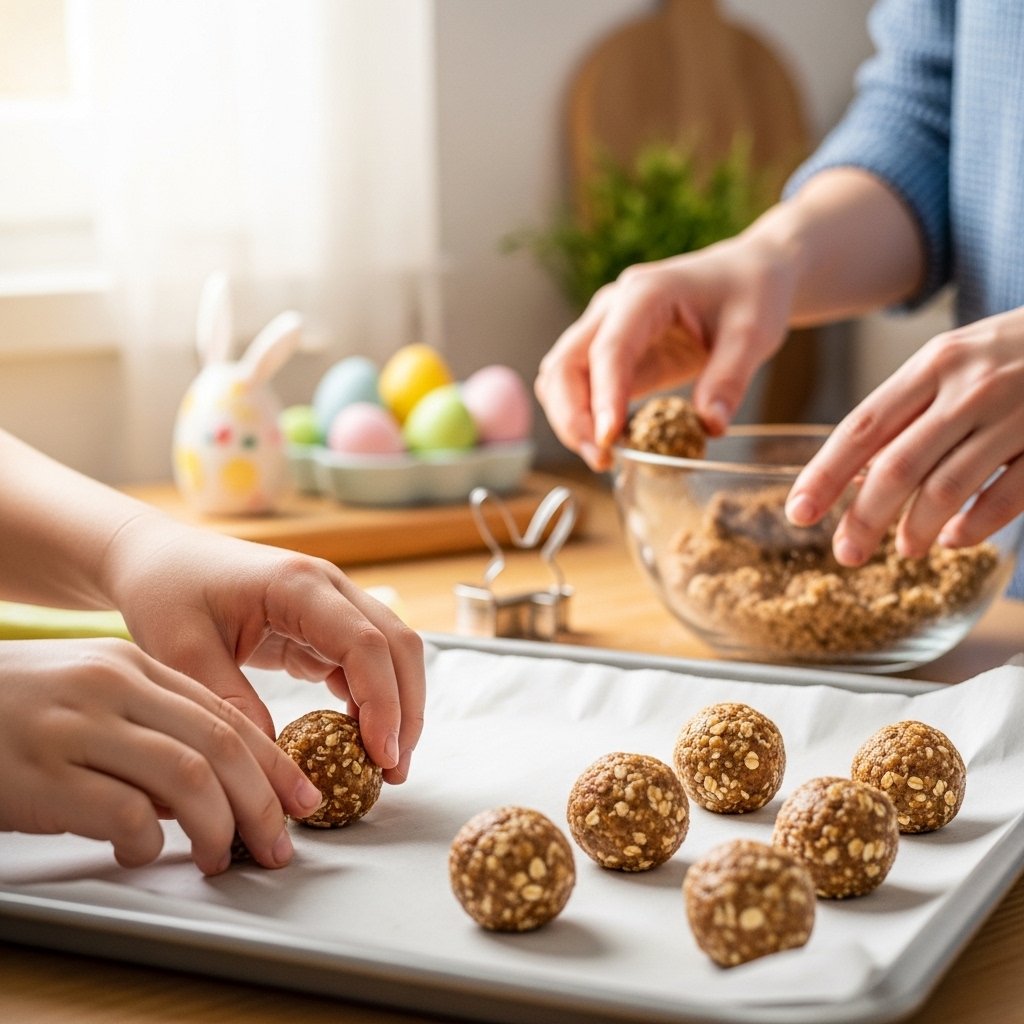
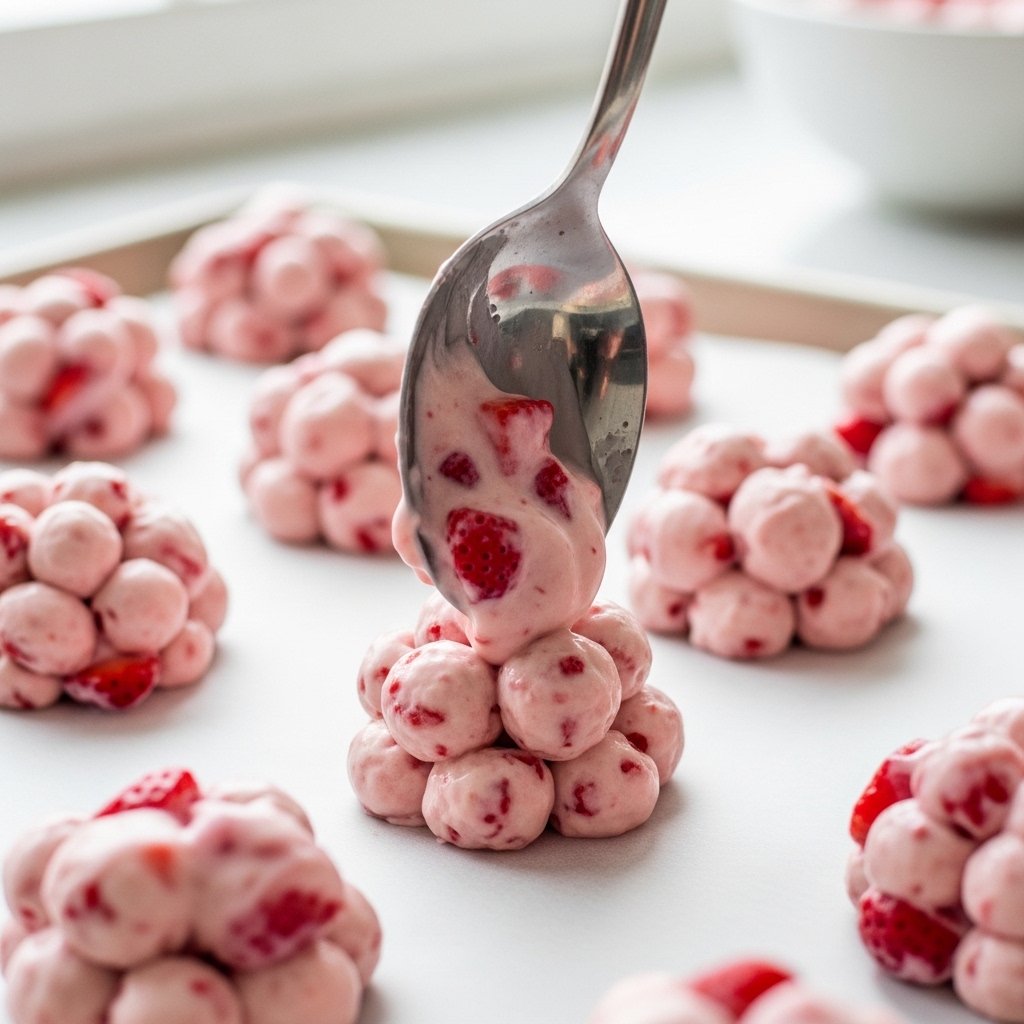
3. Form Clusters
Scoop spoonfuls of the mixture onto a parchment-lined baking tray.
4. Freeze Until Firm
Freeze clusters for at least 2–3 hours until solid.
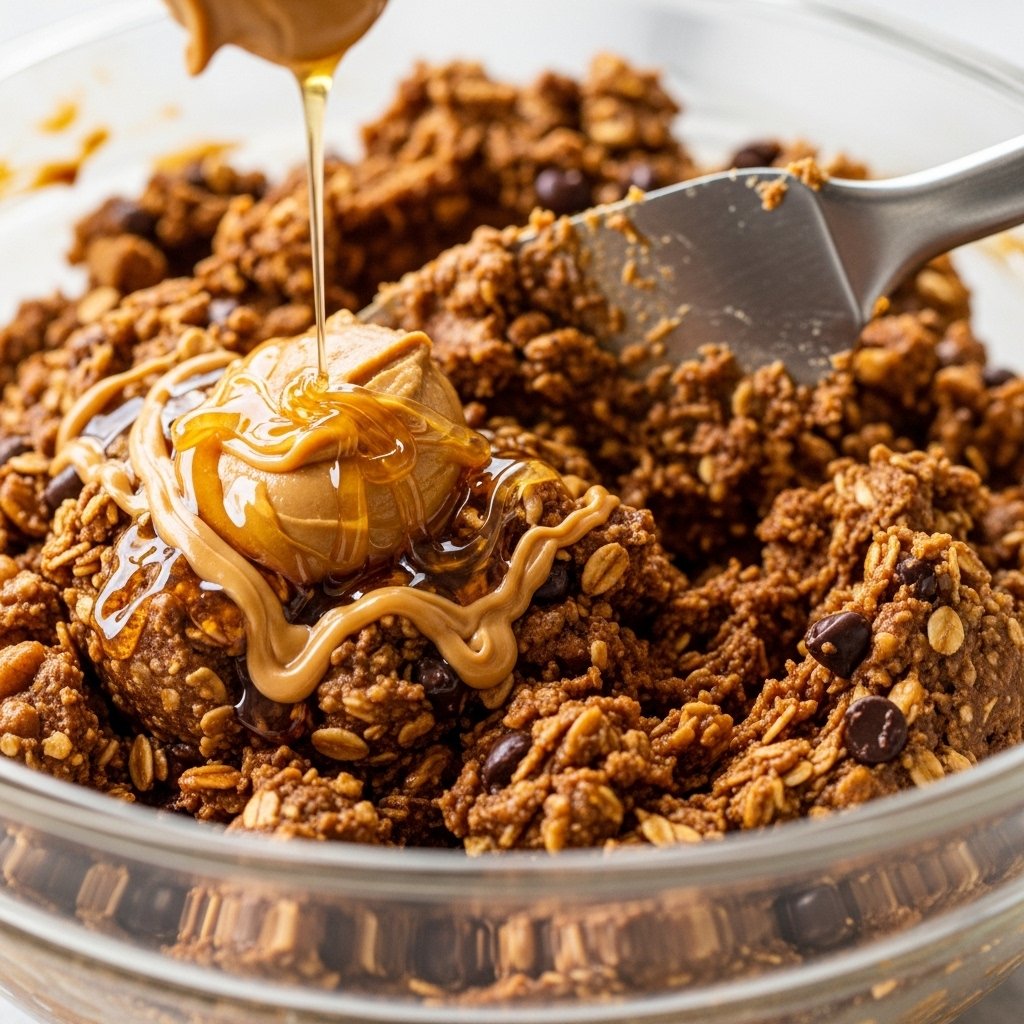
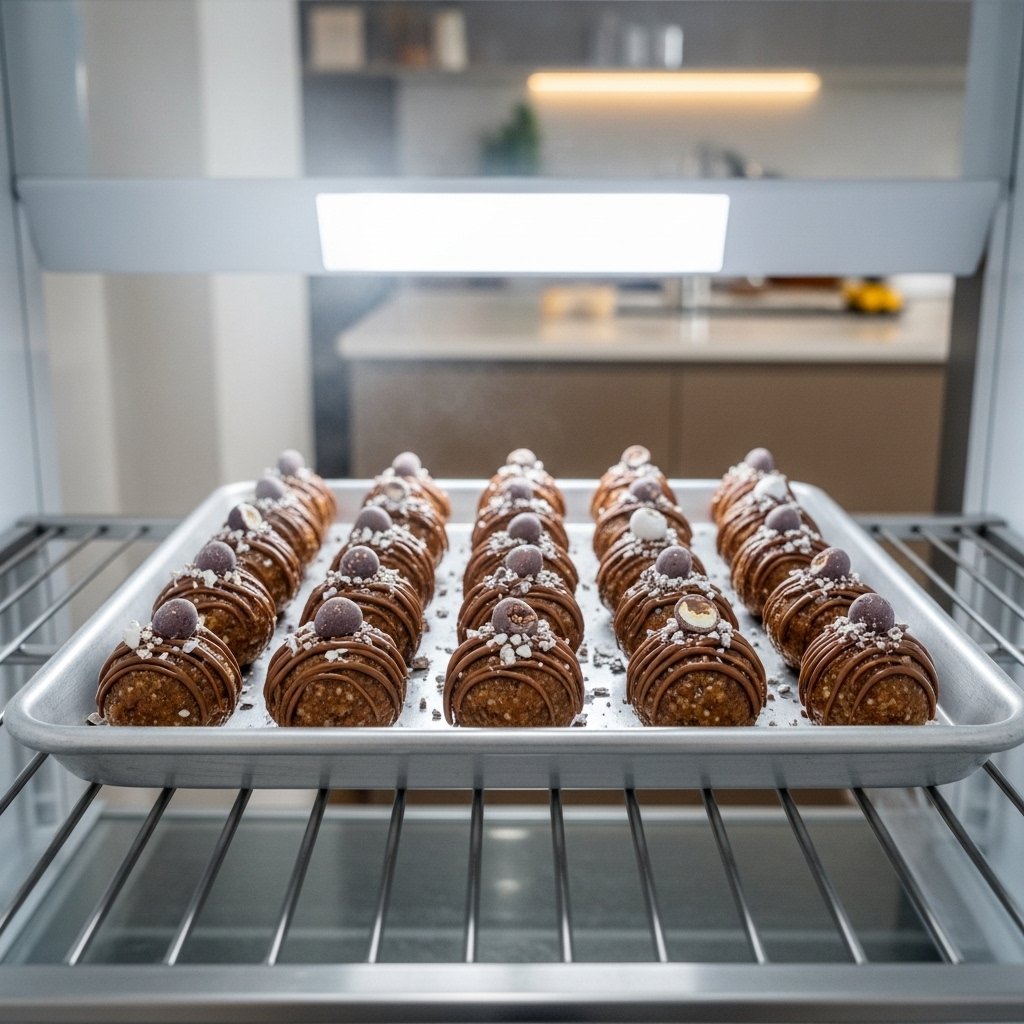
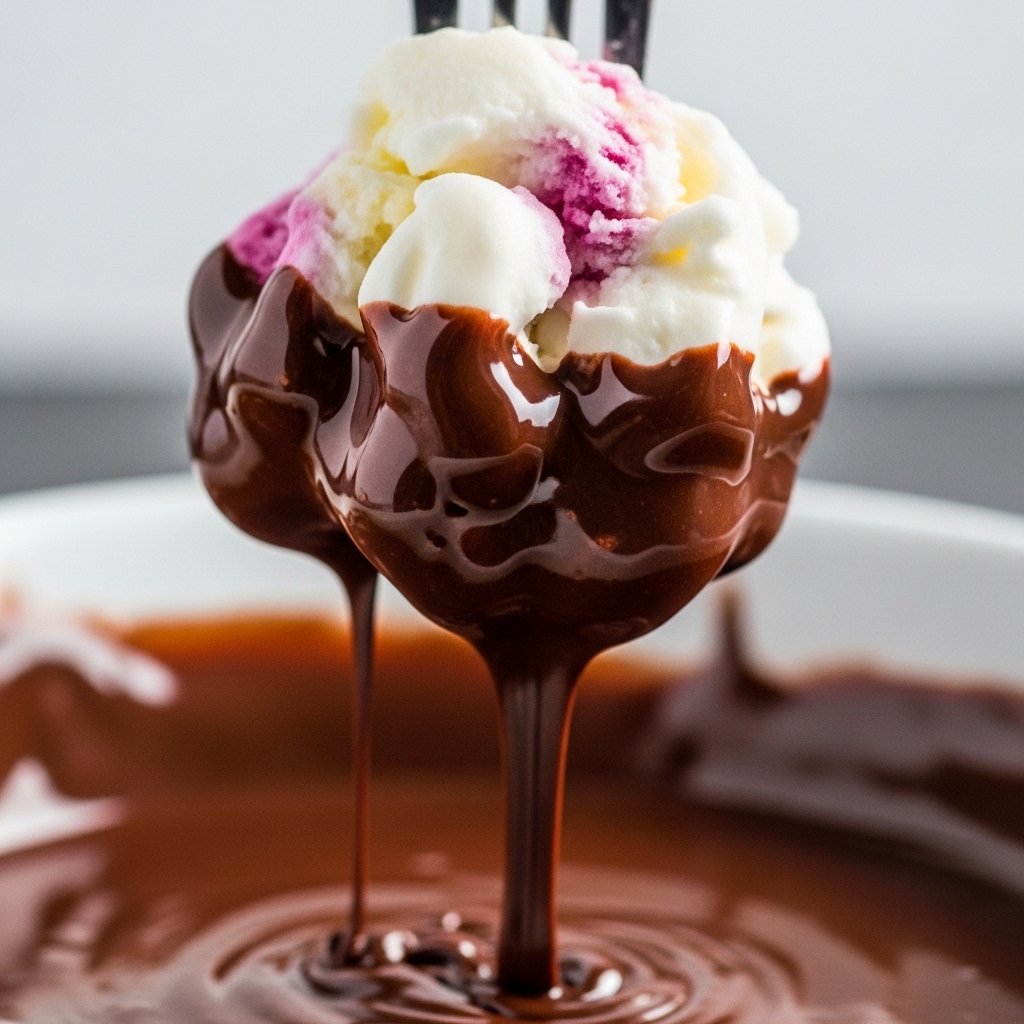
5. Dip in Chocolate
Melt chocolate with coconut oil and drizzle or dip frozen clusters.

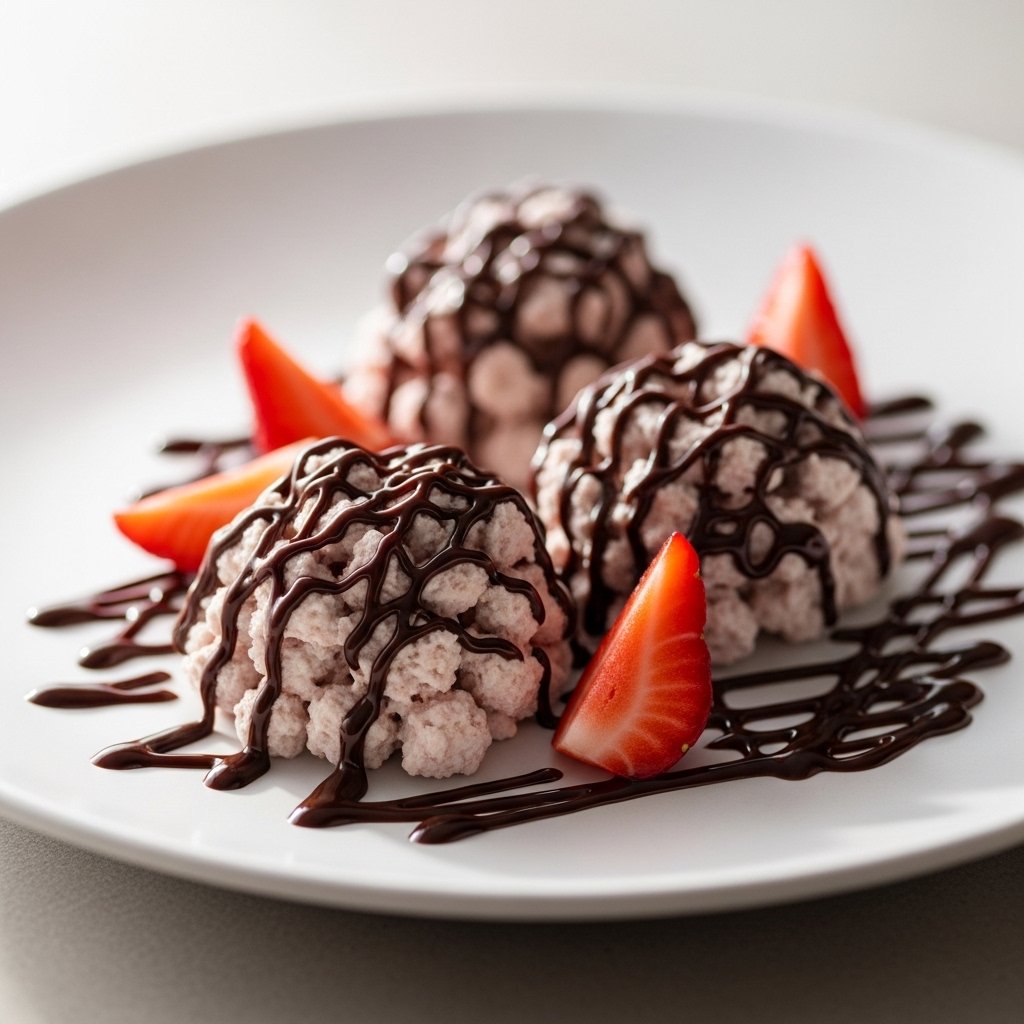
6. Set and Serve
Let chocolate harden, then enjoy immediately or store frozen.
Tips for Perfect Results
To make the best Chocolate Strawberry Yogurt Clusters Recipe, follow these tips:
- Freeze clusters fully before dipping in chocolate
- Use thick Greek yogurt for best structure
- Don’t overmix strawberries or they’ll release too much juice
- Work quickly when coating in chocolate
- Store in freezer immediately after finishing
Variations
This recipe is very flexible and fun to customize.
Mixed Berry Version
Add blueberries and raspberries.
Peanut Butter Twist
Swirl peanut butter into the yogurt mixture.
Dark Chocolate Only
Use 70%+ dark chocolate for a healthier version.
Crunchy Version
Add granola or crushed nuts.
What to Serve With It
These Chocolate Strawberry Yogurt Clusters pair well with:
- Smoothies
- Coffee or iced lattes
- Fresh fruit bowls
- Protein shakes
- Light breakfast spreads
They’re perfect as a snack or light dessert.
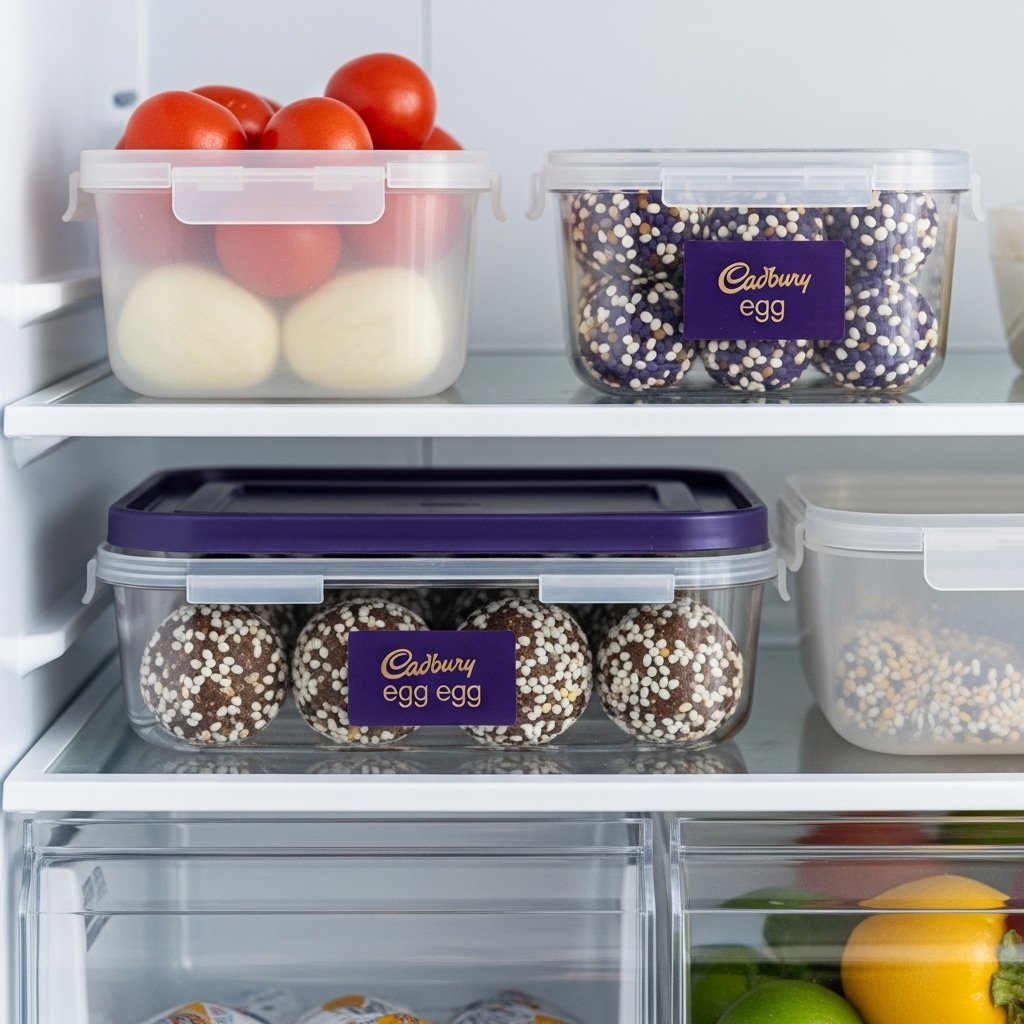
Storage & Reheating
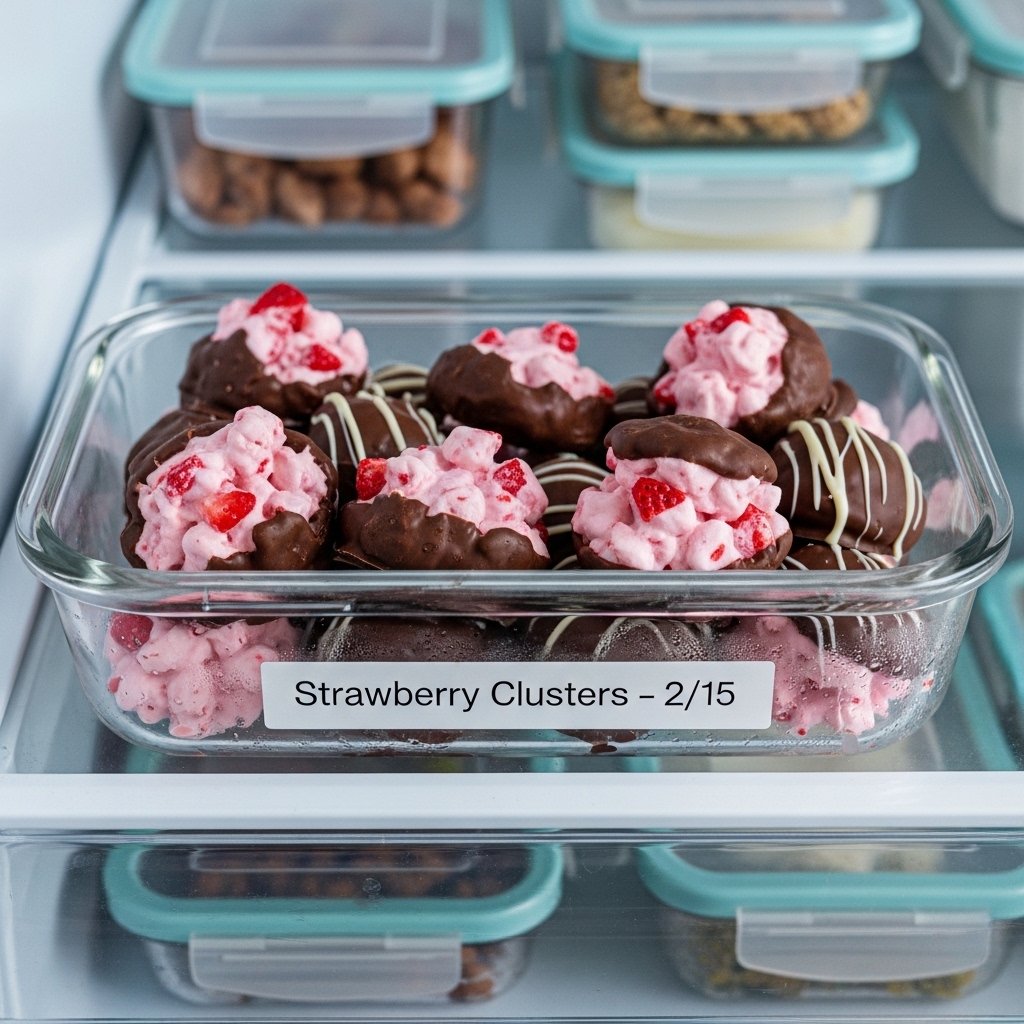
For best freshness:
- Freezer: Store up to 2 months
- Keep in airtight container
- No reheating needed
- Eat directly from freezer for best texture
Common Mistakes to Avoid
Avoid these mistakes when making Chocolate Strawberry Yogurt Clusters Recipe:
- Not freezing long enough before dipping
- Using thin yogurt (it won’t hold shape)
- Overloading with strawberries
- Skipping parchment paper
- Letting chocolate cool too much before coating
FAQs
1. Are these yogurt clusters healthy?
Yes, they’re made with yogurt, fruit, and dark chocolate for a balanced treat.
2. Can I use frozen strawberries?
Fresh is best, but thawed frozen strawberries can work if drained well.
3. Can I make them dairy-free?
Yes, use coconut or almond yogurt and dairy-free chocolate.
4. How long do they last in the freezer?
They stay fresh for up to 2 months in an airtight container.
Final Thoughts
This Chocolate Strawberry Yogurt Clusters Recipe is the perfect blend of healthy, sweet, and refreshing. It’s easy to prepare, freezer-friendly, and satisfying without being heavy.
Whether you need a quick snack, a light dessert, or a fun treat for the family, these yogurt clusters are guaranteed to become a repeat favorite.