There’s something special about Friday nights—the workweek is over, the weekend is just beginning, and it’s the perfect time to unwind with a satisfying meal. These Friday night dinner ideas are designed to make your evenings easier, tastier, and a lot more enjoyable without spending hours in the kitchen.
Whether you’re cooking for your family, hosting friends, or just treating yourself, these Friday night dinner ideas offer a variety of flavors and styles to match any mood. From cozy comfort foods to lighter, fresh options, you’ll always have something exciting to look forward to.

Why You’ll Love These Friday Night Dinner Ideas
These Friday night dinner ideas are all about convenience, flavor, and fun. After a long week, you deserve meals that don’t feel like a chore.
Here’s why they work so well:
- Quick and easy to prepare
- Family-friendly and customizable
- Perfect for relaxing or entertaining
- Minimal cleanup required
- Endless variety of flavors
With these Friday night dinner ideas, you can turn an ordinary evening into something special.
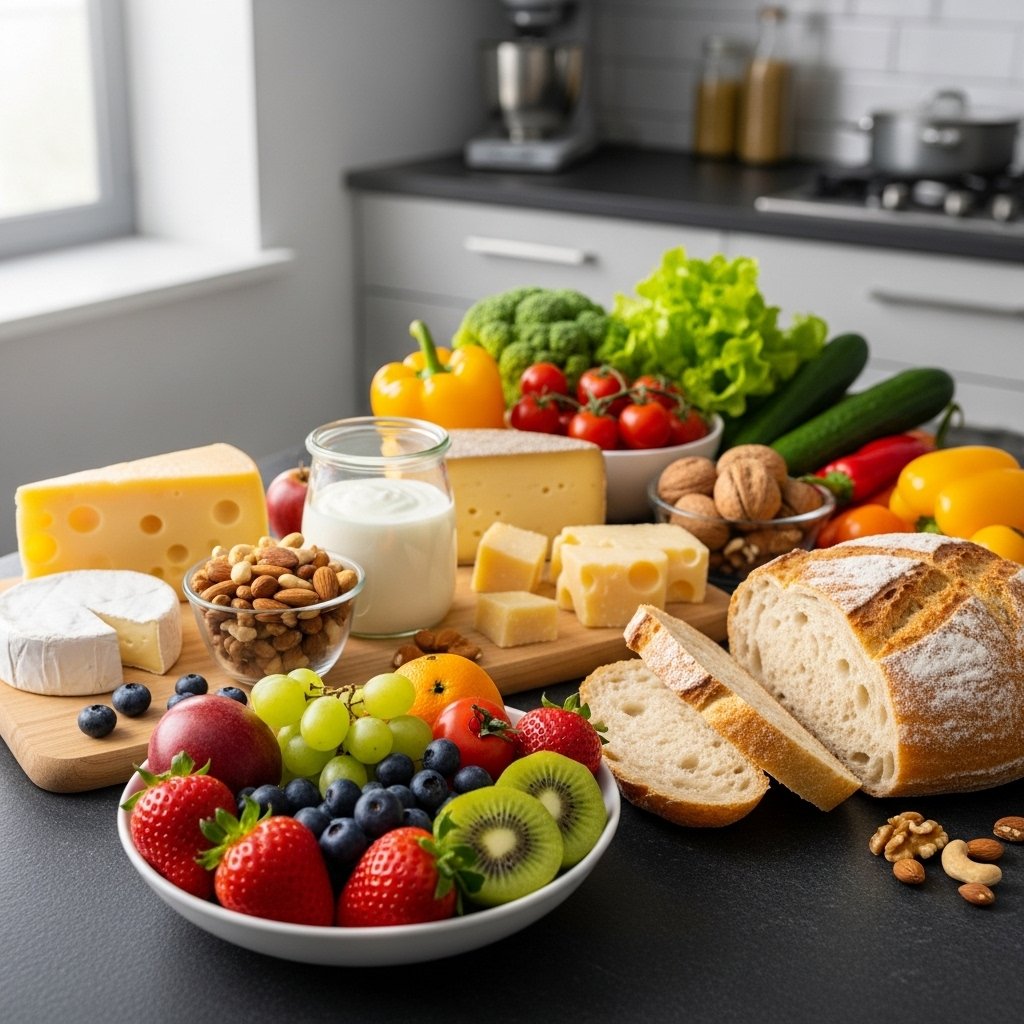
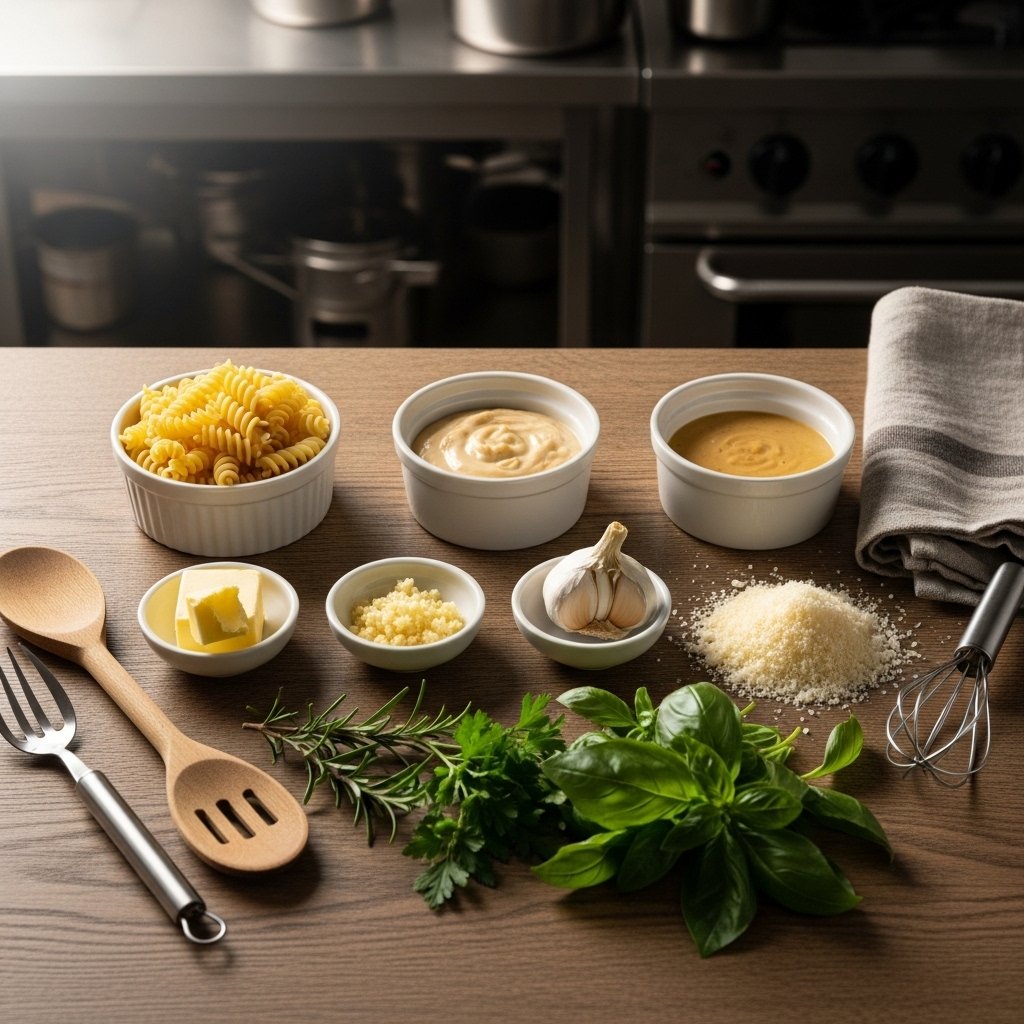
Ingredients You’ll Commonly Use
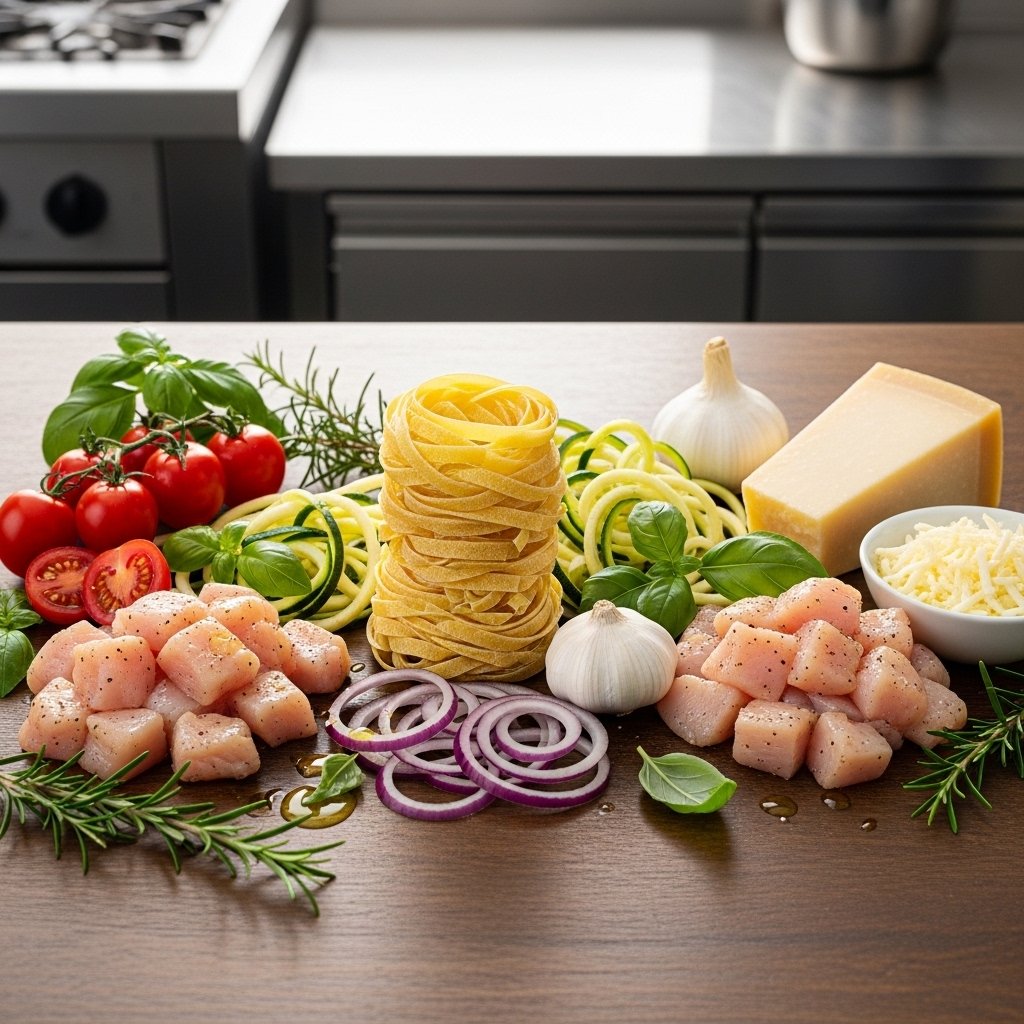
Many Friday night dinner ideas rely on simple, accessible ingredients you likely already have:
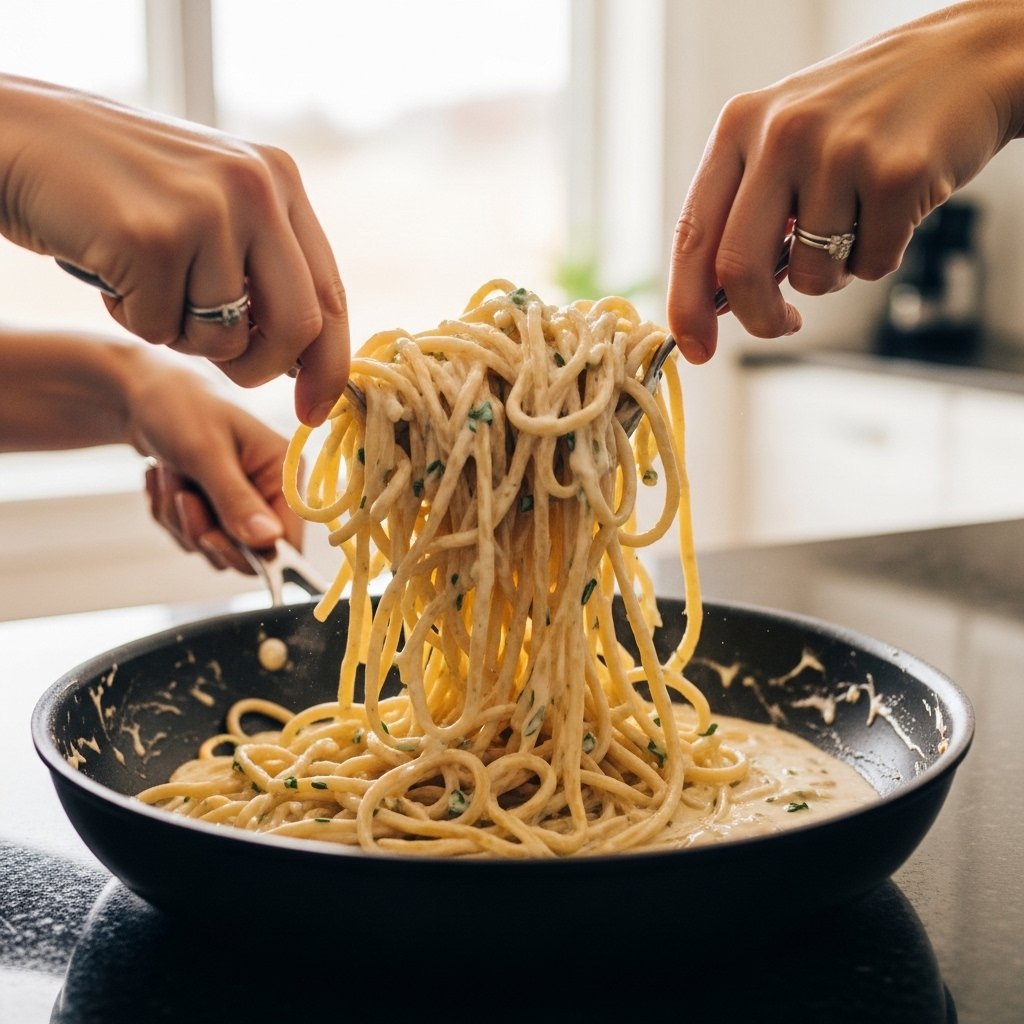
- Pasta and sauces
- Fresh vegetables
- Chicken, beef, or seafood
- Cheese varieties
- Bread or tortillas
- Herbs and spices
These staples make it easy to whip up a delicious meal without extra shopping.
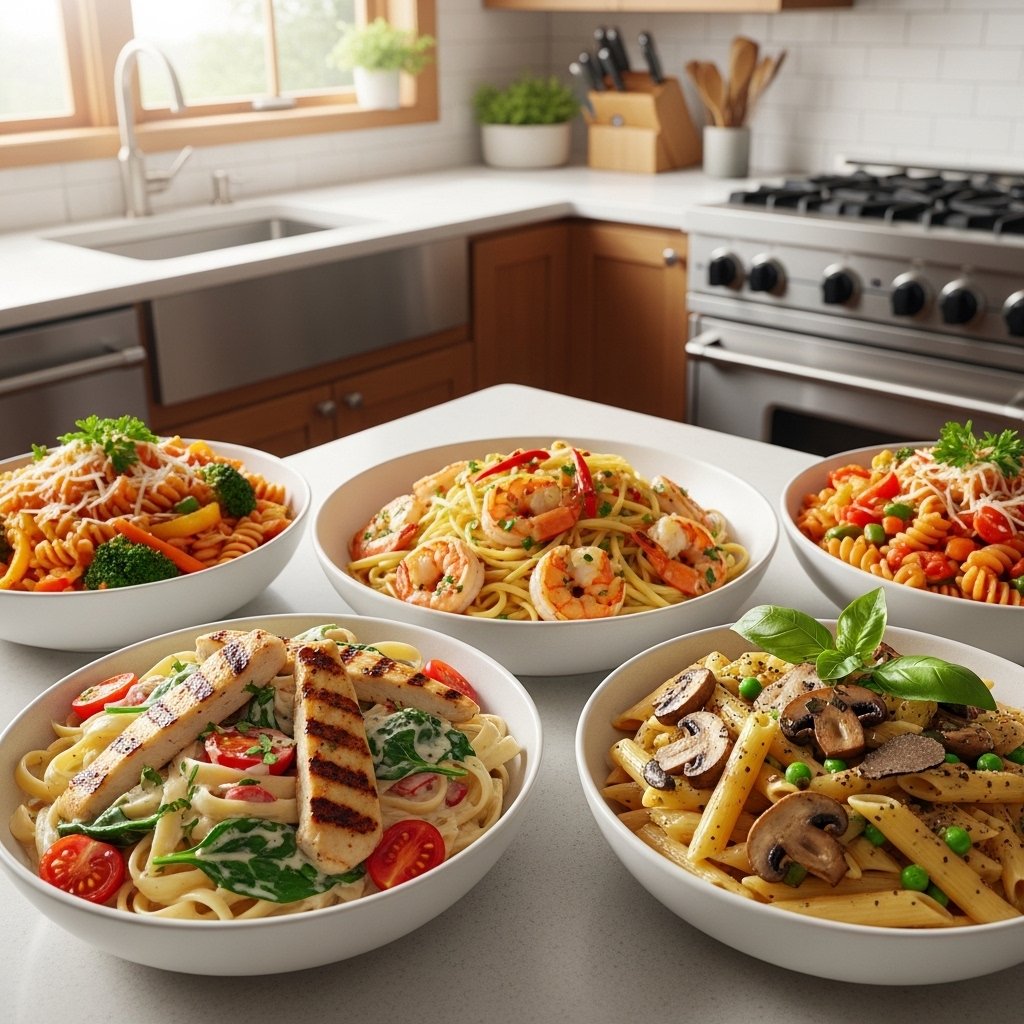
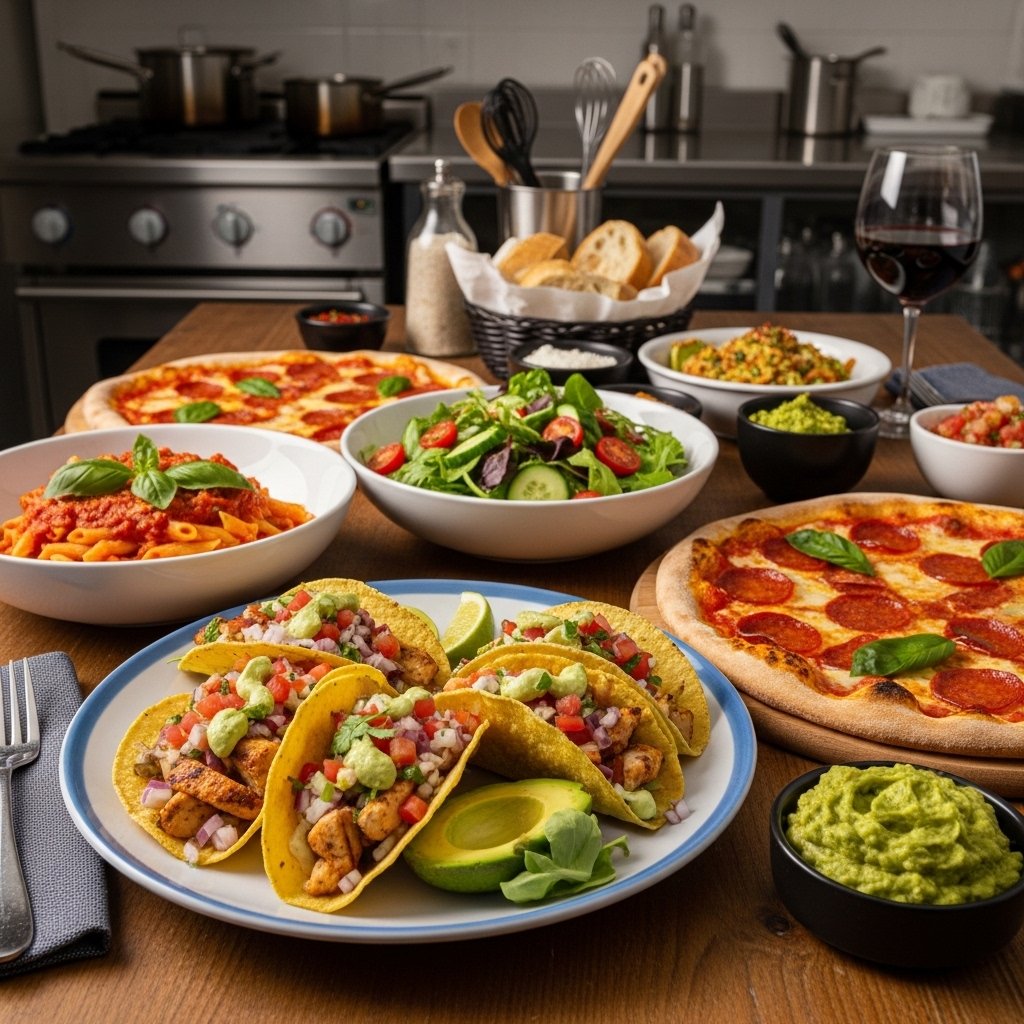
Popular Friday Night Dinner Ideas
Here are some go-to Friday night dinner ideas that never disappoint:
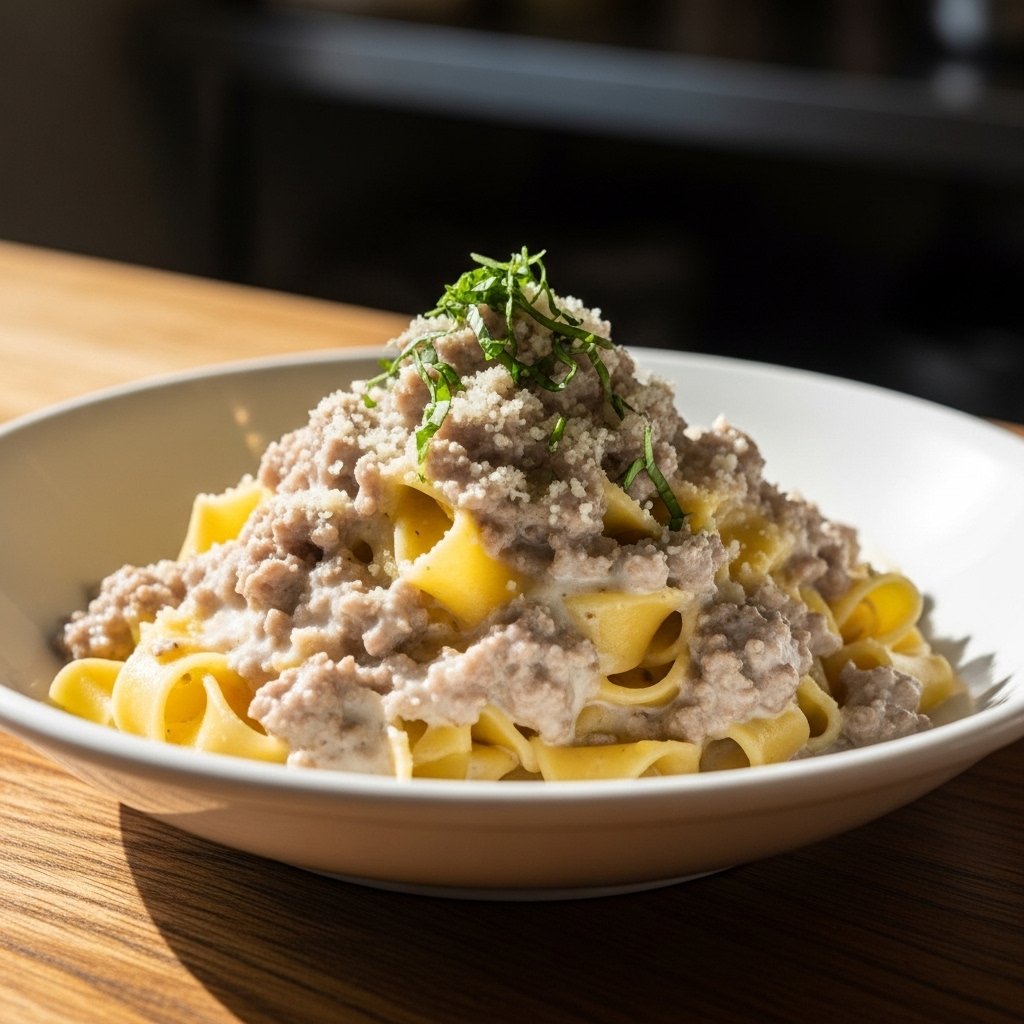
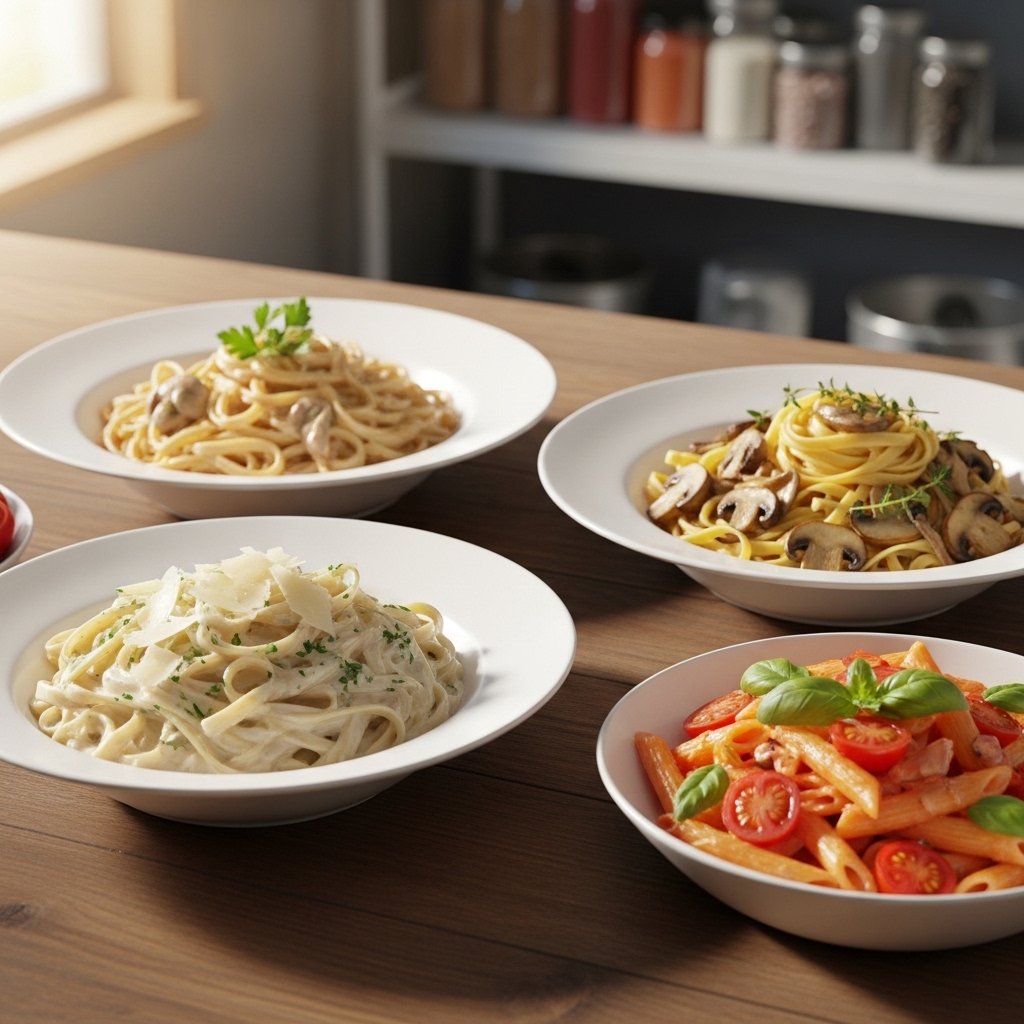
Comfort Food Favorites
- Creamy mac and cheese
- Homemade pizza
- Chicken alfredo
- Cheeseburgers and fries
Quick & Easy Meals
- Tacos or fajitas
- Stir-fry with rice
- Sheet pan chicken and veggies
- Quesadillas
Light & Fresh Options
- Grilled salmon with salad
- Pasta primavera
- Buddha bowls
- Wraps and sandwiches
These Friday night dinner ideas offer something for everyone.
Ingredient Notes & Tips
Keep It Simple
Use ingredients you’re familiar with to save time.
Balance Flavors
Combine protein, carbs, and veggies for a complete meal.
Prep Ahead
Chop vegetables or marinate proteins earlier in the day.
Use Shortcuts
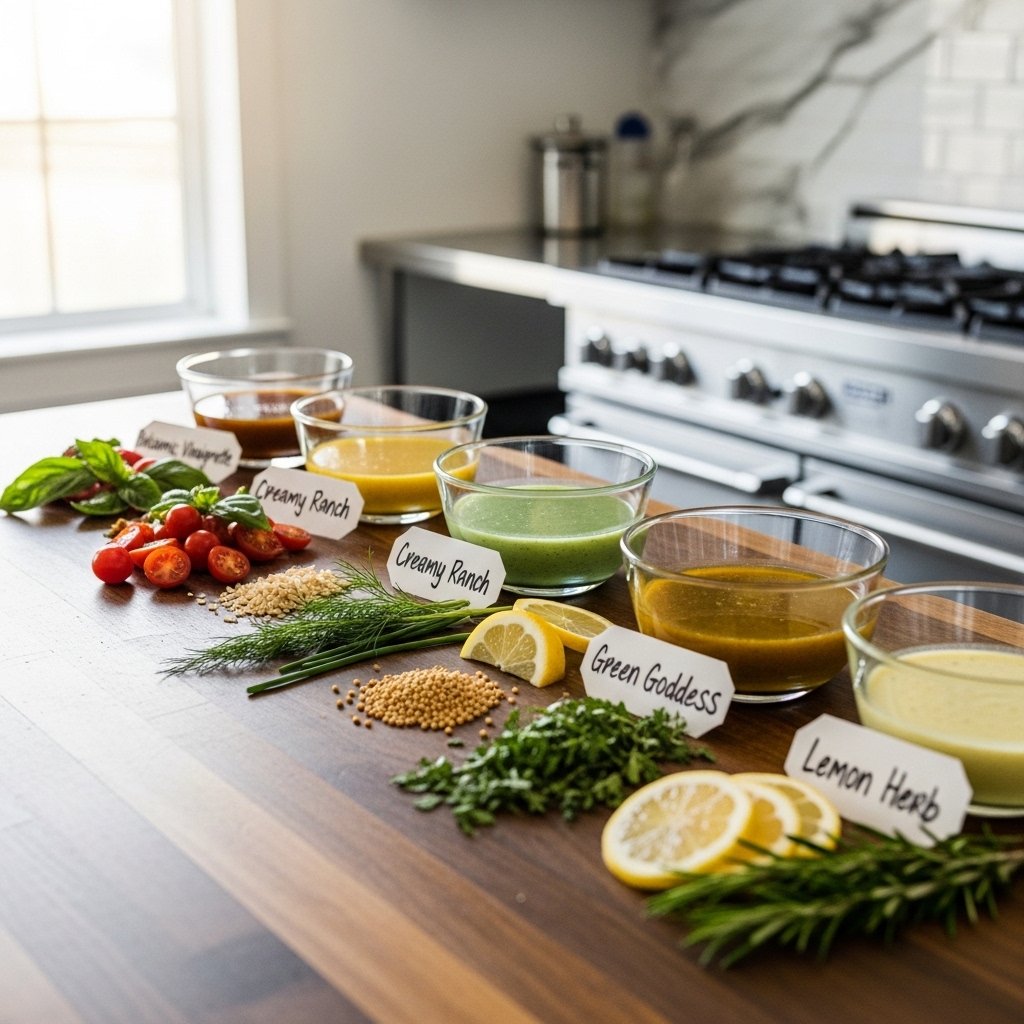
Store-bought sauces can save time without sacrificing taste.
These tips make your Friday night dinner ideas even easier to execute.
Step-by-Step Approach to a Perfect Friday Dinner
Step 1: Choose Your Dish
Pick a recipe based on your mood and time.
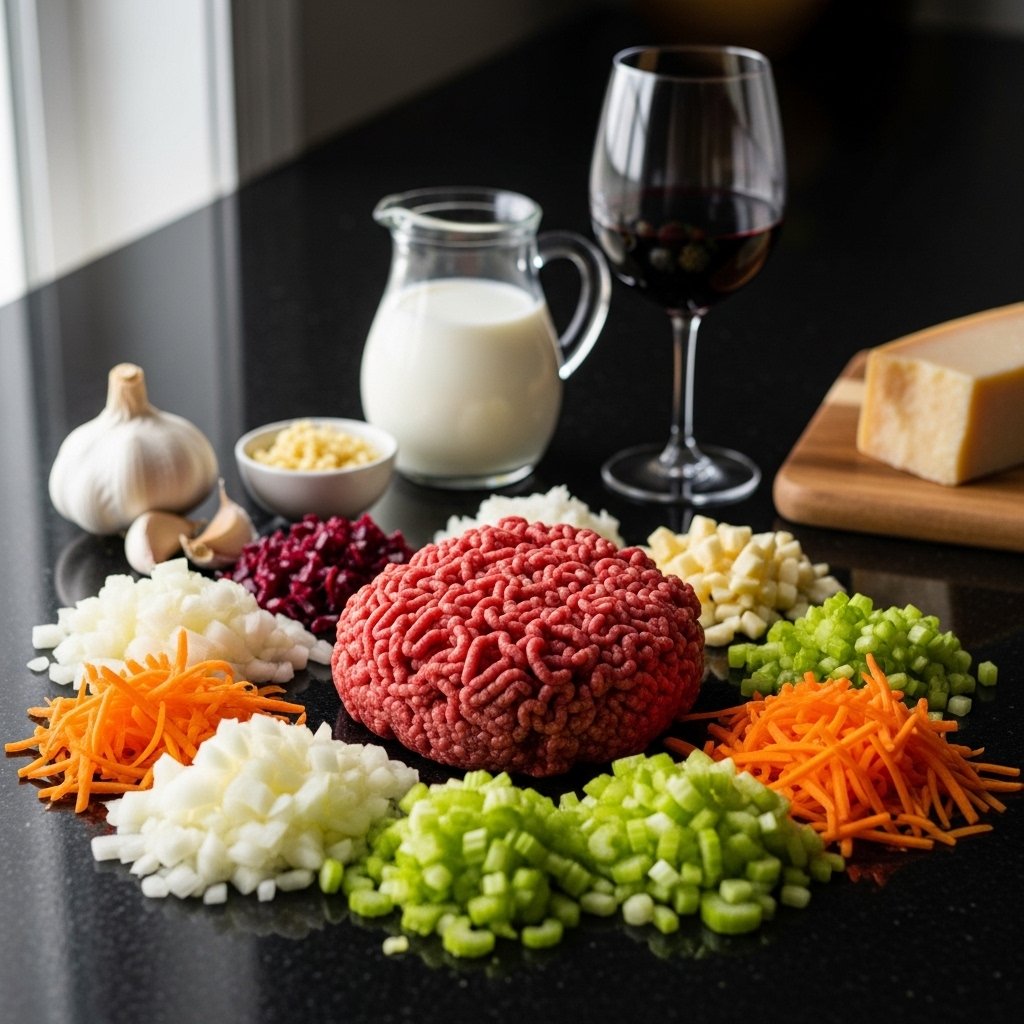
Step 2: Prep Ingredients
Wash, chop, and measure everything before cooking.
Step 3: Cook Efficiently
Use one-pan or quick-cook methods when possible.
Step 4: Plate красиво
Serve your dish nicely—it enhances the experience.
Step 5: Enjoy
Sit back, relax, and enjoy your meal.

Tips for Perfect Results
To make the most of your Friday night dinner ideas, keep these in mind:
- Don’t overcomplicate recipes
- Taste as you cook
- Use fresh ingredients whenever possible
- Keep portions balanced
Small adjustments can make a big difference in flavor and presentation.
Variations to Try
These Friday night dinner ideas are highly adaptable:
Family Night
Make build-your-own tacos or pizza.
Date Night
Try a more elegant dish like steak or seafood.
Vegetarian Option
Use plant-based proteins and fresh veggies.
Comfort Mode
Go all-in with creamy, cheesy dishes.
These variations help keep your dinners exciting every week.
What to Serve With It
Pair your Friday night dinner ideas with:
- Fresh salads
- Garlic bread
- Roasted vegetables
- Refreshing drinks or mocktails
These sides complete the meal beautifully.
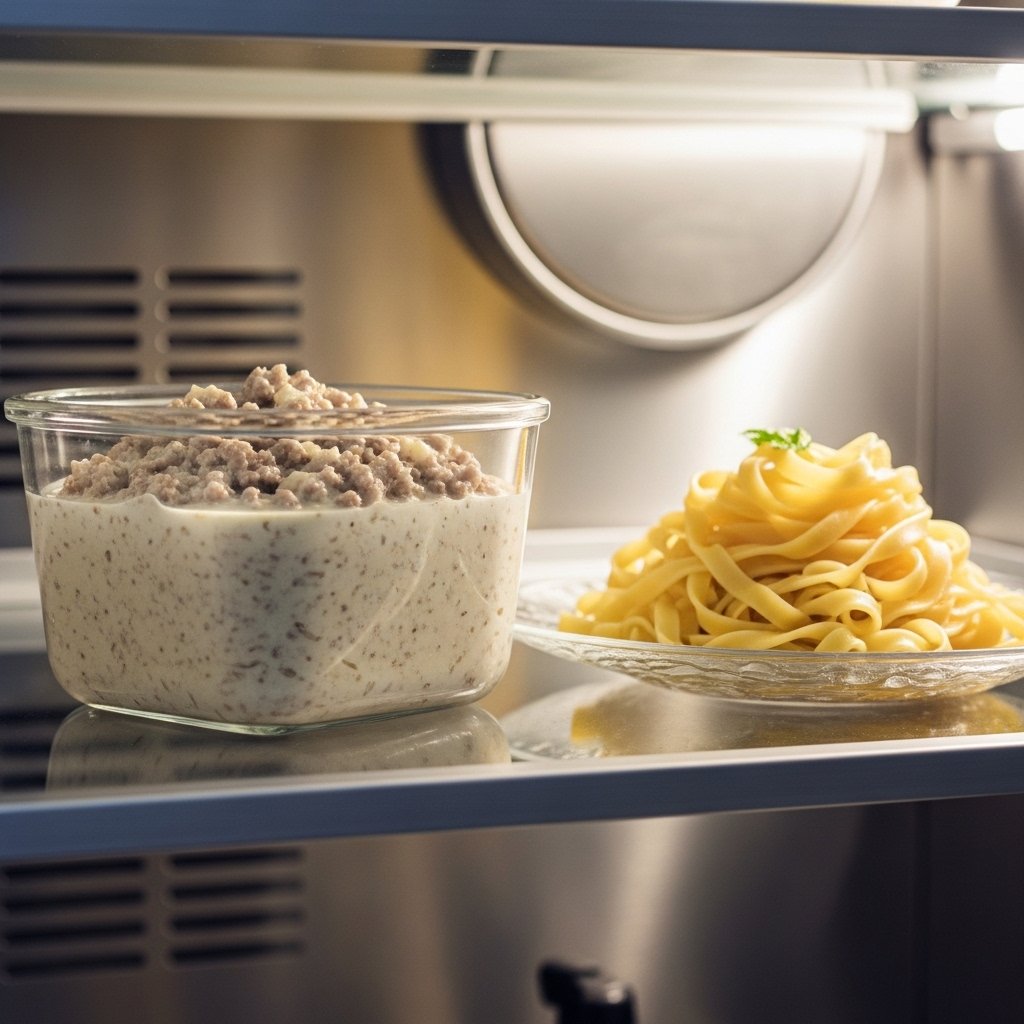
Storage & Reheating
Storage
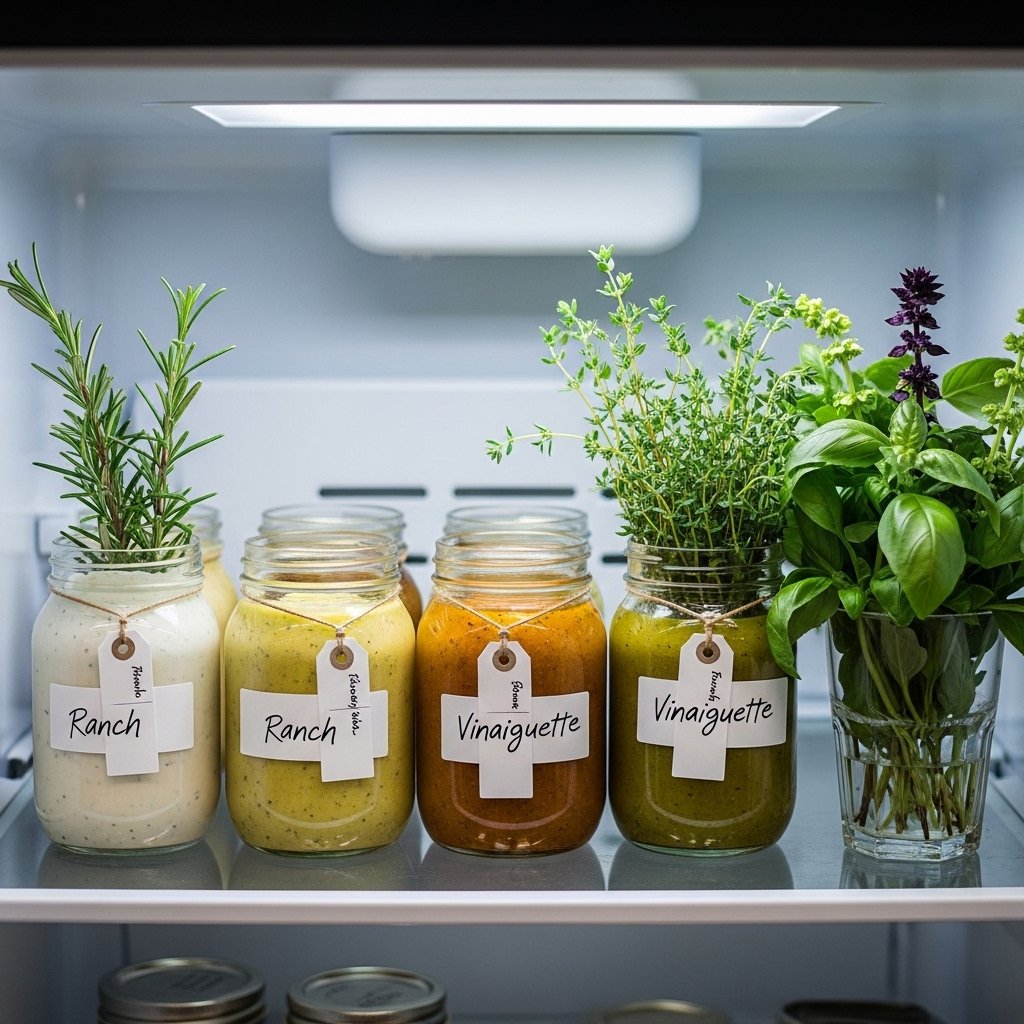
- Store leftovers in airtight containers for up to 3 days
Reheating
- Reheat in the oven or microwave until warmed through
Freshness Tip
- Store sauces separately when possible

Common Mistakes to Avoid
When preparing Friday night dinner ideas, avoid:
- Overcooking proteins
- Using too many ingredients
- Skipping seasoning
- Not planning ahead
Avoiding these mistakes ensures a stress-free cooking experience.
Frequently Asked Questions
What’s the easiest Friday night dinner?
Tacos, pasta, or stir-fry are quick and easy options.
Can I prep dinner ahead of time?
Yes, prepping ingredients earlier saves time later.
Are these meals family-friendly?
Absolutely, most recipes can be customized for all ages.
How do I make dinner feel special?
Set the table nicely and add simple sides or drinks.
What if I’m short on time?
Choose one-pan or 30-minute recipes.
Final Thoughts
These Friday night dinner ideas are all about making your evenings enjoyable, stress-free, and delicious. Whether you’re craving comfort food or something light and fresh, there’s always a perfect option waiting for you.
By keeping things simple and focusing on flavor, you can turn any Friday night into a memorable dining experience. Try out these Friday night dinner ideas, and make every weekend start on a delicious note!