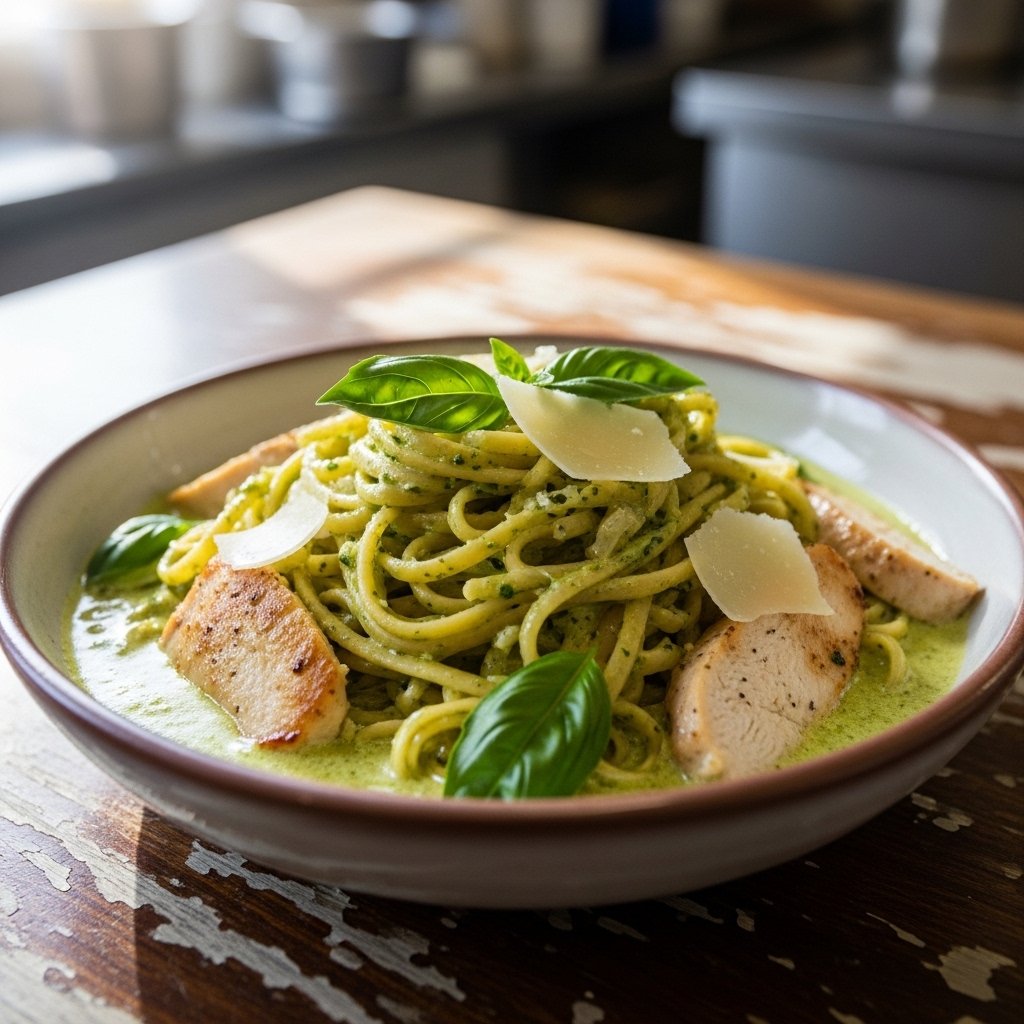
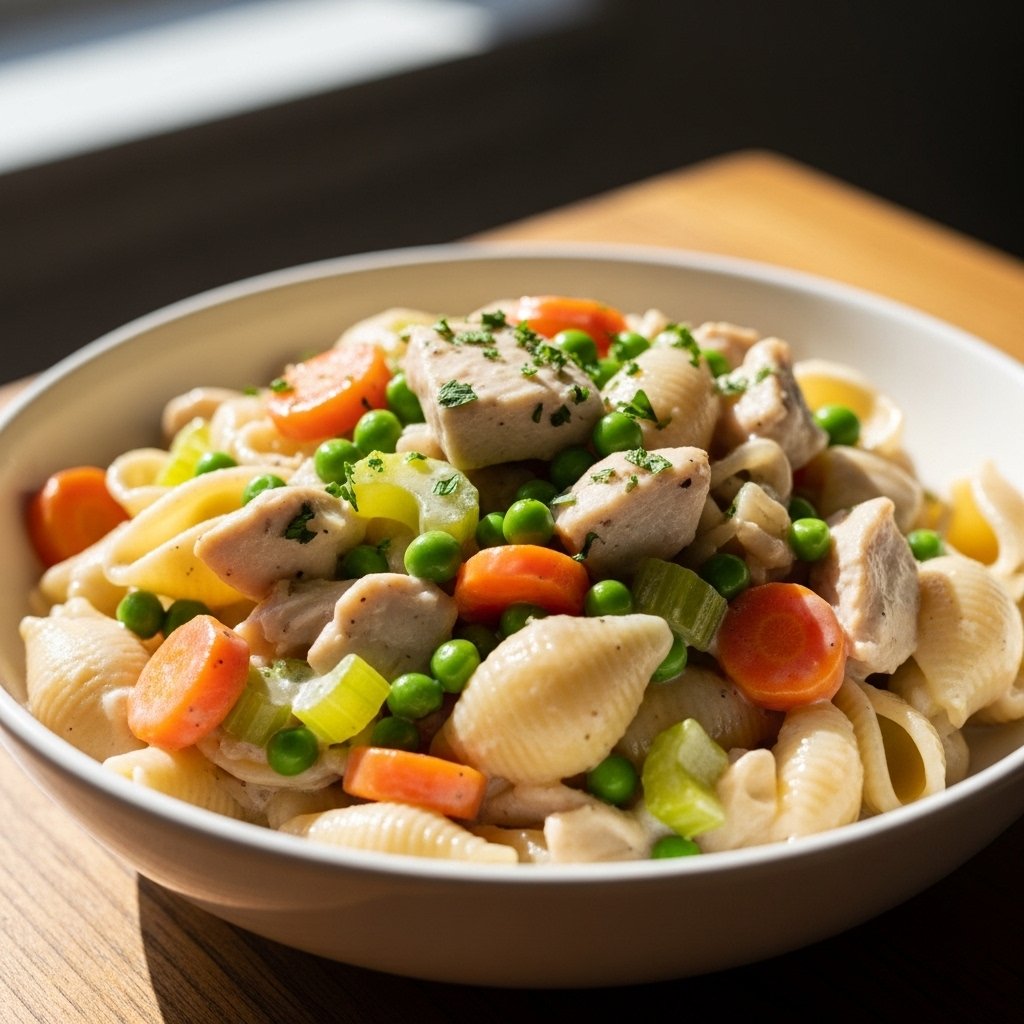
If you love the classic flavors of chicken pot pie but want something quicker and easier, this creamy chicken pot pie pasta is the perfect solution. It has everything you crave in a comfort food dinner: tender chicken, hearty vegetables, rich creamy sauce, and cozy pasta all in one satisfying bowl.
What makes creamy chicken pot pie pasta so irresistible is how it transforms familiar ingredients into a weeknight-friendly meal without sacrificing flavor. You still get that savory, comforting pot pie taste, but instead of fussing with pie crust, everything comes together in one skillet or pot. It’s warm, hearty, family-friendly, and exactly the kind of meal that makes everyone ask for seconds.
Why You’ll Love This Creamy Chicken Pot Pie Pasta
This recipe is comfort food at its best.
What Makes This Recipe So Good
- Rich and creamy sauce
- Cozy chicken pot pie flavor
- Easier than traditional pot pie
- Family-friendly and filling
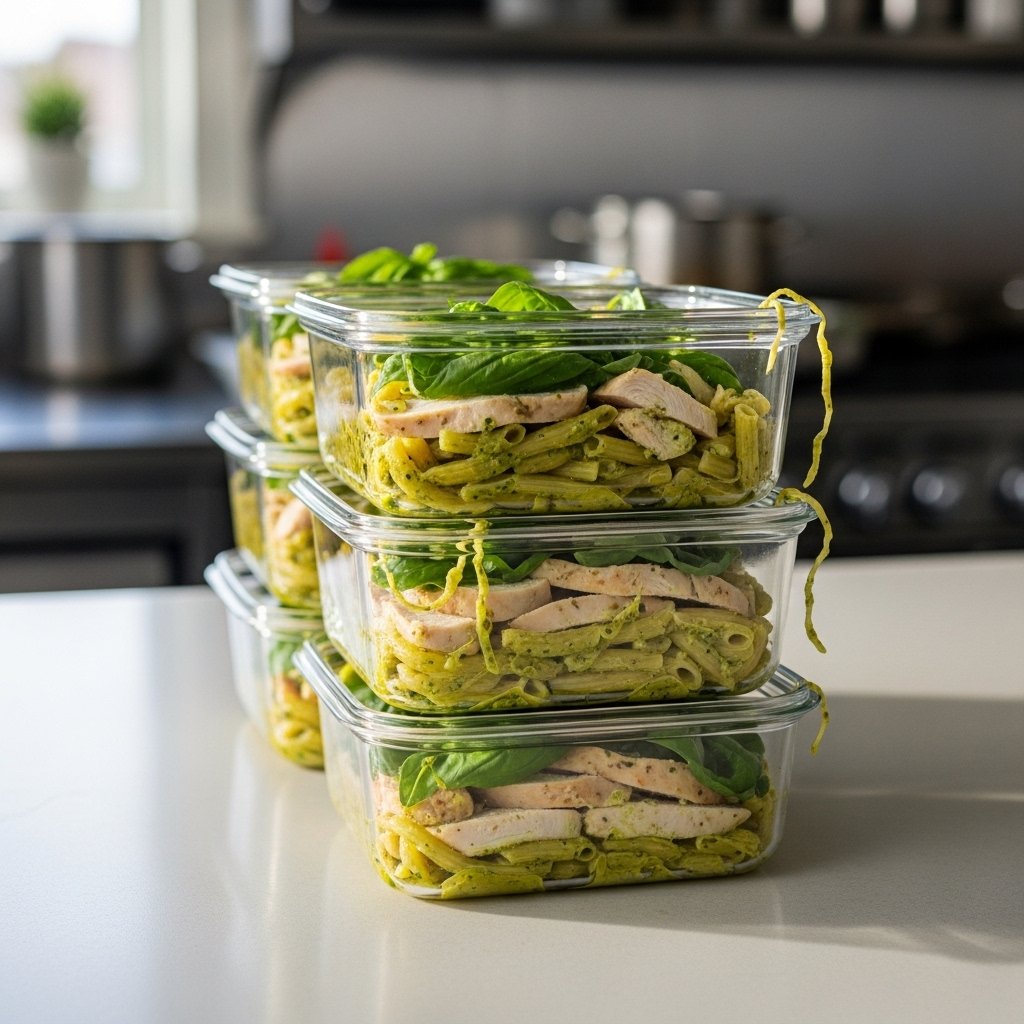
- Great for leftovers
- Ready in about 40 minutes
This dish brings together convenience and classic homemade flavor in the best possible way.
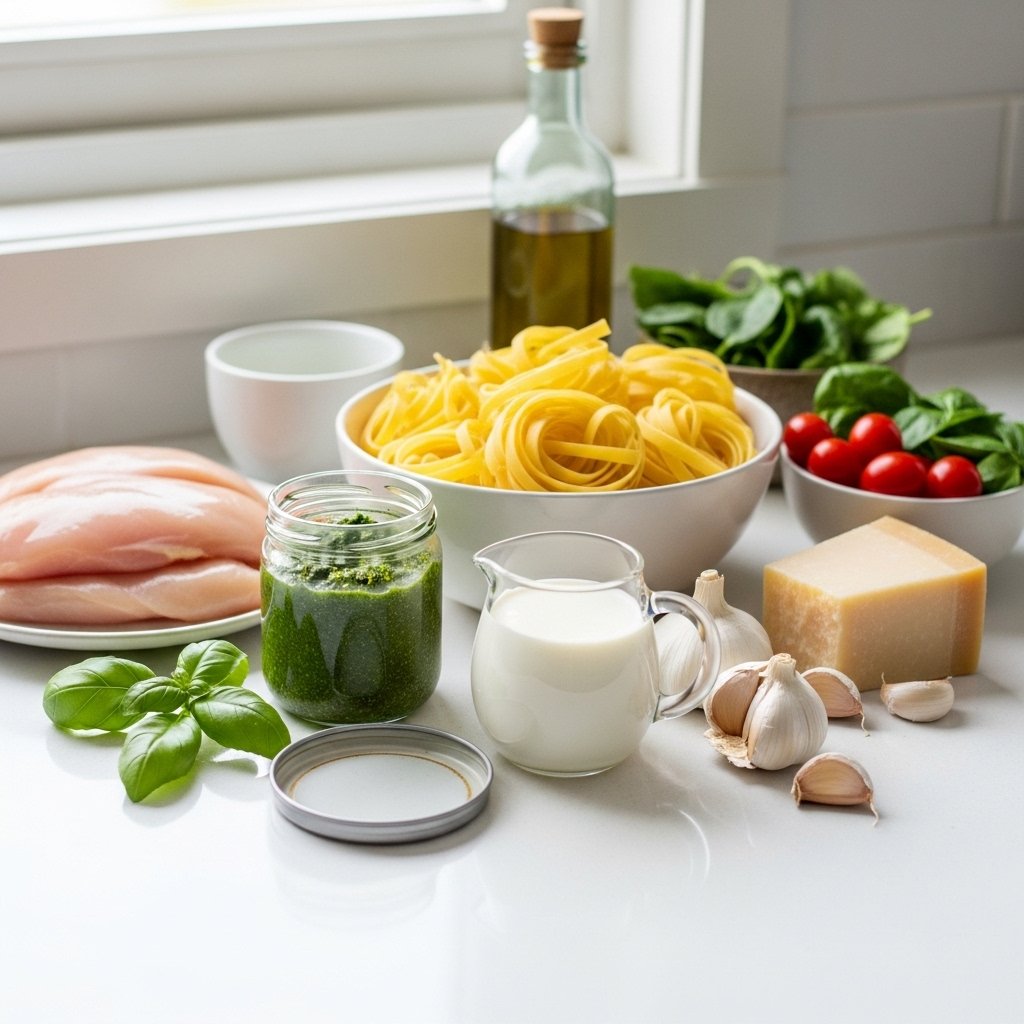
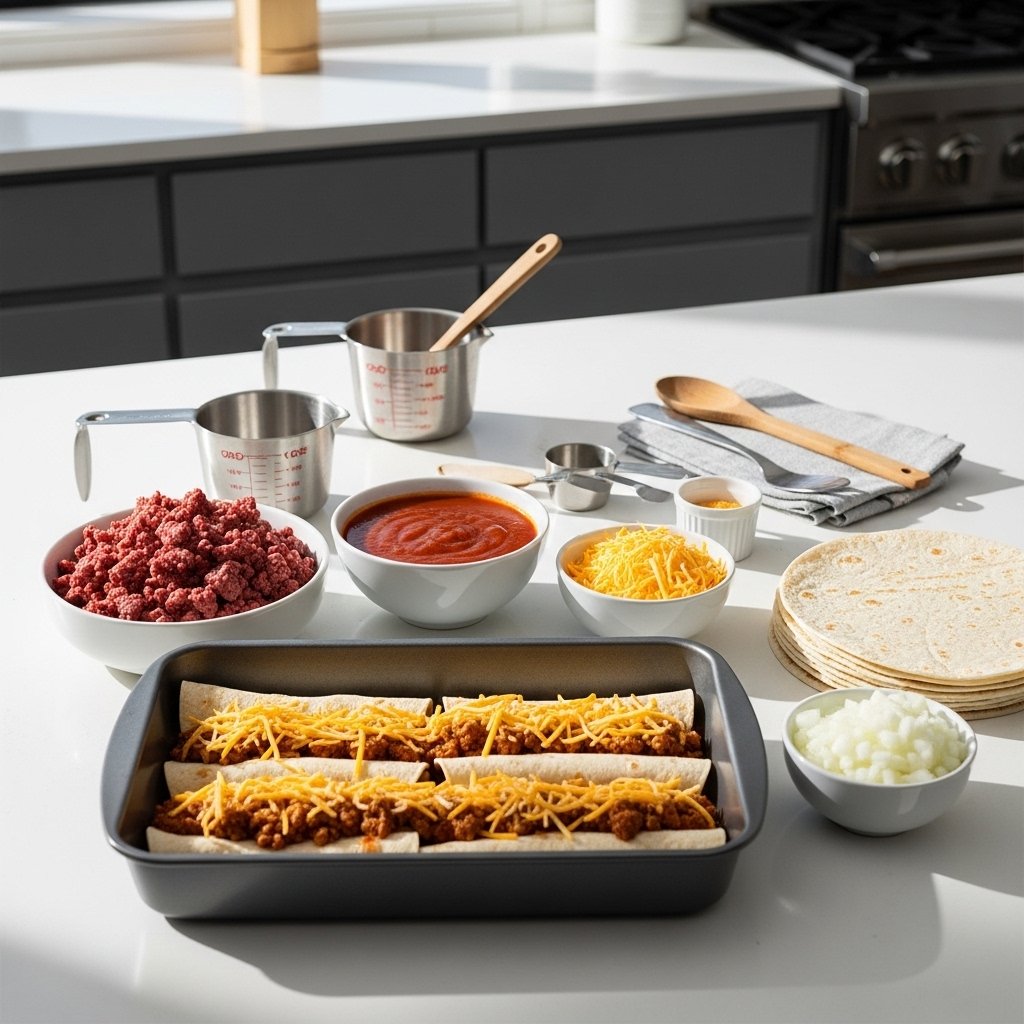
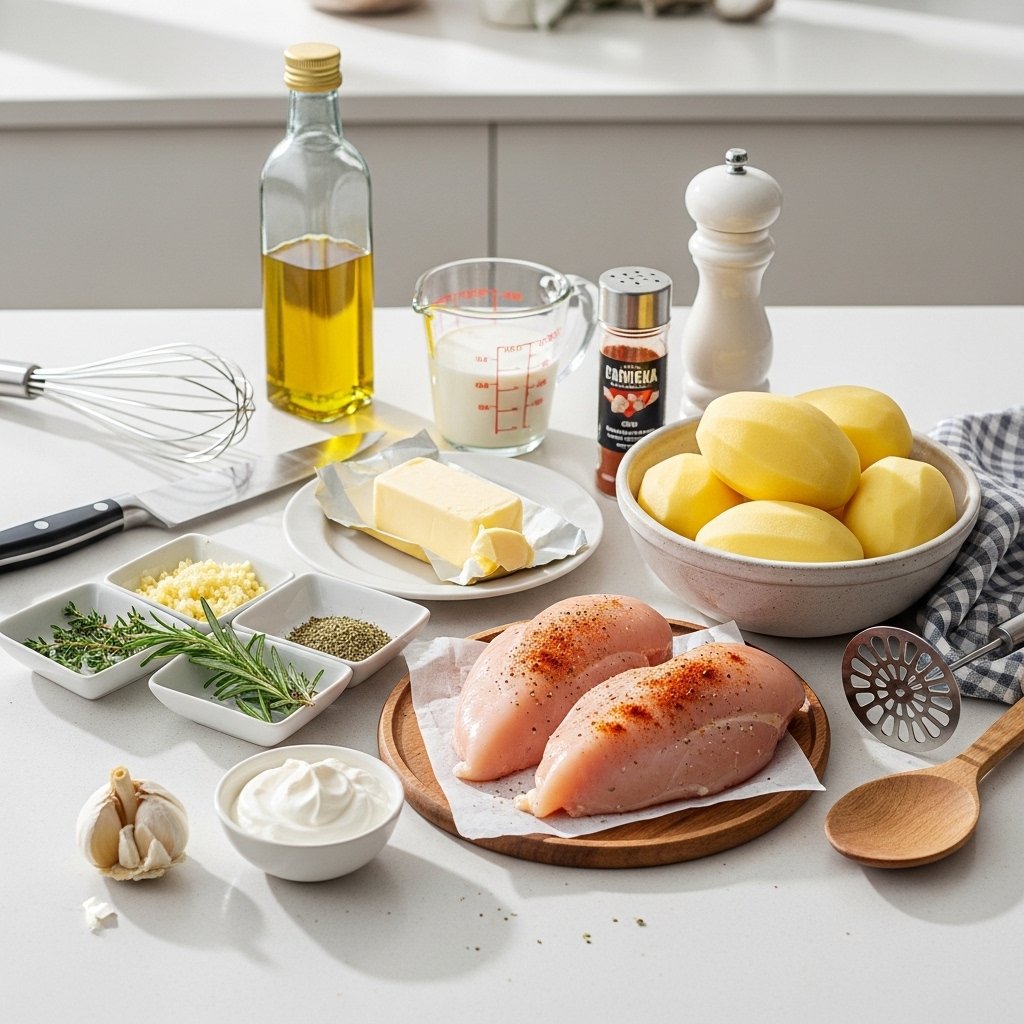
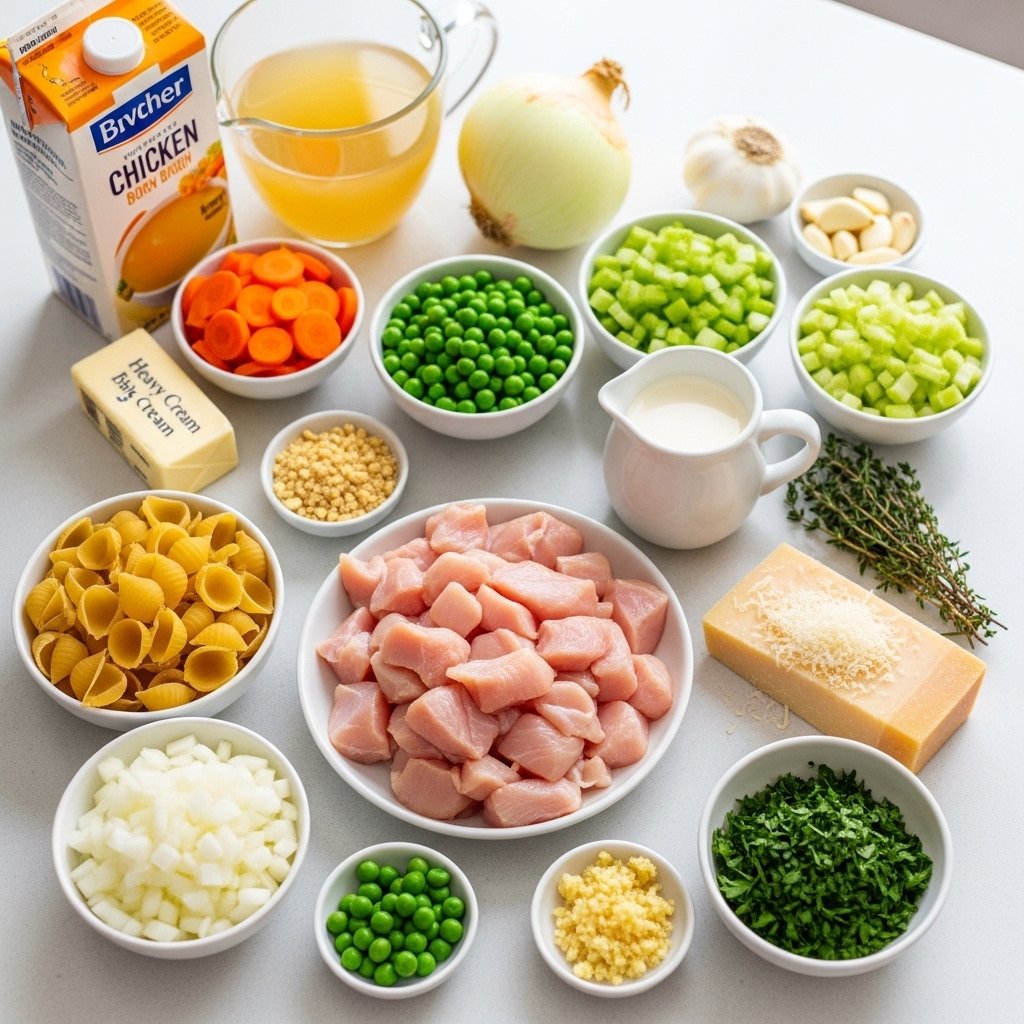
Ingredients for Creamy Chicken Pot Pie Pasta
To make this cozy pasta recipe, you’ll need:
Main Ingredients
- 12 ounces pasta shells, rotini, or penne
- 1 pound boneless skinless chicken breasts or thighs, diced
- 2 tablespoons butter
- 1 tablespoon olive oil
- 1 small onion, diced
- 3 cloves garlic, minced
Vegetables
- 1 cup diced carrots
- 1 cup frozen peas
- 1 cup diced celery
For the Sauce
- 3 tablespoons flour
- 2 cups chicken broth
- 1 cup heavy cream or half-and-half
- 3/4 cup grated parmesan cheese (optional for richness)
- 1 teaspoon dried thyme
- Salt and black pepper to taste
Garnish
- Fresh parsley
The combination of creamy sauce, vegetables, and pasta gives this dish its signature pot pie-inspired comfort.
Ingredient Notes and Smart Cooking Tips
Best Pasta Shapes
Use:
- Shells
- Rotini
- Penne
These shapes:
- Hold sauce well
- Mix nicely with vegetables
- Make every bite balanced
Chicken Tip
Use bite-sized pieces so they:
- Cook quickly
- Stay juicy
- Blend evenly throughout the pasta
Cream Sauce Tip
Don’t rush the sauce:
- Let flour cook briefly
- Add broth slowly
- Stir constantly
This creates a silky smooth sauce.
How to Make Creamy Chicken Pot Pie Pasta
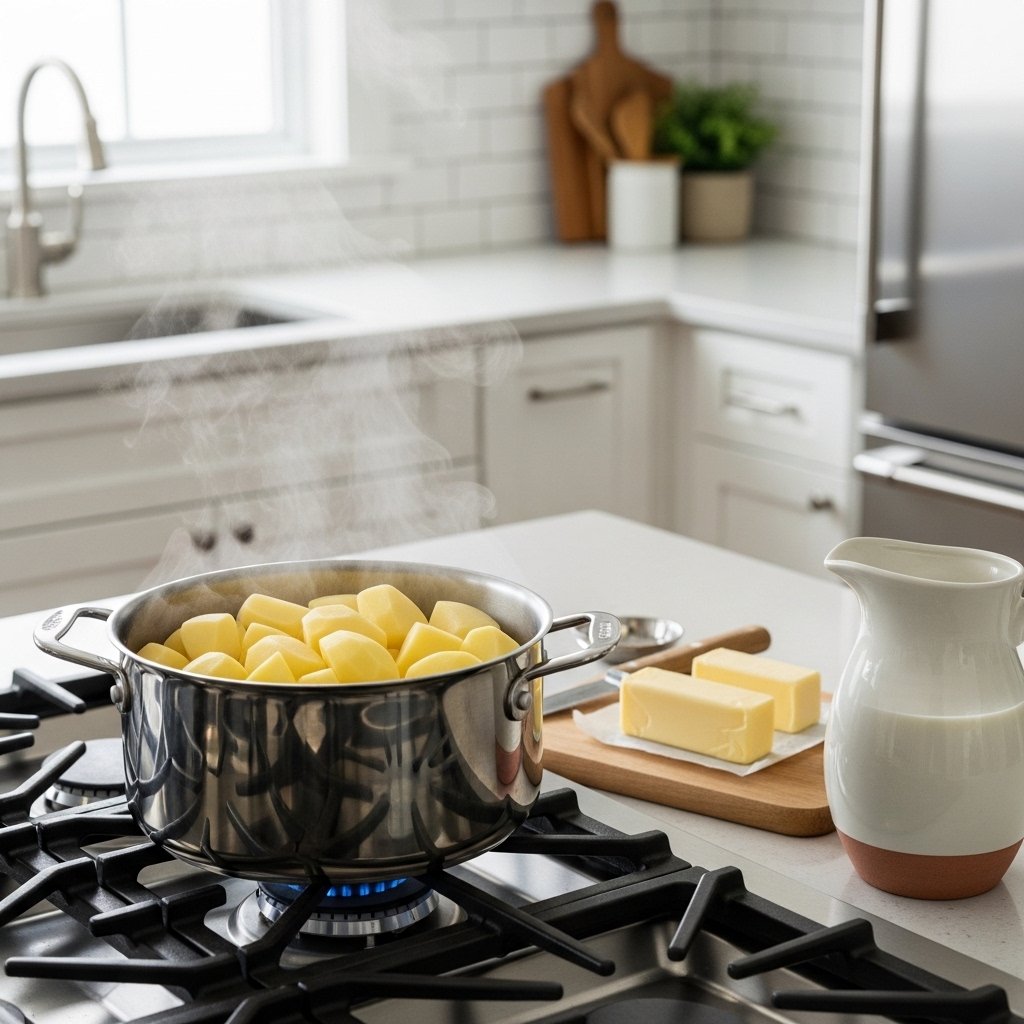
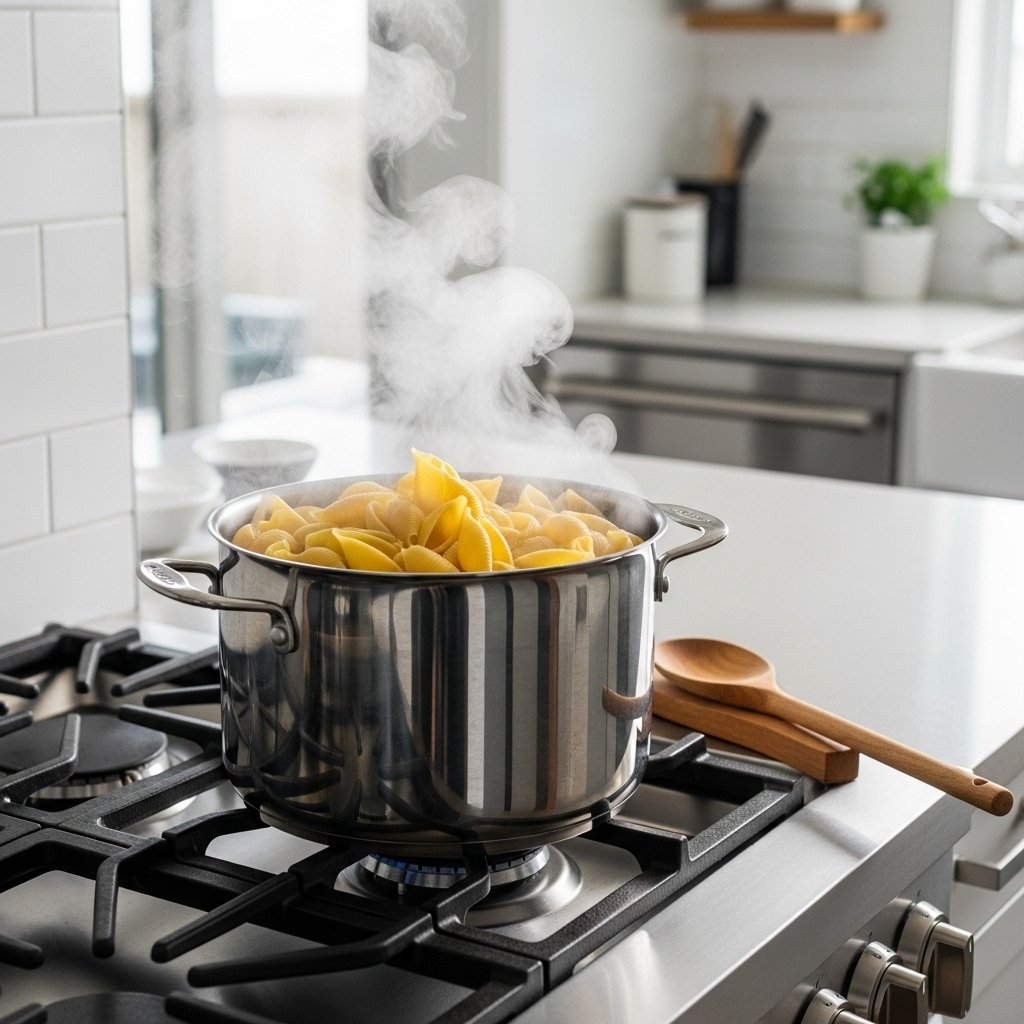
Step 1: Cook the Pasta
Boil pasta in salted water until al dente.
Before draining:
- Reserve a little pasta water
Drain and set aside.
This helps loosen the sauce later if needed.
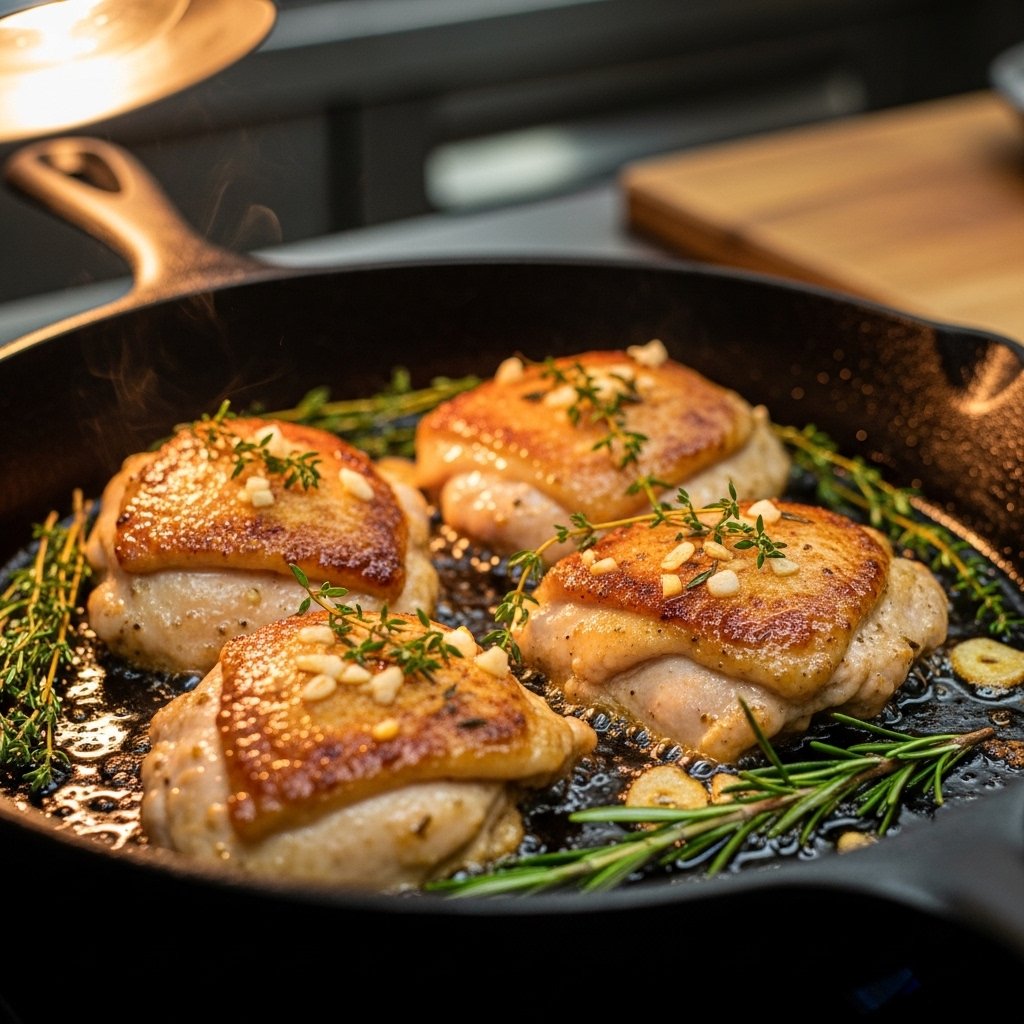
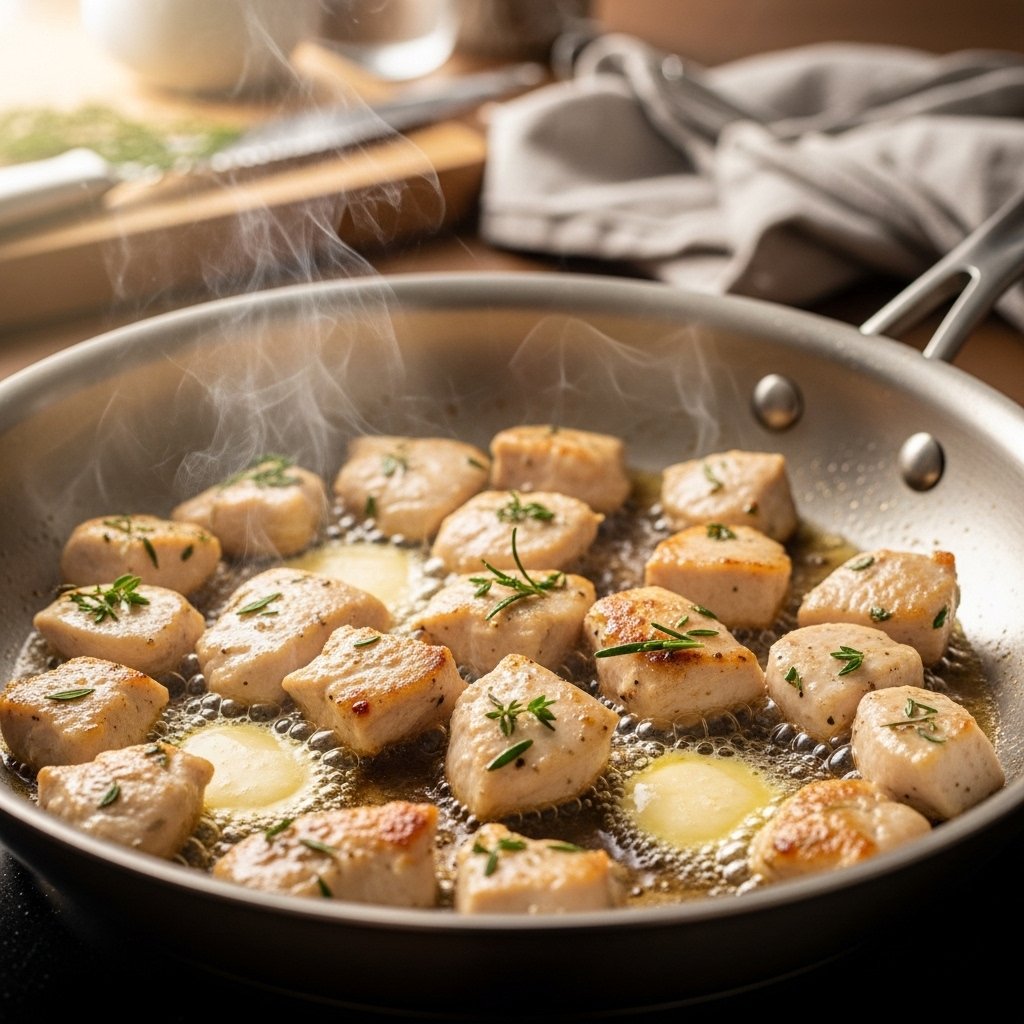
Step 2: Cook the Chicken
Season diced chicken with:
- Salt
- Pepper
- Thyme
Heat olive oil and butter in a large skillet.
Cook chicken until:
- Lightly golden
- Fully cooked
Transfer to a plate.
This builds savory flavor for the sauce.
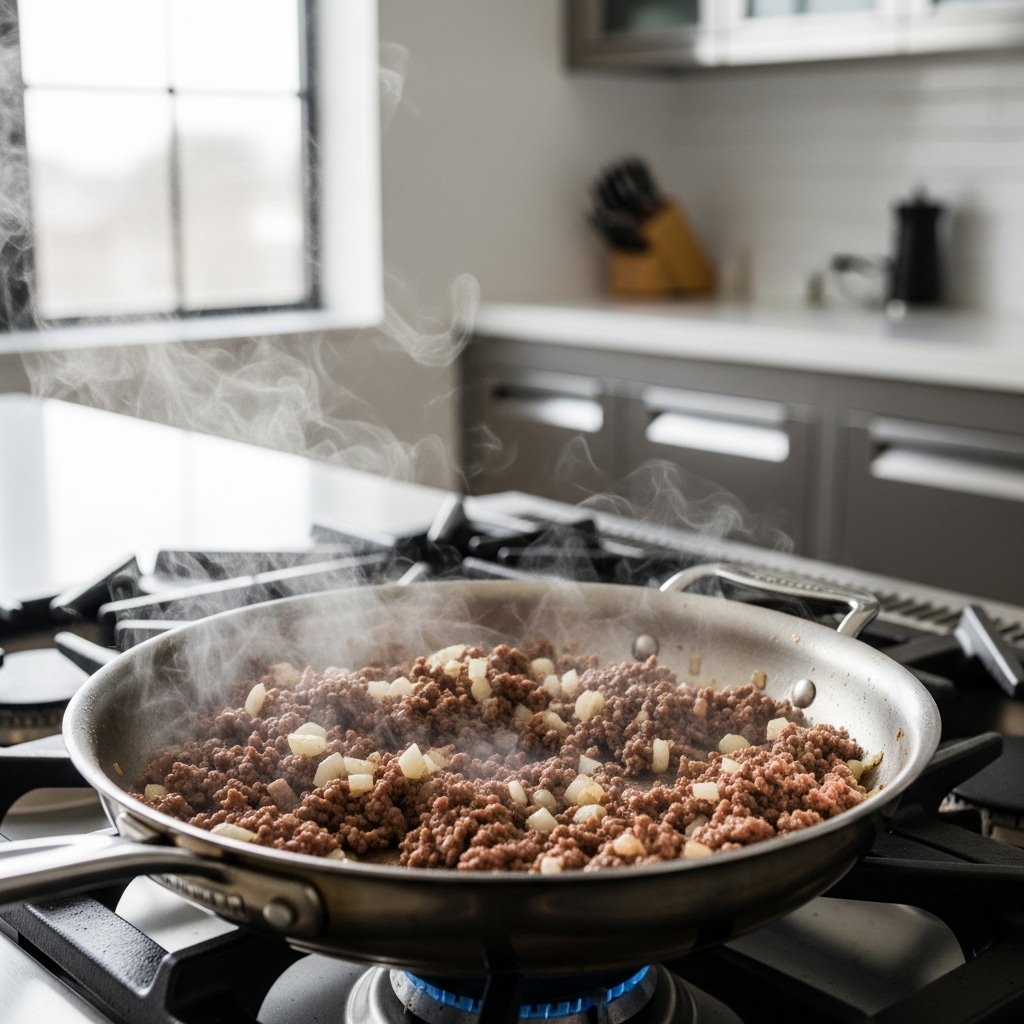
Step 3: Sauté the Vegetables
In the same skillet:
- Cook onion, carrots, and celery for 5–6 minutes
Add:
- Garlic
Cook briefly until fragrant.
This creates the classic pot pie flavor base.
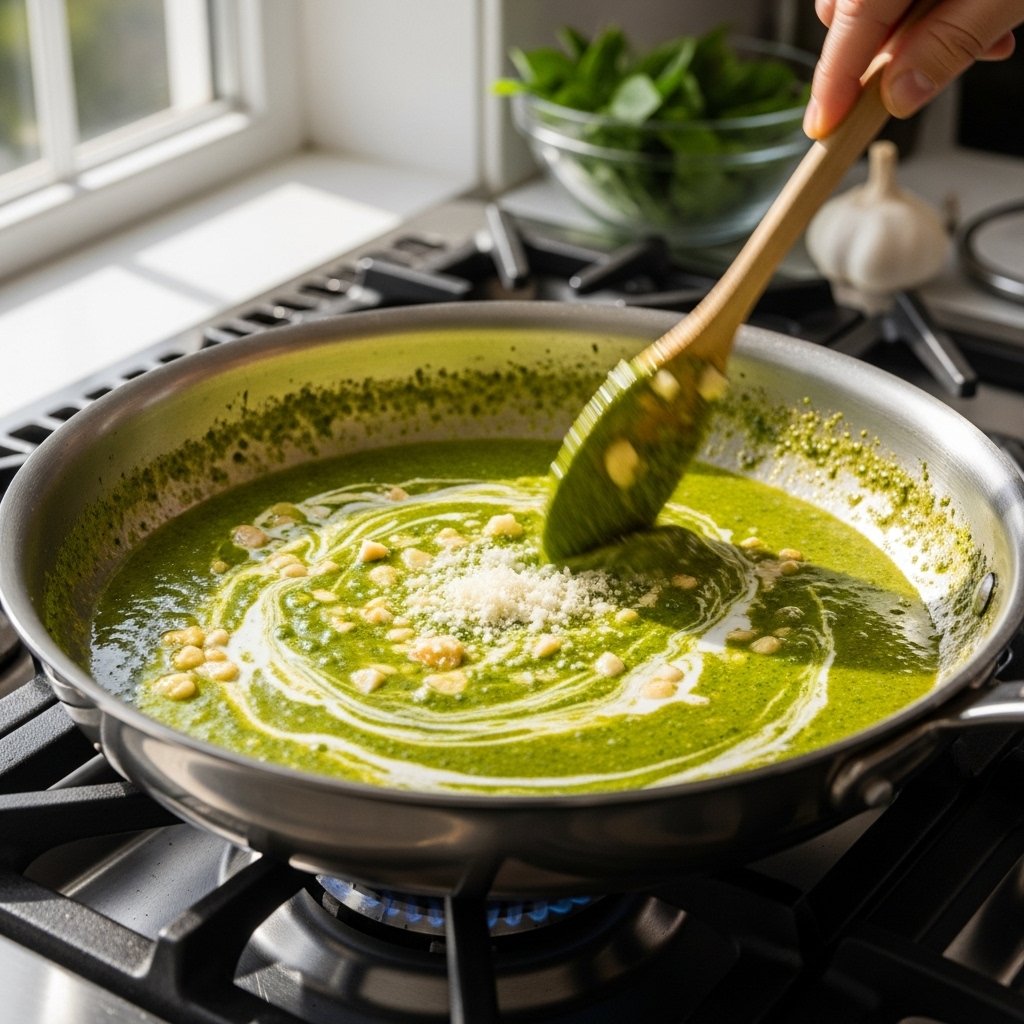
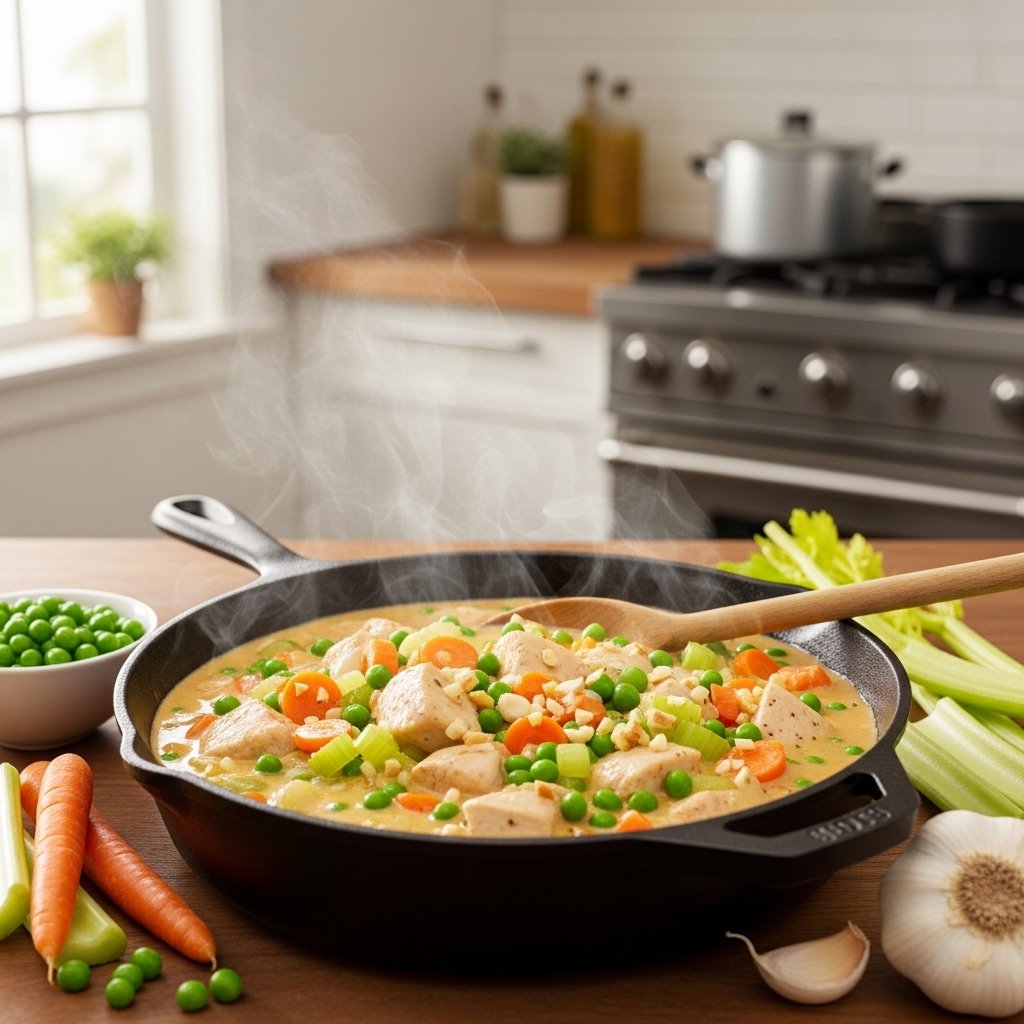
Step 4: Make the Creamy Sauce
Sprinkle flour over vegetables and stir for 1 minute.
Slowly whisk in:
- Chicken broth
- Cream
Stir until smooth.
Add:
- Parmesan (optional)
- Peas
Simmer until slightly thickened.
This is what gives the dish that luscious pot pie texture.
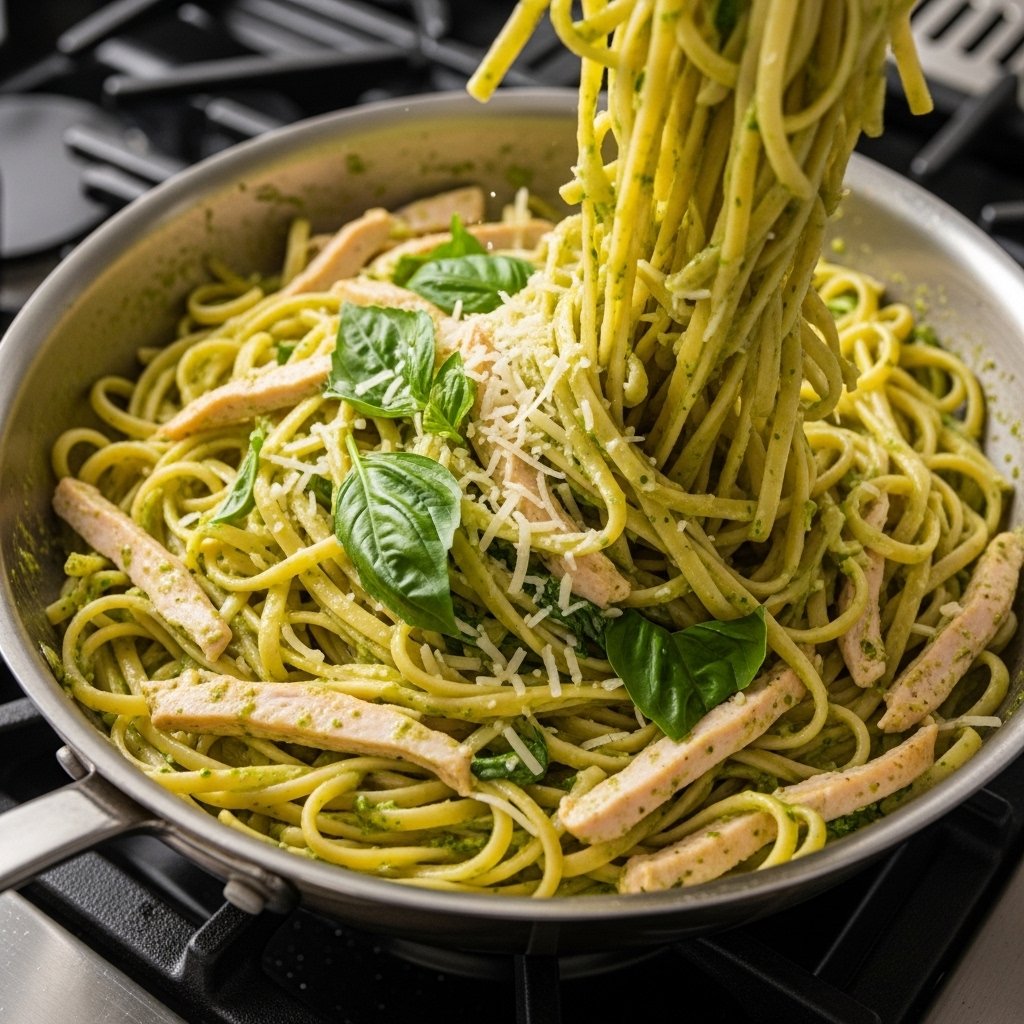
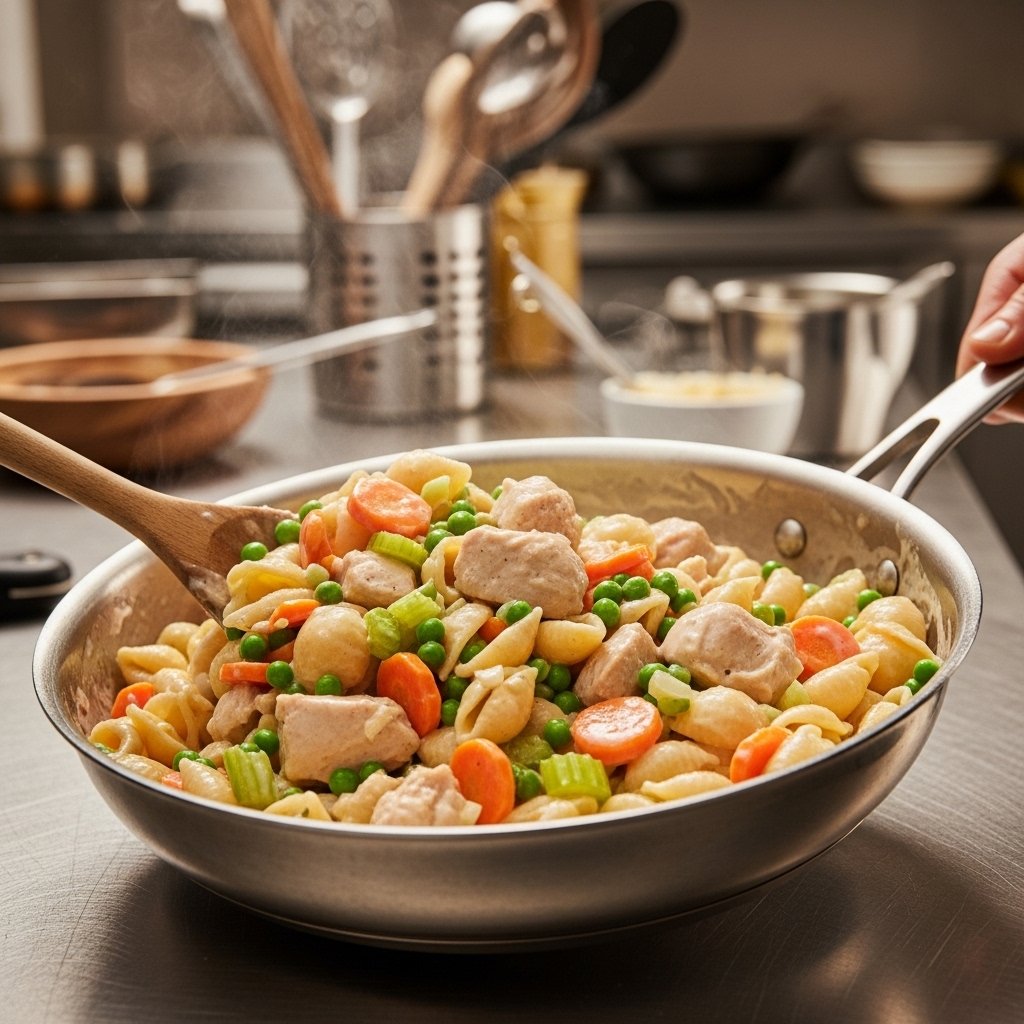
Step 5: Combine and Serve
Add:
- Cooked pasta
- Chicken
Toss gently until coated.
If needed:
- Add pasta water to loosen sauce
Top with:
- Fresh parsley
- Extra pepper
Serve warm for peak comfort.
Tips for Perfect Creamy Chicken Pot Pie Pasta
To make the best creamy chicken pot pie pasta:
- Don’t overcook pasta
- Cut vegetables evenly
- Cook flour before adding liquid
- Simmer gently
- Add peas at the end
These details make the dish extra smooth and balanced.
Variations and Customizations
This recipe is easy to make your own.
Delicious Add-Ins
- Mushrooms
- Corn
- Spinach
- Crispy bacon
Lighter Version
- Use milk instead of cream
- Add extra veggies
Shortcut Option
- Use rotisserie chicken
It’s flexible while still keeping that cozy flavor.
What to Serve With Chicken Pot Pie Pasta
This dish pairs well with:
- Garlic bread
- Side salad
- Roasted green beans
- Buttery biscuits
Perfect for:
- Family dinners
- Cozy weekends
- Cold evenings
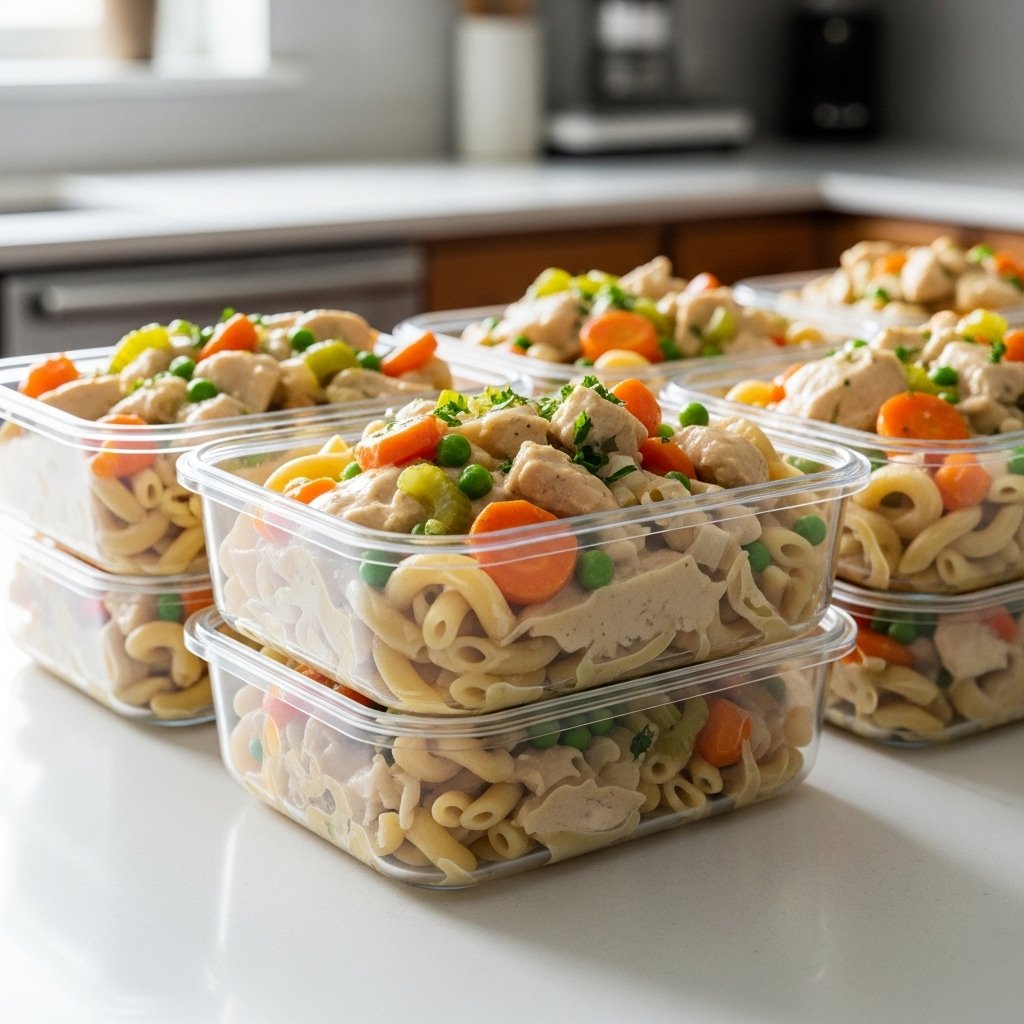
Storage and Reheating Tips
This pasta is excellent for leftovers.
Refrigerator
- Store in airtight container up to 4 days
Reheat
- Add splash of broth or cream
- Warm gently
This helps keep the sauce creamy.
Common Mistakes to Avoid
For the best creamy chicken pot pie pasta, avoid:
- Overcooking pasta
- Rushing sauce thickening
- Undercooking carrots
- Adding peas too early
- Overseasoning broth
Small adjustments create a much better final dish.
Frequently Asked Questions
Can I use rotisserie chicken?
Yes, it’s a great shortcut.
What pasta shape works best?
Shells and rotini are ideal.
Can I freeze this?
Cream sauces can separate, so fresh is best.
Can I make it lighter?
Yes, use half-and-half or milk.
Is this kid-friendly?
Absolutely. It’s creamy and mild.
Final Thoughts
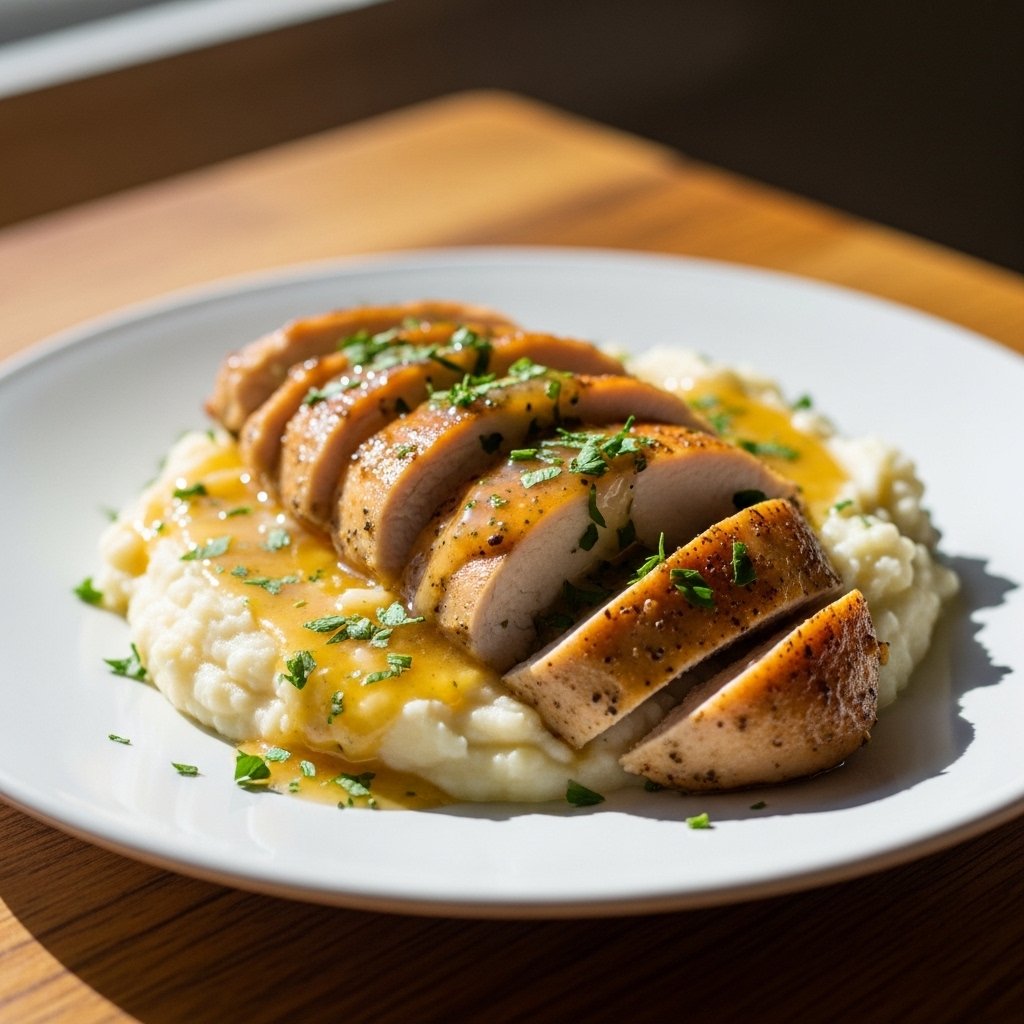
This creamy chicken pot pie pasta is everything comfort food should be: warm, rich, satisfying, and deeply cozy. It brings all the nostalgic flavor of chicken pot pie into an easier, pasta-based dinner that’s perfect for real life.
Whether you’re cooking for your family, meal prepping for the week, or simply craving something hearty and homemade, this recipe is sure to become a favorite. One creamy, flavorful bite, and you’ll understand why this dish feels like comfort in a bowl.