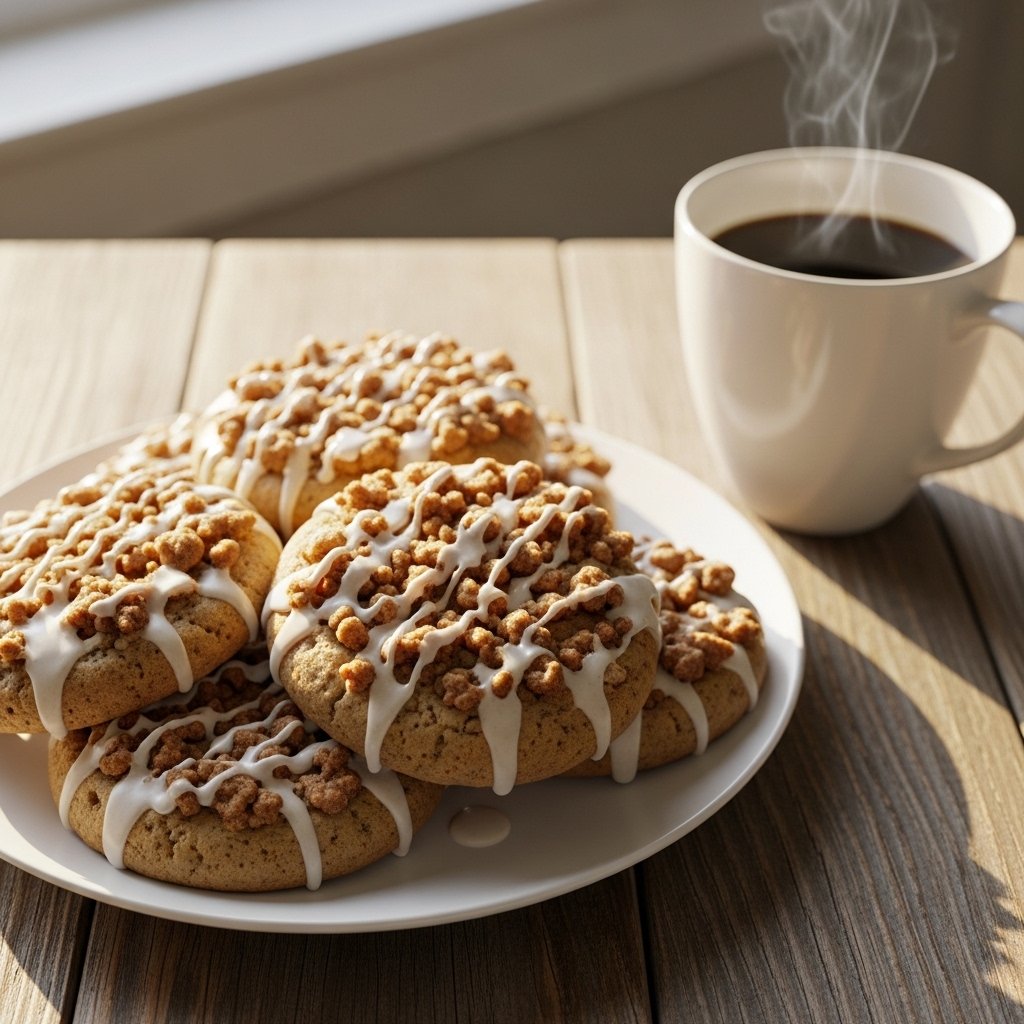
If you love classic coffee cake but want something a little more playful and portable, these easy coffee cake cookies with streusel are going to become an instant favorite. They have everything people crave in a traditional coffee cake—soft buttery crumb, warm cinnamon flavor, crumbly streusel topping, and sweet vanilla glaze—but in the form of thick, bakery-style cookies.
These cookies are the perfect cross between a dessert cookie and a cozy breakfast treat. They’re wonderful for brunch spreads, holiday baking, afternoon coffee breaks, or simply whenever you want something comforting and homemade. Best of all, they’re much easier to make than a layered coffee cake and still deliver that same nostalgic flavor.
Why You’ll Love These Coffee Cake Cookies With Streusel
These cookies are a dream for anyone who loves soft, buttery baked goods.
What Makes This Recipe Special
- Soft and tender cookie base
- Crispy cinnamon streusel topping
- Sweet vanilla glaze
- Easy to make with simple ingredients
- Perfect for breakfast or dessert
- Great for sharing and gifting
The texture is what really makes these stand out. You get a chewy cookie center, slightly crisp edges, and that irresistible crumb topping in every bite.
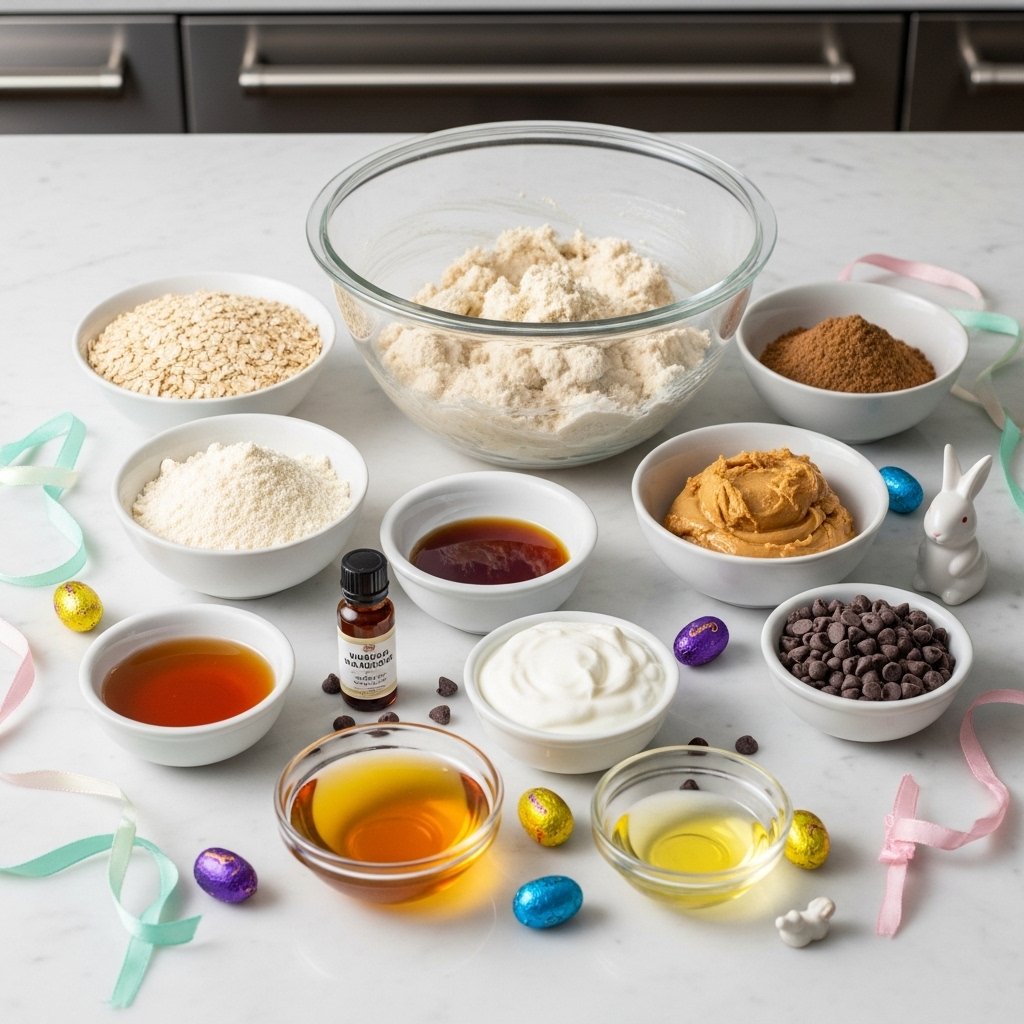
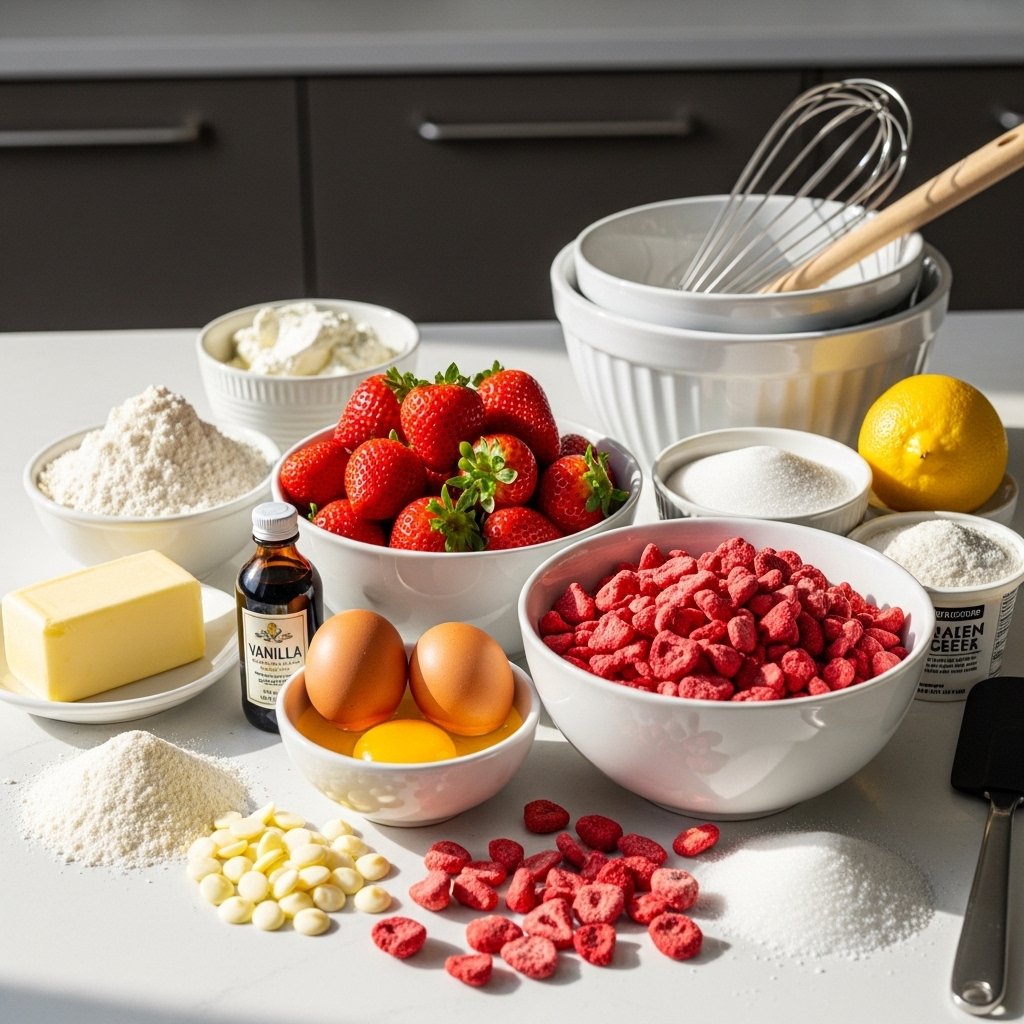
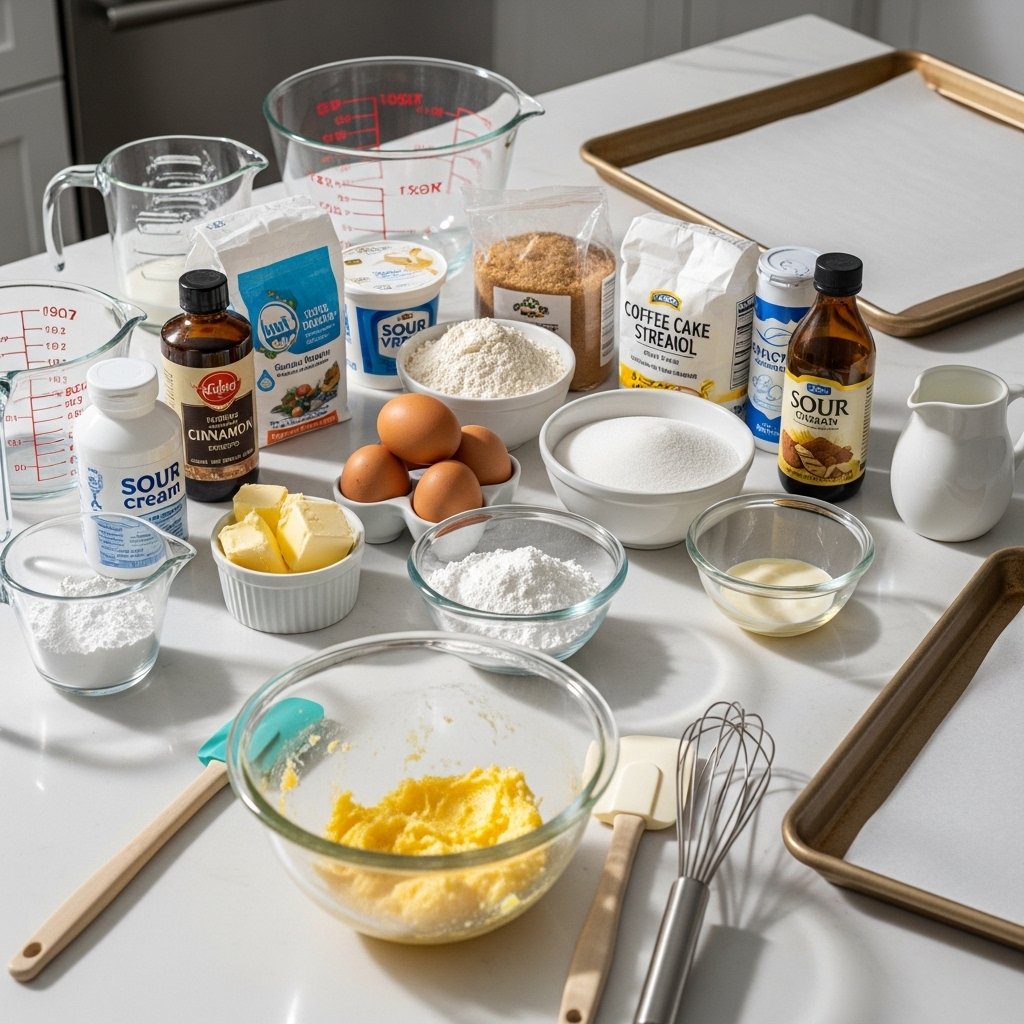
Ingredients for Easy Coffee Cake Cookies With Streusel
Here’s everything you need for these coffee cake cookies:
For the Cookie Dough
- 1 cup unsalted butter, softened
- 1 cup granulated sugar
- 1/2 cup brown sugar
- 2 large eggs
- 2 teaspoons vanilla extract
- 3 cups all-purpose flour
- 1 teaspoon baking soda
- 1/2 teaspoon baking powder
- 1/2 teaspoon salt
- 1 teaspoon cinnamon
- 1/2 cup sour cream
For the Streusel Topping
- 3/4 cup all-purpose flour
- 1/2 cup brown sugar
- 1 teaspoon cinnamon
- 5 tablespoons cold butter, cubed
For the Glaze
- 1 cup powdered sugar
- 2 to 3 tablespoons milk
- 1/2 teaspoon vanilla extract
Sour cream in the cookie dough is one of the secret ingredients here. It keeps the cookies extra soft and gives them that coffee cake-like tenderness.
Ingredient Notes and Baking Tips
Why Sour Cream Matters
Sour cream adds:
- Moisture
- Tender crumb
- Slight tang for balance
If needed, you can substitute:
- Greek yogurt
- Full-fat plain yogurt
Streusel Tips
The streusel should be crumbly, not wet. Use cold butter and work it in gently with a fork or pastry cutter.
This creates the signature crumb topping that makes coffee cake cookies so special.
How to Make Easy Coffee Cake Cookies With Streusel
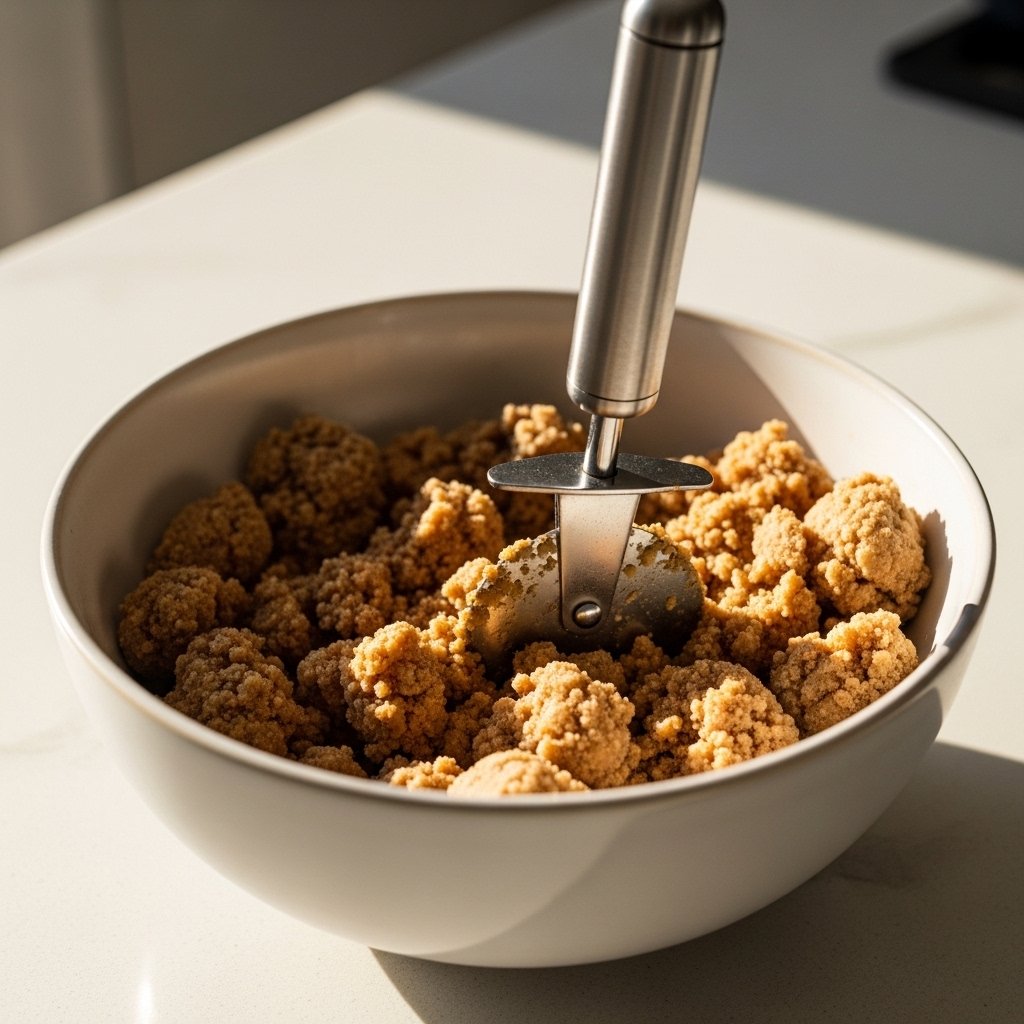
Step 1: Make the Streusel First
In a medium bowl, combine flour, brown sugar, and cinnamon. Cut in the cold butter until the mixture forms coarse crumbs.
Place the streusel in the fridge while you make the cookie dough. Keeping it cold helps it stay crumbly during baking.
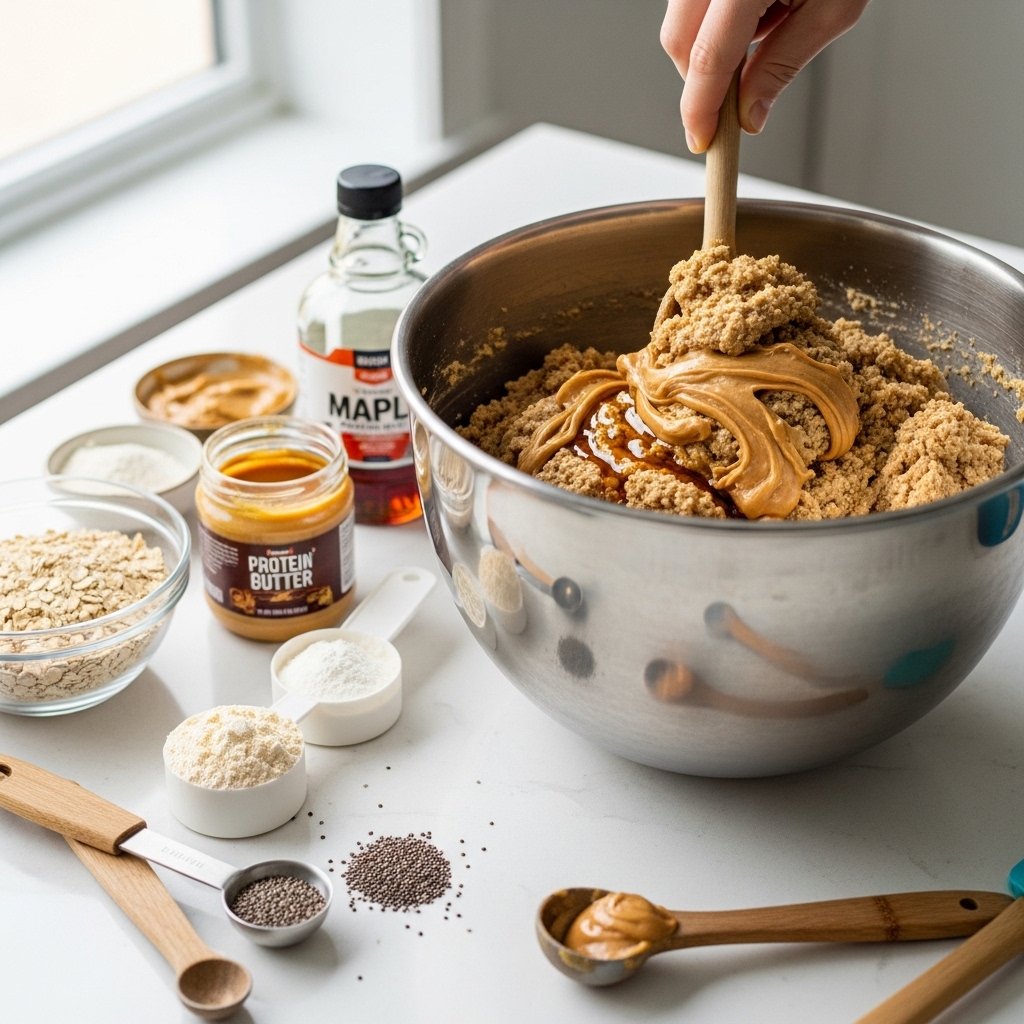
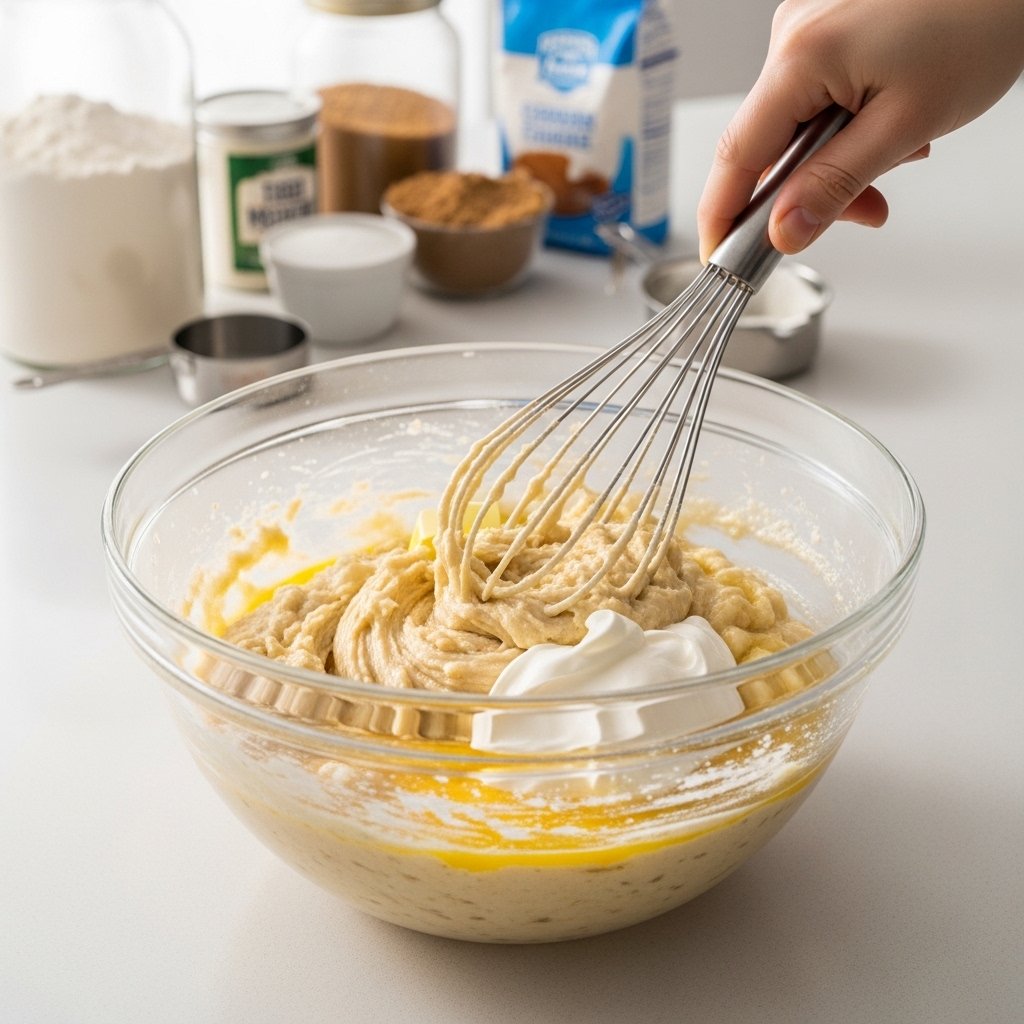
Step 2: Prepare the Cookie Dough
In a large mixing bowl, cream the softened butter, granulated sugar, and brown sugar until light and fluffy.
Add eggs, vanilla, and sour cream. Mix until smooth.
In a separate bowl, whisk together flour, baking soda, baking powder, salt, and cinnamon.
Gradually add the dry ingredients to the wet ingredients and mix just until combined.
The dough will be soft and thick.
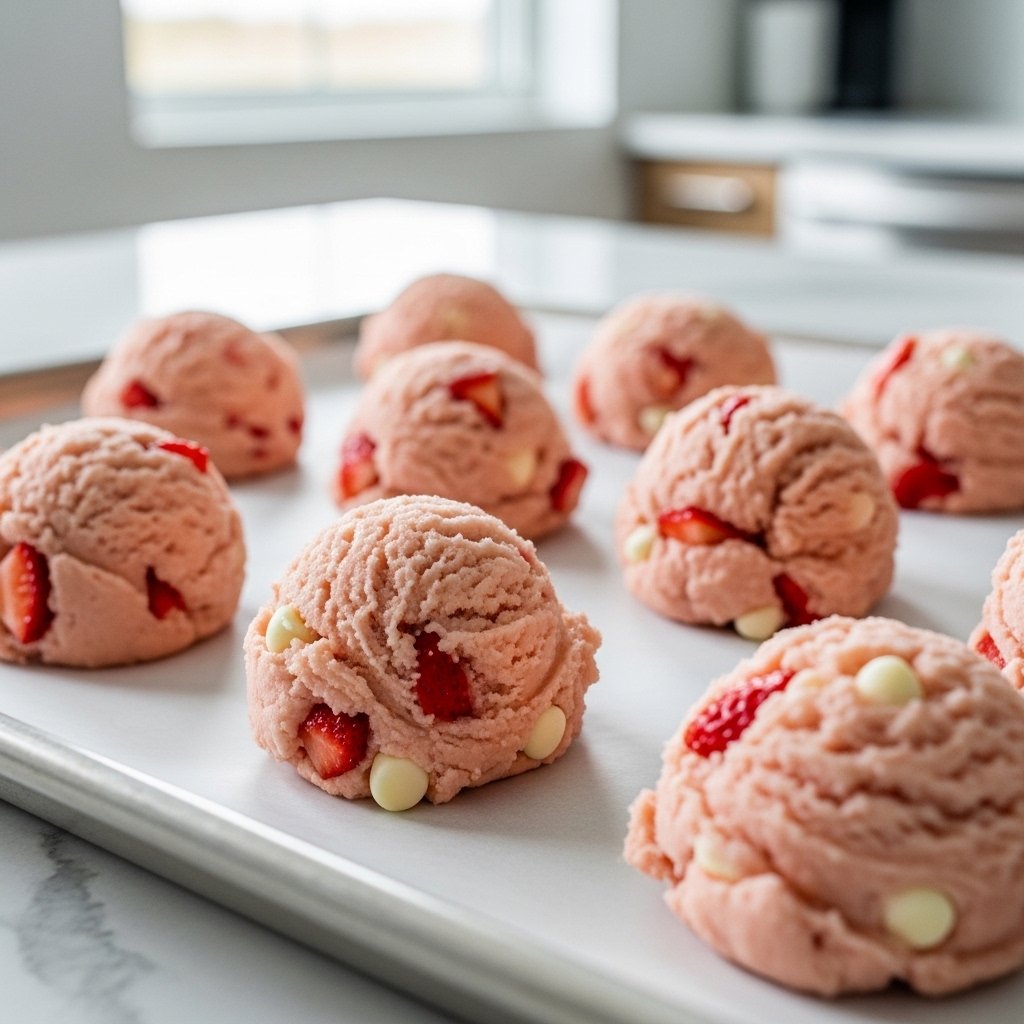
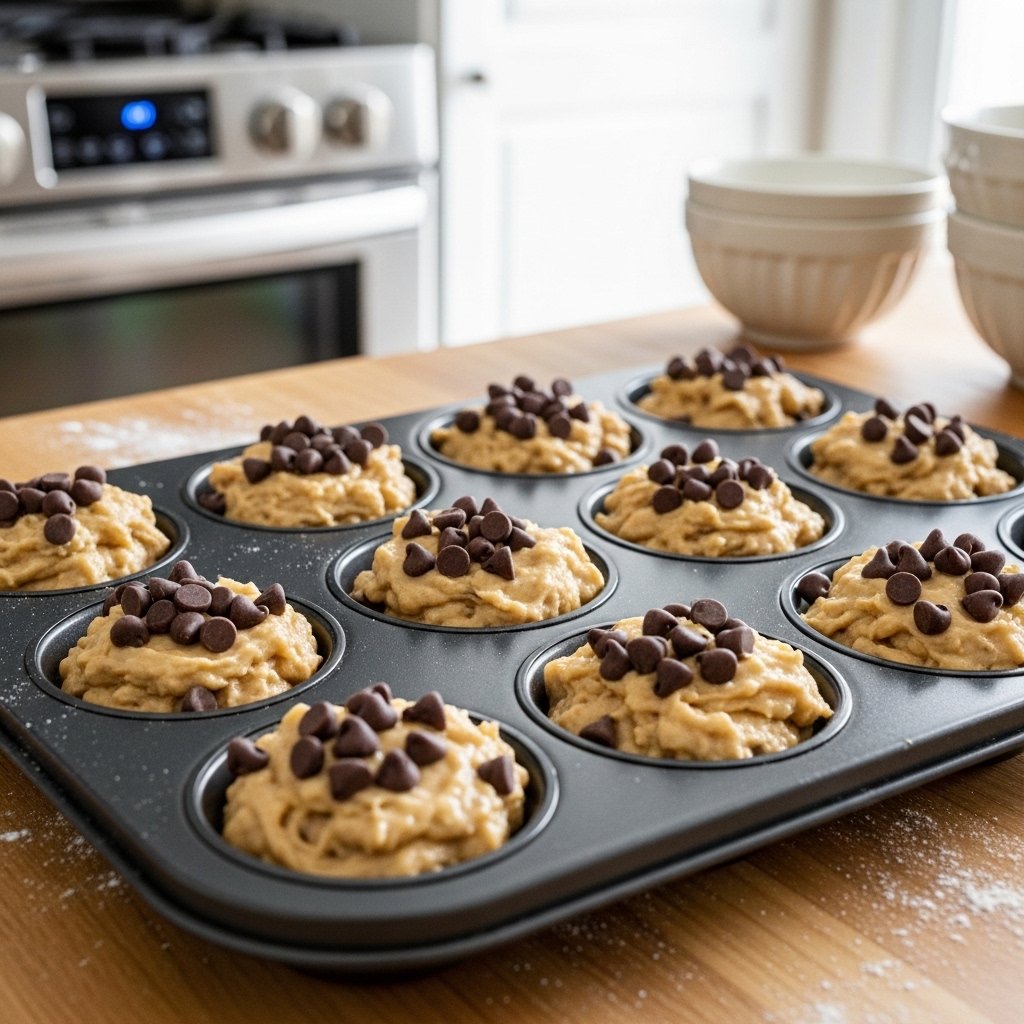
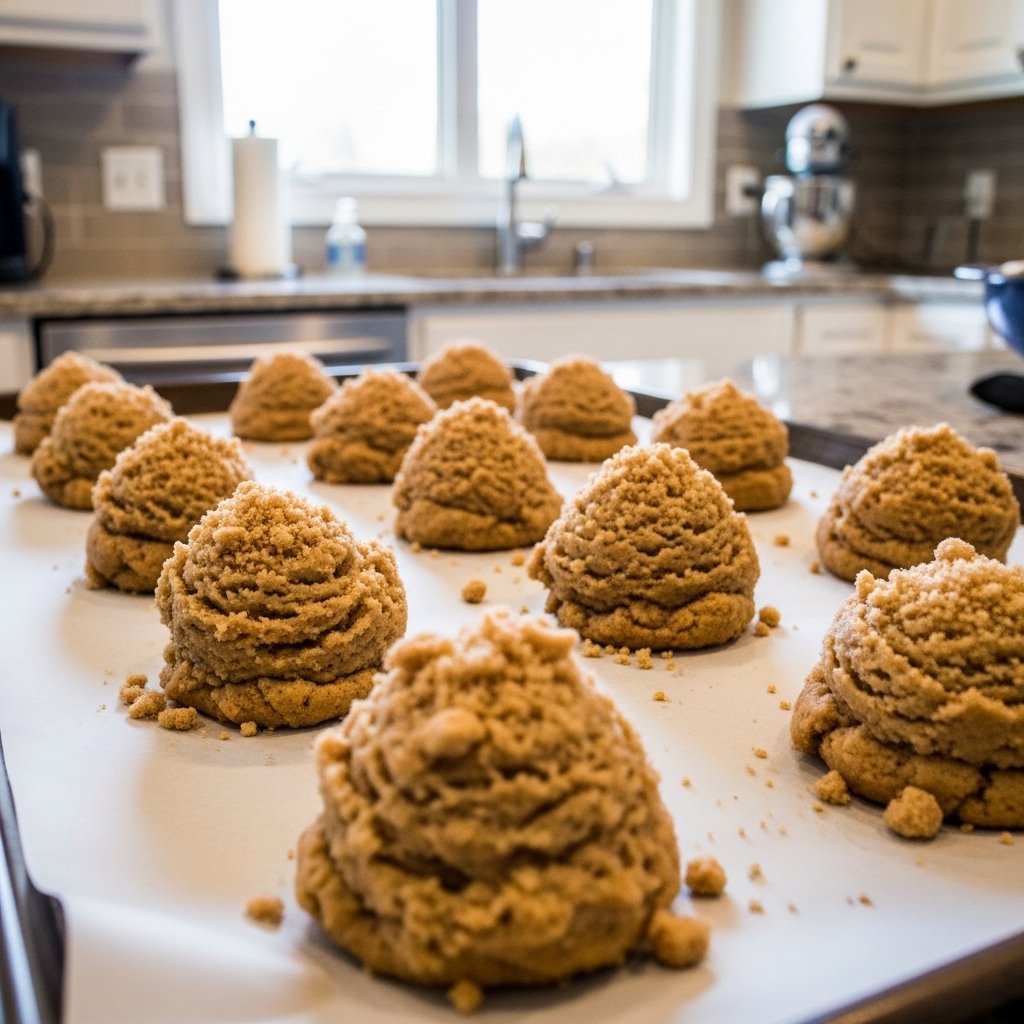
Step 3: Scoop and Top the Cookies
Preheat your oven to 350°F and line baking sheets with parchment paper.
Scoop large portions of dough onto the baking sheet, spacing them well apart.
Gently flatten each cookie slightly, then generously top with chilled streusel.
Don’t press too hard—you want the streusel to stay textured.
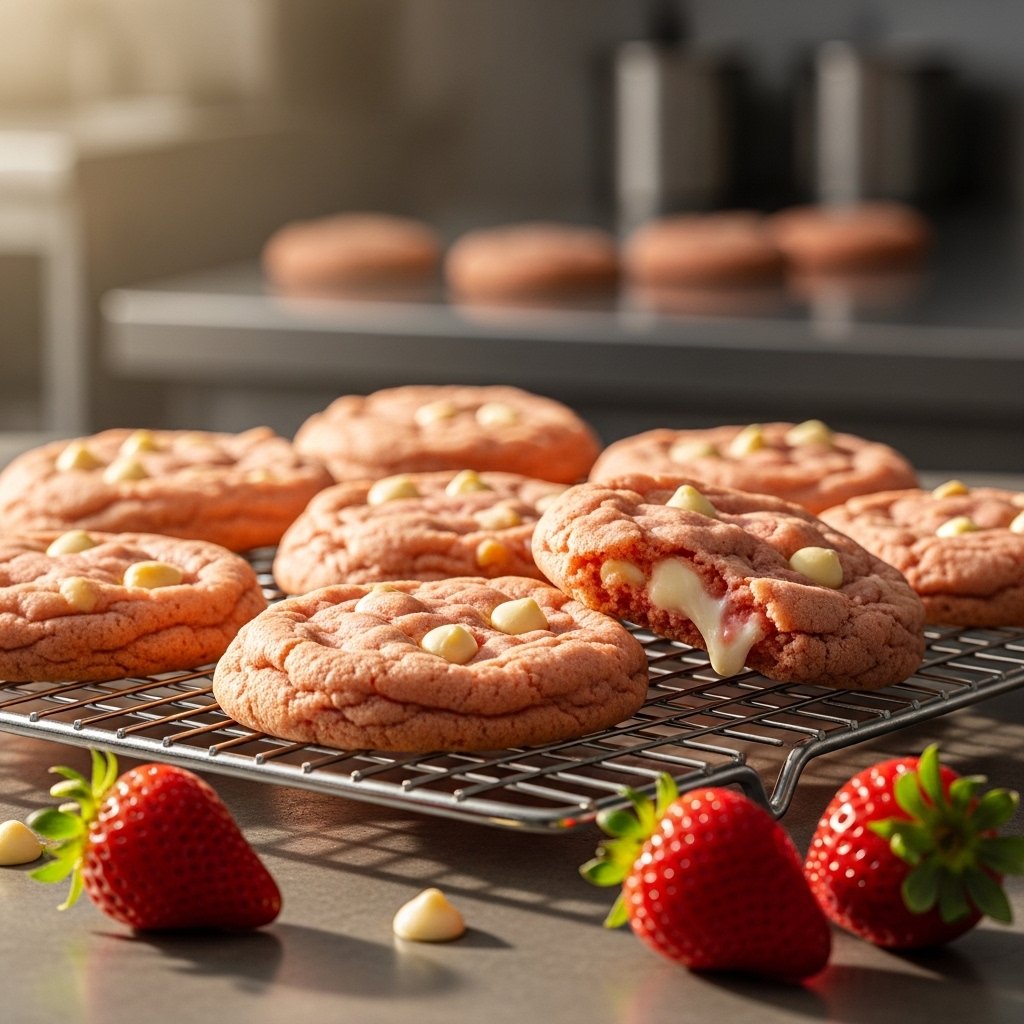
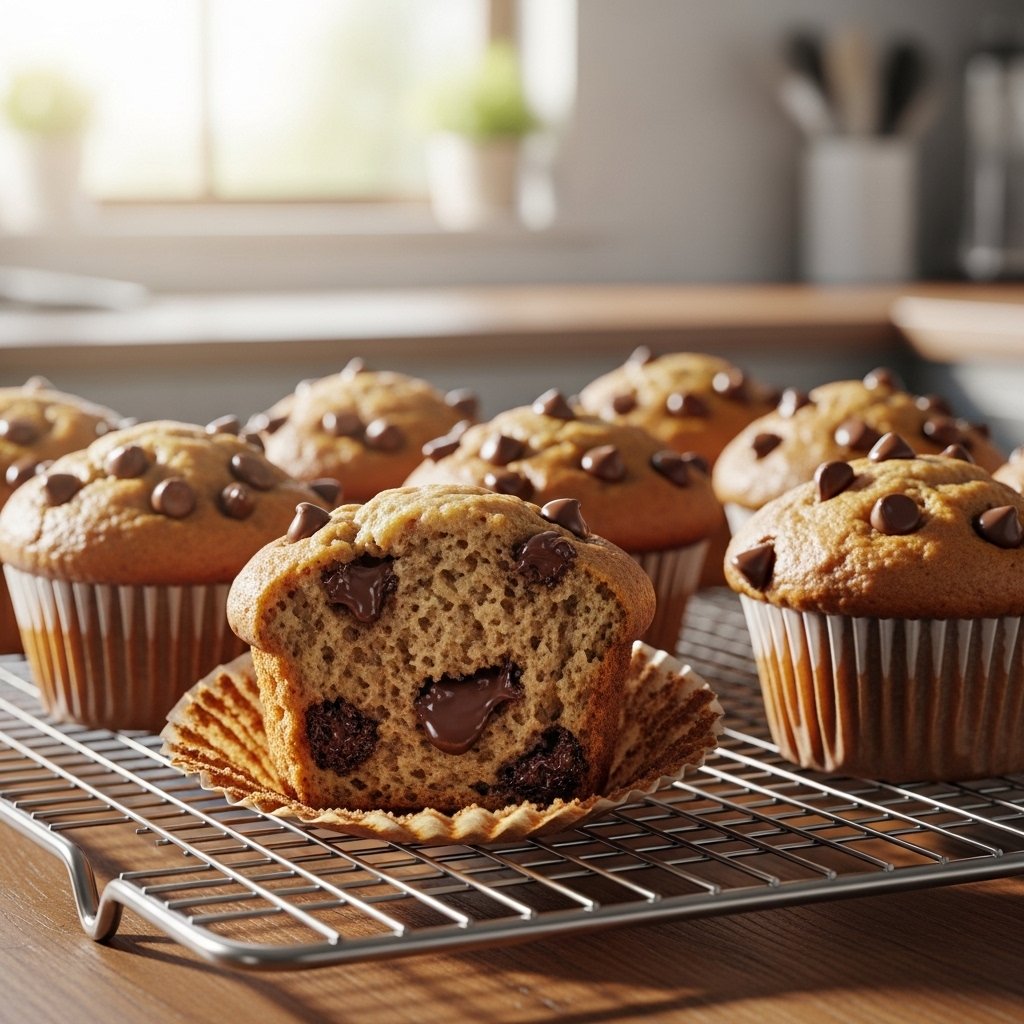
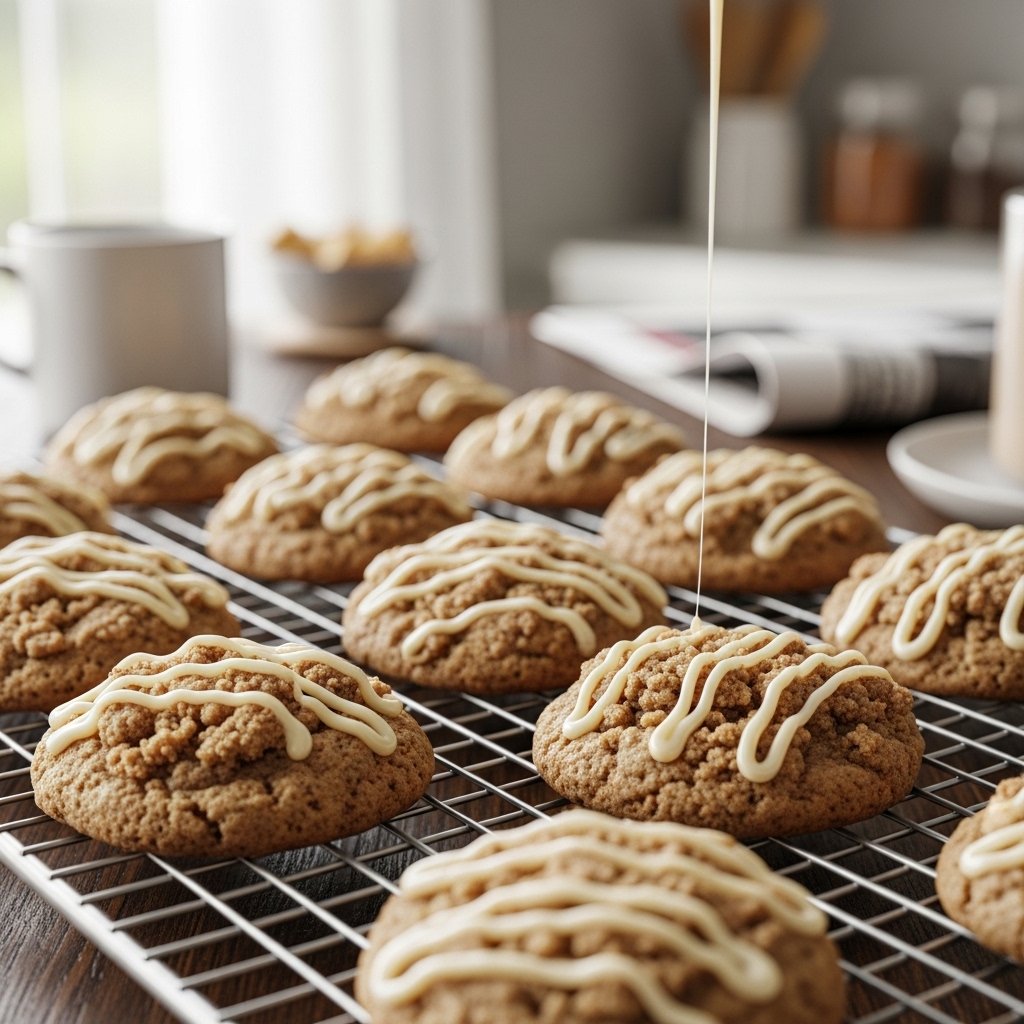
Step 4: Bake and Glaze
Bake for 11 to 14 minutes, or until the edges are lightly golden and the centers look just set.
Let the cookies cool on the baking sheet for 5 minutes before transferring to a wire rack.
Whisk together powdered sugar, milk, and vanilla to make a smooth glaze. Once cookies are cooled slightly, drizzle over the tops.
This final touch gives them that true coffee cake bakery finish.
Tips for Perfect Coffee Cake Cookies Every Time
To get the best easy coffee cake cookies with streusel, keep these expert tips in mind:
- Chill the streusel before using
- Don’t overmix the dough
- Use room temperature butter and eggs
- Slightly underbake for soft centers
- Let cookies cool before glazing
These simple steps help you get bakery-style texture every time.
Variations and Flavor Ideas
These coffee cake cookies are easy to customize.
Delicious Variations
- Add chopped pecans or walnuts to streusel
- Mix mini chocolate chips into dough
- Add maple extract to glaze
- Swirl in cinnamon sugar filling
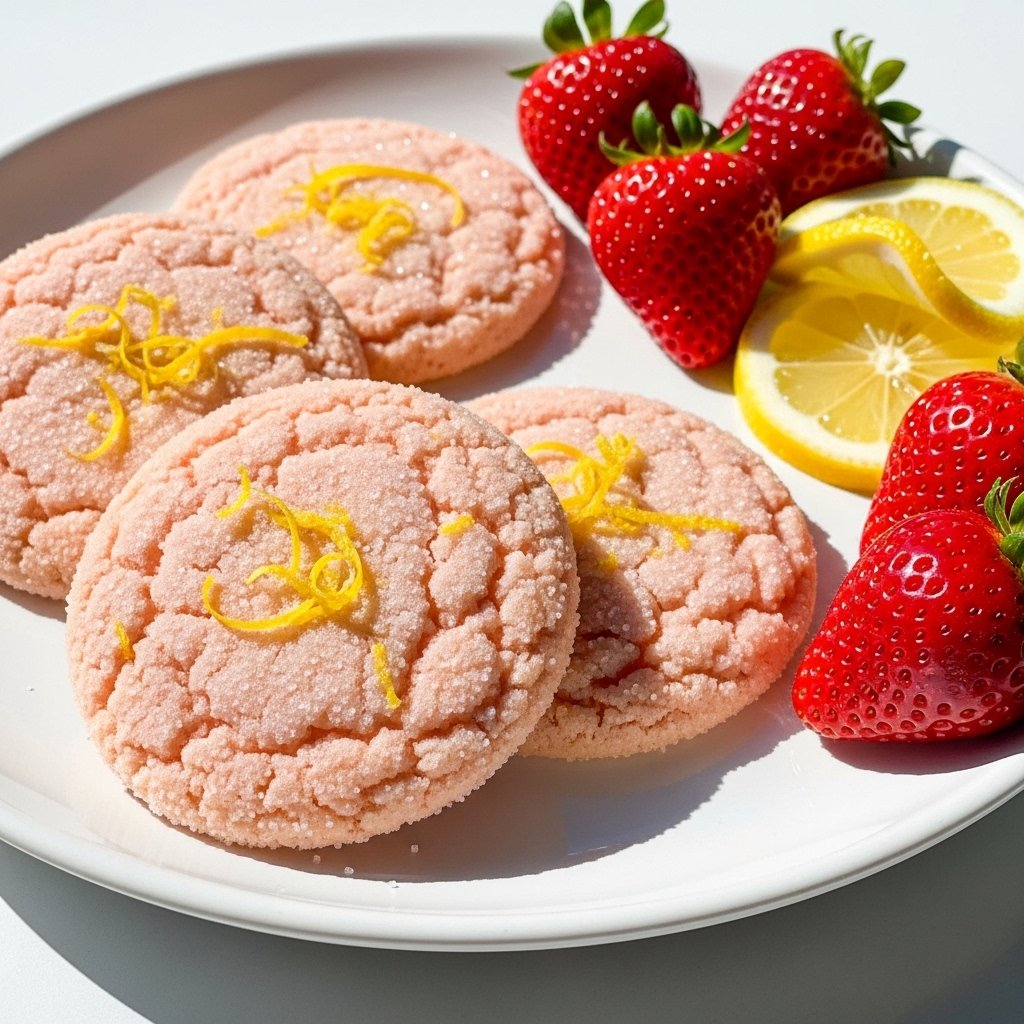
Seasonal Twists
- Add pumpkin spice in fall
- Top with apple bits for autumn flavor
- Add lemon zest for spring brightness
This recipe is flexible enough for every season.
What to Serve With Coffee Cake Cookies
These cookies pair beautifully with:
- Hot coffee
- Chai tea
- Latte or cappuccino
- Fresh fruit
- Yogurt parfaits
They’re especially perfect for:
- Brunch tables
- Bake sales
- Holiday cookie boxes
- Weekend breakfast treats
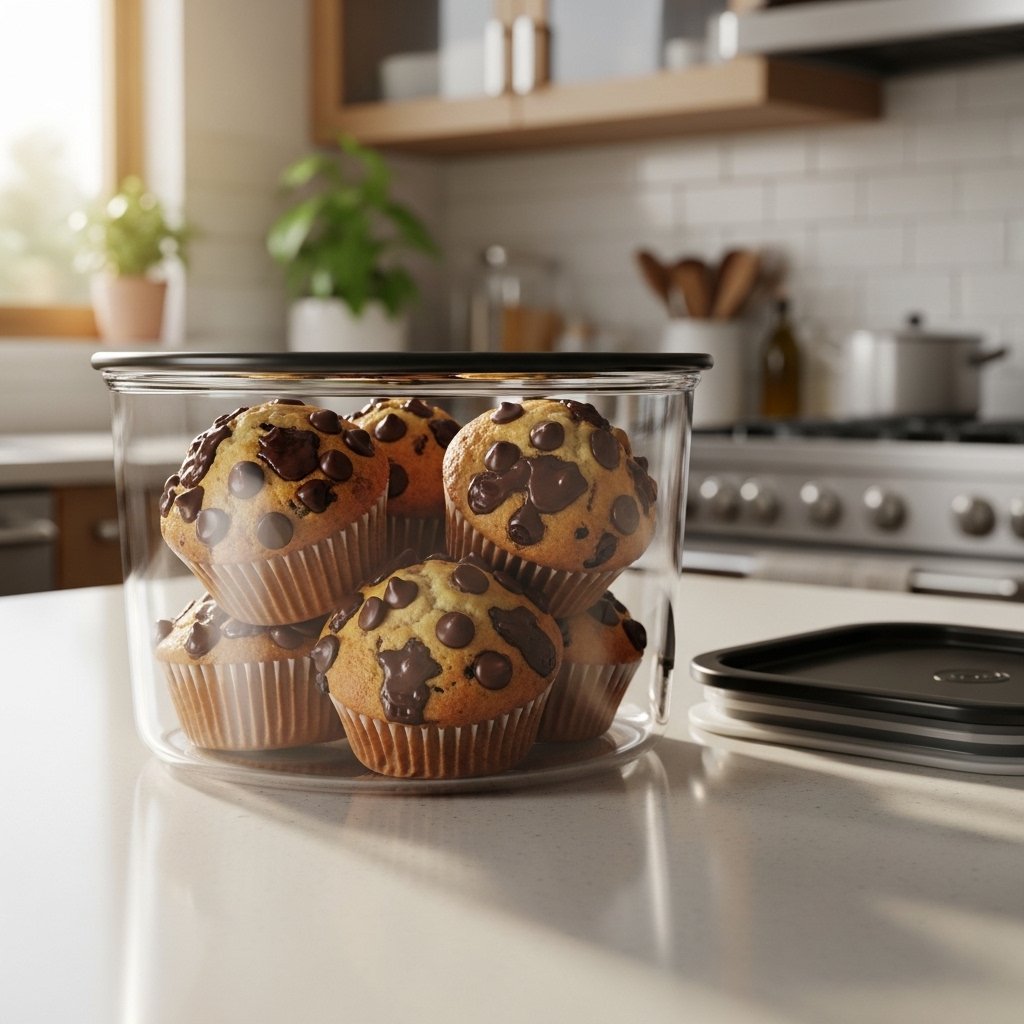
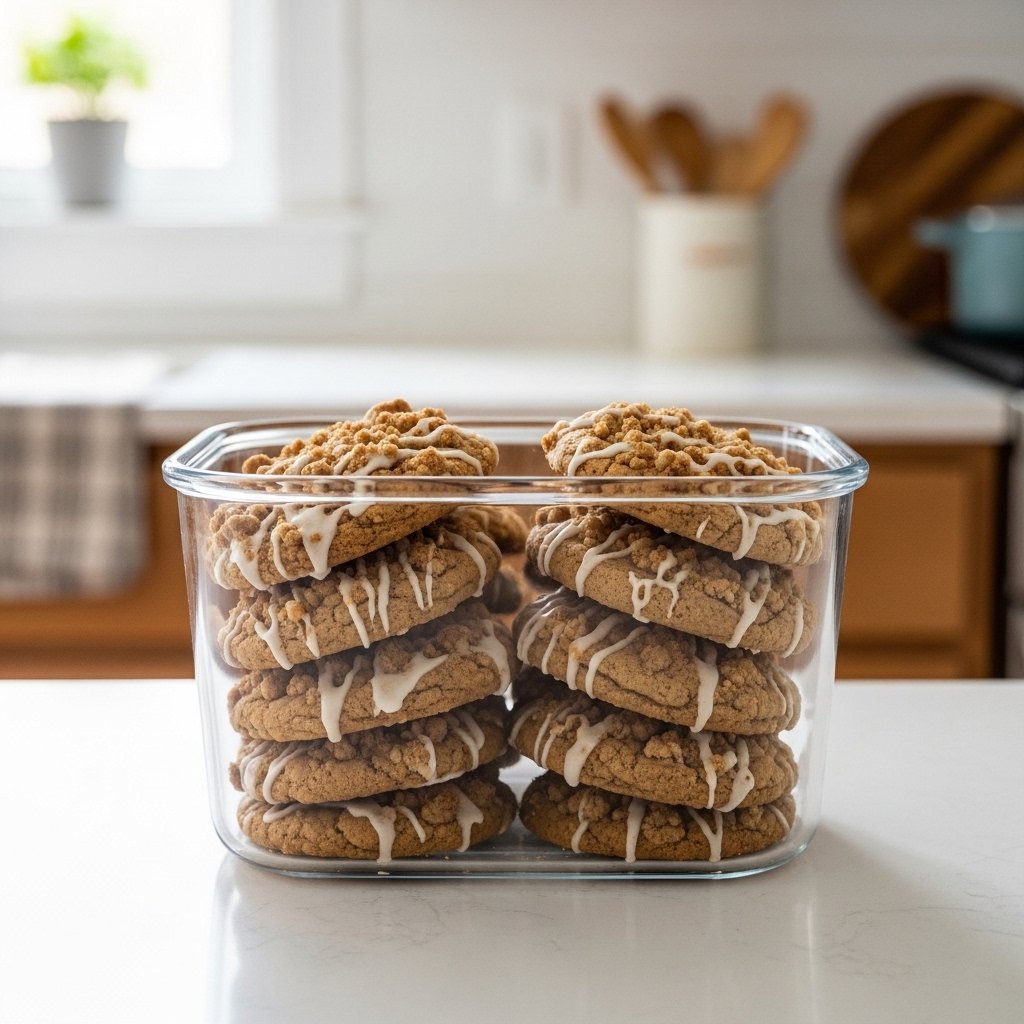
Storage and Freezing Tips
These cookies store well and stay soft.
Room Temperature
- Store in an airtight container for up to 4 days
Refrigerator
- Store up to 1 week
Freezer
- Freeze baked cookies for up to 2 months
Store with parchment between layers to protect the streusel topping.
Common Mistakes to Avoid
To make the best coffee cake cookies with streusel, avoid these common baking mistakes:
- Using warm butter for streusel
- Overbaking
- Overmixing the dough
- Skipping parchment paper
- Glazing while cookies are too hot
Taking your time with texture and temperature makes all the difference.
Frequently Asked Questions
Can I make coffee cake cookies ahead of time?
Yes. You can make the dough ahead and refrigerate it overnight.
Why are my streusel cookies flat?
This usually happens if the butter was too warm or the dough wasn’t thick enough.
Can I freeze coffee cake cookies?
Absolutely. They freeze well both baked and unbaked.
Can I use Greek yogurt instead of sour cream?
Yes. Full-fat Greek yogurt is a great substitute.
Do these taste like coffee?
No. Coffee cake refers to cake served with coffee, not cake flavored with coffee.
Final Thoughts
These easy coffee cake cookies with streusel are the kind of treat that instantly feels comforting and special. They capture everything people love about classic coffee cake in a fun, handheld cookie that’s perfect for any time of day.
Whether you’re baking for a cozy weekend breakfast, a holiday gathering, or just because you’re craving something buttery and sweet, this recipe is guaranteed to deliver soft texture, rich cinnamon flavor, and irresistible homemade charm. One batch, and they’ll quickly become a household favorite.