Easy No-Bake Chocolate Chip Cookie Dough Bars: Quick Dessert Idea You’ll Love

If you love cookie dough but don’t want the hassle of baking, these Easy No-Bake Chocolate Chip Cookie Dough Bars: Quick Dessert Idea You’ll Love are about to become your new favorite treat. They’re soft, sweet, chewy, and packed with chocolate chips in every bite.

The best part? No oven required. These bars come together in minutes and chill into a perfectly sliceable dessert that tastes like classic cookie dough—but safer and easier to enjoy.


Why You’ll Love This Recipe

These easy no-bake chocolate chip cookie dough bars are perfect for any occasion.

  • No baking required
  • Quick and beginner-friendly
  • Egg-free and safe to eat
  • Perfect for parties and potlucks
  • Rich, sweet, and satisfying

They’re the ultimate dessert for cookie dough lovers.
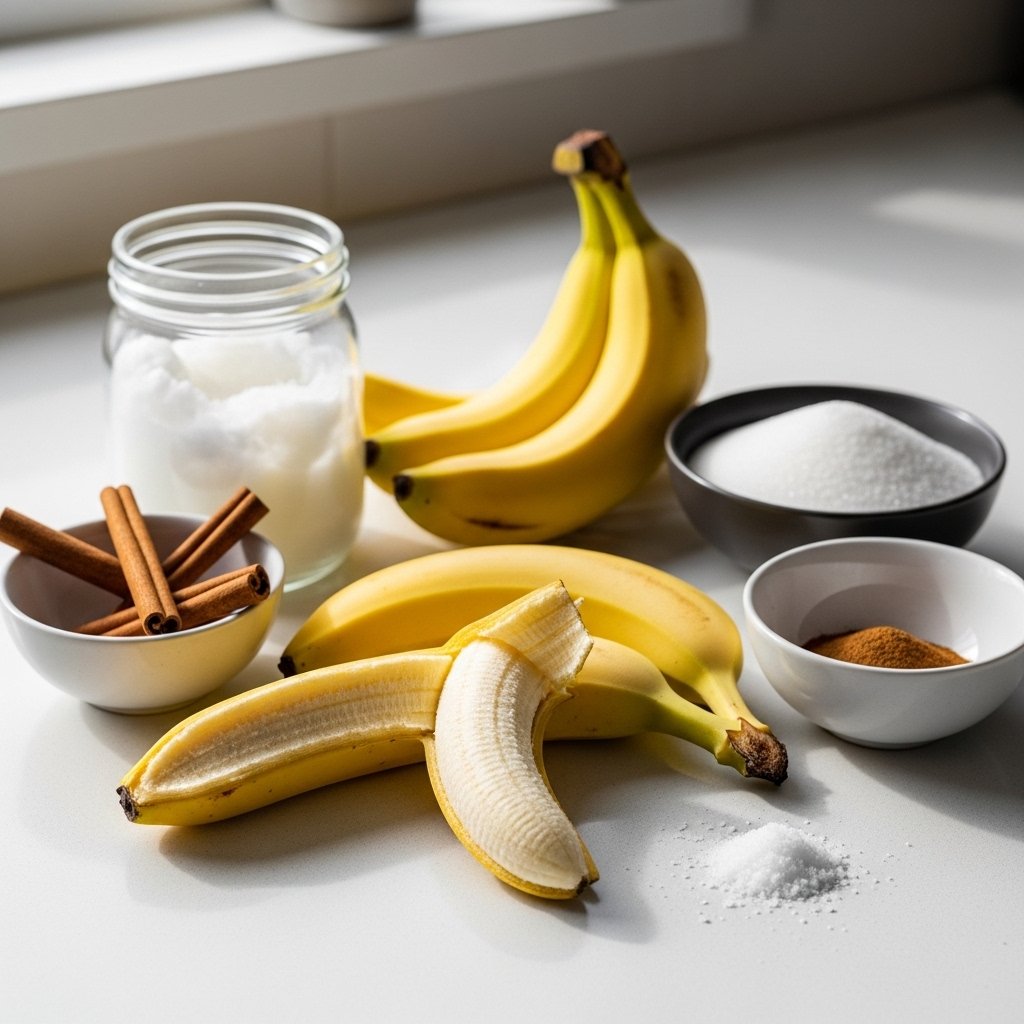
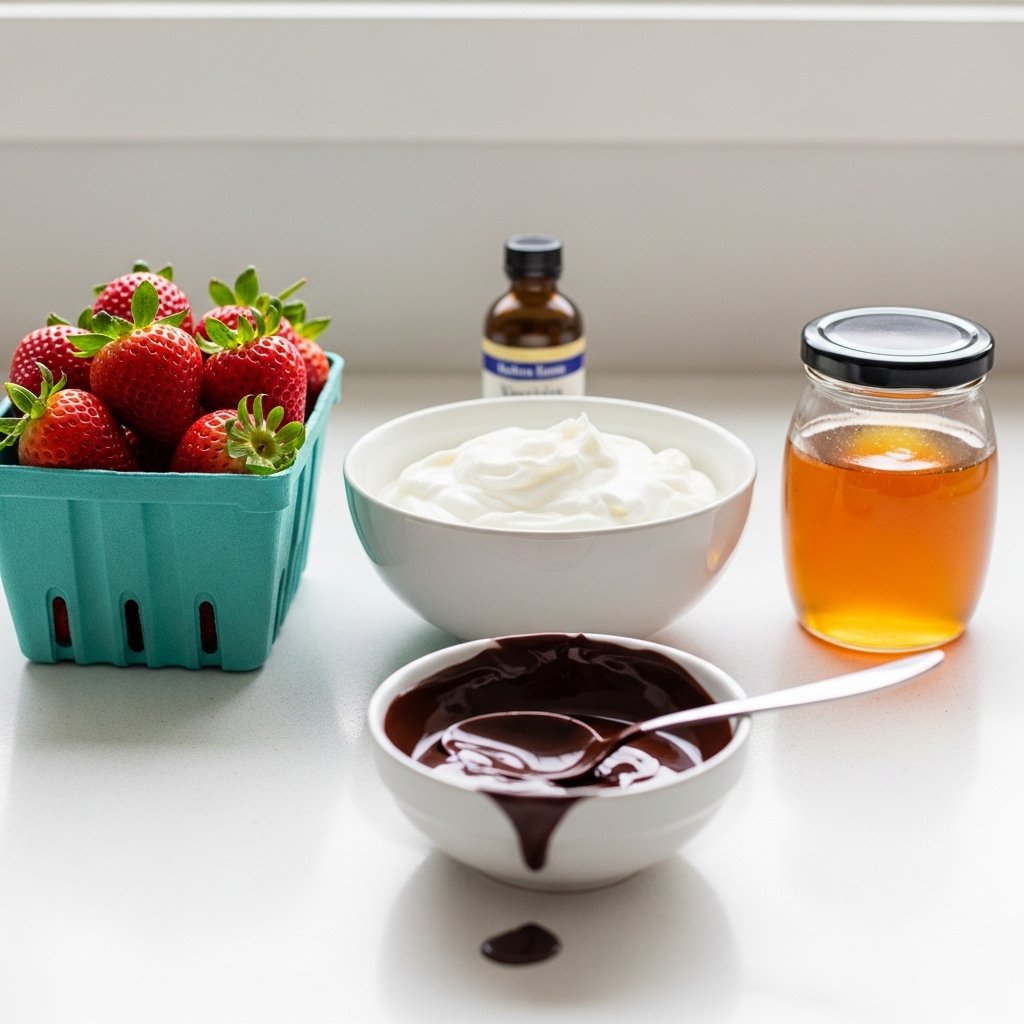
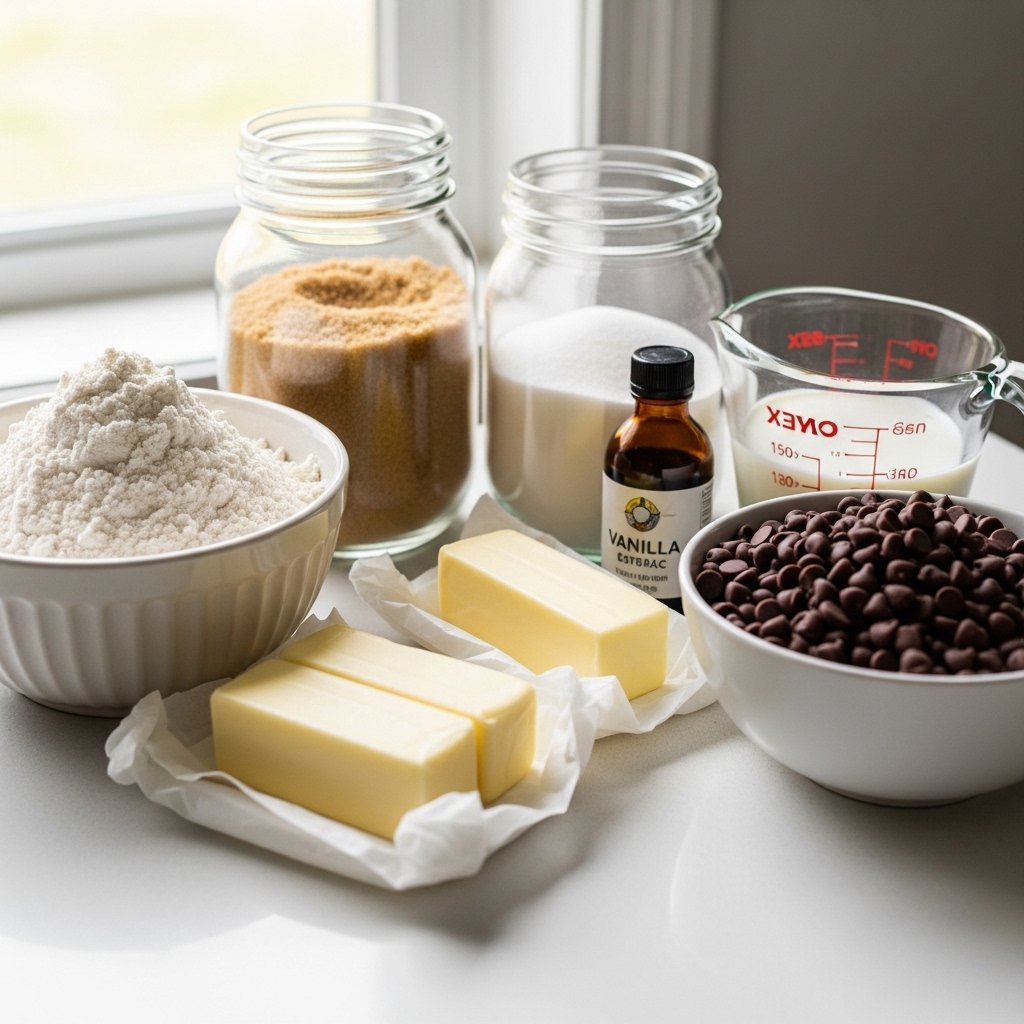

Ingredients

To make these cookie dough bars, you’ll need:

  • 1 cup all-purpose flour (heat-treated)
  • ½ cup unsalted butter (softened)
  • ½ cup brown sugar
  • ¼ cup white sugar
  • 2 teaspoons vanilla extract
  • 2–3 tablespoons milk
  • ¾ cup chocolate chips
  • Pinch of salt
  • Optional: melted chocolate for topping


Ingredient Notes

The flavor of these Easy No-Bake Chocolate Chip Cookie Dough Bars: Quick Dessert Idea You’ll Love depends on simple ingredients.

  • Heat-treated flour makes it safe to eat
  • Brown sugar adds deep caramel flavor
  • Butter creates rich, creamy texture
  • Vanilla enhances sweetness
  • Chocolate chips give classic cookie dough taste

Always use softened butter for smooth mixing.


Step-by-Step Instructions

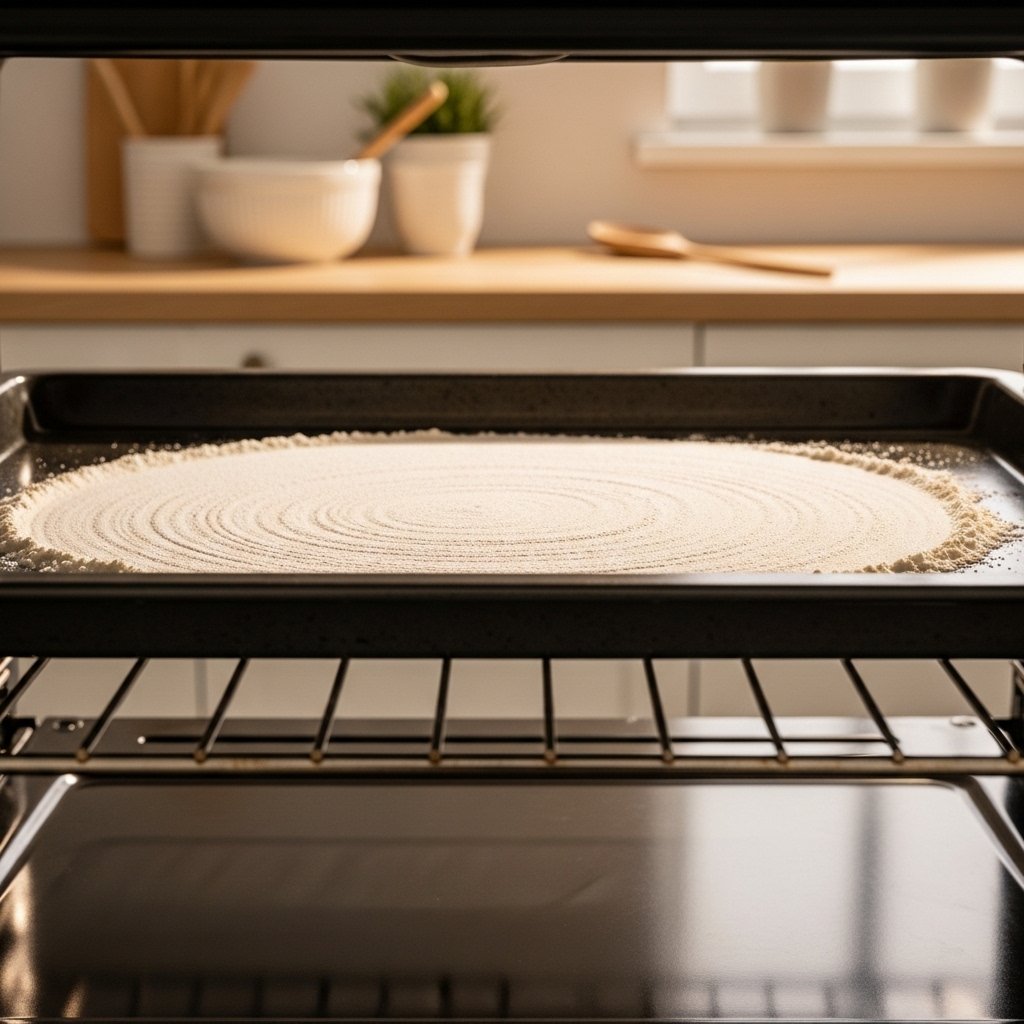
1. Prepare the Flour

Heat-treat flour by microwaving or baking it to kill bacteria, then let it cool.


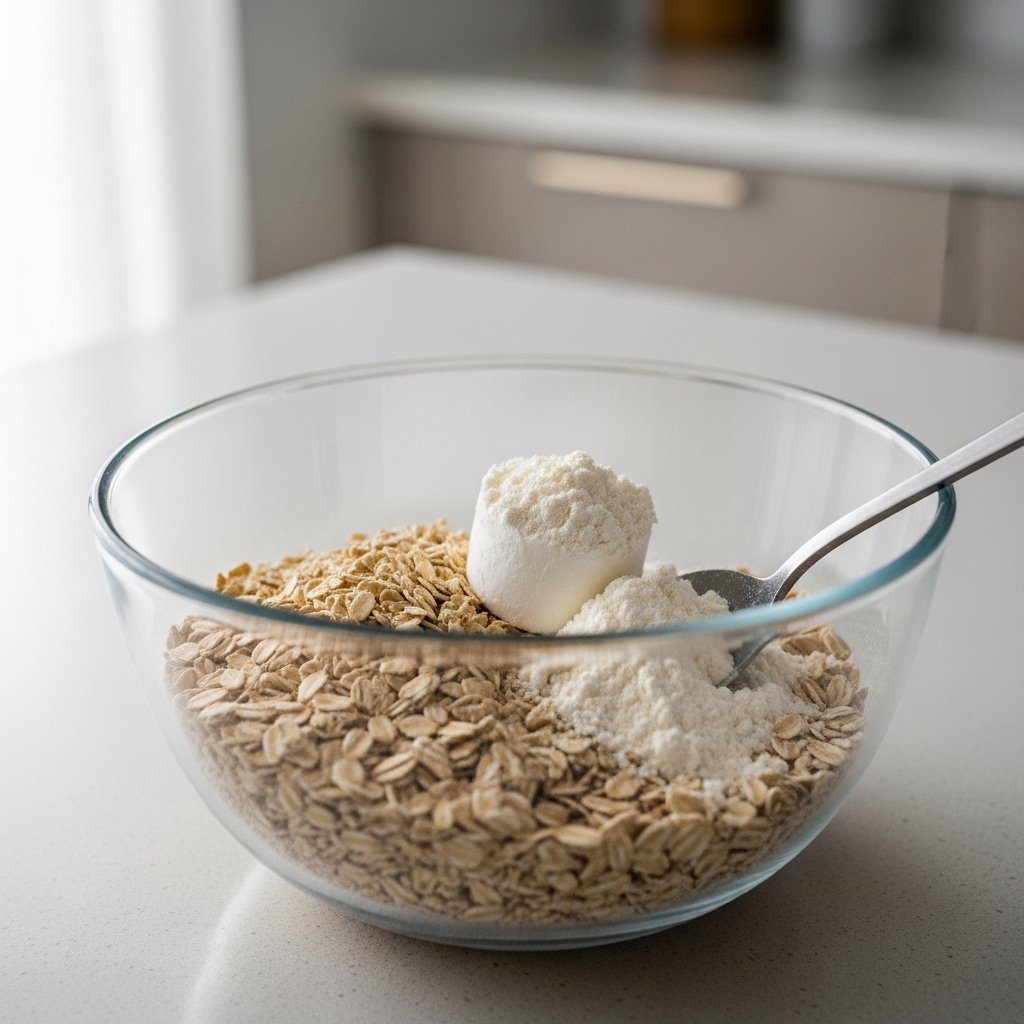
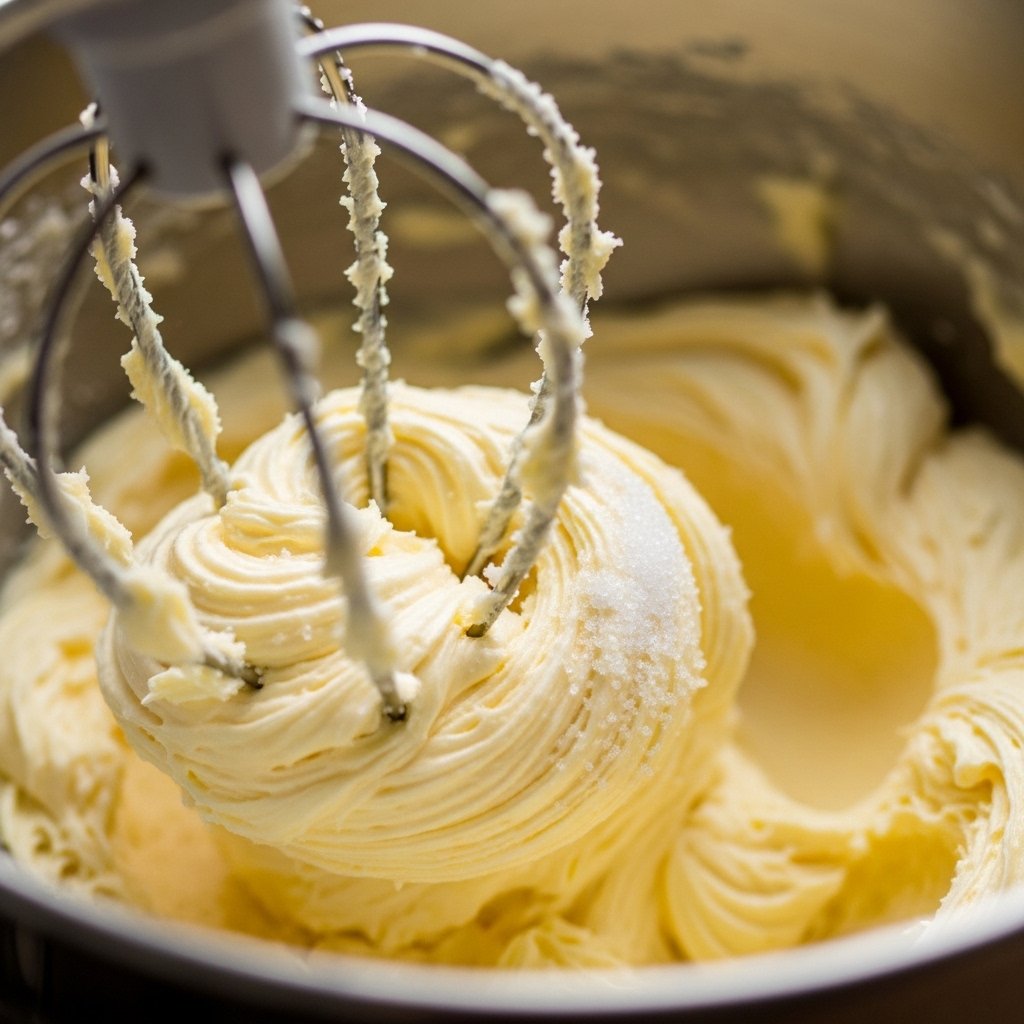
2. Cream Butter and Sugars

Mix butter, brown sugar, and white sugar until light and fluffy.
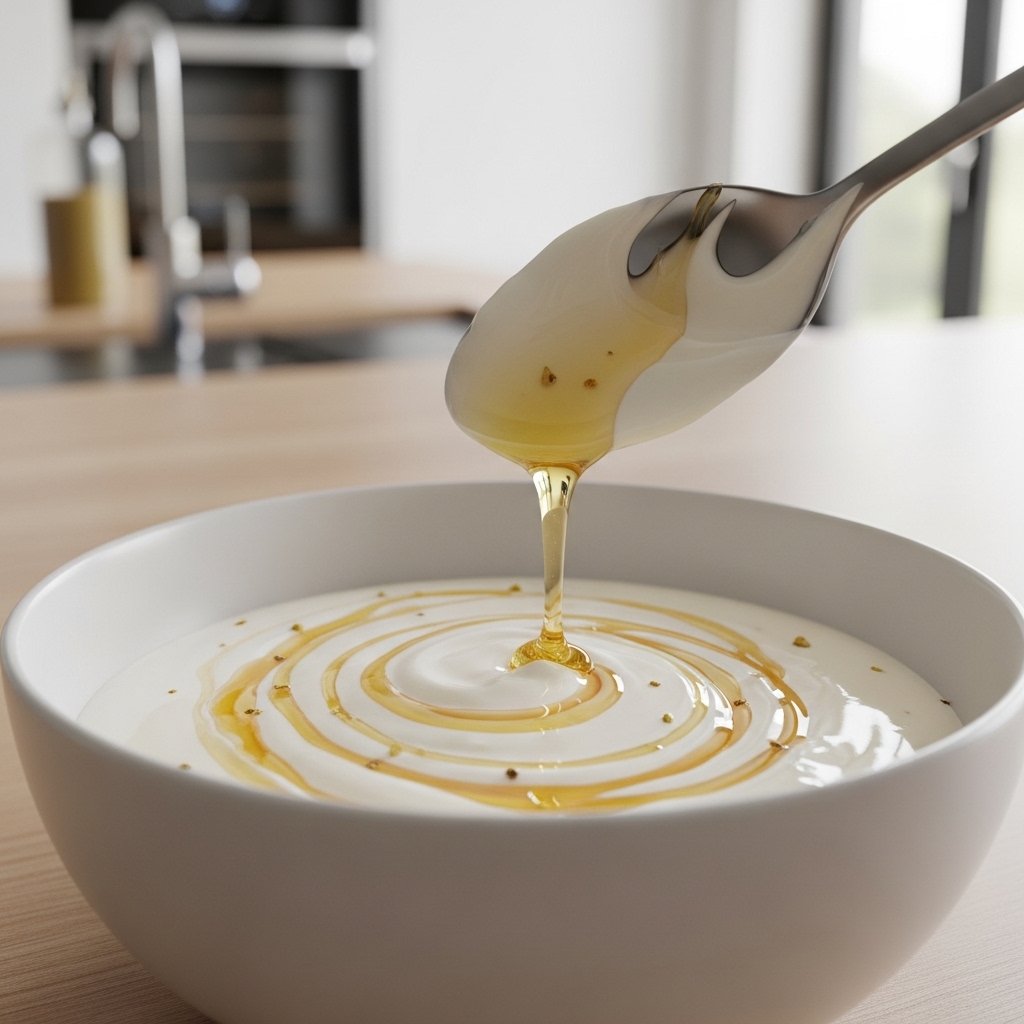

3. Add Flavor

Stir in vanilla extract and a pinch of salt.


4. Add Dry Ingredients

Gradually mix in cooled flour until dough forms.


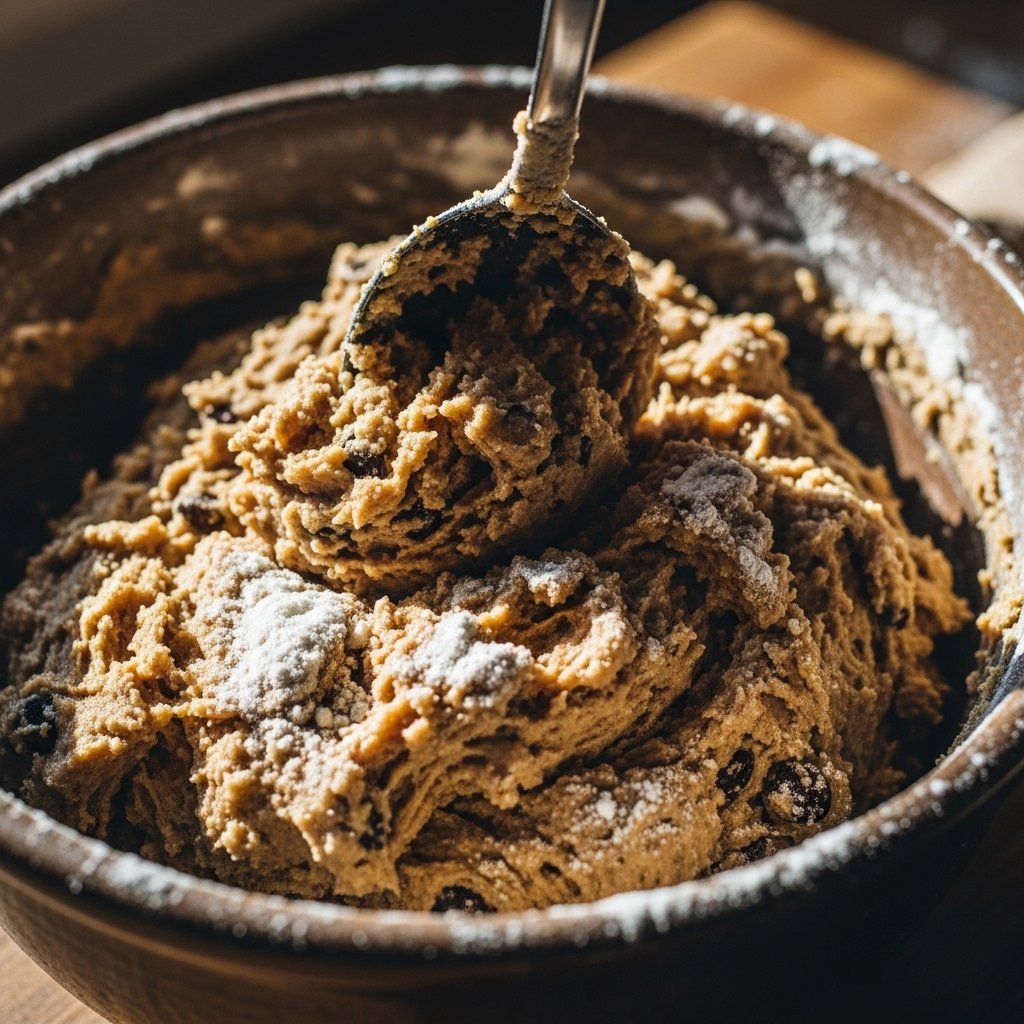
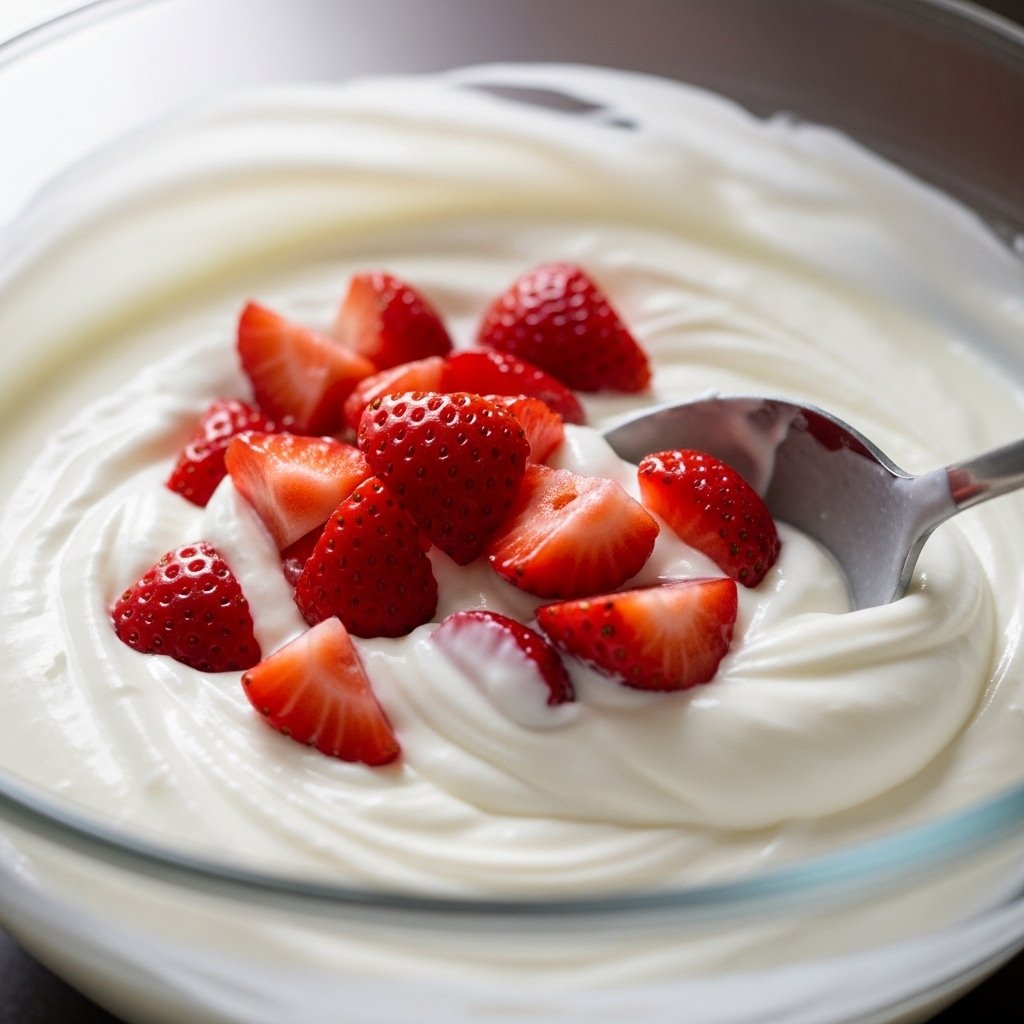
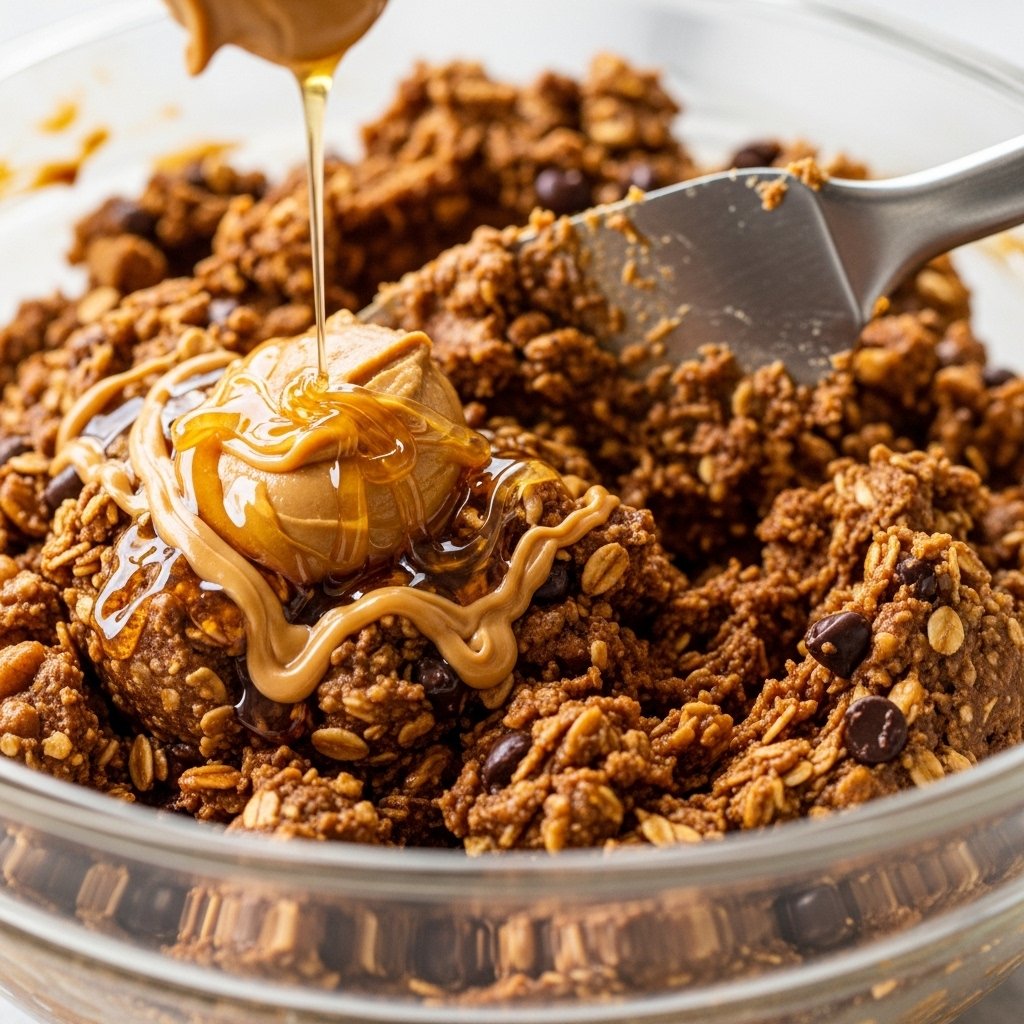
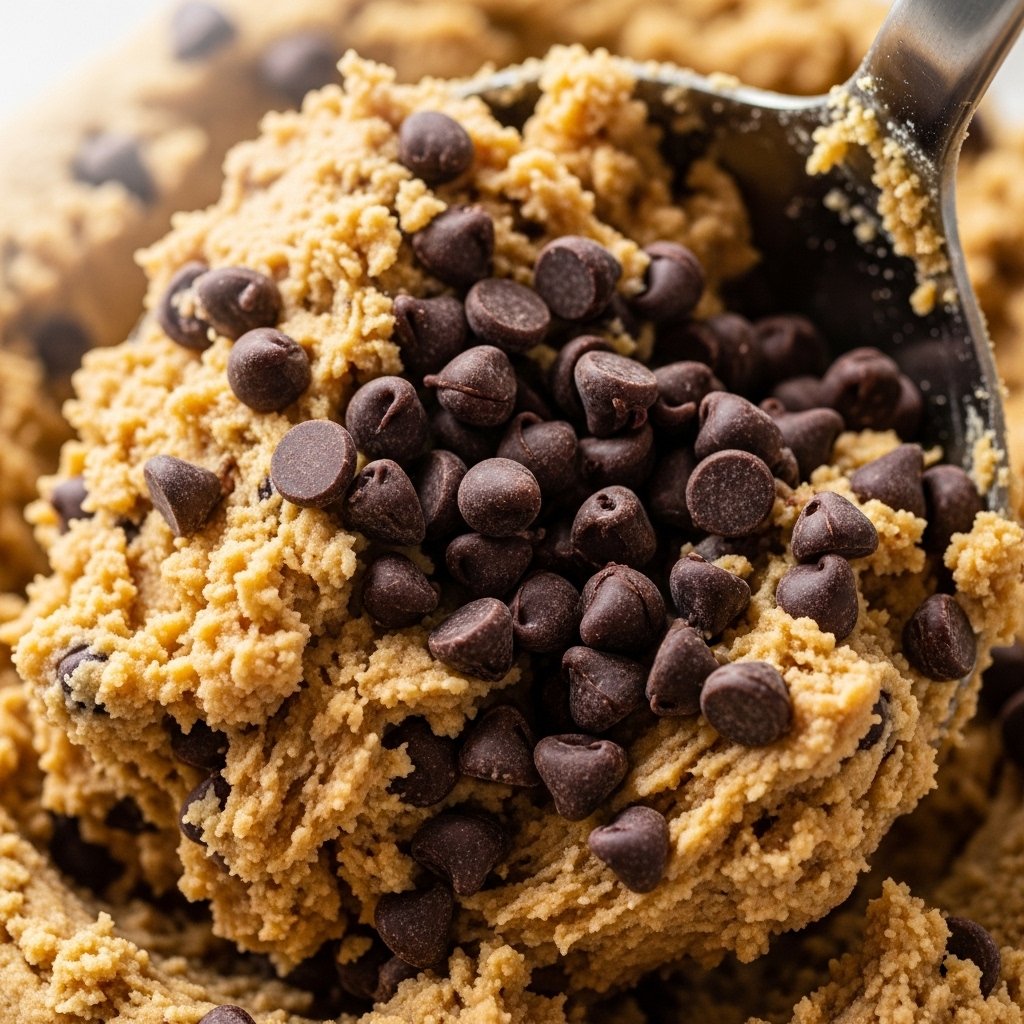
5. Add Milk and Chocolate Chips

Stir in milk and fold in chocolate chips evenly.
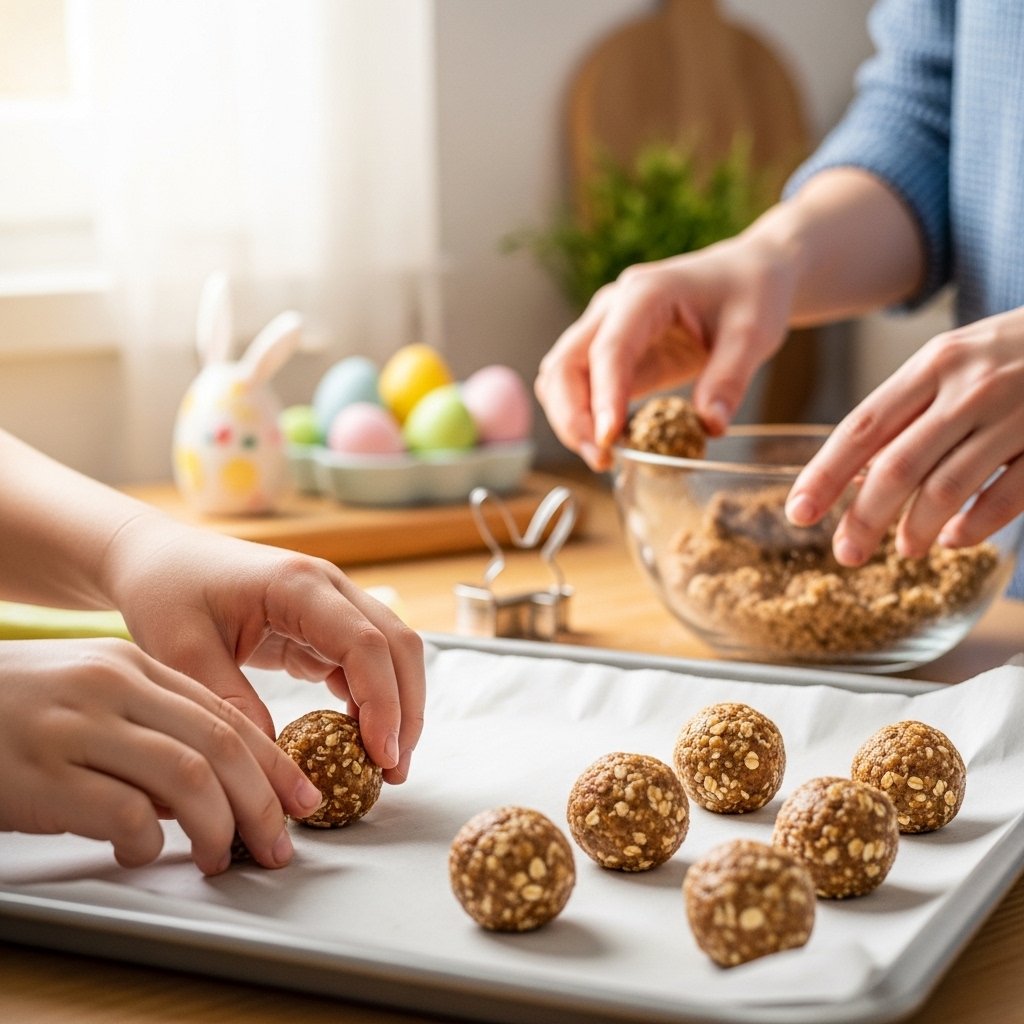
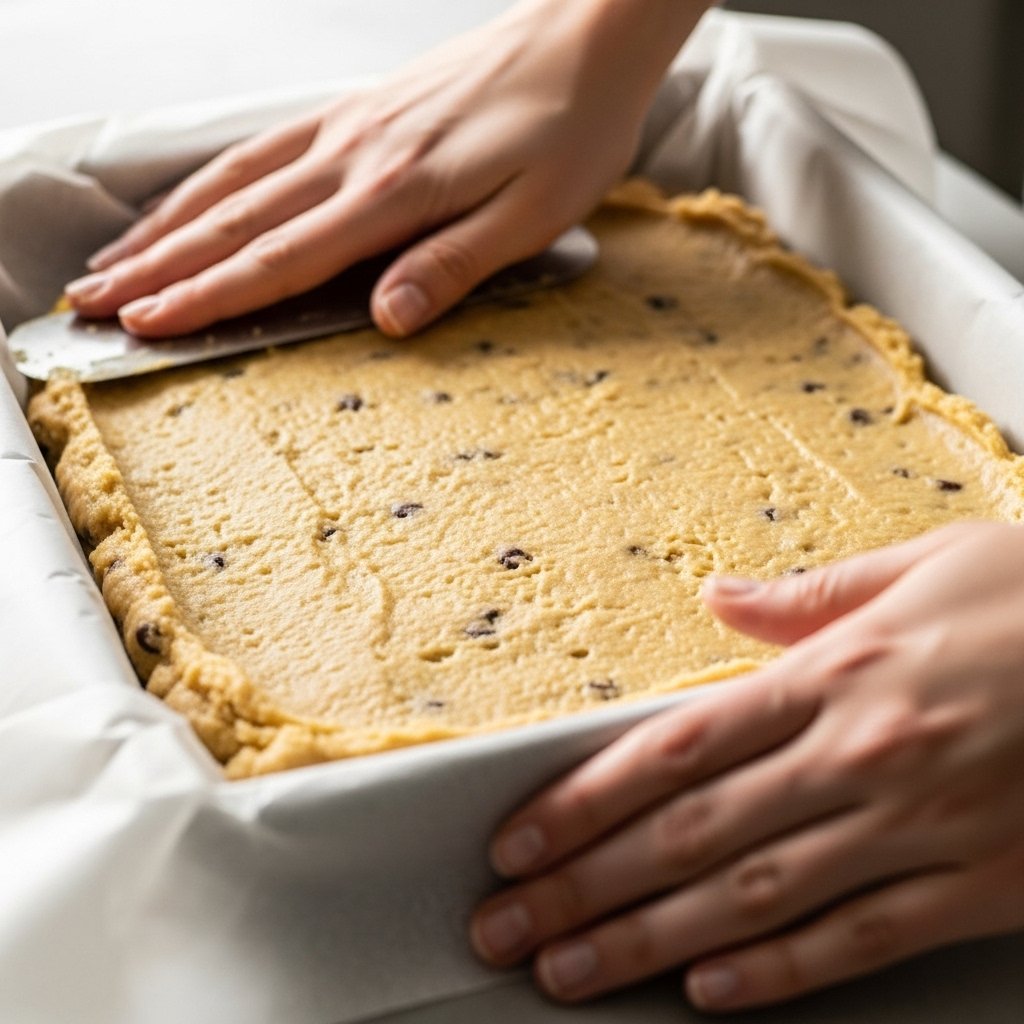

6. Press Into Pan

Spread dough evenly into a lined baking dish and press firmly.
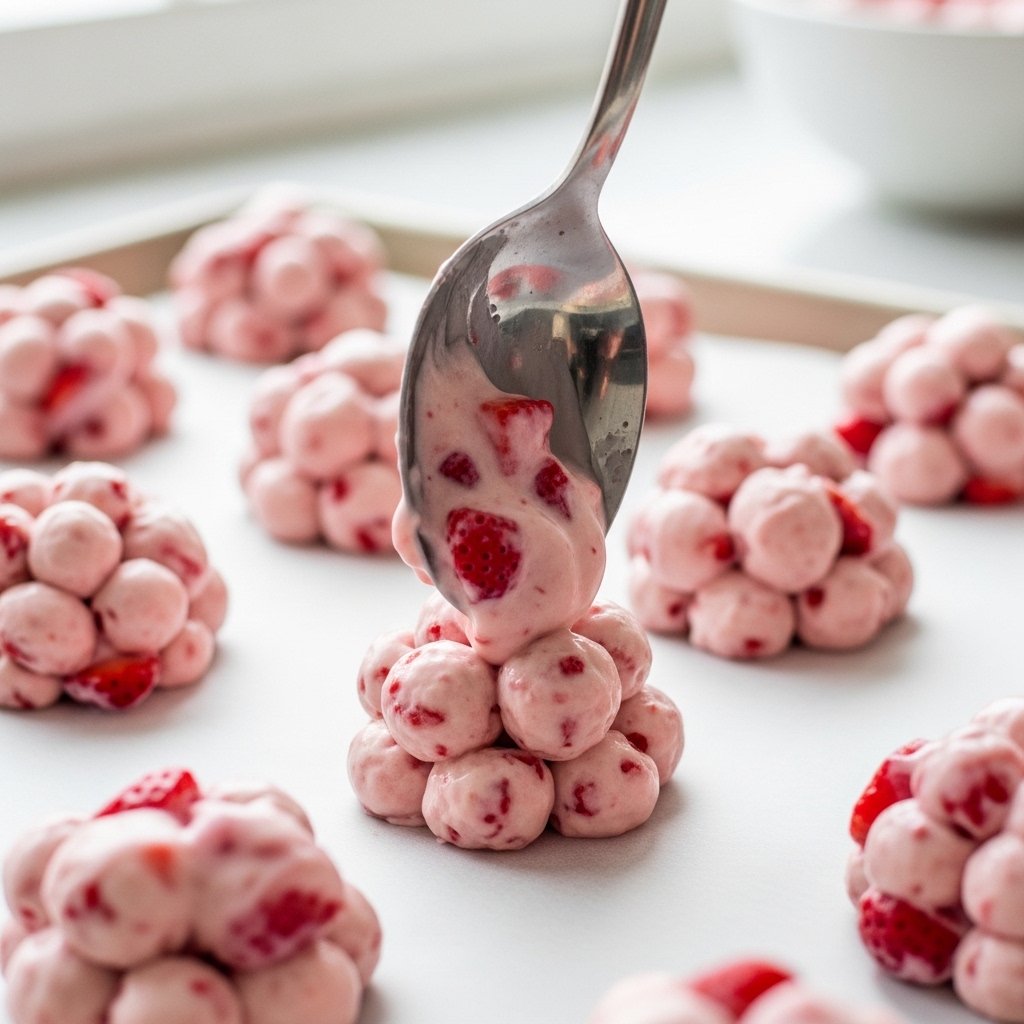
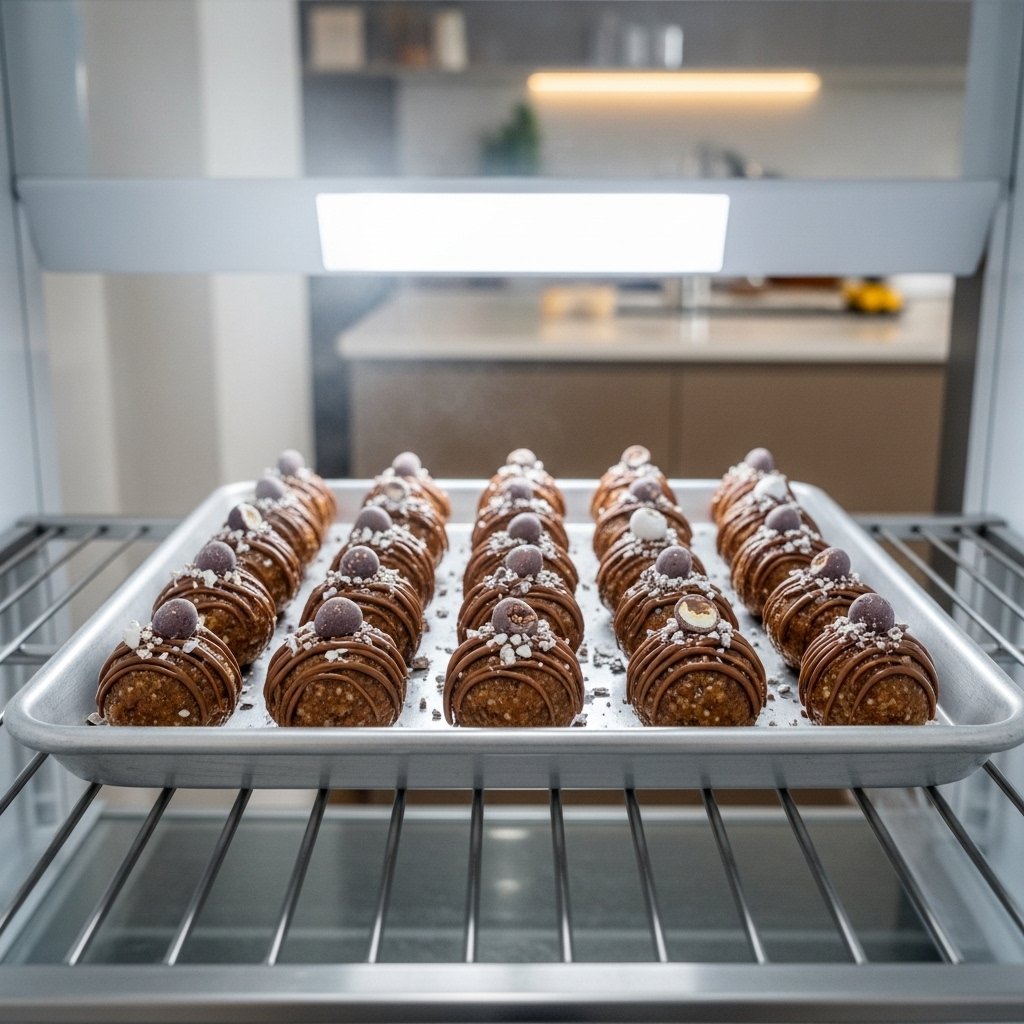
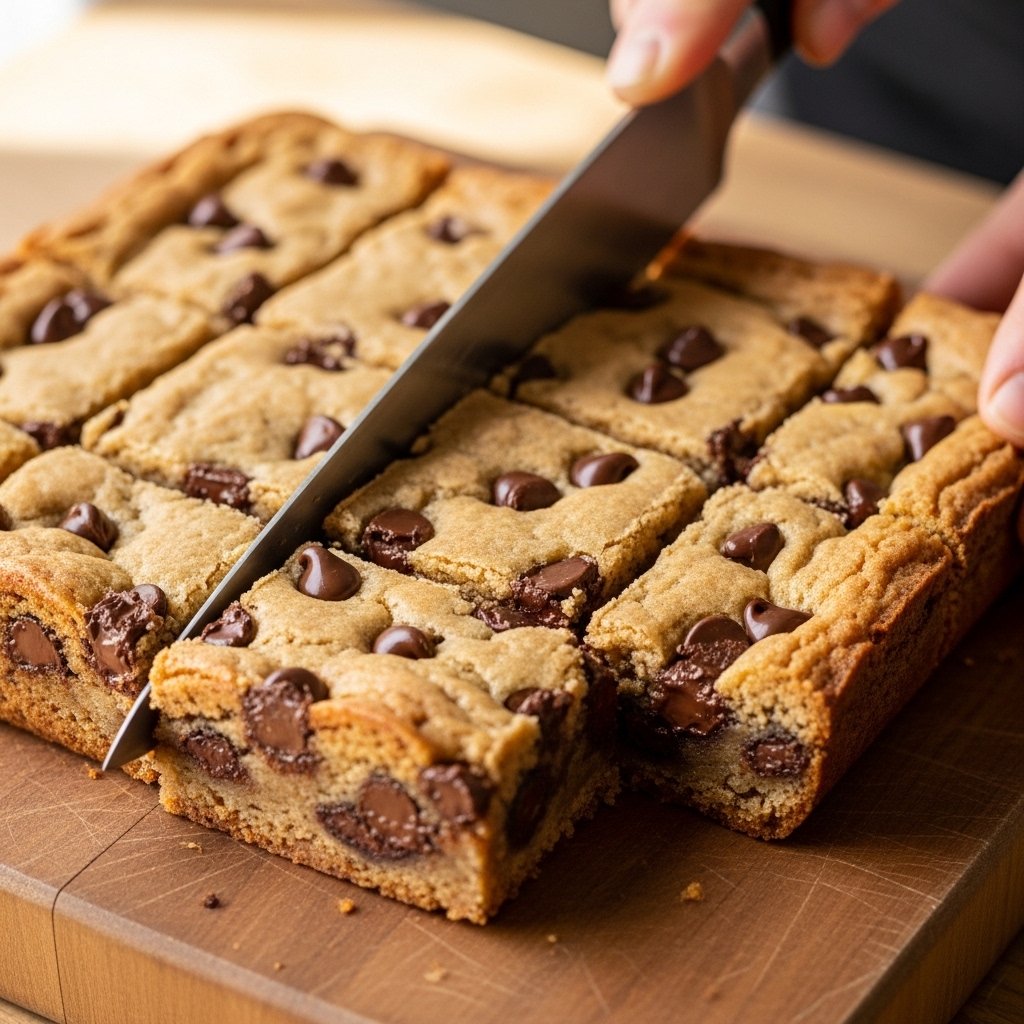

7. Chill and Slice

Refrigerate for 2–3 hours, then cut into bars.


Tips for Perfect Results

To make the best Easy No-Bake Chocolate Chip Cookie Dough Bars: Quick Dessert Idea You’ll Love, follow these tips:

  • Always heat-treat flour for safety
  • Use room-temperature butter
  • Chill long enough for clean slicing
  • Don’t skip salt—it enhances flavor
  • Add extra chocolate chips for texture

Variations

You can customize these bars easily.

Peanut Butter Version

Add ¼ cup peanut butter for extra richness.

Double Chocolate

Add cocoa powder to the dough.
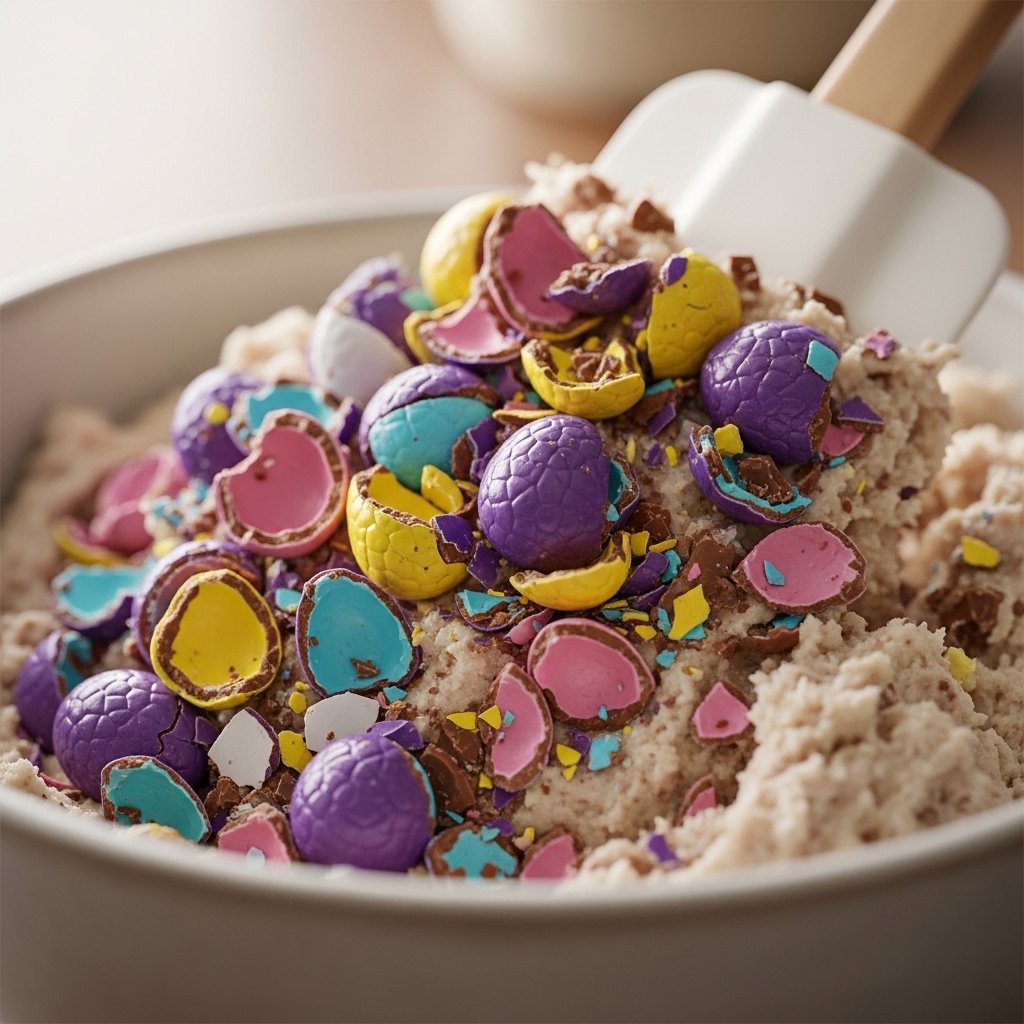
Birthday Cake Style

Add sprinkles and white chocolate chips.

Vegan Option

Use plant-based butter and milk.


What to Serve With It

These cookie dough bars pair perfectly with:

  • Milk or hot chocolate
  • Vanilla ice cream
  • Coffee or espresso
  • Fresh berries
  • Dessert platters

They’re great for parties or sweet cravings.


Storage & Reheating

For best freshness:

  • Refrigerator: Store up to 7 days
  • Freezer: Store up to 2 months
  • Keep in airtight container
  • No reheating needed—serve chilled


Common Mistakes to Avoid

Avoid these mistakes when making Easy No-Bake Chocolate Chip Cookie Dough Bars:

  • Not heat-treating flour
  • Using melted butter instead of softened
  • Skipping chilling time
  • Overmixing dough
  • Cutting before fully set

FAQs

1. Is this cookie dough safe to eat?

Yes, if you heat-treat the flour properly.

2. Can I freeze cookie dough bars?

Yes, they freeze very well for up to 2 months.

3. Can I make them without chocolate chips?

Yes, you can substitute nuts or candy pieces.

4. Why is my dough too soft?

It may need more chilling time or less milk.


Final Thoughts

These Easy No-Bake Chocolate Chip Cookie Dough Bars: Quick Dessert Idea You’ll Love are the perfect mix of convenience and indulgence. They’re rich, sweet, and incredibly easy to make with no oven required.

Once you try them, they’ll quickly become your go-to dessert for parties, snacks, and late-night cravings.

Cinnamon-Sugar Air Fryer Banana Chips – Crispy Healthy Snack Recipe

If you’re craving a crunchy, sweet snack that feels indulgent but is actually pretty wholesome, these Cinnamon-Sugar Air Fryer Banana Chips are going to be your new obsession. They’re lightly sweetened, perfectly crisp, and made with just a few simple ingredients you probably already have at home.

Unlike store-bought banana chips that are often fried in oil and loaded with preservatives, this air fryer version gives you that same satisfying crunch with far less guilt. Plus, the cinnamon-sugar coating adds a warm, cozy flavor that makes them completely irresistible.


Why You’ll Love This Recipe

These Cinnamon-Sugar Air Fryer Banana Chips are perfect for quick snacking and healthy cravings.

  • Quick and easy to make in the air fryer
  • Healthier than deep-fried banana chips
  • Naturally sweet with simple ingredients
  • Kid-friendly and lunchbox approved
  • Great for meal prep snacks

They’re crunchy, flavorful, and addictive in the best way.


Ingredients

To make these air fryer banana chips, you’ll need:

  • 2–3 ripe but firm bananas
  • 1–2 tablespoons melted coconut oil or olive oil
  • 1–2 tablespoons sugar (white or coconut sugar)
  • 1 teaspoon cinnamon
  • Pinch of salt (optional)
  • Optional: vanilla extract or honey drizzle


Ingredient Notes

The success of Cinnamon-Sugar Air Fryer Banana Chips depends on texture and ripeness.

  • Use firm bananas to avoid mushy chips
  • Cinnamon adds warmth and depth
  • Coconut sugar gives a richer caramel flavor
  • A light oil coating helps crisping
  • Salt enhances the sweet flavor balance

Avoid overripe bananas—they won’t crisp properly.


Step-by-Step Instructions

1. Slice the Bananas

Slice bananas thinly and evenly for consistent crisping.


2. Coat Lightly with Oil

Toss banana slices with a small amount of melted coconut oil.


3. Add Cinnamon-Sugar

Mix sugar, cinnamon, and a pinch of salt, then sprinkle over banana slices.


4. Arrange in Air Fryer

Place banana slices in a single layer inside the air fryer basket.


5. Air Fry Until Crispy

Cook at 300°F (150°C) for 10–15 minutes, flipping halfway through.


6. Cool and Crisp Up

Let chips cool completely—they will get crispier as they sit.


Tips for Perfect Results

To make the best Cinnamon-Sugar Air Fryer Banana Chips, follow these tips:

  • Slice bananas evenly for uniform cooking
  • Don’t overcrowd the air fryer basket
  • Flip halfway for even crisping
  • Let chips cool completely before eating
  • Use firm bananas, not soft ones

Variations

This recipe is easy to customize.

Chocolate Drizzle Version

Add melted dark chocolate after cooling.

Salted Caramel Style

Replace sugar with coconut sugar and a pinch of sea salt.

Spicy Cinnamon Chips

Add a pinch of cayenne for heat.

Coconut Banana Chips

Add shredded coconut before air frying.


What to Serve With It

These banana chips pair perfectly with:

  • Yogurt bowls
  • Peanut butter dip
  • Smoothies
  • Oatmeal toppings
  • Healthy snack boxes

They’re great for both kids and adults.


Storage & Reheating

For best freshness:

  • Room temperature: Store in airtight container for 2–3 days
  • Re-crisping: Air fry for 1–2 minutes if soft
  • Avoid humidity to keep crisp texture
  • No refrigeration needed


Common Mistakes to Avoid

Avoid these mistakes when making Cinnamon-Sugar Air Fryer Banana Chips:

  • Using overly ripe bananas
  • Cutting slices too thick
  • Overcrowding the air fryer
  • Not letting chips cool fully
  • Using too much oil

FAQs

1. Are air fryer banana chips healthy?

Yes, they’re much healthier than deep-fried versions.

2. Can I make them without sugar?

Yes, you can skip sugar or use a sugar substitute.

3. Why aren’t my banana chips crispy?

They may be too thick or not cooled fully.

4. Can I store them long-term?

They are best fresh but last a few days in an airtight container.


Final Thoughts

These Cinnamon-Sugar Air Fryer Banana Chips are the perfect mix of sweet, crunchy, and healthy. They’re quick to make, fun to eat, and ideal for snacking anytime you want something light but satisfying.

Once you try them, you’ll find yourself making batch after batch—they’re just that good.

Chocolate Strawberry Yogurt Clusters Recipe – Easy Healthy Frozen Treat

If you’re craving something sweet, refreshing, and secretly healthy, this Chocolate Strawberry Yogurt Clusters Recipe is about to become your new favorite treat. These frozen yogurt clusters combine juicy strawberries, creamy yogurt, and a rich chocolate shell for the perfect bite-sized dessert.

They’re simple to make, require no baking, and taste like a frozen chocolate-covered cheesecake bite. Whether you need a quick snack, a healthier dessert, or a fun treat for kids, this recipe checks every box.


Why You’ll Love This Recipe

This Chocolate Strawberry Yogurt Clusters Recipe is loved for its simplicity and flavor.

  • No baking required
  • Only a few simple ingredients
  • Naturally sweet and refreshing
  • Perfect for meal prep snacks
  • Kid-friendly and freezer-friendly

It’s a guilt-free dessert that feels indulgent without the extra calories.


Ingredients

To make this Chocolate Strawberry Yogurt Clusters Recipe, you’ll need:

  • 1 ½ cups fresh strawberries (chopped)
  • 1 cup Greek yogurt (vanilla or plain)
  • 1–2 tablespoons honey or maple syrup
  • 1 teaspoon vanilla extract (optional)
  • 1 cup melted dark chocolate or milk chocolate
  • 1 teaspoon coconut oil (optional for smooth coating)
  • Pinch of sea salt (optional)


Ingredient Notes

The success of this Chocolate Strawberry Yogurt Clusters Recipe depends on balance and texture.

  • Greek yogurt adds creaminess and protein
  • Strawberries give natural sweetness and freshness
  • Honey enhances flavor without overpowering
  • Dark chocolate adds richness and crunch
  • Coconut oil helps create a smooth chocolate shell

You can easily adjust sweetness based on your preference.


Step-by-Step Instructions

1. Prepare the Yogurt Mixture

In a bowl, mix Greek yogurt, honey, and vanilla until smooth.


2. Add Strawberries

Fold in chopped strawberries gently so they are evenly coated.


3. Form Clusters

Scoop spoonfuls of the mixture onto a parchment-lined baking tray.


4. Freeze Until Firm

Freeze clusters for at least 2–3 hours until solid.


5. Dip in Chocolate

Melt chocolate with coconut oil and drizzle or dip frozen clusters.


6. Set and Serve

Let chocolate harden, then enjoy immediately or store frozen.


Tips for Perfect Results

To make the best Chocolate Strawberry Yogurt Clusters Recipe, follow these tips:

  • Freeze clusters fully before dipping in chocolate
  • Use thick Greek yogurt for best structure
  • Don’t overmix strawberries or they’ll release too much juice
  • Work quickly when coating in chocolate
  • Store in freezer immediately after finishing

Variations

This recipe is very flexible and fun to customize.

Mixed Berry Version

Add blueberries and raspberries.

Peanut Butter Twist

Swirl peanut butter into the yogurt mixture.

Dark Chocolate Only

Use 70%+ dark chocolate for a healthier version.

Crunchy Version

Add granola or crushed nuts.


What to Serve With It

These Chocolate Strawberry Yogurt Clusters pair well with:

  • Smoothies
  • Coffee or iced lattes
  • Fresh fruit bowls
  • Protein shakes
  • Light breakfast spreads

They’re perfect as a snack or light dessert.


Storage & Reheating

For best freshness:

  • Freezer: Store up to 2 months
  • Keep in airtight container
  • No reheating needed
  • Eat directly from freezer for best texture


Common Mistakes to Avoid

Avoid these mistakes when making Chocolate Strawberry Yogurt Clusters Recipe:

  • Not freezing long enough before dipping
  • Using thin yogurt (it won’t hold shape)
  • Overloading with strawberries
  • Skipping parchment paper
  • Letting chocolate cool too much before coating

FAQs

1. Are these yogurt clusters healthy?

Yes, they’re made with yogurt, fruit, and dark chocolate for a balanced treat.

2. Can I use frozen strawberries?

Fresh is best, but thawed frozen strawberries can work if drained well.

3. Can I make them dairy-free?

Yes, use coconut or almond yogurt and dairy-free chocolate.

4. How long do they last in the freezer?

They stay fresh for up to 2 months in an airtight container.


Final Thoughts

This Chocolate Strawberry Yogurt Clusters Recipe is the perfect blend of healthy, sweet, and refreshing. It’s easy to prepare, freezer-friendly, and satisfying without being heavy.

Whether you need a quick snack, a light dessert, or a fun treat for the family, these yogurt clusters are guaranteed to become a repeat favorite.

Mini Cadbury Egg Protein Balls – Healthy Easter Snack Recipe

If you’re looking for a fun, festive, and slightly healthier Easter treat, these Mini Cadbury Egg Protein Balls are about to become your new favorite snack. They combine the nostalgic crunch of mini Cadbury eggs with a soft, protein-packed base that tastes like dessert but fuels your day like a snack.

Perfect for Easter baskets, post-workout bites, or sweet cravings without going overboard, these protein balls are no-bake, quick, and incredibly addictive. They’re also kid-friendly and great for meal prep.


Why You’ll Love This Recipe

These Mini Cadbury Egg Protein Balls are a must-try for spring and Easter season.

  • No-bake and super quick to make
  • High in protein and satisfying
  • Perfect balance of sweet and healthy
  • Great for Easter parties and snacks
  • Kid-friendly and fun to prepare

They taste like dessert but work as a nutritious snack anytime.


Ingredients

To make these Mini Cadbury Egg Protein Balls, you’ll need:

  • 1 cup rolled oats
  • ½ cup vanilla or chocolate protein powder
  • ½ cup peanut butter or almond butter
  • ¼ cup honey or maple syrup
  • 1 teaspoon vanilla extract
  • ½ cup crushed mini Cadbury eggs
  • 2–3 tablespoons milk (as needed)
  • Optional: dark chocolate drizzle


Ingredient Notes

The magic of Mini Cadbury Egg Protein Balls comes from the balance of texture and flavor.

  • Oats create a hearty, chewy base
  • Protein powder boosts nutrition and keeps you full
  • Peanut butter adds creaminess and richness
  • Honey or maple syrup binds everything naturally
  • Mini Cadbury eggs bring crunch and chocolate sweetness

You can easily adjust sweetness or protein levels to your preference.


Step-by-Step Instructions

1. Mix Dry Ingredients

In a large bowl, combine oats and protein powder.


2. Add Wet Ingredients

Add peanut butter, honey, and vanilla extract. Mix until combined.


3. Adjust Texture

Add milk gradually until a thick dough forms.


4. Fold in Cadbury Eggs

Gently crush mini Cadbury eggs and fold them into the mixture.


5. Shape Into Balls

Roll mixture into small bite-sized balls using your hands.


6. Chill and Set

Place in fridge for at least 30 minutes before serving.


Tips for Perfect Results

To make the best Mini Cadbury Egg Protein Balls, follow these tips:

  • Don’t over-crush the Cadbury eggs for texture
  • Add milk slowly to avoid a runny dough
  • Chill before rolling for easier shaping
  • Use natural peanut butter for best flavor
  • Store chilled for freshness

Variations

You can customize these protein balls easily.

Chocolate Lover Version

Add cocoa powder and chocolate chips.

Nut-Free Version

Use sunflower seed butter instead of peanut butter.

Extra Protein Boost

Add an extra scoop of protein powder.

Holiday Twist

Swap Cadbury eggs for M&Ms or sprinkles.


What to Serve With It

These Mini Cadbury Egg Protein Balls pair well with:

  • Greek yogurt
  • Smoothies
  • Coffee or tea
  • Fresh fruit
  • Post-workout shakes

They’re perfect as a quick snack or dessert alternative.


Storage & Reheating

For best freshness:

  • Refrigerator: Store up to 7 days
  • Freezer: Freeze up to 2 months
  • Serving: Eat chilled or room temperature
  • No reheating needed


Common Mistakes to Avoid

Avoid these mistakes when making Mini Cadbury Egg Protein Balls:

  • Adding too much liquid too quickly
  • Over-mixing and crushing candy too fine
  • Skipping chilling time
  • Using dry peanut butter without adjusting moisture
  • Making balls too large

FAQs

1. Are these protein balls healthy?

Yes, they’re high in protein and made with wholesome ingredients.

2. Can I make them without protein powder?

Yes, substitute with extra oats or almond flour.

3. Can I freeze them?

Yes, they freeze very well for up to 2 months.

4. Do they taste like dessert?

Absolutely—they taste like a healthy cookie dough treat.


Final Thoughts

These Mini Cadbury Egg Protein Balls are the perfect mix of fun, flavor, and nutrition. They’re quick to make, easy to store, and ideal for Easter celebrations or everyday snacking.

Once you try them, you’ll want to keep a batch in your fridge at all times—they’re that good.

Healthy Lemon Garlic Chicken Meal Prep Bowls for Real Life Make Ahead Meals and Less Stress

If your weekdays feel busy, chaotic, or just plain exhausting, these healthy lemon garlic chicken meal prep bowls for real life make ahead meals and less stress are about to become your new favorite solution. Packed with juicy lemon garlic chicken, fresh vegetables, and wholesome grains, these bowls are designed to simplify your life without sacrificing flavor.

Meal prep doesn’t have to be boring or repetitive. With the bright, zesty flavors of lemon and garlic combined with tender chicken and customizable sides, this recipe gives you healthy lunches you’ll actually look forward to eating all week long.


Why You’ll Love This Recipe

These healthy lemon garlic chicken meal prep bowls for real life make ahead meals and less stress are a game-changer for busy schedules.

  • Perfect for weekly meal prep
  • High in protein and full of fresh flavor
  • Easy to customize with different veggies and grains
  • Budget-friendly and family-friendly
  • Great for weight-conscious or healthy eating plans

Once you try them, you’ll wonder how you ever managed weekdays without them.


Ingredients

To make these lemon garlic chicken meal prep bowls, you’ll need:

  • 2 lbs chicken breast or thighs
  • 3 tablespoons olive oil
  • Juice of 2 lemons
  • 4 cloves garlic (minced)
  • 1 teaspoon dried oregano
  • 1 teaspoon paprika
  • Salt and pepper to taste
  • 3 cups cooked rice, quinoa, or couscous
  • 2 cups broccoli or mixed vegetables
  • 1 cup cherry tomatoes
  • Optional: hummus, avocado, or tzatziki sauce


Ingredient Notes

The flavor of these healthy lemon garlic chicken meal prep bowls for real life make ahead meals and less stress comes from simple, clean ingredients.

  • Lemon adds brightness and freshness
  • Garlic gives depth and savory aroma
  • Chicken breast keeps it lean and high-protein
  • Olive oil helps keep chicken juicy
  • Fresh vegetables add crunch and nutrition

You can easily swap grains or vegetables based on what you have.


Step-by-Step Instructions

1. Marinate the Chicken

In a bowl, mix olive oil, lemon juice, garlic, oregano, paprika, salt, and pepper. Add chicken and let it marinate for at least 30 minutes.


2. Cook the Chicken

Grill, bake, or pan-sear chicken until fully cooked and golden. Let it rest before slicing.


3. Prepare the Grains

Cook rice, quinoa, or couscous according to package instructions and fluff with a fork.


4. Cook the Vegetables

Roast or steam broccoli and other vegetables until tender but still slightly crisp.


5. Assemble Meal Prep Bowls

Divide grains, chicken, and vegetables evenly into meal prep containers.


6. Add Finishing Touches

Top with fresh lemon slices, herbs, or optional sauces like hummus or tzatziki.


Tips for Perfect Results

To make the best healthy lemon garlic chicken meal prep bowls for real life make ahead meals and less stress, follow these tips:

  • Marinate chicken for at least 30 minutes (overnight is best)
  • Don’t overcook chicken to keep it juicy
  • Let grains cool before packing to avoid sogginess
  • Use airtight containers for freshness
  • Keep sauces separate until serving

Variations

This recipe is flexible and easy to adapt.

Low-Carb Version

Replace grains with cauliflower rice or extra veggies.

Mediterranean Style

Add olives, feta cheese, and cucumber.

Spicy Version

Add chili flakes or cayenne pepper to marinade.

Vegan Option

Swap chicken for chickpeas or tofu.


What to Serve With It

These meal prep bowls are complete on their own, but you can pair them with:

  • Greek yogurt sauce or tzatziki
  • Fresh green salad
  • Whole grain pita bread
  • Hummus and veggie sticks
  • Fresh fruit

They’re perfect for balanced lunches or dinners.


Storage & Reheating

For best results:

  • Refrigerator: Store for up to 4 days
  • Freezer: Freeze chicken separately for up to 2 months
  • Reheating: Microwave for 1–2 minutes or heat on stovetop
  • Keep sauces separate until serving


Common Mistakes to Avoid

Avoid these mistakes when making healthy lemon garlic chicken meal prep bowls for real life make ahead meals and less stress:

  • Overcooking chicken until dry
  • Not seasoning grains properly
  • Packing food while still hot
  • Forgetting to separate sauces
  • Skipping marinade time

FAQs

1. Can I make these meal prep bowls ahead of time?

Yes, they last up to 4 days in the fridge.

2. What’s the best grain to use?

Rice, quinoa, or couscous all work well.

3. Can I use chicken thighs instead of breast?

Yes, thighs are juicier and more flavorful.

4. Can I freeze meal prep bowls?

Freeze chicken and grains separately for best texture.


Final Thoughts

These healthy lemon garlic chicken meal prep bowls for real life make ahead meals and less stress are the perfect way to simplify your week while eating clean and delicious food. They’re fresh, flavorful, and easy to customize for any lifestyle.

Once you start meal prepping this way, you’ll enjoy less stress, more free time, and better meals every day of the week.

Easy Chicken Caesar Pasta Salad — Picnic Lunch Favorite

When it comes to fresh, satisfying, and portable meals, nothing beats an easy chicken Caesar pasta salad — picnic lunch favorite. This recipe combines tender chicken, crisp romaine lettuce, perfectly cooked pasta, and creamy Caesar dressing into one irresistible dish.

It’s the ultimate balance of hearty and refreshing, making it ideal for picnics, potlucks, meal prep, or quick lunches at home. Plus, it comes together quickly with simple ingredients you probably already have on hand.


Why You’ll Love This Recipe

This easy chicken Caesar pasta salad — picnic lunch recipe is a must-have for warm days and busy schedules.

  • Quick and easy to prepare
  • Perfect for picnics and meal prep
  • Packed with protein and flavor
  • Refreshing yet filling
  • Crowd-pleasing for gatherings

It’s a simple upgrade from a classic Caesar salad that makes it more satisfying and versatile.


Ingredients

To make this delicious chicken Caesar pasta salad, you’ll need:

  • 2 cups cooked pasta (penne or rotini)
  • 2 cups cooked chicken (grilled or shredded)
  • 2 cups chopped romaine lettuce
  • ½ cup Caesar dressing
  • ¼ cup grated Parmesan cheese
  • ½ cup croutons
  • Salt and pepper to taste
  • Optional: cherry tomatoes or bacon bits


Ingredient Notes

The secret to a perfect easy chicken Caesar pasta salad — picnic lunch lies in fresh, balanced ingredients.

  • Use al dente pasta to avoid sogginess
  • Grilled chicken adds smoky flavor
  • Fresh romaine gives crunch and brightness
  • High-quality Caesar dressing makes a big difference
  • Parmesan adds salty, nutty richness

You can easily customize this salad based on your preferences.


Step-by-Step Instructions

1. Cook the Pasta

Boil pasta according to package instructions. Drain and let cool completely before assembling.


2. Prepare the Chicken

Cook and slice or shred chicken. Season lightly with salt and pepper.


3. Chop the Lettuce

Wash and chop romaine lettuce into bite-sized pieces.


4. Combine Ingredients

In a large bowl, mix pasta, chicken, lettuce, Parmesan, and dressing.


5. Add Toppings

Top with croutons and additional Parmesan just before serving.


6. Chill and Serve

Refrigerate for 20–30 minutes for best flavor before serving.


Tips for Perfect Results

To make the best easy chicken Caesar pasta salad — picnic lunch, follow these tips:

  • Let pasta cool before mixing to avoid wilting lettuce
  • Add croutons just before serving to keep them crunchy
  • Use freshly grated Parmesan for better flavor
  • Don’t overdress—add dressing gradually
  • Chill before serving for enhanced taste

Variations

This salad is easy to customize.

Healthy Version

Use light dressing and whole wheat pasta.

Bacon Caesar Pasta Salad

Add crispy bacon bits for extra flavor.

Veggie Boost

Add cucumbers, tomatoes, or avocado.

Spicy Twist

Add grilled spicy chicken or chili flakes.


What to Serve With It

This easy chicken Caesar pasta salad — picnic lunch pairs well with:

  • Garlic bread
  • Fresh fruit
  • Lemonade or iced tea
  • Grilled vegetables
  • Light soups

It works great as a main dish or a side.


Storage & Reheating

For best results:

  • Refrigerator: Store for up to 3 days
  • Make ahead: Keep dressing separate until serving
  • Reheating: Not needed—serve chilled
  • Picnic tip: Keep in a cooler to stay fresh


Common Mistakes to Avoid

Avoid these mistakes when making easy chicken Caesar pasta salad — picnic lunch:

  • Mixing while pasta is still hot
  • Adding croutons too early
  • Using too much dressing
  • Skipping seasoning
  • Not chilling before serving

FAQs

1. Can I make this ahead of time?

Yes, just keep lettuce and croutons separate until serving.

2. What chicken works best?

Grilled, roasted, or rotisserie chicken all work well.

3. Can I use bottled dressing?

Yes, but high-quality dressing gives better flavor.

4. How do I keep it fresh for picnics?

Store in a cooler and add croutons last.


Final Thoughts

This easy chicken Caesar pasta salad — picnic lunch is the perfect combination of creamy, crunchy, and satisfying. It’s quick to prepare, easy to customize, and ideal for any warm-weather gathering.

Whether you’re packing a picnic, prepping lunches, or hosting friends, this recipe is guaranteed to impress and keep everyone coming back for more.

Easter Bunny Crescent Bites – Easy Easter Finger Food Ideas for Kids

If you’re planning a fun and festive holiday menu, these Easter bunny crescent bites – easy Easter finger food ideas for kids are guaranteed to steal the show. Cute, creative, and incredibly tasty, these little bites combine flaky crescent dough with delicious fillings, shaped into adorable bunny-inspired treats.

Perfect for kids and adults alike, these Easter bites are not only fun to eat but also fun to make. Whether you’re hosting a party, preparing an Easter brunch, or just looking for a creative kitchen activity with your kids, this recipe is a must-try.


Why You’ll Love This Recipe

These Easter bunny crescent bites are the perfect holiday treat.

  • Kid-friendly and fun to make
  • Perfect for Easter parties and brunch
  • Quick and easy with simple ingredients
  • Customizable with sweet or savory fillings
  • Visually adorable and Instagram-worthy

They’re a great way to bring creativity and joy to your Easter celebration.


Ingredients

To make these easy Easter finger food ideas for kids, you’ll need:

  • 1 can refrigerated crescent roll dough
  • ½ cup cream cheese or shredded cheese
  • ½ cup cooked ham or turkey (optional)
  • 1 egg (for egg wash)
  • Black olives or raisins (for bunny eyes)
  • Small carrot pieces (for noses)
  • Optional: jam or chocolate spread for sweet version


Ingredient Notes

The charm of Easter bunny crescent bites – easy Easter finger food ideas for kids comes from both flavor and creativity.

  • Crescent dough is soft, flaky, and easy to shape
  • Cream cheese adds a creamy, mild flavor
  • Ham or turkey gives a savory option
  • Olives and carrots help create cute bunny faces
  • Sweet fillings can turn this into a dessert

Feel free to mix and match fillings based on your preferences.


Step-by-Step Instructions

1. Prepare the Dough

Unroll crescent dough and separate into triangles or rectangles depending on your design.


2. Add the Filling

Place a small amount of cheese, ham, or sweet filling onto each piece of dough.


3. Shape into Bunny Forms

Fold and shape the dough into bunny ears and bodies. Get creative—this is the fun part for kids!


4. Decorate the Faces

Add olives or raisins for eyes and small carrot pieces for noses.


5. Brush and Bake

Brush with egg wash and bake at 375°F (190°C) for 10–12 minutes or until golden brown.


6. Serve and Enjoy

Let cool slightly before serving. Arrange on a festive Easter platter.


Tips for Perfect Results

To make the best Easter bunny crescent bites – easy Easter finger food ideas for kids, follow these tips:

  • Keep fillings small to maintain shape
  • Seal edges well to avoid leaks
  • Use egg wash for golden finish
  • Let kids help with shaping for fun
  • Bake until lightly golden, not overdone

Variations

These bites can be customized in many ways.

Savory Version

Use ham, cheese, and herbs.

Sweet Version

Fill with Nutella, jam, or cream cheese and sugar.

Veggie Version

Add spinach, mushrooms, or peppers.

Mini Pizza Bunnies

Use pizza sauce, cheese, and pepperoni.


What to Serve With It

These Easter bunny crescent bites pair perfectly with:

  • Fresh fruit platters
  • Mini sandwiches
  • Deviled eggs
  • Juice boxes or smoothies
  • Easter-themed desserts

They’re perfect for building a fun, kid-friendly buffet.


Storage & Reheating

For best results:

  • Refrigerator: Store for up to 3 days
  • Freezer: Freeze for up to 1 month
  • Reheating: Warm in oven at 300°F for a few minutes


Common Mistakes to Avoid

Avoid these mistakes when making Easter bunny crescent bites – easy Easter finger food ideas for kids:

  • Overfilling the dough
  • Not sealing edges properly
  • Overbaking until dry
  • Skipping decorations
  • Making shapes too thin

FAQs

1. Can kids help make these?

Yes! This recipe is perfect for kids to shape and decorate.

2. Can I make them ahead of time?

Yes, prepare and refrigerate before baking.

3. Can I make them sweet instead of savory?

Absolutely—use chocolate or fruit fillings.

4. How do I keep them from losing shape?

Don’t overfill and press edges firmly.


Final Thoughts

These Easter bunny crescent bites – easy Easter finger food ideas for kids are the perfect combination of fun, flavor, and creativity. They’re simple to make, customizable, and guaranteed to bring smiles to your table.

Whether you’re hosting a party or just making memories in the kitchen with your kids, this recipe is a delightful way to celebrate Easter.

Easy Cheesy Ham and Biscuit Casserole Recipe Perfect for Breakfast or Brunch

If you’re looking for a comforting, crowd-pleasing dish that’s both easy and delicious, this easy cheesy ham and biscuit casserole recipe perfect for breakfast or brunch is exactly what you need. It combines fluffy biscuits, savory ham, and gooey melted cheese baked together in one irresistible dish.

This casserole is perfect for busy mornings, holiday brunches, or feeding a hungry family without spending hours in the kitchen. It’s simple, satisfying, and packed with flavor in every bite.


Why You’ll Love This Recipe

This easy cheesy ham and biscuit casserole recipe perfect for breakfast or brunch is a must-try for so many reasons.

  • Quick and easy to prepare
  • Perfect for feeding a crowd
  • Uses simple, affordable ingredients
  • Great for breakfast, brunch, or even dinner
  • Comfort food that everyone loves

It’s the kind of dish that disappears quickly at the table.


Ingredients

To make this delicious cheesy ham and biscuit casserole, you’ll need:

  • 1 can refrigerated biscuit dough
  • 2 cups cooked ham (diced)
  • 1 ½ cups shredded cheddar cheese
  • 6 large eggs
  • 1 cup milk
  • ½ teaspoon garlic powder
  • ½ teaspoon onion powder
  • Salt and pepper to taste
  • Optional: green onions or parsley for garnish


Ingredient Notes

The magic of this easy cheesy ham and biscuit casserole recipe perfect for breakfast or brunch comes from its simple yet flavorful ingredients.

  • Biscuit dough creates a soft, fluffy base
  • Ham adds savory richness and protein
  • Cheddar cheese melts beautifully for a creamy texture
  • Eggs and milk create a custard-like base
  • Seasonings enhance overall flavor

You can easily swap ingredients to suit your taste.


Step-by-Step Instructions

1. Prepare the Biscuits

Cut biscuit dough into small pieces and spread evenly in a greased baking dish.


2. Add Ham and Cheese

Sprinkle diced ham and shredded cheese evenly over the biscuit pieces.


3. Mix the Egg Base

In a bowl, whisk together eggs, milk, garlic powder, onion powder, salt, and pepper.


4. Pour and Assemble

Pour the egg mixture evenly over the casserole, ensuring everything is well coated.


5. Bake Until Golden

Bake at 350°F (175°C) for 35–40 minutes or until the top is golden and the center is set.


6. Cool and Serve

Let the casserole cool slightly before slicing and serving.


Tips for Perfect Results

To make the best easy cheesy ham and biscuit casserole recipe perfect for breakfast or brunch, keep these tips in mind:

  • Don’t overcrowd biscuit pieces
  • Use freshly shredded cheese for better melting
  • Let casserole rest before cutting
  • Adjust seasoning to taste
  • Cover loosely with foil if top browns too quickly

Variations

This casserole is easy to customize.

Breakfast Deluxe

Add cooked bacon or sausage.

Veggie Version

Add spinach, bell peppers, or mushrooms.

Spicy Twist

Add jalapeños or hot sauce.

Cheese Lovers

Mix cheddar with mozzarella or pepper jack.


What to Serve With It

This cheesy ham and biscuit casserole pairs perfectly with:

  • Fresh fruit salad
  • Yogurt parfaits
  • Green salad
  • Hash browns
  • Coffee or fresh juice

It’s a complete meal on its own or part of a larger brunch spread.


Storage & Reheating

This casserole stores very well:

  • Refrigerator: Store for up to 4 days
  • Freezer: Freeze portions for up to 2 months
  • Reheating: Warm in oven at 300°F or microwave


Common Mistakes to Avoid

Avoid these mistakes when making easy cheesy ham and biscuit casserole recipe perfect for breakfast or brunch:

  • Using too much liquid
  • Overbaking until dry
  • Not greasing the baking dish
  • Skipping seasoning
  • Cutting before it sets

FAQs

1. Can I make this casserole ahead of time?

Yes, assemble it the night before and bake in the morning.

2. Can I use leftover ham?

Absolutely, it’s perfect for using leftovers.

3. Can I make it without eggs?

You can substitute with egg alternatives, but texture may change.

4. How do I know it’s fully cooked?

The center should be set and not jiggly.


Final Thoughts

This easy cheesy ham and biscuit casserole recipe perfect for breakfast or brunch is everything you want in a comforting dish—simple, hearty, and full of flavor. It’s perfect for holidays, family meals, or meal prep.

Once you try it, you’ll see why it’s a go-to recipe that keeps everyone coming back for seconds.

Baked Ham and Cheese Croissants (Affordable Easter Brunch Idea!)

If you’re planning a festive yet budget-friendly holiday meal, these baked ham and cheese croissants (affordable Easter brunch idea!) are exactly what you need. Buttery croissants filled with savory ham and melted cheese, baked until golden and crisp—this dish is simple, comforting, and incredibly satisfying.

Perfect for Easter brunch, weekend gatherings, or even quick family breakfasts, these croissants strike the perfect balance between elegance and ease. They look impressive on the table but require minimal effort and affordable ingredients.


Why You’ll Love This Recipe

These baked ham and cheese croissants are a must-have for any brunch table.

  • Affordable ingredients perfect for feeding a crowd
  • Quick and easy to prepare
  • Flaky, buttery, and filled with melty cheese
  • Perfect for Easter brunch or casual gatherings
  • Can be made ahead for convenience

They’re a simple way to elevate your brunch menu without spending a lot.


Ingredients

To make these delicious baked ham and cheese croissants, you’ll need:

  • 6 croissants (store-bought or bakery fresh)
  • 6 slices deli ham
  • 6 slices Swiss or cheddar cheese
  • 2 tablespoons butter (melted)
  • 1 tablespoon Dijon mustard (optional)
  • 1 tablespoon honey (optional for glaze)
  • 1 teaspoon poppy seeds or sesame seeds
  • Fresh parsley for garnish (optional)


Ingredient Notes

The success of baked ham and cheese croissants (affordable Easter brunch idea!) comes from simple but flavorful ingredients.

  • Use fresh, buttery croissants for best texture
  • Swiss cheese gives a classic flavor, but cheddar works great too
  • Honey adds a subtle sweetness that balances the savory filling
  • Dijon mustard adds a tangy depth

You can easily adjust ingredients based on your preferences or what you have on hand.


Step-by-Step Instructions

1. Prepare the Croissants

Slice each croissant in half horizontally, creating a top and bottom layer.


2. Add the Filling

Layer ham and cheese inside each croissant. Spread a thin layer of Dijon mustard if desired.


3. Arrange in Baking Dish

Place filled croissants in a baking dish, slightly overlapping if needed.


4. Add Butter Glaze

Brush melted butter over the croissants and sprinkle with poppy seeds or sesame seeds.


5. Bake Until Golden

Bake at 350°F (175°C) for 12–15 minutes or until cheese is melted and croissants are golden brown.


6. Serve Warm

Remove from oven and let cool slightly before serving. Garnish with parsley if desired.


Tips for Perfect Results

To make the best baked ham and cheese croissants (affordable Easter brunch idea!), follow these tips:

  • Use day-old croissants for better structure
  • Don’t overfill to prevent spilling
  • Brush generously with butter for crispiness
  • Bake until golden, not overly dark
  • Serve immediately for best flavor and texture

Variations

These croissants are easy to customize.

Turkey and Cheese Croissants

Swap ham for turkey slices.

Sweet & Savory Version

Add a drizzle of honey or maple syrup.

Spicy Twist

Add jalapeños or spicy mustard.

Breakfast Style

Add scrambled eggs for a morning version.


What to Serve With It

These baked ham and cheese croissants pair perfectly with:

  • Fresh fruit salad
  • Scrambled eggs
  • Green salad
  • Yogurt parfaits
  • Coffee or fresh juice

They’re perfect for building a complete brunch spread.


Storage & Reheating

These croissants are great for leftovers:

  • Refrigerator: Store for up to 3 days
  • Freezer: Freeze for up to 1 month
  • Reheating: Bake at 300°F for 8–10 minutes or microwave briefly


Common Mistakes to Avoid

Avoid these mistakes when making baked ham and cheese croissants (affordable Easter brunch idea!):

  • Using stale or dry croissants
  • Overbaking until too crispy
  • Skipping butter glaze
  • Adding too much filling
  • Not serving warm

FAQs

1. Can I make these croissants ahead of time?

Yes, assemble them and refrigerate, then bake before serving.

2. What cheese works best?

Swiss, cheddar, or even mozzarella all work well.

3. Can I freeze baked croissants?

Yes, wrap individually and freeze for easy reheating.

4. How do I keep them from getting soggy?

Avoid overfilling and bake until lightly crisp.


Final Thoughts

These baked ham and cheese croissants (affordable Easter brunch idea!) are the perfect mix of simplicity, flavor, and elegance. They’re easy to prepare, budget-friendly, and guaranteed to impress your guests.

Whether you’re hosting Easter brunch or just want a cozy weekend treat, this recipe delivers every time. Once you try it, it’s sure to become a staple in your brunch rotation.

Classic Easter Chicken Salad Crescent Rolls – A Fresh & Festive Spring Favorite

Introduction

If you’re planning a spring brunch or a festive holiday spread, these classic Easter chicken salad crescent rolls are the perfect addition to your table. Light, creamy chicken salad tucked inside buttery, flaky crescent rolls creates a dish that’s both comforting and refreshingly bright.

This recipe combines tender chicken, crisp vegetables, and a creamy dressing with soft, golden pastry. It’s ideal for Easter celebrations, baby showers, picnics, or any occasion where you want something elegant yet easy to prepare.


Why You’ll Love This Recipe

These classic Easter chicken salad crescent rolls are a must-try for spring entertaining.

  • Perfect for Easter brunch and gatherings
  • Light, fresh, and flavorful
  • Easy to make ahead of time
  • Beautiful presentation for holiday tables
  • Crowd-pleasing and family-friendly

They strike the perfect balance between comfort food and fresh seasonal flavors.


Ingredients

To make these delicious Easter chicken salad crescent rolls, you’ll need:

  • 2 cups cooked chicken (shredded or diced)
  • 1 can crescent roll dough
  • ½ cup mayonnaise
  • 1 tablespoon Dijon mustard
  • ½ cup celery (finely chopped)
  • ¼ cup red onion (finely diced)
  • ¼ cup grapes or dried cranberries (optional)
  • Salt and pepper to taste
  • Optional: chopped parsley or dill


Ingredient Notes

The beauty of classic Easter chicken salad crescent rolls lies in the balance of textures and flavors.

  • Use rotisserie chicken for convenience and flavor
  • Add grapes or cranberries for a sweet contrast
  • Fresh herbs like dill or parsley brighten the dish
  • Finely chopped vegetables ensure even texture
  • High-quality mayonnaise creates a creamy base

Feel free to adjust ingredients based on your taste preferences.


Step-by-Step Instructions

1. Prepare the Chicken Salad

In a large bowl, combine shredded chicken, mayonnaise, Dijon mustard, celery, onion, and optional grapes. Mix until creamy and well combined. Season with salt and pepper.


2. Bake the Crescent Rolls

Preheat oven to 375°F (190°C). Unroll crescent dough and bake according to package instructions until golden brown. Let cool completely.


3. Slice and Fill

Once cooled, slice crescent rolls in half and generously fill with chicken salad.


4. Assemble and Garnish

Arrange filled rolls on a serving platter and garnish with fresh herbs for a festive look.


Tips for Perfect Results

To make the best classic Easter chicken salad crescent rolls, follow these expert tips:

  • Chill chicken salad before serving for best flavor
  • Don’t overfill rolls to avoid mess
  • Use freshly baked crescent rolls for best texture
  • Add herbs just before serving for freshness
  • Taste and adjust seasoning before assembling

Variations

These rolls are easy to customize for different tastes.

Light Version

Use Greek yogurt instead of mayonnaise.

Crunchy Version

Add chopped nuts like almonds or pecans.

Savory Twist

Add bacon bits or shredded cheese.

Sweet & Savory

Include apples or extra grapes for a fruity touch.


What to Serve With It

These classic Easter chicken salad crescent rolls pair beautifully with:

  • Fresh fruit salad
  • Spring green salad
  • Deviled eggs
  • Lemonade or iced tea
  • Light soups like vegetable or chicken broth

They make a perfect addition to any brunch spread.


Storage & Reheating

For best freshness:

  • Refrigerator: Store chicken salad separately for up to 3 days
  • Crescent rolls: Store in airtight container for 2 days
  • Assembly: Fill rolls just before serving
  • Reheating: Not recommended once assembled


Common Mistakes to Avoid

Avoid these mistakes when making classic Easter chicken salad crescent rolls:

  • Filling rolls while still warm (makes them soggy)
  • Using too much dressing
  • Not seasoning properly
  • Overloading with too many mix-ins
  • Skipping chilling time

FAQs

1. Can I make chicken salad ahead of time?

Yes, it actually tastes better after chilling for a few hours.

2. What chicken works best?

Rotisserie chicken is the easiest and most flavorful option.

3. Can I make this recipe healthier?

Yes, substitute Greek yogurt for mayonnaise.

4. Are these served cold or warm?

They’re best served chilled or at room temperature.


Final Thoughts

These classic Easter chicken salad crescent rolls are the perfect combination of creamy, flaky, and fresh flavors. They’re easy to prepare, beautiful to serve, and ideal for any spring celebration.

Whether you’re hosting Easter brunch or looking for a light and elegant dish, this recipe delivers both flavor and simplicity. Once you try it, it’s sure to become a seasonal favorite in your kitchen.