If you’re searching for a fast, satisfying, and crowd-pleasing breakfast idea, these quick & delicious sausage egg breakfast rolls – the perfect brunch bite are exactly what you need. They combine fluffy scrambled eggs, savory sausage, and melty cheese all wrapped in soft, golden dough for a handheld breakfast that’s impossible to resist.
Whether you’re hosting brunch, feeding a busy family, or meal-prepping for the week, these breakfast rolls are a total lifesaver. They’re easy to make, incredibly flavorful, and perfect for eating on the go.

Why You’ll Love This Recipe
These sausage egg breakfast rolls are everything you want in a breakfast recipe—simple, hearty, and delicious.
- Quick and easy to prepare in under 30 minutes
- Perfect handheld brunch or breakfast option
- Great for meal prep and freezing
- Kid-friendly and family-approved
- Packed with protein and flavor
Once you try them, they’ll become a regular part of your breakfast rotation.
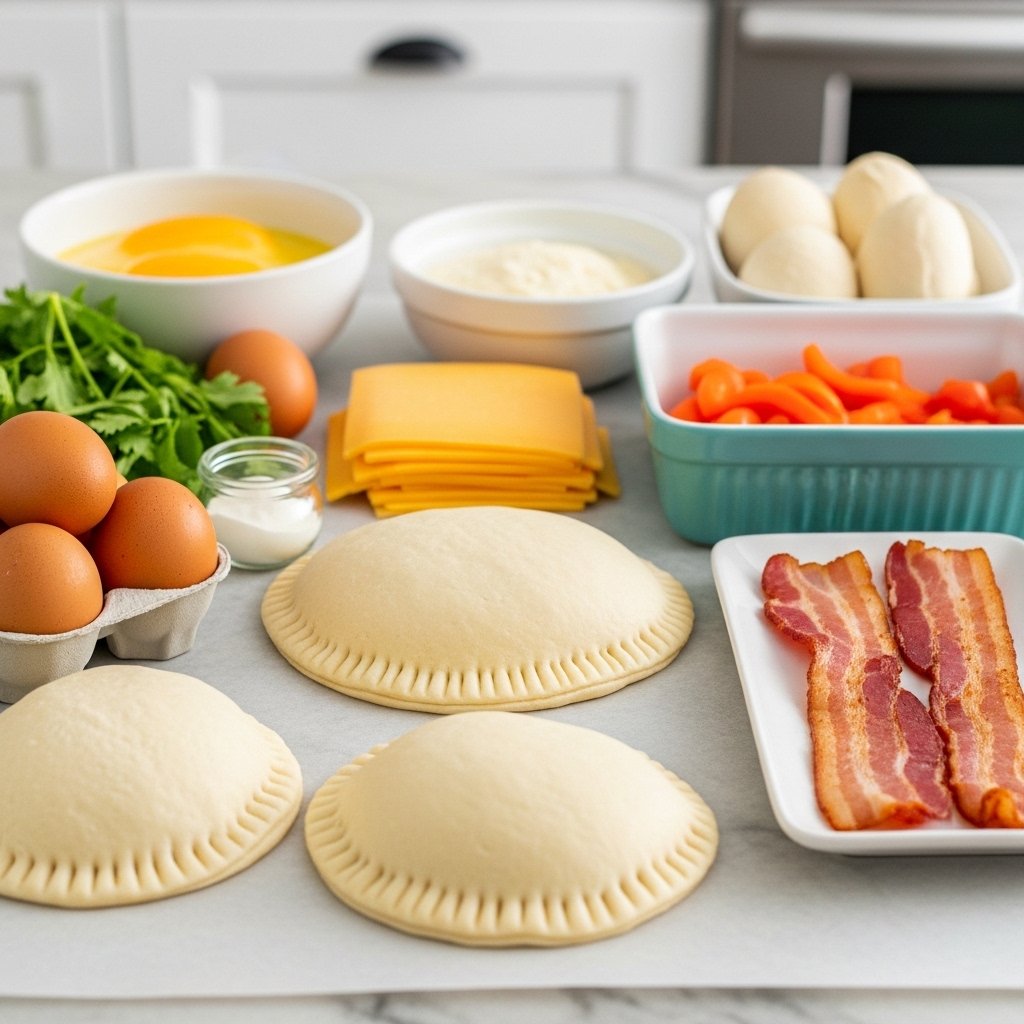
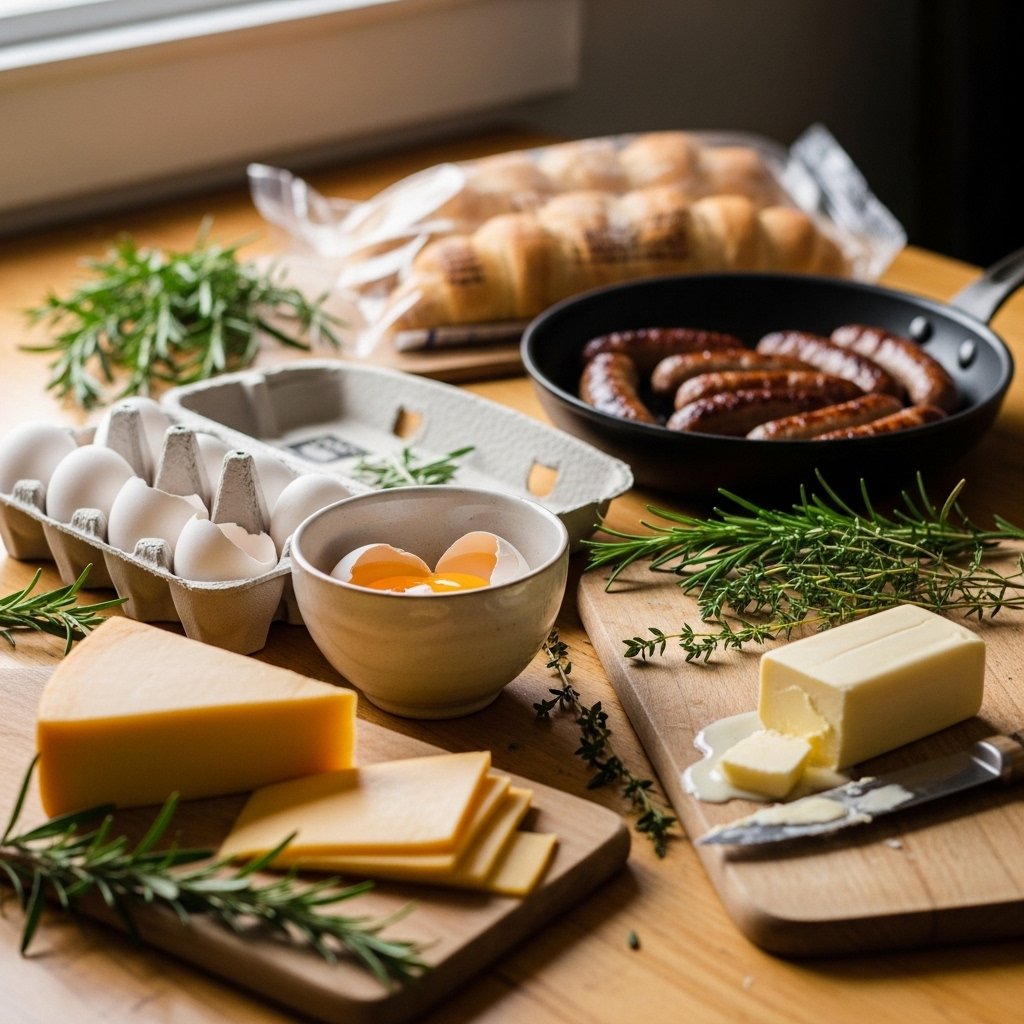
Ingredients
To make these tasty sausage egg breakfast rolls, you’ll need:
- 1 can refrigerated crescent roll dough or pizza dough
- 6 large eggs
- 1 cup cooked breakfast sausage (crumbled)
- 1 cup shredded cheddar cheese
- 2 tablespoons milk
- Salt and pepper to taste
- 1 tablespoon butter (for cooking eggs)
- Optional: green onions, hot sauce, or spinach
Ingredient Notes
The secret to perfect quick & delicious sausage egg breakfast rolls is using quality ingredients and balancing texture.
- Crescent dough creates soft, buttery rolls
- Cooked sausage adds savory richness
- Fresh eggs keep the filling fluffy
- Cheddar cheese melts beautifully for creamy texture
- Milk helps make scrambled eggs soft and tender
You can customize fillings based on what you have in your fridge.
Step-by-Step Instructions
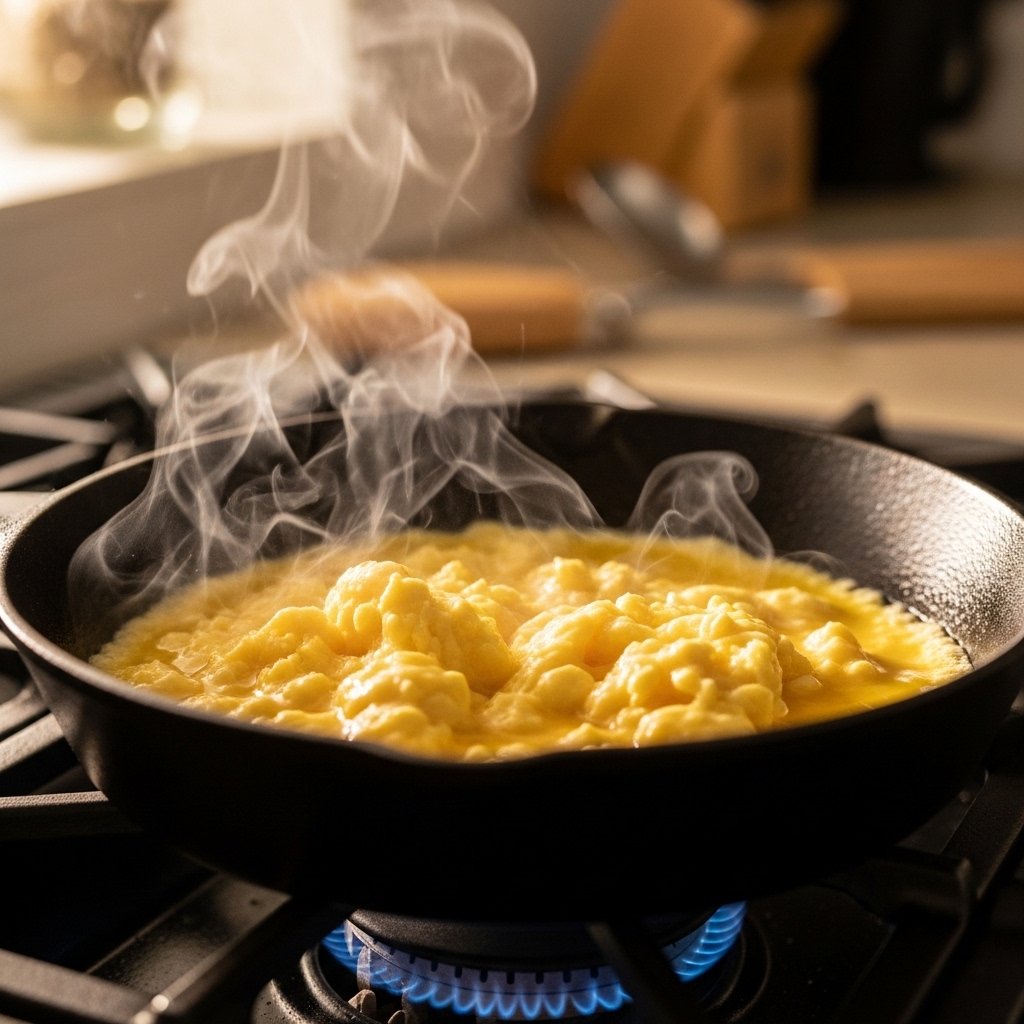
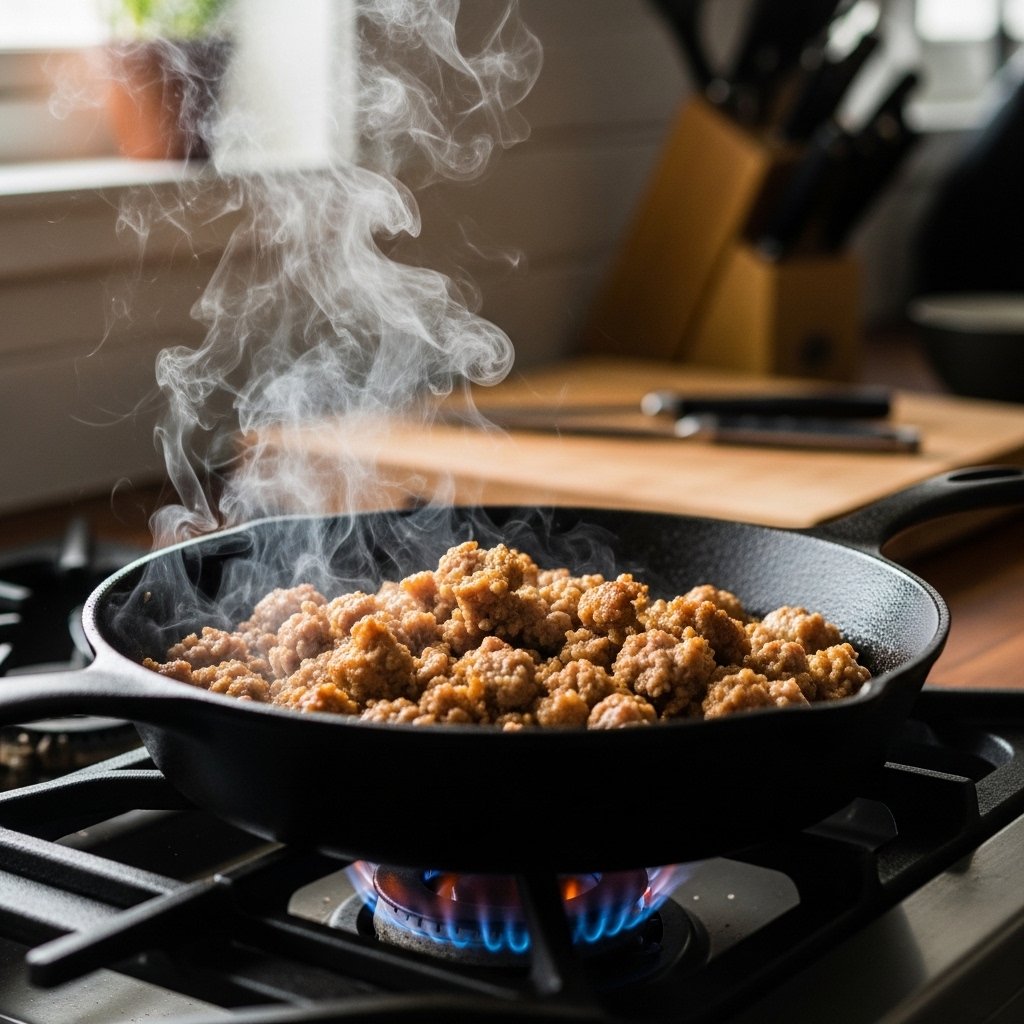
1. Cook the Sausage
In a skillet, cook breakfast sausage until browned and crumbly. Drain excess fat and set aside.
2. Scramble the Eggs
Whisk eggs with milk, salt, and pepper. Cook in butter over medium-low heat until soft and fluffy.
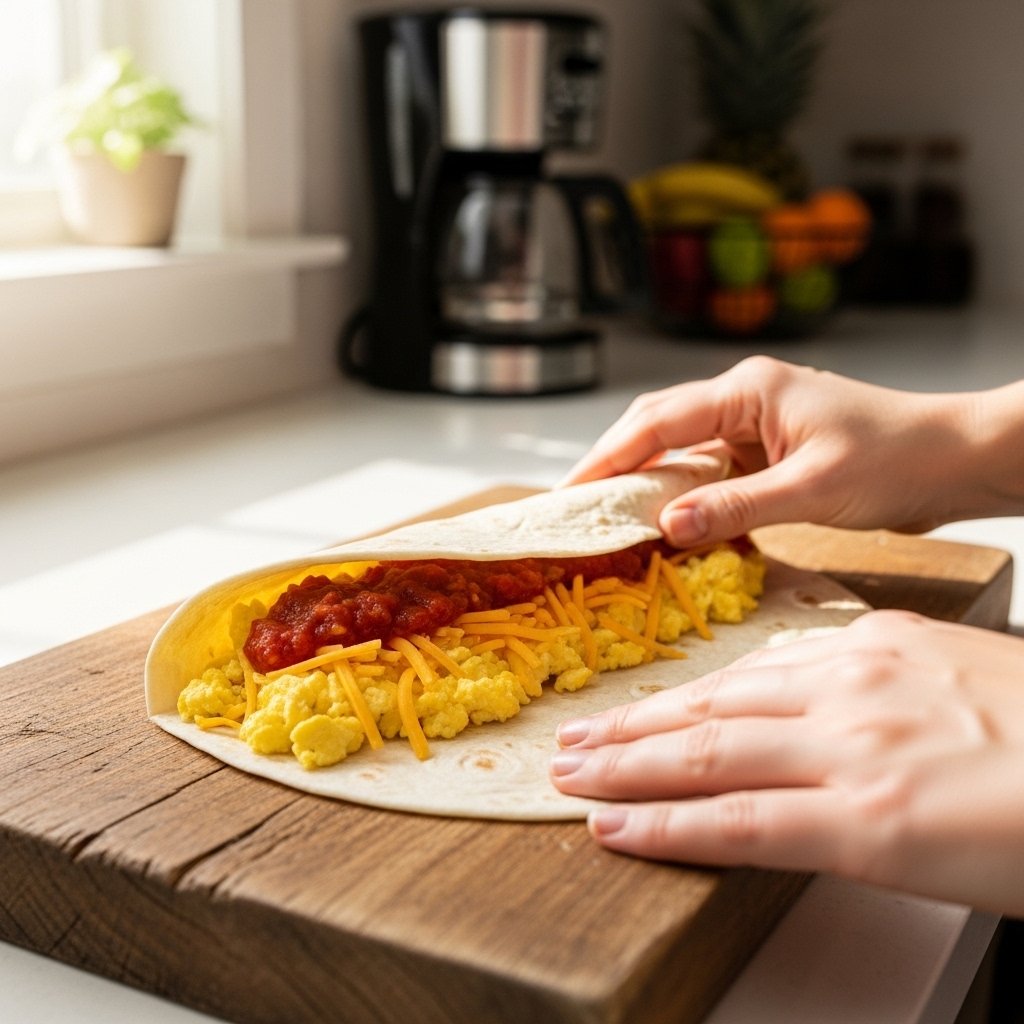
3. Prepare the Dough
Roll out crescent dough or pizza dough and separate into triangles or rectangles.
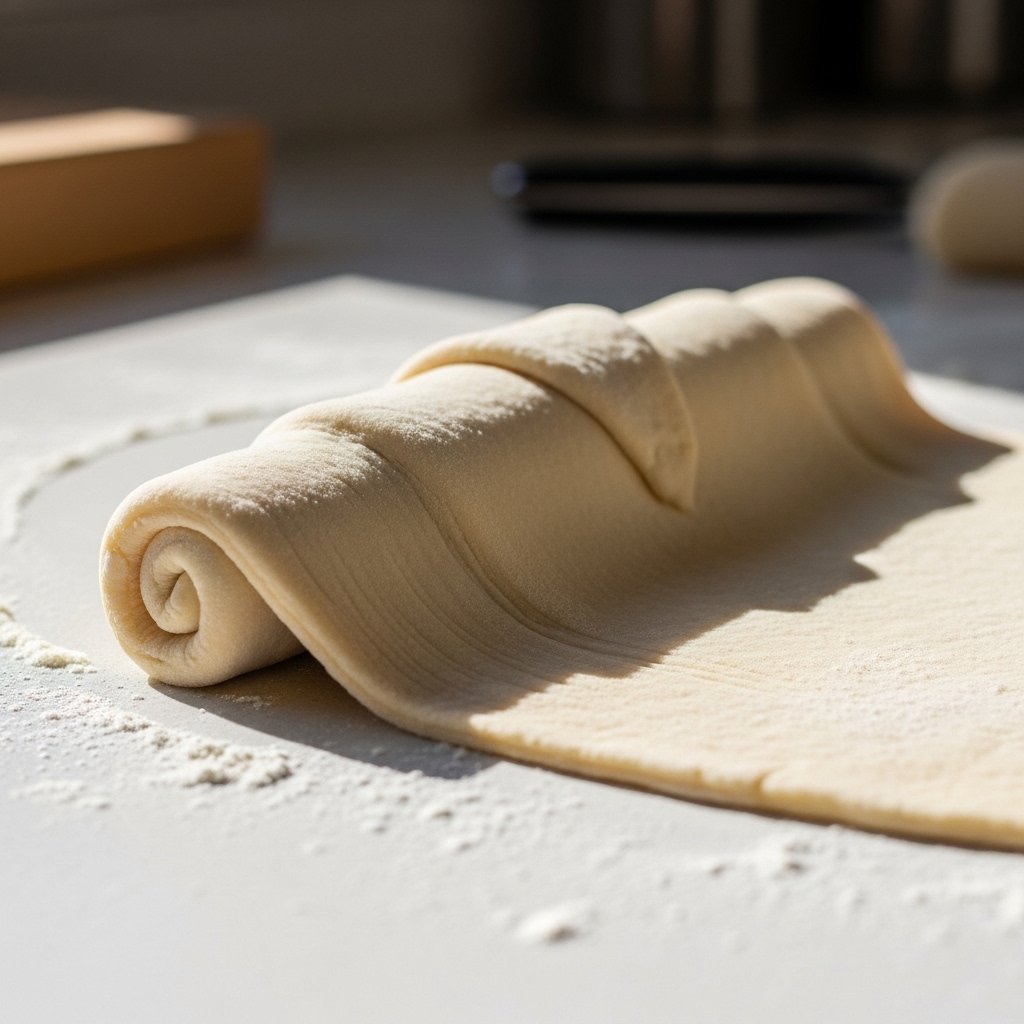
4. Assemble the Rolls
Add scrambled eggs, sausage, and cheese onto each piece of dough. Roll tightly into a log or crescent shape.

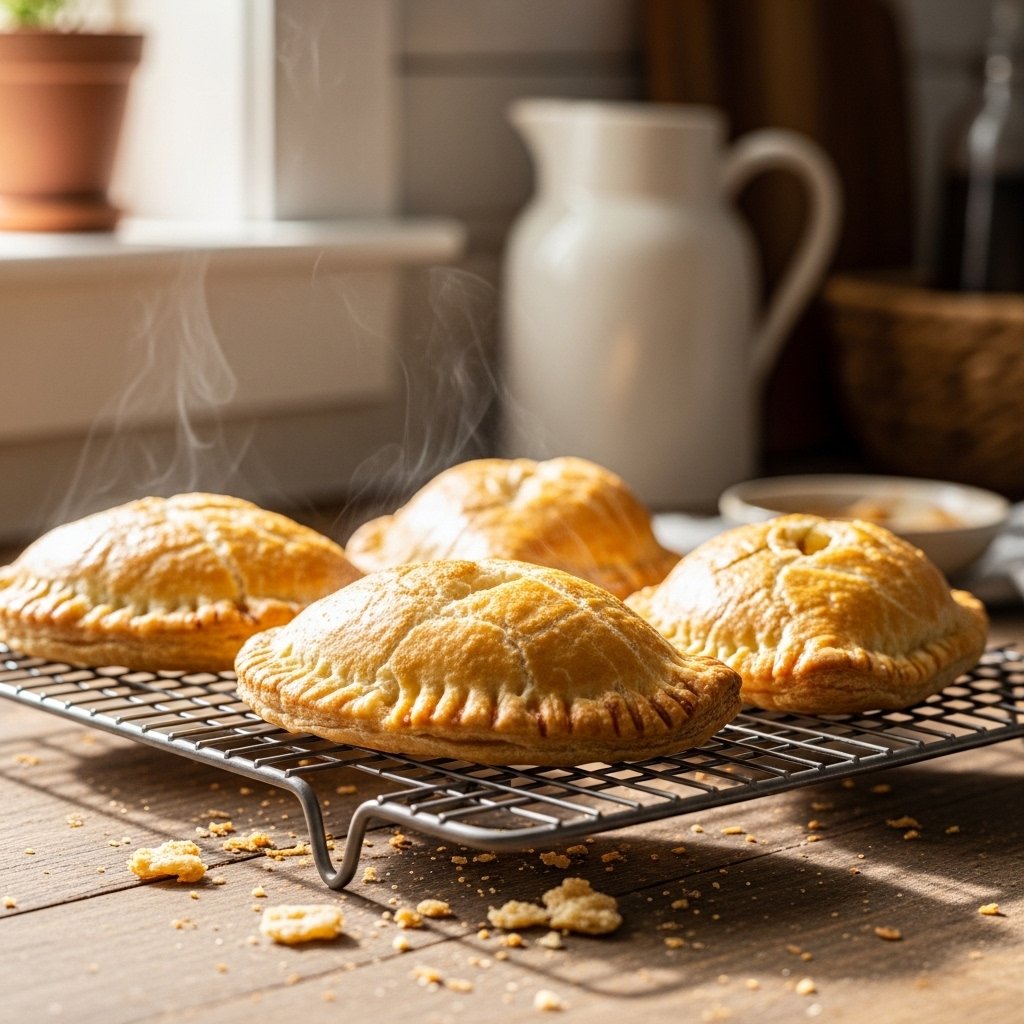
5. Bake Until Golden
Place rolls on a baking sheet and bake at 375°F (190°C) for 12–15 minutes or until golden brown.

6. Serve Warm
Brush with melted butter and serve warm for the best flavor and texture.

Tips for Perfect Results
To make the best quick & delicious sausage egg breakfast rolls, follow these tips:
- Don’t overfill the dough or rolls may burst
- Cool filling slightly before assembling
- Seal edges tightly for best shape
- Brush with butter for golden color and flavor
- Bake on parchment paper for easy cleanup
Variations
These breakfast rolls are highly customizable.
Spicy Version
Add jalapeños or spicy sausage for a kick.
Veggie Version
Add spinach, mushrooms, or bell peppers.
Cheese Lover’s Roll
Use a mix of cheddar, mozzarella, and pepper jack.
Sweet & Savory Twist
Add a drizzle of maple syrup inside before rolling.

What to Serve With It
These sausage egg breakfast rolls pair perfectly with:
- Fresh fruit salad
- Hash browns or roasted potatoes
- Yogurt and granola
- Coffee or fresh juice
- Simple green smoothie
They’re filling enough to enjoy alone or as part of a brunch spread.
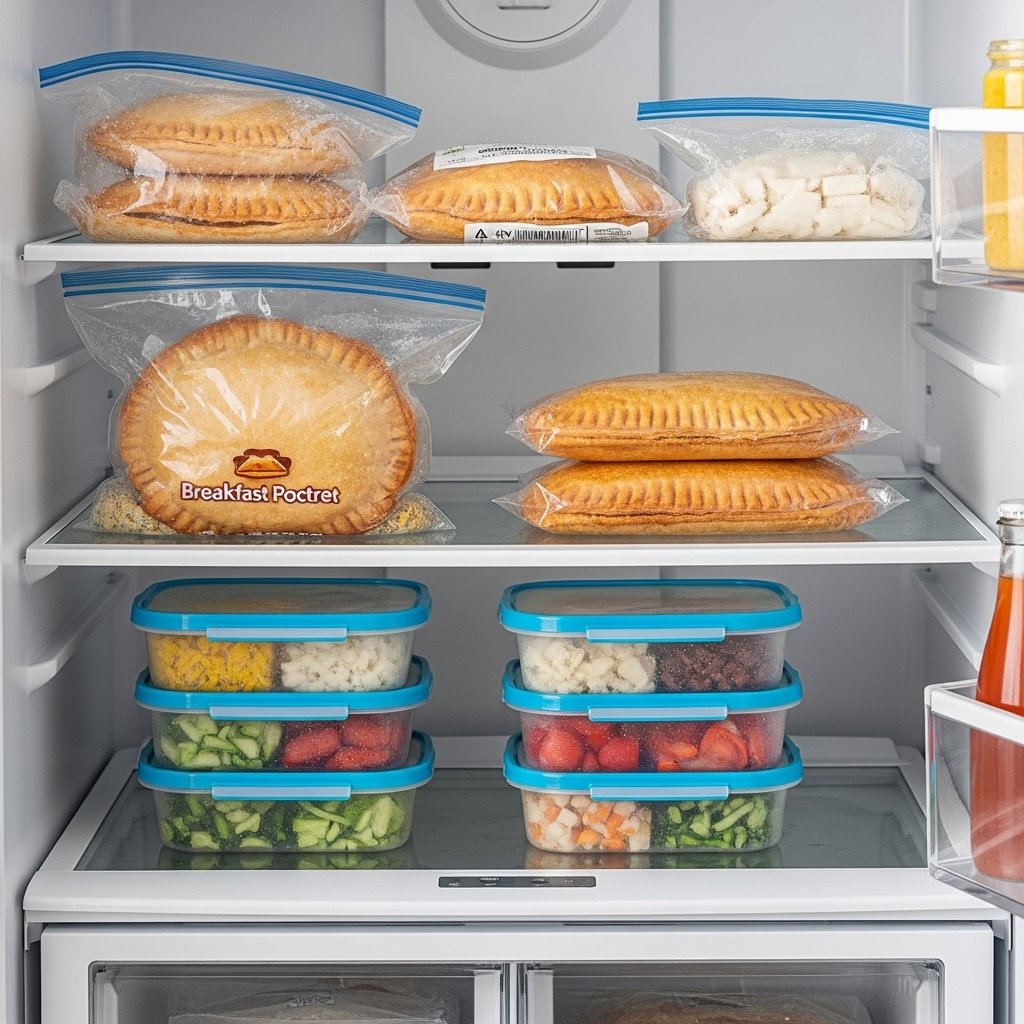
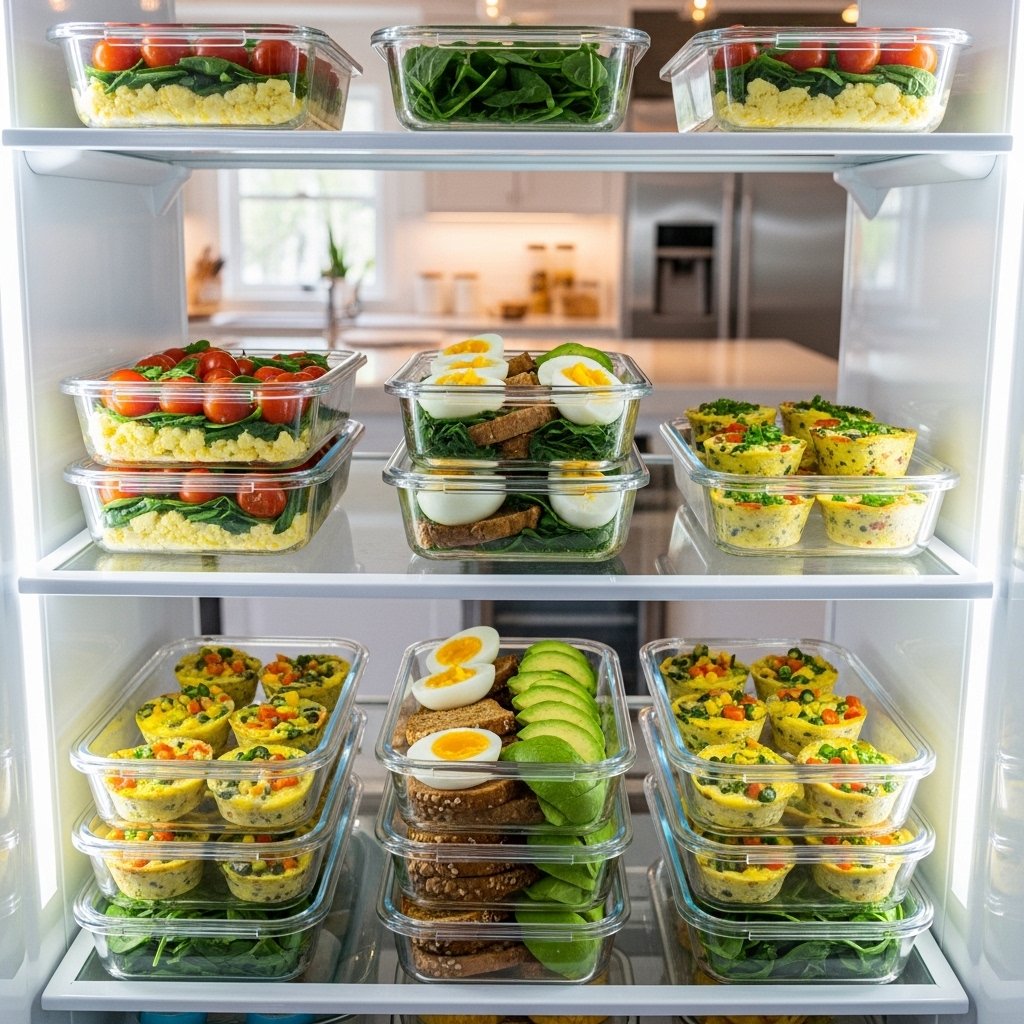
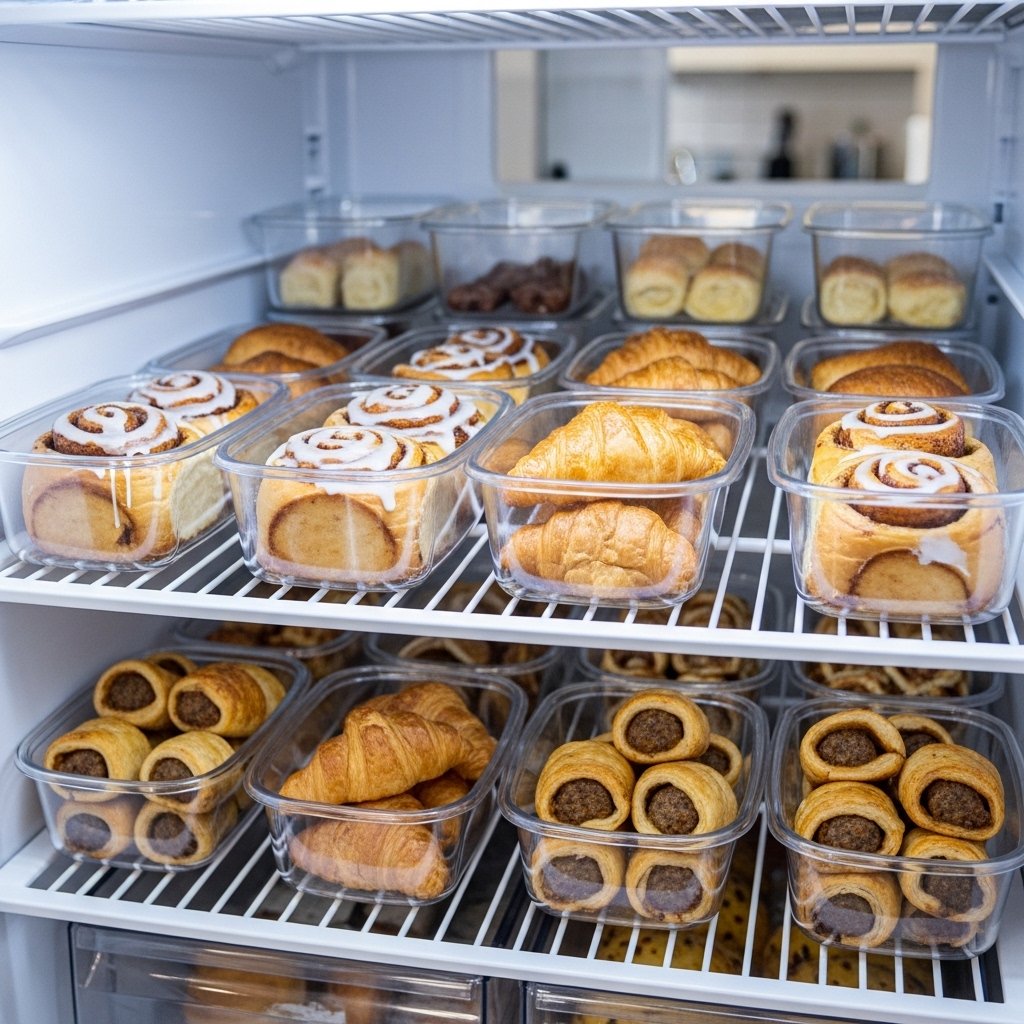
Storage & Reheating
These rolls store very well, making them great for meal prep.
- Refrigerator: Store for up to 4 days in airtight container
- Freezer: Freeze individually for up to 2 months
- Reheating (oven): 350°F for 8–10 minutes
- Reheating (microwave): 30–60 seconds for quick option
Common Mistakes to Avoid
Avoid these mistakes when making quick & delicious sausage egg breakfast rolls:
- Overfilling the dough
- Using watery scrambled eggs
- Not sealing edges properly
- Overbaking until dry
- Skipping butter brushing
FAQs
1. Can I make these breakfast rolls ahead of time?
Yes, they’re perfect for meal prep and reheat well.
2. Can I freeze sausage egg breakfast rolls?
Absolutely—wrap individually and freeze for up to 2 months.
3. What dough works best?
Crescent roll dough is easiest, but pizza dough also works great.
4. Can I add vegetables?
Yes, cooked veggies like spinach or peppers work perfectly.
Final Thoughts
These quick & delicious sausage egg breakfast rolls – the perfect brunch bite are the ultimate easy breakfast solution. They’re warm, fluffy, cheesy, and packed with flavor in every bite.
Whether you’re making them for brunch, meal prep, or busy mornings, they deliver every time. Once you try them, they’ll quickly become one of your go-to breakfast recipes.