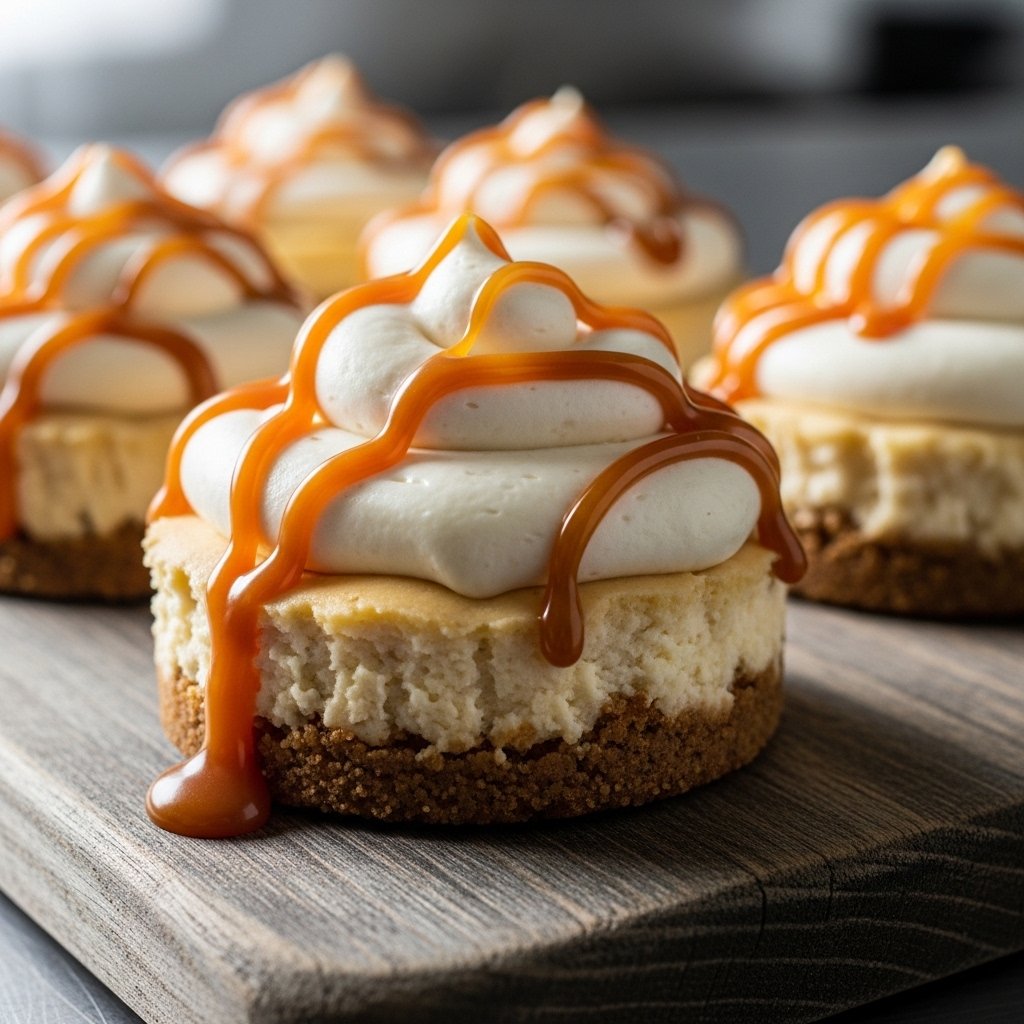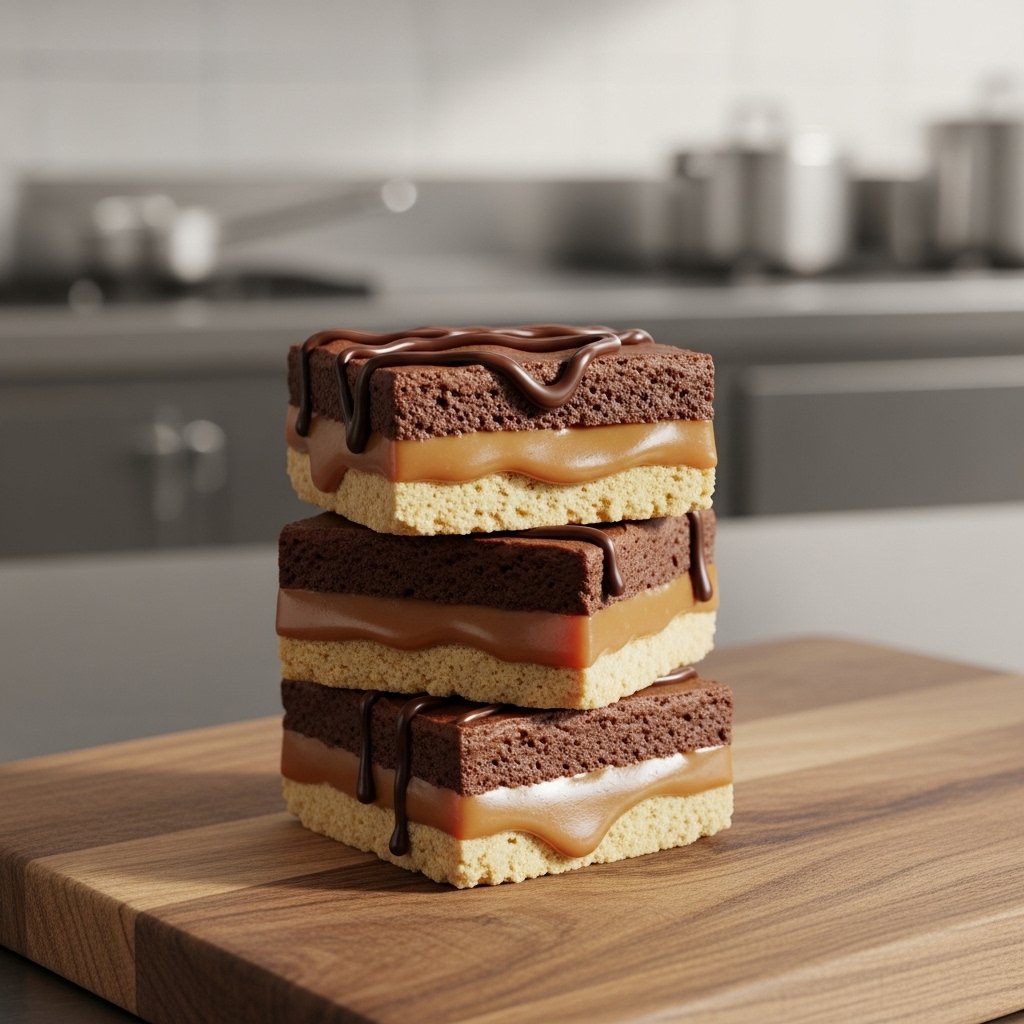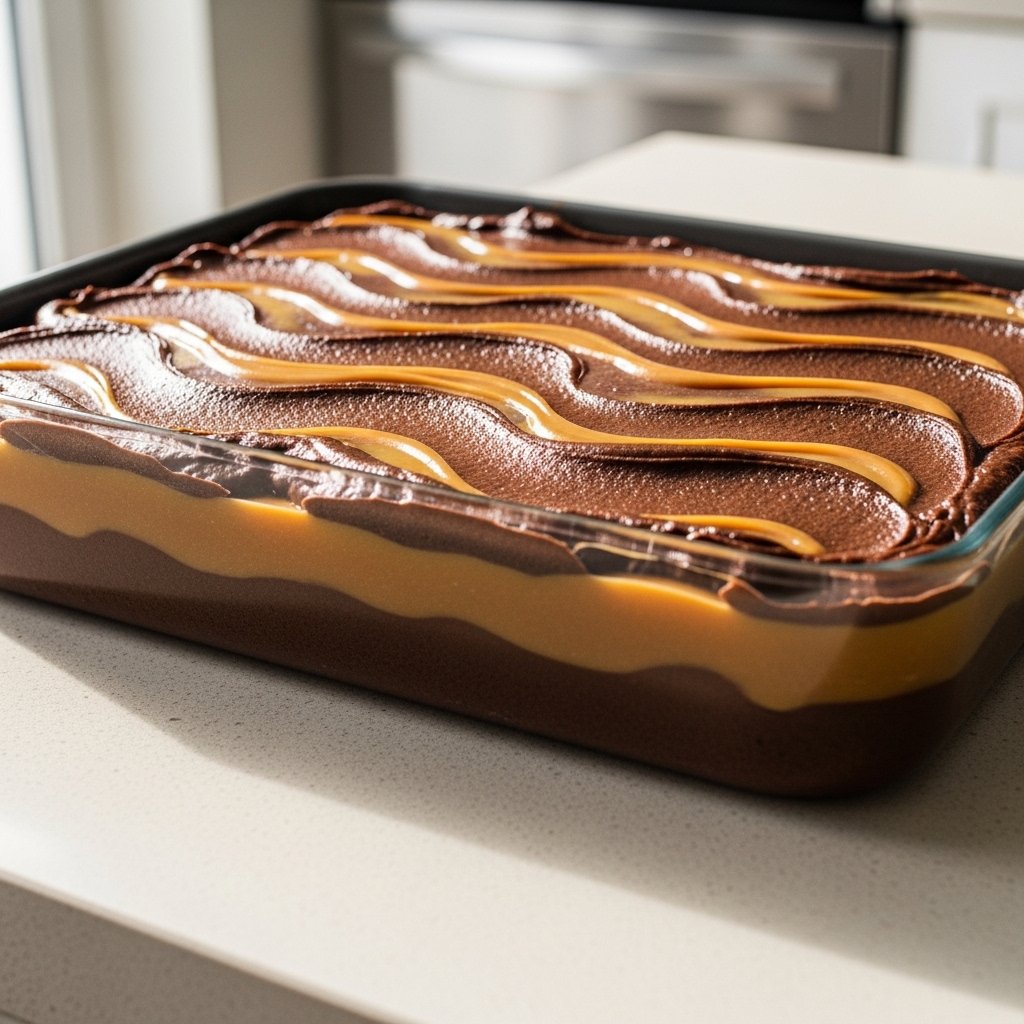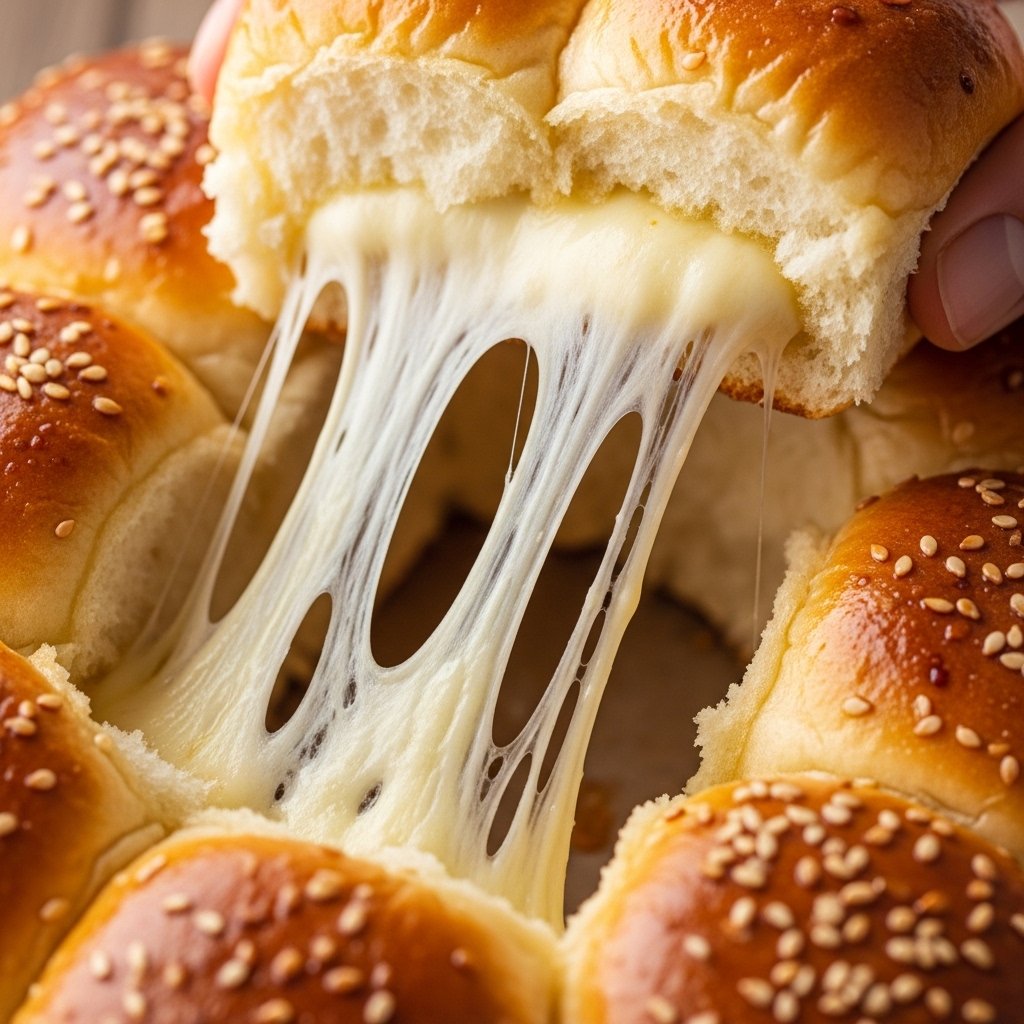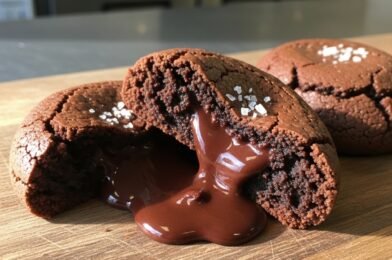
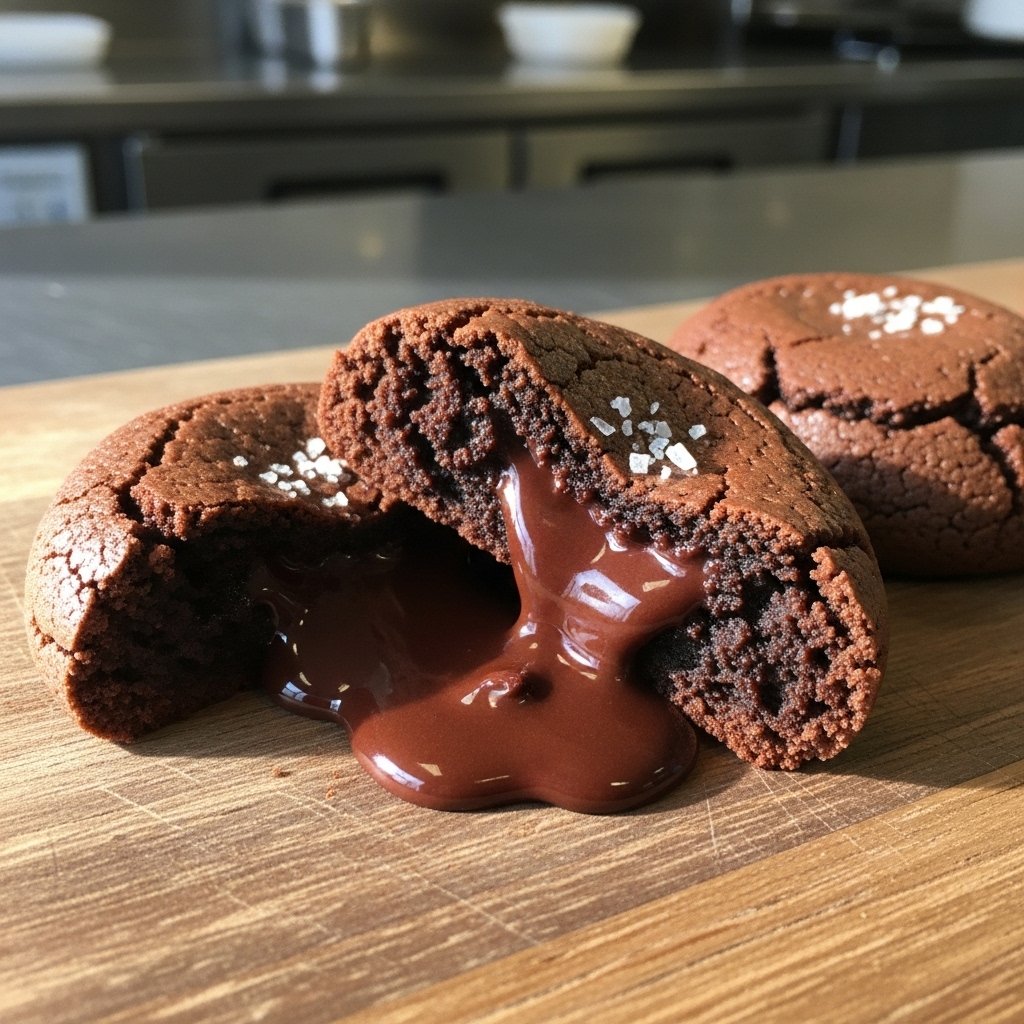
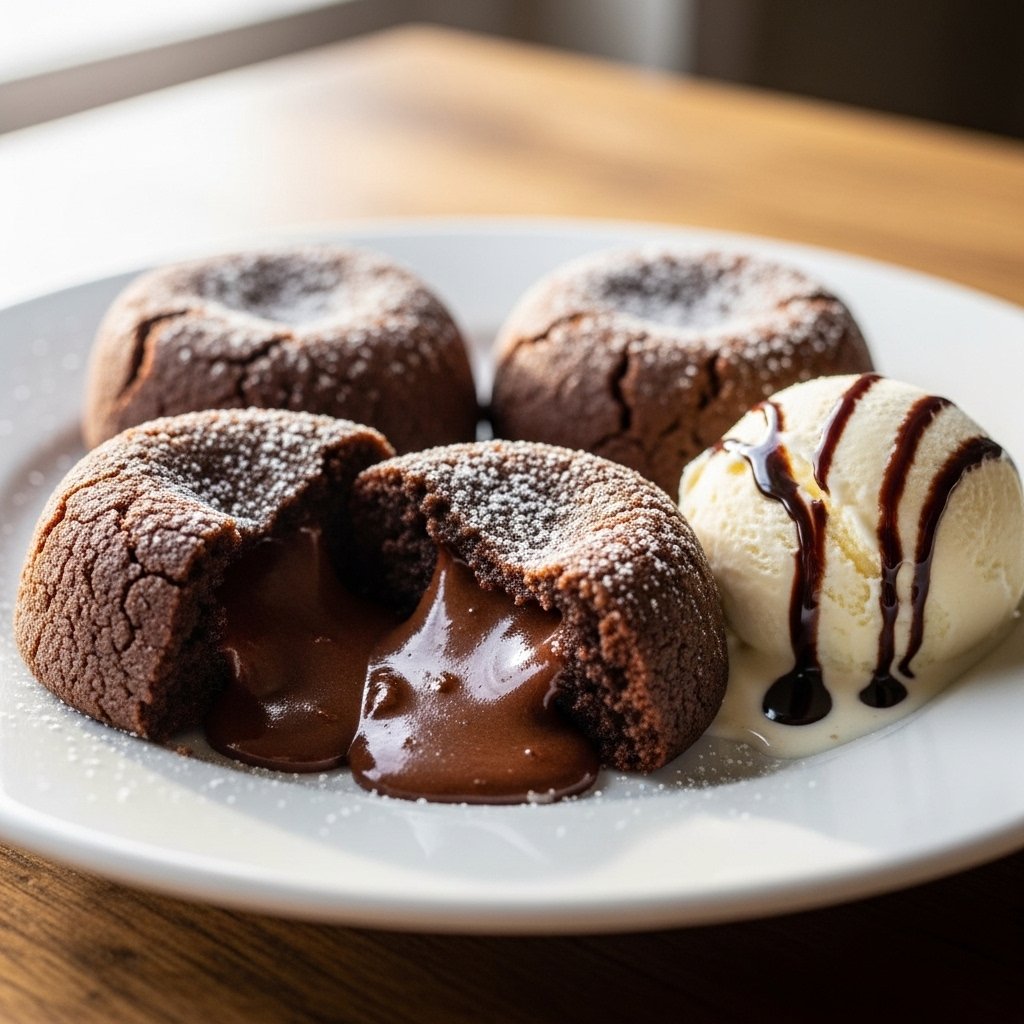
If you’re torn between baking brownies or cookies, these decadent chocolate lava brownie cookies give you the best of both worlds. Imagine biting into a rich, fudgy cookie only to discover a warm, molten chocolate center flowing out like a classic lava cake. It’s indulgent, dramatic, and completely irresistible.
These cookies are perfect for chocolate lovers who crave something extra special. Whether you’re baking for a party, date night, or simply treating yourself, this recipe delivers bakery-quality results right at home. The contrast between the slightly crisp edges and gooey center makes every bite unforgettable.
Why You’ll Love This Recipe
These decadent chocolate lava brownie cookies are everything a dessert should be—rich, comforting, and a little bit indulgent.
- Gooey molten chocolate center in every bite
- Crisp edges with a soft, fudgy middle
- Perfect balance between brownies and cookies
- Easy to make with simple ingredients
- Impressive presentation for guests
Once you try them, they’ll quickly become your go-to chocolate dessert.
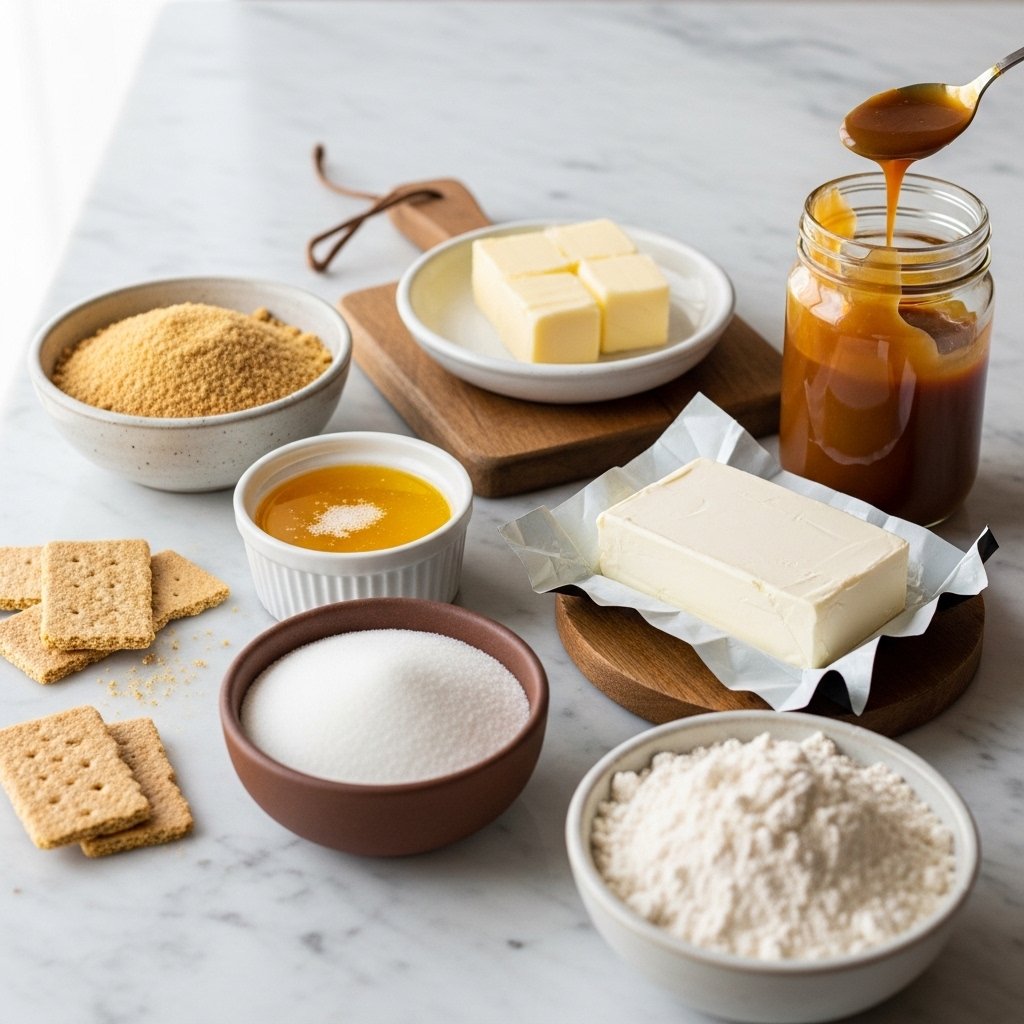
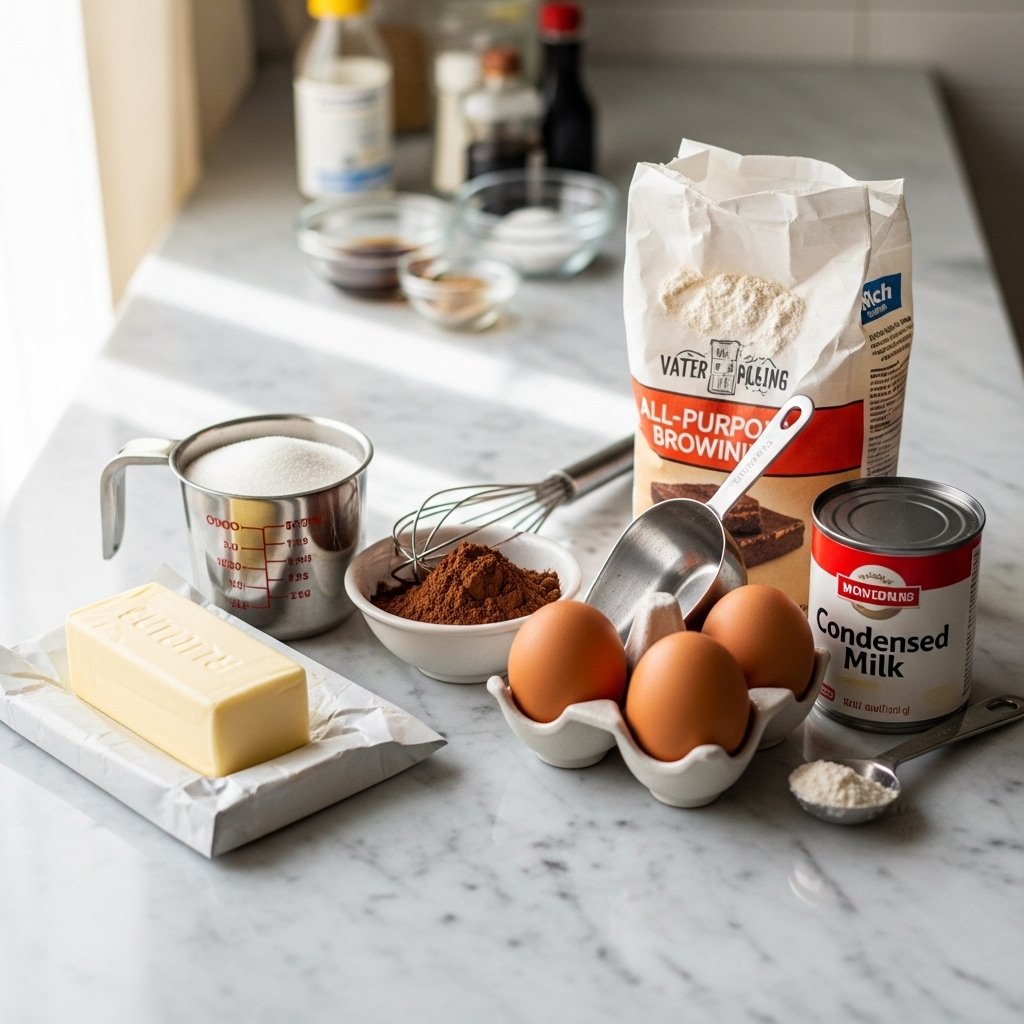
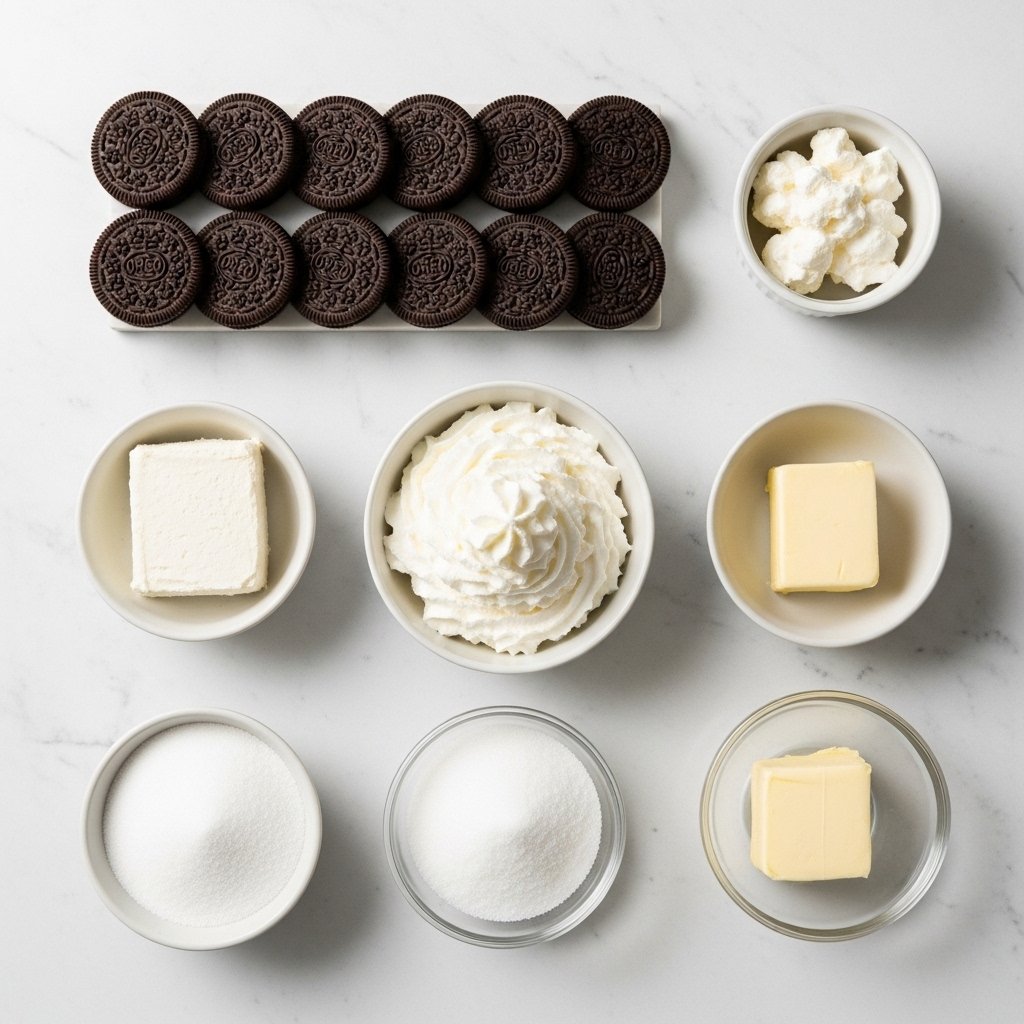
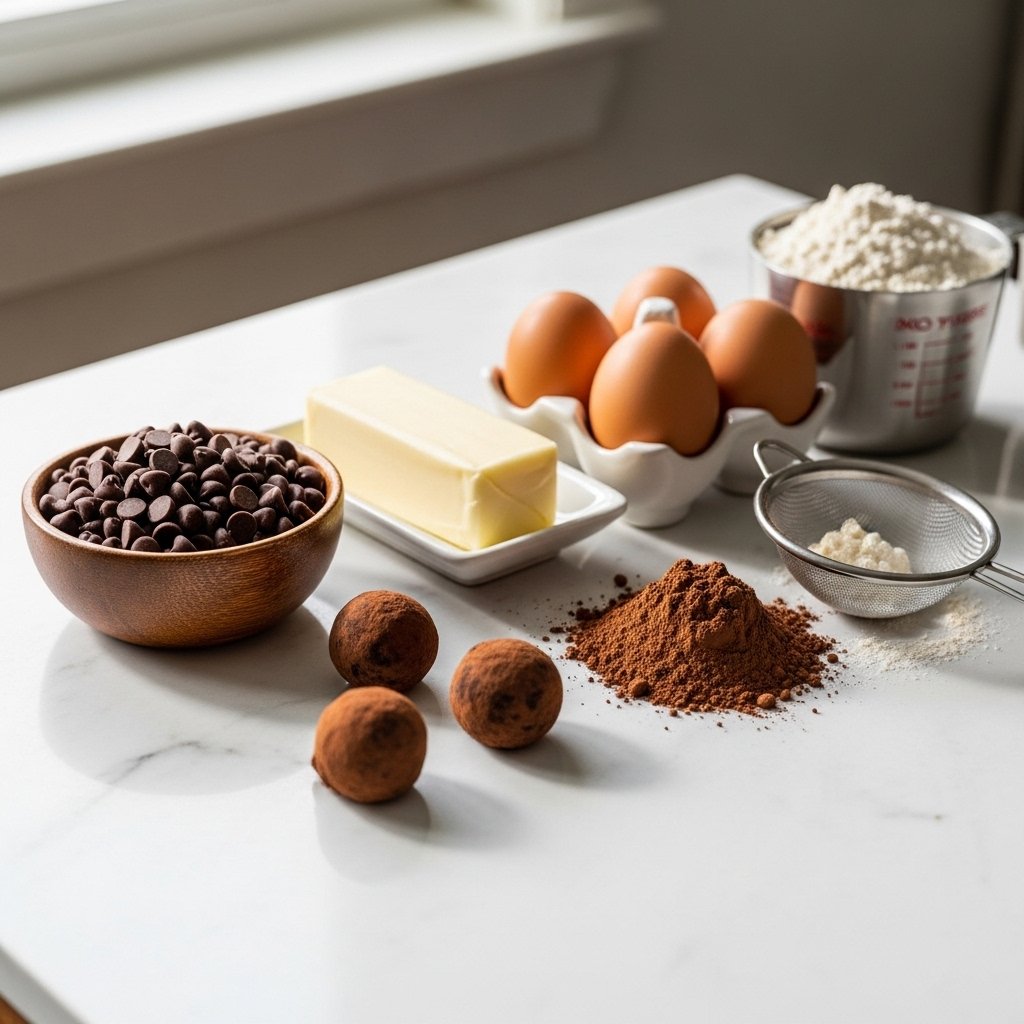
Ingredients
To make these irresistible cookies, gather the following ingredients:
- 1 cup dark chocolate chips
- ½ cup unsalted butter
- ¾ cup granulated sugar
- ¼ cup brown sugar
- 2 large eggs
- 1 teaspoon vanilla extract
- ¾ cup all-purpose flour
- ¼ cup cocoa powder
- ½ teaspoon baking powder
- ¼ teaspoon salt
- 12 chocolate truffles or chocolate squares (for the lava center)
Ingredient Notes
For the best decadent chocolate lava brownie cookies, quality chocolate is key. Use high-quality dark chocolate chips or baking chocolate for a rich flavor. The chocolate truffles or squares in the center are what create that molten “lava” effect, so choose something that melts smoothly.
You can also experiment with:
- Milk chocolate for a sweeter version
- Sea salt flakes for contrast
- Espresso powder to enhance chocolate flavor
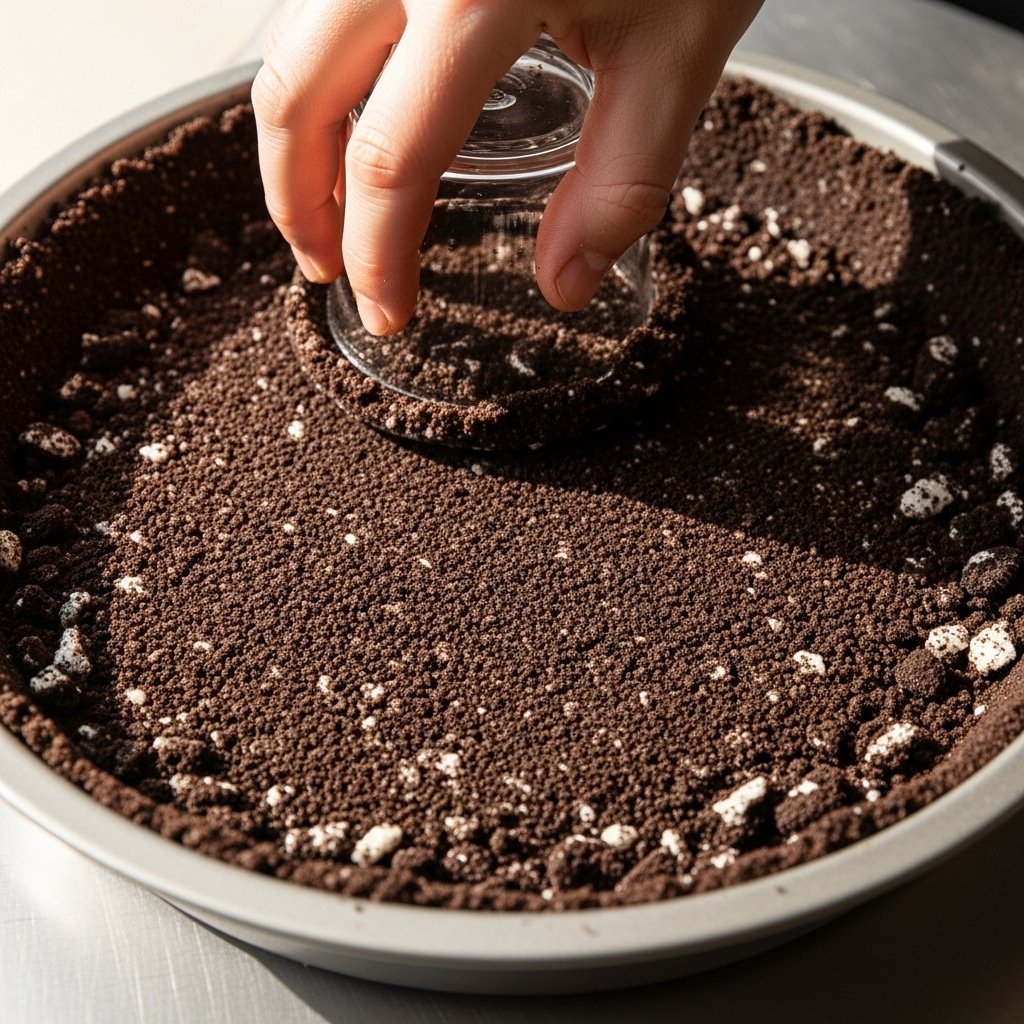
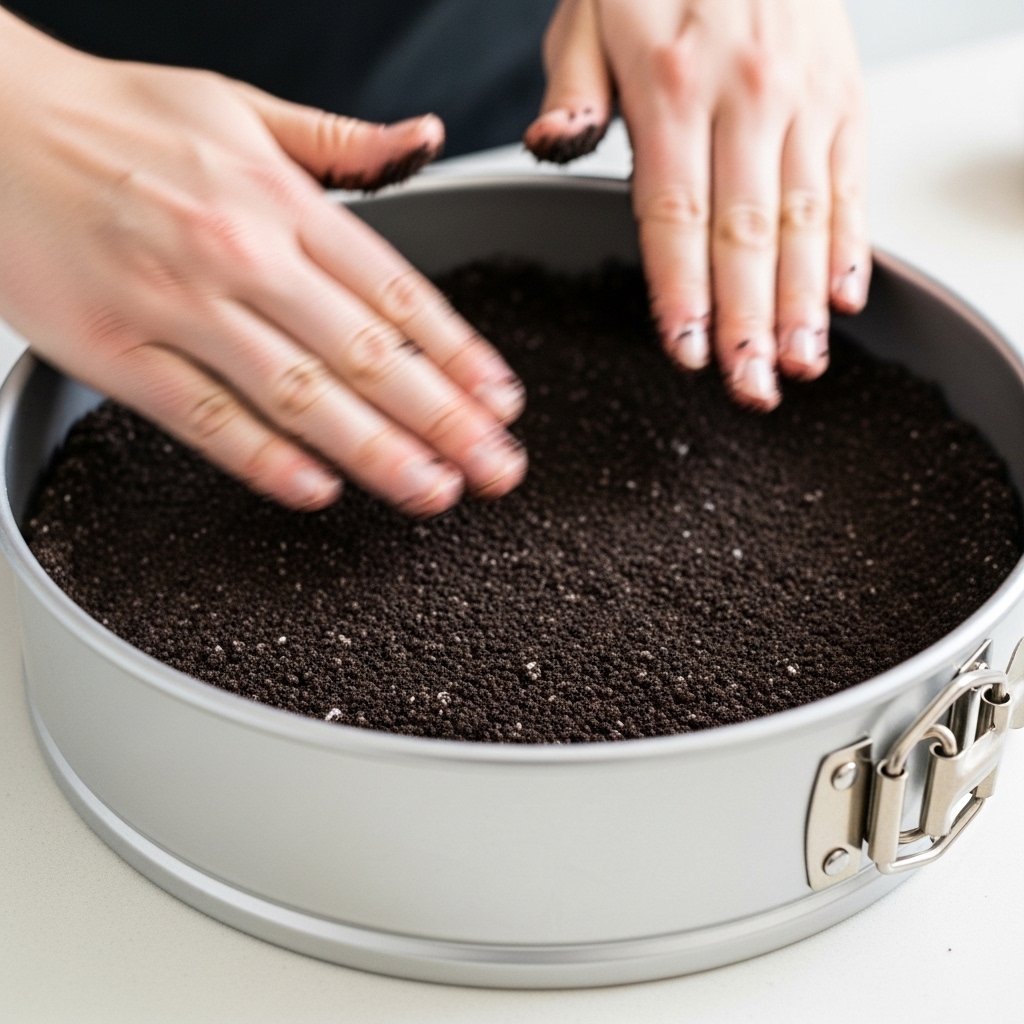
Step-by-Step Instructions
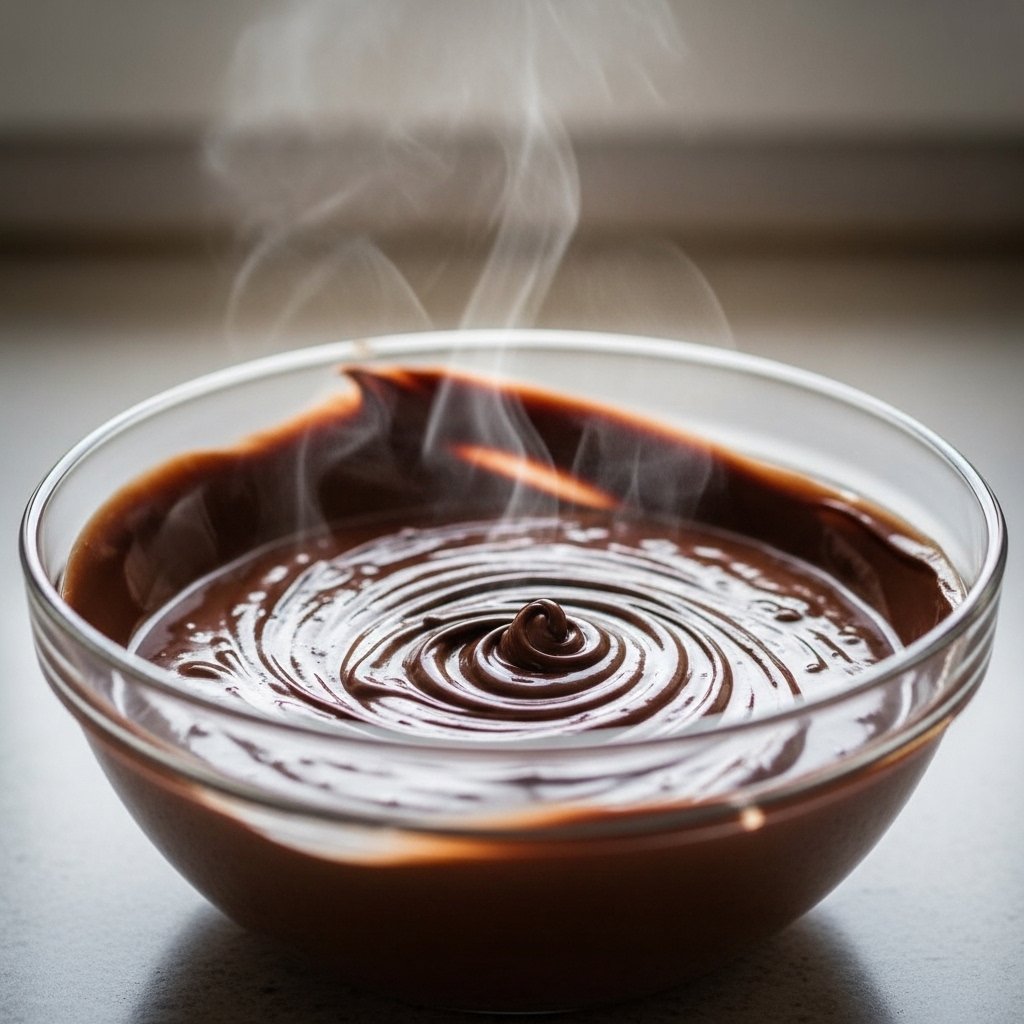
1. Melt the Chocolate and Butter
In a heatproof bowl, melt the chocolate chips and butter together until smooth. You can use a microwave or double boiler. Let it cool slightly before moving on.
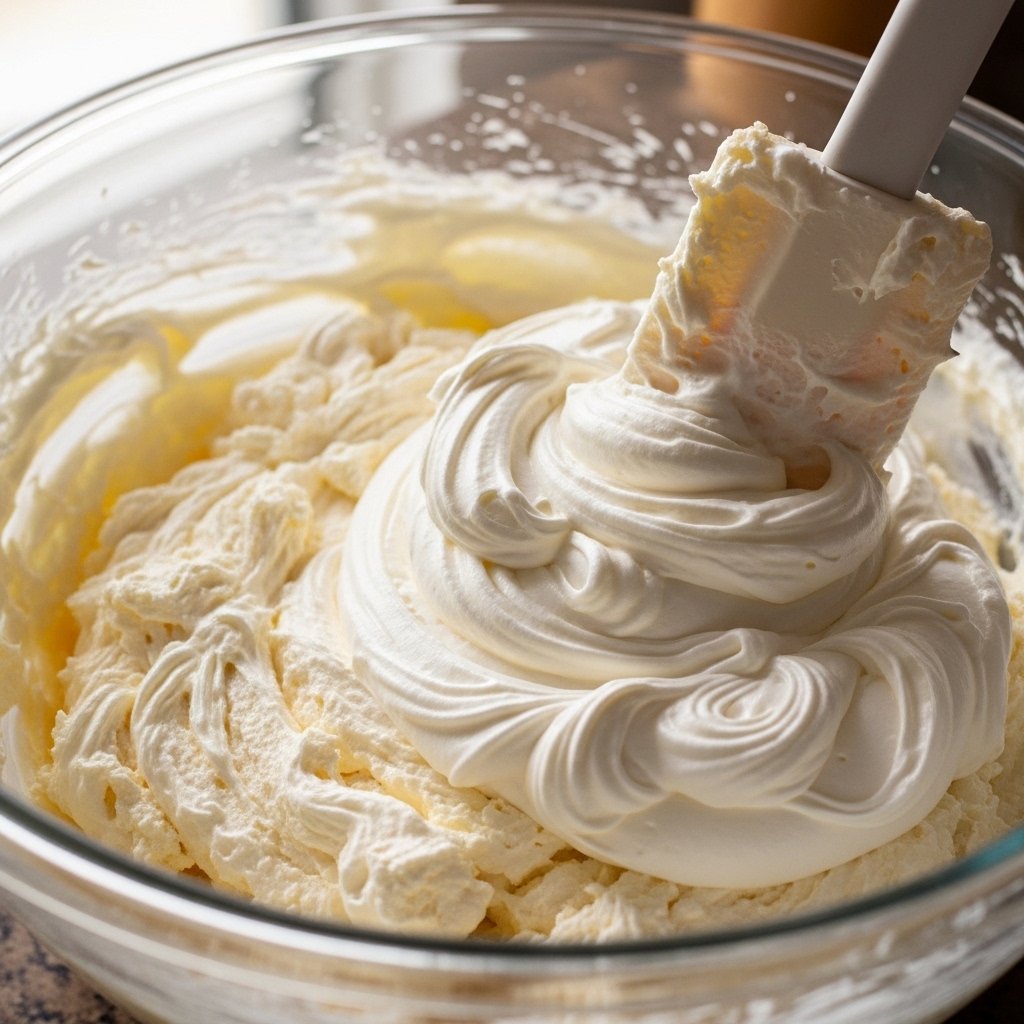
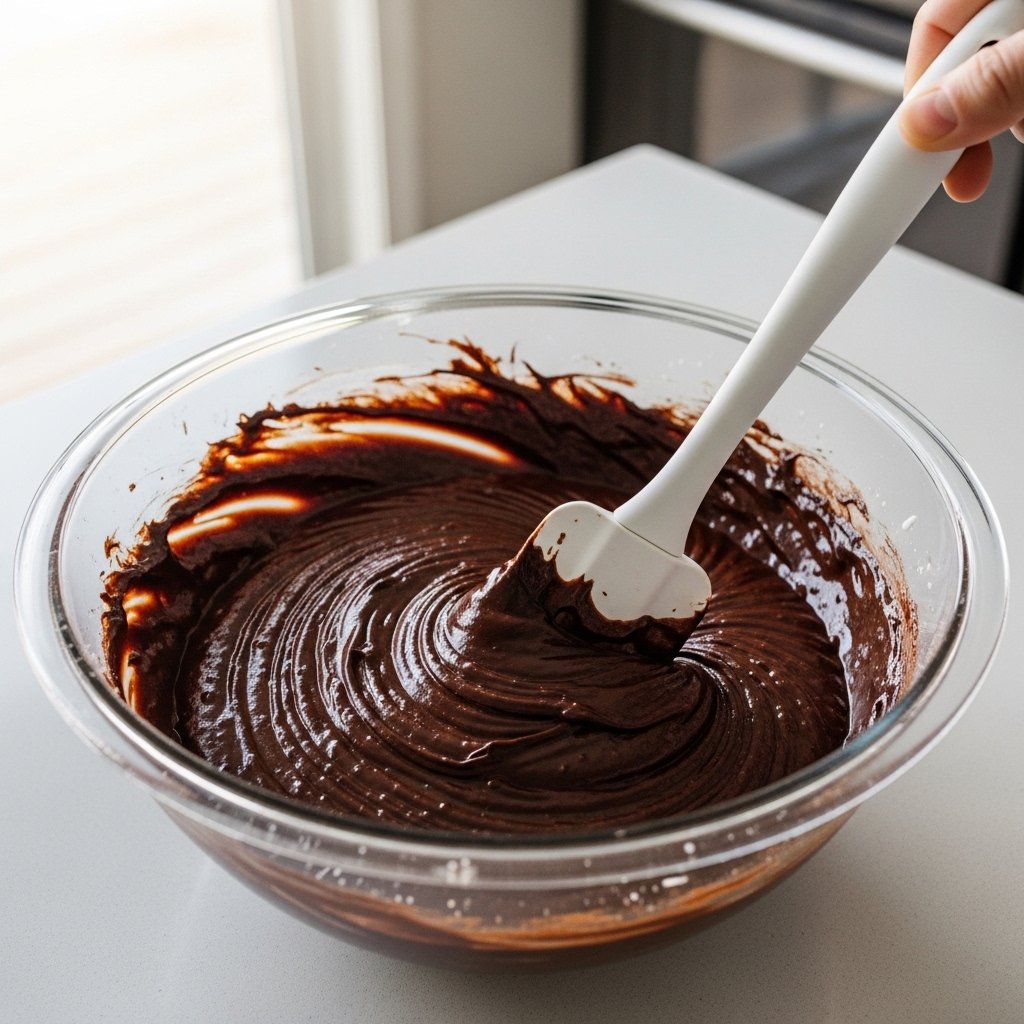
2. Mix the Wet Ingredients
In a separate bowl, whisk together granulated sugar, brown sugar, eggs, and vanilla extract until thick and glossy. This step helps create that signature shiny, crackly top.
3. Combine the Batter
Slowly add the melted chocolate mixture into the wet ingredients. Then sift in the flour, cocoa powder, baking powder, and salt. Mix until just combined—don’t overmix.
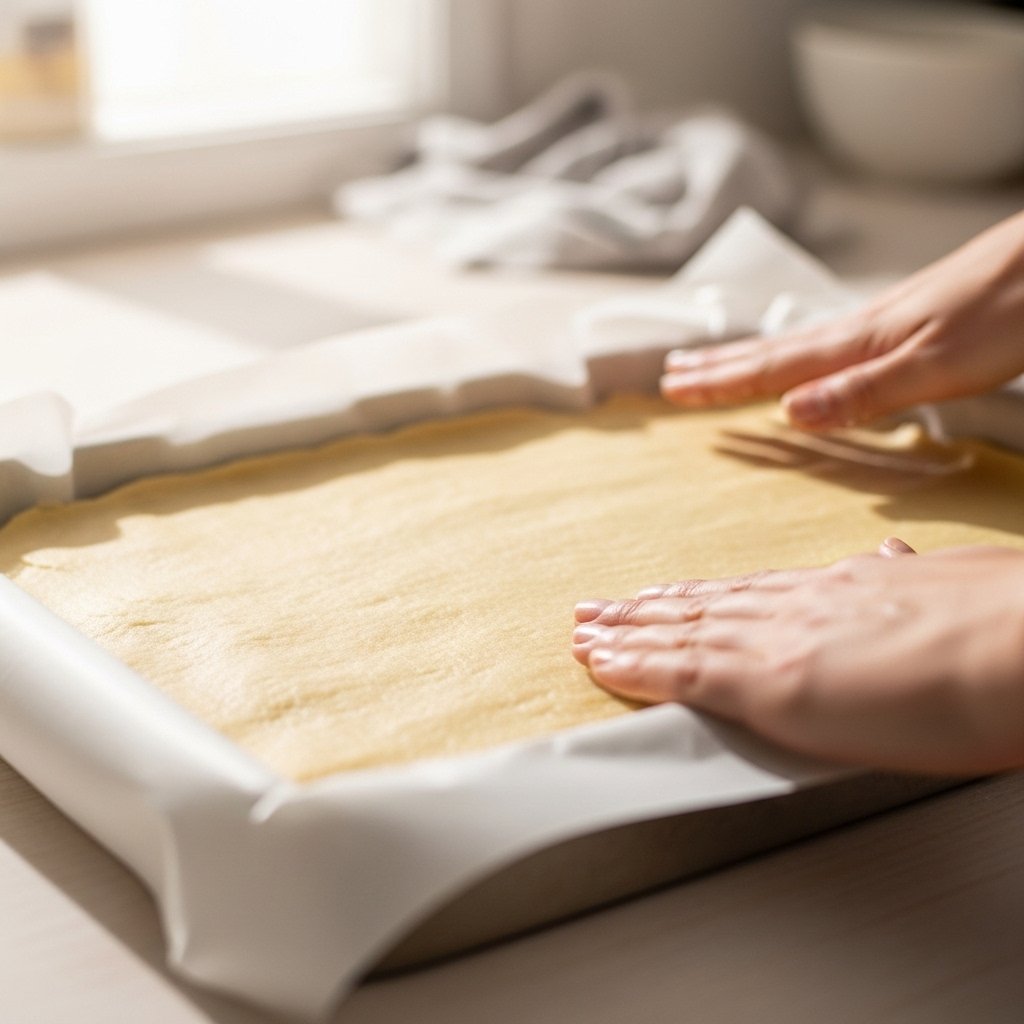
4. Chill the Dough
Refrigerate the dough for 30–45 minutes. This step makes it easier to handle and helps the cookies hold their shape during baking.
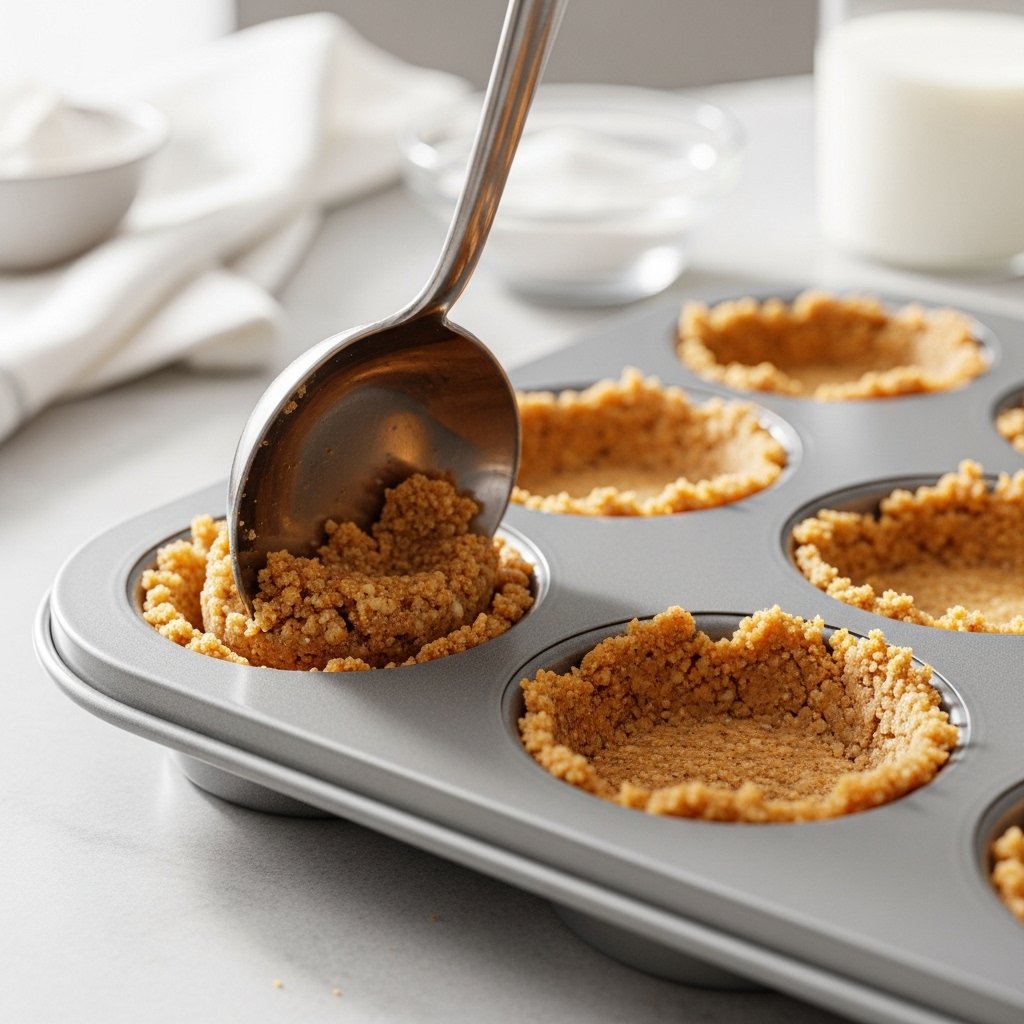
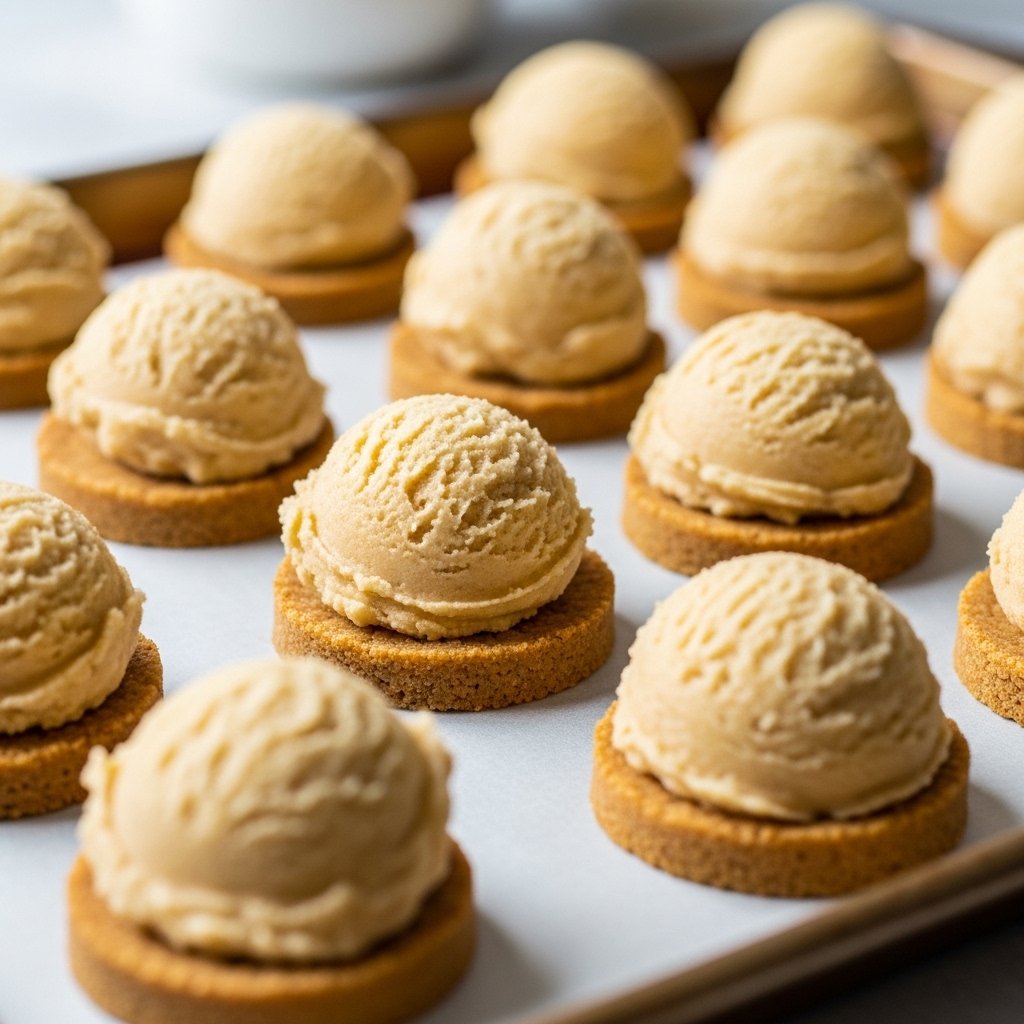
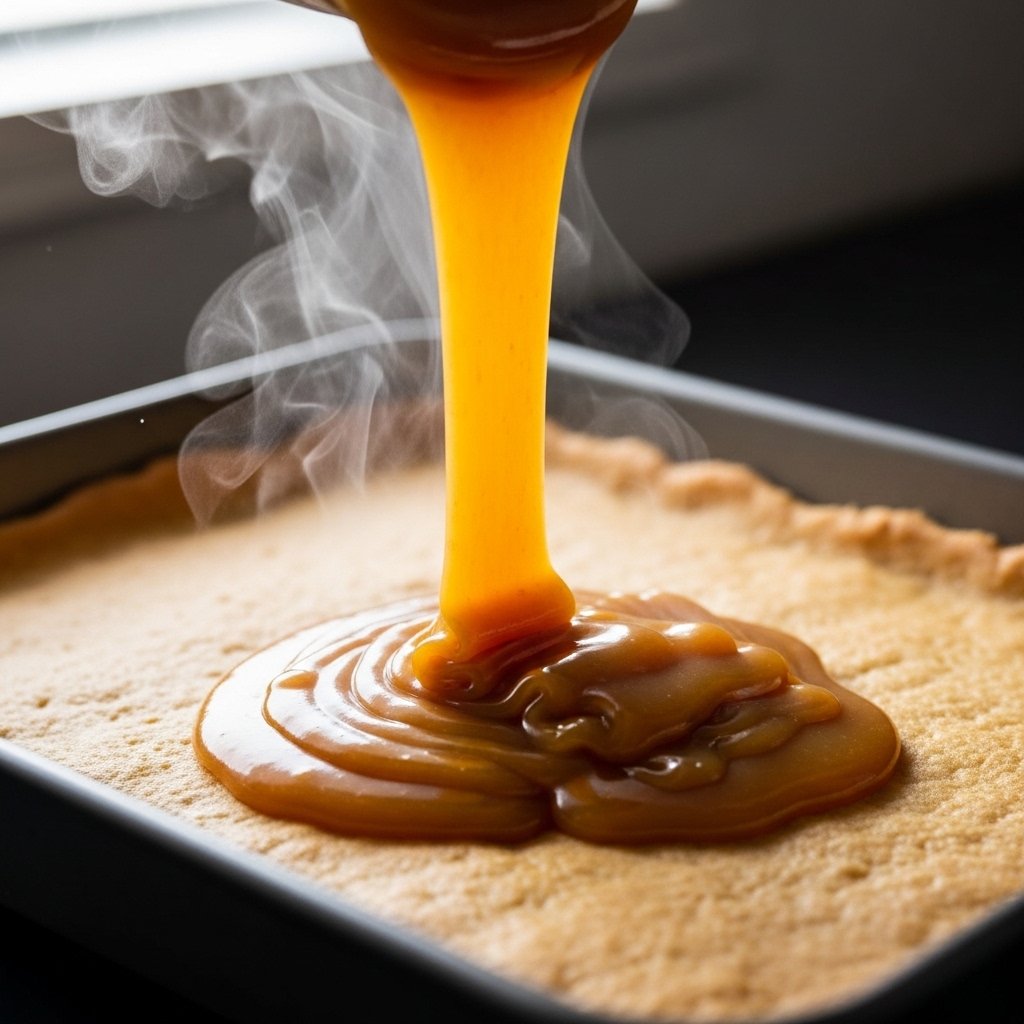
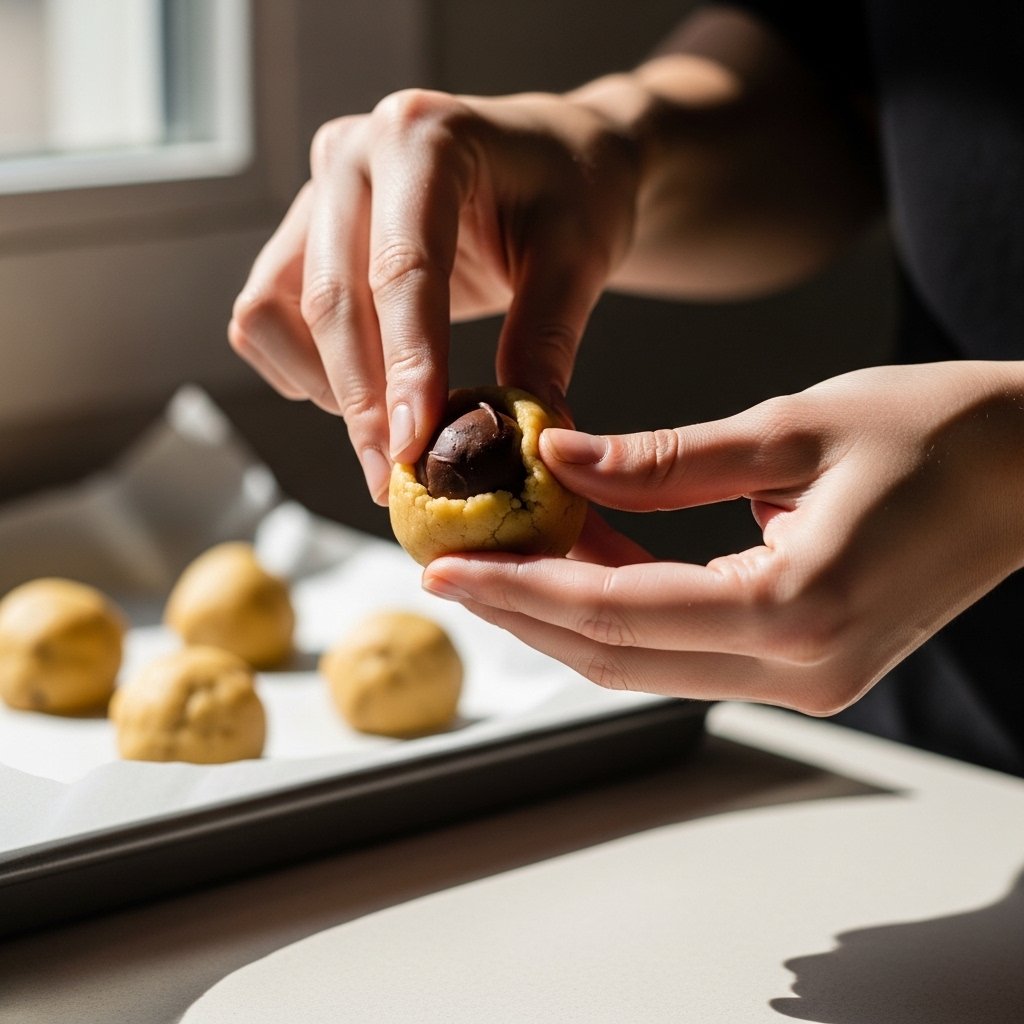
5. Shape and Fill
Scoop portions of dough and flatten slightly. Place a chocolate truffle or square in the center, then wrap the dough around it, sealing completely.
6. Bake to Perfection
Preheat oven to 350°F. Place cookies on a lined baking sheet and bake for 10–12 minutes. The edges should be set while the centers remain soft.
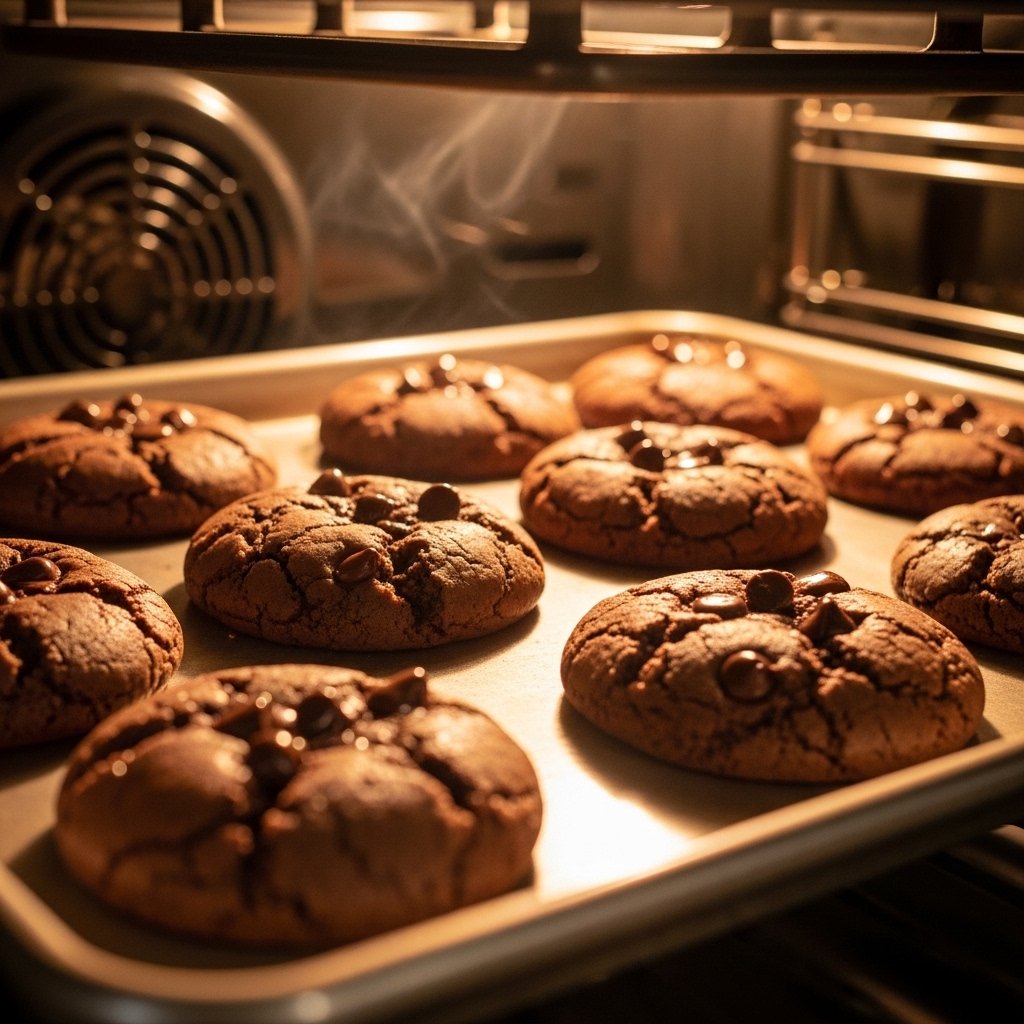
7. Cool Slightly and Serve
Let the cookies cool for a few minutes before serving. When broken open, the molten center should flow beautifully.
Tips for Perfect Results
To master decadent chocolate lava brownie cookies, follow these expert tips:
- Don’t skip chilling the dough
- Use high-quality chocolate for best flavor
- Avoid overbaking to keep the center gooey
- Seal the dough tightly around the filling
- Serve warm for the best lava effect
These small steps make a huge difference in the final result.
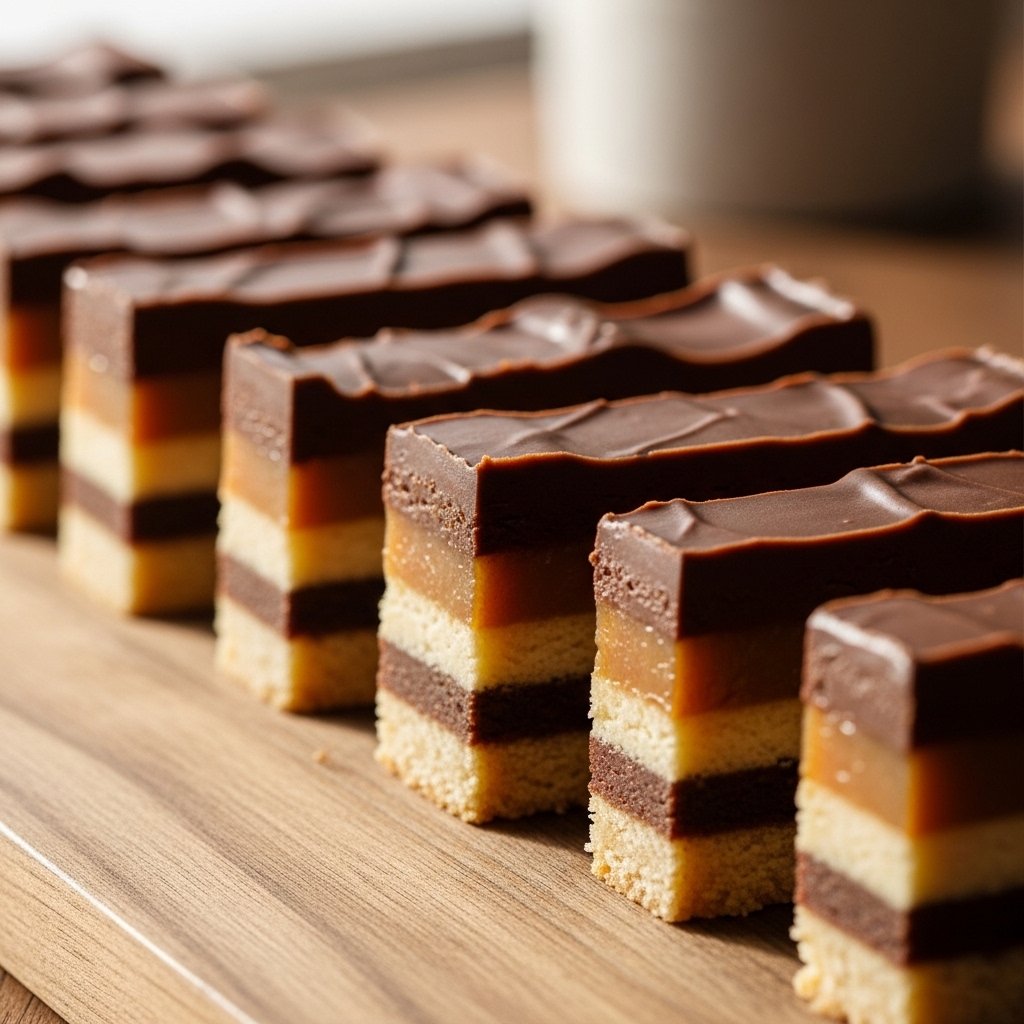
Variations
There are plenty of ways to customize these cookies:
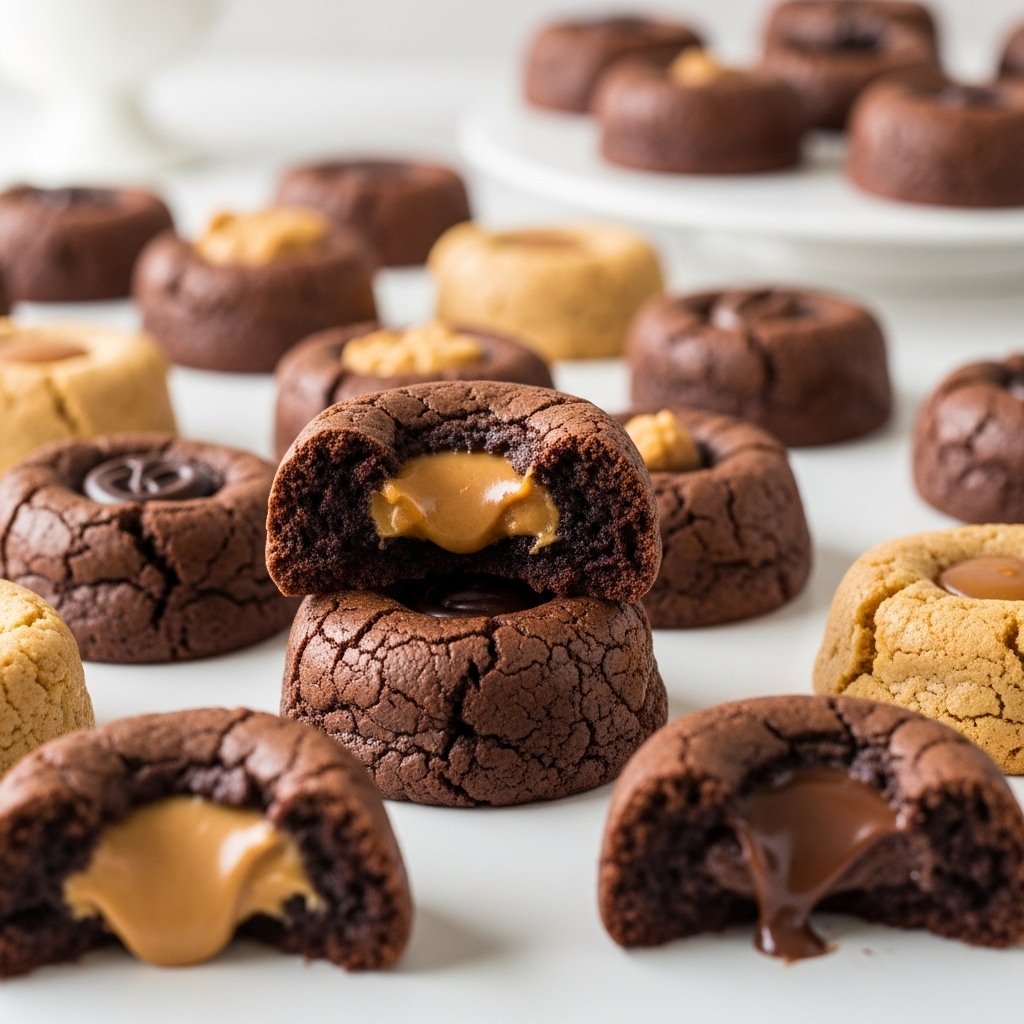
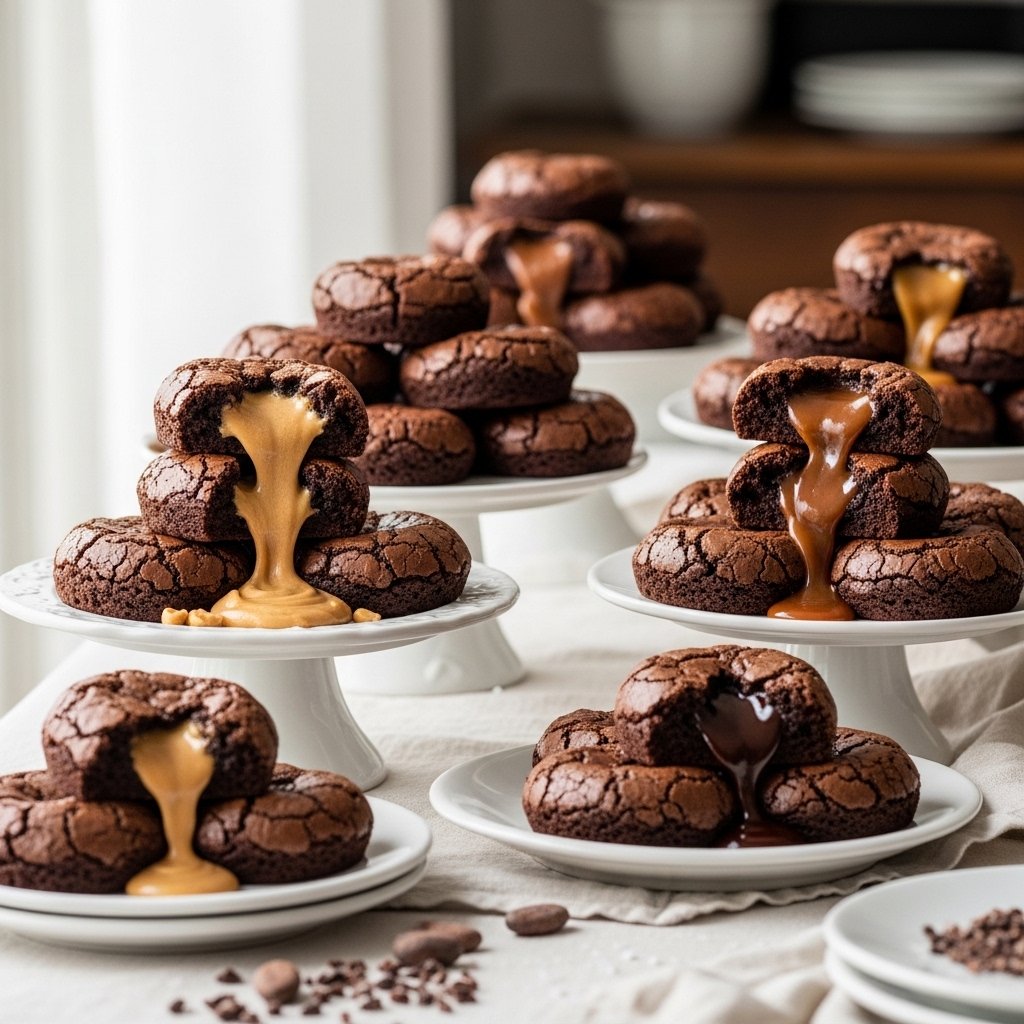
Peanut Butter Lava
Add a peanut butter cup inside instead of chocolate.
Salted Caramel Center
Use caramel candies for a gooey caramel surprise.
Double Chocolate Chip
Mix extra chocolate chips into the dough.
Holiday Version
Add festive sprinkles or flavored fillings for special occasions.
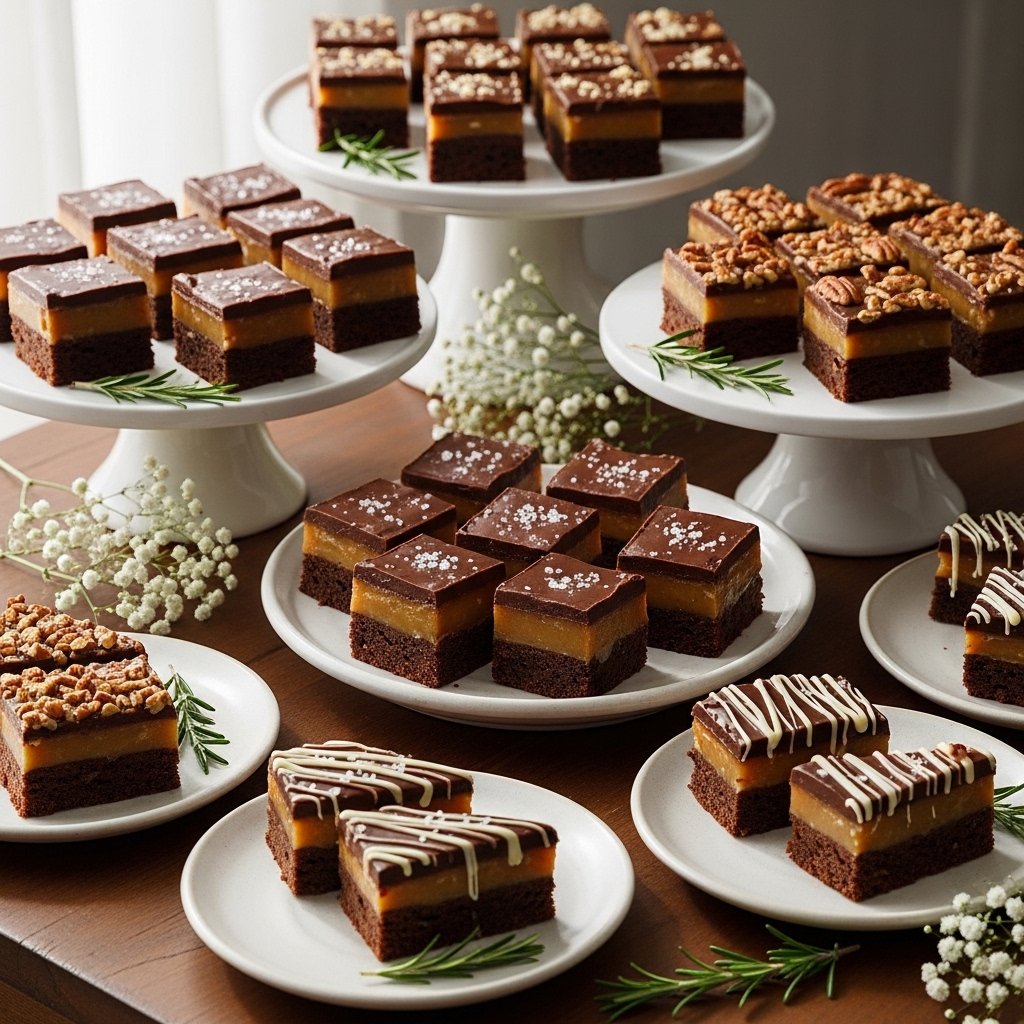
What to Serve With It
These decadent chocolate lava brownie cookies pair perfectly with:
- Vanilla ice cream
- Fresh strawberries or raspberries
- Hot coffee or espresso
- A glass of cold milk
Serving them warm with ice cream creates a truly indulgent dessert experience.
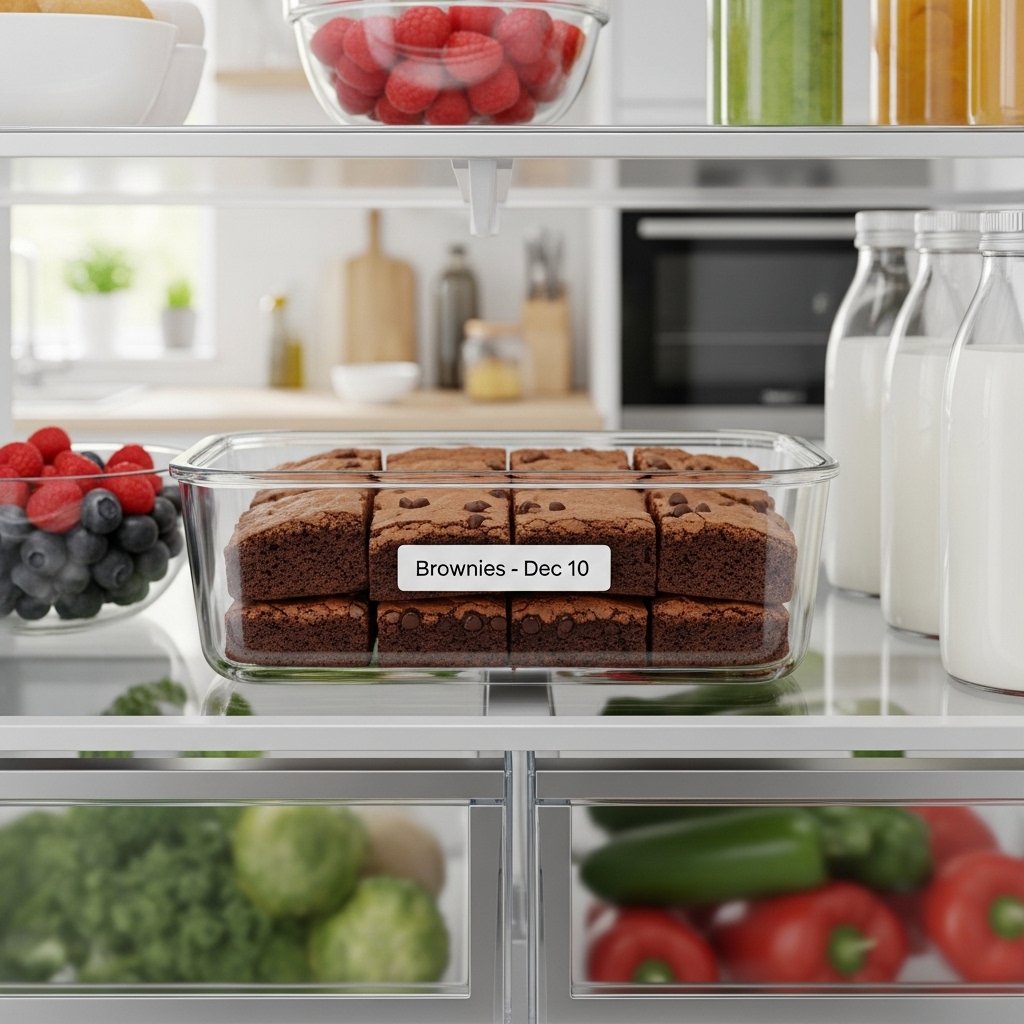
Storage & Reheating
These cookies are best fresh but can be stored:
- Room Temperature: Up to 2 days in an airtight container
- Refrigerator: Up to 5 days
- Freezer: Freeze unbaked dough balls for up to 2 months
- Reheating: Microwave for 10–15 seconds to restore the gooey center
Common Mistakes to Avoid
Avoid these pitfalls when making decadent chocolate lava brownie cookies:
- Overbaking (loses lava center)
- Not sealing the filling properly
- Skipping dough chilling
- Using low-quality chocolate
- Overmixing the batter
FAQs
1. How do I keep the center gooey?
Bake just until the edges are set and serve warm.
2. Can I make these ahead of time?
Yes! Prepare the dough and refrigerate or freeze until ready to bake.
3. What chocolate works best?
High-quality dark chocolate or truffles melt best for the lava effect.
4. Can I make them without filling?
Yes, but they’ll be more like fudgy brownie cookies rather than lava cookies.
Final Thoughts
These decadent chocolate lava brownie cookies are the ultimate dessert for anyone who loves rich, chocolatey treats. With their gooey centers, fudgy texture, and crisp edges, they offer the perfect balance of indulgence and comfort.
Whether you’re baking for a celebration or simply satisfying a chocolate craving, this recipe is guaranteed to impress. Once you take that first bite and see the molten center, you’ll know you’ve found a dessert worth making again and again.